
The tomato growing guide most gardeners need is not a universal recipe but a decision grid that matches your actual garden constraints to specific techniques. Generic lists overlook how a short season demands different varieties than a spacious in-ground plot or how container setups change every care step.
This article focuses on home-scale edible vegetable gardening. It includes variety selection, site preparation, support systems, ongoing care routines, and harvest timing. It excludes large-scale farming, hydroponic systems, and chemical-only pest control.
You will walk away knowing which two or three techniques to prioritize first, how they interact, and when to adjust based on measurable conditions like soil temperature or frost dates. This prevents wasted effort on mismatched methods.
Identify your branch in the decision grid below, then start with the recommended items to build a tomato strategy tailored to your conditions.
The Yield Grid Decision Grid
Branch 1: Short or cool growing season. Your area has fewer than 140 frost-free days or average summer daytime temperatures stay below 75 degrees F. Recommended: Items 1, 4, and 7 below.
Branch 2: Limited space or container setups. Available ground area is under 25 square feet or you garden exclusively in pots or raised beds under 4 feet wide. Recommended: Items 2, 5, and 8 below.
Branch 3: Full-sun in-ground gardens with standard maintenance. At least 6 hours full sun daily, soil depth over 12 inches, and willingness to check plants 2 to 3 times per week. Recommended: Items 3, 6, and 9 below.
For variety options matched to these conditions see our best tomato varieties guide.
Quick Comparison Table
| Option | Key mechanism | Best for | Decision Grid Branch | Effort Score |
|---|---|---|---|---|
| 1. Selecting Tomato Varieties by Days to Maturity and Growth Habit | Genetic selection for fruiting timeline and plant size | Short-season gardeners | Branch 1 | 1 |
| 2. Setting Up Container Tomato Systems with Adequate Root Space | Root zone control through pot volume and drainage | Space-limited setups | Branch 2 | 2 |
| 3. Integrating Companion Plants to Reduce Pest Pressure Naturally | Plant proximity to attract beneficial insects | Full-sun in-ground plots | Branch 3 | 2 |
| 4. Pruning Indeterminate Tomatoes to Direct Energy and Improve Airflow | Removal of suckers to focus growth | Short-season gardeners | Branch 1 | 4 |
| 5. Applying Mulch Layers to Stabilize Soil Temperature and Moisture | Barrier against evaporation and temperature swings | Space-limited setups | Branch 2 | 1 |
| 6. Timing Organic Fertilizer by Tomato Growth Stages | Nutrient delivery matched to flowering and fruiting | Full-sun in-ground plots | Branch 3 | 3 |
| 7. Using Deep Watering Techniques to Avoid Blossom End Rot | Consistent moisture at root depth | Short-season gardeners | Branch 1 | 3 |
| 8. Installing Trellis Supports for Vertical Tomato Growth in Tight Spaces | Vertical training to save ground area | Space-limited setups | Branch 2 | 2 |
| 9. Checking Harvest Readiness to Maximize Flavor and Storage Time | Color and firmness evaluation at peak ripeness | Full-sun in-ground plots | Branch 3 | 1 |
1. Selecting Tomato Varieties by Days to Maturity and Growth Habit
Best for: Branch 1
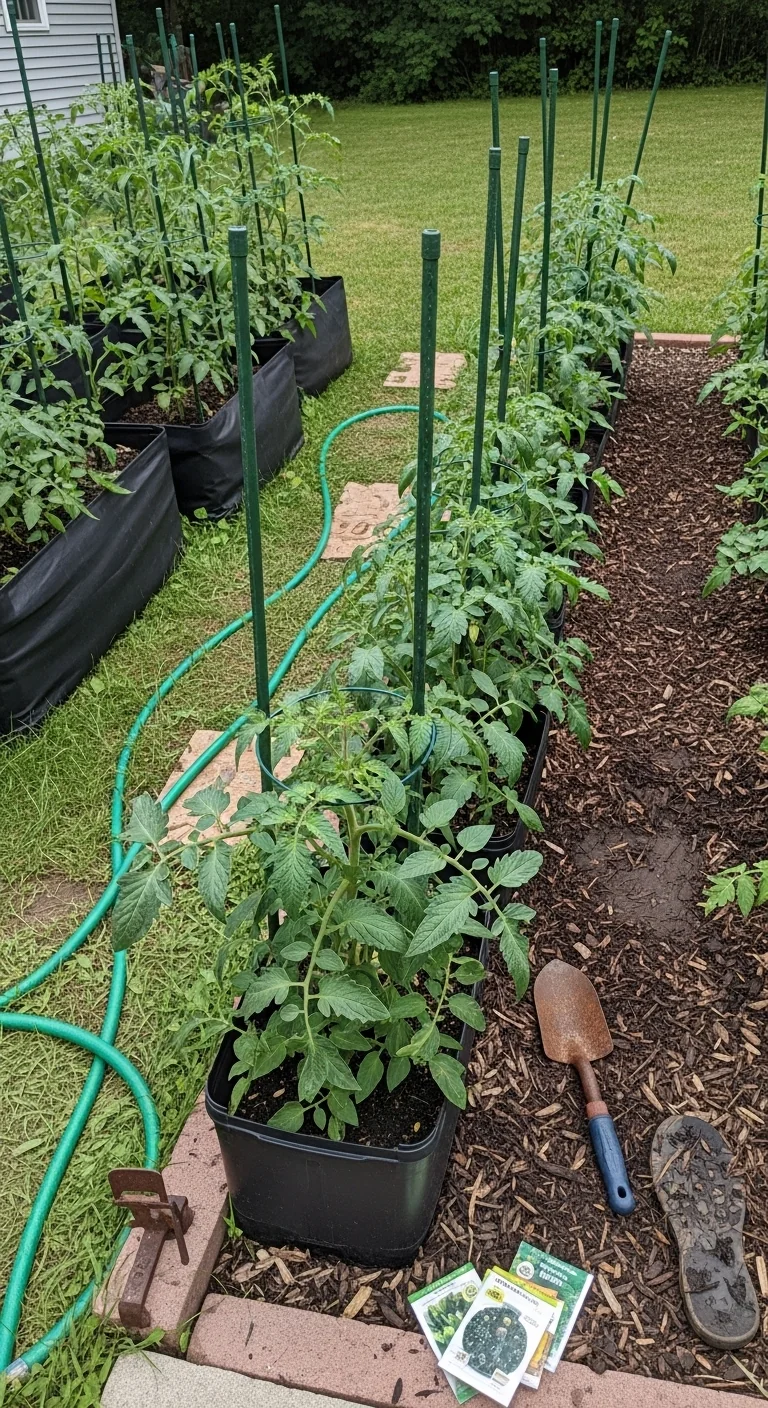
Determinate varieties reach a fixed height of 3 to 5 feet and produce their full crop in a 2 to 3 week window. Indeterminate varieties continue growing and fruiting until frost. This choice matters because a short season under 140 frost-free days leaves no room for late-maturing types.
Blueprint: First note your local last spring frost date and add 2 weeks as a safety buffer. Subtract that total from your first fall frost date to calculate available growing days. Select varieties listed with 55 to 70 days to maturity from transplant. Check seed packets for growth habit next. Common mistake is planting indeterminate types that reach 8 feet or more without enough time or support to ripen fruit before cold weather arrives.
Soil temperature must reach 60 degrees F at 4 inches deep before outdoor transplant. Start seeds indoors 4 to 6 weeks before that date to hit the window precisely.
2. Setting Up Container Tomato Systems with Adequate Root Space
Best for: Branch 2
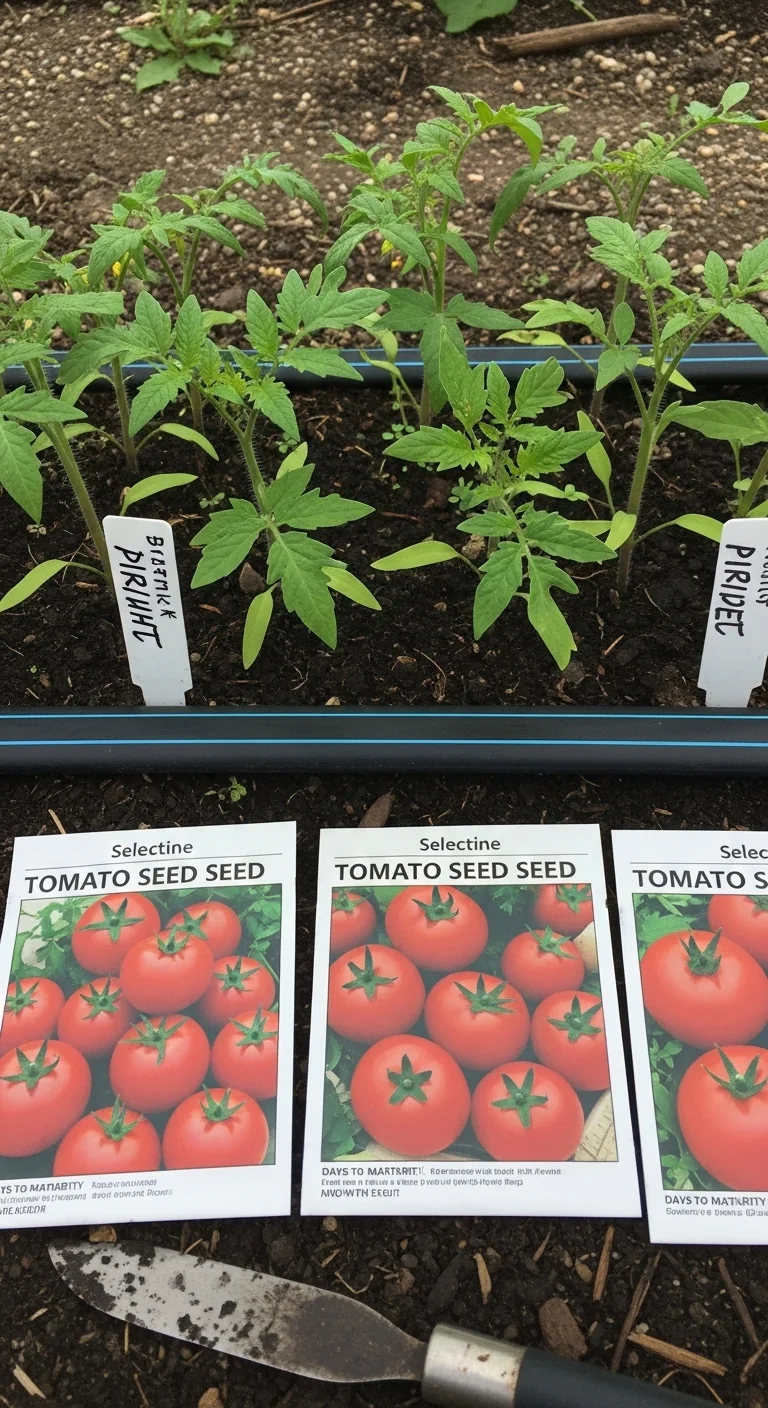
Use container systems when ground space is under 25 square feet or you garden on a balcony or patio. Skip them in full in-ground plots where roots can spread freely without volume limits. Edge case: windy sites require pots of at least 10 gallons with added weight at the base to prevent tipping.
Follow the detailed steps in our tomatoes in containers guide for pot selection and soil mix. Choose containers with drainage holes and volume of 5 gallons minimum for determinate types or 10 gallons for indeterminate. Fill with a blend that drains quickly yet holds moisture.
3. Integrating Companion Plants to Reduce Pest Pressure Naturally
Best for: Branch 3
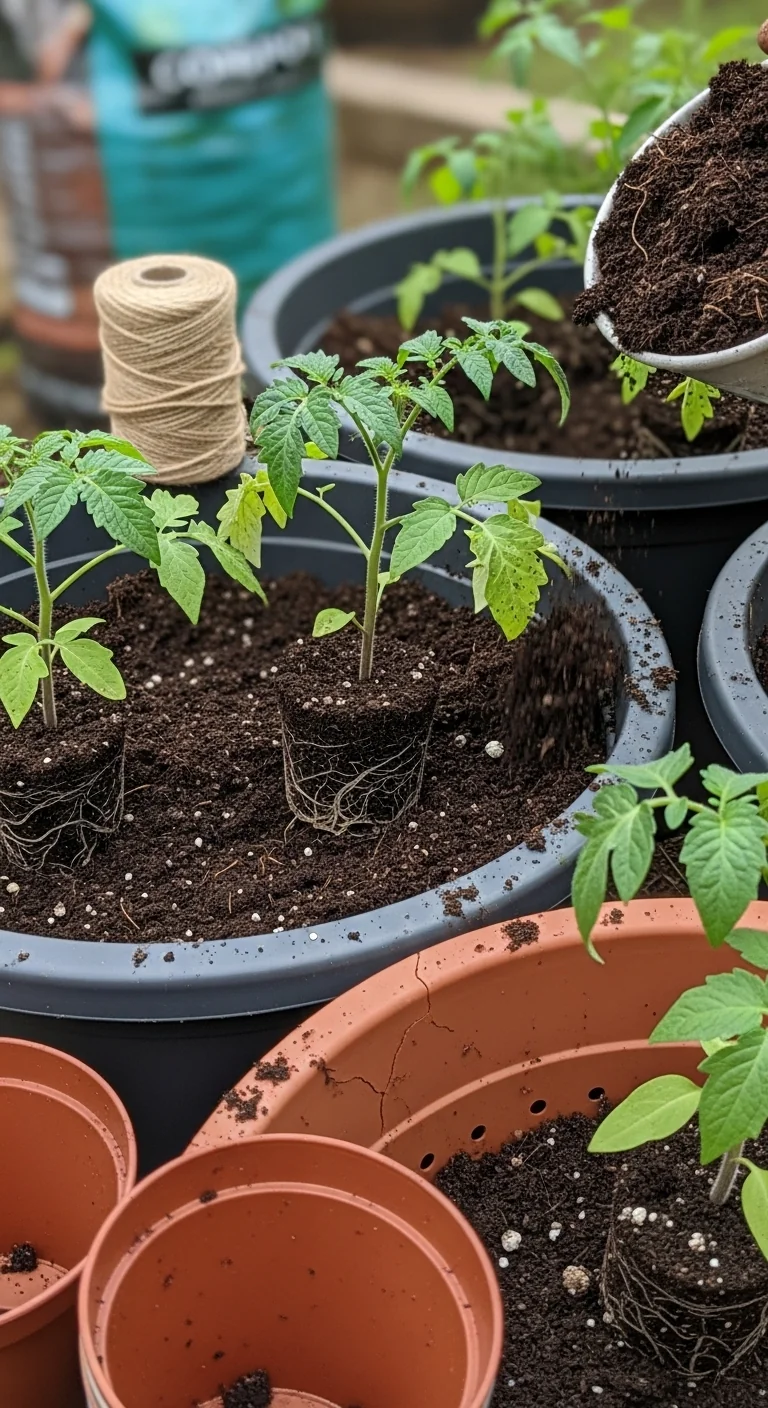
Threshold rule: interplant basil or marigolds no more than 18 inches from the tomato stem at transplant time. One companion per three tomato plants maintains the balance without crowding. Check weekly for aphid clusters. If numbers increase beyond 5 per leaf cluster, add a second ring of companions around the outer edge of the bed.
This proximity draws predatory insects while basil masks tomato scent from certain pests. Avoid tall companions that shade the required 6 hours of full sun. Layout ideas that space rows 3 feet apart leave room for both crops to thrive side by side.
Our companion planting vegetables guide shows exact spacing charts for tomatoes.
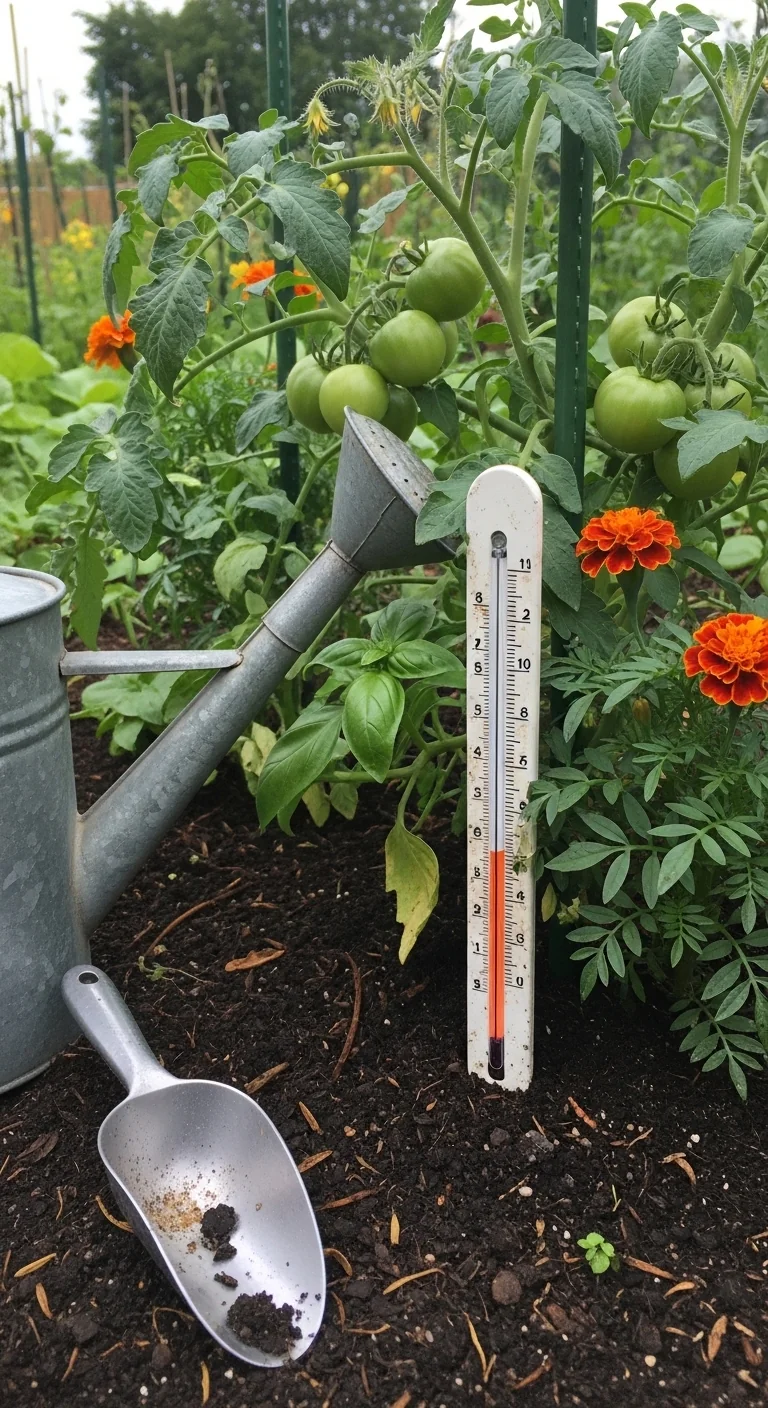
4. Pruning Indeterminate Tomatoes to Direct Energy and Improve Airflow
Best for: Branch 1
10-minute workflow: inspect each plant once per week after the first flower cluster appears. Identify suckers as the new shoots that emerge at 45 degrees between the main stem and a leaf branch. Pinch them off at the base with fingers or clean shears. Leave the two strongest main stems and remove all others below the first fruit cluster. Work from the bottom up and stop once fruits begin to color.
In short seasons this directs limited energy into existing fruit rather than new foliage. Edge case in humid areas: remove one extra leaf layer around fruit clusters to increase airflow and reduce fungal risk. Never prune determinate types because they stop growing naturally and need every leaf for the single crop wave.
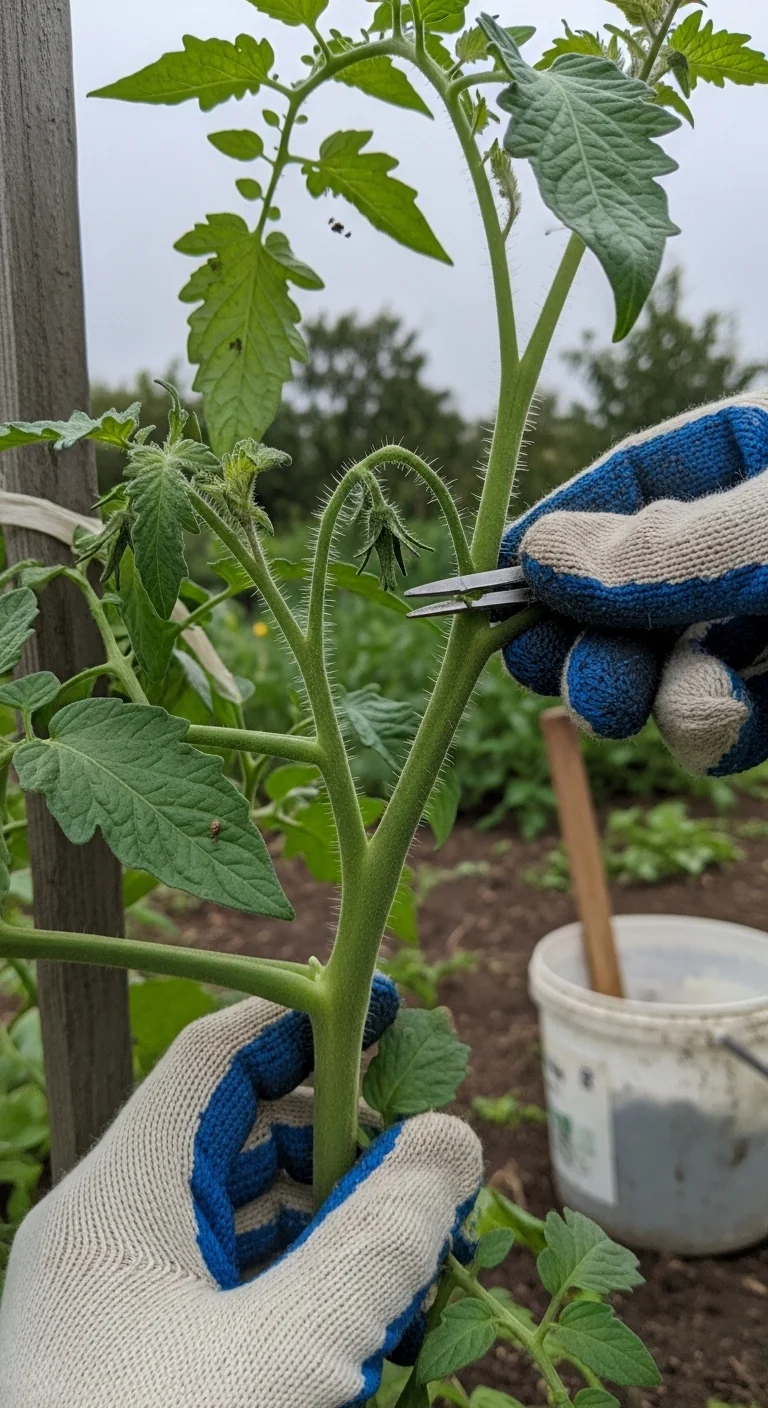
5. Applying Mulch Layers to Stabilize Soil Temperature and Moisture
Best for: Branch 2
Blueprint: organic mulch such as straw or shredded leaves regulates soil temperature swings that stress container roots. For whom: any setup where daily temperature fluctuations exceed 20 degrees F between day and night. Steps: wait until soil warms to 60 degrees F, then spread a 2 to 3 inch layer around the base after transplant. Keep mulch 2 inches away from the stem to avoid rot.
Common mistake is applying too early in cool soil which slows warming and delays root establishment. In containers this layer cuts watering frequency by maintaining even moisture longer than bare soil. Details appear in our mulching vegetable garden guide.
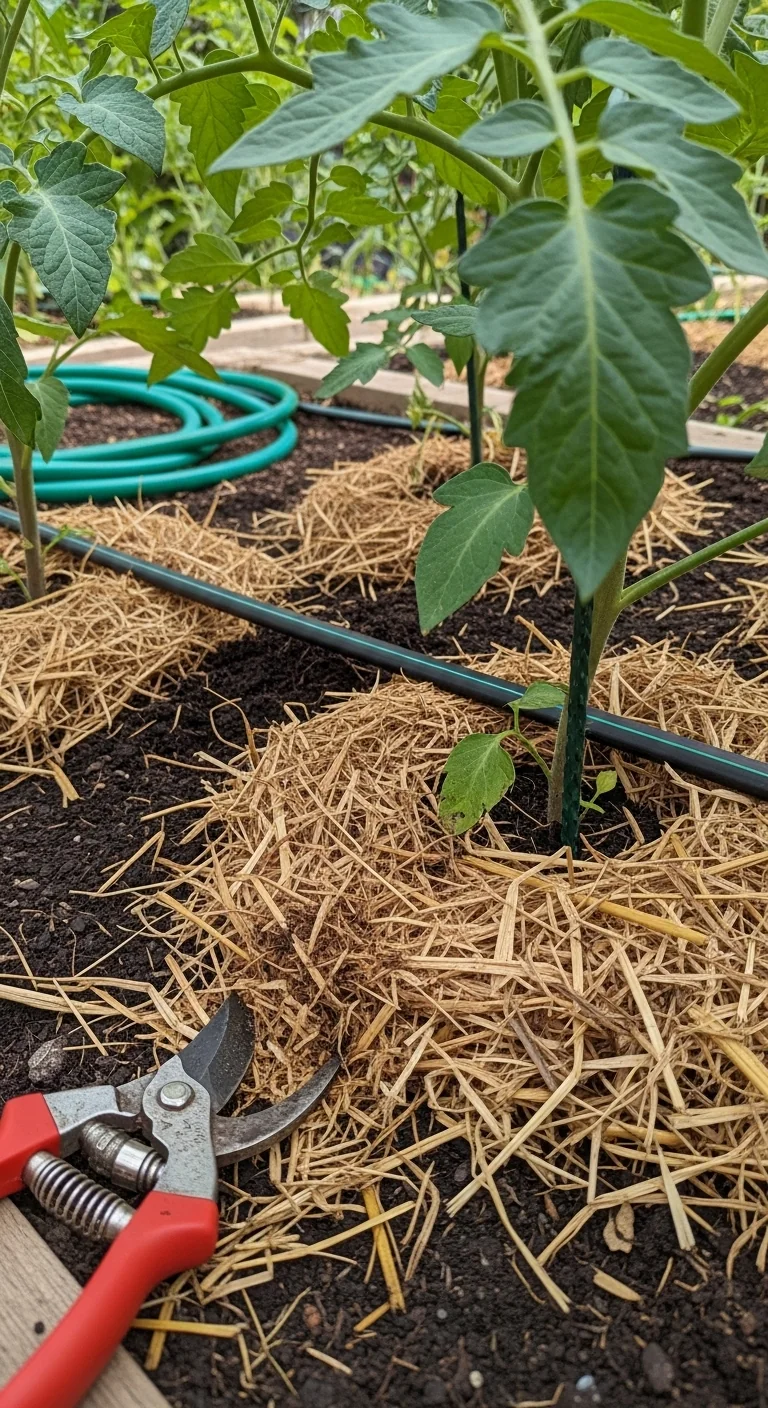
6. Timing Organic Fertilizer by Tomato Growth Stages
Best for: Branch 3
Use a balanced organic fertilizer at transplant, then switch to one higher in phosphorus and potassium once the first flower clusters form. Reapply every 4 weeks until fruits reach full size. Skip high-nitrogen formulas after flowering because they push leafy growth at the expense of fruit.
Our organic fertilizer for vegetables guide lists exact dilution ratios and application windows by stage. Measure soil temperature before each feeding because nutrients move only when soil stays above 55 degrees F. Stop applications entirely 6 weeks before expected first frost to let flavors concentrate.
7. Using Deep Watering Techniques to Avoid Blossom End Rot
Best for: Branch 1
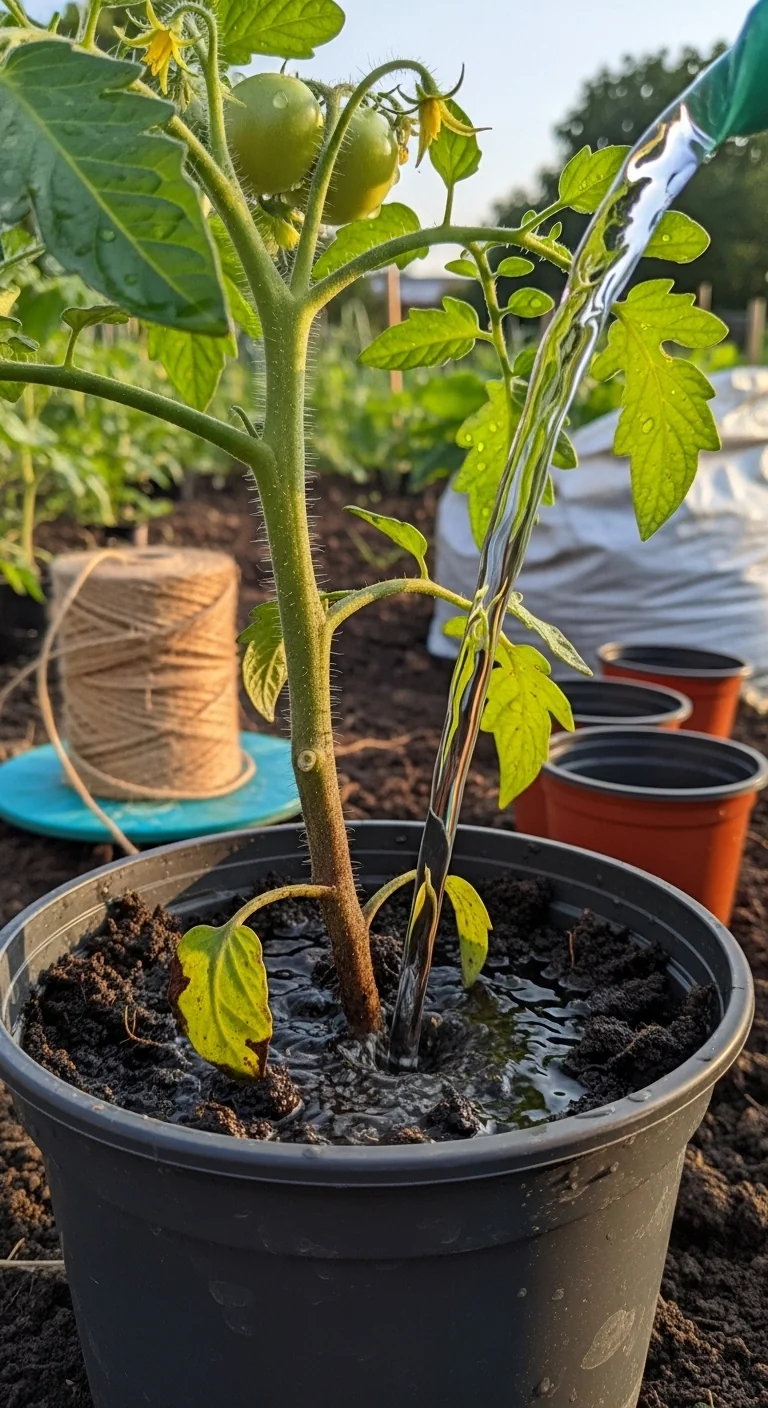
Blueprint: deep watering delivers moisture directly to the root zone 6 to 8 inches down where calcium uptake occurs. For whom: any short-season gardener facing uneven rainfall. Steps: check soil moisture by inserting a finger 2 inches deep. Water only when dry at that level and continue until water runs from the bottom of the container or soaks 8 inches into in-ground beds. Do this in the morning to reduce leaf wetness.
Blossom end rot appears as dark sunken spots on the fruit bottom when calcium transport fails due to moisture swings. Consistent deep cycles prevent that mechanism without daily shallow sprinkles. Full steps align with our watering vegetable garden guide.
8. Installing Trellis Supports for Vertical Tomato Growth in Tight Spaces
Best for: Branch 2
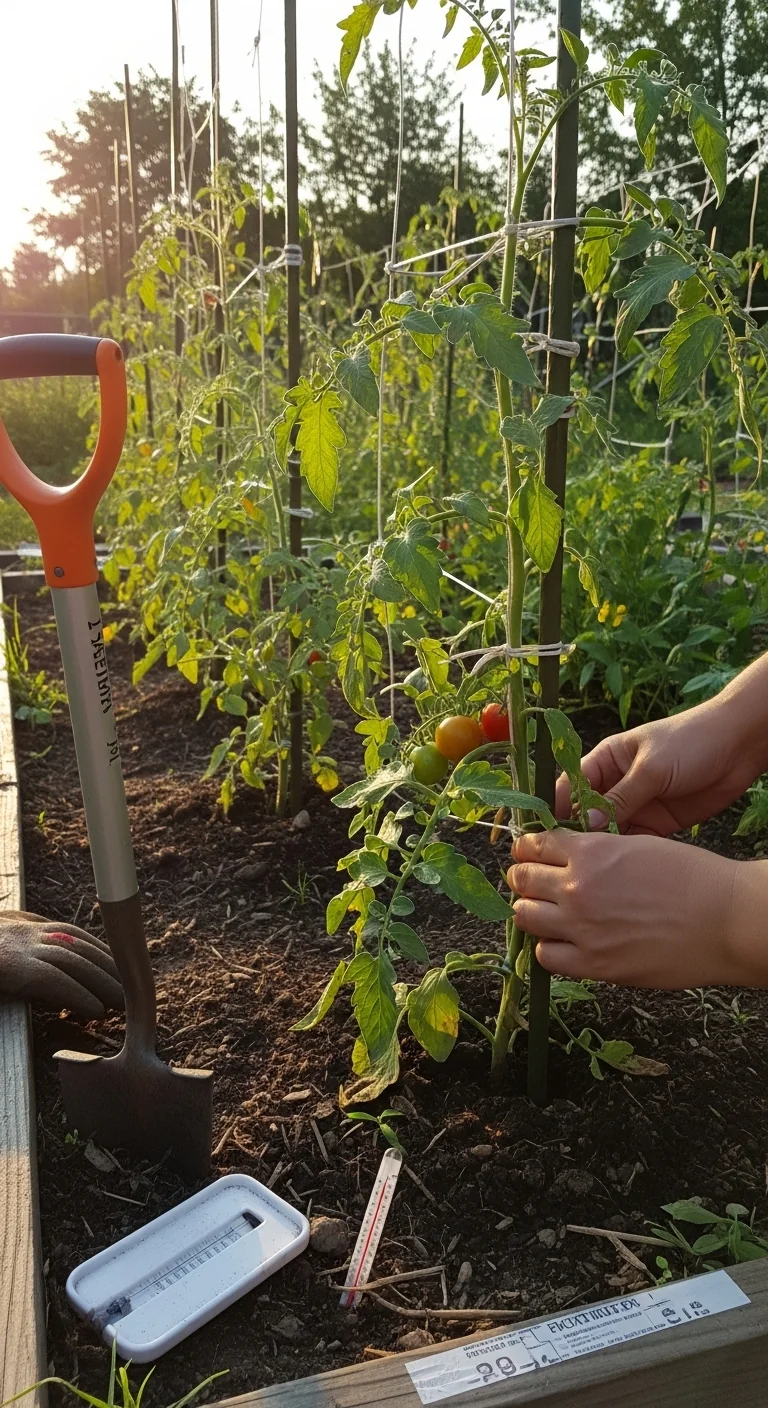
Use trellis systems when ground area is limited. Skip them in open in-ground beds where cages suffice. Edge case: balconies with wind gusts over 15 miles per hour need reinforced stakes driven 12 inches into the soil or pot base for stability.
Install stakes or cages at planting time so roots settle around them undisturbed. Tie stems loosely every 7 to 10 days as plants grow using soft twine. This vertical training doubles usable space in containers or narrow raised beds while keeping fruit off the ground.
9. Checking Harvest Readiness to Maximize Flavor and Storage Time
Best for: Branch 3
Threshold rule: pick tomatoes when they show full color but still feel slightly firm to gentle pressure. Leave fruit on the vine until the shoulder turns from green to the variety’s mature hue. For storage, harvest at the breaker stage (first color change) and finish ripening indoors at 65 to 70 degrees F away from direct sun.
This timing captures peak sugars before over-ripening on the plant. Check daily once the first fruits color because heat above 85 degrees F speeds softening. Avoid refrigeration below 50 degrees F which ruins texture and taste. Extend shelf life by leaving the stem attached and storing stem-down in a single layer.
Starter Stack (What to Choose First)
For Branch 1: Short or Cool Growing Season
Start with Items 1 and 4. Early variety selection pairs with targeted pruning to concentrate limited heat units into fewer fruits before frost. Initial setup costs 10 to 25 dollars and takes 2 to 4 hours spread over the first month.
For Branch 2: Limited Space or Container Setups
Start with Items 2 and 5. Container systems plus mulch create stable root conditions that need little daily adjustment. Initial setup costs 15 to 40 dollars and takes 1 to 3 hours.
For Branch 3: Full-Sun In-Ground Gardens
Start with Items 3 and 6. Companion planting plus staged fertilizer timing supports natural pest control while feeding at peak demand. Initial setup costs 20 to 35 dollars and takes 3 to 5 hours.
When This Won’t Work
If your soil pH falls below 5.5 or rises above 7.5 tomatoes cannot absorb key nutrients like calcium effectively regardless of other techniques. Test your soil first and amend with lime or sulfur as needed or switch to raised beds.
Another failure condition occurs when night temperatures drop below 55 degrees F during the flowering period for more than 7 consecutive days. Fruit set fails in these conditions. The alternative action is to use protective row covers or grow in a greenhouse setup.
In such cases refer to our guide on raised bed vegetable garden setups for better control.
Choosing the Right Option for Your Situation
Budget Threshold
If your total startup budget stays under 50 dollars focus on Items 1, 5, and 9 which require minimal purchased inputs beyond basic seeds and mulch.
Time Threshold
If you can commit less than 1 hour per week prioritize Items 2, 5, and 8 which set up systems that need little ongoing adjustment.
Technical Constraint
If your soil drainage test shows water standing longer than 4 hours after rain select Items 2 or 3 and consider containers or raised beds to bypass poor native soil.
Quick Yes/No Checklist
Does your frost-free period exceed 140 days?
Do you have at least 6 hours of full sun daily?
Is your soil pH between 6.0 and 6.8?
Can you monitor soil moisture twice weekly?
Expert Q&A
What temperature range maximizes tomato pollination success?
Tomato flowers pollinate best when daytime temperatures stay between 70 and 85 degrees F with nights above 55 degrees F. Outside this window especially above 90 degrees F during day pollen becomes nonviable and fruit set drops sharply. Use shade cloth in hot climates or wait for cooler periods in marginal zones.
How should you layout tomatoes with companion plants for best results?
Space tomatoes 3 feet apart in rows and place basil or marigolds every 18 inches within the same row. This keeps companions close enough to mask scent and attract predators without competing for the 6 hours of full sun tomatoes require. Avoid planting tall companions south of the tomatoes in northern latitudes.
Does mulch change the risk of fruit cracking in containers?
Mulch maintains steadier soil moisture which reduces rapid expansion and contraction that splits skins. In containers a 2 to 3 inch layer is especially useful because pots heat and dry faster than ground beds. Reapply if the layer thins below 1 inch after rain or watering.
When should you stop fertilizing to improve final tomato flavor?
Stop all fertilizer 6 weeks before your expected first frost or when fruits reach full size. Continued feeding after that point keeps plants in vegetative mode and dilutes sugars. Focus instead on consistent deep watering during the final ripening window.
How do you adjust pruning for tomatoes in windy locations?
In sites with regular winds over 15 miles per hour prune more lightly and leave one extra sucker per plant for added foliage cover. Tie stems to the trellis every 5 days instead of 7 to 10 to keep growth compact and reduce leverage against supports.
The key decision is using the decision grid to combine two or three techniques that match your branch rather than layering every method at once. The number one mistake is ignoring soil temperature at transplant time which leads to stunted roots and delayed fruit set no matter how well you prune or feed later.
Head to our harvesting vegetables guide next to time your first ripe tomatoes perfectly and extend their table life.