
“`html
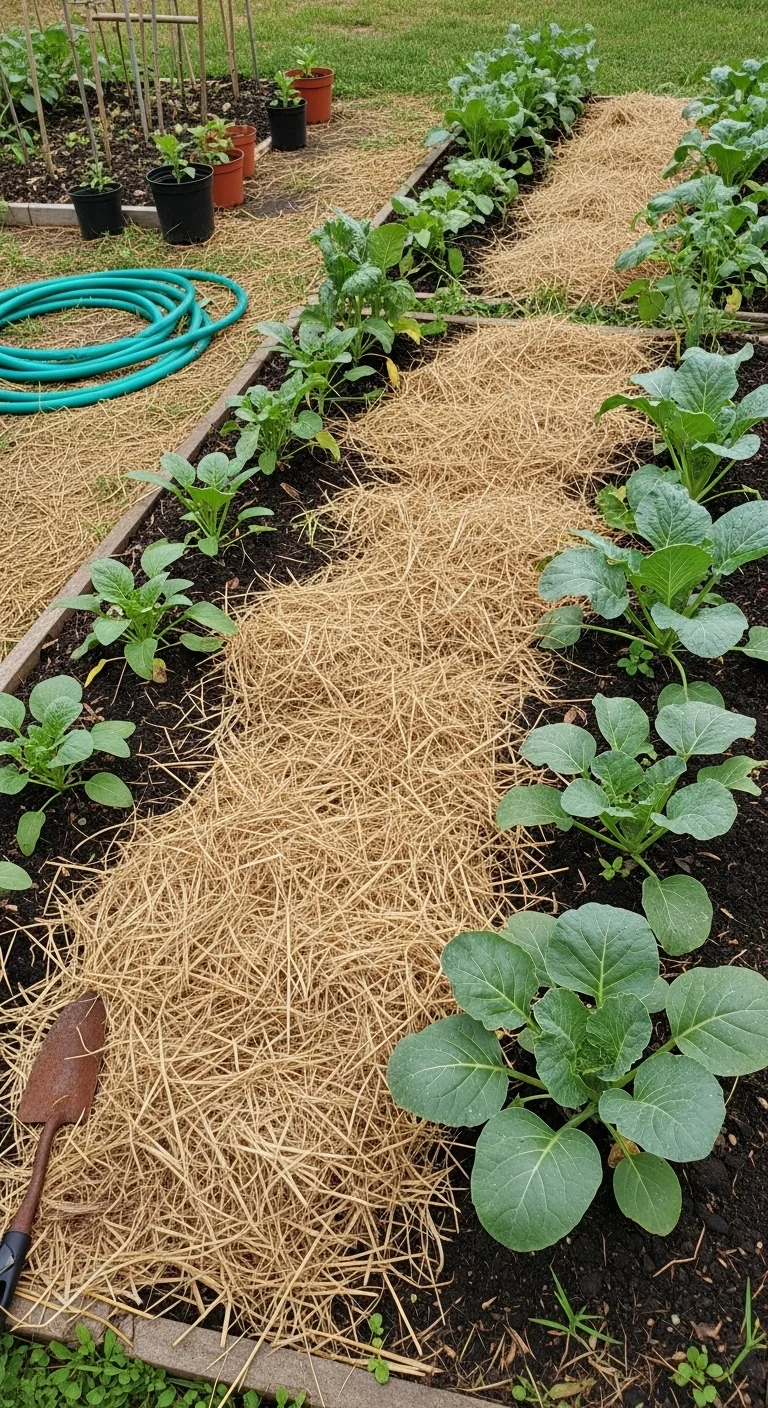
The real key to mulching a vegetable garden lies in pairing the mulch material to your crops specific nitrogen uptake window and soil temperature profile instead of defaulting to whatever is cheapest or easiest to spread. This approach turns mulch into a soil interface that supports root activity without creating imbalances.
This guide covers nine targeted mulching options suited to edible vegetable beds only. It focuses on measurable conditions such as application depth, timing after soil warms, and material constraints while excluding non-organic synthetics for pathways, lawn care, or flower borders.
You will finish with clear criteria to pick the right mulch for your setup, apply it correctly, and avoid setbacks such as delayed growth or root zone issues. Each option includes one unique mechanism or edge case drawn from established extension guidelines.
Match your mulch to the Decision Grid below so it works with your vegetables rather than against them.
The Yield Grid Decision Grid
Branch 1: Cool-season or early-growth vegetable beds where soil temperature at 4-inch depth stays below 65°F during the first four weeks after planting (leafy greens, root crops, brassicas). Recommended: Items 2, 6, 9 below.
Branch 2: Warm-season fruiting vegetable beds in full sun with high nitrogen demand during weeks 4-8 after transplant (tomatoes, peppers, eggplant). Recommended: Items 1, 4, 8 below.
Branch 3: Raised-bed, container, or low-maintenance vegetable setups where reapplication ease and durability matter most (any crop in fast-draining structures). Recommended: Items 3, 5, 7 below.
To integrate mulch into your overall plan, check our how to start a vegetable garden guide.
Quick Comparison Table
| Option | Key mechanism | Best for | Decision Grid Branch | Reapply Class |
|---|---|---|---|---|
| Straw Mulch | Lightweight, seed-free cover that breaks down slowly into organic matter while blocking light to weed seeds | Moisture retention around fruiting crops | 2 | Once-per-season |
| Shredded Leaves | Free, locally available layer that improves soil structure as it decomposes without compacting | Cool-season beds needing gentle insulation | 1 | Once-per-season |
| Grass Clippings | Thin, nitrogen-rich layers applied dry that add quick organic matter but require monitoring to avoid matting | Fast-draining containers or raised beds | 3 | Biweekly |
| Wood Chips | Coarse, long-lasting cover with high carbon content that moderates temperature once aged or supplemented | Warm-season beds when paired with nitrogen source | 2 | Once-per-season |
| Pine Straw | Acidic, open-textured needles that settle slowly and resist blowing away in windy sites | Durable coverage in low-maintenance raised beds | 3 | Once-per-season |
| Newspaper Barrier | Layered paper sheets that block weeds completely before top mulch goes on and break down cleanly | Early cool-season beds needing total light exclusion | 1 | Once-per-season |
| Black Plastic Mulch | Impermeable film that warms soil and prevents evaporation but adds no organic matter | Containers or raised beds needing quick soil heat | 3 | Once-per-season |
| Compost Mulch | Finished organic layer that feeds soil biology directly while suppressing surface weeds | Warm-season beds needing immediate nutrient release | 2 | Monthly |
| Hay Mulch | Coarse, regionally available cover that decomposes faster than straw but requires seed-free sourcing | Cool-season beds in areas with local hay access | 1 | Once-per-season |
Straw Mulch
Best for: Branch 2
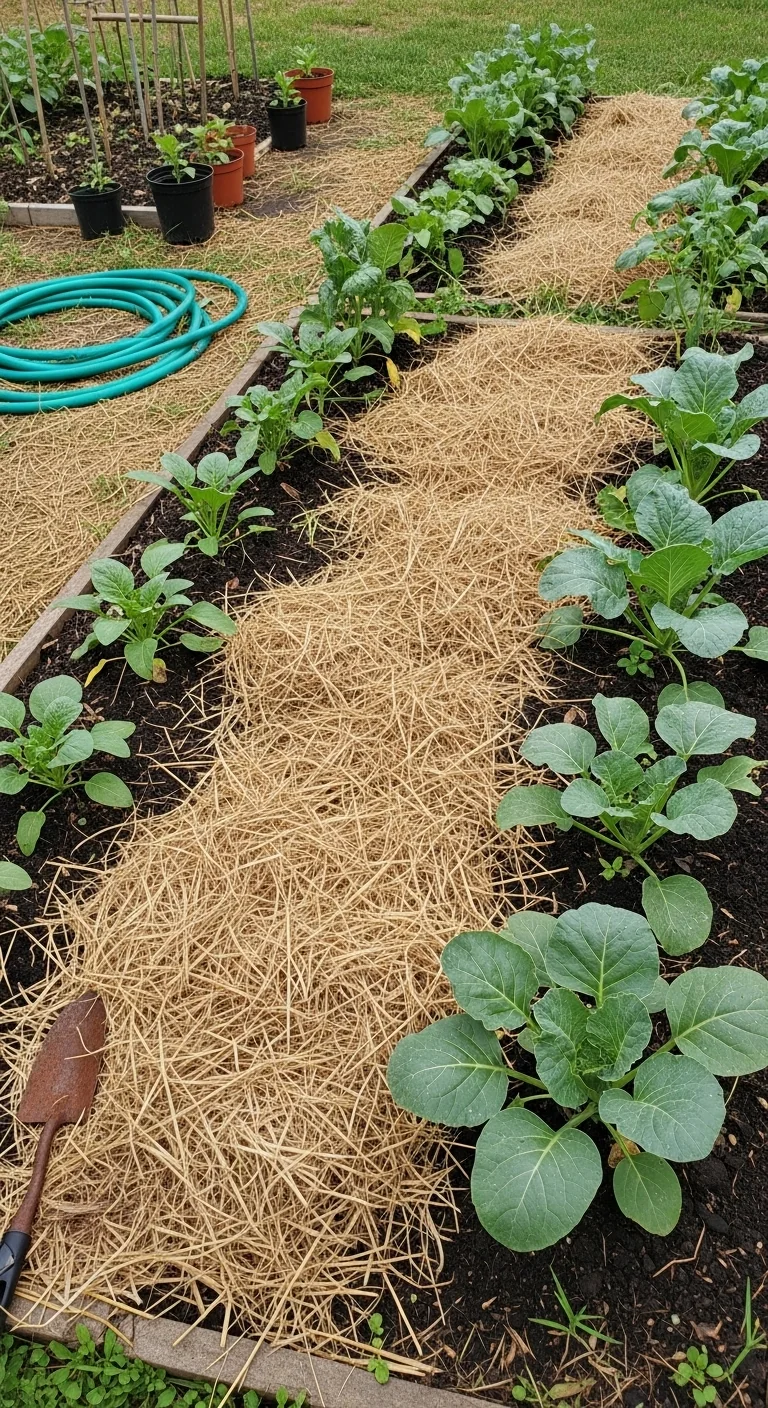
Straw mulch serves vegetable gardens by creating a uniform 3- to 4-inch layer after the soil has warmed and plants are established. Use clean, weed-free straw sourced from farms that avoid herbicide-treated fields. Spread it evenly between rows and around transplants, leaving a 3-inch gap around each stem to prevent rot. This material locks in moisture and blocks light to weed seeds while slowly adding organic matter as it breaks down over the season.
Steps begin with weeding the bed thoroughly, then watering the soil deeply before application. A common mistake is piling straw directly on wet, unweeded soil, which traps moisture against weeds and creates anaerobic pockets. In warm-season fruiting beds this option pairs well with drip irrigation because it reduces surface evaporation without compacting the soil. Refresh only at the start of each new season unless heavy rain compacts it earlier.
Watering vegetable garden practices become far simpler once this layer is in place.
Shredded Leaves
Best for: Branch 1
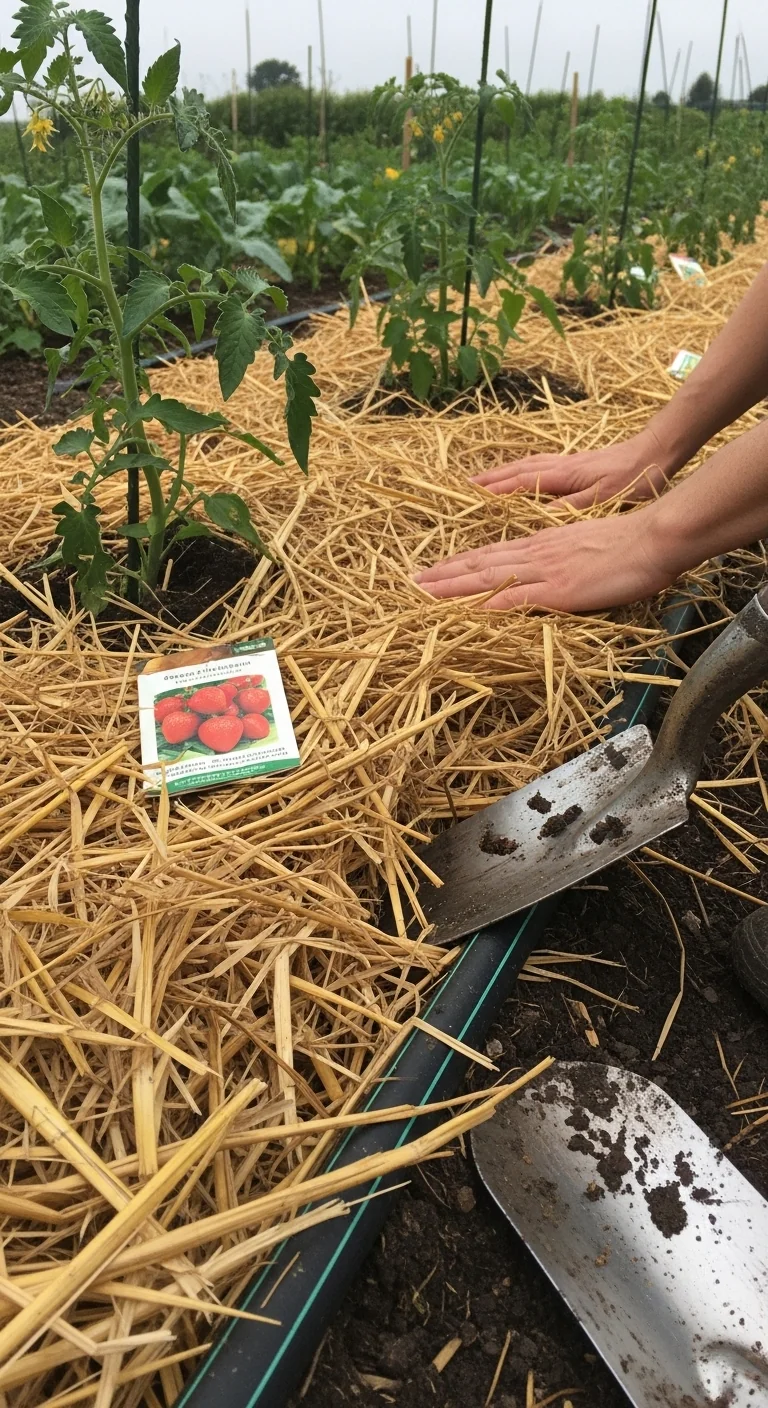
Use shredded leaves when your vegetable garden needs gentle insulation without heavy compaction. Skip them if the leaves come from black walnut trees or contain disease residue. They work best layered 2 to 3 inches thick after soil warms and provide a free resource that improves soil tilth as microbes break them down.
Grass Clippings
Best for: Branch 3
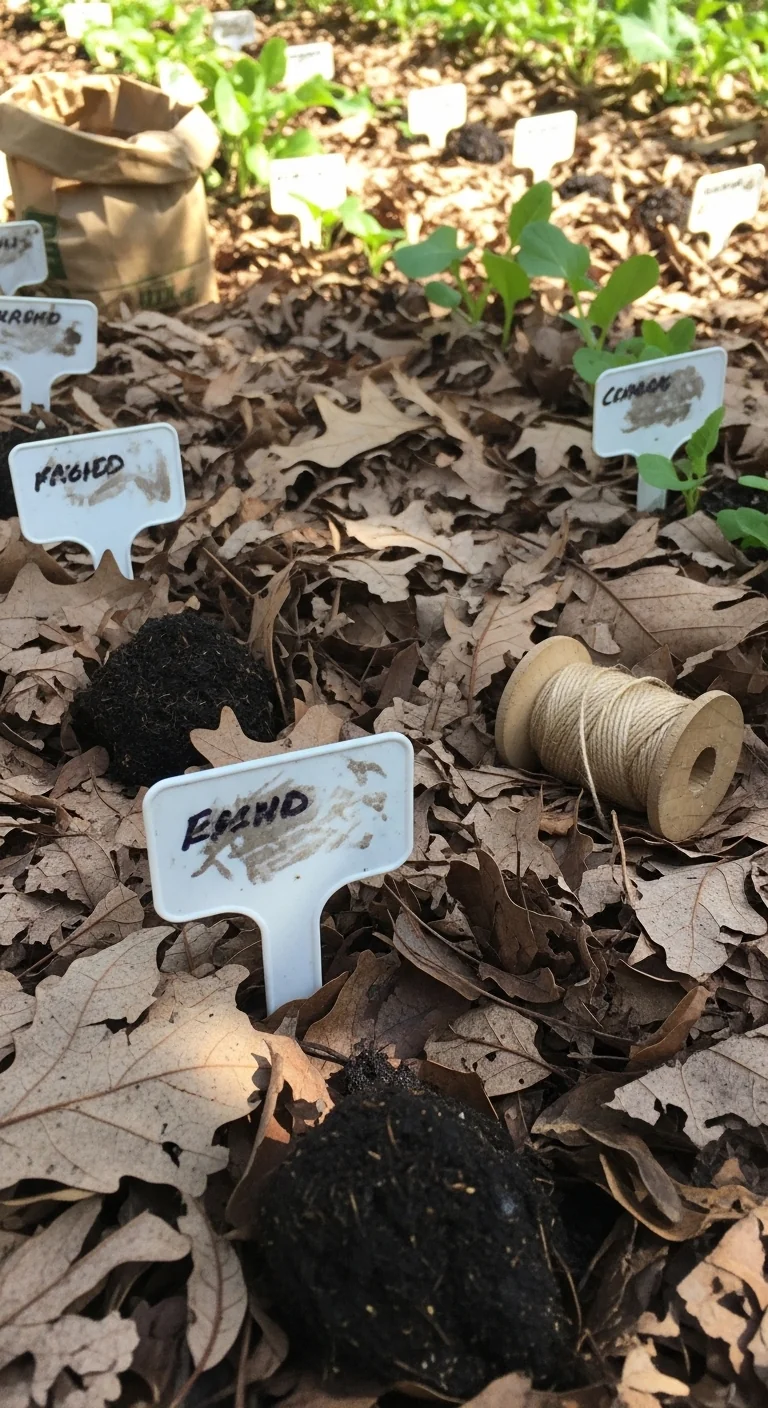
Grass clippings suit fast-draining setups only when applied in thin layers of no more than one-quarter inch and allowed to dry between additions. Threshold rule: never exceed two inches total depth or use clippings from lawns treated with herbicides within the past month. Adjust thickness downward on clay soils to maintain air flow and prevent souring. This option adds quick nitrogen but demands weekly checks for matting in humid conditions.
Wood Chips
Best for: Branch 2
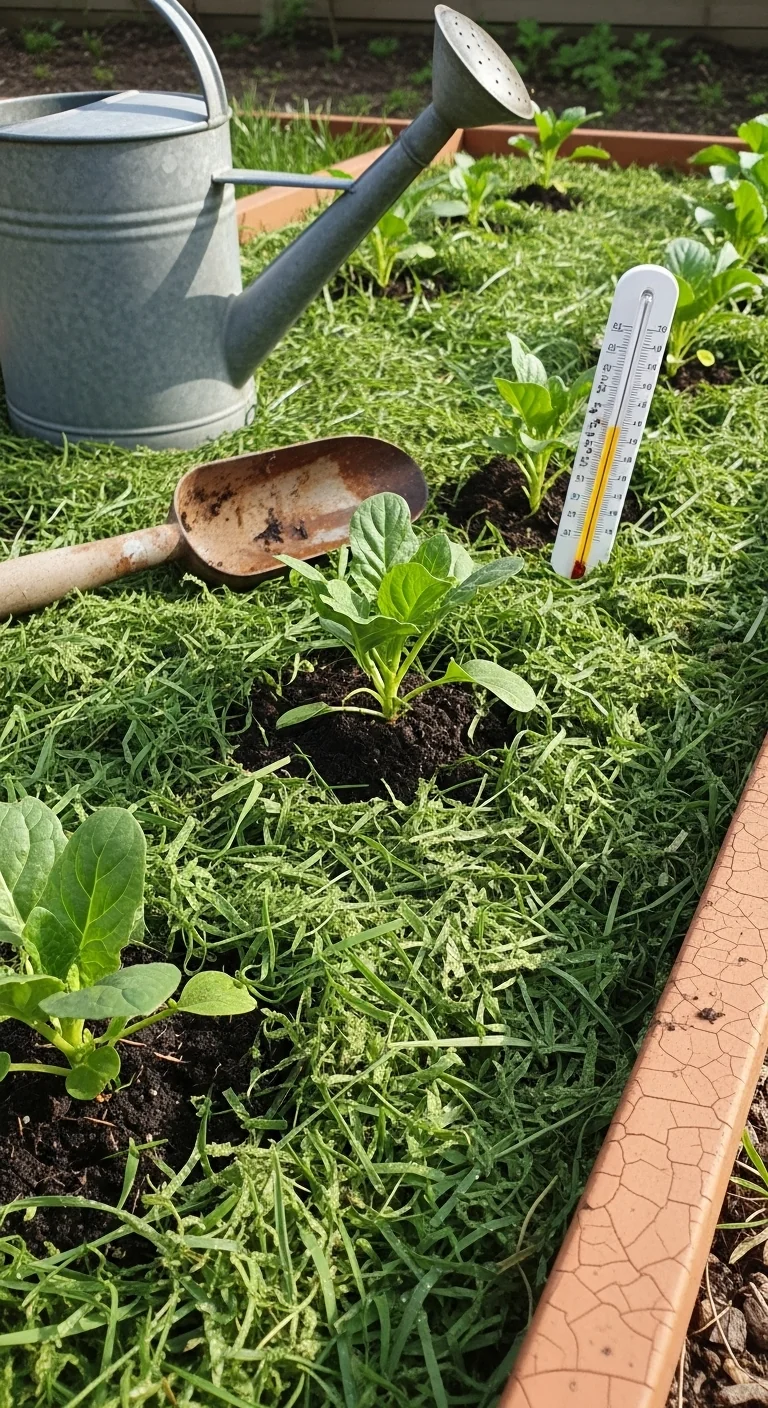
Wood chips deliver long-term temperature moderation in warm-season vegetable beds when you select aged material or add a nitrogen source at application. Begin by spreading a 3-inch layer over prepared, weed-free soil after transplants reach 6 inches tall. Water thoroughly, then monitor leaf color for the first six weeks. A 10-minute workflow includes raking the chips to even coverage, pulling them back 3 inches from stems, and topping with 1 inch of finished compost if fresh chips are used. The unique constraint here is the initial carbon-to-nitrogen imbalance that can slow early growth unless addressed. This method lasts the full season in fruiting beds and builds soil structure below the surface.
Organic fertilizer for vegetables can offset any early tie-up when fresh chips are chosen.
Pine Straw
Best for: Branch 3
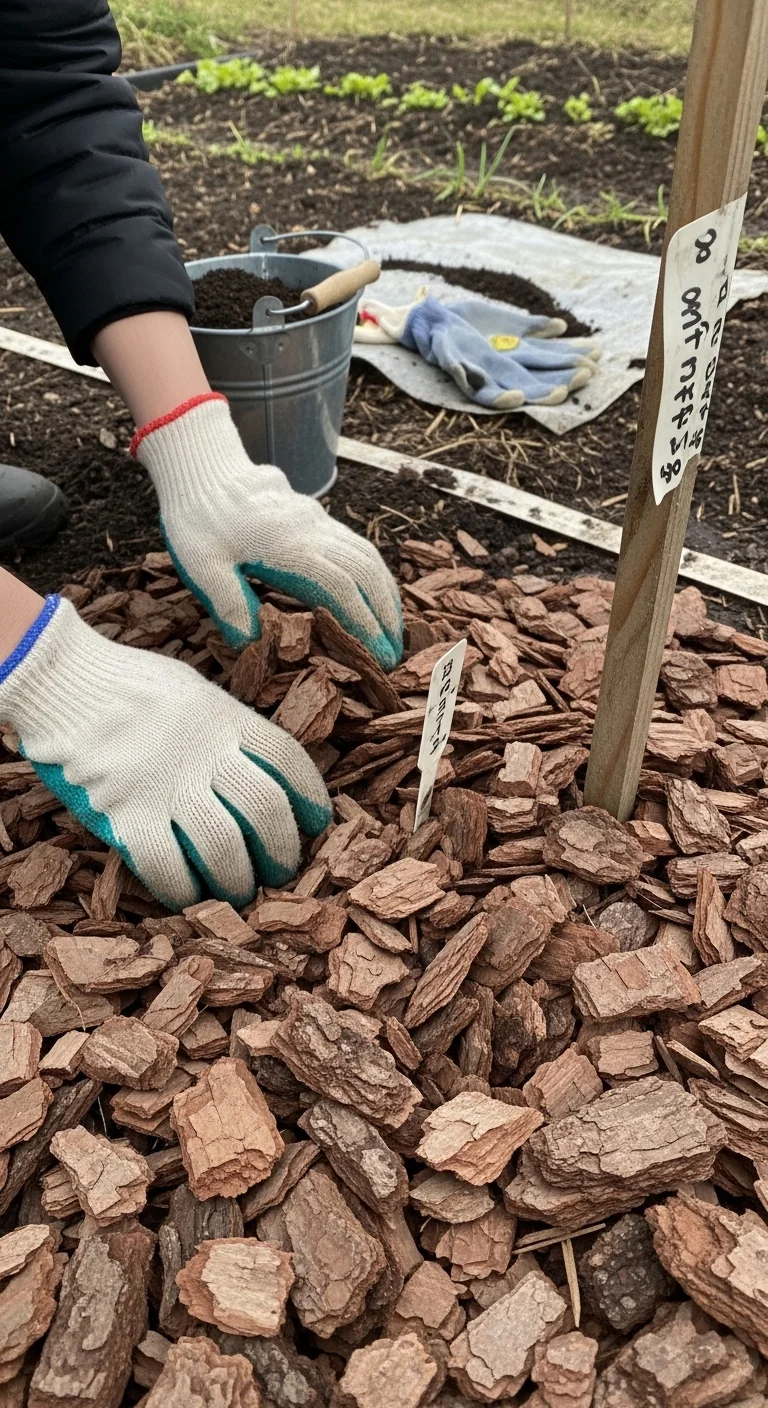
Pine straw fits low-maintenance raised beds or containers because its open texture resists compaction and settles slowly. Use it versus skip it in windy sites where lighter mulches blow away. Apply 4 to 5 inches deep after soil warms because it settles rapidly when wet. This option maintains even moisture without matting and requires almost no mid-season adjustment.
Newspaper Barrier
Best for: Branch 1
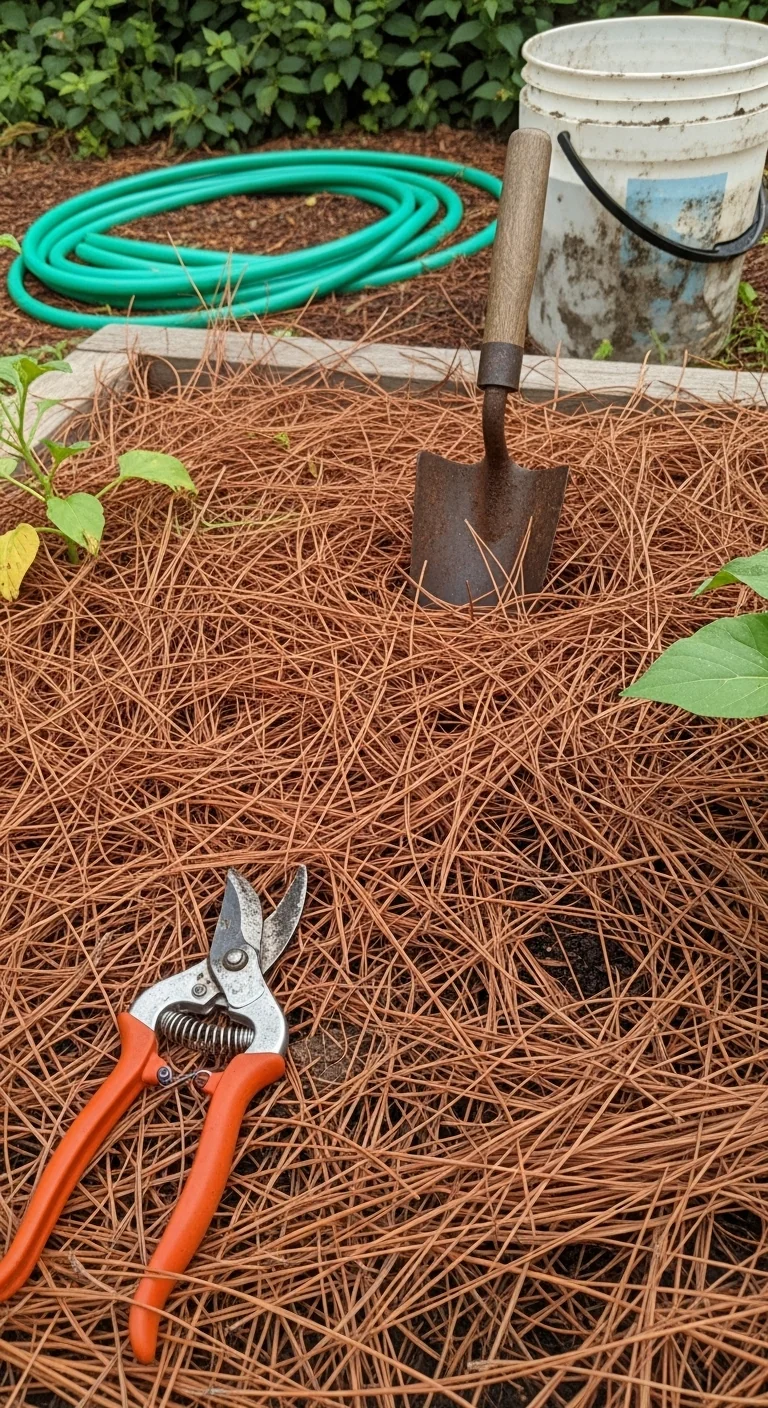
Newspaper barrier works when your cool-season vegetables need complete light exclusion at the start of the season. Use versus skip it on uneven ground where sheets shift easily. Lay 4 to 6 overlapping sheets, wet them down, then top with 1 to 2 inches of shredded leaves or straw. This combination blocks weeds entirely while the paper decomposes cleanly by season end without leaving residue.
Black Plastic Mulch
Best for: Branch 3
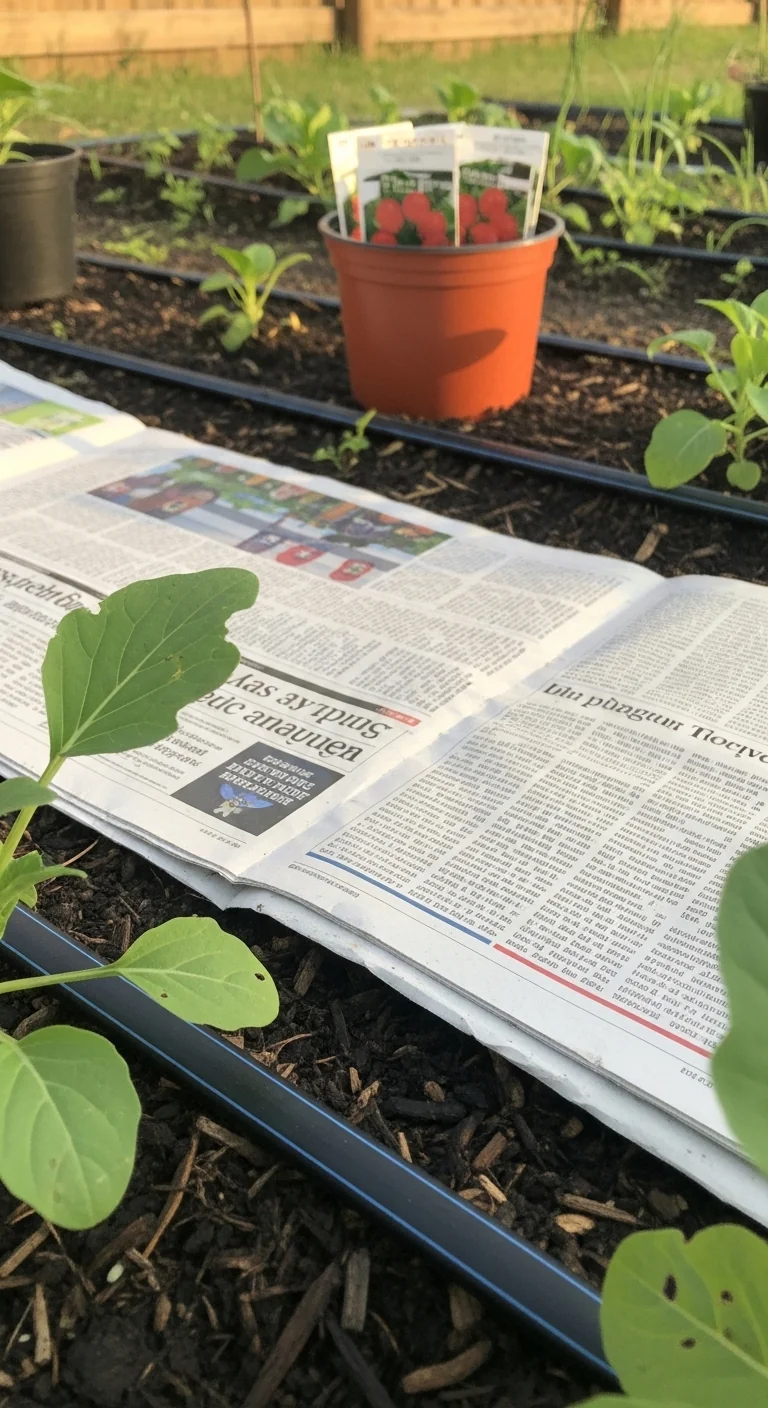
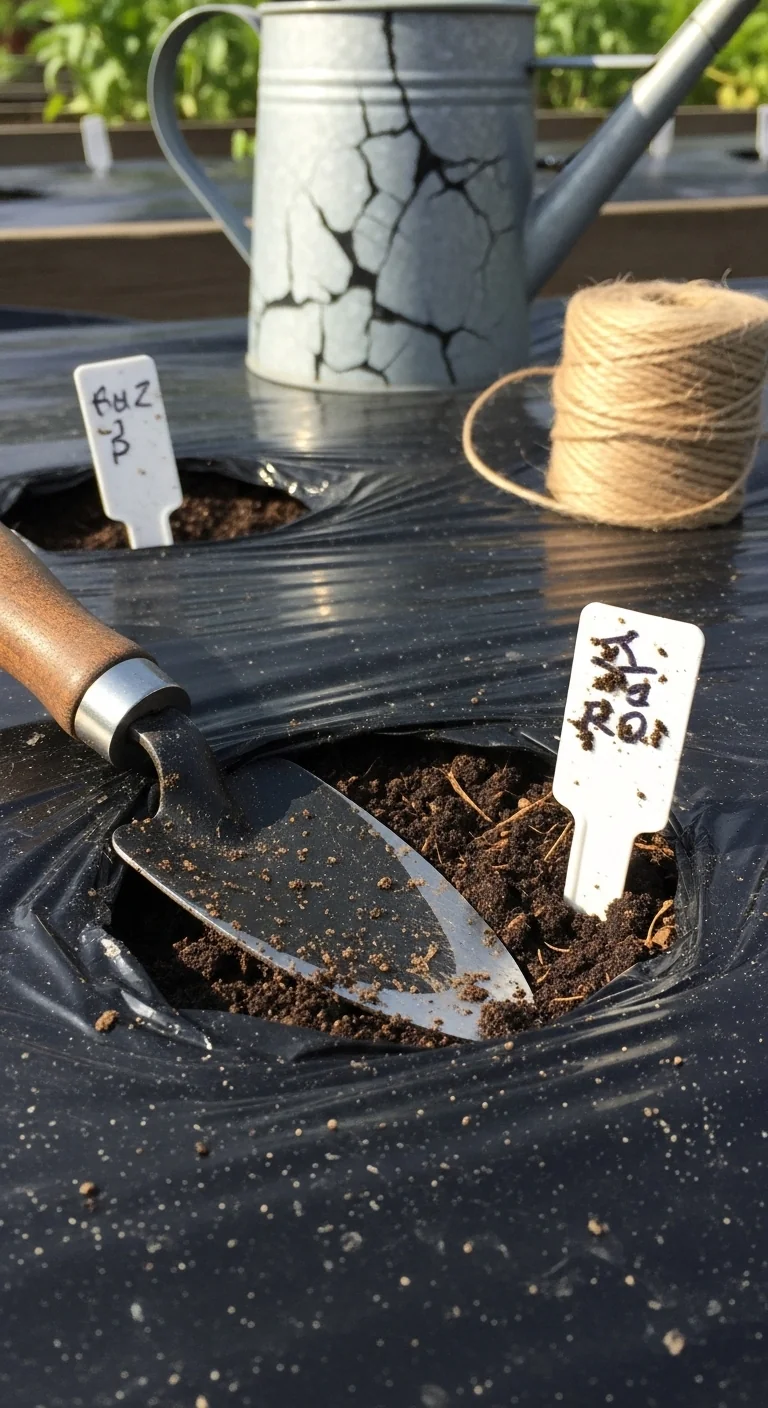
Black plastic mulch raises soil temperature quickly in containers or raised beds but adds no organic matter. Threshold rule: cut planting holes at least 6 inches from the edge of each sheet and secure edges with soil or pins so wind does not lift it. Apply only after soil reaches 60°F at 2-inch depth to avoid overheating roots later in summer. This option reduces watering frequency dramatically yet requires removal or replacement at season end to prevent soil compaction underneath.
Raised bed vegetable garden setups gain the most consistent heat benefit from this material.
Compost Mulch
Best for: Branch 2
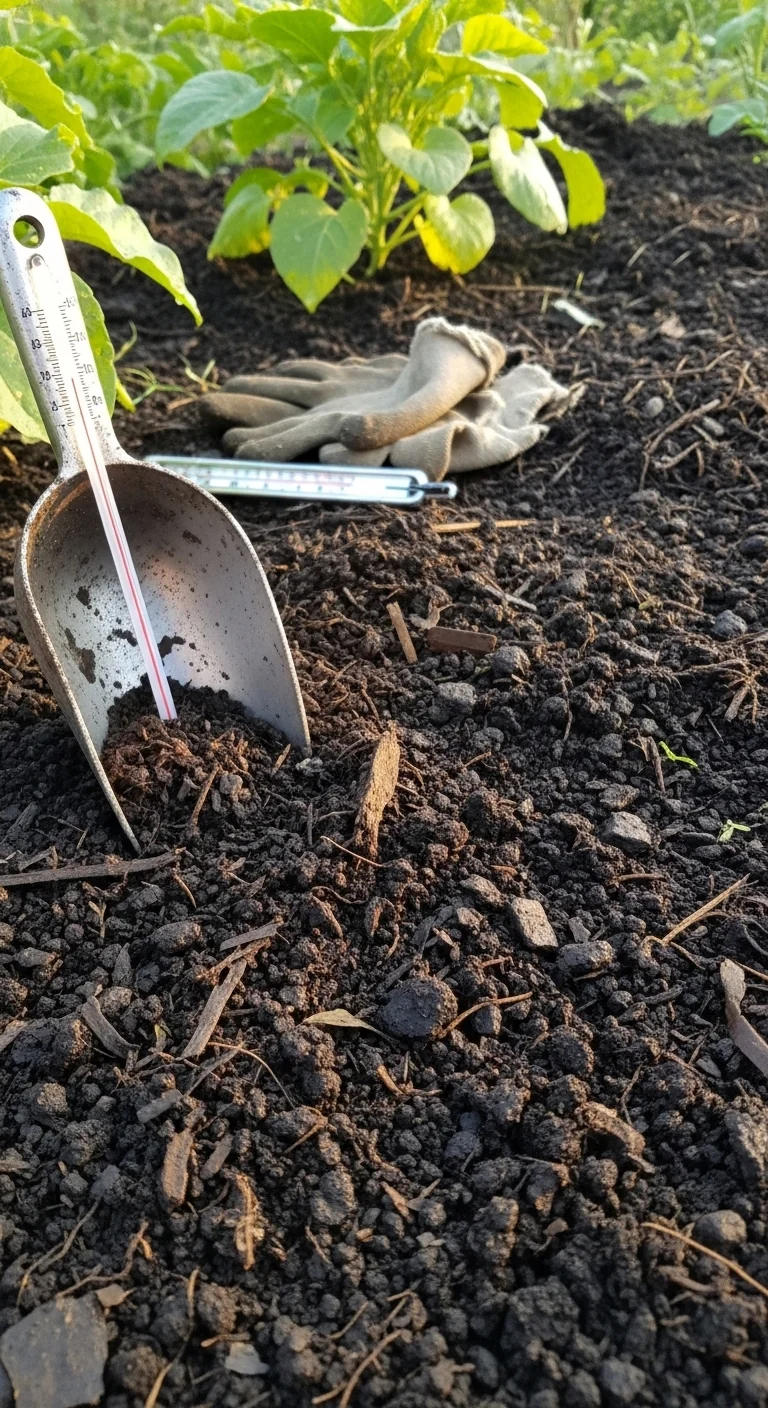
Finished compost mulch supplies immediate soil biology support in warm-season fruiting beds when spread 2 inches thick over established plants. A 10-minute workflow starts with screening the compost to remove large chunks, then raking it evenly while keeping it 3 inches away from stems. Refresh monthly because it breaks down faster than coarser materials and continues feeding microbes throughout the season. This choice works best when the compost has reached a stable, earthy smell with no heat remaining.
Best compost for vegetables ensures the material is fully matured before use.
Hay Mulch
Best for: Branch 1
Hay mulch provides coarse coverage for cool-season beds when sourced seed-free from local farms. Blueprint begins with a 3-inch layer after weeds are cleared and soil is warmed. Spread between rows, water to settle, and leave stem gaps. The unique edge case occurs in regions with abundant local hay: it decomposes faster than straw yet still suppresses weeds effectively when applied before seed heads form. Avoid any hay that smells musty or contains visible weed seeds.
Starter Stack (What to Choose First)
Branch 1
Start with shredded leaves plus newspaper barrier. The newspaper provides instant weed block while the leaves add gentle organic matter that breaks down without compaction. Cost range: 0 to 15 dollars per 100 square feet using free leaves. Time estimate: 15 to 25 minutes per bed.
Branch 2
Start with straw mulch plus wood chips. Straw delivers immediate moisture retention while wood chips moderate temperature for the full season once nitrogen balance is managed. Cost range: 10 to 30 dollars per 100 square feet. Time estimate: 20 to 35 minutes per bed.
Branch 3
Start with grass clippings plus black plastic mulch. Grass clippings supply quick nitrogen in thin layers while black plastic locks in heat and cuts watering needs. Cost range: 5 to 25 dollars per 100 square feet. Time estimate: 10 to 20 minutes per bed.
When This Won’t Work
Mulching fails when applied before soil temperature at 4-inch depth reaches 55°F, which can delay germination or stunt early root growth by up to two weeks in cool-season crops. The alternative is to wait until conditions meet this threshold or use black plastic temporarily for heat gain.
It also fails when mulch is piled thicker than 5 inches on heavy clay soils or placed directly against stems, creating anaerobic zones and root rot risk. Pull material back 3 inches from every stem and rake to even depth instead.
Spring vegetable garden timing helps avoid both conditions.
Choosing the Right Option for Your Situation
Budget Threshold Under 20 Dollars per Bed
Choose shredded leaves, grass clippings, or newspaper barrier. All rely on free or low-cost local sources and need no purchased inputs beyond basic tools.
Time Threshold Under 30 Minutes per Application
Choose straw mulch, pine straw, or black plastic mulch. Each spreads quickly in a single pass with minimal adjustment afterward.
Technical Constraint of Fast-Draining or Container Soil
Choose grass clippings, pine straw, or black plastic mulch. These maintain moisture without compacting limited root zones or requiring frequent top-ups.
Yes/No checklist:
Yes if soil temperature at planting depth has reached 55°F or higher.
No if weeds remain uncleared or stems will touch mulch.
Yes if reapplication class fits your schedule.
No if nitrogen-sensitive crops are in their first four weeks without supplement.
Expert Q&A
Can you mulch directly over direct-seeded vegetables like carrots or beets?
Yes, but only with lightweight options such as straw or shredded leaves applied no thicker than 1 inch after seeds emerge. Heavier materials block seedlings from pushing through the surface. Wait until the first true leaves appear before adding a second thin layer.
How does mulch thickness change in container vegetable gardening compared with in-ground beds?
Reduce depth by 1 inch in containers because root zones are shallower and excess mulch can retain too much moisture around limited soil volume. Always keep material 2 inches away from container rims to prevent overflow during watering.
What happens if mulch contacts vegetable stems or trunks during hot humid weather?
Moisture trapped against stems invites fungal issues and rot. Maintain a 3-inch clear zone around every plant base regardless of mulch type. Check and adjust after heavy rain or irrigation.
Does mulch type affect soil pH over multiple seasons in vegetable gardens?
Pine straw and pine needles gradually lower pH while most other organic mulches stay neutral. Test soil every two years and adjust only if your target vegetables prefer specific ranges.
When should mulch be removed or turned under at the end of the vegetable season?
Leave most organic mulches in place to decompose over winter unless the bed will be replanted immediately with cool-season crops that need bare soil warming. Rake plastic or fabric types off entirely before next spring planting.
Conclusion
The right mulch choice comes down to aligning material breakdown rate with your vegetables nitrogen window and your gardens drainage pattern. The number-one mistake remains applying any mulch before weeds are cleared and soil has warmed, which locks problems in place for the entire season.
Next, review your planting dates and select the first option from the Starter Stack that matches your current branch. For precise timing across the year, see our vegetable planting calendar.
“`