
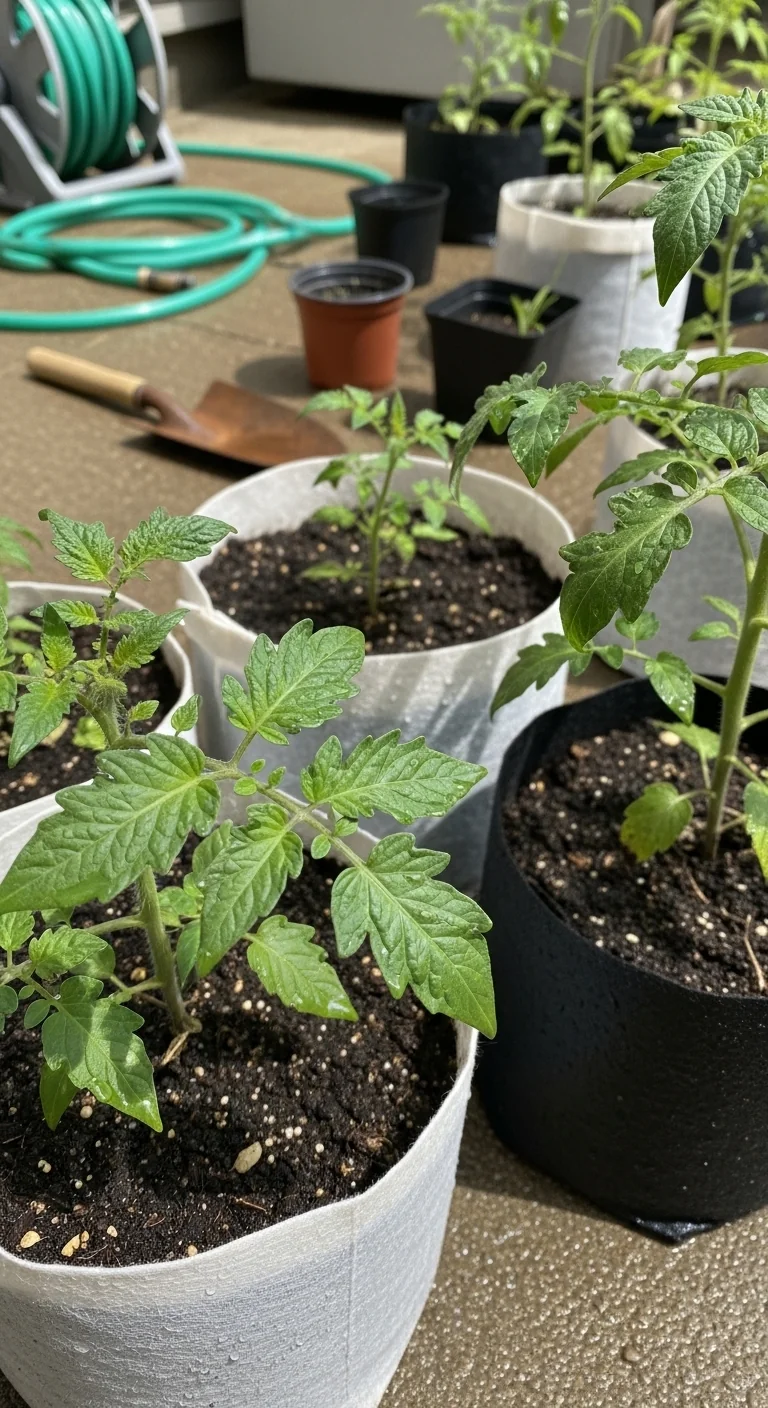
Container tomato success hinges on matching the pot volume, material, and features directly to three measurable site factors: floor space available per plant, peak daytime temperatures during fruit set, and your typical watering frequency. Guides that recommend a single best pot miss this alignment and leave growers guessing why roots circle or moisture swings.
This listicle covers nine container options suited to outdoor patio, balcony, or deck setups for both determinate and indeterminate tomato varieties. It excludes hydroponics, indoor-only systems, and in-ground planting.
Follow the Decision Grid and comparison table to eliminate mismatches, then select from the detailed options. You will know exactly which container prevents root restriction in tight spaces, stabilizes soil temperature in heat, and reduces watering demands in your schedule.
Align your conditions to one Decision Grid branch below to select the three container options that fit without trial and error.
The Yield Grid Decision Grid
Branch 1: Limited floor space (4 square feet or less available per plant) or balcony railings only. Prioritize compact footprint and vertical potential. Recommended: Items 1, 5, 7 below.
Branch 2: Full sun exposure with average daytime highs above 29 degrees C (85 degrees F) during fruit set. Prioritize materials that manage heat and moisture retention. Recommended: Items 3, 4, 8 below.
Branch 3: Watering limited to twice per week or less due to schedule or site conditions. Prioritize built-in reservoirs or reduced evaporation. Recommended: Items 2, 6, 9 below.
For broader container vegetable strategies that pair with these choices, see our guide to container vegetable gardening.
Quick Comparison Table
| Option | Key mechanism | Best for | Decision Grid Branch | Effort Score |
|---|---|---|---|---|
| 10-Gallon Fabric Grow Bags | Air pruning through fabric walls creates denser fibrous roots | Compact vertical growth in restricted footprints | Branch 1 | 3 |
| Self-Watering Planters | Built-in reservoir draws water upward via capillary action | Consistent moisture with infrequent refills | Branch 3 | 1 |
| 10-Gallon Plastic Pots | Non-porous walls retain soil moisture and moderate root temperature | Heat-exposed sites needing stable conditions | Branch 2 | 2 |
| 15-Gallon Terracotta Pots | Porous clay allows excess heat to escape while permitting evaporation | High-temperature full-sun locations | Branch 2 | 4 |
| Hanging Baskets for Cherry Tomatoes | Suspended design uses vertical air space and gravity drainage | Zero footprint balcony or railing setups | Branch 1 | 3 |
| 5-Gallon Recycled Buckets | Modified drainage holes and simple liner control water flow | Budget setups with limited refill access | Branch 3 | 2 |
| 20-Gallon Air-Pruning Containers | Specialized side vents promote root branching without circling | Tight spaces demanding maximum root efficiency | Branch 1 | 2 |
| Elevated Trellis Planters | Raised base with integrated support frame improves airflow | Hot sites needing both support and heat dissipation | Branch 2 | 3 |
| Ceramic Self-Watering Hybrids | Glazed exterior combined with internal reservoir reduces evaporation | Low-frequency watering in variable climates | Branch 3 | 1 |
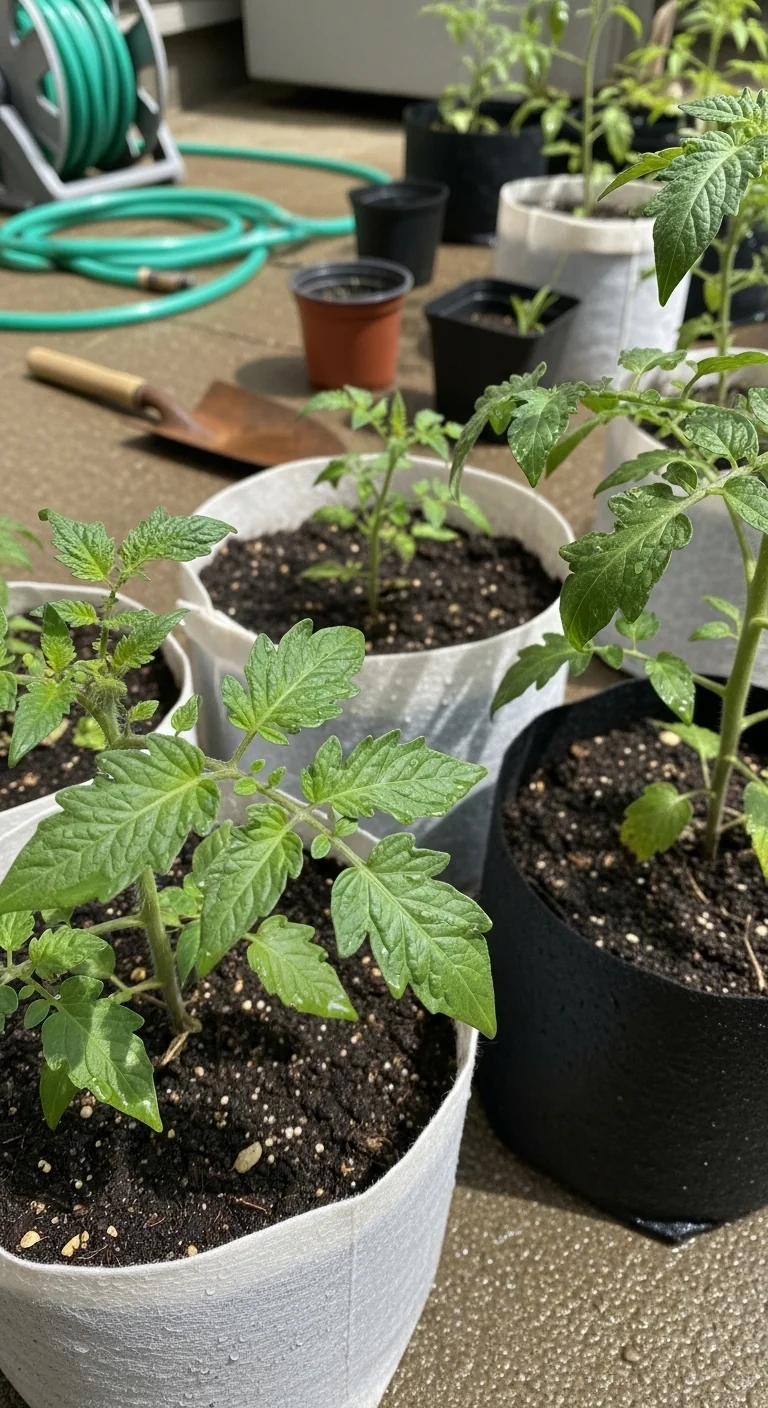
10-Gallon Fabric Grow Bags
Best for: Branch 1
Fabric grow bags suit tomatoes when floor space measures 4 square feet or less per plant. The breathable fabric allows air to reach roots from all sides, triggering air pruning that keeps the root system compact yet efficient. This mechanism prevents the circling roots common in rigid pots.
Blueprint: Select 10-gallon size for indeterminate varieties or 5-gallon for determinate. Fill with high-quality potting mix amended at transplant. Place on a saucer or tray to catch runoff. Stake or cage immediately after planting. Common mistake: skipping the tray, which leads to faster drying on hot decks. For balcony applications pair this option with rail-mounted supports as detailed in our balcony vegetable garden guide.
Self-Watering Planters
Best for: Branch 3
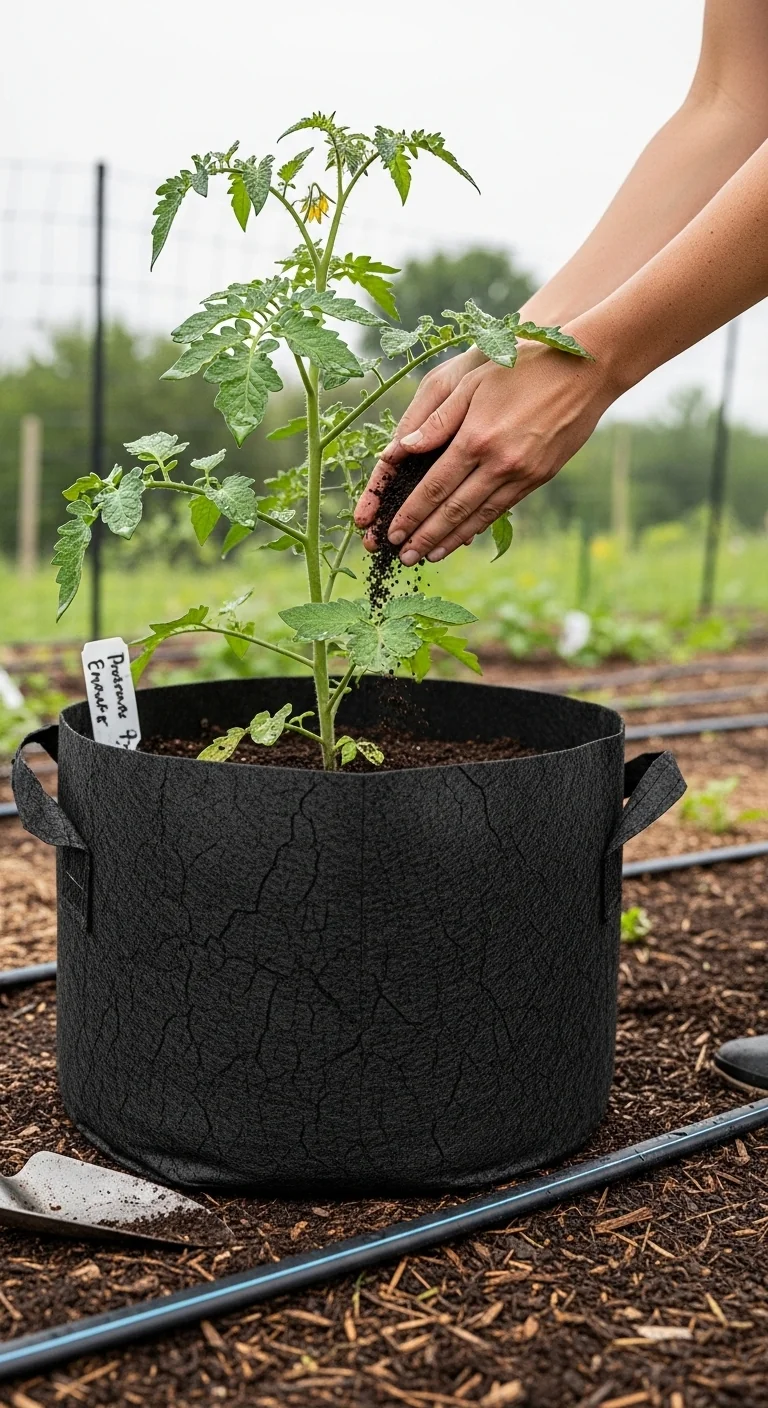
Use self-watering planters when watering is restricted to twice weekly or less. The reservoir holds 1 to 2 liters and supplies moisture upward through wicking fabric or channels. Skip them only if your site stays below 10 degrees C (50 degrees F) at night for extended periods, as cool conditions slow capillary action and risk uneven uptake. Edge case: windy balconies may require occasional top reservoir checks despite the design.
10-Gallon Plastic Pots
Best for: Branch 2
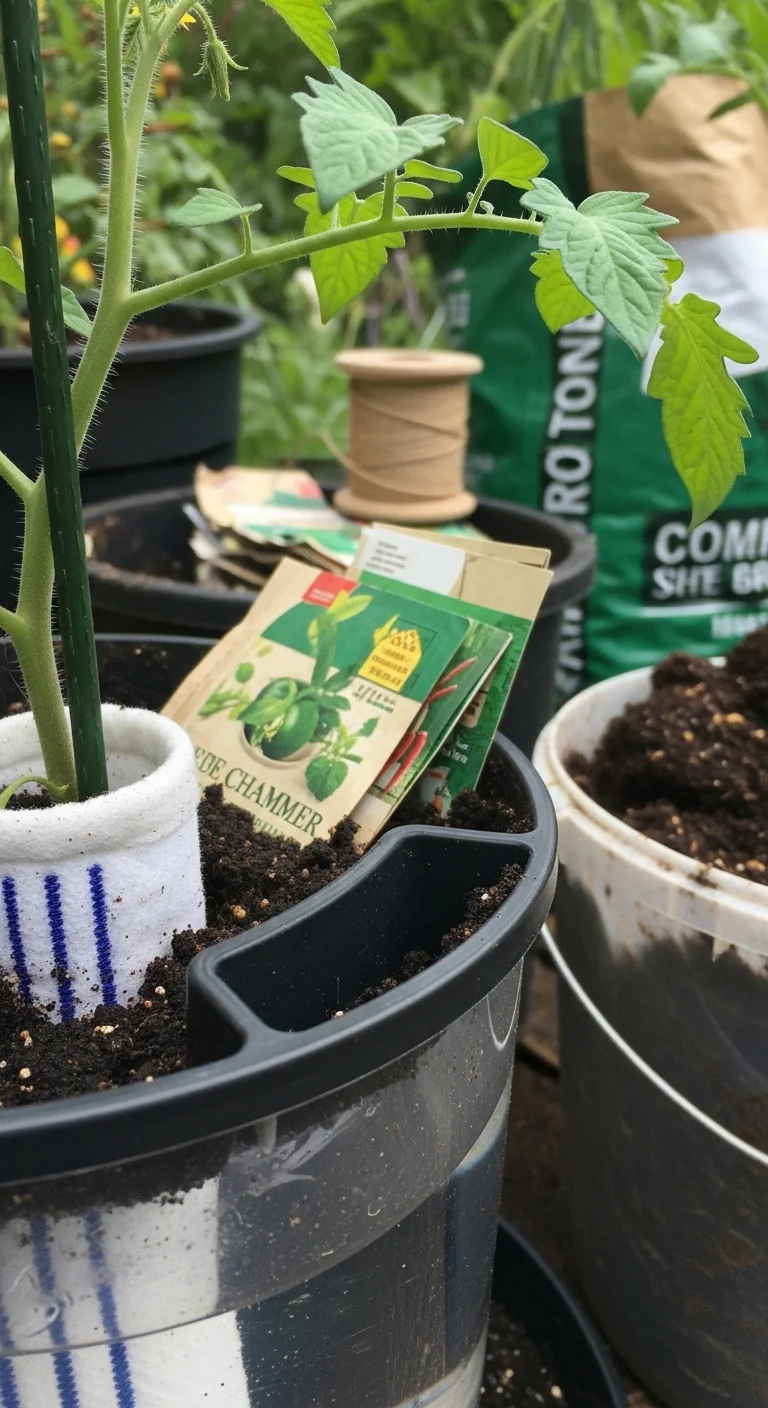
Plastic pots perform when daytime highs exceed 29 degrees C. Their non-porous construction retains soil moisture longer than fabric or clay and buffers root temperature swings. The threshold that matters is container diameter: maintain at least 30 centimeters (12 inches) wide to avoid heat buildup at the center. Adjust upward to 15 gallons if your site records more than 5 consecutive days above 32 degrees C. Add mulch to the surface to further stabilize conditions.
15-Gallon Terracotta Pots
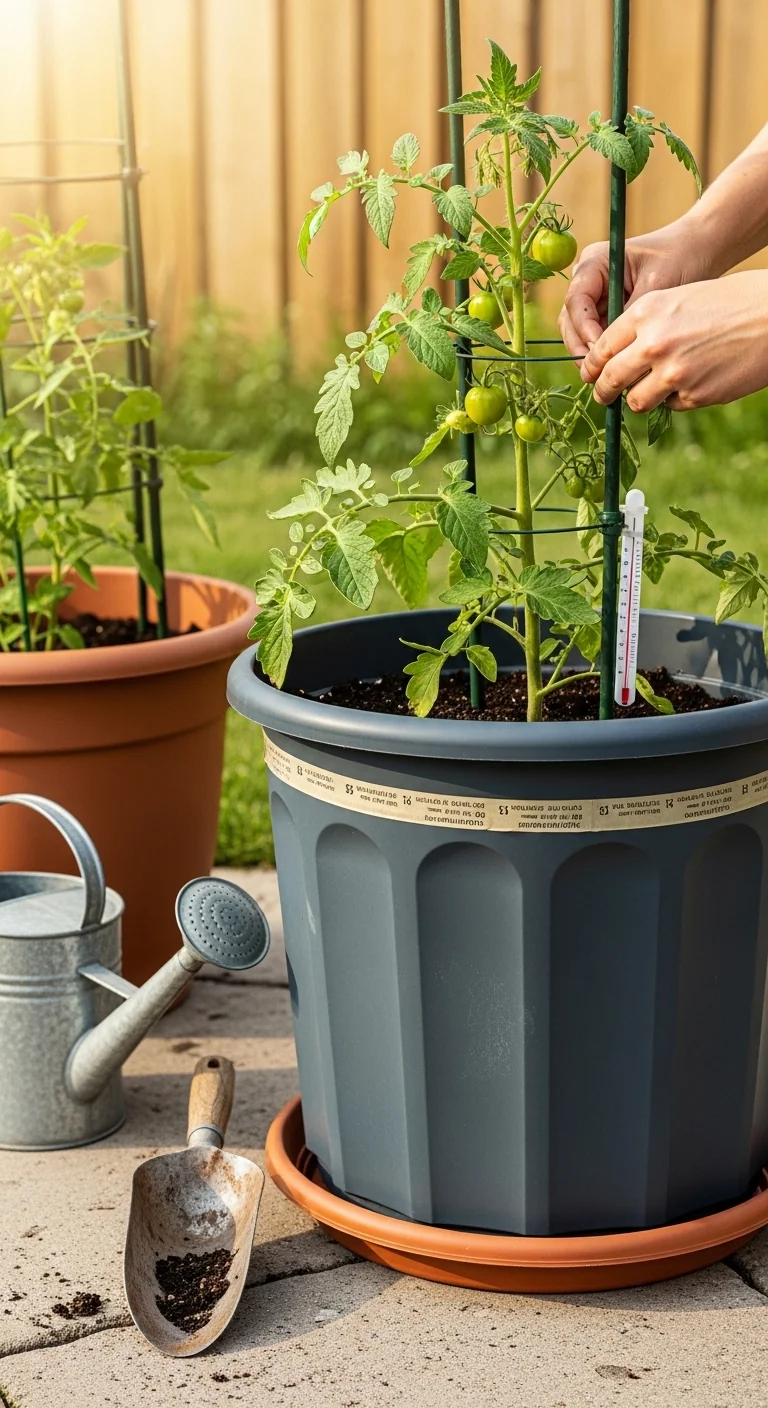
Best for: Branch 2
Terracotta pots manage heat when full sun drives daytime temperatures above 29 degrees C. The porous clay draws excess warmth away from roots while allowing controlled evaporation that prevents waterlogging. 10-minute workflow: (1) drill or confirm four 1-centimeter drainage holes in the base; (2) add 5 centimeters of coarse gravel for extra drainage; (3) fill with potting mix to 2 centimeters below rim; (4) plant and water thoroughly; (5) place on pot feet to elevate 2 centimeters for airflow. Upgrade option: line the interior with landscape fabric to slow drying while preserving the cooling benefit. Pair with determinate varieties for best fit. See our best tomato varieties guide for matching choices.
Hanging Baskets for Cherry Tomatoes
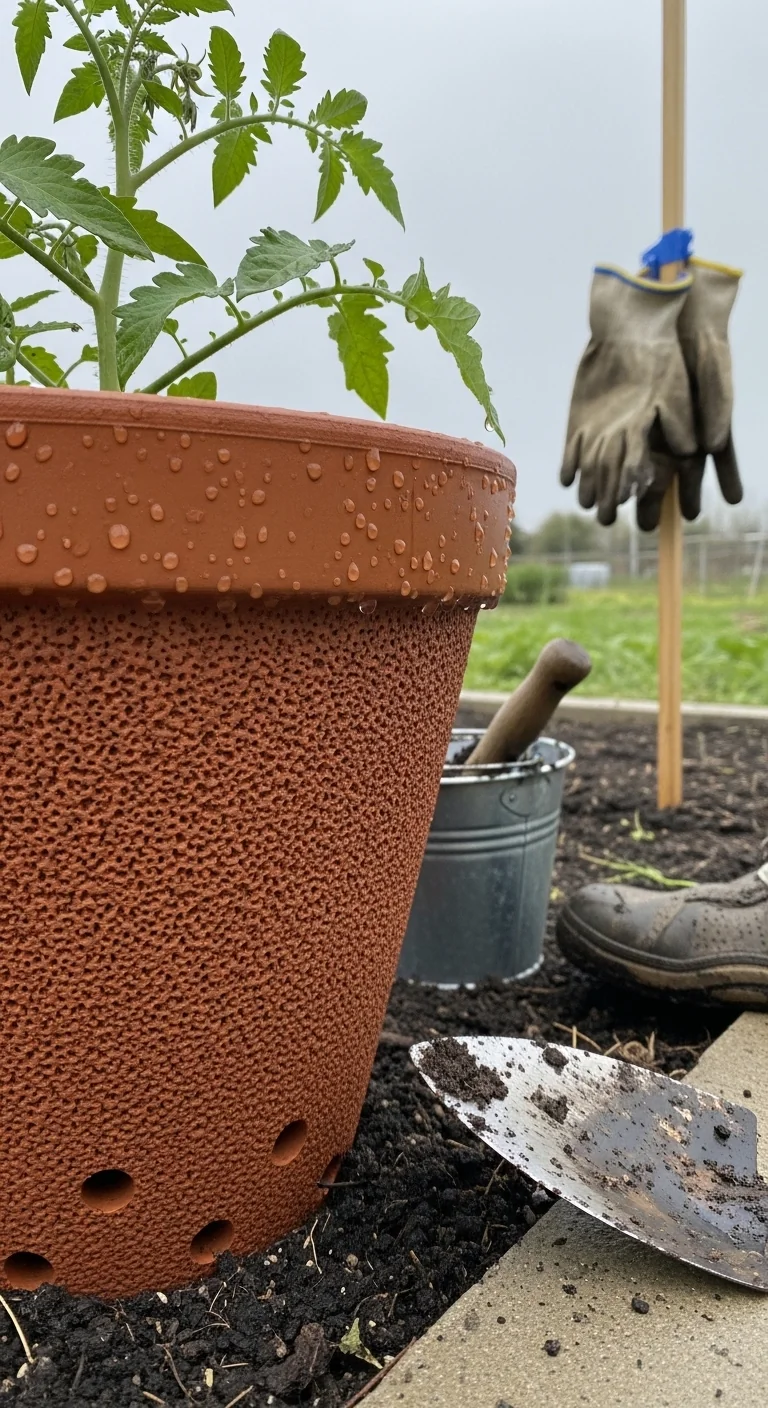
Best for: Branch 1
Hanging baskets fit Branch 1 when floor space is under 4 square feet. The suspended design frees ground area and uses gravity for natural drainage. Choose 30-centimeter diameter baskets with strong chains rated for at least 10 kilograms wet weight. Plant one compact cherry variety per basket and water from above until drainage appears.
5-Gallon Recycled Buckets
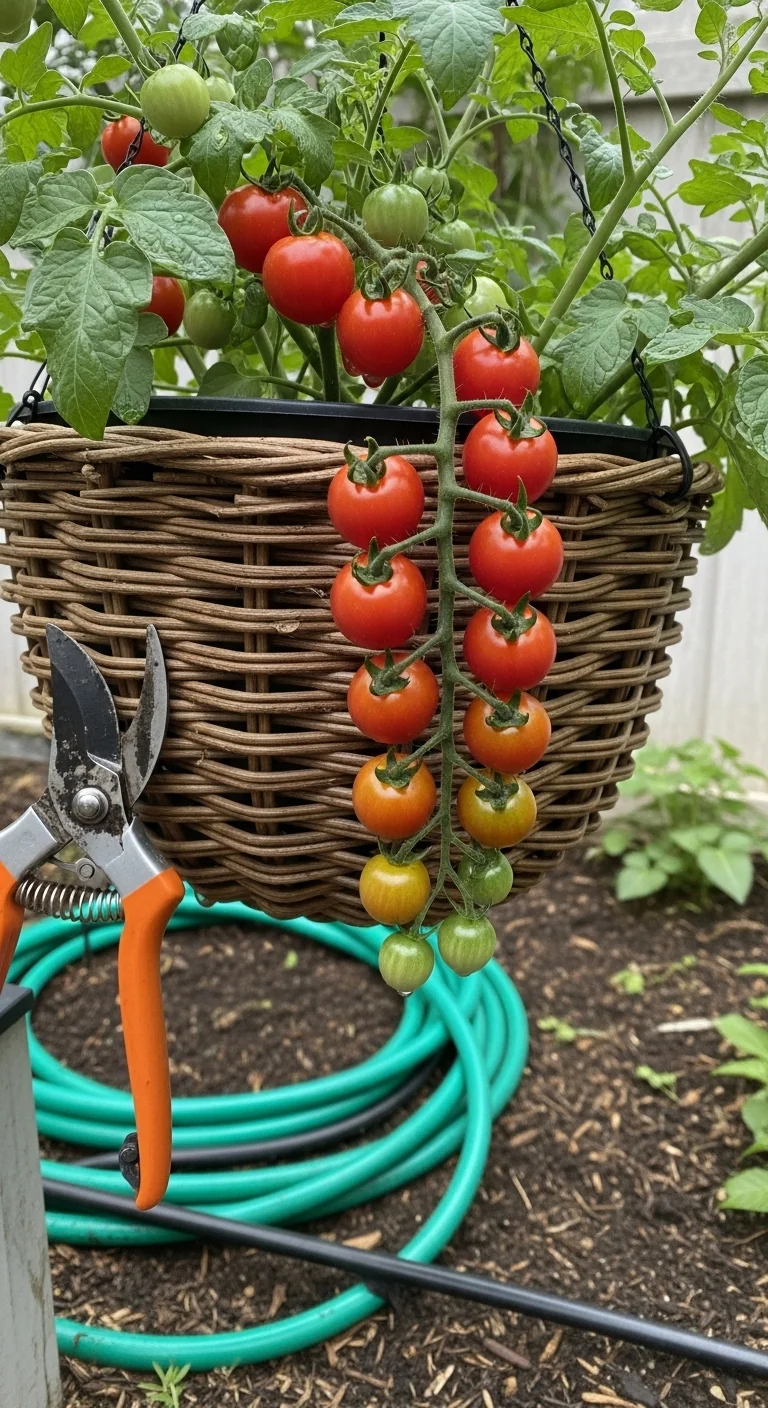
Best for: Branch 3
Use 5-gallon recycled buckets when watering frequency stays at twice weekly or less. Drill four 1-centimeter holes in the base, add a 2-centimeter gravel layer, and line with permeable fabric to retain soil while allowing drainage. Pros include zero added cost and lightweight transport. Cons appear in heat above 29 degrees C, where small volume dries faster than larger options. Skip if your tomatoes are indeterminate types that outgrow the volume by mid-season.
20-Gallon Air-Pruning Containers
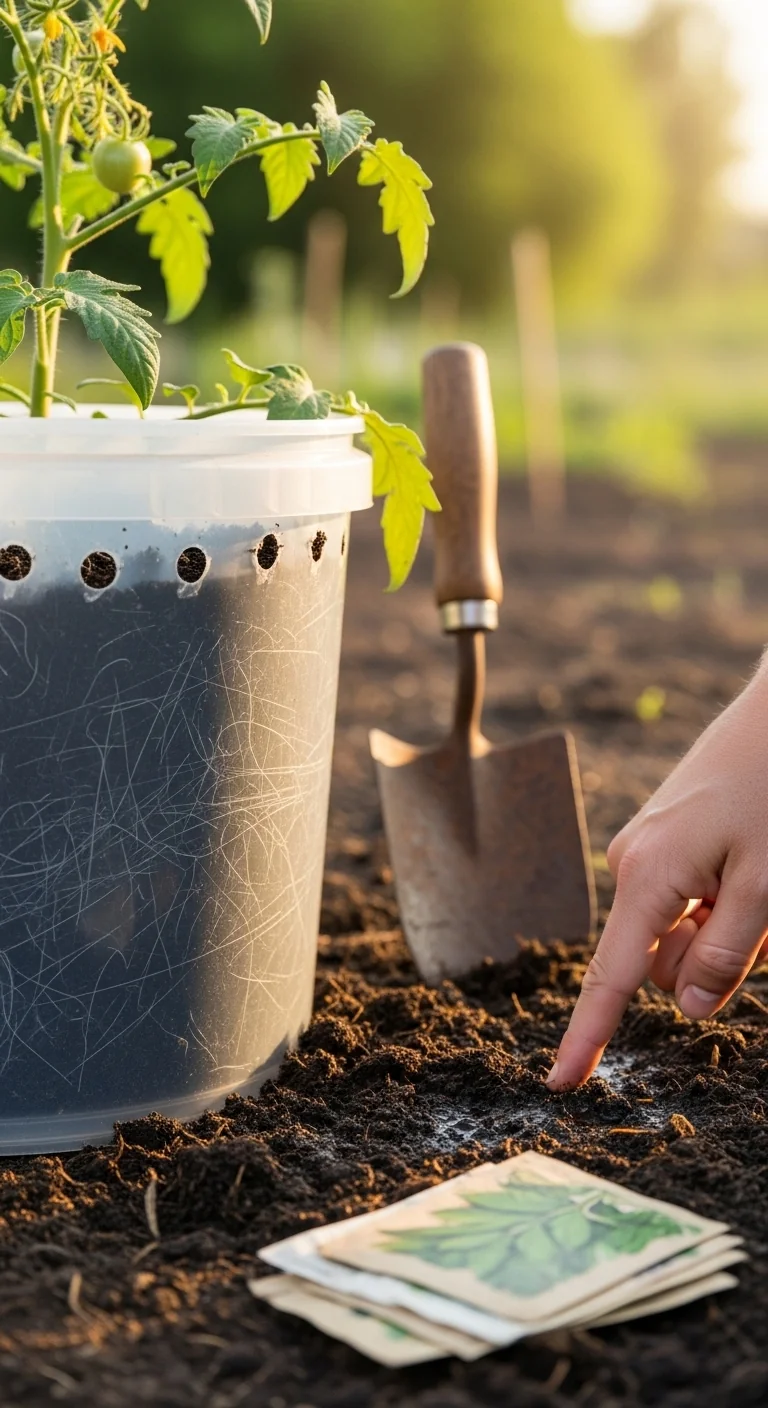
Best for: Branch 1
Air-pruning containers deliver results in limited space when side vents expose roots to air at multiple points. The threshold that matters is side-vent density: at least 20 vents per square meter of wall area promotes branching without circling. Adjust by selecting models with reinforced rims if wind exposure exceeds 15 kilometers per hour. Combine with a single central stake for support. Feed according to guidelines in our organic fertilizer for vegetables guide to maintain nutrient levels in the larger volume.
Elevated Trellis Planters
Best for: Branch 2
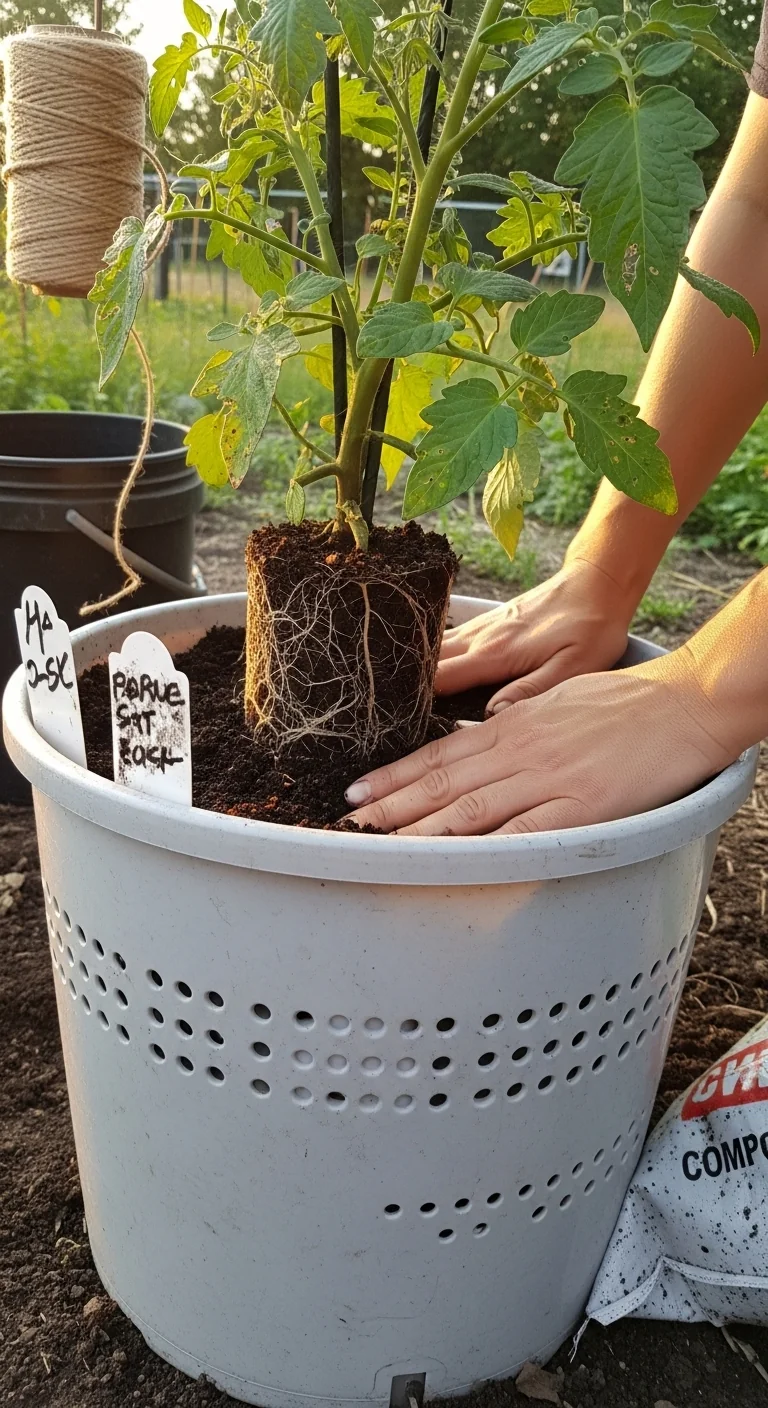
Elevated trellis planters address heat when daytime highs exceed 29 degrees C. The raised base improves under-pot airflow and the integrated frame supports vines without separate stakes. Use when your site needs both heat dissipation and vertical training in one unit.
Ceramic Self-Watering Hybrids
Best for: Branch 3
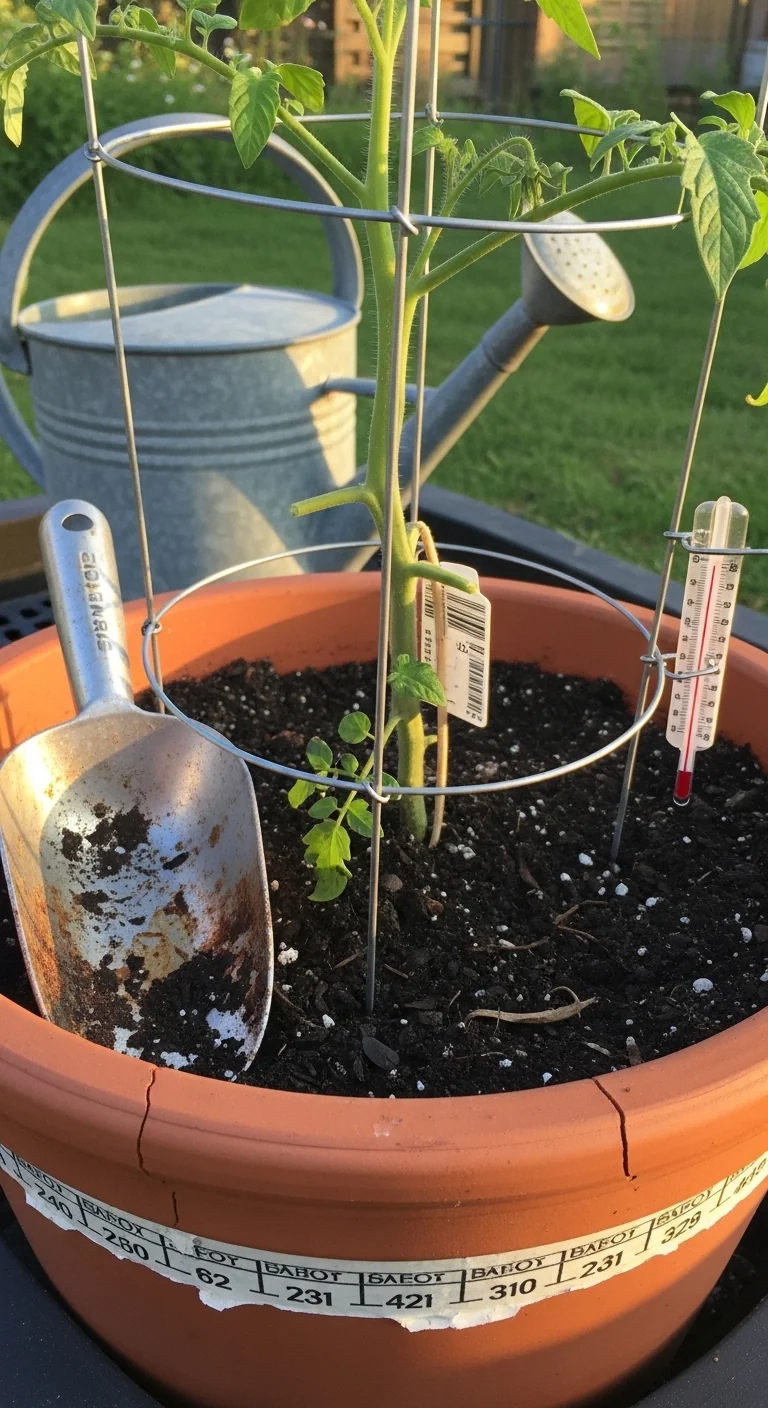
Ceramic self-watering hybrids combine a glazed exterior with an internal reservoir for sites where watering occurs twice weekly or less. The glaze cuts surface evaporation while the reservoir supplies consistent moisture. Plant after last frost when soil temperature reaches 15 degrees C and maintain reservoir level at half capacity during peak growth.
Starter Stack (What to Choose First)
Branch 1: Limited Space
Start with 10-Gallon Fabric Grow Bags plus Hanging Baskets for Cherry Tomatoes. The fabric bags handle larger indeterminate plants on the deck while baskets use railing space for cherries, creating full vertical coverage without overlapping footprints. Setup cost range: 25 to 45 dollars. Installation time range: 15 to 25 minutes.
Branch 2: High Heat
Start with 10-Gallon Plastic Pots plus Elevated Trellis Planters. Plastic provides stable moisture in direct sun while the elevated trellis adds airflow and built-in support, reducing heat stress at the root zone and canopy. Setup cost range: 30 to 55 dollars. Installation time range: 20 to 30 minutes.
Branch 3: Low Water Access
Start with Self-Watering Planters plus Ceramic Self-Watering Hybrids. Both rely on reservoirs that extend intervals between refills, with the ceramic exterior adding durability for longer season use. Setup cost range: 35 to 60 dollars. Installation time range: 10 to 20 minutes.
When This Won’t Work
Container tomatoes fail when your site receives fewer than 6 hours of direct sun daily or when night temperatures remain below 13 degrees C (55 degrees F) for more than 7 consecutive nights during flowering and fruit set. Both conditions disrupt pollination and calcium uptake regardless of pot choice.
They also fail if soil pH falls outside the 6.0 to 6.8 range at transplant and stays unadjusted. In either case switch to a protected structure that extends the growing window and stabilizes conditions. For reliable season extension options see our guide to greenhouse vegetables.
Choosing the Right Option for Your Situation
Budget Threshold
If your per-container budget is under 25 dollars select recycled buckets or fabric grow bags. Above 35 dollars choose self-watering planters or elevated trellis models that include built-in features.
Time Threshold
If you can dedicate fewer than 15 minutes weekly to maintenance select self-watering planters or ceramic hybrids. Above 20 minutes weekly any rigid pot option works once drainage and support are set.
Technical Constraint
If your site soil test shows pH outside 6.0 to 6.8 at transplant use containers that allow easy top-dressing amendments such as plastic or fabric models. Test again at 30 days and adjust with lime or sulfur as needed.
Yes/No checklist:
Do you have at least 5 gallons of volume available per plant?
Does your site receive 6 or more hours of direct sun?
Can you maintain soil temperature above 15 degrees C at night?
Is drainage confirmed with visible holes or fabric permeability?
Expert Q&A
How does container depth affect fruit set timing compared with wider shallow pots?
Deeper containers (at least 30 centimeters) allow roots to reach stable moisture layers faster, advancing first fruit set by up to 10 days versus shallow wide pots that force lateral rooting and slower establishment. Measure depth at purchase and prioritize it over diameter when fruit earliness matters.
What support structure pairs best with fabric grow bags versus rigid pots?
Fabric grow bags require external cages or stakes driven into the ground beside the bag because the flexible walls offer no internal rigidity. Rigid pots allow cages inserted directly into the soil mix for self-supporting stability.
Can containers from previous seasons be reused without soil replacement?
Reuse is possible after removing old roots and washing with a 10 percent bleach solution followed by thorough rinsing. Replace the top 5 centimeters of potting mix and test pH before replanting to avoid carry-over nutrient imbalance.
How does container size change pruning frequency for indeterminate tomatoes?
Larger 15-gallon or greater containers reduce pruning needs because roots support more foliage without stress. Prune only to remove suckers below the first flower cluster and maintain two or three main stems to keep airflow open.
Which companion plants fit inside the same container as tomatoes without competing for space?
Basil or marigolds planted at the container edge use the outer 10 centimeters of soil volume without crowding tomato roots. Avoid deep-rooted companions that exceed the shared pot depth.
Conclusion
The primary decision remains matching your exact floor space, temperature range, and watering interval to one container option rather than defaulting to the largest or cheapest pot. The number one mistake across setups is selecting any container below 5 gallons, which restricts roots and triggers early stress regardless of material.
Next, check timing for your location to ensure transplant occurs after soil warms. Review our vegetable planting calendar for precise windows that align with your chosen container.