
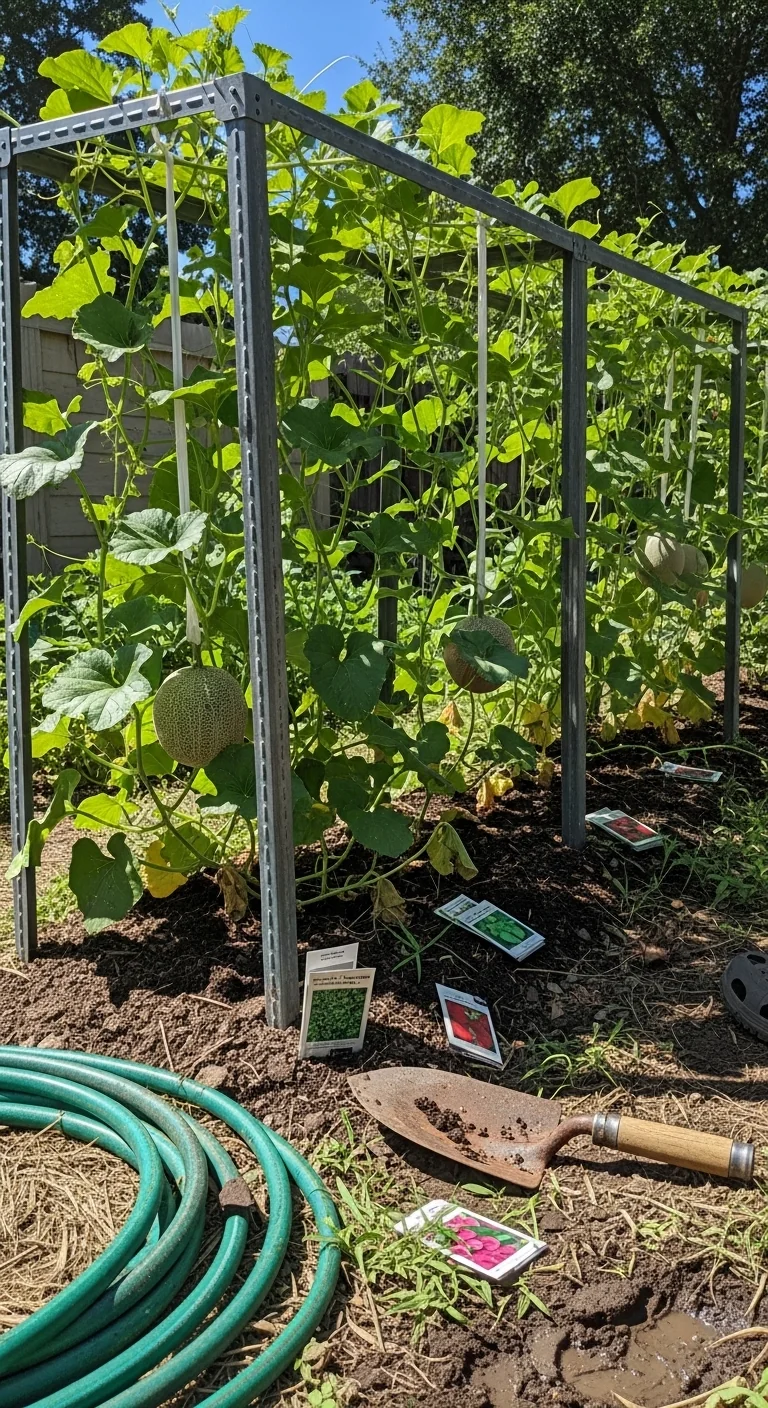
The best melon trellis ideas succeed when structural strength aligns directly with your melon variety’s mature fruit weight and your garden’s available footprint rather than defaulting to the cheapest or prettiest option.
This article examines nine trellis designs suitable for cantaloupe, watermelon, and honeydew grown vertically. It focuses exclusively on structures that support fruit off the ground to improve airflow and harvest access while fitting common home garden constraints. Ground sprawling methods and non-edible vine supports fall outside scope.
Readers gain exact criteria to select or adapt a trellis, integrate fruit slings at the right stage, and train vines early to prevent collapse or disease pressure. Each option includes one unique mechanism or edge-case detail drawn from proven vertical growing practices.
Identify your decision grid branch below then build only from the matched recommendations to grow melons vertically with reliable results.
The Yield Grid Decision Grid
Branch 1 (Compact spaces): Less than 4 square feet per plant or vertical height under 6 feet, such as balconies, containers, or tiny patios. Recommended: Items 2, 5, 8 below.
Branch 2 (Moderate raised beds): 4 to 8 feet wide beds or small in-ground plots with fruits under 10 pounds expected. Recommended: Items 3, 6, 9 below.
Branch 3 (Open in-ground plots): Unrestricted space suitable for heavier fruits or humid conditions needing maximum airflow. Recommended: Items 1, 4, 7 below. For similar vine training strategies in tight vertical setups see our raspberry supports guide.
Quick Comparison Table
| Option | Key mechanism | Best for | Decision Grid Branch | Effort Score |
|---|---|---|---|---|
| Cattle Panel Arch Trellis | Bent livestock panel forms overhead curve anchored by T-posts | Large watermelons needing strong overhead support | Branch 3 | 3 |
| A-Frame Trellis | Folding wire or wood panels create dual-sided triangle | Small spaces with bidirectional vine growth | Branch 1 | 2 |
| Vertical Remesh Panel | Concrete reinforcement mesh zip-tied to T-posts | Moderate-weight melons in linear rows | Branch 2 | 2 |
| Inclined Lean-To Trellis | Angled cattle panel rests on ground at one end | Easy vine access and natural fruit resting surface | Branch 3 | 1 |
| Wooden Pallet Frame | Repurposed pallet slats with added twine grid | Budget vertical support against walls | Branch 1 | 4 |
| Fence-Integrated Trellis | Twine or wire bridged across existing fence gaps | Utilizing boundary structures without new posts | Branch 2 | 1 |
| Repurposed Bed Spring Trellis | Coil springs from old bed frames create flexible grid | Heavy fruits in creative upcycled setups | Branch 3 | 3 |
| PVC Obelisk Trellis | Pipe frame with netting forms tapered tower | Containers or very small footprints | Branch 1 | 2 |
| Heavy-Duty T-Post Wire Grid | Multiple wire panels form tall flat wall | Maximum airflow in humid open areas | Branch 2 | 3 |
Cattle Panel Arch Trellis
Best for: Branch 3
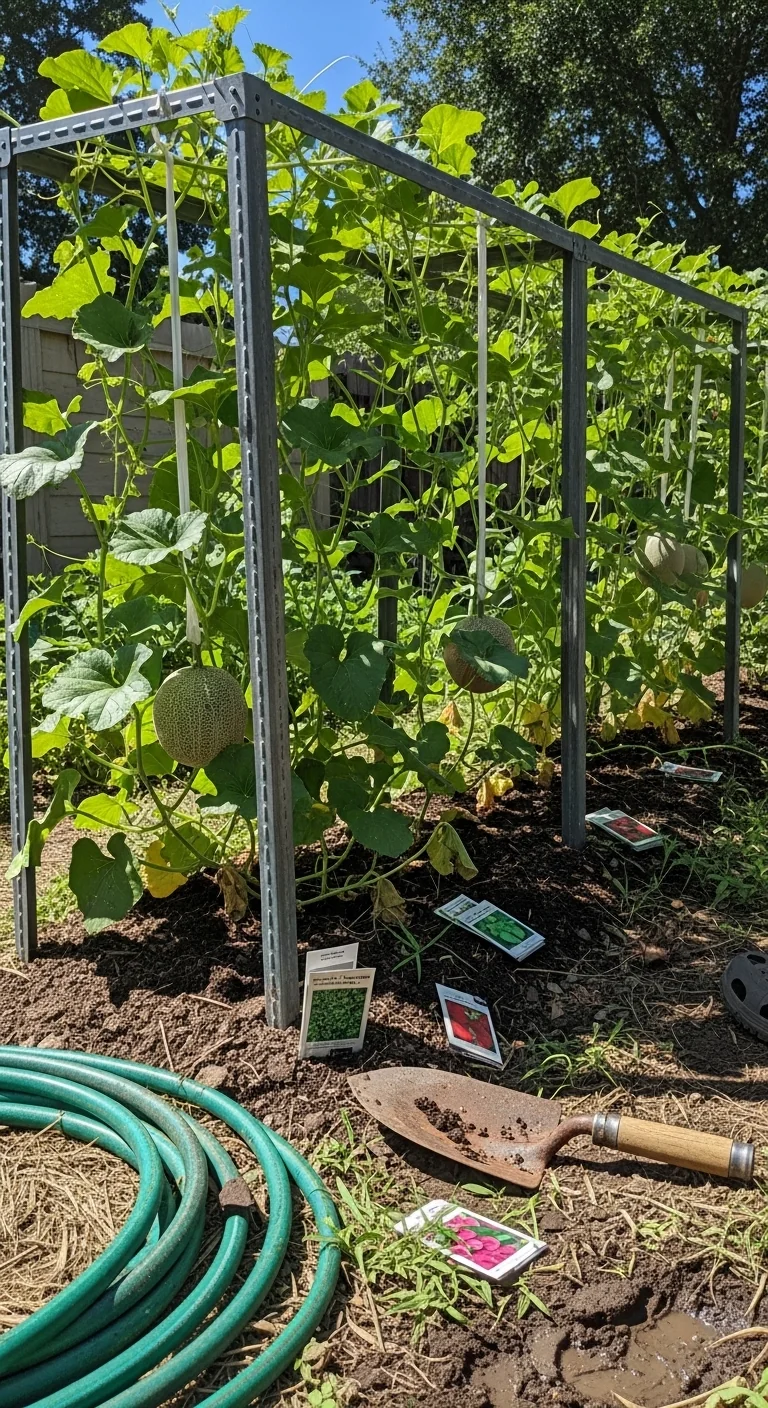
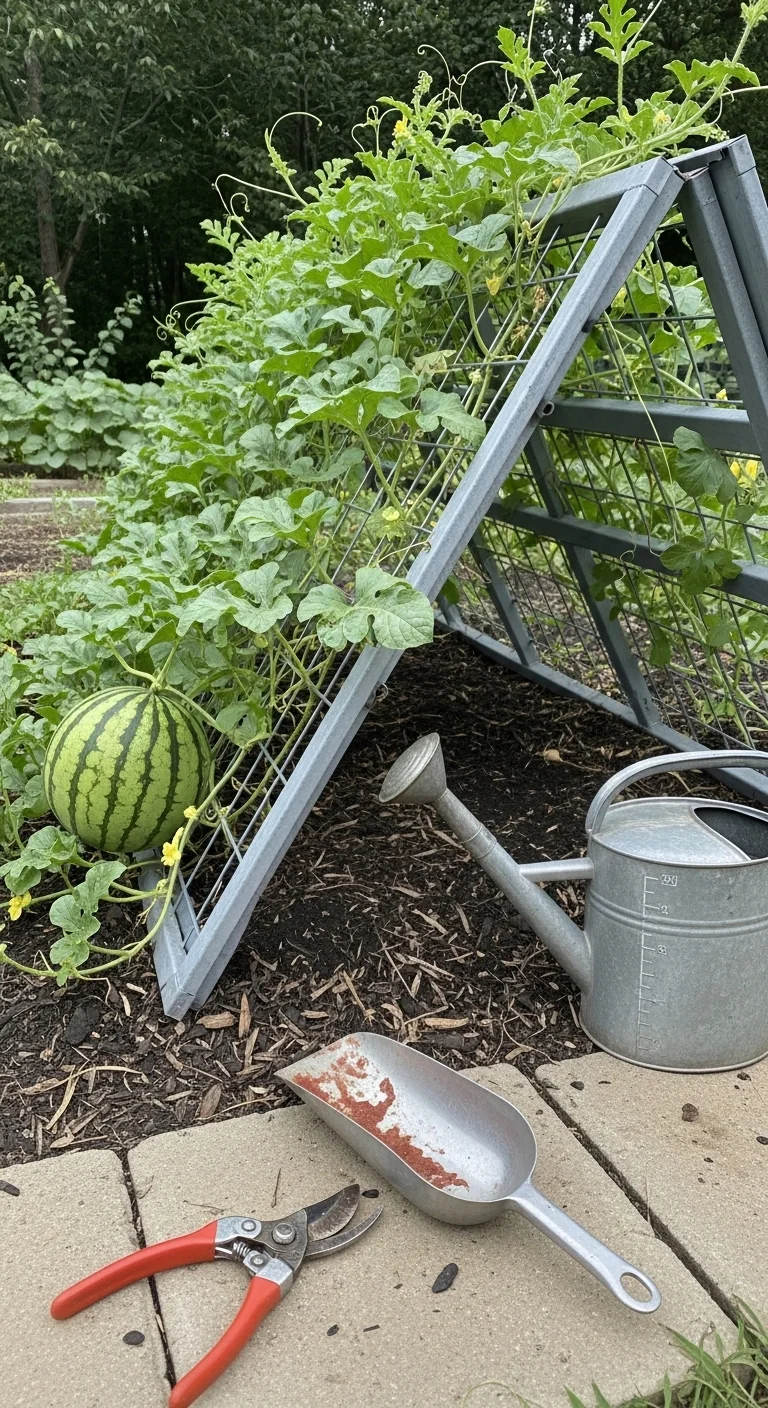
A cattle panel arch trellis uses a single 16-foot livestock panel bent into a curve and anchored with two T-posts driven 2 feet deep at each base. The arch spans roughly 4 feet wide at the bottom and rises to 7 feet at the peak, creating overhead space where melons hang freely. This design handles heavier watermelons because the panel’s rigid grid distributes weight across multiple attachment points.
Construction starts with laying the panel flat, bending it evenly over a central form, then securing ends to posts with heavy zip ties. Plant two vines at each base and train main stems up the sides early when they reach 6 to 8 inches. Add fabric slings to individual fruits once they reach baseball size to prevent stem stress.
Edge case: In areas with occasional gusts the arch’s low center of gravity resists tipping better than straight walls. Common mistake is installing after vines have already run on the ground; early training is essential for proper attachment. See our blackberry trellis ideas for related anchoring techniques. (178 words)
A-Frame Trellis
Best for: Branch 1
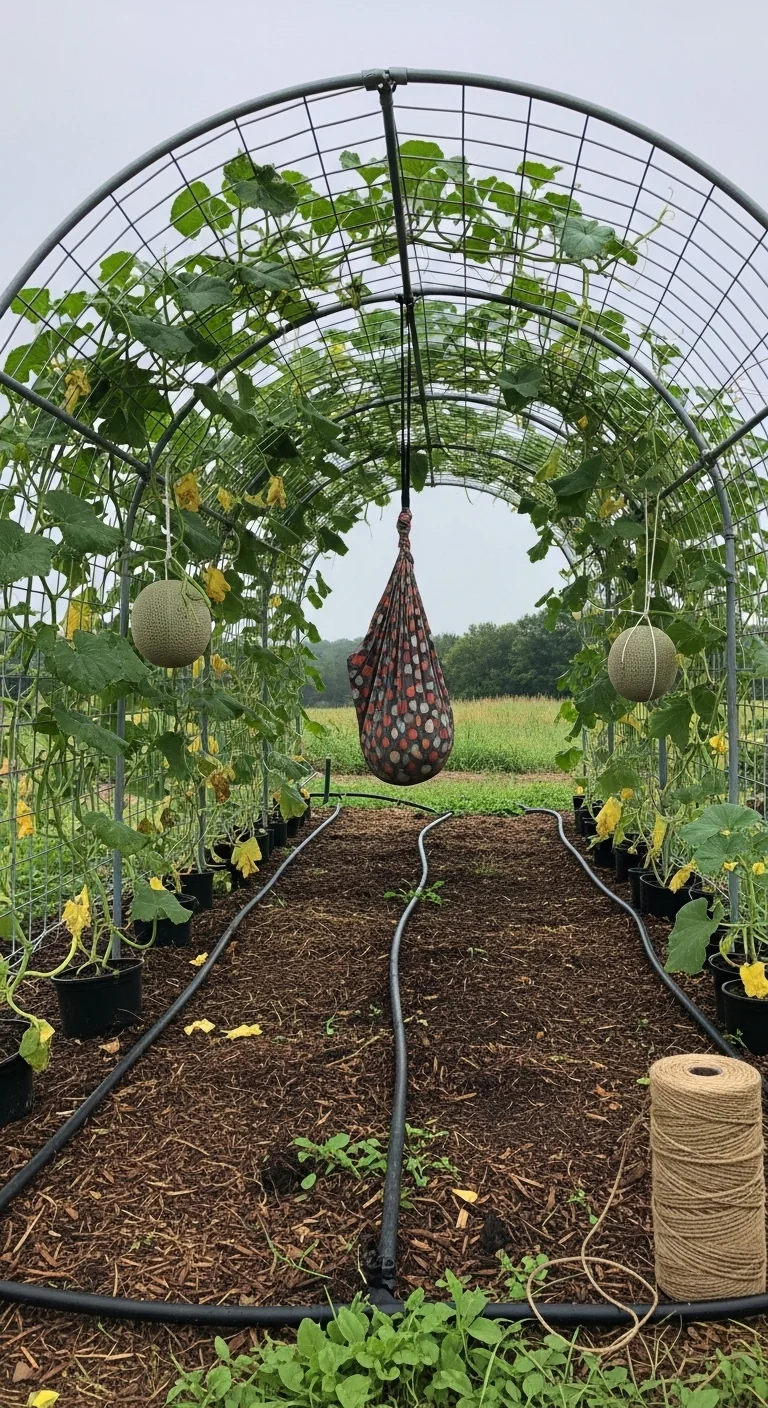
Use versus skip: An A-frame trellis suits compact spaces because vines climb both sides without crowding the footprint. Skip it if your melons exceed 10 pounds, as the peak joint may flex under concentrated load. Pros include quick folding storage and excellent airflow on both faces. Cons appear in high-wind zones where the open triangle needs extra guy wires. (68 words)
Vertical Remesh Panel
Best for: Branch 2
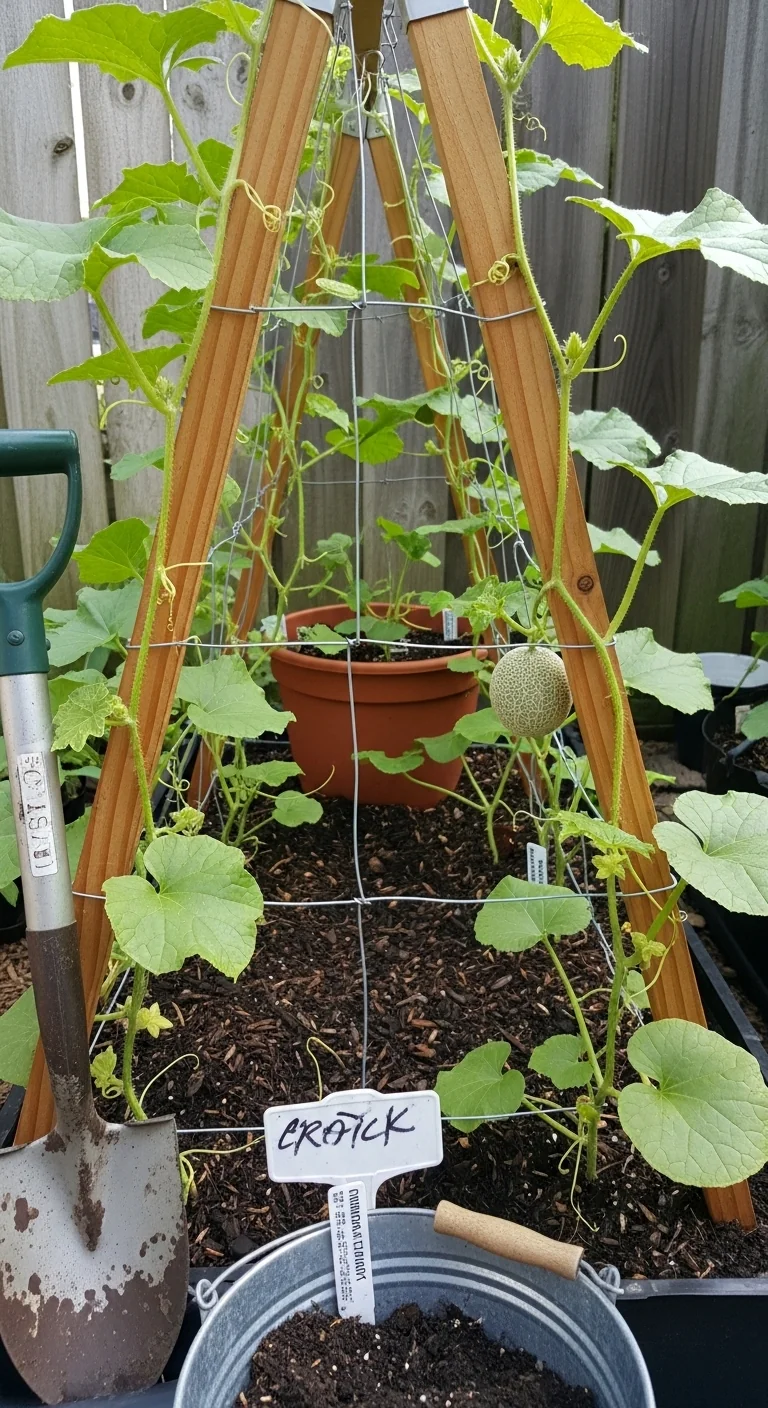
Threshold rule: Build this trellis only when your expected fruit weight stays under 10 pounds and panel height reaches at least 7 feet. Attach 3.5-by-7-foot remesh sheets to T-posts spaced 6 feet apart using zip ties every 12 inches. Train vines loosely with soft ties every 4 to 6 inches of growth. Adjust the rule downward to 5 feet height for compact cantaloupe varieties. This setup offers straight-line support without overhead shading. Pair it with our hardy kiwi trellis approach for vine management. (112 words)
Inclined Lean-To Trellis
Best for: Branch 3
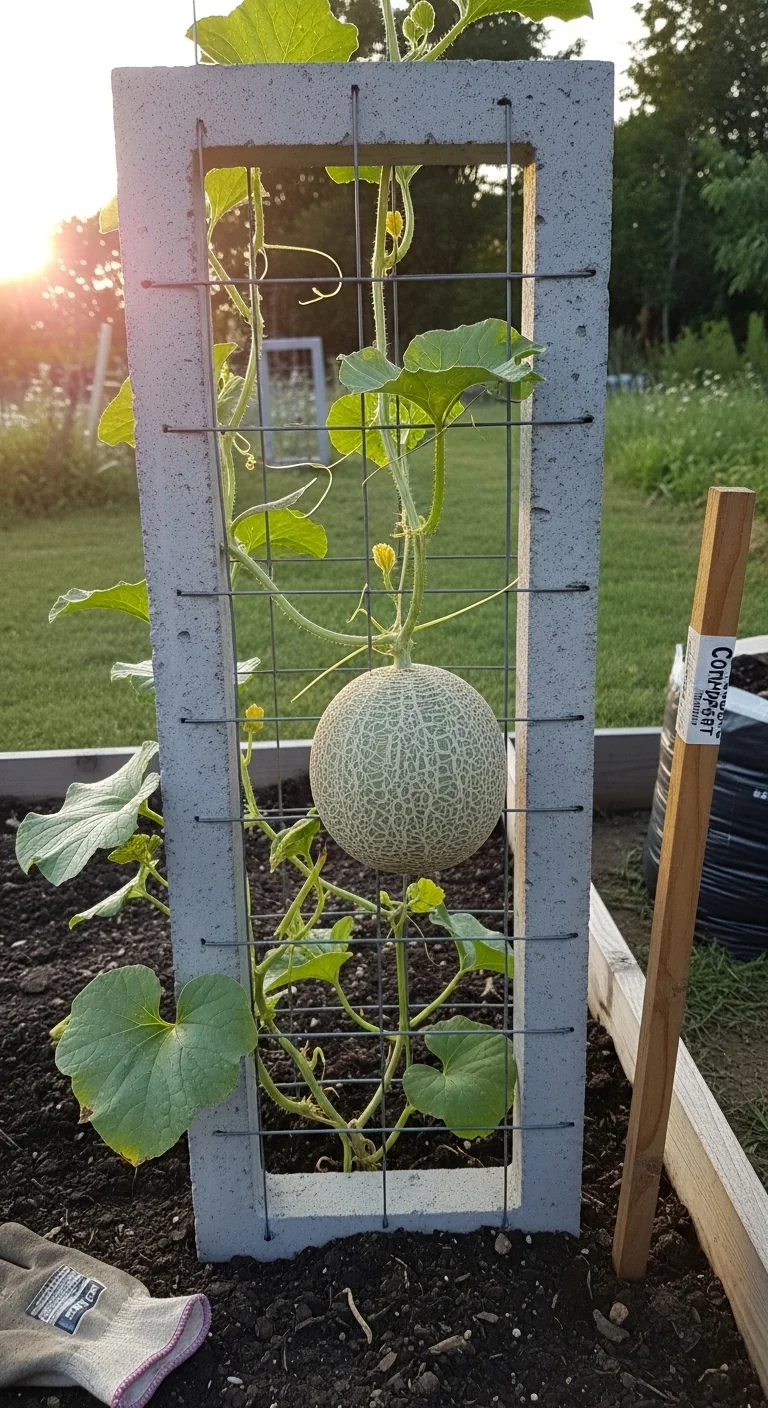
A 10-minute workflow starts with driving two T-posts 2 feet deep at the high end, attaching an 8-foot cattle panel section at a 45-degree angle so the low end rests on the soil. Secure with wire at three points. Plant at the base and guide the first 12 inches of vine onto the panel. Check sling placement when fruits reach 4 inches diameter. Upgrade option: add a second panel for wider coverage. This inclined design lets fruits rest on the grid rather than hang, reducing stem strain in open plots. (124 words)
Wooden Pallet Frame
Best for: Branch 1
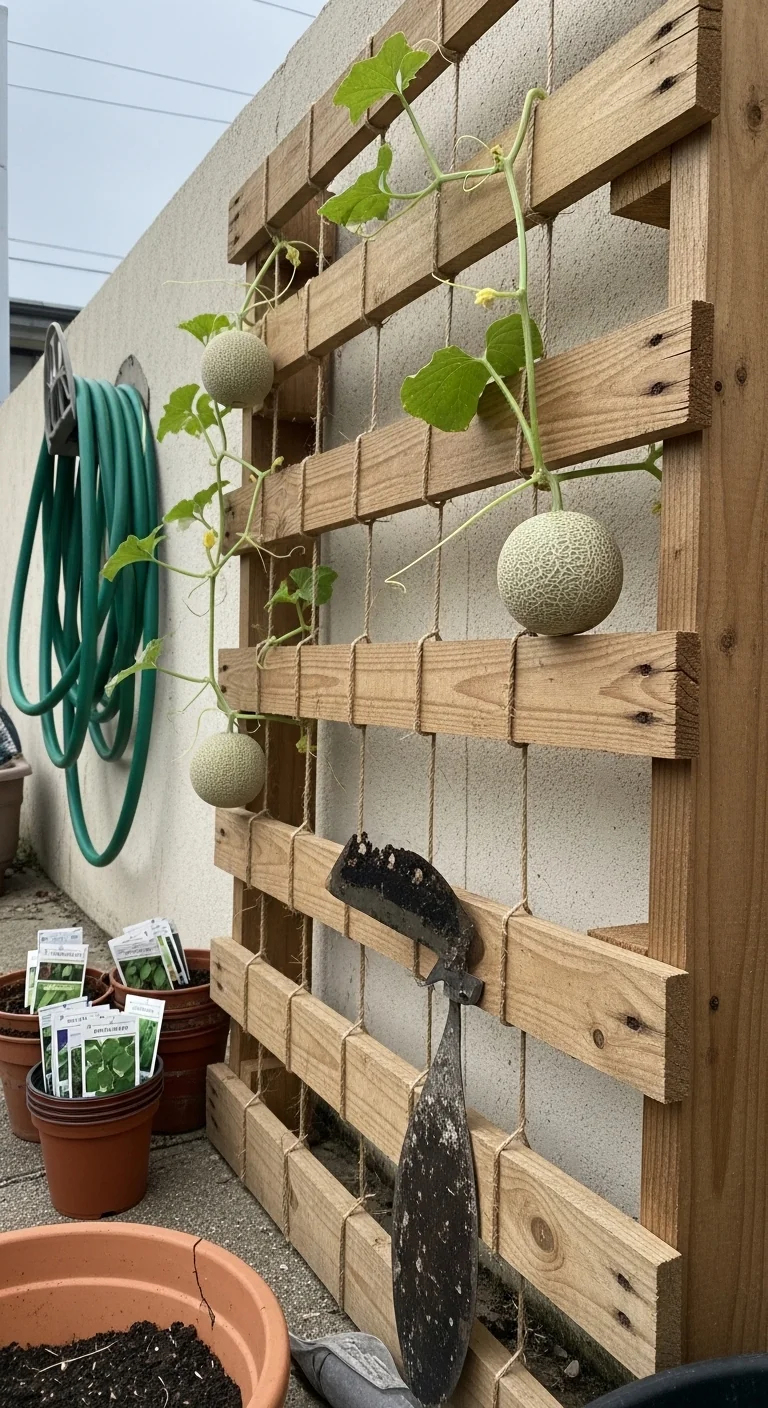
Repurpose a standard wooden pallet by removing every other slat to create a grid, then lean it against a wall or secure with rebar. Stretch twine horizontally across gaps for extra grip points. This option fits tight spaces but demands monthly checks for wood rot in damp climates. Fruits stay accessible at eye level for easy sling adjustments. Avoid if your area sees frequent ground-level moisture that accelerates pallet breakdown. (72 words)
Fence-Integrated Trellis
Best for: Branch 2
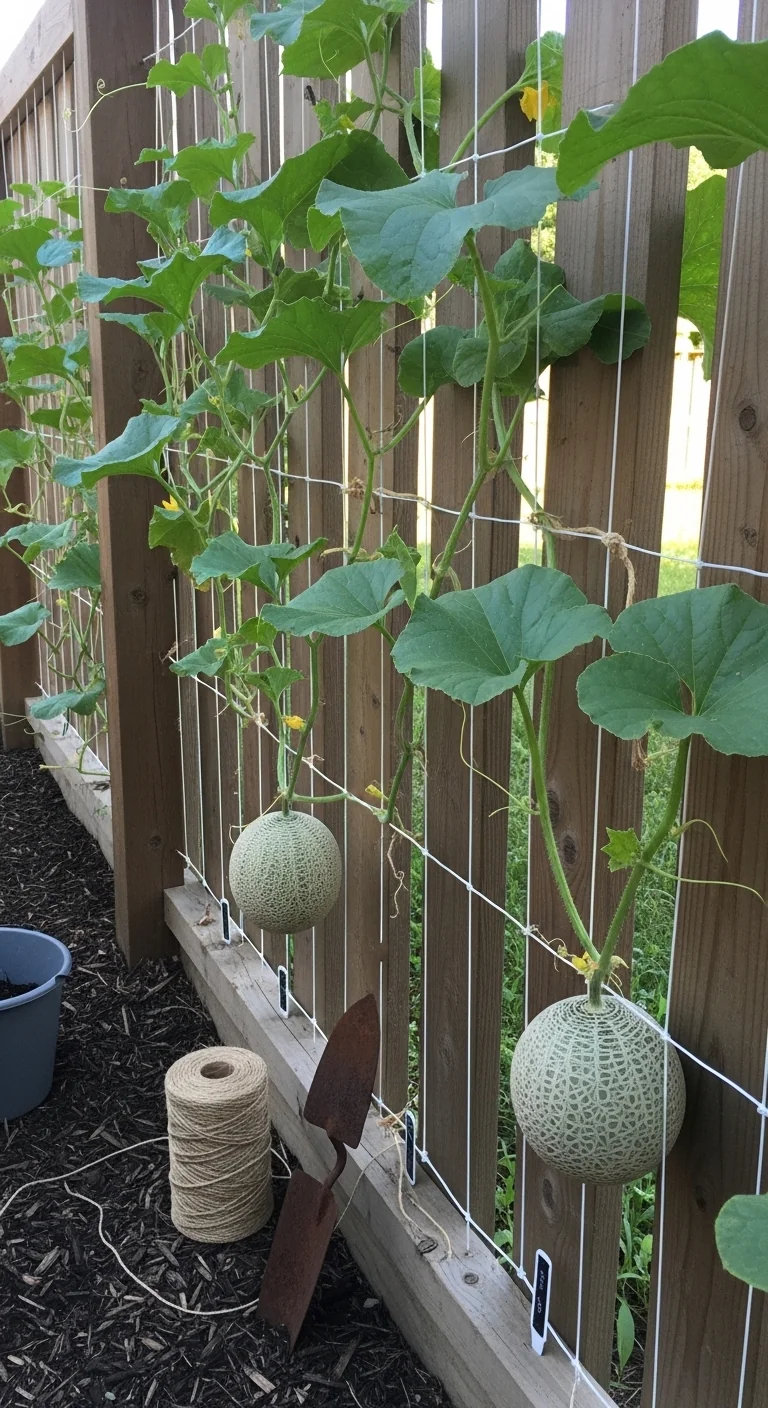
Attach horizontal twine or wire every 6 inches across an existing chain-link or split-rail fence to bridge gaps and give tendrils purchase. Start training when vines show 8 inches of vertical growth. This method requires zero new materials yet still lifts fruits clear of soil. In raised beds it pairs well with under-planting strategies from our cantaloupe companion plants guide. Limit to lighter melons to prevent fence sag over time. (98 words)
Repurposed Bed Spring Trellis
Best for: Branch 3
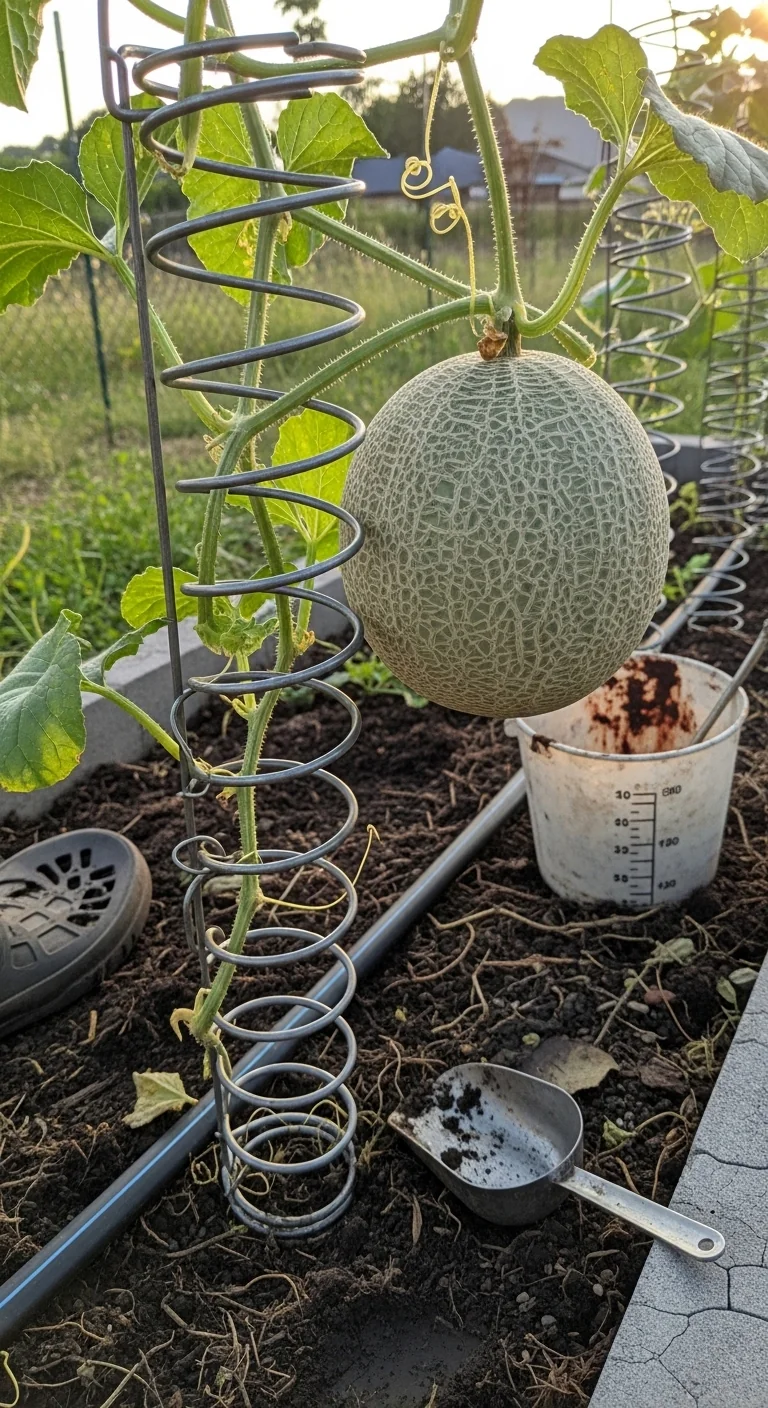
Repurposed bed spring trellises turn old coil mattresses into flexible vertical grids by standing the springs upright and bracing with T-posts at each corner. The coils provide natural give that absorbs fruit weight without snapping rigid wire. Drive posts 24 inches deep for stability with large watermelons. Train vines through the coils and add breathable fabric slings early. This upcycled design excels in open gardens where maximum airflow reduces foliar disease pressure. Integrate vine management steps from our watermelon pruning guide to keep growth focused upward. (162 words)
PVC Obelisk Trellis
Best for: Branch 1
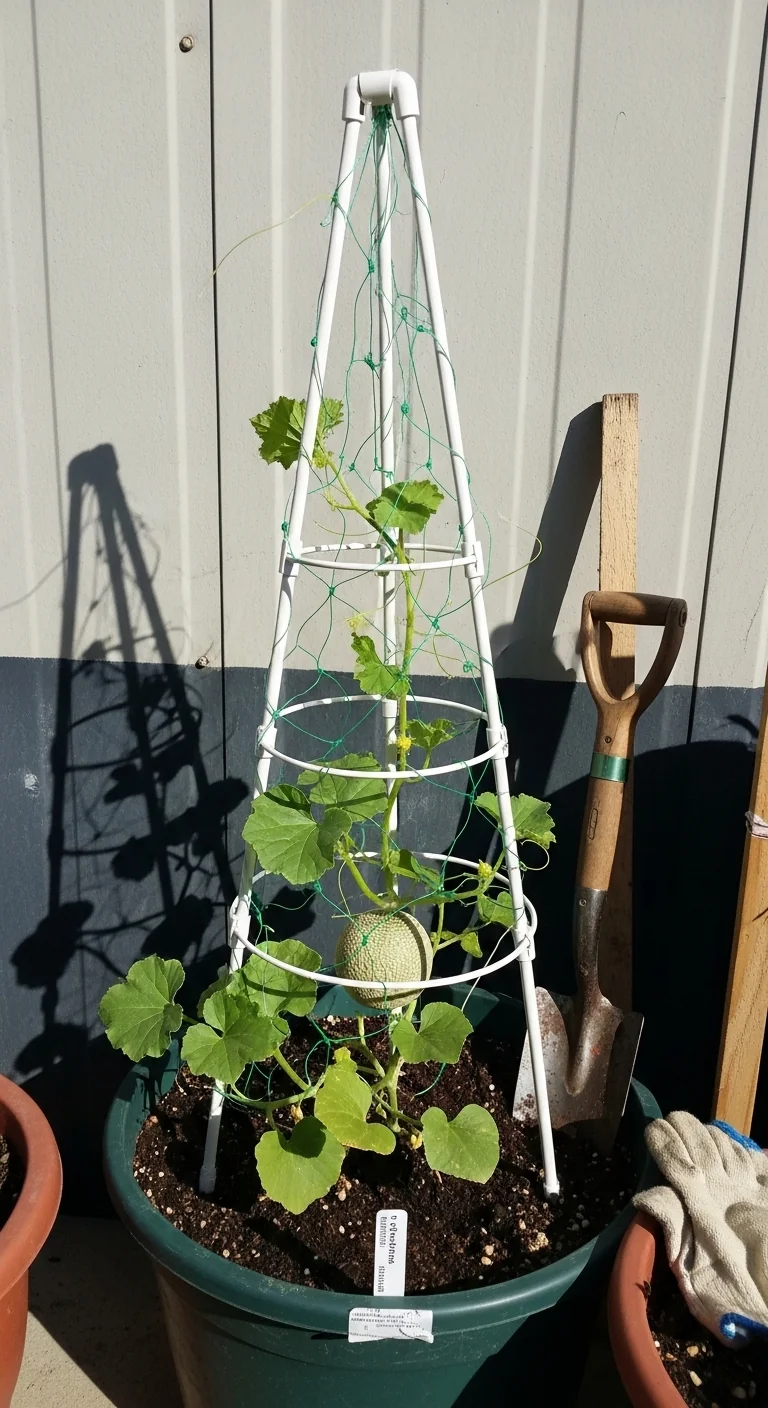
Use versus skip: Choose PVC obelisks for containers because the tapered 5-foot tower uses only four pipes and netting, fitting footprints as small as 2 square feet. Skip if fruits will exceed 8 pounds, as PVC joints can shift under load. Pros include portability and low cost. Cons include lower wind resistance compared to metal. Add internal cross braces for extra rigidity in exposed balconies. (65 words)
Heavy-Duty T-Post Wire Grid
Best for: Branch 2
Heavy-duty T-post wire grids use multiple 4-by-7-foot wire panels bolted between posts spaced 5 feet apart to form a tall flat wall. This creates maximum surface area for vine attachment and superior airflow in humid conditions. Drive posts 2 feet deep and add diagonal braces at ends. Train vines in a fan pattern starting at 6 inches tall. Fruits hang or rest on lower cross wires with individual slings. This design integrates cleanly with raised bed edges and supports moderate loads without overhead complexity. See our strawberry raised beds guidance for compatible bed preparation. (118 words)
Starter Stack (What to Choose First)
For Branch 1 (Compact spaces)
Start with the A-Frame Trellis paired with the PVC Obelisk Trellis. Together they allow two separate plantings in under 8 square feet total while providing dual-sided access for training and harvest. Build time ranges from 45 minutes to 1.5 hours using basic tools. Material cost stays under $40 when sourcing wire scraps locally.
For Branch 2 (Moderate raised beds)
Begin with the Vertical Remesh Panel and Fence-Integrated Trellis. The remesh handles linear rows while the fence option maximizes boundary space, creating continuous vertical coverage without shading the bed center. Assembly takes 1 to 2 hours. Expect material costs between $25 and $60 depending on reuse of existing fence materials.
For Branch 3 (Open in-ground plots)
Launch with the Cattle Panel Arch Trellis and Repurposed Bed Spring Trellis. The arch offers overhead hanging space while the bed springs add flexible side support for multiple heavy fruits. Combined setup ranges from 90 minutes to 3 hours. Total material cost falls between $30 and $80 when upcycling springs and panels.
When This Won’t Work
Vertical melon trellises fail when vines receive no training until after they have run along the ground for more than 2 weeks. At that stage stems set direction horizontally and resist redirection, leaving fruits on soil despite the structure. Switch instead to compact bush varieties grown without support or accept ground culture with mulch barriers.
Structures also collapse in loose soil when T-posts or stakes sit less than 18 inches deep during fruit loading. The added weight shifts the entire frame. Reinforce with concrete footings or switch to inclined designs that distribute force closer to the ground.
Choosing the Right Option for Your Situation
Budget threshold
Under $30 favors repurposed pallet or fence-integrated options with twine. $30 to $70 opens cattle panel or remesh designs. Above $70 allows multiple heavy-duty panels or custom arches. Match spend to expected fruit weight rather than garden size alone.
Time threshold
Under 1 hour total favors fence-integrated or inclined lean-to builds. 1 to 3 hours covers most panel and A-frame setups. Over 3 hours only if adding custom bracing for high-wind zones. Factor in ongoing 5-minute weekly vine checks after setup.
Technical constraint (melon variety weight)
Compact cantaloupe or small watermelon under 8 pounds works with any listed trellis. Fruits 10 pounds and above require cattle panel, remesh, or bed spring options with reinforced posts. Always confirm variety catalog weight range before planting.
Yes/No checklist:
Do you have at least 6 feet vertical clearance? Yes → proceed to grid.
Will fruits exceed 10 pounds? Yes → select Branch 3 heavy options.
Is wind gust common above 15 mph? Yes → add diagonal bracing.
Ready to check slings weekly once fruits form? Yes → build now.
Expert Q&A
How early should I begin training melon vines onto a trellis?
Start when vines reach 6 to 8 inches of vertical growth, typically 2 to 3 weeks after transplant. Loose ties every 4 inches prevent later resistance. Waiting until vines sprawl makes redirection nearly impossible and wastes the trellis investment.
What sling materials prevent fruit rot while supporting weight?
Non-stretchy fabric cut from old skirts or sheets works best because it breathes and holds shape. Double layers of bird netting also expand with growth. Avoid plastic bags or stretchy t-shirts that trap moisture and sag over time.
Do all melon varieties climb equally well on trellises?
Compact cantaloupe and small watermelon types attach readily with tendrils. Larger watermelons often need manual tying with soft tape in figure-8 loops below leaf axils because their stems are less aggressive climbers. Test one vine before committing the whole planting.
Can I combine melon trellises with companion planting underneath?
Yes, low-growing companions such as basil or marigolds fit beneath arches and inclined designs without competing for light. Keep the area mulched and monitor soil moisture since elevated vines reduce ground shading. Avoid tall companions that block airflow.
How does pruning affect trellis performance mid-season?
Remove yellow basal leaves and any side shoots below the first fruit set to direct energy upward. This keeps the structure uncluttered and improves air movement around developing melons. Limit to one or two fruits per vine on heavy-duty trellises to avoid overload.
Conclusion
Melon trellises deliver consistent vertical results only when chosen through the decision grid that matches space, fruit load, and climate conditions. The number-one mistake remains delaying fruit slings until melons already pull on stems, leading to drop or cracking regardless of trellis strength.
Next step: Review your chosen item’s training timeline and build the matching sling supply before transplant day. For ongoing protection strategies once fruits develop see our bird netting for fruit trees.