
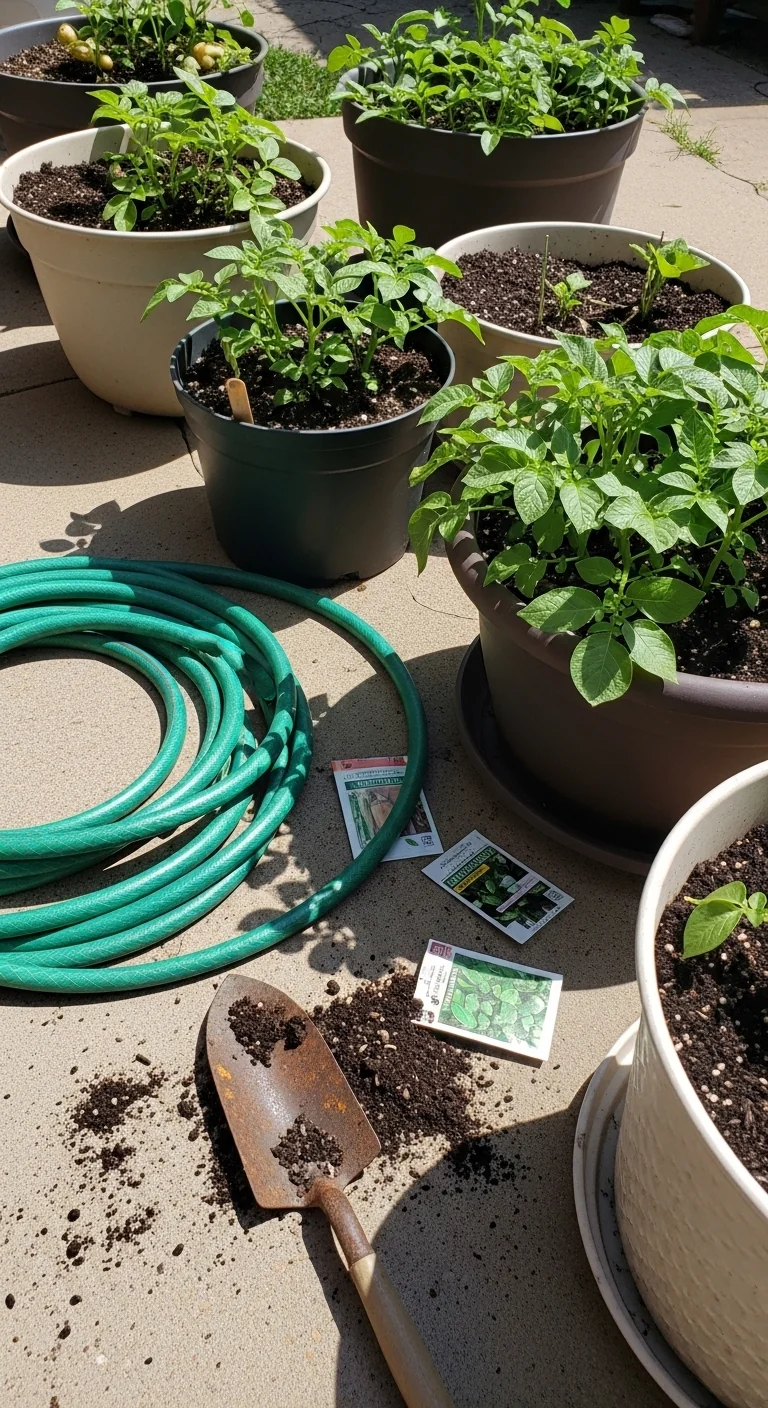
Growing potatoes in containers succeeds when the material and structure control soil aeration, temperature stability, and hilling access to fit your local conditions and variety needs. Most guides treat all pots the same and overlook how fabric breathes versus how plastic retains heat or how stackable designs simplify soil additions.
This article focuses on nine tested container systems suited to edible gardening in small spaces. It covers setup details, maintenance mechanics, and decision factors for vegetable gardening. It excludes in-ground beds, large-field production, and ornamental uses.
You gain a clear framework to select one setup that aligns with your available footprint, sun exposure, and weekly time commitment. The result is a plan that lets you schedule planting and harvest windows based on measurable conditions such as container volume and soil temperature.
Align your container choice with measurable space and climate factors to avoid common tuber issues like rot or poor set.
The Yield Grid Decision Grid
Branch 1: Limited space or balcony weight restrictions. Your setup must weigh under 50 pounds when full and fit within a 2-foot by 2-foot footprint. Recommended: Items 1, 4, 7 below.
Branch 2: Budget-friendly or recycled materials with moderate hilling needs. You can source materials locally and commit to soil additions every four weeks. Recommended: Items 2, 5, 8 below.
Branch 3: Full sun exposure and priority on stable soil temperatures. You have at least six hours of direct sun and prefer larger volumes that buffer daily temperature swings. Recommended: Items 3, 6, 9 below.
For more on integrating potatoes with other vegetables in limited spaces, see our container vegetable gardening guide.
Quick Comparison Table
| Option | Key mechanism | Best for | Decision Grid Branch | Effort Score |
|---|---|---|---|---|
| Lightweight Fabric Grow Bags | Breathable walls promote air pruning and faster drainage | Balconies with frequent wind exposure | Branch 1 | 4 |
| Recycled Plastic Buckets | Solid walls retain moisture between waterings | DIY setups using household items | Branch 2 | 3 |
| Oversized Plastic Tubs | Large volume buffers soil temperature swings | Patios needing fewer plants per container | Branch 3 | 2 |
| Smart Fabric Pots | Side access panels allow selective tuber removal | Progressive harvesting in tight quarters | Branch 1 | 3 |
| Wooden Half-Barrels | Natural insulation from thick wood sides | Stable conditions in cooler climates | Branch 2 | 2 |
| Glazed Ceramic Pots | Thick walls moderate root zone heat | Decorative patios with full sun | Branch 3 | 3 |
| Stackable Potato Towers | Modular rings let you add soil layers without repotting | Vertical space on decks | Branch 1 | 4 |
| Self-Watering Planters | Reservoir maintains consistent moisture at root level | Low-attention balconies | Branch 2 | 1 |
| Food-Grade Metal Tubs | Durable construction holds large soil mass for temperature stability | Long-term setups in variable weather | Branch 3 | 2 |
Lightweight Fabric Grow Bags
Best for: Branch 1
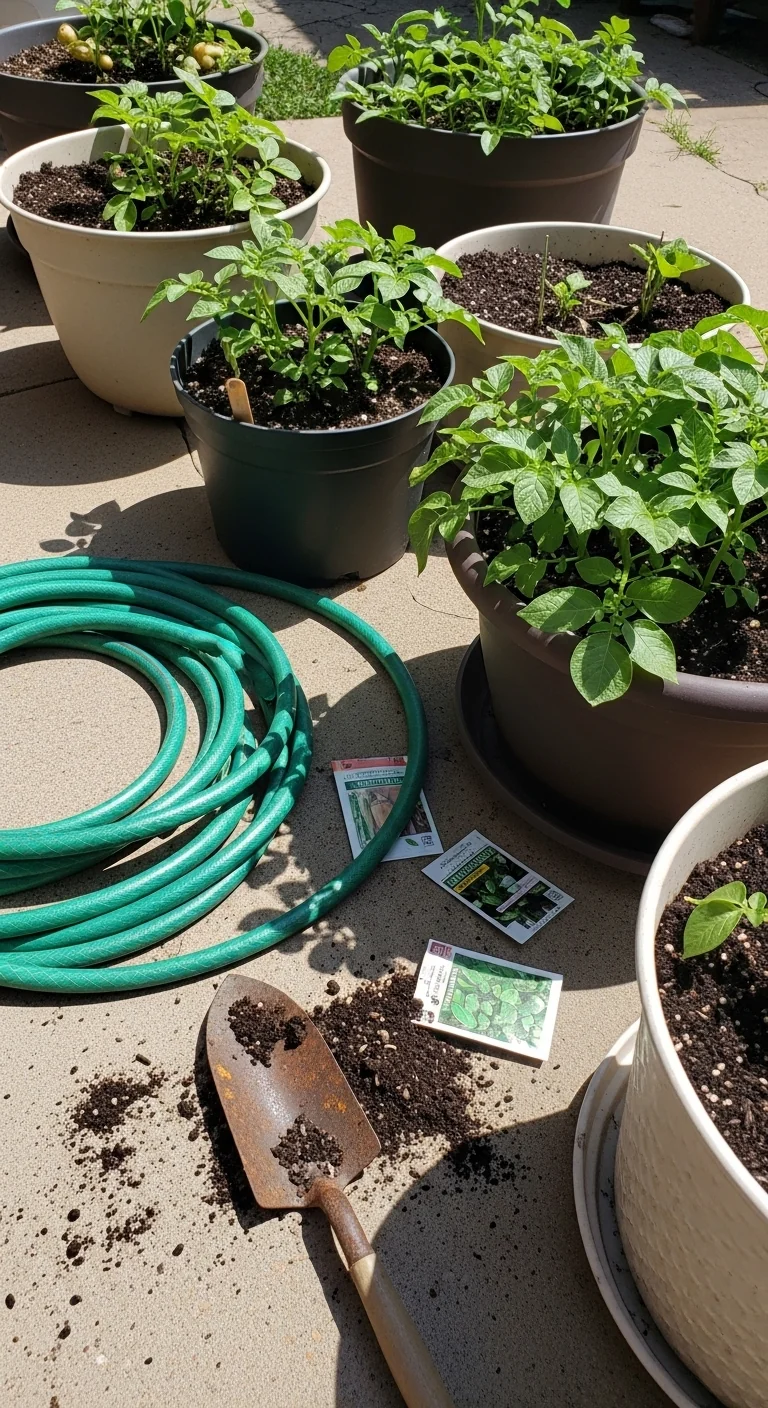
Blueprint: Use 10- to 15-gallon fabric bags for early potato varieties that set tubers in 70 to 90 days. Start with a 50:50 blend of potting mix and compost. Place two or three chitted seed potatoes on 4 to 6 inches of mix, cover with 2 inches, and position in full sun. As stems reach 6 inches tall, add another 3 to 4 inches of mix around the base while leaving the top leaves exposed. The fabric sides allow excess moisture to evaporate quickly and encourage air pruning of roots for denser tuber clusters. Common mistake: placing bags directly on concrete without a tray, which can lead to rapid drying in hot afternoons. Check soil moisture by lifting one corner of the bag; if it feels light, water until it drains freely from the bottom holes. This setup works well on balconies because the entire bag lifts easily for repositioning before storms.
Recycled Plastic Buckets
Best for: Branch 2
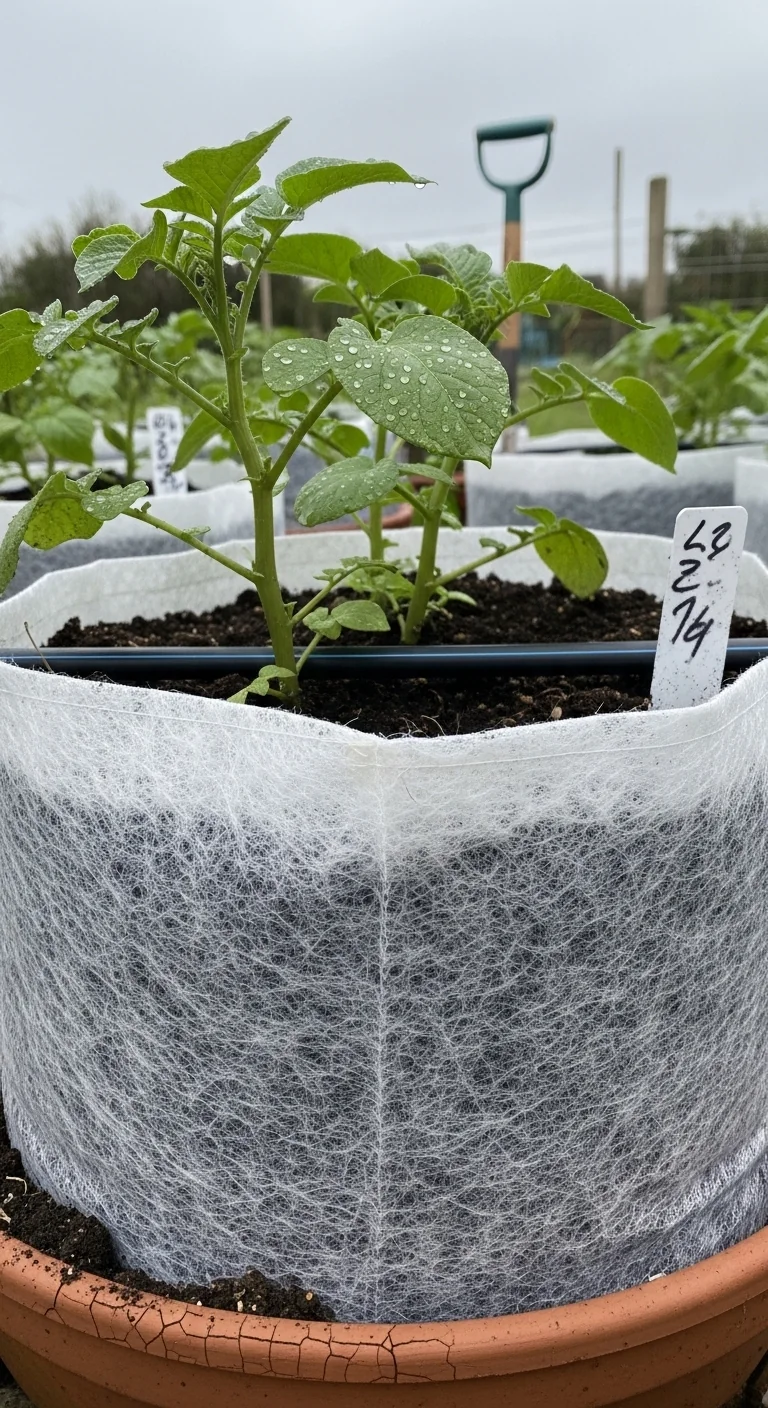
Use versus skip: Skip if you cannot drill at least four 1/2-inch drainage holes in the base and sides. Use 5-gallon food-grade buckets for one or two seed potatoes when you want a low-cost entry point. They hold moisture longer than fabric, which suits drier climates, but require monthly soil additions during active growth to support hilling. Edge case: in regions with heavy spring rains, elevate buckets on bricks to prevent water pooling underneath.
Oversized Plastic Tubs
Best for: Branch 3
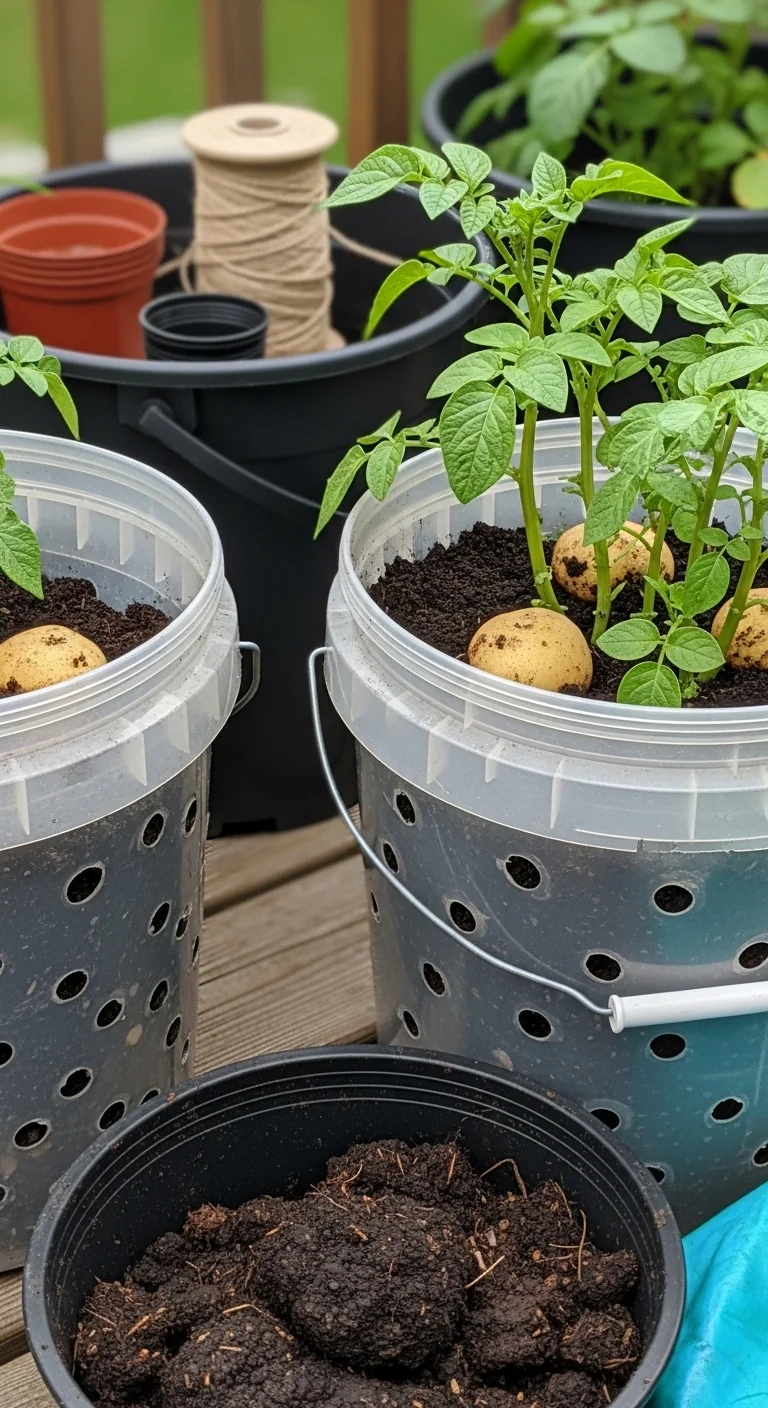
Threshold rule: Choose tubs of 15 gallons or larger and at least 14 inches deep when your daytime highs stay below 80 degrees F during tuber formation. Fill initially to 6 inches, plant three seed potatoes spaced 8 inches apart, and add soil in 3-inch layers every three to four weeks as stems grow. This volume keeps root zone temperatures steadier than smaller pots. Adjust by reducing layers in hotter zones above 85 degrees F to avoid overly warm soil that delays tuber set. Combine with the watering vegetable garden schedule of checking the top 2 inches daily.
Smart Fabric Pots
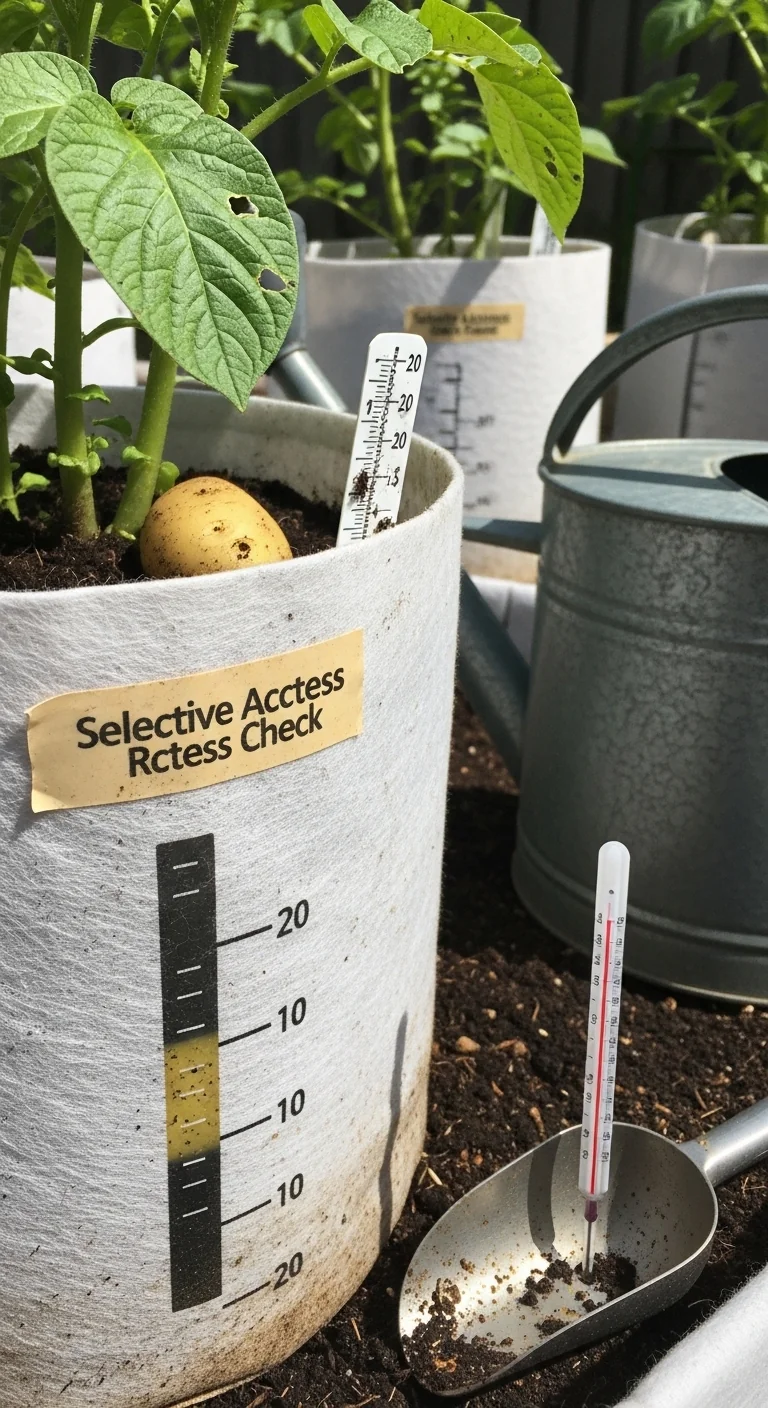
Best for: Branch 1
10-minute workflow: (1) Select a 10-gallon pot with built-in side harvest flaps. (2) Line the bottom with 4 inches of organic fertilizer mix. (3) Plant two chitted potatoes and cover. (4) Every four weeks, open the flap to check tuber size and remove only the largest ones without disturbing the plant. Upgrade option: add a saucer underneath for windy balconies. The entire process fits inside 10 minutes per pot and keeps the setup portable.
Wooden Half-Barrels
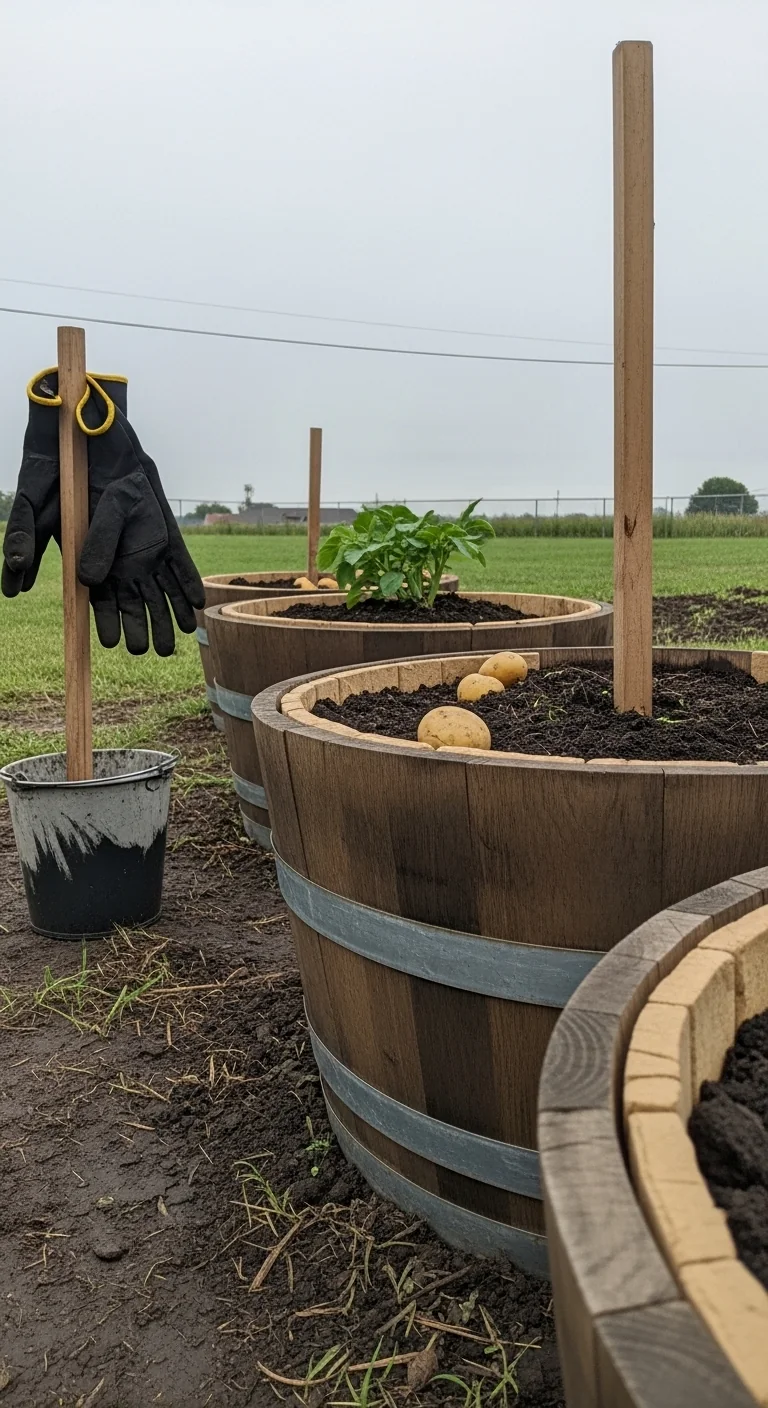
Best for: Branch 2
Use versus skip: Use when your climate has cool nights below 60 degrees F, because the wood insulates roots better than thin plastic. Skip in high-humidity areas without good airflow around the barrel sides. One barrel holds four seed potatoes and needs soil added only twice during the season.
Glazed Ceramic Pots
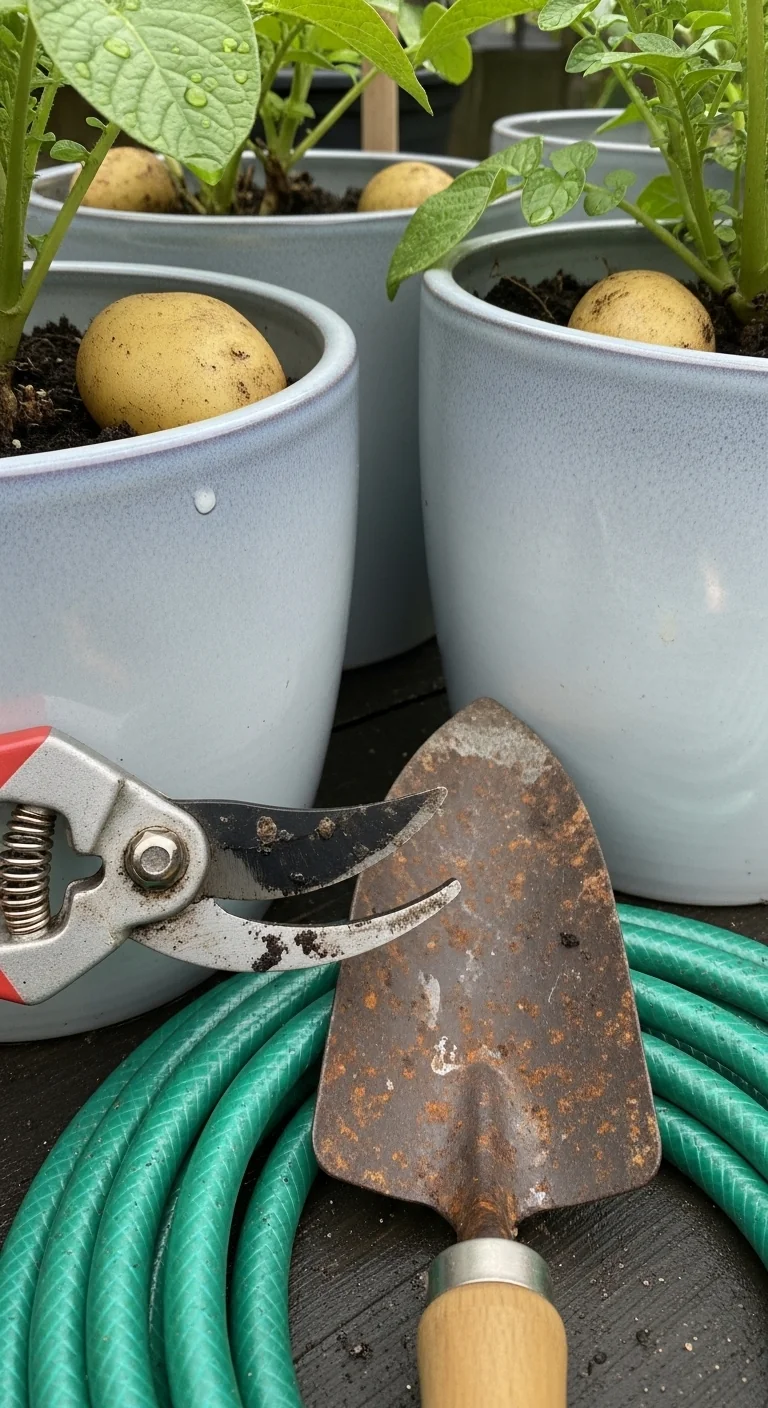
Best for: Branch 3
Threshold rule: Limit to 12- to 15-gallon size and ensure at least six hours of sun when daytime soil temperatures stay between 55 and 70 degrees F. The thick glaze moderates heat spikes compared with black plastic. Plant one seed potato per 5 gallons of volume and hill with 3-inch layers when stems hit 8 inches. For similar container care on other vegetables, see tomatoes in containers.
Stackable Potato Towers
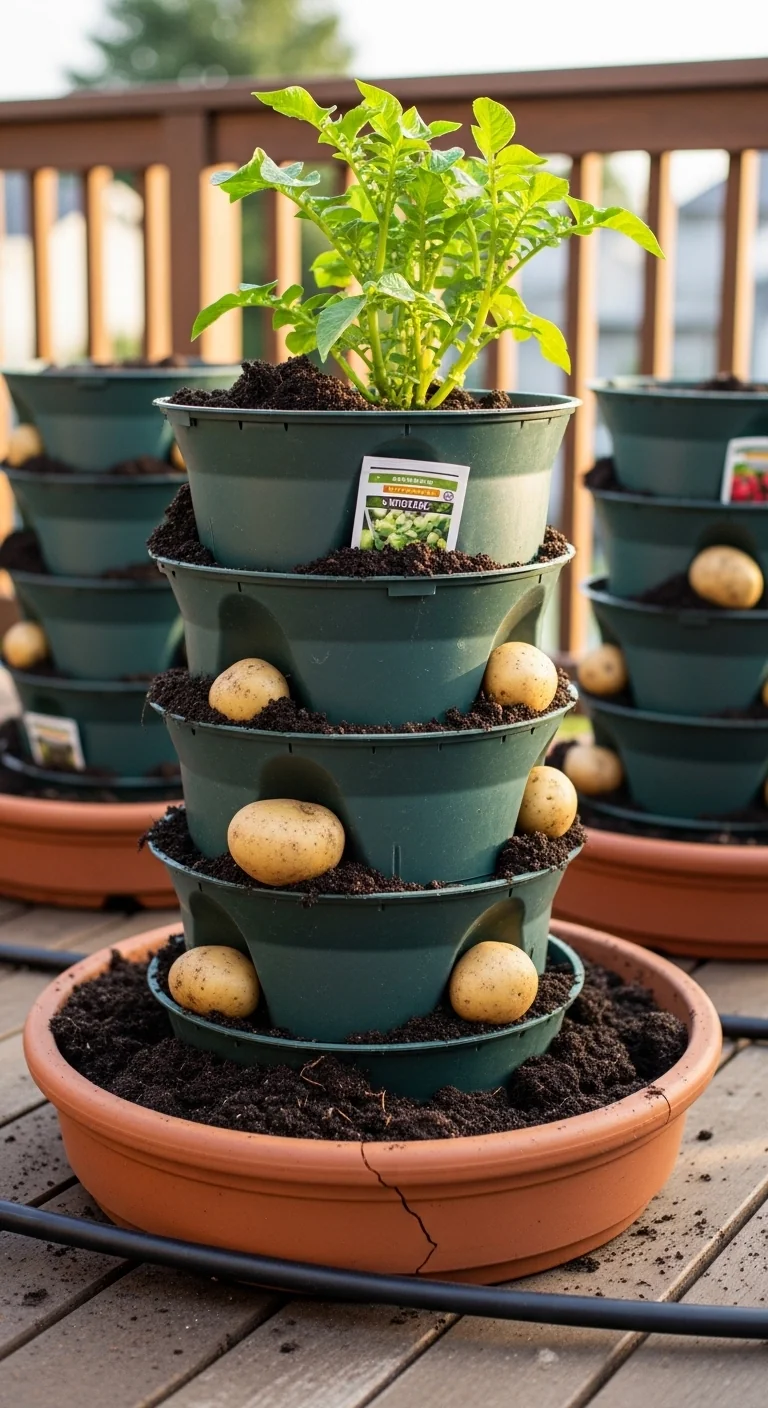
Best for: Branch 1
Threshold rule: Use towers only when your vertical space allows stacking up to 24 inches high and soil temperature at planting reaches 45 degrees F or above. Start with the base ring filled to 6 inches, add rings and soil every three weeks as stems grow. This method matches the vegetable planting calendar for early spring starts. In windy spots, secure each ring with zip ties.
Self-Watering Planters
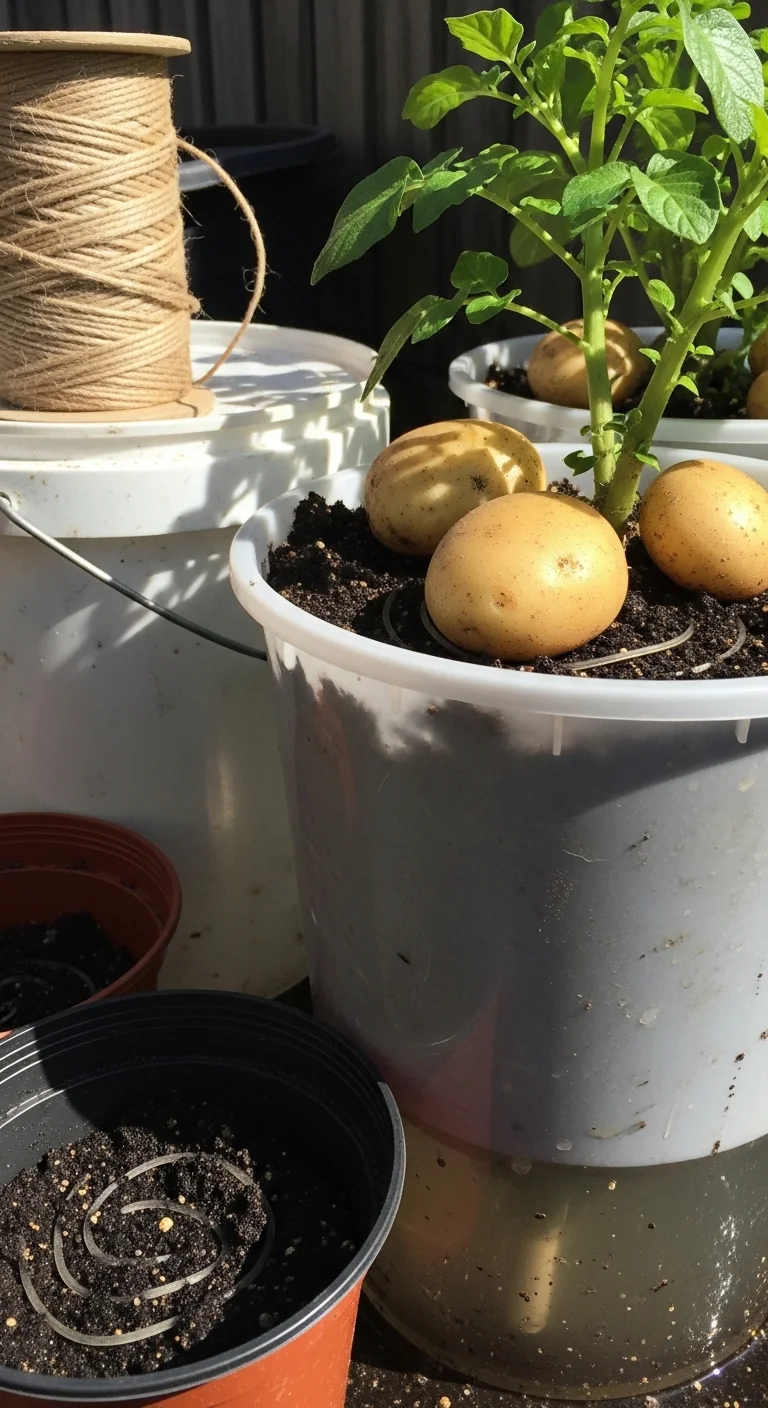
Best for: Branch 2
Use versus skip: Use for hands-off maintenance when you travel often, because the reservoir keeps consistent moisture for up to seven days. Skip if your water source has high mineral content that can clog the wicking system. One 7-gallon unit supports two seed potatoes with minimal soil additions.
Food-Grade Metal Tubs
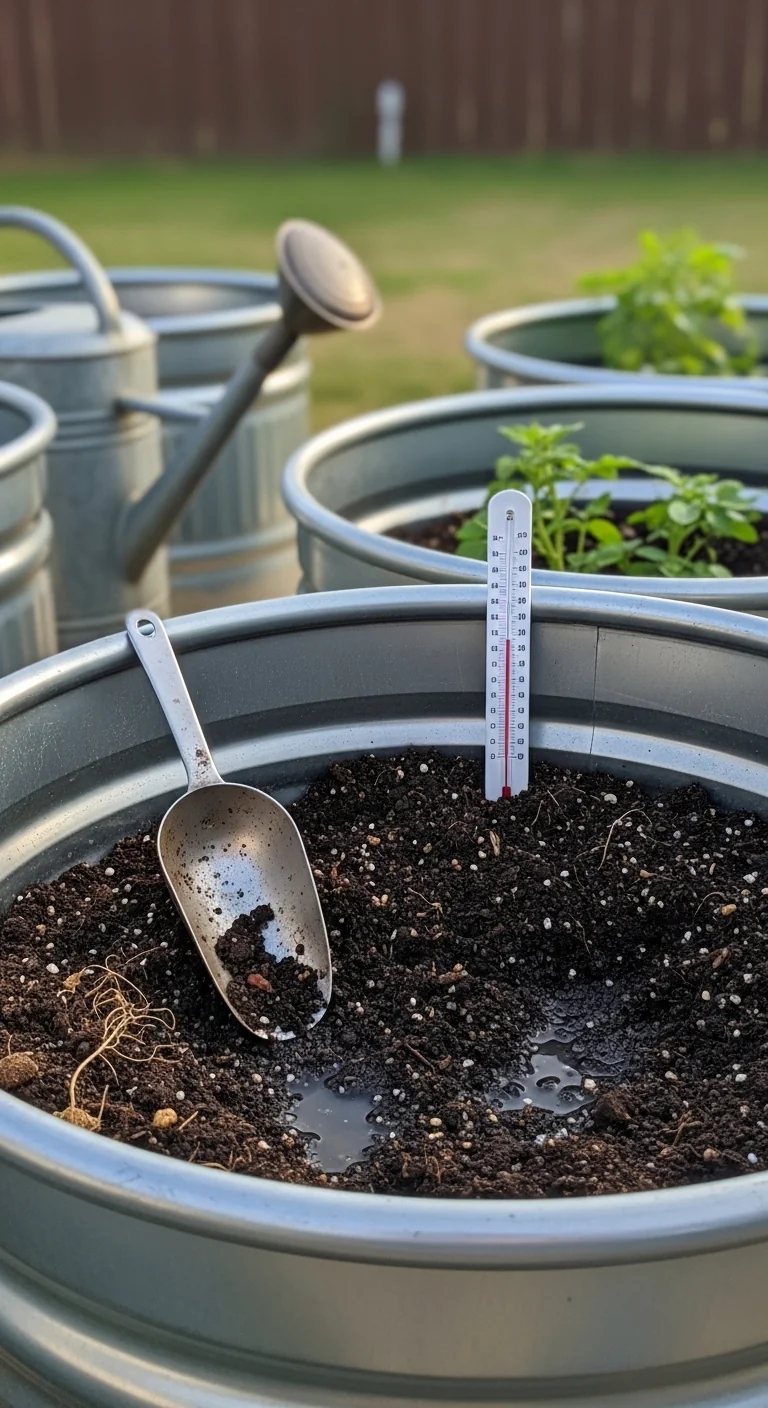
Best for: Branch 3
Blueprint: Select 20-gallon or larger tubs for maincrop varieties that need 100-plus days. The metal conducts heat evenly yet holds a large soil mass that buffers cold snaps. Drill drainage holes, fill with 6 inches of mix, plant three seed potatoes, and hill twice during the season. This option suits patios where weight is not an issue and provides stable conditions for tuber bulking.
Starter Stack (What to Choose First)
For Branch 1 (limited space or balcony)
Start with Lightweight Fabric Grow Bags and Smart Fabric Pots. The fabric bags offer quick drainage while the smart pots allow selective harvesting without moving the entire setup. Together they keep total weight under 40 pounds per unit and fit a 4-foot balcony rail. Setup time: 15 to 25 minutes per bag. Material cost range: 8 to 18 dollars each.
For Branch 2 (budget-friendly or recycled)
Start with Recycled Plastic Buckets and Wooden Half-Barrels. Buckets provide immediate low-cost entry while barrels add insulation for steadier growth. The combination lets you scale from two to four plants without new purchases. Setup time: 20 to 30 minutes total. Material cost range: 5 to 15 dollars per container.
For Branch 3 (full sun and stable temperatures)
Start with Oversized Plastic Tubs and Food-Grade Metal Tubs. The plastic offers easy mobility while the metal provides long-term durability and even heat distribution. They work together for larger plantings that buffer daily temperature changes. Setup time: 25 to 35 minutes. Material cost range: 12 to 28 dollars per unit.
When This Won’t Work
Container systems fail when soil temperature stays below 45 degrees F at planting time or when summer daytime highs remain above 85 degrees F for more than two weeks without afternoon shade. In those windows tubers either fail to form or develop secondary growth and become misshapen. Switch to a different crop or wait for conditions to change rather than forcing an early or late planting.
Another measurable failure occurs in containers smaller than 10 gallons when growing maincrop varieties that require 100 days or more. The restricted root volume leads to small, underdeveloped tubers. In that case move to a raised bed vegetable garden for the season.
Choosing the Right Option for Your Situation
Budget threshold
If your total spend must stay under 20 dollars per container, select recycled plastic buckets or basic fabric grow bags. Above that threshold you can add self-watering features or wooden barrels for better insulation.
Time threshold
If you can give only 10 minutes per week per container, choose self-watering planters or oversized tubs that need soil checks only every three weeks. More time available opens stackable towers or fabric options that require monthly hilling.
Technical constraint: sun hours and soil temperature
Require at least six hours of full sun and soil temperature above 45 degrees F at planting. Below that threshold delay by two weeks and select insulated wooden or metal tubs.
Yes/No checklist:
Do you have at least 2 square feet per container and drainage access? Yes or No
Can you maintain soil temperature above 45 degrees F at planting? Yes or No
Does your sun exposure reach six hours daily? Yes or No
Is your chosen material rated for food contact? Yes or No
Expert Q&A
How does container size affect potato variety choice?
Containers under 10 gallons suit only early varieties that mature in 70 to 90 days and produce smaller tubers. Larger volumes of 15 gallons or more support mid-season or maincrop types that need 100 days or longer for full tuber development. Match the days-to-maturity listed on the seed packet to your container depth to avoid stunted plants.
Can potatoes share containers with companion plants?
Potatoes can share large tubs with shallow-rooted companions such as lettuce or radishes planted around the edges. Keep the center zone for potatoes alone and maintain 8 inches of spacing so the companions do not compete for the same soil layer during hilling. Avoid deep-rooted plants that would disturb tuber formation.
What soil temperature triggers planting in containers?
Plant when soil temperature measured 4 inches deep reaches 45 degrees F and stays above that mark for at least five consecutive days. Below this threshold seed potatoes may rot before sprouting. Use a simple soil thermometer inserted in the potting mix to confirm conditions before placing any tubers.
How often to check for tuber development without disturbing the plant?
In pots with side access panels or harvest windows, check once every three weeks after the first hilling. Gently feel for tuber size through the opening and remove only the largest ones. In solid-walled containers wait until stems yellow and die back before tipping the entire pot for a single harvest.
What is the difference between determinate and indeterminate potatoes in pots?
Determinate varieties set all tubers at once and stop growing upward after reaching a set height, making them ideal for single-harvest containers. Indeterminate types continue producing new tubers higher on the stem as you hill, which suits stackable or progressively filled systems that allow multiple small harvests over time.
Conclusion
The decision grid plus container comparison lets you pick one system that matches your space, climate, and time without trial-and-error seasons. The top mistake is ignoring material effects on soil temperature and aeration, which leads to poor tuber quality even when following basic steps.
Next step: once your chosen containers are planted, follow a consistent harvest protocol to maximize fresh tubers through the season. Review the harvesting vegetables process for timing cues based on vine color and die-back.