
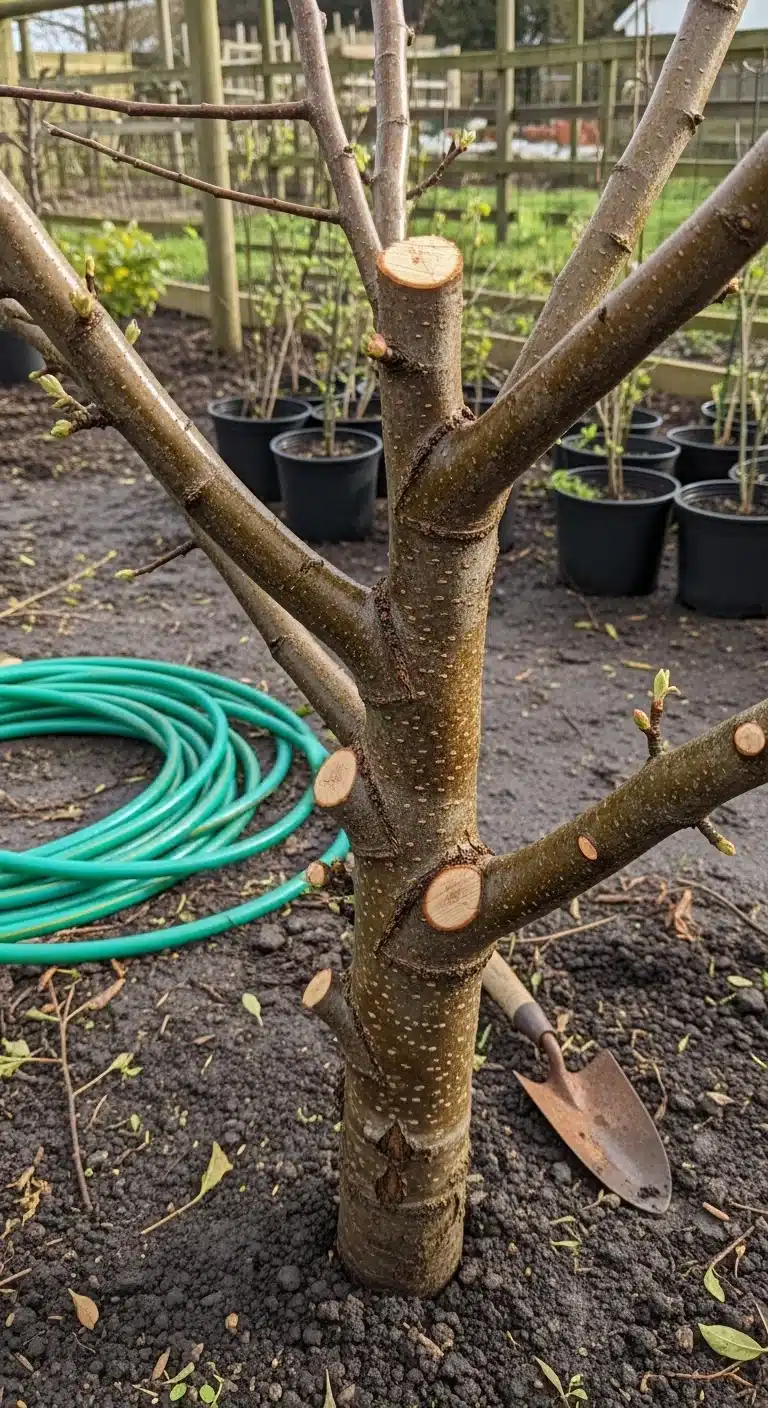
Apple pruning succeeds when you first classify the tree by two measurable traits: its age or new shoot length from last season, plus the number of established scaffold branches. This stage-based approach replaces the generic cut lists found in most guides and directs every snip toward either building structure, renewing fruiting wood, or restoring balance.
This guide addresses pruning for standard and semi-dwarf apple trees grown in home gardens. It covers dormant-season work plus targeted summer pruning. Commercial high-density orchards on dwarf rootstocks, chemical regulators, and power equipment fall outside scope.
You will finish able to walk up to any apple tree, read its stage in under two minutes, select the exact cuts required, and plan the follow-up steps that keep the canopy open and productive.
Classify the tree stage first, then apply only the cuts that match it.
The Yield Grid Decision Grid
Branch 1: Young establishing trees. Measurable conditions: tree age 1 to 4 years, fewer than 5 permanent scaffold branches formed, or new shoot growth longer than 24 inches last season. These trees need structure first and fruit later. Recommended: Items 1, 6 and 9 below. Pair the work with our fruit tree fertilizing guide once cuts finish.
Branch 2: Mature productive trees. Measurable conditions: tree age 5 years or older, consistent fruit set on spurs, and canopy that allows light to reach lower branches. These trees need renewal of fruiting wood and removal of shading growth. Recommended: Items 2, 3, 4 and 5 below.
Branch 3: Neglected or overgrown trees. Measurable conditions: canopy height above 15 feet, interior branches shading most spurs, or no meaningful crop for two or more seasons. These trees need careful restoration spread across years. Recommended: Items 7 and 8 below.
Quick Comparison Table
| Option | Key mechanism | Best for | Decision Grid Branch | Effort Score |
|---|---|---|---|---|
| Structural Training Pruning for Young Trees | Select and position scaffold branches while removing competitors | Building permanent framework | Branch 1 | 2 |
| Eliminating Suckers and Water Sprouts | Remove basal shoots and upright interior growth at origin | Preventing wasted energy | Branch 2 | 1 |
| Thinning Cuts to Improve Light and Air | Remove entire branches back to collar to open canopy | Fruit quality and disease reduction | Branch 2 | 3 |
| Spur Renewal Pruning on Established Trees | Shorten or replace older fruiting spurs to keep them productive | Maintaining annual crops | Branch 2 | 3 |
| Summer Pruning for Vigor Control | Pinch or shorten current-season growth after fruit set | Reducing excessive vegetative growth | Branch 2 | 4 |
| Central Leader vs Open Center Training | Choose and maintain one dominant leader or multiple equal scaffolds | Matching form to garden space | Branch 1 | 2 |
| Renovation Pruning for Neglected Trees | Gradual removal of excess height and interior crowding over multiple seasons | Restoring fruit production | Branch 3 | 5 |
| Proper Cut Technique and Tools | Make clean angled cuts at branch collar with sharp bypass tools | Fast healing and safety | All branches | 1 |
| Pruning for Special Forms like Espalier and Columnar | Train and maintain flat or narrow profiles with directional cuts | Small spaces or walls | Branch 1 | 4 |
1. Structural Training Pruning for Young Apple Trees
Best for: Branch 1
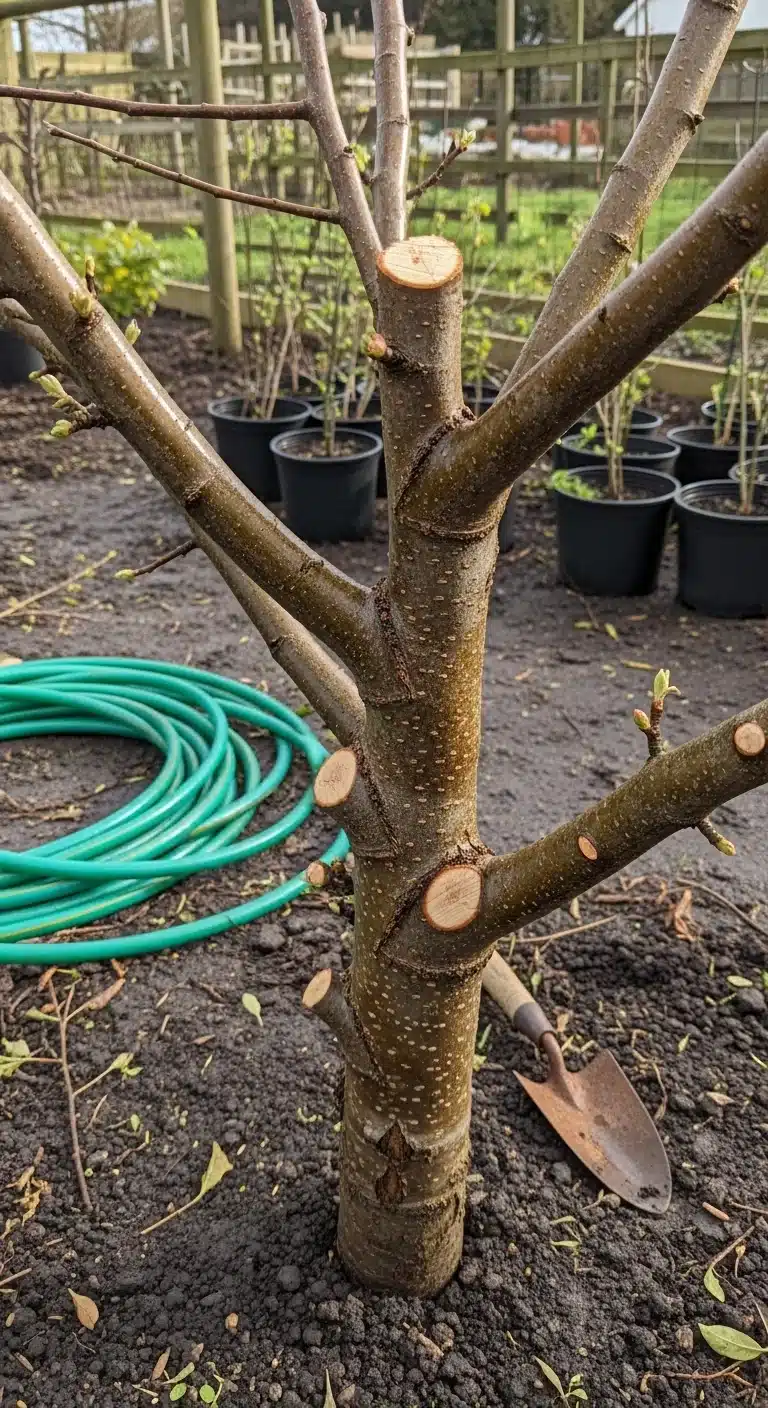
Young apple trees require a blueprint that sets permanent scaffold branches in the first four years. At planting, head the central leader to 30 inches if it is a whip. The following dormant season, select three to five branches spaced evenly around the trunk at 18 to 30 inches above ground and angled outward at 45 to 60 degrees. Remove all other shoots near the top that compete with the chosen leader.
Each subsequent winter, shorten the leader by one-third and repeat scaffold selection on the next tier 24 inches higher. Tie or weight upright branches to horizontal to slow their growth and encourage spurs. This process creates a strong conical frame that supports heavy crops later.
Edge case: if last season produced shoots longer than 24 inches, make slightly heavier heading cuts on the leader to balance vigor. See our when to plant fruit trees guide for timing that aligns planting with this first pruning window.
2. Eliminating Suckers and Water Sprouts
Best for: Branch 2
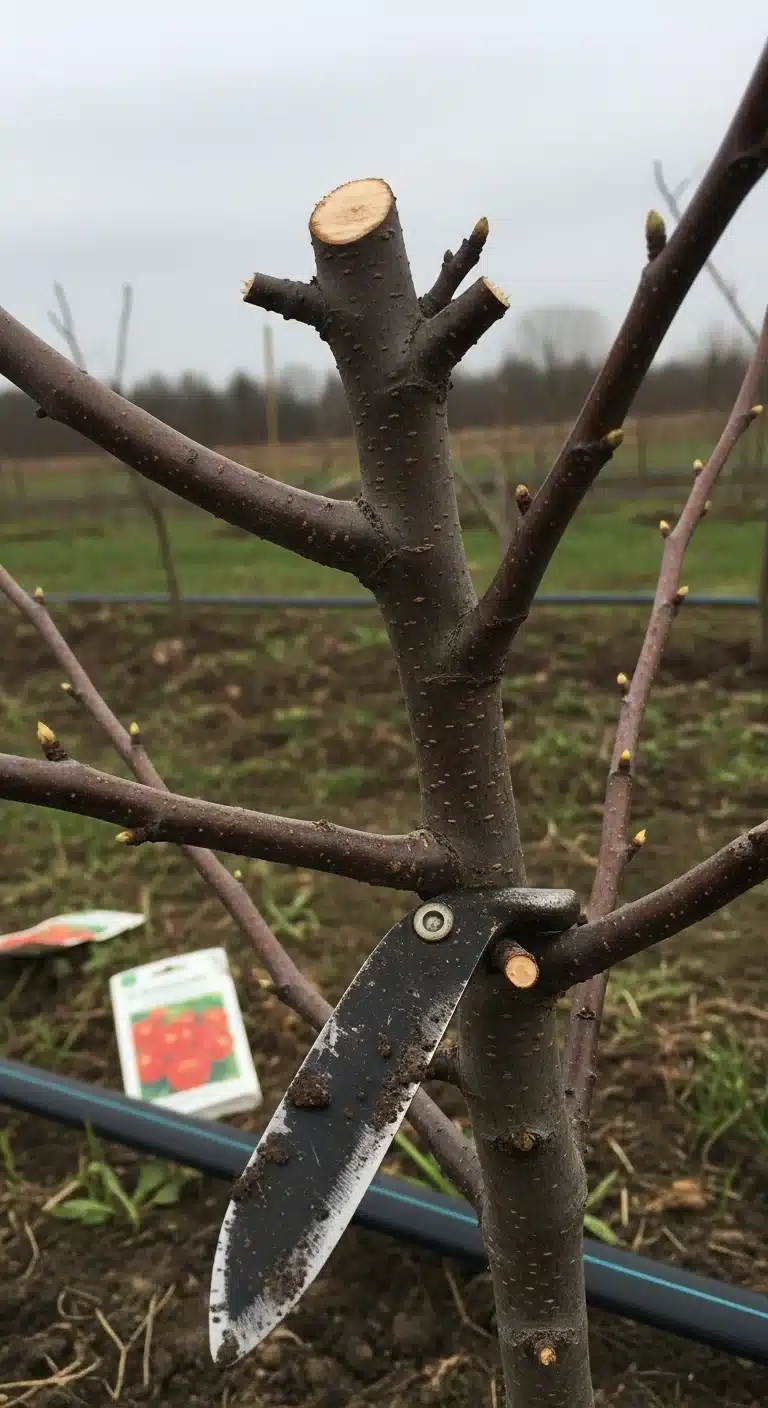
Use versus skip: remove every sucker at the base and every water sprout growing straight up from the trunk or scaffolds. These shoots steal energy without producing fruit and crowd the canopy. Skip them only if a water sprout fills an empty spot in an otherwise open area.
Edge case: in hot summers, water sprouts appear quickly after heavy dormant pruning. Pull them by hand when still soft rather than waiting for the next winter.
3. Thinning Cuts to Improve Light and Air
Best for: Branch 2
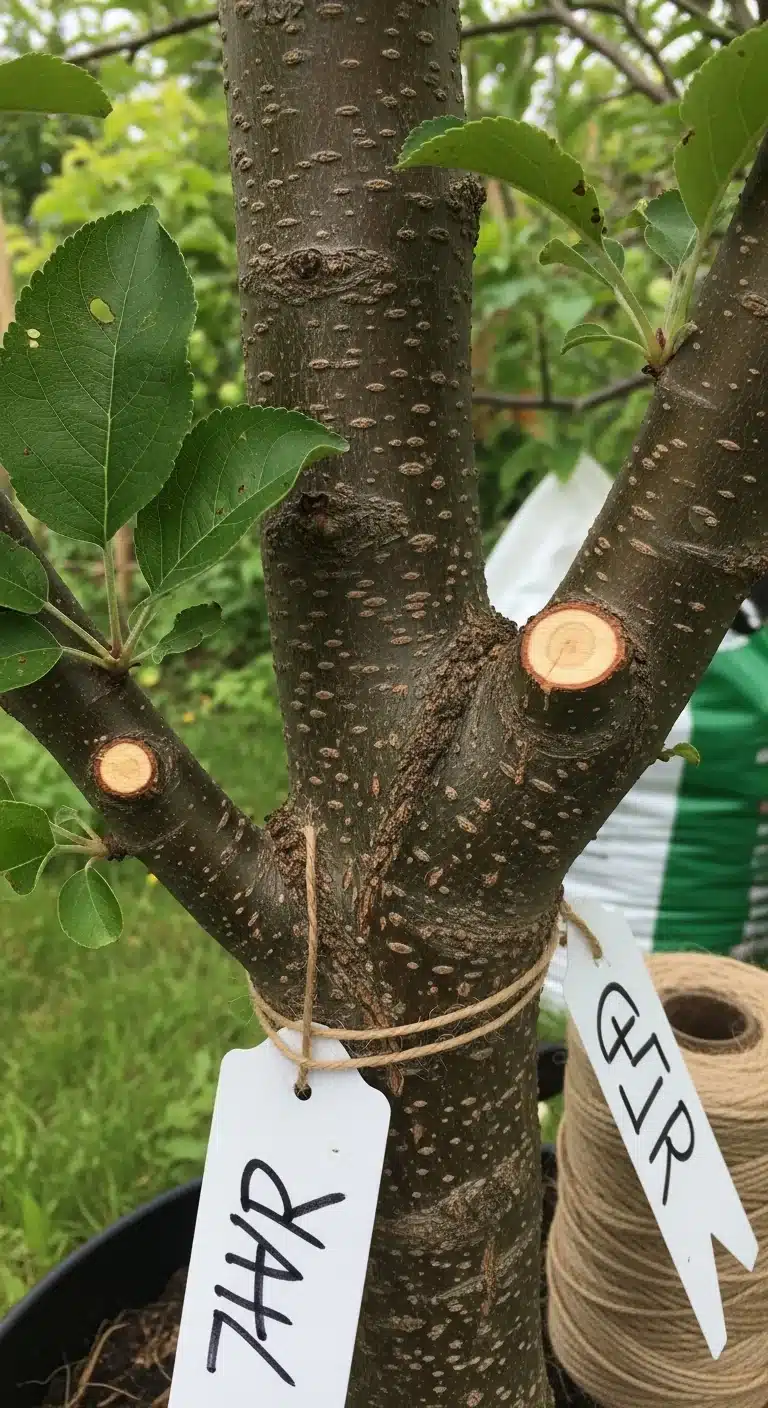
Thinning removes entire branches back to their collar instead of shortening them. Start at the top and interior, taking out crossing, rubbing, or downward-growing limbs. The goal is to allow sunlight to reach spurs throughout the canopy.
Threshold rule: keep cuts spaced so no two major limbs sit closer than 18 inches vertically. This adjustment directly supports fruit color and reduces fungal pressure. Proper light also aids pollination success; see our apple tree pollination guide for details on variety placement that complements open canopies.
4. Spur Renewal Pruning on Established Trees
Best for: Branch 2
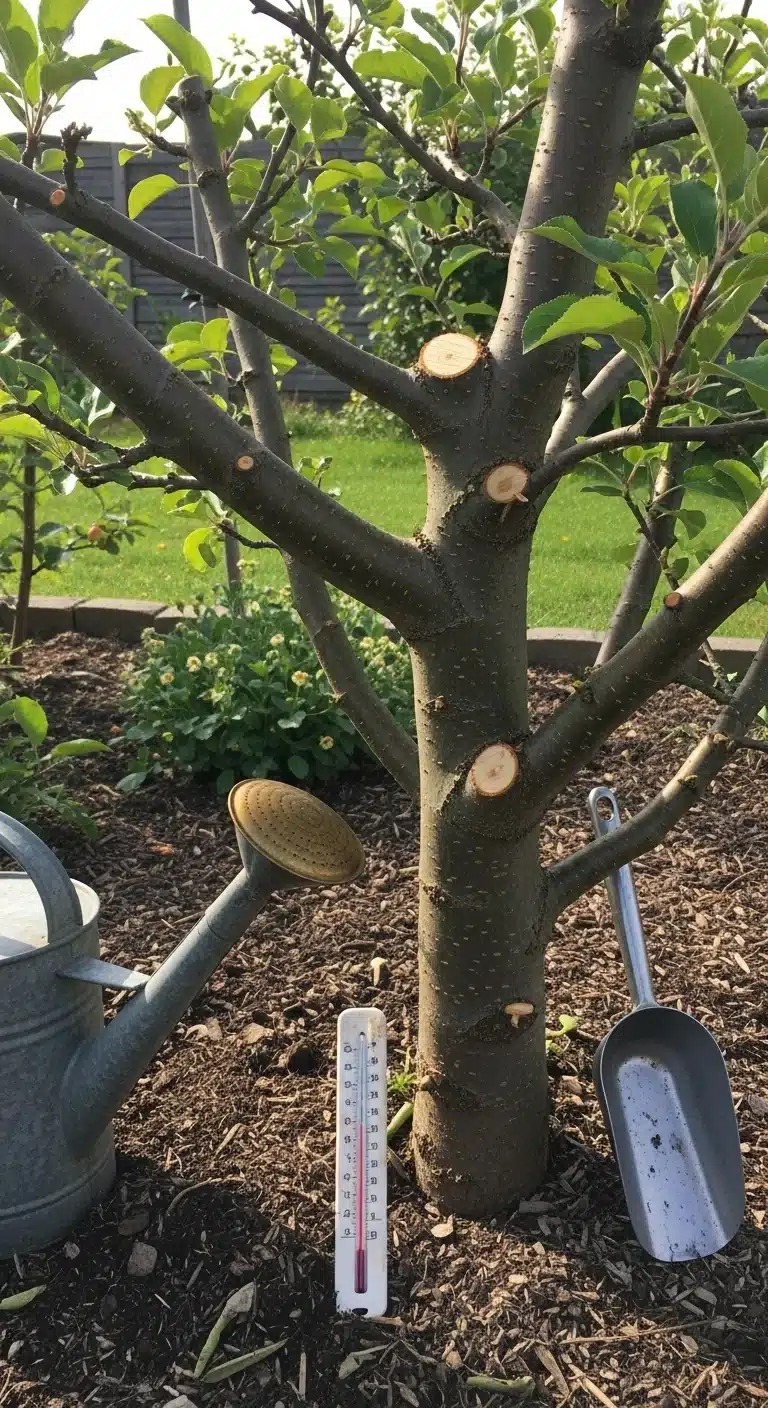
Mature trees produce most apples on spurs two to three years old. Renewal pruning keeps those spurs vigorous by removing wood older than four years or any spur that has borne fruit for three consecutive seasons. Cut the spur back to a healthy lateral bud or replace the entire branch with a younger one growing at the right angle.
Blueprint: identify spurs by their short, knobby appearance. Thin clusters so no more than two spurs remain per foot of branch. This maintains annual cropping without exhausting the tree. The technique overlaps with cane renewal on other fruits; our raspberry pruning guide shows the shared principle of cycling productive wood.
Constraint: never remove more than one major fruiting branch per scaffold in a single year to avoid shock.
5. Summer Pruning for Vigor Control
Best for: Branch 2
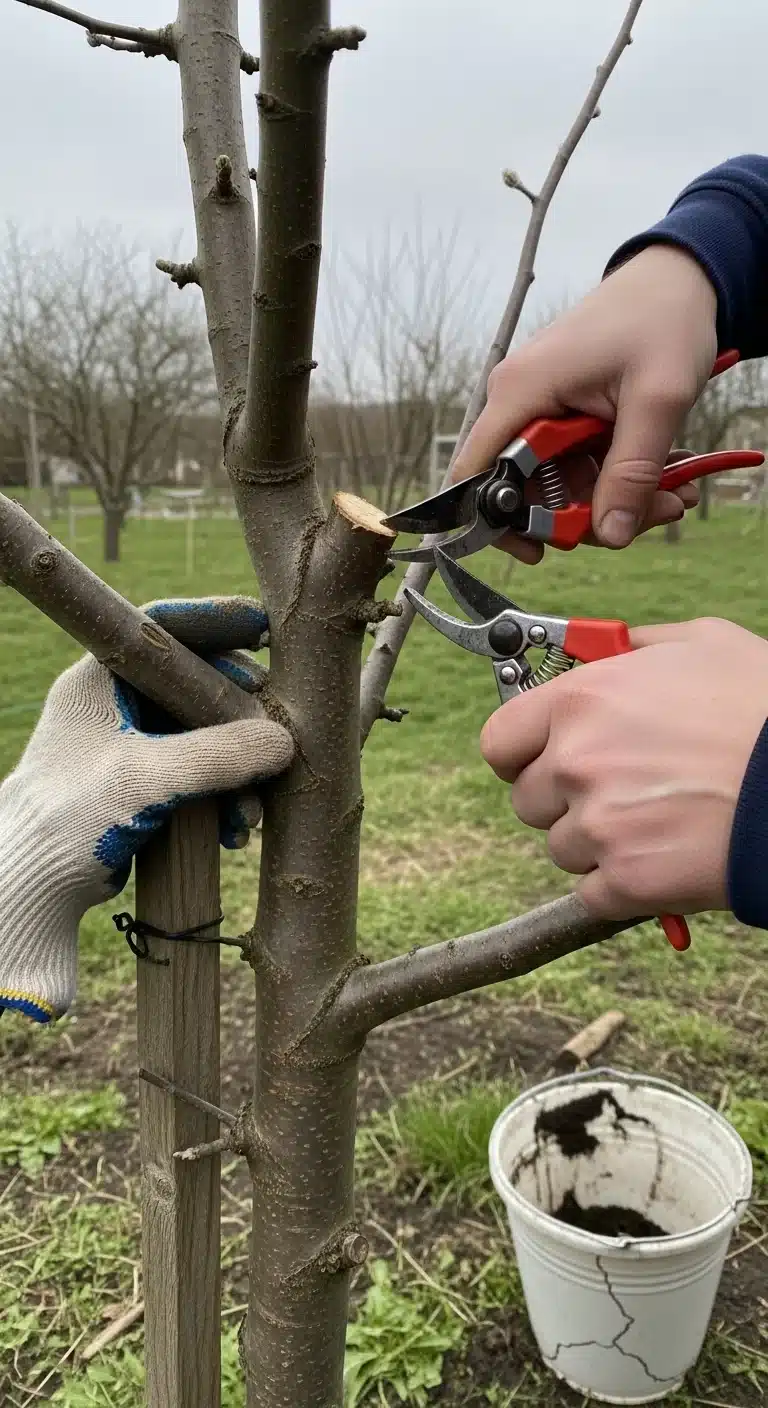
Summer pruning after fruit set shortens current-season growth by up to half on overly vigorous trees. It slows vegetative extension without triggering the strong regrowth that dormant cuts often cause.
Use when new shoots exceed 24 inches by midsummer and shade lower spurs. Perform only on clear days above 60 degrees to ensure quick healing.
6. Central Leader vs Open Center Training
Best for: Branch 1
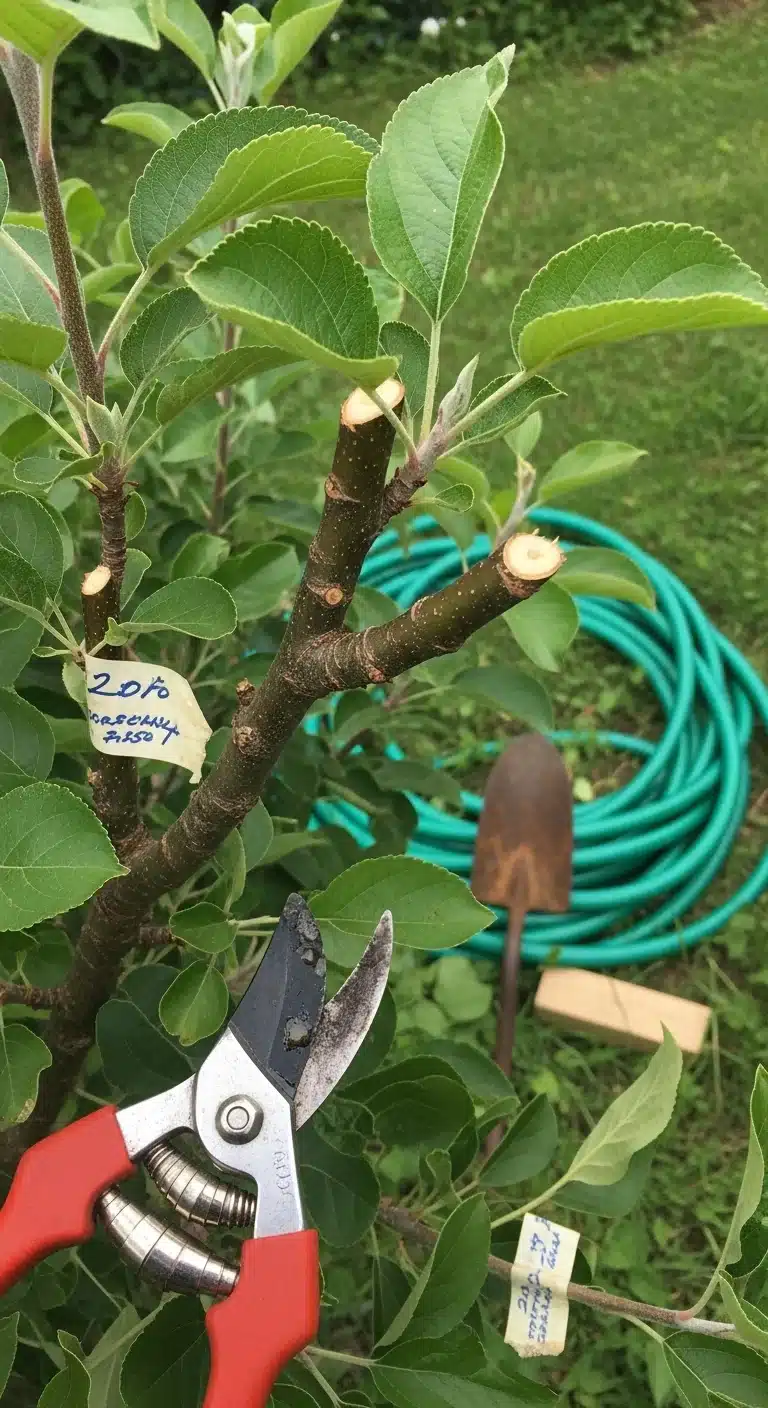
Central leader training keeps one upright dominant trunk with tiers of scaffolds. It suits most home gardens because it produces a strong, conical tree that resists wind. Open center (vase) training removes the leader early and develops three to four equal scaffolds that form a bowl shape. It works better in regions with intense summer sun because the open top improves light penetration to all fruit.
Threshold rule: choose central leader unless your garden receives more than eight hours of direct sun daily and space allows a wider canopy. Both systems begin with the same first-year scaffold selection described in Item 1.
7. Renovation Pruning for Neglected Trees
Best for: Branch 3
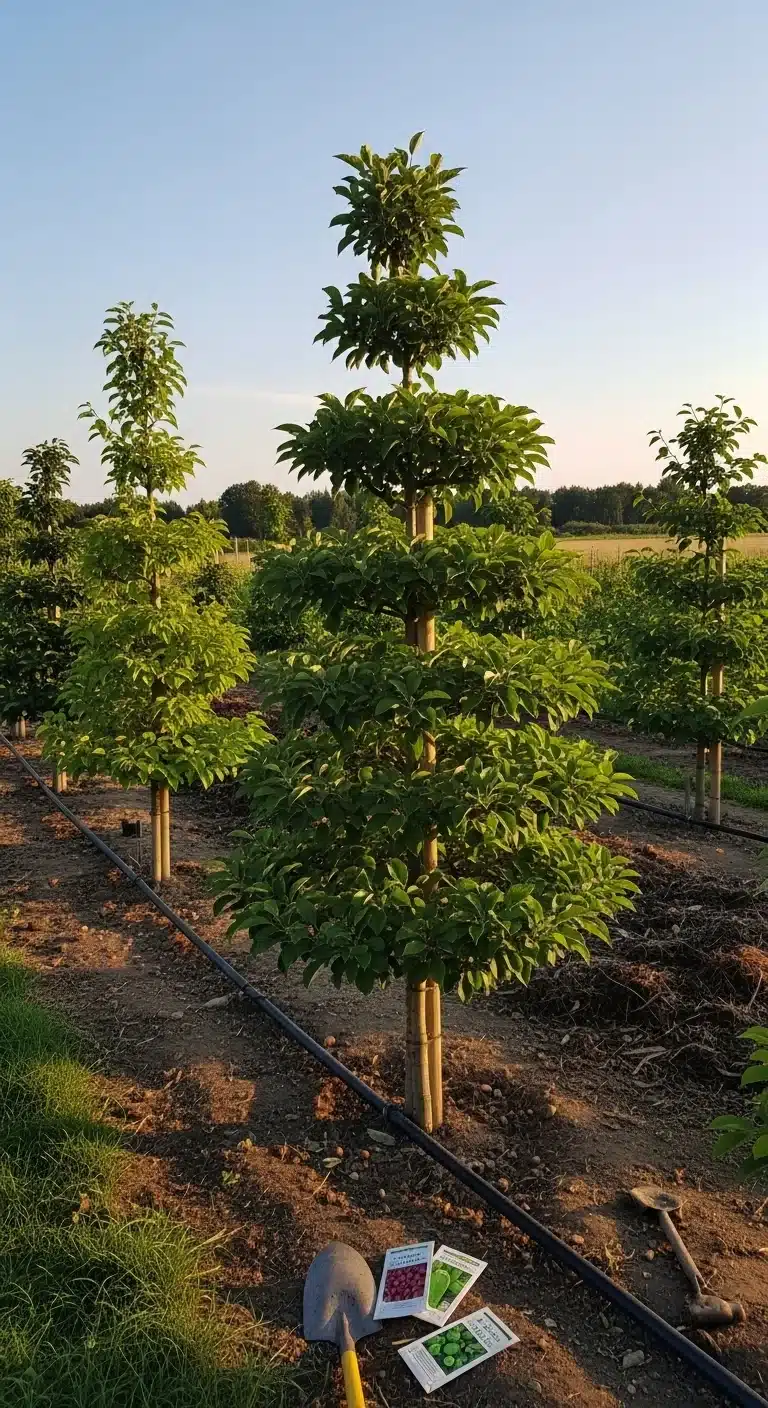
Overgrown trees require renovation spread across three seasons to avoid shock. Year one: remove all dead, diseased, and broken wood plus the tallest upright limbs to drop overall height by no more than five feet. Year two: open the interior by thinning crowded branches. Year three: renew spurs on the remaining scaffolds.
Blueprint: always cut back to a strong outward-facing lateral. Protect the tree afterward with bird netting to prevent fruit loss while it recovers. Our bird netting fruit trees guide details the best installation timing right after renovation cuts.
Constraint: if the tree sits in a region prone to late spring frost, complete the first heavy cuts only after the last expected freeze date.
8. Proper Cut Technique and Tools
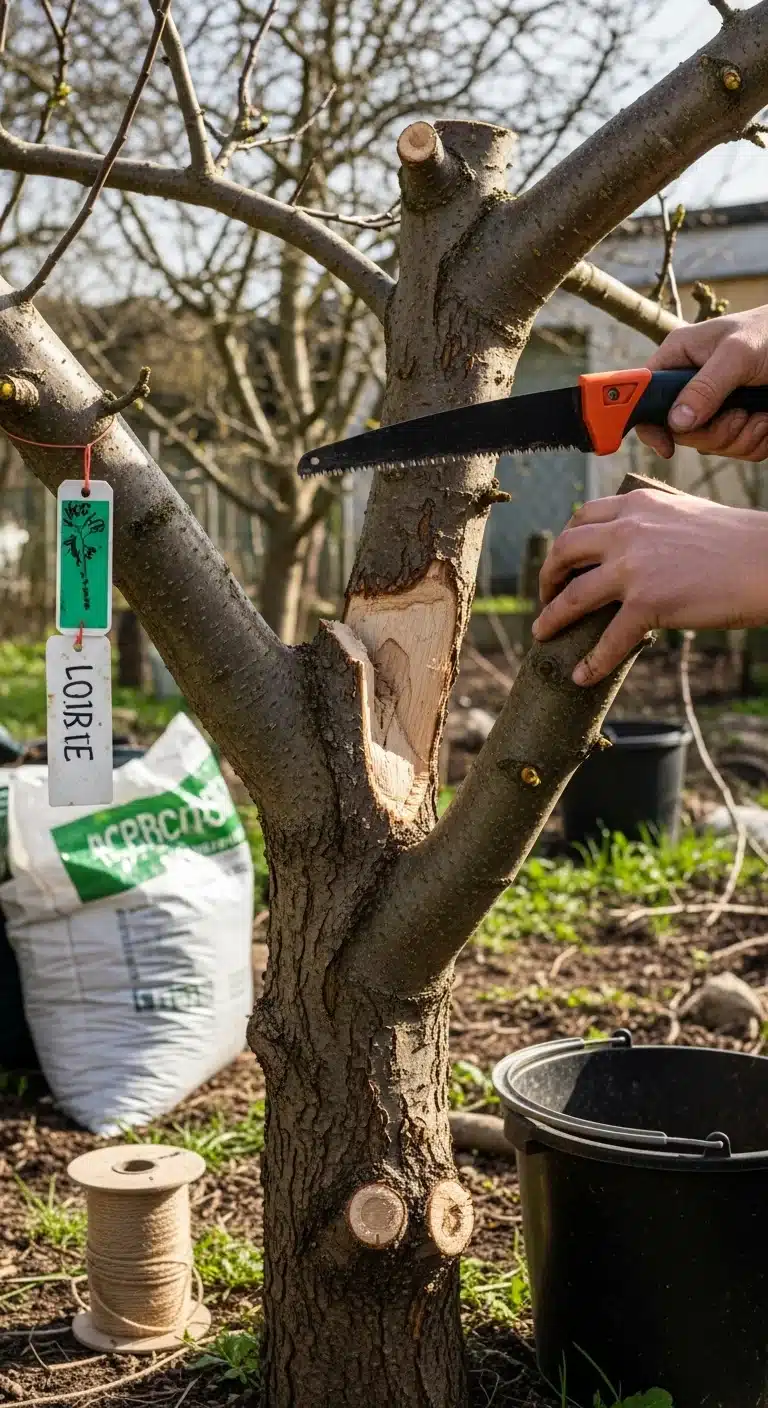
Best for: All branches
Use sharp bypass pruners for branches under one inch, loppers for one to two inches, and a pruning saw for anything larger. Cut just outside the branch collar at a slight angle that matches the natural branch ridge. Never leave stubs or cut flush to the trunk.
Ten-minute workflow: disinfect tools with 10 percent bleach solution between trees, make the three-part cut on large limbs (undercut, top cut, final collar cut), then step back and assess light gaps before the next removal.
9. Pruning for Special Forms like Espalier and Columnar
Best for: Branch 1
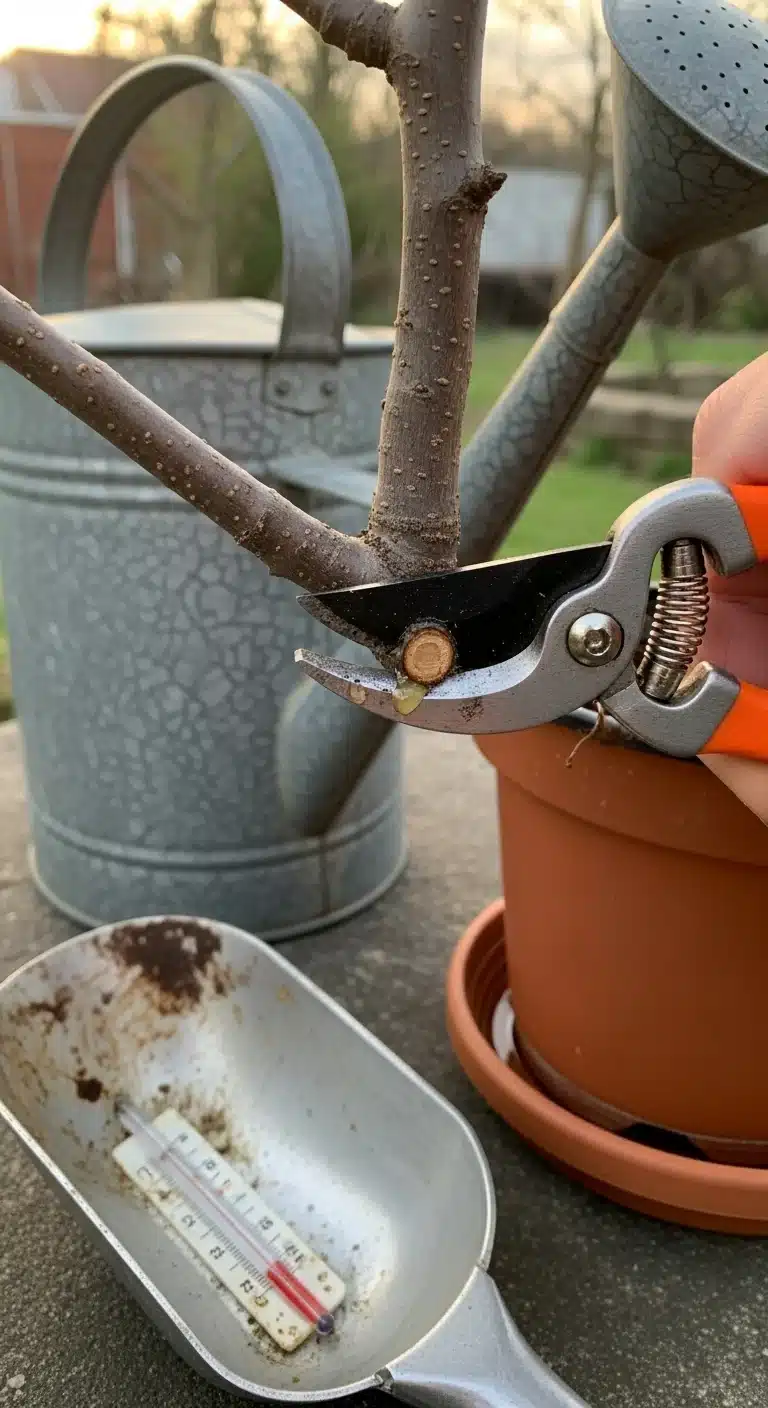
Espalier and columnar forms need directional pruning from year one. For espalier, select horizontal arms and remove any growth that breaks the flat plane. For columnar types, keep the central leader and shorten laterals to two buds each winter. Both systems rely on summer pinching to maintain the narrow profile.
Threshold rule: begin training only on trees grafted onto dwarf or semi-dwarf rootstocks. Our espalier fruit trees guide and columnar resources detail the exact tie-down schedule that locks the shape early.
Starter Stack (What to Choose First)
Branch 1: Young establishing trees
Start with Items 1 and 6. Structural training sets the scaffold framework while the central-leader versus open-center decision locks the overall shape. Together they require one 45-minute winter session plus occasional summer checks, using only hand pruners and ties. The synergy prevents future overcrowding and creates the foundation for all later maintenance.
Branch 2: Mature productive trees
Start with Items 4 and 3. Spur renewal keeps fruiting wood young while thinning cuts open the canopy for light. The combination takes 30 to 60 minutes per tree once per season and directly improves fruit size and color with no extra tools beyond loppers.
Branch 3: Neglected or overgrown trees
Start with Items 7 and 2. Renovation removes excess height and volume while sucker and water-sprout removal prevents immediate regrowth waste. Expect two to three sessions over the first year plus basic saw work; the pair restores productivity without shocking the tree into excessive vegetative response.
When This Won’t Work
Pruning fails when performed right before a hard freeze forecast within 48 hours or when the tree shows active leaf and bloom growth without a clear summer-pruning intent. In both cases, cuts heal slowly and invite disease entry.
Alternative action: delay until the dormant window after the coldest weather has passed or switch to light summer pinching only. If the tree carries active fire-blight symptoms, remove affected limbs at least 12 inches below visible damage and sanitize tools between cuts rather than attempting full renovation in the same season.
Choosing the Right Option for Your Situation
Budget threshold
Under 50 dollars: hand pruners and loppers only. Focus on Items 2, 3, and 8. Above that amount, add a folding saw and allow Items 7 and 9 for renovation or trained forms.
Time threshold
Under 30 minutes per tree: limit to Items 2 and 8 for quick tidy-up. One hour available: add Items 3 and 4 for full maintenance on mature trees.
Technical constraint
If your tree already follows an espalier or columnar form, restrict work to Items 5 and 9. Standard round canopies use the full decision-grid sequence.
Yes/No checklist:
– Tree stage classified by age and shoot length? Yes/No
– Tools sharp and clean? Yes/No
– No more than one major scaffold removed per year on mature trees? Yes/No
– Follow-up care scheduled? Yes/No
Expert Q&A
How soon after planting should the first pruning cuts occur?
Prune immediately at planting for whips, heading the leader to 30 inches. The next dormant season completes scaffold selection. Waiting longer allows competing shoots to set poor angles that become harder to correct later.
Does pruning timing affect alternate bearing in some varieties?
Yes. On varieties that tend to bear heavily one year and lightly the next, perform heavier dormant pruning in the season just before the expected light crop year. This encourages more fruiting spurs for the following cycle while the tree has lower crop load.
Can I combine fruit thinning with pruning in the same season?
Yes, but sequence matters. Complete dormant pruning first, then thin fruit six to eight weeks after bloom once natural drop finishes. The two practices together keep the tree in balance without over-stressing it.
What happens if I prune during active growth outside of summer?
Cuts made while leaves are expanding increase water loss and slow healing. Reserve any non-dormant work for targeted summer pinching of new shoots only, never for structural removal.
How do rootstock vigor levels change the pruning approach?
Semi-dwarf and standard rootstocks need the full stage-based cuts described here. Dwarf rootstocks on columnar or espalier forms require lighter annual heading and more frequent summer checks to stay within allotted space.
Conclusion
Next step: walk your orchard this dormant season, match each tree to its decision-grid branch, and begin with the two starter-stack items recommended for that stage. For immediate protection after renovation work, see our bird netting fruit trees guide.