
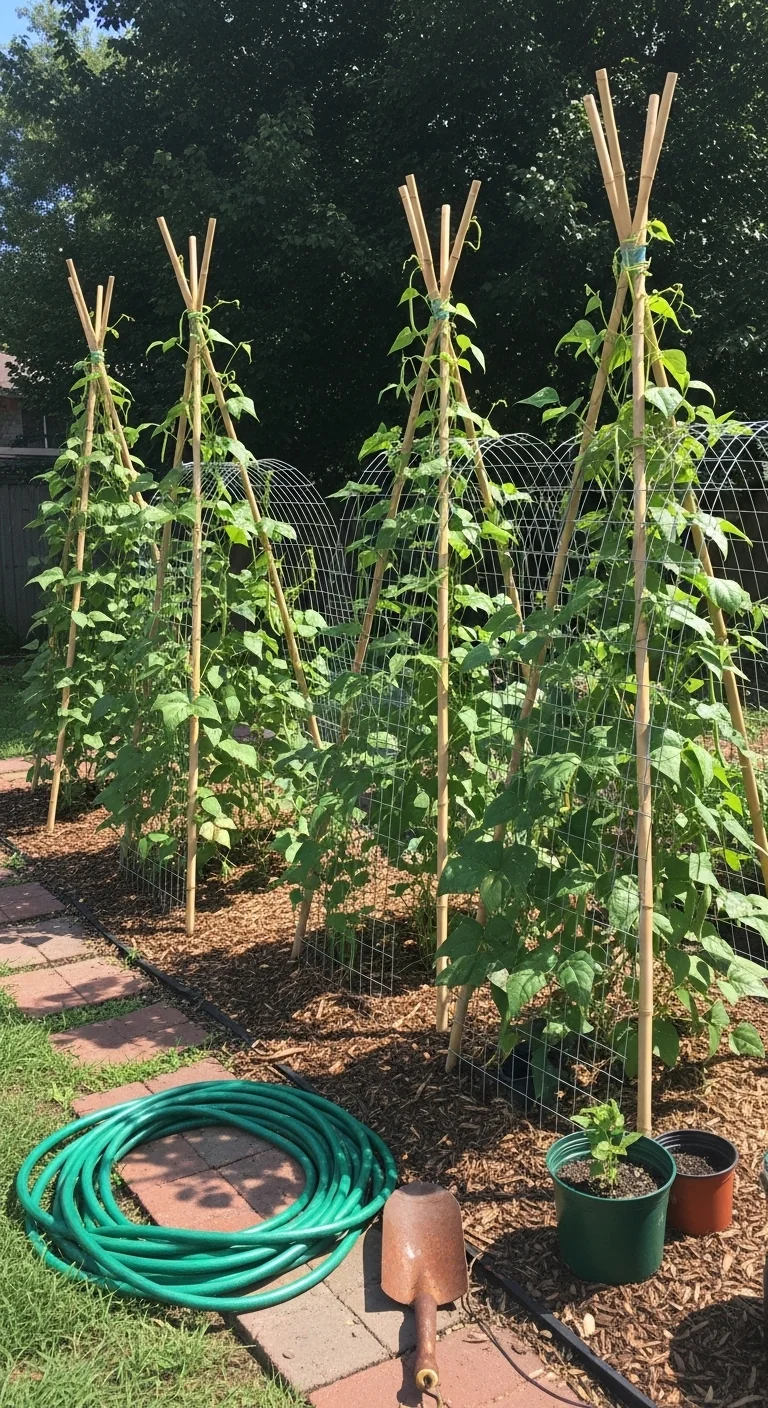
The right beans on trellis system is not a universal teepee or netting choice. It is the one that aligns exactly with three measurable conditions in your garden: footprint size, wind exposure level, and assembly time budget. This grid replaces trial-and-error setups with direct matches that keep vines stable and pods accessible.
This guide covers nine distinct trellis configurations for pole beans and runner beans only. It excludes bush bean varieties, which require no vertical support, and non-edible vining plants. Each option includes installation details, spacing rules, and one constraint that matters for success.
You will exit with a clear choice of trellis, exact placement steps matched to your conditions, and the adjustments that prevent vine collapse or poor airflow. Apply the grid first, then build or buy the matching system.
Identify your branch below, select the two recommended items in the Starter Stack, and install within the next planting window for reliable vertical bean production.
The Yield Grid Decision Grid
Branch 1: Limited space. Your available footprint measures under 25 square feet or you use containers and raised beds. Conditions include balconies, patios, or narrow side yards. Recommended: Items 2, 5, and 7 below. For integration ideas across small layouts, see vegetable garden layout ideas.
Branch 2: Open full-sun space with wind exposure. Your garden has 50 square feet or more of unobstructed sun and experiences occasional gusts above 15 miles per hour. Recommended: Items 1, 3, 4, and 9 below.
Branch 3: Budget and beginner constraints. Assembly must take under 30 minutes with basic tools and materials costing under the local equivalent of 25 dollars. Recommended: Items 6 and 8 below.
Quick Comparison Table
| Option | Key mechanism | Best for | Decision Grid Branch | Effort Score |
|---|---|---|---|---|
| Bamboo Teepee Trellis for Pole Beans | Poles lashed at apex with natural twine binding | Medium spaces needing airflow | Branch 3 | 2 |
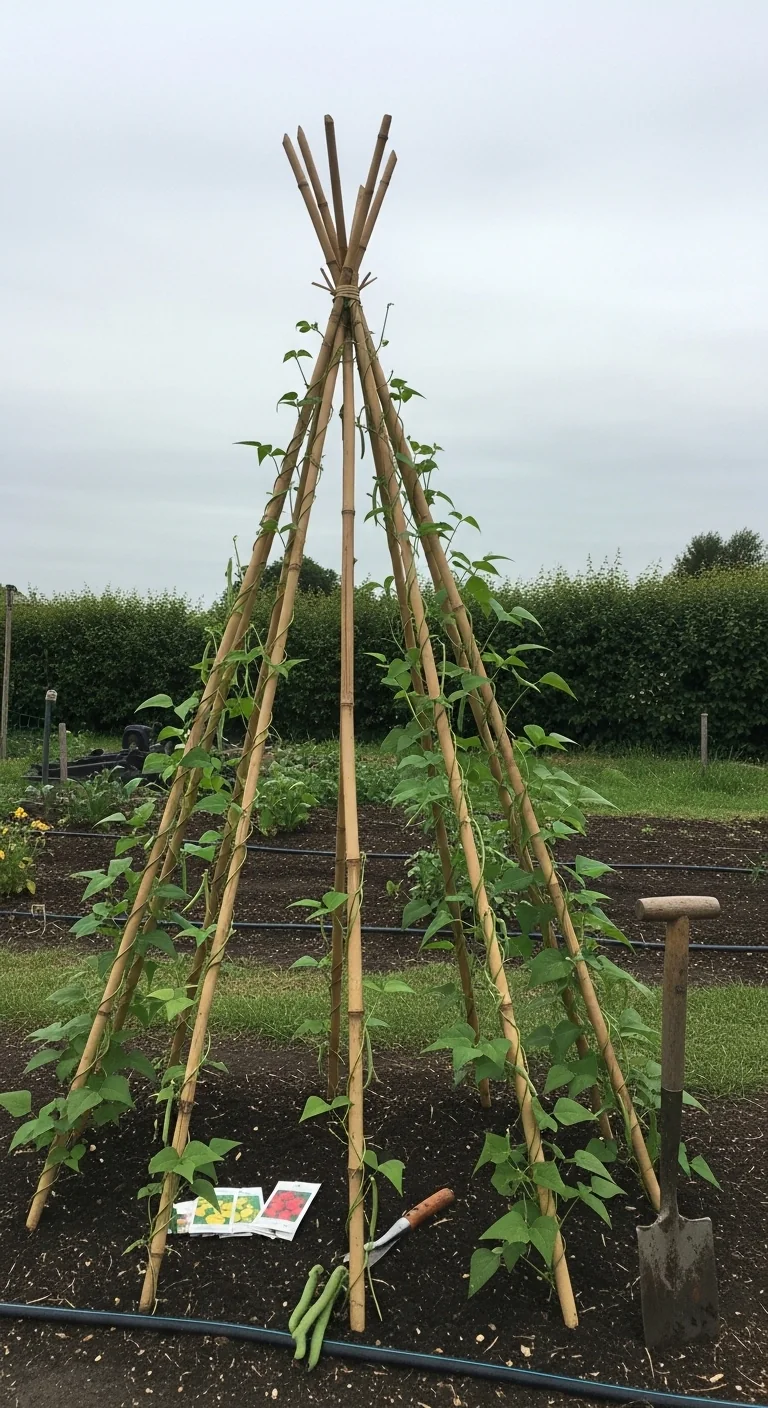
| String and Stake System | Vertical strings tied between ground stakes and overhead crossbar | Ultra-narrow footprints | Branch 1 | 3 |
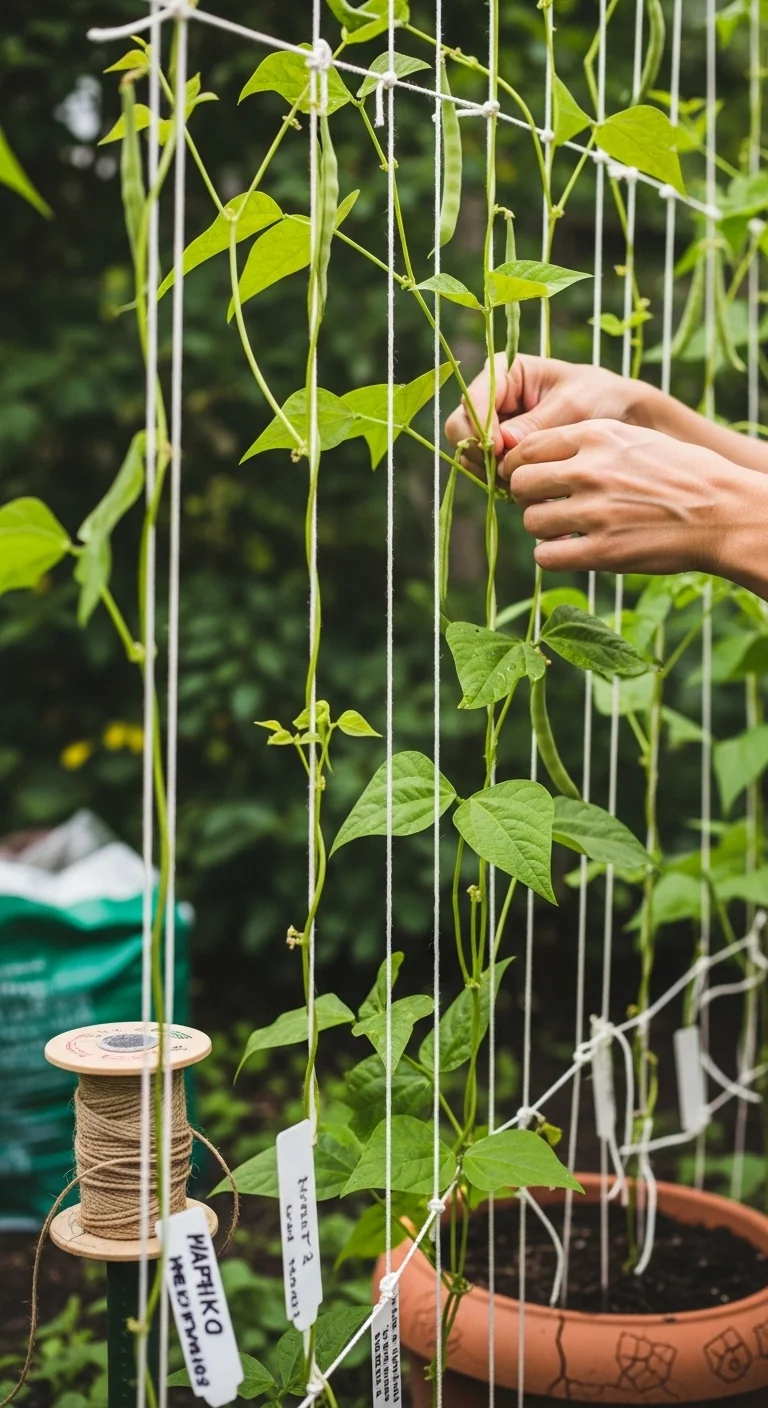
| A-Frame Ladder Trellis | Angled rails forming stable ladder rungs | Wind-prone open areas | Branch 2 | 1 |
| Cattle Panel Arch Trellis | Rigid livestock panel bent into arch shape | Heavy vine loads in sun | Branch 2 | 2 |
| Vertical Netting on Existing Fence | Plastic or jute netting anchored to fence posts | Boundary or wall spaces | Branch 1 | 4 |
| Wooden Lattice Panel Trellis | Pre-cut lattice squares fastened to posts | Budget DIY with clean lines | Branch 3 | 2 |
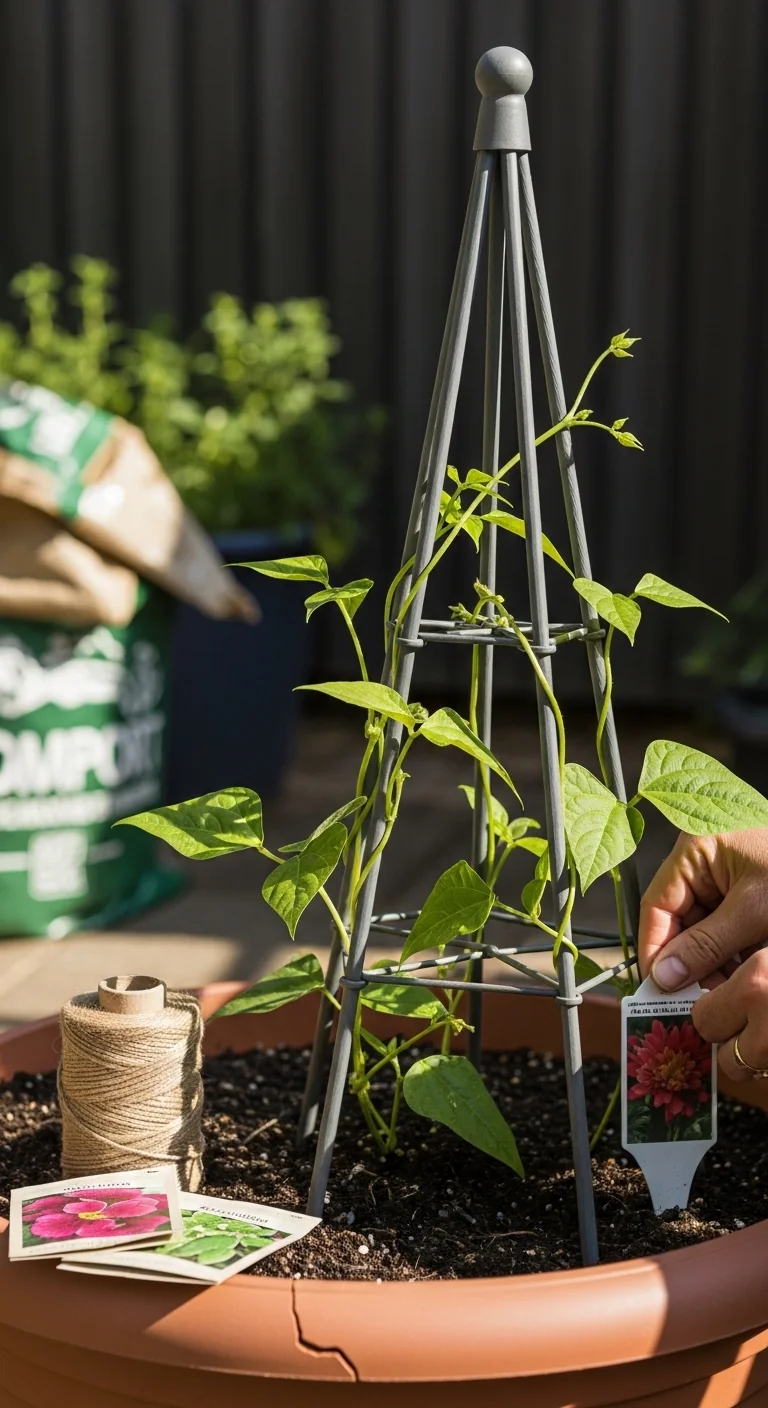
| Obelisk Trellis for Containers | Tapered pyramid frame with cross supports | Pot or small-bed edges | Branch 1 | 1 |
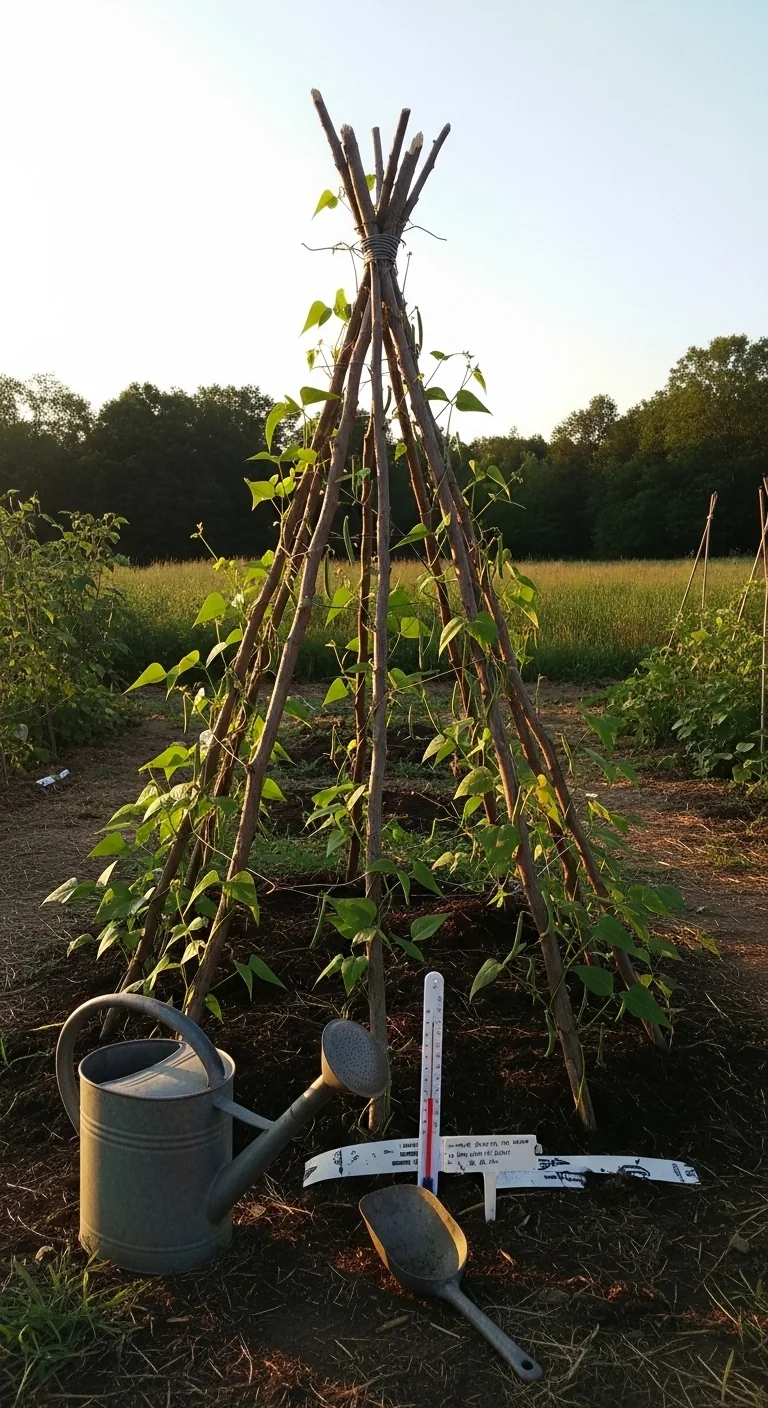
| Repurposed Branch Teepee | Foraged branches tied at top with wire | Zero-cost natural look | Branch 3 | 3 |
| Wire Mesh Cylinder Trellis | Rolled wire mesh formed into freestanding cylinder | Full-sun open plots | Branch 2 | 2 |
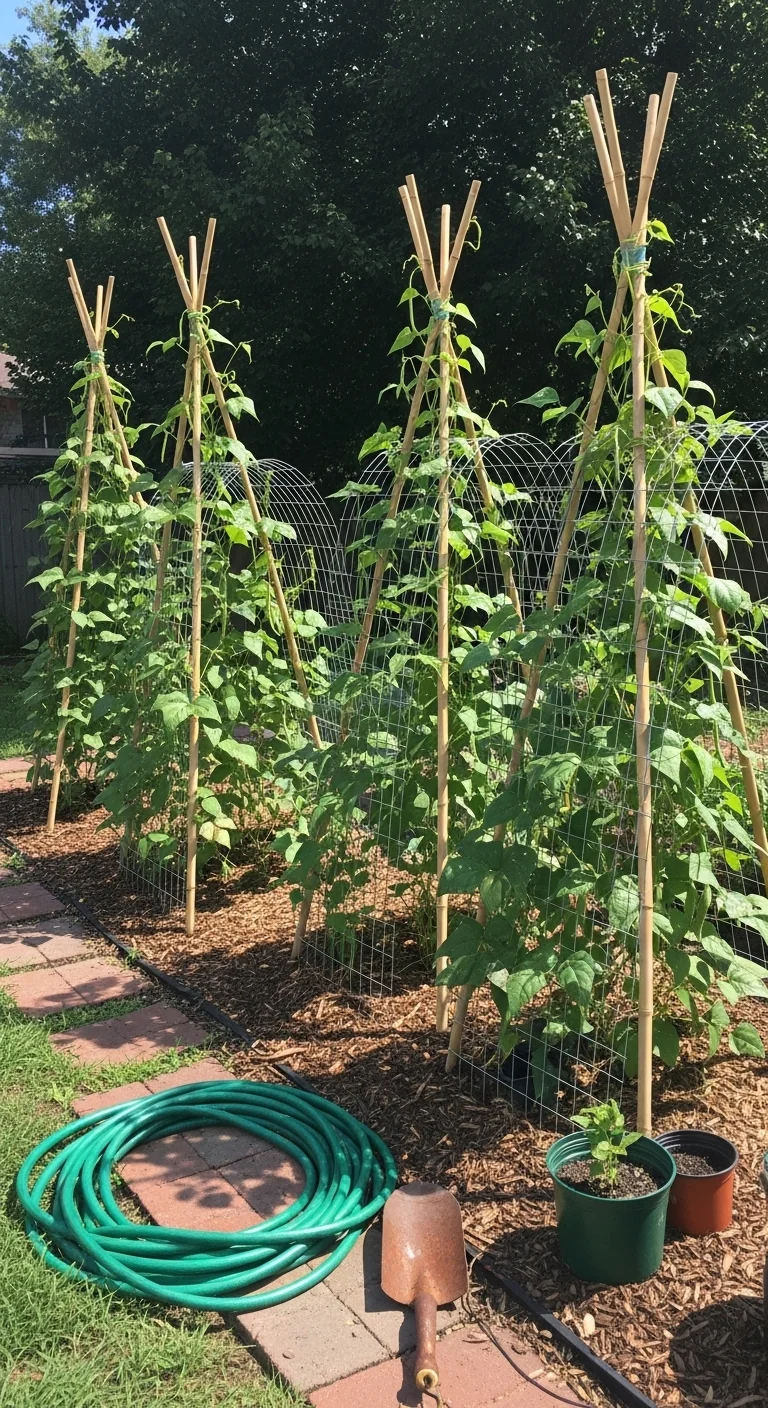
Bamboo Teepee Trellis for Pole Beans
Best for: Branch 3
Use six to eight 7-foot bamboo poles arranged in a circle with a 4-foot base diameter. This creates the classic beans on trellis shape while allowing full sun penetration to all vines. Insert poles 6 inches into soil, then lash tops together with twine or wire. Plant four to six pole bean seeds 1 inch deep and 4 to 6 inches apart at the base of each pole.
Steps: level the circle first for stability, tie the apex at 6 feet high, and add one horizontal twine ring at mid-height for extra grip. Common mistake is skipping the mid-ring, which lets heavy pods pull vines outward after week six. In raised beds this pairs especially well because the base fits neatly inside the frame edges. Raised bed vegetable garden setups gain vertical height without extra footprint.
Unique constraint: bamboo lasts two seasons in most climates before splitting, so plan replacement every other spring.
String and Stake System
Best for: Branch 1
Use vs skip: deploy this when every inch counts and you already have stakes on hand. Skip if your site receives gusts over 15 miles per hour because strings stretch and vines sag. Edge case: works on balconies where permanent structures are banned.
A-Frame Ladder Trellis
Best for: Branch 2
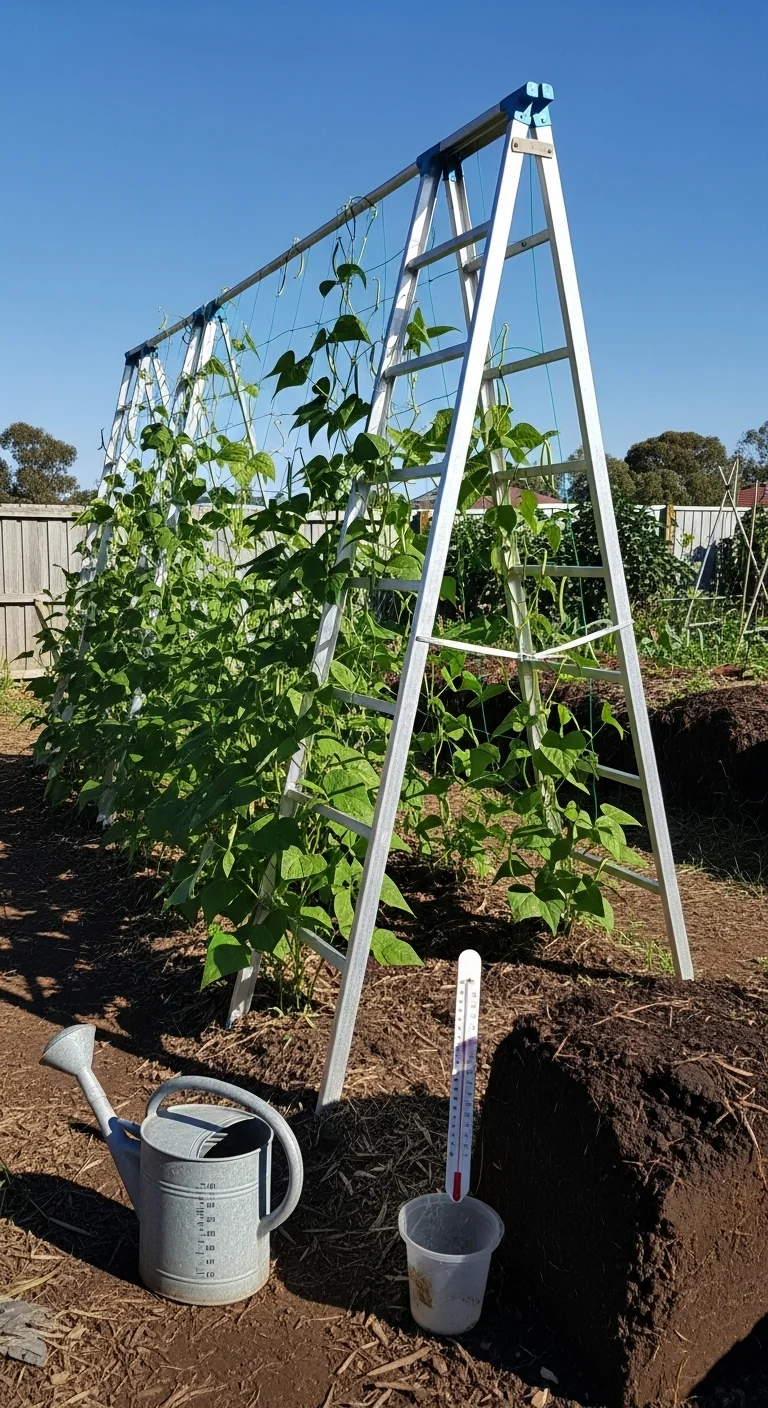
Threshold rule: build only when your open space exceeds 50 square feet and wind speeds occasionally exceed 15 miles per hour. Use two 8-foot rails per side angled at 60 degrees with 18-inch rungs spaced every 12 inches. This angle sheds wind better than vertical poles while keeping pods within easy harvest reach. Adjust rung spacing to 10 inches if you grow longer-pod runner beans that need extra grip. Threshold adjustment: widen the base by 6 inches in zones with spring storms.
The mechanism creates natural airflow that reduces foliar disease risk compared to solid panels. Cucumbers on trellis techniques transfer directly here for training the first 12 inches of growth.
Cattle Panel Arch Trellis
Best for: Branch 2
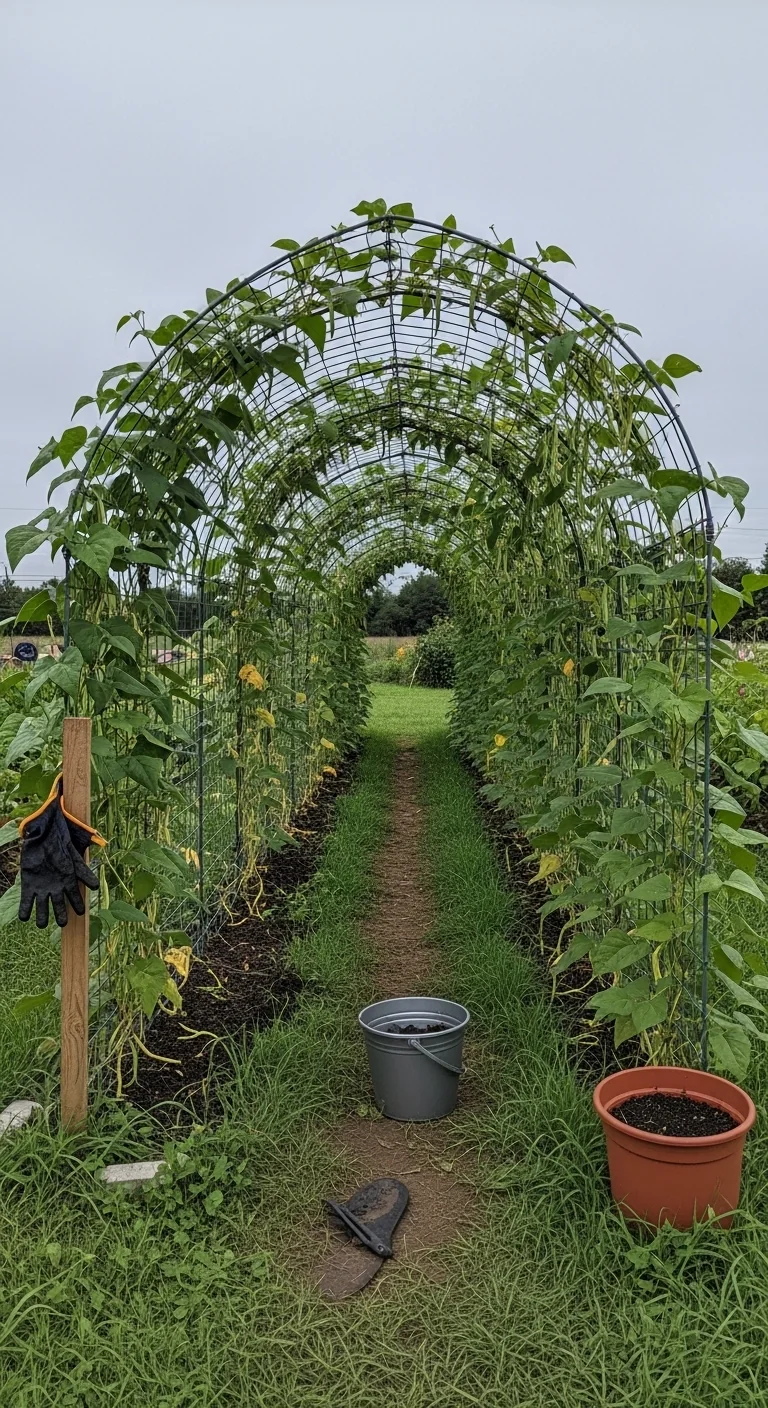
10-minute workflow: unroll one 16-foot cattle panel, bend it into an arch over a 4-foot-wide path, and secure ends with two ground stakes each. Plant beans 4 inches apart along both sides of the arch base. Upgrade option: add a second panel opposite the first to form a full tunnel once you confirm stability. This setup handles mature vine weight without sway because the panel mesh provides multiple attachment points every 6 inches. Unique detail: the arch shape funnels afternoon sun evenly to both sides, which matters for pod set in gardens that receive slanted western light after 3 pm.
Pair with organic fertilizer for vegetables applied at planting to support the heavier canopy load.
Vertical Netting on Existing Fence
Best for: Branch 1
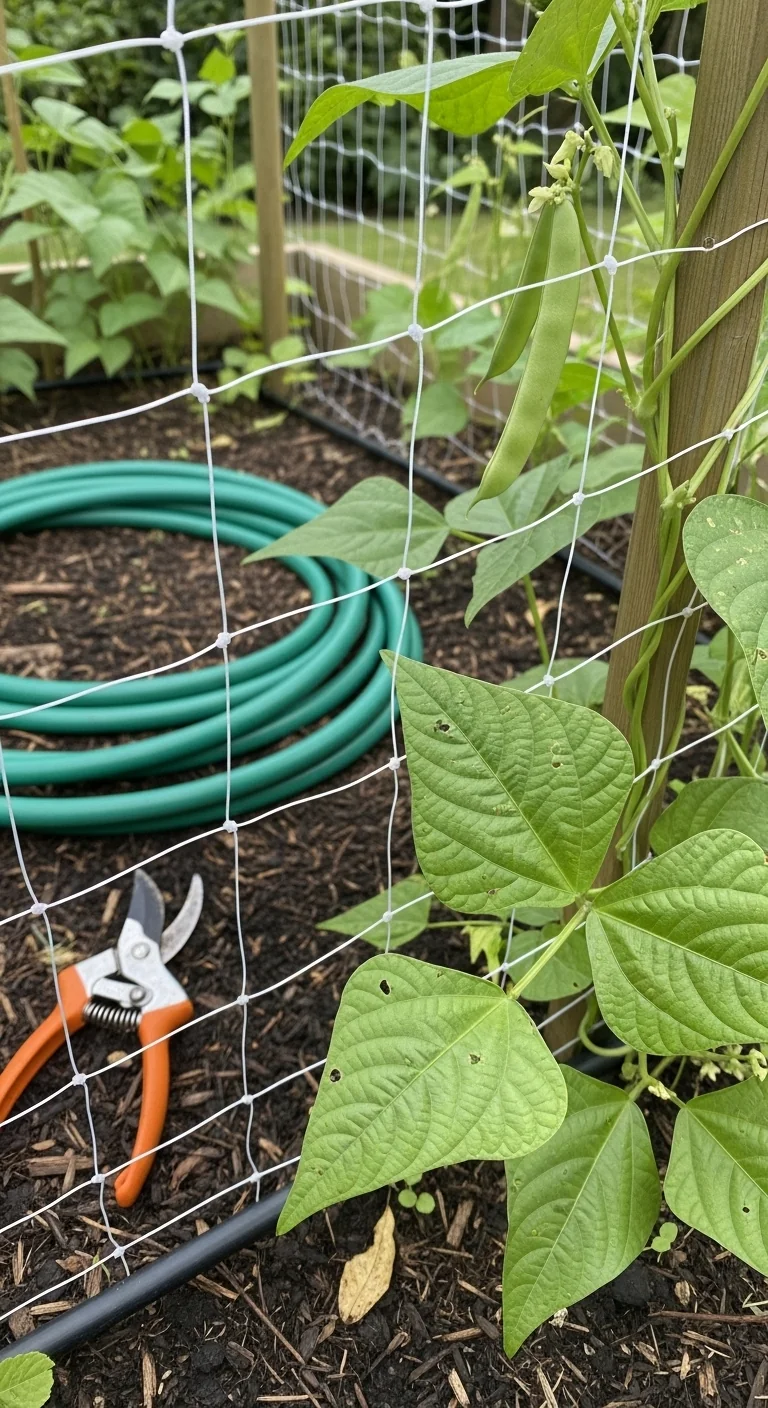
Blueprint: stretch 5-foot-wide netting vertically against any existing fence or wall, anchor top and bottom with zip ties every 12 inches, then plant seeds 6 inches from the base. This turns boundary lines into production space without new footprint. Mistake to avoid: using jute netting in humid climates where it degrades by midsummer.
Wooden Lattice Panel Trellis
Best for: Branch 3
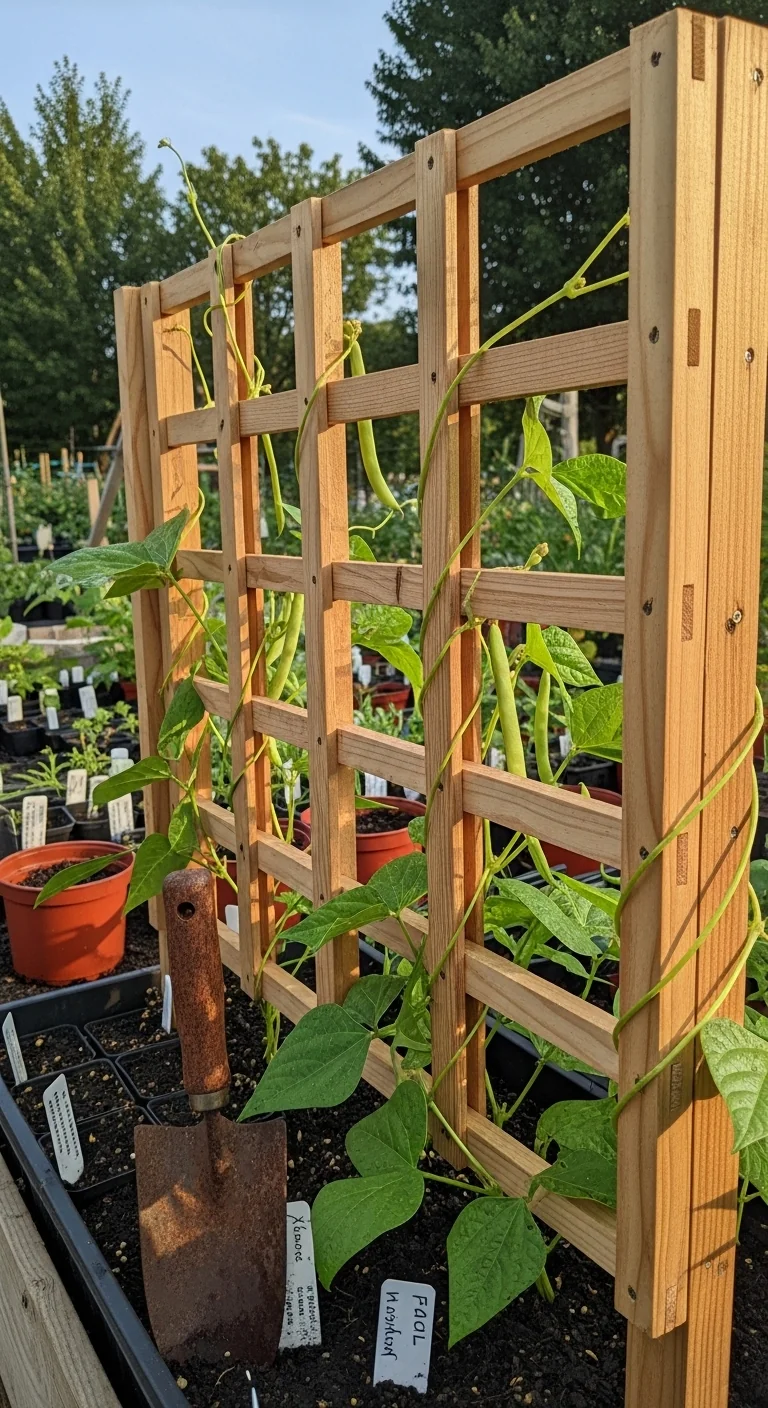
Threshold rule: select pre-cut 4-by-8-foot lattice panels only when total material cost stays under 25 dollars and assembly time stays under 30 minutes. Fasten two vertical 2-by-4 posts 6 feet apart, then screw the lattice between them at 6 feet height. Plant beans 5 inches apart along the base row. The square openings give vines multiple natural handholds without extra training. Adjust panel height downward to 5 feet if your variety tops out early.
Unique constraint: lattice works best in full sun because partial shade causes vines to stretch unevenly toward light gaps. Mulching vegetable garden practices keep soil moisture even under the panel base.
Obelisk Trellis for Containers
Best for: Branch 1
Blueprint: assemble a four-sided tapered frame using 6-foot cedar or pressure-treated slats joined at the top with a cap piece and cross braces at 18-inch intervals. Place one obelisk per 20-inch container or raised bed corner. Plant three to four seeds around the base perimeter. This shape directs growth upward in tight quarters while the tapered design prevents top-heavy tipping. Steps include pre-drilling all joints and testing stability before filling containers with soil. Edge case: perfect for front-yard vegetable gardens where aesthetics matter as much as yield.
Timing aligns directly with vegetable planting calendar windows for your zone.
Repurposed Branch Teepee
Best for: Branch 3
Use vs skip: ideal when you have access to straight 6-to-8-foot branches and want zero material cost. Skip if branches are under 1 inch thick because they flex under pod weight by July. Edge case: foraged branches give a natural look that blends into cottage-style gardens better than store-bought poles.
Wire Mesh Cylinder Trellis
Best for: Branch 2
10-minute workflow: cut 5-foot-wide wire mesh to 7-foot length, roll into a 3-foot-diameter cylinder, overlap edges and secure with wire ties, then drive three stakes inside the cylinder for anchoring. Plant beans 5 inches apart around the outer perimeter. Upgrade option: stack two cylinders for 10-foot height in extra-tall runner bean varieties. The mesh provides 360-degree attachment points that eliminate the need for weekly training after vines reach 2 feet. Unique detail: the cylinder traps heat at the base, which extends the harvest window by 10 to 14 days in cooler northern climates compared to open teepees.
Starter Stack (What to Choose First)
For Branch 1 (Limited space under 25 square feet or containers)
Start with the String and Stake System plus the Obelisk Trellis for Containers. Synergy comes from the string system using existing walls for zero new footprint while the obelisk adds freestanding height inside pots. Combined setup time ranges from 20 to 40 minutes. Material cost stays between 10 and 25 dollars when using household stakes.
For Branch 2 (Open full-sun space with wind exposure)
Start with the A-Frame Ladder Trellis plus the Cattle Panel Arch Trellis. Synergy arises because the ladder sheds wind on one side while the arch creates a protected microclimate tunnel on the other. Combined setup time ranges from 25 to 50 minutes. Material cost stays between 20 and 45 dollars when sourcing panels locally.
For Branch 3 (Budget and beginner under 30 minutes and 25 dollars)
Start with the Wooden Lattice Panel Trellis plus the Repurposed Branch Teepee. Synergy appears when you place the lattice against a fence line and the teepee in an open corner, giving two different heights from the same low-cost materials. Combined setup time ranges from 15 to 35 minutes. Material cost stays under 20 dollars when using foraged branches.
When This Won’t Work
Beans on trellis fails when soil temperature stays below 60 degrees Fahrenheit at planting depth for more than seven consecutive days after sowing. Vines emerge weak and never reach the first support rung. Switch to direct-sown bush beans or start seeds indoors under grow lights and transplant after the soil warms.
It also fails when trellis height stays under 5 feet for pole varieties that routinely exceed 7 feet. Pods form low and become crowded, increasing disease pressure. The alternative action is to replace the short support with any of the 6-to-8-foot options listed above or move to a sunnier site with taller structures. Watering vegetable garden consistency becomes critical here because short trellises dry out faster at the base.
Choosing the Right Option for Your Situation
When your budget threshold is under 30 dollars
Choose options 6 or 8. Both use lattice panels or foraged branches and require only basic hand tools. Avoid cattle panel or store-bought netting that pushes material costs higher.
When your time threshold is under 30 minutes for assembly
Choose options 3 or 7. The A-frame and obelisk use pre-cut or simple joinery that assembles faster than lashing multiple poles or rolling mesh.
When your technical constraint is strong afternoon winds over 15 miles per hour
Choose options 2 or 4. String systems and cattle panel arches flex without snapping and distribute force across multiple anchor points.
Yes/No checklist:
Do you have under 25 square feet? Yes, pick Branch 1.
Does your site face regular wind? Yes, pick Branch 2.
Is total material spend under 25 dollars? Yes, pick Branch 3.
Match all three answers to the grid above before buying materials.
Expert Q&A
How does trellis orientation affect pod development in runner beans versus pole beans?
Runner beans set pods more evenly on east-west oriented trellises because morning sun reaches both sides of the vine equally. Pole beans tolerate north-south orientation better because their heavier foliage canopy needs afternoon shade to prevent leaf scorch in zones with intense summer heat. Rotate the entire structure 90 degrees if pod set drops below average in midsummer.
What soil temperature and depth rules determine when to plant beans directly at the trellis base?
Wait until soil temperature at 2-inch depth reaches 60 degrees Fahrenheit and holds steady for three days. Sow seeds 1 inch deep and 4 to 6 inches apart around the base. Earlier planting in cooler soil leads to rot before emergence. Use a soil thermometer inserted at the exact planting line rather than guessing from air temperature.
Which companion plants improve airflow and reduce disease pressure around beans on trellis?
Low-growing basil or marigolds planted 12 inches from the trellis base create a living mulch layer that improves air circulation at soil level. Avoid tall companions like corn directly beside the trellis because they block light to lower bean leaves. Space companions on the north or east side only so they do not cast afternoon shade on the vines.
How often should you check and adjust vine attachment after the first four weeks of growth?
Inspect attachment points every seven to ten days until vines reach the top of the trellis. Gently guide new growth clockwise around supports if it has not self-twined. After week six, checks drop to once every two weeks unless wind events occur. Over-training early causes stem breakage.
What harvest timing prevents vines from pulling trellis structures out of alignment?
Pick pods every two to three days once they reach pencil thickness and before seeds swell inside. Leaving mature pods on the vine adds weight that shifts lightweight teepees or strings. Harvest in the morning when pods snap cleanly to reduce stress on both plant and support system.
Conclusion
Next step: review your vegetable garden layout against the chosen trellis and add companion planting for vegetables at the base to complete the system this season.