
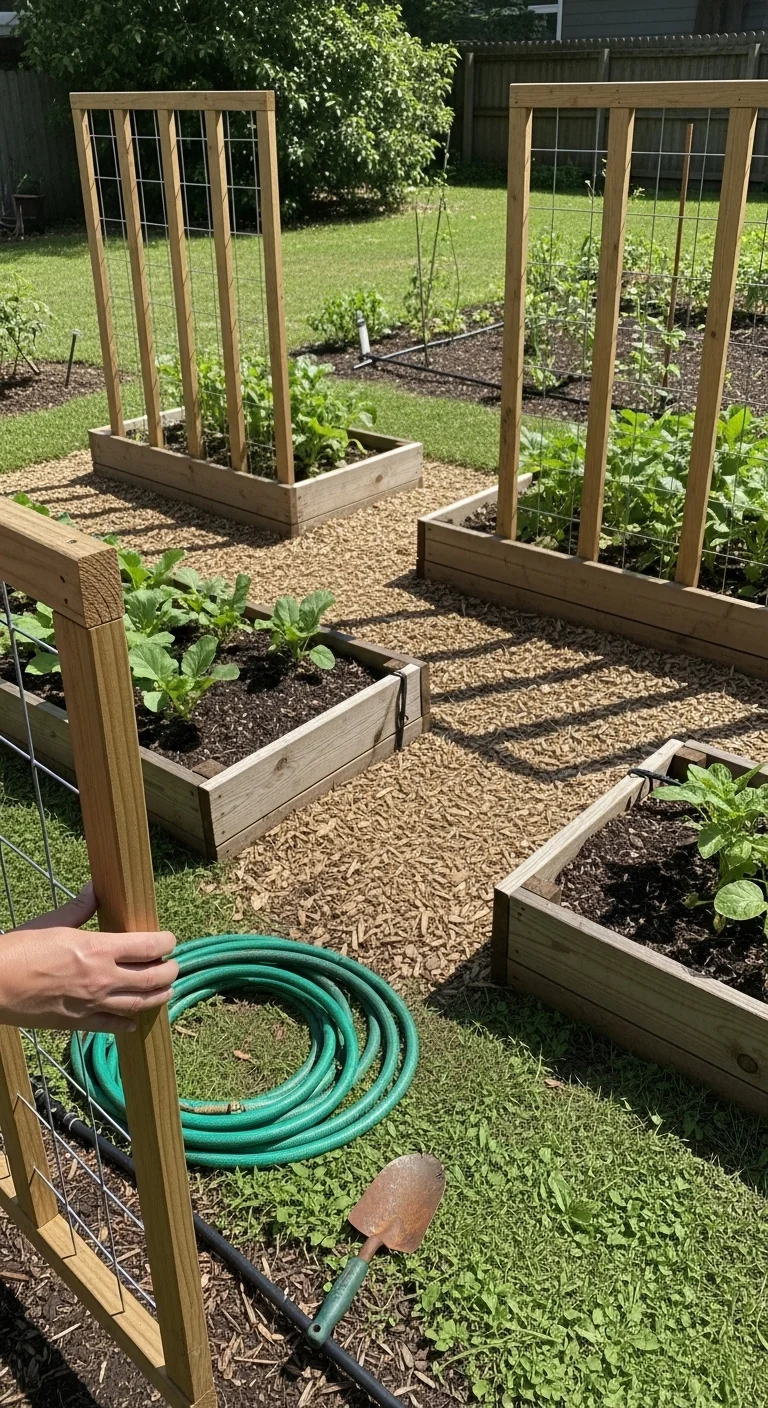
A small backyard vegetable garden succeeds when you classify your exact yard conditions into one of three branches instead of copying generic max-yield layouts that ignore sun hours, space limits, or weekly time. The Yield Grid Decision Grid reframes the entire process around measurable matches so every choice prevents the usual mismatches that stall production after the first month.
This guide covers only backyard-scale setups using raised beds, containers, vertical structures, or no-dig methods for common vegetables such as tomatoes, peppers, leafy greens, beans, and root crops. It excludes large-plot farming, purely ornamental designs, or greenhouse-only systems.
You will finish with a clear branch assignment for your yard plus the exact two setups to start first, along with the thresholds that keep the system working season after season.
Align your backyard’s sun hours, square footage, and available time to the matching branch and the right setups deliver consistent harvests without constant adjustments.
The Yield Grid Decision Grid
Branch 1 applies when your backyard receives 6 or more hours of direct sunlight per day and offers at least 50 square feet of open ground or space for beds. This branch favors in-ground or raised-bed systems that pack production through layered soil and close spacing. Recommended: Items 1, 4, and 7 below. For layout examples that fit this branch see the vegetable garden layout ideas.
Branch 2 applies when you have under 3 hours per week available for garden tasks and prefer minimal ongoing effort. This branch favors portable or set-and-forget systems that require only occasional checks. Recommended: Items 2, 5, and 8 below.
Branch 3 applies when your space measures under 50 square feet or lacks open soil (paved surfaces, rental restrictions, or heavy shade). This branch relies on vertical and container-only methods that stack production upward. Recommended: Items 3, 6, and 9 below.
Quick Comparison Table
| Option | Key mechanism | Best for | Decision Grid Branch | Effort Score |
|---|---|---|---|---|
| Intensive Raised Bed Planting | Layered soil with 12-inch centers and trellis integration | Sun-rich yards over 50 square feet | Branch 1 | 3 |
| Portable Container Clusters | Movable pots on casters with shared drip lines | Time-limited schedules under 3 hours weekly | Branch 2 | 2 |
| Vertical Trellis Climbing | Wall-mounted netting or cages for vining crops | Spaces under 50 square feet or paved yards | Branch 3 | 2 |
| Square Foot Precision Grid | 1-foot grid markers with succession planting rules | Sun-rich yards over 50 square feet | Branch 1 | 4 |
| Companion Planting Clusters | Paired plant groups that share pest resistance | Time-limited schedules under 3 hours weekly | Branch 2 | 2 |
| No-Dig Mulch Layers | Cardboard base topped with 4-inch compost and straw | Spaces under 50 square feet or paved yards | Branch 3 | 1 |
| Drip Irrigation Zoning | Timed zones with soil-moisture sensors at 6-inch depth | Sun-rich yards over 50 square feet | Branch 1 | 3 |
| Shade-Tolerant Pot Grouping | Clustered pots using reflective surfaces for light bounce | Time-limited schedules under 3 hours weekly | Branch 2 | 2 |
| Balcony-Style Wall Planters | Pocket planters fixed to fences or walls with drainage channels | Spaces under 50 square feet or paved yards | Branch 3 | 2 |
Intensive Raised Bed Planting
Best for: Branch 1
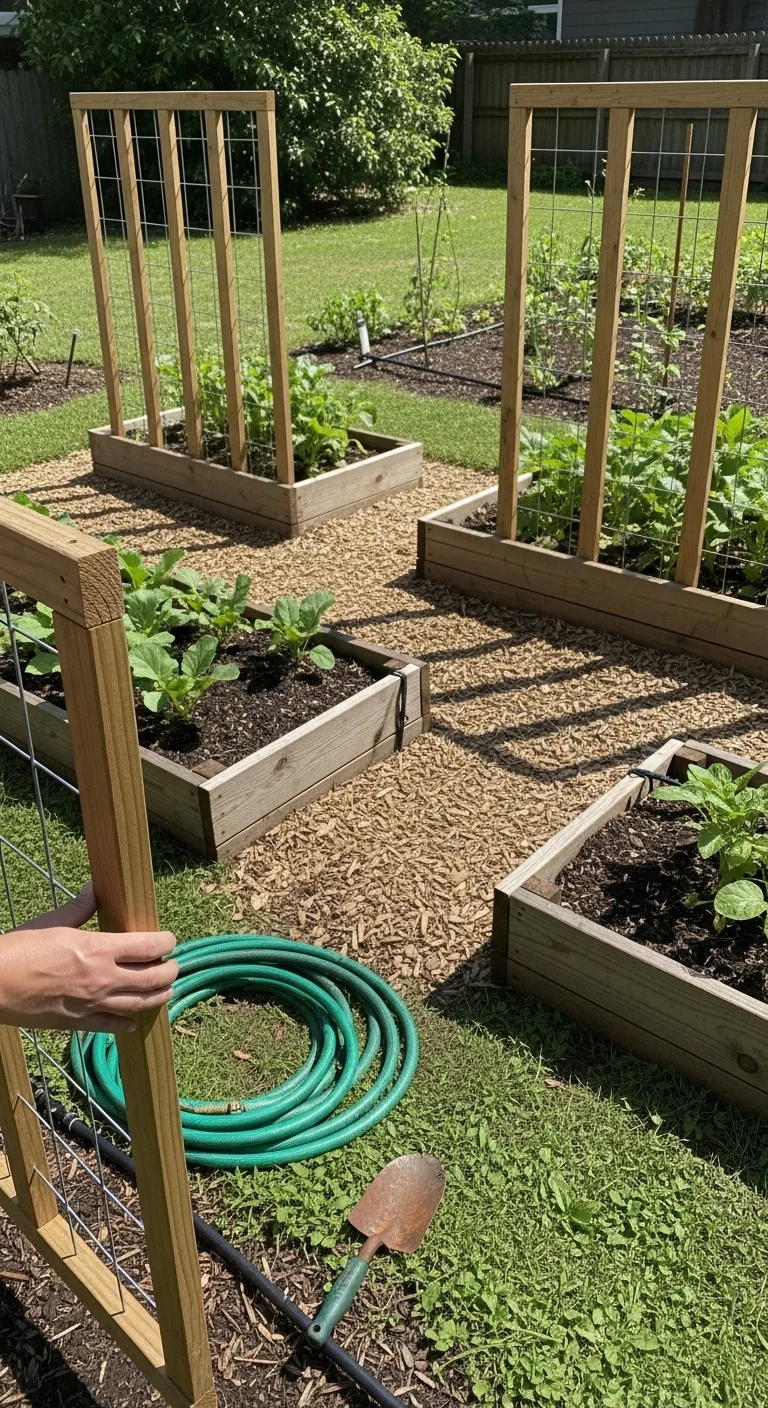
Build beds 4 feet wide by any length using 2-by-6 or 2-by-8 untreated lumber. Fill with a base layer of 6 inches native soil amended by 4 inches compost and 2 inches aged manure. Plant at 12-inch centers for leafy greens and 18-inch centers for peppers or tomatoes to maintain airflow in tight quarters. Install a single trellis down the center for cucumbers or beans. This blueprint works when soil temperature reaches 60 degrees Fahrenheit at 4-inch depth before seeding beans or squash. The one edge case to watch is heavy clay subsoil: excavate the top 8 inches and replace with the mix rather than amending in place to avoid drainage failure after rain events.
After initial fill, top-dress with 1 inch compost each spring. Water at the base only to keep foliage dry. Harvest outer leaves first to keep inner plants productive through the season.
Raised bed vegetable garden details expand on bed heights and materials that match this setup.
Portable Container Clusters
Best for: Branch 2
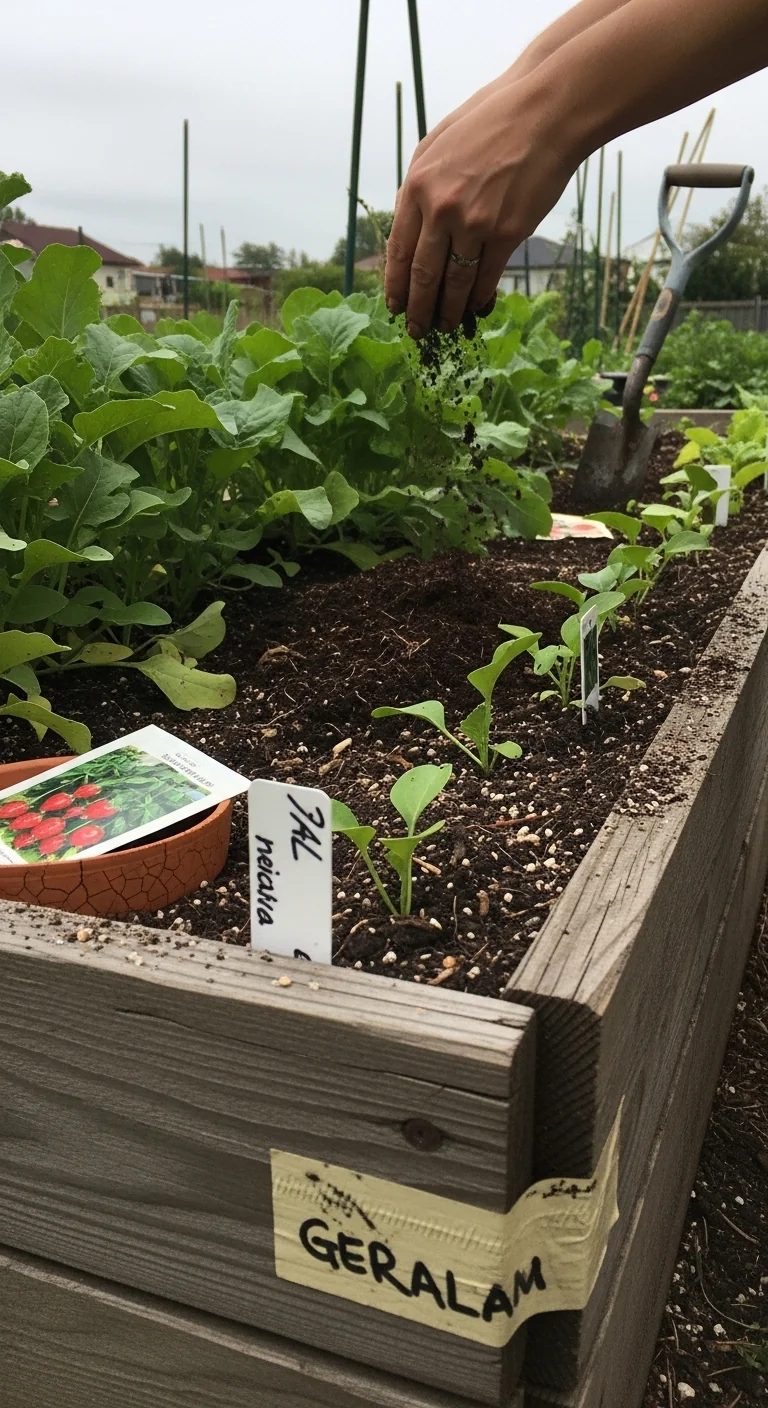
Group five-gallon or larger pots on casters so the entire cluster rolls to the sunniest spot each morning. Use one shared drip line with adjustable emitters rather than individual watering cans. Skip this method if your yard has no flat surface wider than 3 feet because rolling becomes impractical and pots tip in wind. The upside is zero soil preparation and the ability to store pots indoors over winter.
Vertical Trellis Climbing
Best for: Branch 3
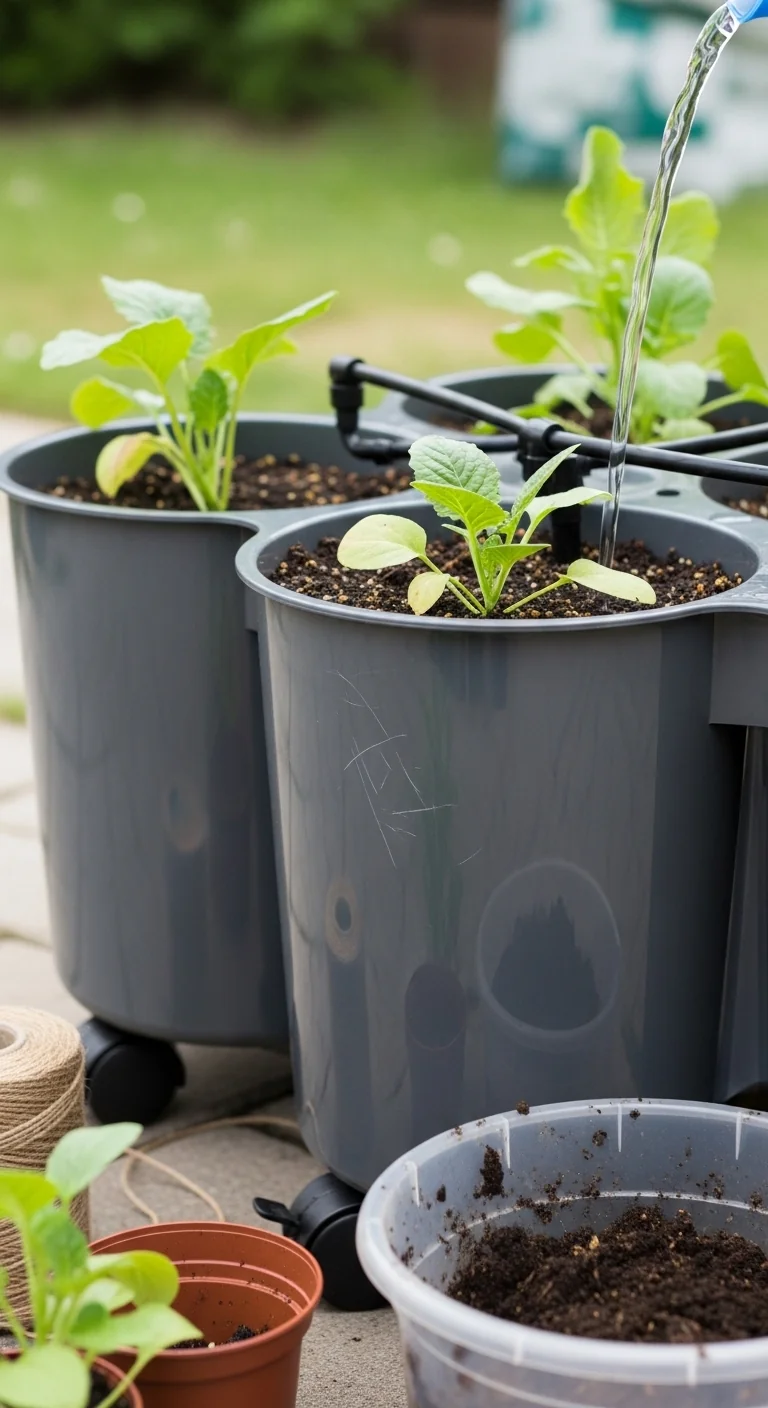
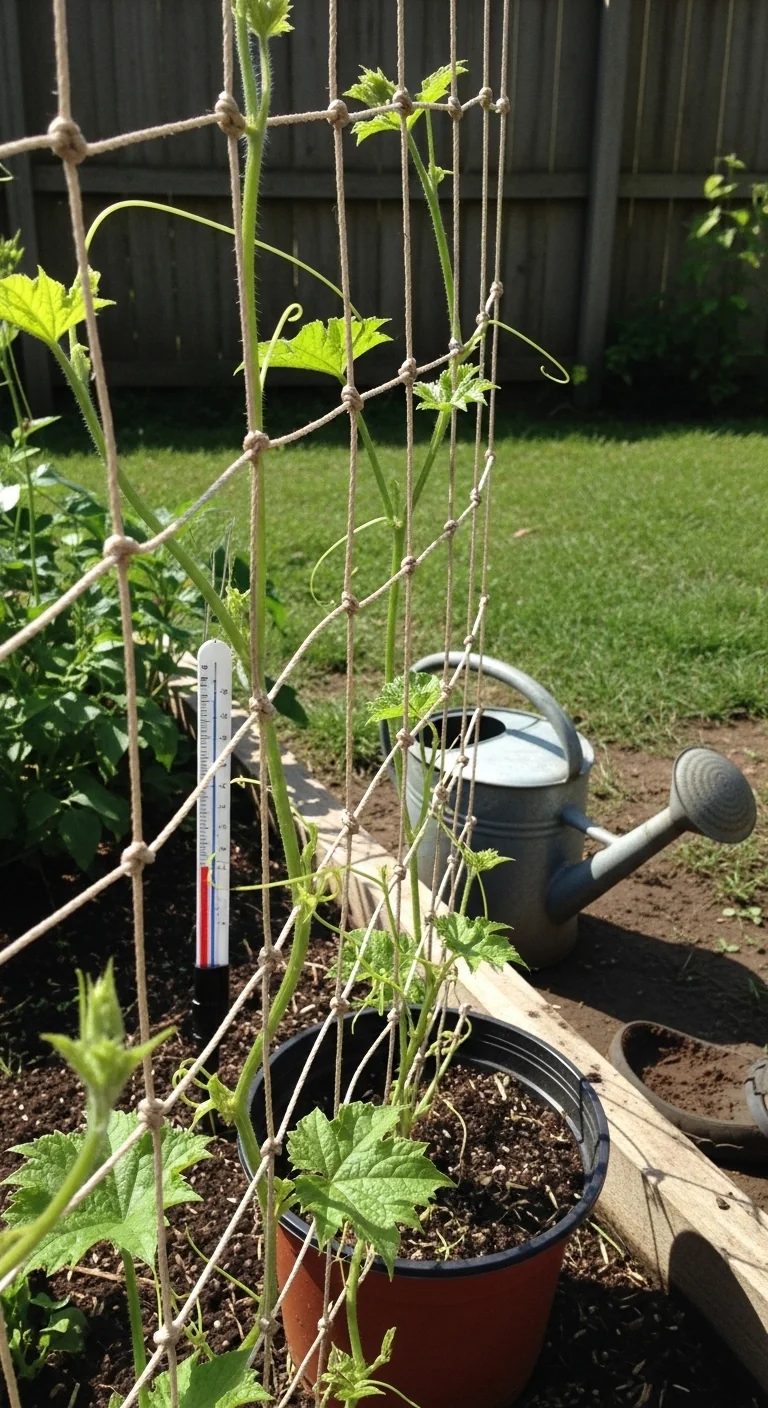
Mount cattle panel or nylon netting on any fence or wall section at least 6 feet tall. Space vining crops 24 inches apart at the base. The threshold rule is simple: if your daily sun drops below 5 hours even with reflective mulch at the base, replace vining tomatoes with pole beans or cucumbers because fruit set fails below that light level. Adjust panel angle by 15 degrees toward the sun in early spring to capture extra morning rays without permanent fixtures.
Square Foot Precision Grid
Best for: Branch 1
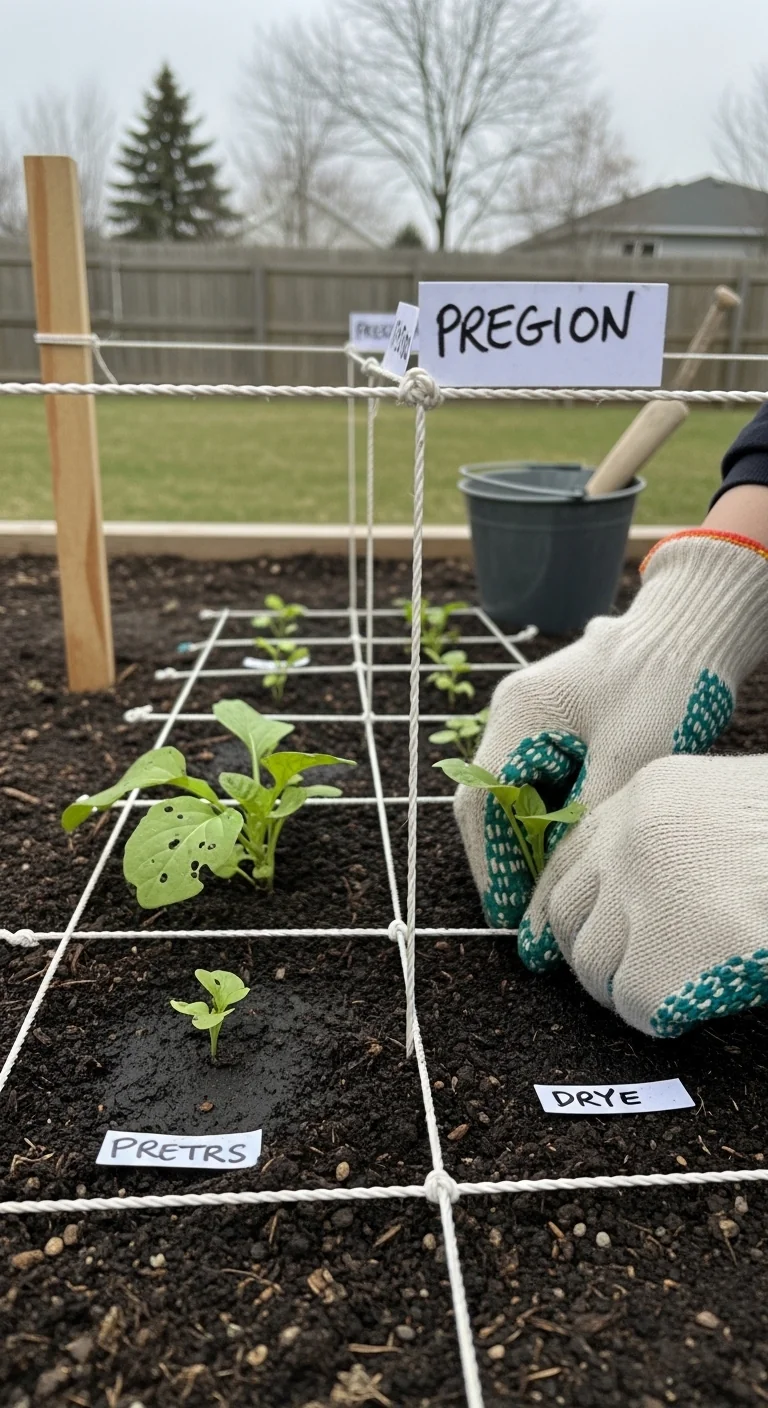
Divide each 4-by-4-foot bed into 16 one-foot squares using string or thin wood markers. Follow the 10-minute workflow: Monday morning spend 2 minutes checking each square for gaps, 3 minutes planting the next succession crop from a pre-labeled seed packet, 3 minutes harvesting ripe items, and 2 minutes noting the next sowing date on a waterproof card clipped to the bed edge. Upgrade option is adding a second grid layer at 18 inches high for vertical greens once the first level fills. This keeps every square productive without overlap.
The mechanism prevents the common error of broadcasting seed across the whole bed and ending with crowded patches that never mature.
Companion Planting Clusters
Best for: Branch 2
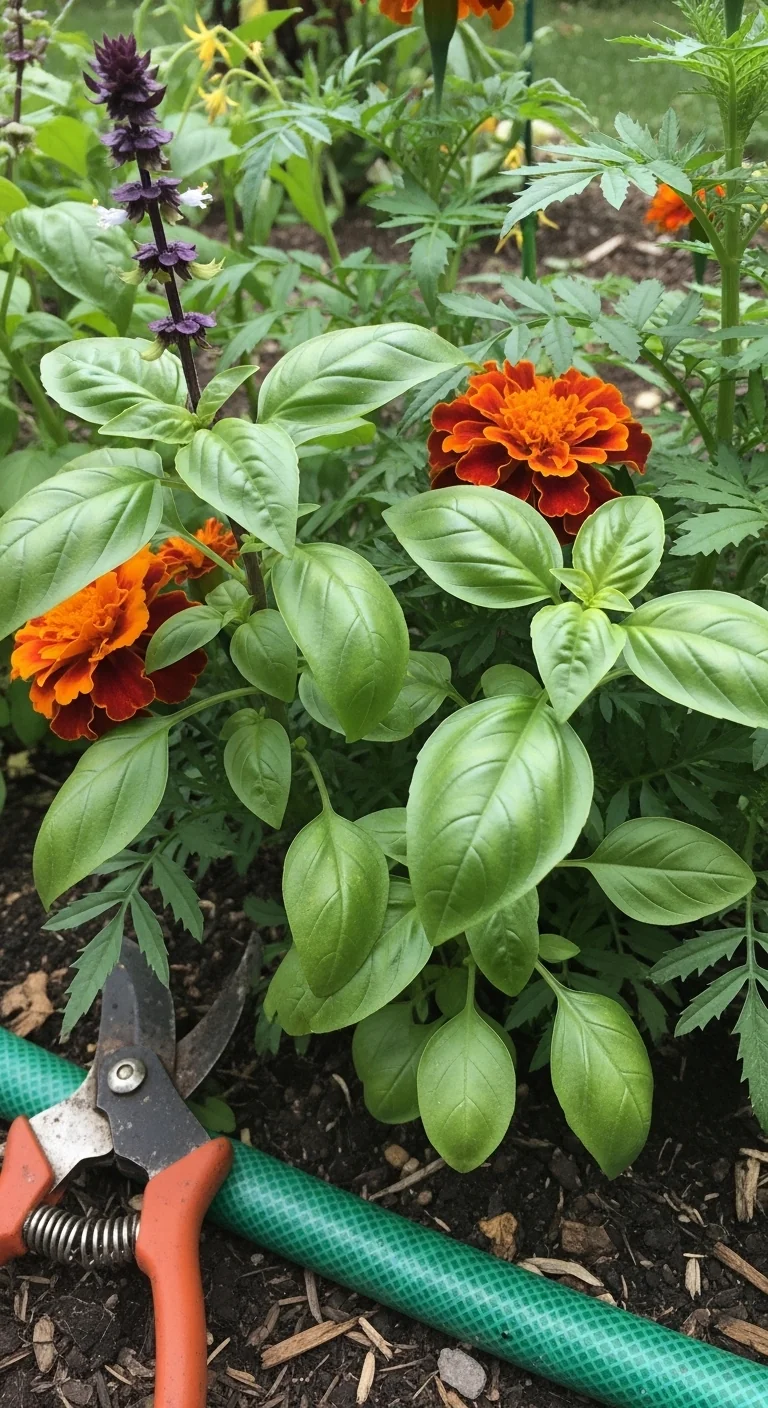
Plant three-crop clusters such as basil with tomatoes and marigolds or beans with corn and squash in single large pots or small bed sections. The clusters reduce pest scouting time because the companion plants handle most defense naturally. Use this only when your weekly time stays under 3 hours because adding more than four clusters turns the system into daily checks.
Companion planting vegetables lists exact pairings that fit small clusters.
No-Dig Mulch Layers
Best for: Branch 3
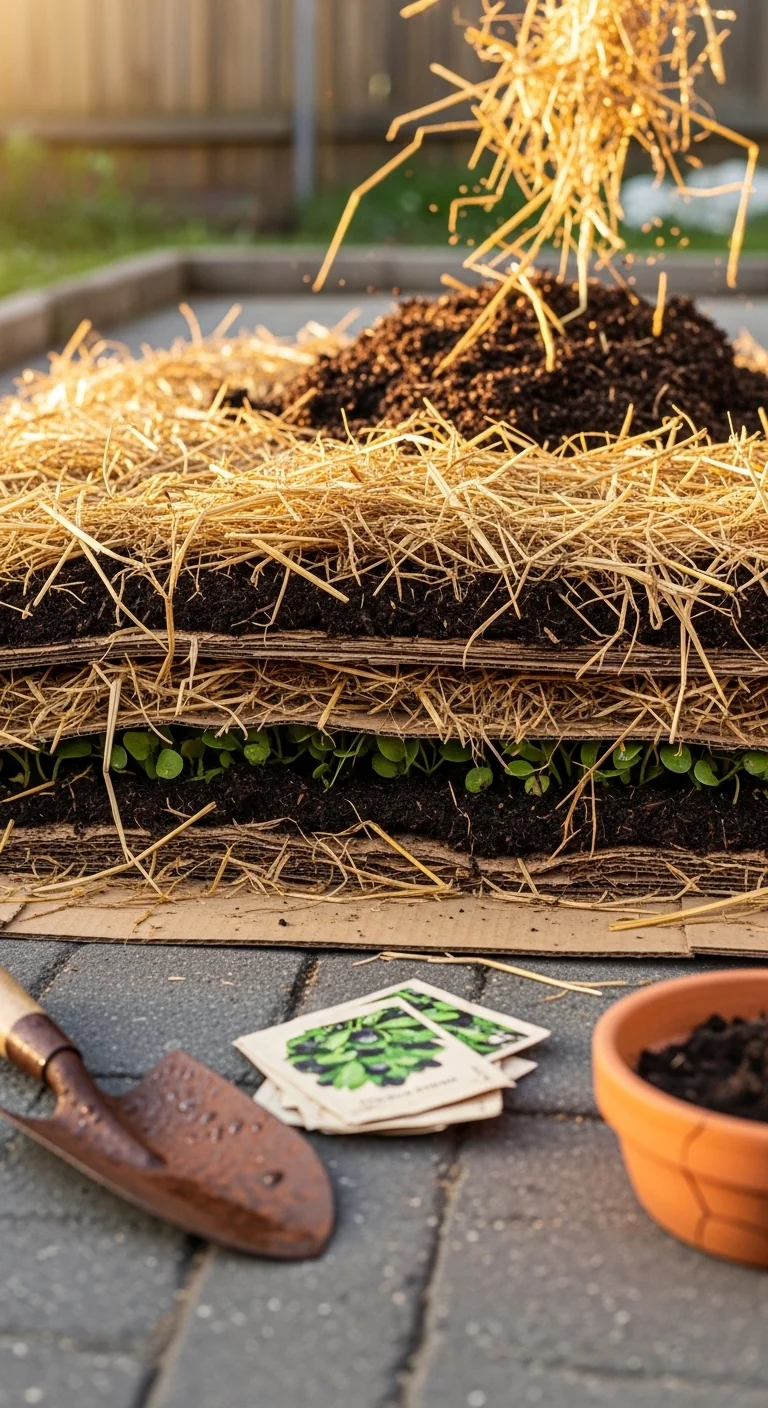
Lay cardboard or newspaper directly on pavement or grass, top with 4 inches compost and 3 inches straw. Plant through the mulch with a trowel. The single application lasts the entire season and suppresses weeds without any digging. This works on paved patios because the layers create a temporary soil zone that drains through the cardboard base.
Mulching vegetable garden explains thickness adjustments for different climates.
Drip Irrigation Zoning
Best for: Branch 1
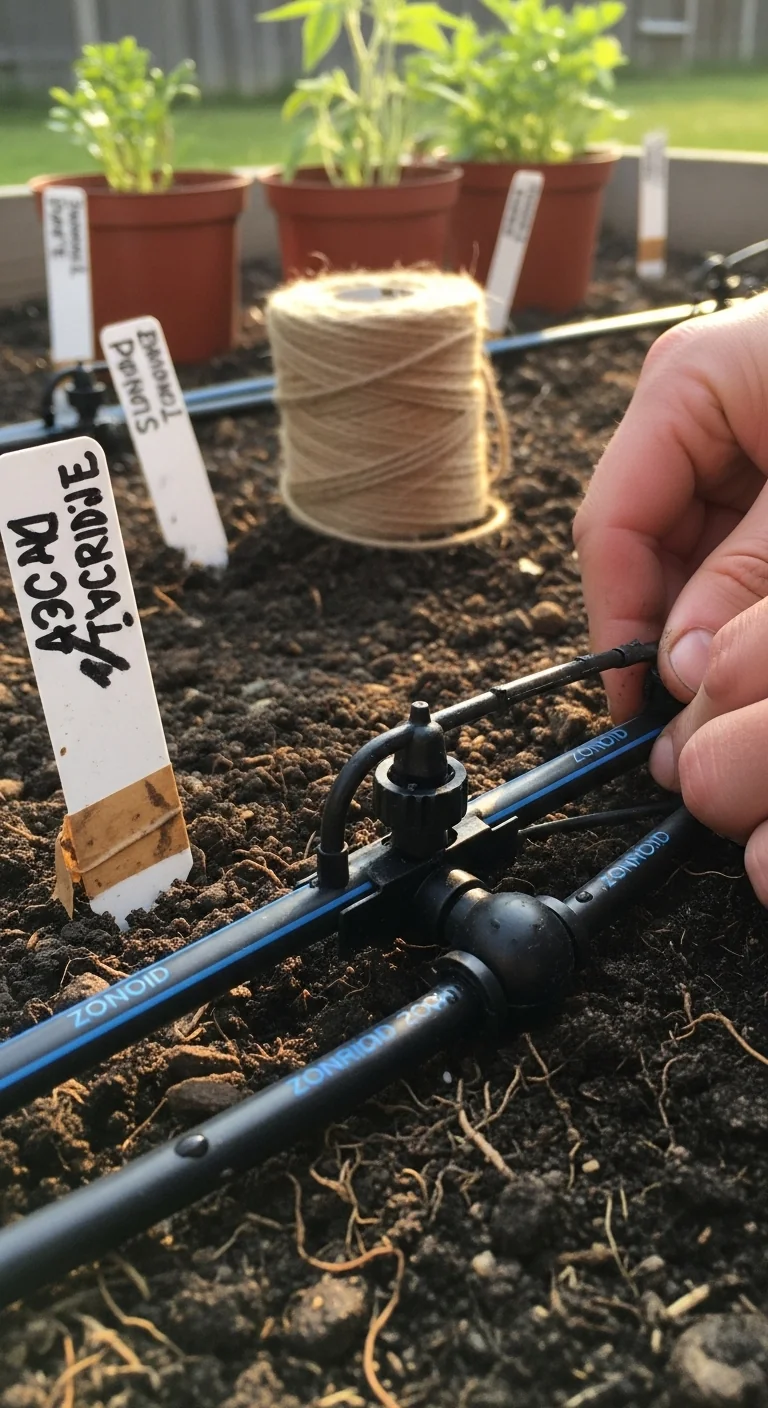
Divide the bed into two zones with separate timer valves and soil-moisture sensors placed at 6-inch depth. Set the timer to run only when moisture drops below 40 percent field capacity. The zoning prevents overwatering one crop while another dries because tomatoes and leafy greens use water at different rates. Install once in spring and check batteries every 60 days. This setup pairs with intensive raised beds because the sensors sit inside the amended soil layer.
Watering vegetable garden covers sensor placement that matches this zoning.
Shade-Tolerant Pot Grouping
Best for: Branch 2
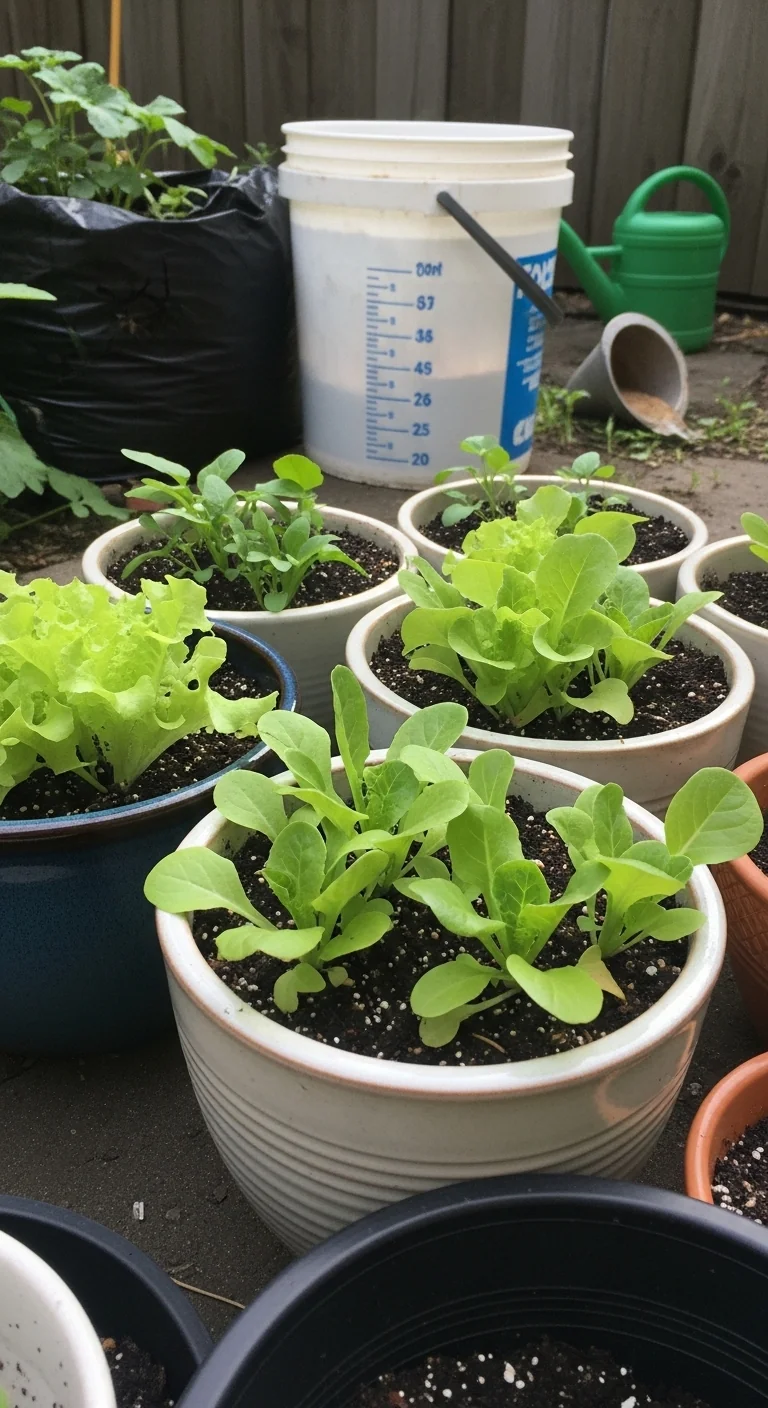
Group pots of lettuce, spinach, and Asian greens on the north or east side and angle them toward any available light using white reflective boards. The grouping needs only one weekly fertilizer application through the drip line. Skip if your total daily light stays below 4 hours because even tolerant greens bolt without that minimum.
Balcony-Style Wall Planters
Best for: Branch 3
Fix fabric pocket planters or plastic troughs to any fence or wall at 18-inch vertical intervals. Fill each pocket with potting mix and plant one compact variety per pocket. Add a bottom drainage channel that routes water to a collection tray. This method turns vertical square footage into harvest rows without occupying floor space.
Starter Stack (What to Choose First)
Branch 1 Starter
Begin with Intensive Raised Bed Planting plus Drip Irrigation Zoning. The bed supplies the growing volume while the zoned drip keeps moisture even across the layered soil. Setup cost ranges from 120 to 250 dollars and initial build time is 4 to 6 hours.
Branch 2 Starter
Begin with Portable Container Clusters plus Companion Planting Clusters. The movable pots handle the time limit while the companions cut pest checks to once per week. Setup cost ranges from 60 to 130 dollars and initial assembly is 2 to 3 hours.
Branch 3 Starter
Begin with No-Dig Mulch Layers plus Balcony-Style Wall Planters. The mulch creates instant soil on hard surfaces while the wall pockets multiply vertical rows. Setup cost ranges from 40 to 90 dollars and initial layering takes 1 to 2 hours.
When This Won’t Work
The setups fail if daily direct sun stays below 4 hours across all branches because even shade-tolerant crops produce only foliage and no fruit or roots at that light level. Measure with a sun calculator app over three clear days in midspring to confirm before investing in any branch.
They also fail if soil pH tests below 5.5 or above 7.5 in Branch 1 beds because nutrient lockout stops growth regardless of spacing or irrigation. Test with a simple probe kit at 6-inch depth in three spots and adjust only with lime or sulfur before filling beds.
In either case switch to the low-maintenance options listed in low-maintenance vegetable garden and focus on container or vertical methods that tolerate wider condition swings.
Choosing the Right Option for Your Situation
Budget Threshold
Under 100 dollars total favors No-Dig Mulch Layers or Portable Container Clusters because both use recycled materials or basic pots and one bag of compost. Over 150 dollars opens Intensive Raised Bed Planting or Drip Irrigation Zoning with sensors and timers.
Time Threshold
Under 2 hours per week locks you to Branch 2 options only because they require no daily soil checks or weeding once established. Over 4 hours per week allows any branch but still recommends starting with the two-item stack to avoid overload.
Technical Constraint
If a soil test shows heavy clay or compaction deeper than 8 inches, avoid in-ground beds entirely and default to Branch 3 vertical and mulch systems that sit on top rather than mix into native soil.
Yes/No checklist:
Do you have 6-plus sun hours and 50-plus square feet? Yes, start Branch 1.
Do you have under 3 hours weekly? Yes, start Branch 2.
Is your space under 50 square feet or paved? Yes, start Branch 3.
Any no answers mean adjust one item from the matching starter stack before planting.
Expert Q&A
How do you sequence succession plantings in a 4-by-4-foot bed without overlapping root zones?
Mark each square and replace only after the previous crop finishes harvesting. For example, pull mature lettuce and sow radishes in the same square within 48 hours because radish roots stay shallow while lettuce roots have already been removed. Track dates on a grid card clipped to the bed edge to keep the rotation exact.
What spacing adjustment prevents air-flow problems when trellising cucumbers against a fence in a narrow backyard?
Keep the base planting 18 inches from the fence and angle the trellis outward by 10 degrees. This creates a 6-inch air gap behind the foliage that reduces mildew risk even when the fence blocks morning breeze.
When does a container cluster need repotting mid-season rather than just top-dressing?
Repot when roots emerge from the bottom drainage holes and the plant shows slowed growth after the usual fertilizer dose. This usually occurs after 10 weeks for tomatoes or peppers in 5-gallon pots because root volume outgrows the mix.
How do you integrate a simple rain barrel into drip zones without backflow or algae issues?
Elevate the barrel 2 feet on blocks and install a screen lid plus a first-flush diverter. Connect the drip lines through a battery timer placed after the barrel outlet so gravity feeds the zones only when the timer opens.
What single change turns a shaded patio into a workable Branch 3 site for leafy greens?
Add two 2-by-4-foot white reflective boards positioned at 45 degrees behind the pots. The boards bounce available light onto the foliage and raise effective daily light by 1 to 2 hours without moving any structure.
Conclusion
The Yield Grid Decision Grid turns a small backyard vegetable garden from a guessing game into a condition-matched system. The number-one mistake is forcing one popular layout across all three branches instead of letting the measurable sun hours, square footage, and weekly time dictate the choice.
Take the next step by measuring your yard’s sun and space today, then pick the two starter items that match your branch. See the how to start a vegetable garden guide for the exact soil test and first planting window that fits your location.