Elevation in raised beds does more than save your back. It isolates the root zone from native soil fluctuations, which accelerates drainage, increases early-season soil warmth, and raises wind loads on supports in ways that demand matched soil mixes, irrigation methods, and structural reinforcements most standard guides overlook.
This listicle covers nine configurations built specifically for edible gardening. It focuses on designs 24 inches or taller that sit fully above ground level. It excludes standard ground-contact raised beds under 18 inches tall and standalone container pots.
You will finish with a clear match for your exact constraints plus starter pairings that work together without trial and error. Each option includes one unique mechanism or edge-case detail you will not find in generic roundups.
Identify your single biggest constraint (height access, watering frequency, or footprint) and follow the matching branch in the decision grid below.
The The Yield Grid Decision Grid
Branch 1: Accessibility priority. Choose this if your beds must sit at 28 inches or taller at the rim to eliminate bending for harvesting or weeding. Recommended: Items 1, 2, and 8 below.
Branch 2: Water efficiency priority. Choose this if you can water no more than twice per week or your site receives inconsistent rainfall. Recommended: Items 3, 5, and 9 below.
Branch 3: Space or structural priority. Choose this if your available footprint is under 8 square feet, the ground is uneven, or native soil is contaminated or compacted. For context on how elevation changes core dynamics versus traditional setups, see how elevated raised beds differ from in-ground options. Recommended: Items 4, 6, and 7 below.
Quick Comparison Table
| Option | Key mechanism | Best for | Decision Grid Branch | Maintenance Effort Score |
|---|---|---|---|---|
| Legged Wooden Elevated Raised Beds | Leg supports with cross bracing | Ergonomic height without bending | 1 | 2 |
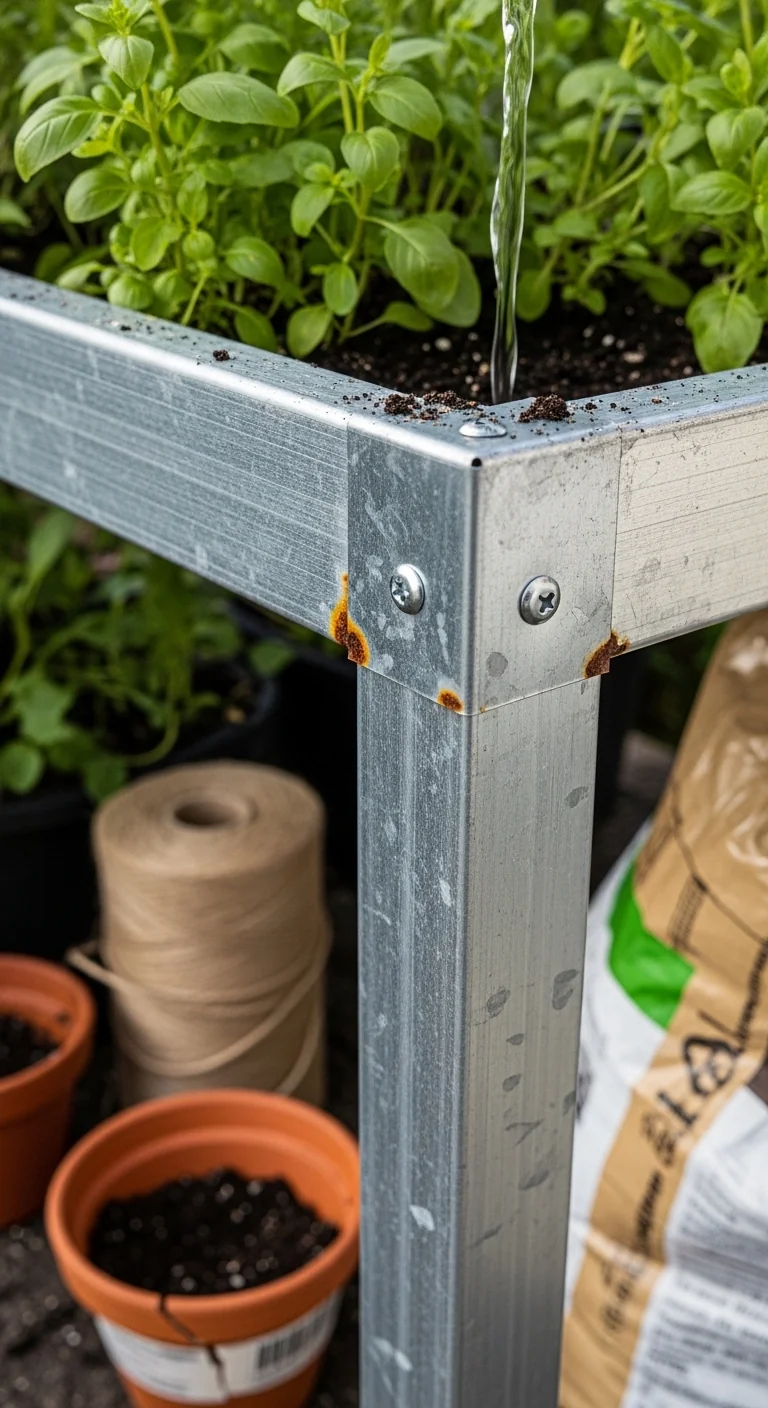
| Metal Frame Elevated Raised Beds | Galvanized steel legs and frame | Durable height in full sun | 1 | 1 |
| Self-Watering Elevated Raised Beds | Bottom reservoir and wicking chamber | Reduced watering frequency | 2 | 1 |
| Cinder Block Elevated Raised Beds | Stacked blocks with mortar-free base | Stable foundation on uneven ground | 3 | 3 |
| Wicking Elevated Bed Systems | Capillary mat and reservoir layer | Passive moisture delivery | 2 | 1 |
| U-Shaped Elevated Beds | Three-sided access layout | Compact corner or patio use | 3 | 2 |
| Hugelkultur Elevated Beds | Buried wood core for moisture retention | Long-term nutrient release above poor soil | 3 | 2 |
| Trellis-Integrated Elevated Beds | Vertical support frame attached to legs | Maximizing vertical space | 1 | 2 |
| Cold Frame Elevated Beds | Hinged transparent top on elevated base | Season extension in short climates | 2 | 3 |
Legged Wooden Elevated Raised Beds
Best for: Branch 1
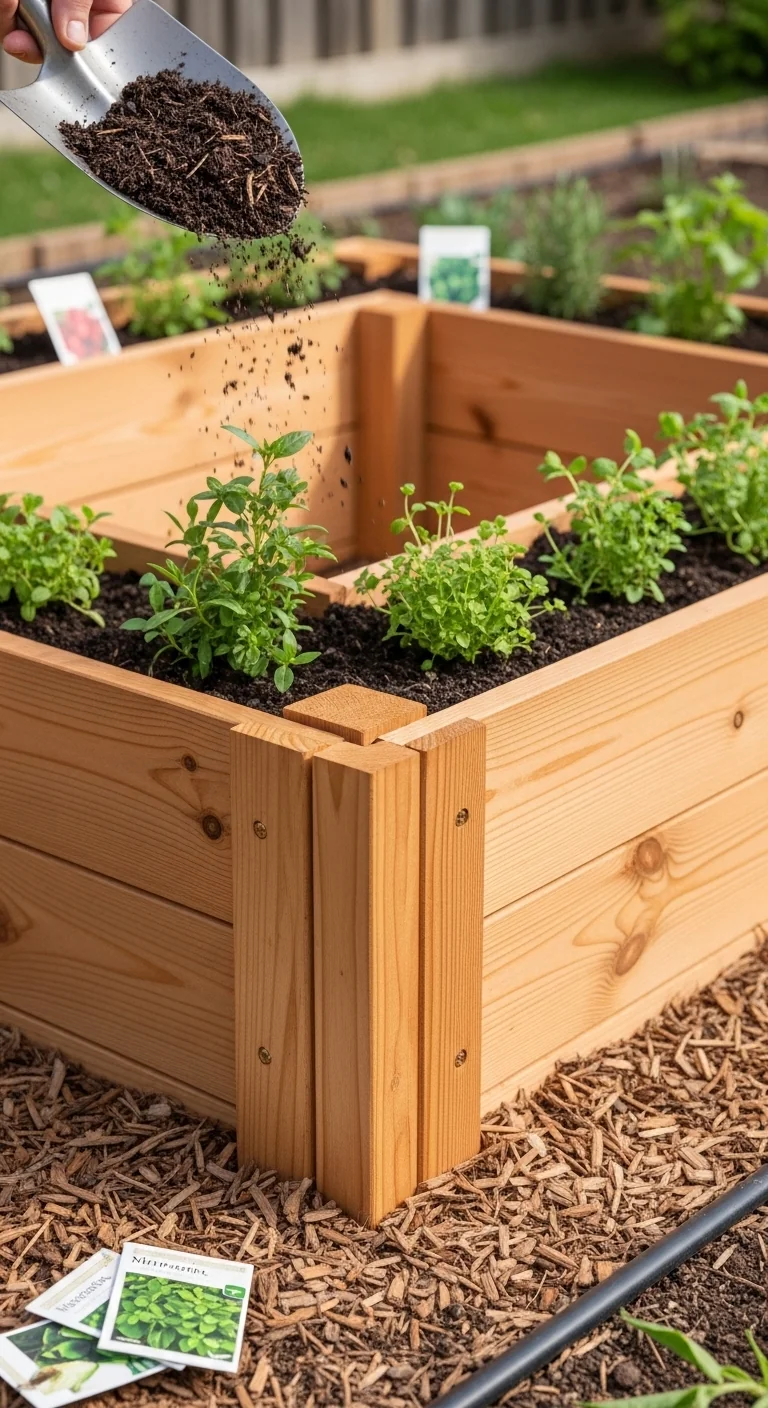
These beds use 4×4 or 2×4 legs to lift the frame 24 to 36 inches off the ground. The design suits edible crops that need frequent harvest access without kneeling. Construction starts with pressure-treated or rot-resistant cedar lumber for the box, then adds diagonal cross bracing between legs once height exceeds 30 inches to counter wind loads.
Key steps include leveling the legs on concrete pavers or gravel pads, securing the frame with exterior screws, and lining the interior with landscape fabric before filling. The single edge-case detail most overlook is that leg height above 32 inches increases leverage on the joints; without bracing, the entire structure can shift in sustained winds above 15 mph average.
For reliable results pair with the optimal soil mix for raised beds to offset faster drying at elevation.
Metal Frame Elevated Raised Beds
Best for: Branch 1
Use these when you want height without ongoing wood maintenance. Galvanized steel legs and frames resist rust and weigh less than wood equivalents. Skip them in coastal areas with salt spray or if your site has constant high humidity that accelerates corrosion on cut edges. Edge case: metal conducts heat so soil temperatures rise 5 to 8 degrees faster in direct sun than wood designs.
Self-Watering Elevated Raised Beds
Best for: Branch 2
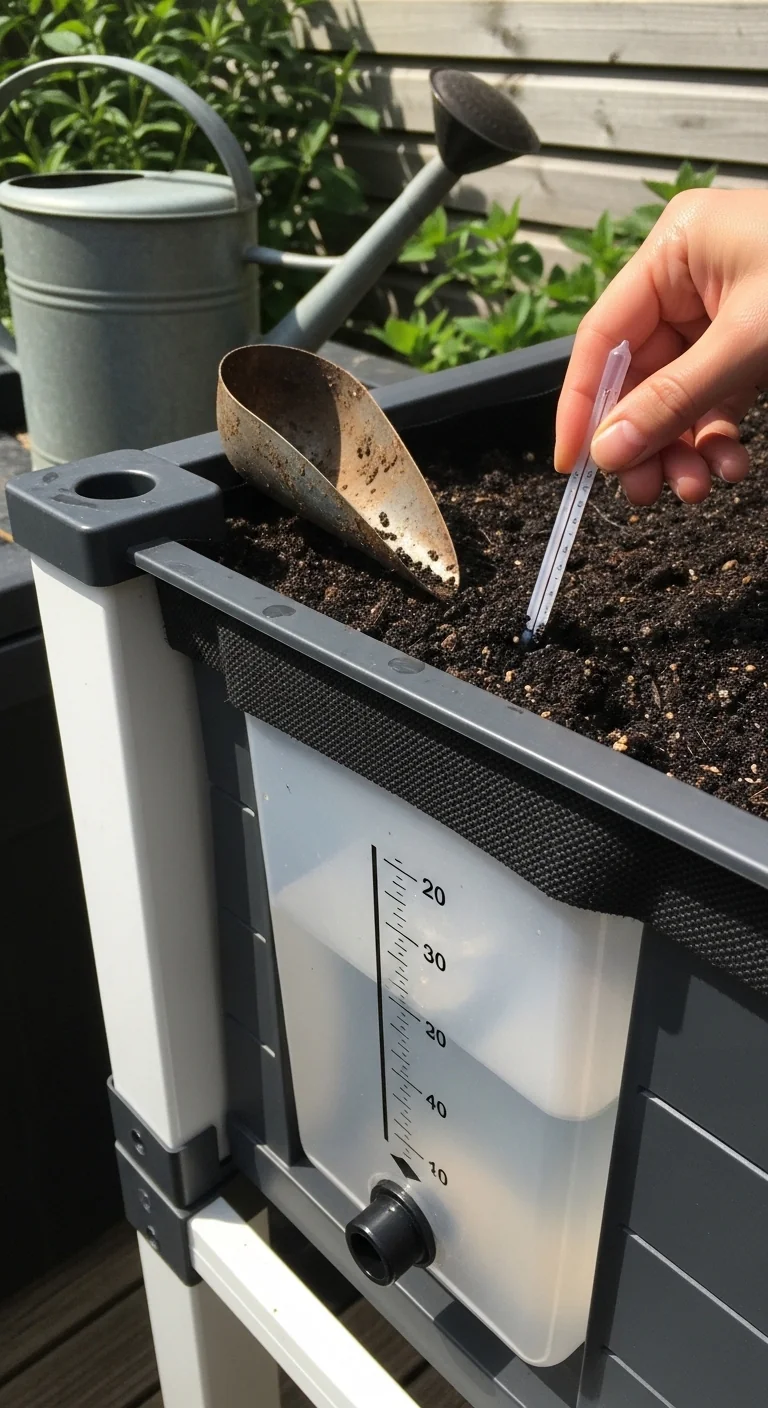
These systems maintain consistent moisture when watering windows are narrow. The threshold that matters is a minimum 6-inch-deep reservoir at the base; anything shallower requires refills every 4 to 5 days in 80-degree-plus weather. Adjust by adding a float indicator or overflow hole drilled at the correct height to prevent over-saturation. See full details in the self-watering raised bed guide.
Cinder Block Elevated Raised Beds
Best for: Branch 3
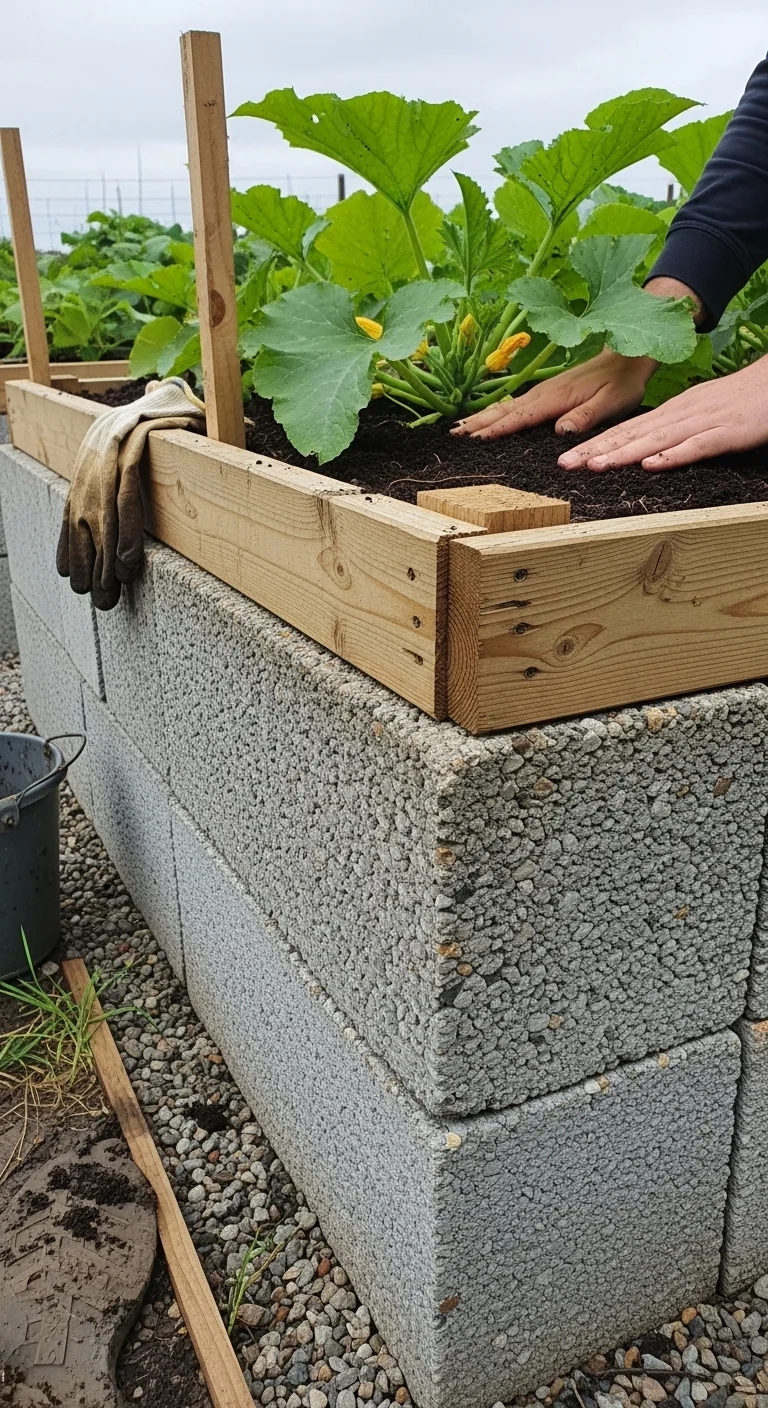
Stack standard 8x8x16-inch blocks in two courses to create a stable elevated base, then top with a wooden or metal frame. The process takes under four hours once blocks are delivered: level the first course on compacted gravel, dry-stack the second, and backfill hollow cores with gravel for added weight. The critical constraint is that blocks must sit on a perfectly level pad; a 1-inch tilt across 8 feet creates visible lean at full height.
Common mistake is skipping the gravel base, which leads to settling within one season on clay soils. Full instructions and material lists appear in the cinder block raised beds overview.
Wicking Elevated Bed Systems
Best for: Branch 2
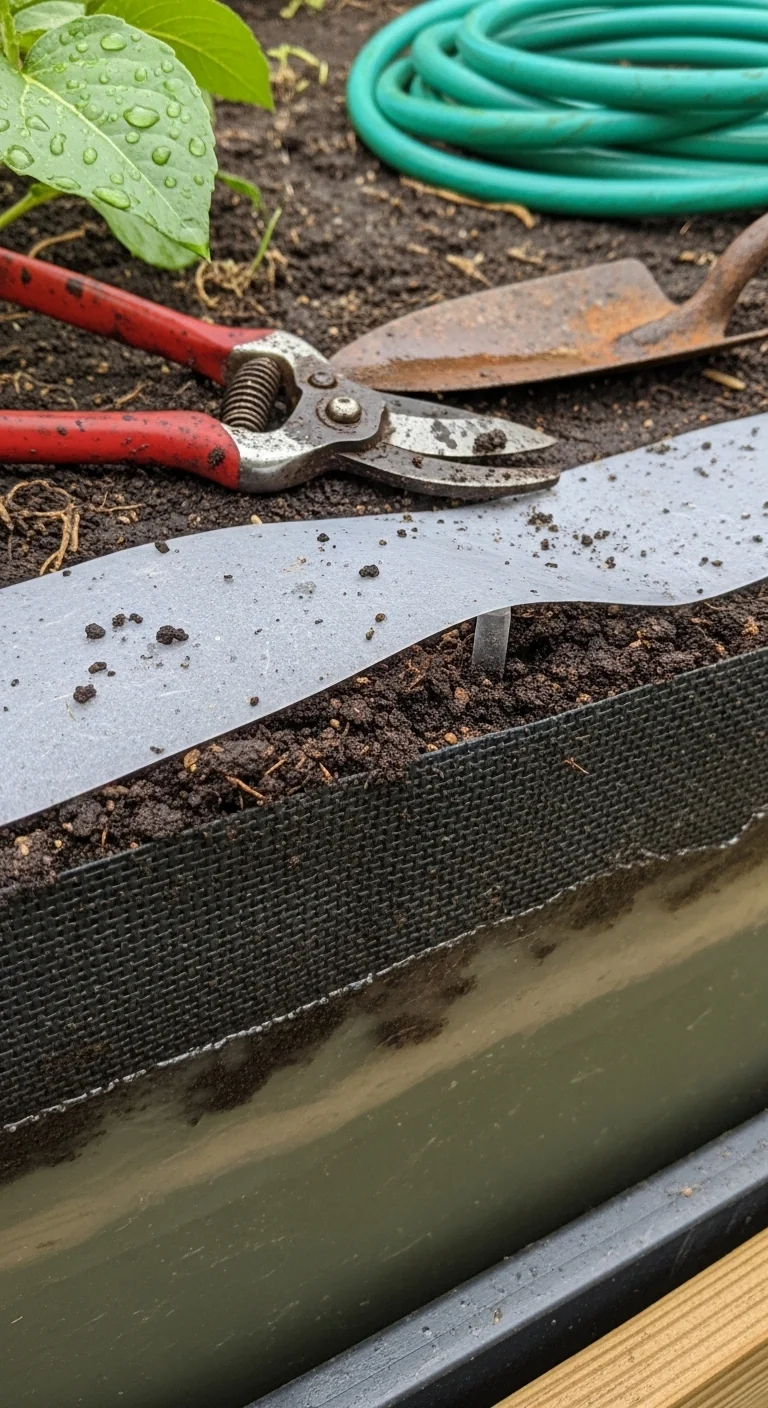
These use a capillary mat or fabric layer connected to a bottom reservoir to pull water upward on demand. Use them on patios or decks where daily hose access is impossible. Skip them if your grow mix contains more than 30 percent compost, which can clog the wicking channels and reduce flow. Edge case: they perform best when the reservoir stays filled to within 2 inches of the wicking layer at all times.
U-Shaped Elevated Beds
Best for: Branch 3
The open-center layout gives three-sided access in footprints as small as 6 by 6 feet. Threshold rule: keep the inside width at 4 feet or less so every plant stays within arm reach; wider than that defeats the accessibility gain. Pair the design with the U-shaped raised bed plans for exact cut lists and bracing details.
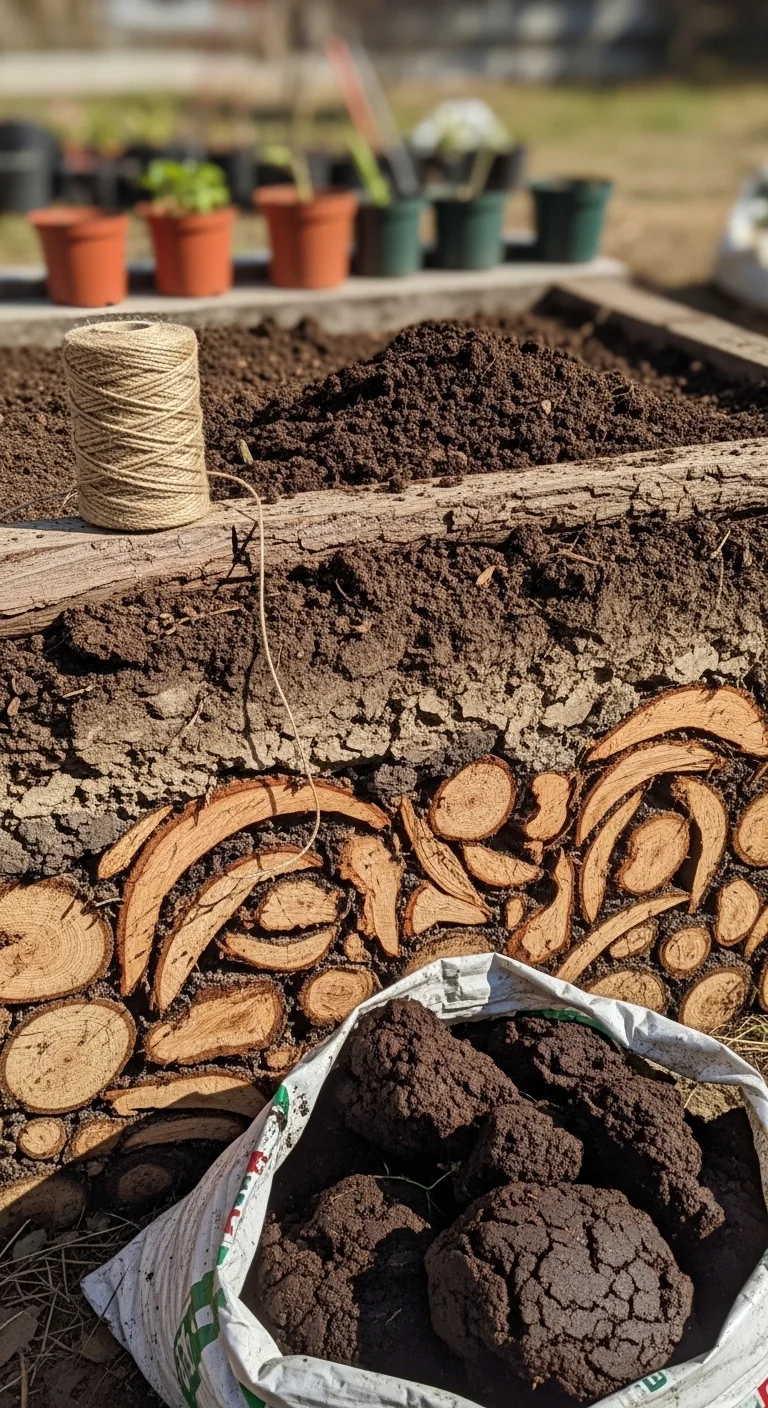
Hugelkultur Elevated Beds
Best for: Branch 3
Layer large logs and branches at the base before adding soil to create slow-decaying moisture and nutrient reservoirs. At elevation the buried wood must sit above a rigid base plate so the legs or blocks carry the full load without compression over time. The mechanism works because wood holds up to twice its weight in water and releases it gradually as it breaks down. Full layering sequence and wood selection criteria are covered in the hugelkultur raised bed guide.
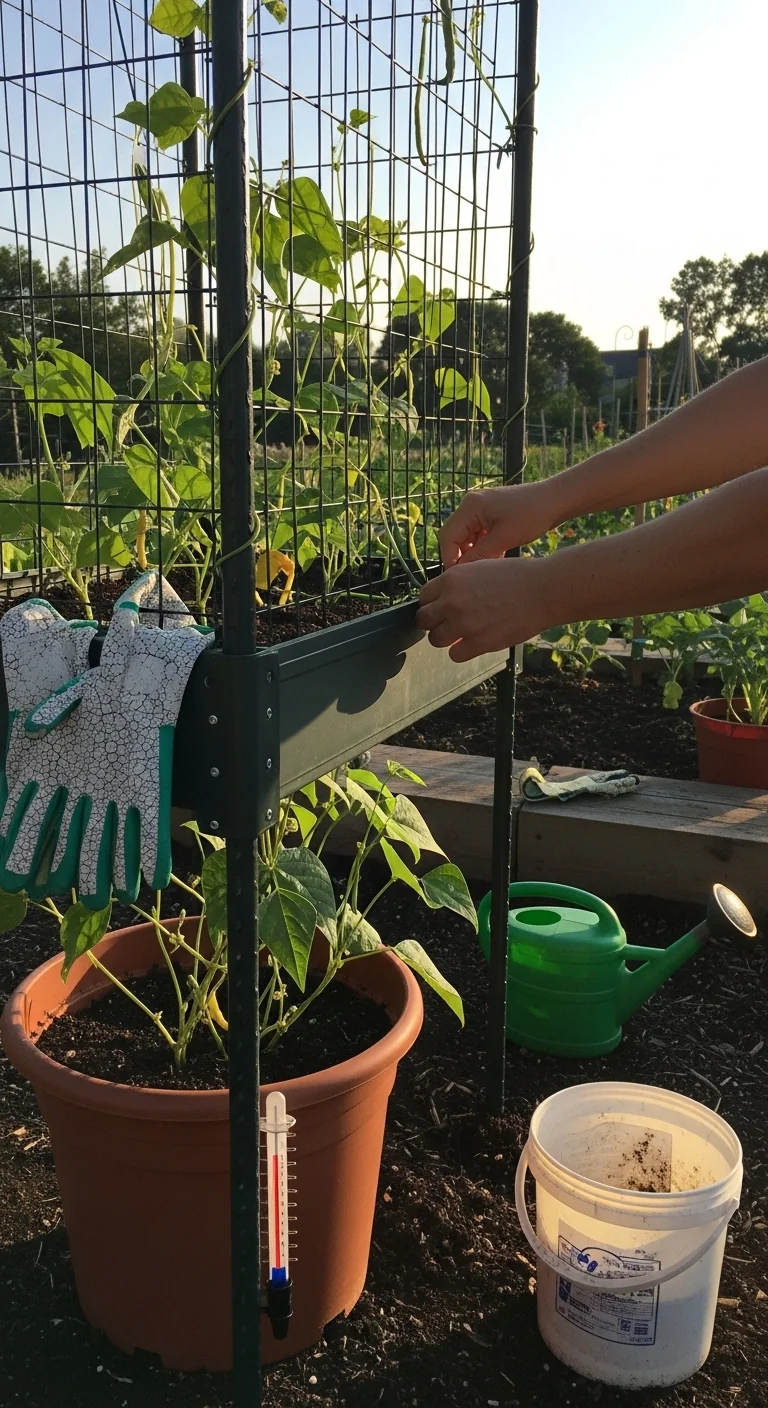
Trellis-Integrated Elevated Beds
Best for: Branch 1
Attach vertical trellis panels directly to the leg frame so the entire unit moves as one. Use them for vining crops like beans or cucumbers when horizontal space is limited. The 10-minute workflow is: screw two vertical 2x2s to the long sides of the bed frame, then staple or screw 4×4-inch mesh between them. Upgrade option is adding a hinged top panel for easy crop removal at season end. Complete attachment methods appear in the DIY raised bed trellis instructions.
Cold Frame Elevated Beds
Best for: Branch 2
A hinged polycarbonate or glass lid sits atop the elevated frame to trap heat and protect tender edibles. The design works when the base frame is rated to carry an extra 15 to 20 pounds per square foot of lid weight. Check hinges every spring for alignment so the lid closes evenly and maintains internal temperatures 8 to 12 degrees higher than outside air on clear days.
Starter Stack (What to Choose First)
For Branch 1 (Accessibility priority)
Start with Legged Wooden Elevated Raised Beds plus Trellis-Integrated Elevated Beds. The wooden legs give immediate ergonomic height while the integrated trellis adds vertical growing space without extra footprint. Combined setup cost ranges from 180 to 320 dollars and build time falls between 5 and 9 hours.
For Branch 2 (Water efficiency priority)
Start with Self-Watering Elevated Raised Beds plus Wicking Elevated Bed Systems. The reservoir in the self-watering unit pairs with the capillary action of the wicking layer to extend intervals between refills. Combined setup cost ranges from 140 to 260 dollars and build time falls between 3 and 6 hours.
For Branch 3 (Space or structural priority)
Start with Cinder Block Elevated Raised Beds plus U-Shaped Elevated Beds. The block base provides rock-solid leveling on uneven ground while the U-shape maximizes access inside tight layouts. Combined setup cost ranges from 110 to 240 dollars and build time falls between 4 and 8 hours.
When This Won’t Work
Elevated raised beds fail when sustained winds average above 20 mph for weeks at a time and the leg or frame design lacks diagonal bracing. The structure rocks, soil shifts, and taller plants snap at the base. Switch to a ground-level raised bed anchored with rebar driven 24 inches into the soil.
They also fail when the chosen soil mix stays below 50 percent mineral content and the elevation causes rapid drying cycles that drop soil moisture below 20 percent volumetric water content within 48 hours of the last watering. The fix is to replace the mix entirely with a tested blend that holds structure at height.
Choosing the Right Option for Your Situation
Budget threshold
If your total budget sits under 200 dollars, select metal frame or cinder block designs. Both deliver height and durability with off-the-shelf materials that keep costs low while still meeting the decision grid branch requirements.
Time threshold
If you have fewer than 6 hours available for assembly, choose self-watering or wicking systems. These arrive with most components pre-cut or modular, letting you finish the core structure and fill in one afternoon.
Technical constraint: soil volume
If your edible crops need at least 12 inches of root depth, verify every design provides that minimum after accounting for any reservoir or wood layer. Shallower profiles restrict root crops and heavy feeders such as tomatoes.
Yes/No checklist:
Does your site need 28-inch rim height? Yes → Branch 1
Can you water only twice weekly maximum? Yes → Branch 2
Is available space under 8 square feet or ground unstable? Yes → Branch 3
All answers match one branch? Proceed to starter stack above.
Expert Q&A
What minimum soil depth guarantees healthy root development for most vegetables in elevated beds?
Twelve inches of finished soil depth is the practical minimum for leafy greens and herbs. Root crops such as carrots or potatoes need 18 inches to avoid stunted growth or forking. Measure from the top of any reservoir or wood layer to the soil surface after settling.
How does elevation change root-zone temperature compared with ground-level beds in spring?
Elevated beds warm 5 to 10 days earlier because air circulates underneath the frame and isolates the soil from cold ground. Monitor with a soil thermometer at 4-inch depth; once it holds above 55 degrees consistently you can safely direct-sow cool-season crops.
Does raising the bed reduce slug and snail damage without additional barriers?
Yes in most cases. Slugs travel slower on vertical surfaces and rarely climb smooth metal or properly sealed wooden legs higher than 24 inches. Check the base weekly for the first month; if activity appears, add a 4-inch copper tape band around each leg.
Can you safely attach a trellis to an existing elevated bed without weakening the legs?
Attach only to the long-side frame rails using lag screws that penetrate at least 1.5 inches into solid lumber. Never drill directly into legs near the top third where bending stress is highest. Test stability by gently pushing the trellis after assembly.
What single adjustment turns a standard elevated bed into a reliable hugelkultur version?
Place a 6-to-8-inch layer of untreated hardwood logs and branches directly on the bottom liner before adding soil. Water the wood thoroughly once, then top with your normal mix. The wood acts as a slow-release sponge that offsets the faster drying typical at elevation.
Conclusion
The decision grid removes guesswork by forcing one clear match between your site constraints and the right elevated design. The number-one mistake is treating all elevated beds as interchangeable; ignoring the specific mechanism (reservoir, bracing, or buried wood) leads to uneven moisture or structural shift within the first season.
Your next step is to install a reliable watering system that complements your chosen design. Begin with the drip irrigation raised beds guide for exact emitter placement and timer settings matched to elevation drying rates.
Lead Data Architect
Umer Hayiat
Founder & Lead Data Architect at TheYieldGrid. I bridge the gap between complex agronomic data and practical growing, transforming verified agricultural science into accessible, mathematically precise tools and guides for serious growers.
View all tools & guides by Umer Hayiat →