Placing a raised bed against a fence succeeds when you treat fence material as the primary variable in your design. This approach turns adjacency into a deliberate space-optimizing choice instead of a default layout that risks rot or poor access.
This guide covers nine practical configurations for edible gardening in raised beds positioned directly against fences. It focuses on wood, vinyl, metal, and concrete fences in standard backyard conditions. In-ground beds or placements more than 12 inches away fall outside scope.
You will identify your exact branch, review effort levels side by side, and pick a starter stack that ensures proper drainage and crop reach without fence damage.
Match your fence material and rear-access constraints to the right branch, then select the recommended configurations to protect the fence while gaining usable growing space.
The Yield Grid Decision Grid
Branch 1 applies when your fence is non-porous (vinyl, metal, or concrete) with no moisture absorption. Direct soil contact creates no rot risk here.
Recommended: Items 1, 3, and 6 below. See our best soil mix guide for any fence-adjacent setup.
Branch 2 applies when your fence is wood. A physical barrier becomes mandatory to block soil moisture transfer.
Recommended: Items 2, 4, and 7 below.
Branch 3 applies when the fence is shared or rear access is limited. Clear gaps stay essential for inspection and repairs.
Recommended: Items 5, 8, and 9 below.
Quick Comparison Table
| Option | Key mechanism | Best for | Decision Grid Branch | Effort Score |
|---|---|---|---|---|
| Cinder Block Raised Bed Against Fence | Modular blocks create independent back wall | Non-porous fences needing structural support | Branch 1 | 2 |
| Wicking Raised Bed Against Fence | Capillary wicking delivers water from reservoir base | Wood fences with consistent low-volume moisture control | Branch 2 | 3 |
| U-Shaped Raised Bed Against Fence | Open back fits flush while enclosing three sides | Corner placements on durable fences | Branch 1 | 2 |
| Hugelkultur Raised Bed Against Fence | Buried woody debris improves internal drainage | Wood fences in high-rainfall areas | Branch 2 | 4 |
| DIY Trellis Raised Bed Against Fence | Vertical supports attach directly to fence posts | Vining crops on shared fences | Branch 3 | 3 |
| Self-Watering Raised Bed Against Fence | Reservoir supplies water on demand via wicks | Non-porous fences with minimal daily checks | Branch 1 | 2 |
| Barrier-Protected Wood Fence Bed | Cement board plus plastic liner isolates soil | Wood fences requiring full moisture block | Branch 2 | 3 |
| Drip Irrigation Raised Bed Against Fence | Targeted emitters keep soil dry at fence line | Shared fences needing precise water placement | Branch 3 | 4 |
| Gap-Access Freestanding Configuration | 4-inch minimum clearance for fence maintenance | Limited-access yards with any fence type | Branch 3 | 1 |
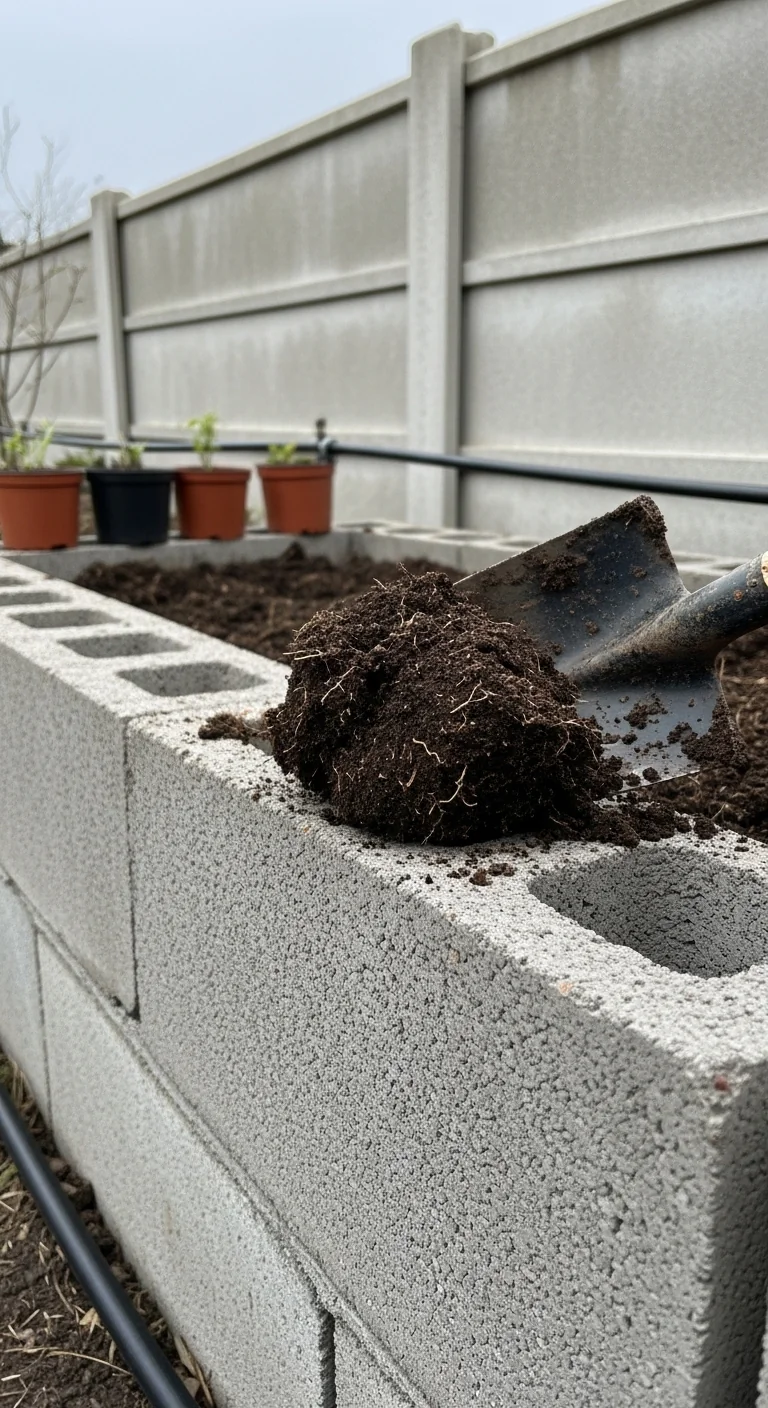
Cinder Block Raised Bed Against Fence

Best for: Branch 1
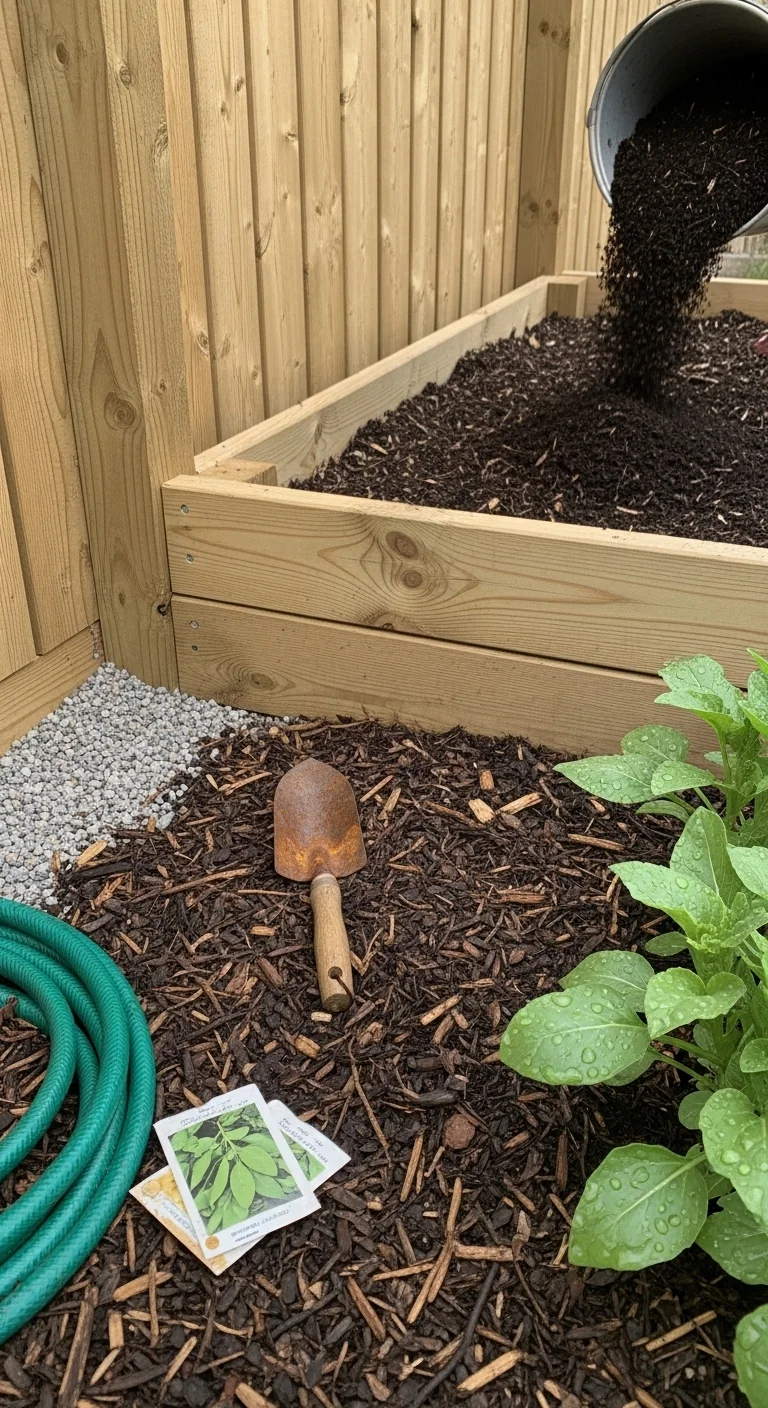
This blueprint starts with a freestanding cinder-block back wall set 1 inch from the fence. It works for vinyl, metal, or concrete fences because the blocks handle all lateral soil pressure independently. Steps include leveling a gravel base, stacking blocks in running bond pattern, and filling with soil mix. Common mistake: skipping gravel footer, which causes settling on uneven ground. The result stays stable for years with zero fence contact. Learn more about cinder block raised beds.
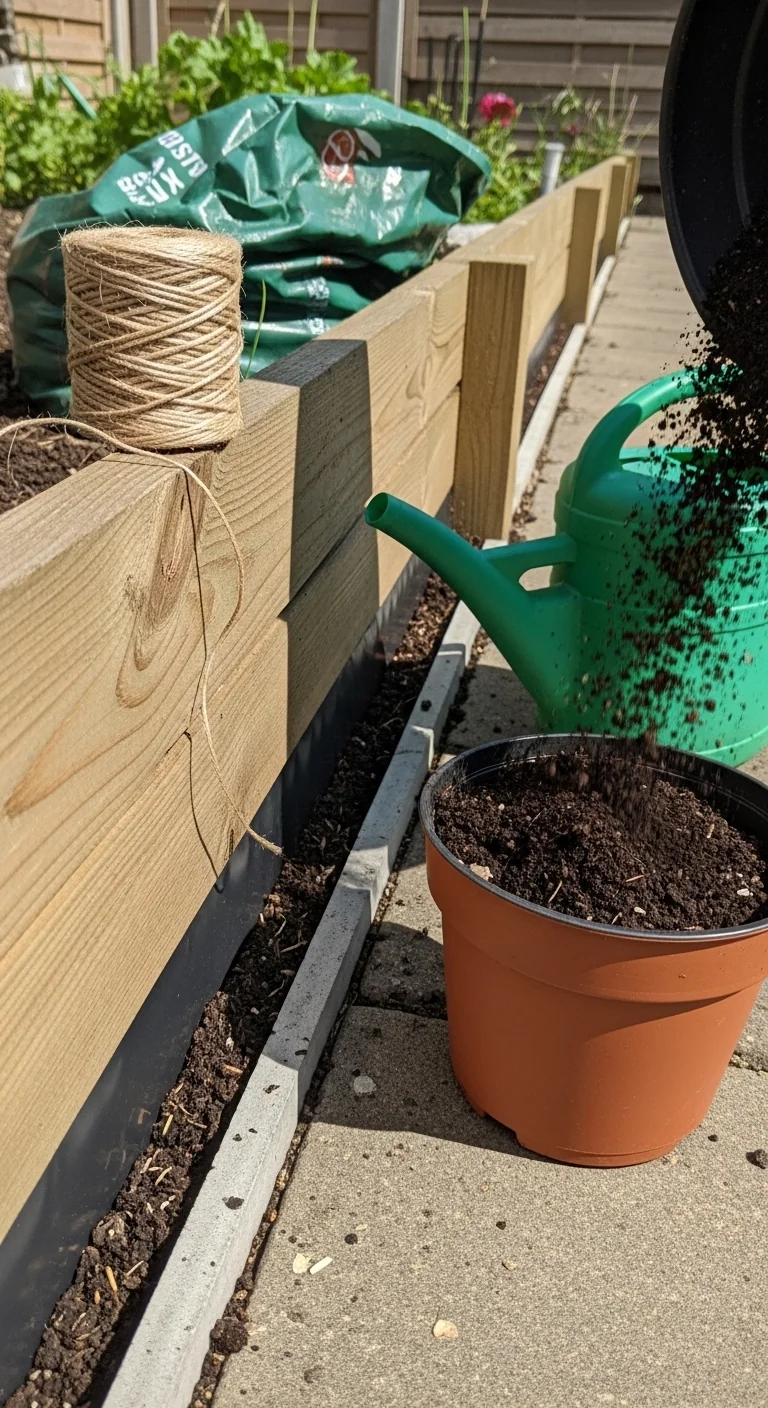
Wicking Raised Bed Against Fence
Best for: Branch 2
Use this when wood fences need moisture isolation. Pros: steady root hydration without surface saturation at the fence line. Cons: initial reservoir setup adds one extra step. Edge case: skip it in freezing climates where reservoir water can expand and crack liners.
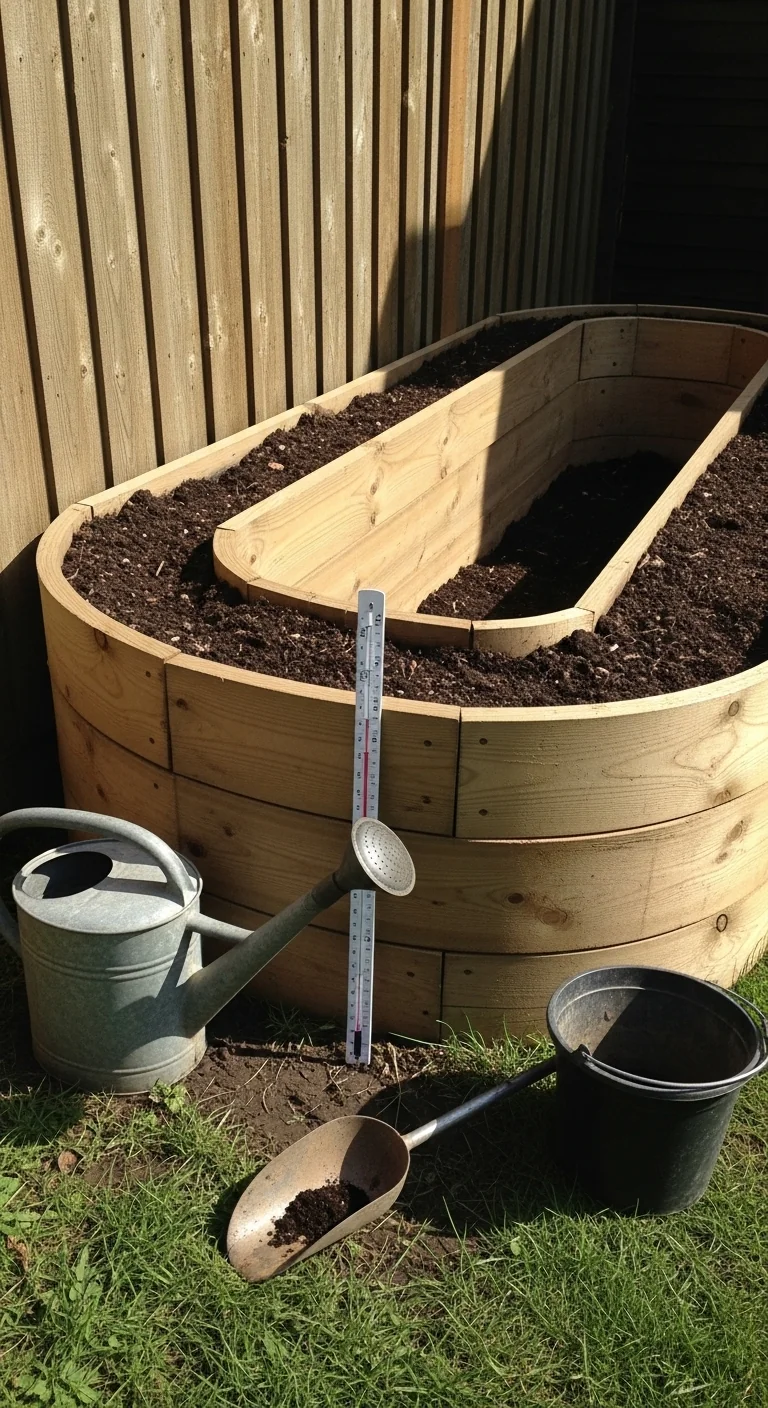
U-Shaped Raised Bed Against Fence
Best for: Branch 1
Threshold rule: apply only when fence height exceeds 48 inches and corner space measures at least 4 feet wide. Adjust depth to 12-18 inches for most edibles. This keeps the open side accessible while the U encloses crops against the durable fence. Exceeding the width threshold creates unreachable dead zones.
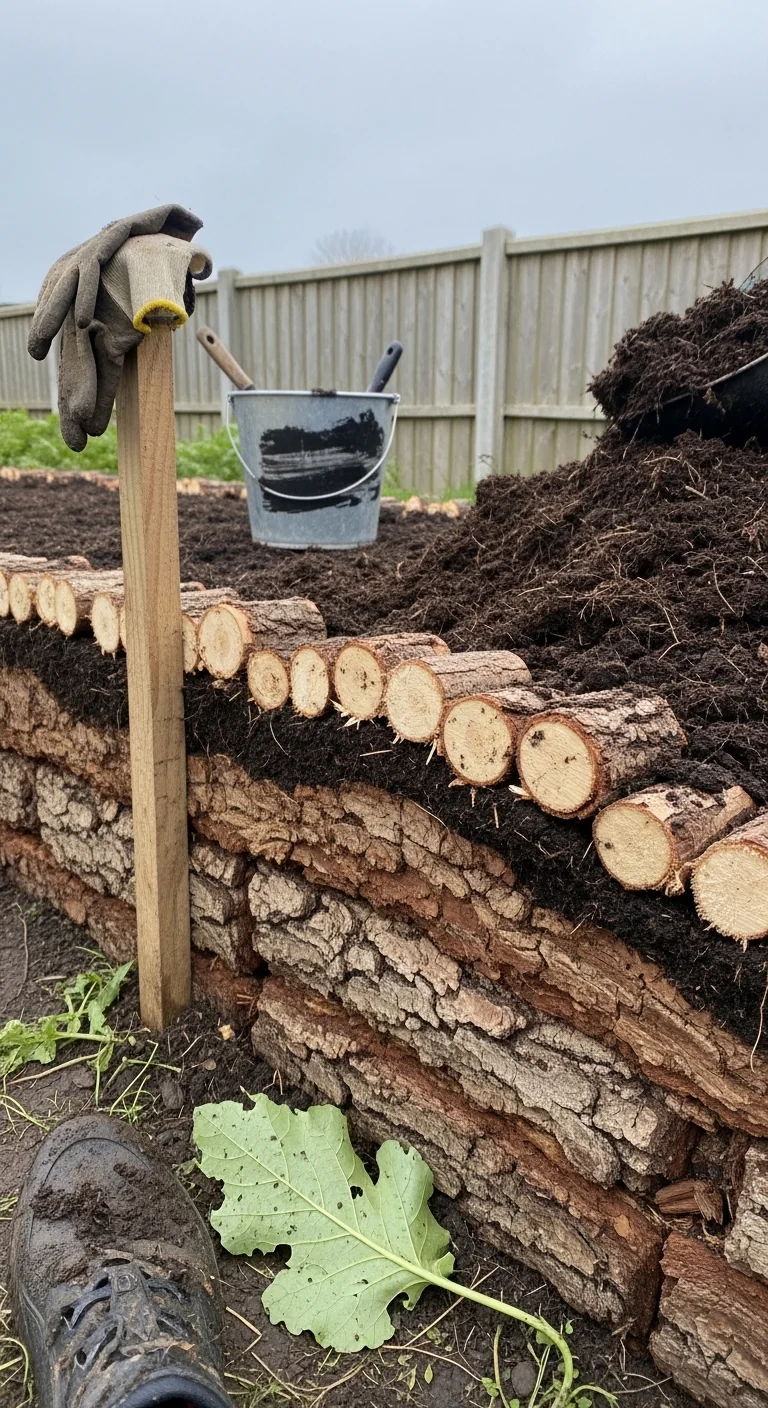
Hugelkultur Raised Bed Against Fence
Best for: Branch 2
Follow this 10-minute workflow for wood-fence protection: lay 6-8 inches of untreated branches directly on the barrier liner, top with 4 inches of coarse compost, then add 12 inches of soil mix. Upgrade option: incorporate a 2-inch perforated pipe along the base for extra drainage in wet zones. The buried wood decomposes slowly to retain moisture away from the fence.
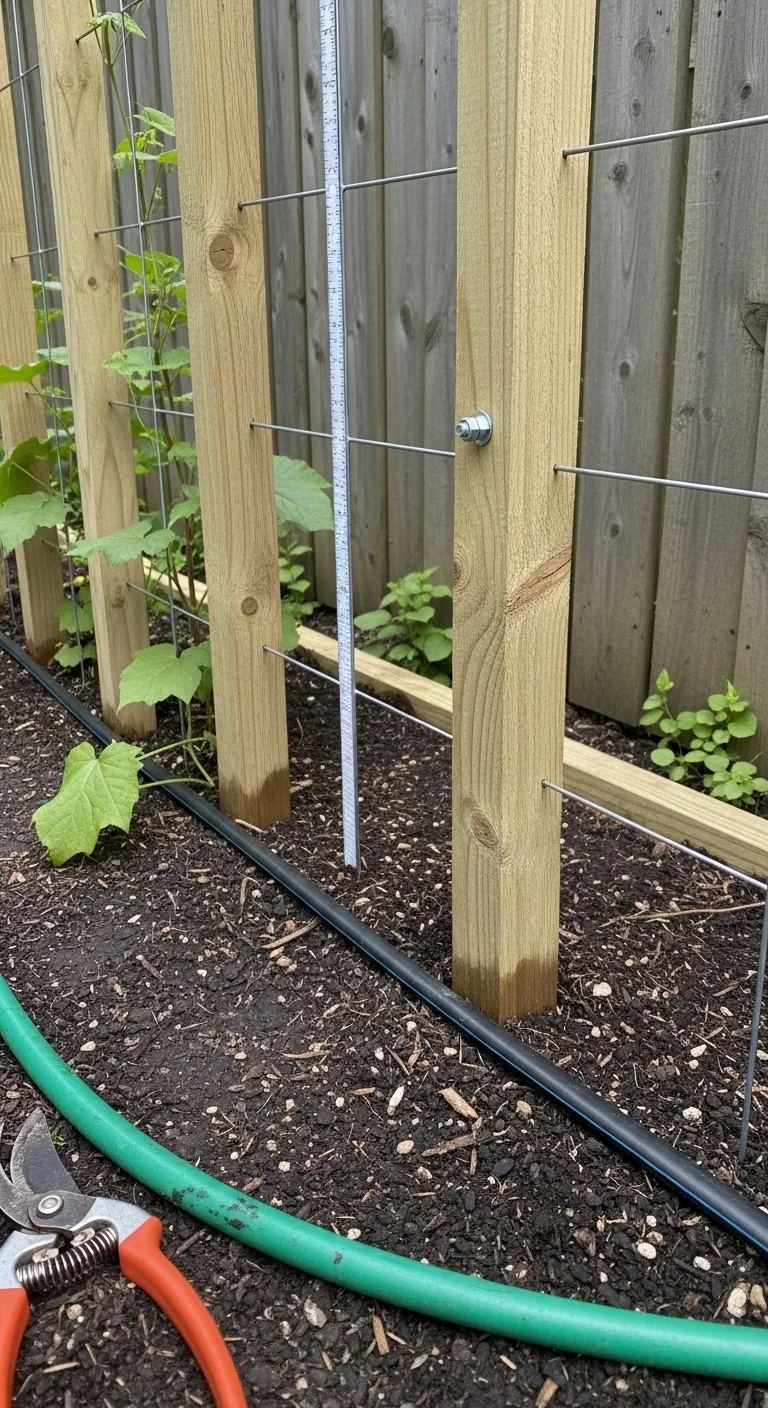
DIY Trellis Raised Bed Against Fence
Best for: Branch 3
Attach vertical supports to fence posts for vining crops. Pros: doubles growing area vertically. Cons: adds weight that shared fences may not tolerate long-term. Edge case: avoid on chain-link fences where posts flex under load.
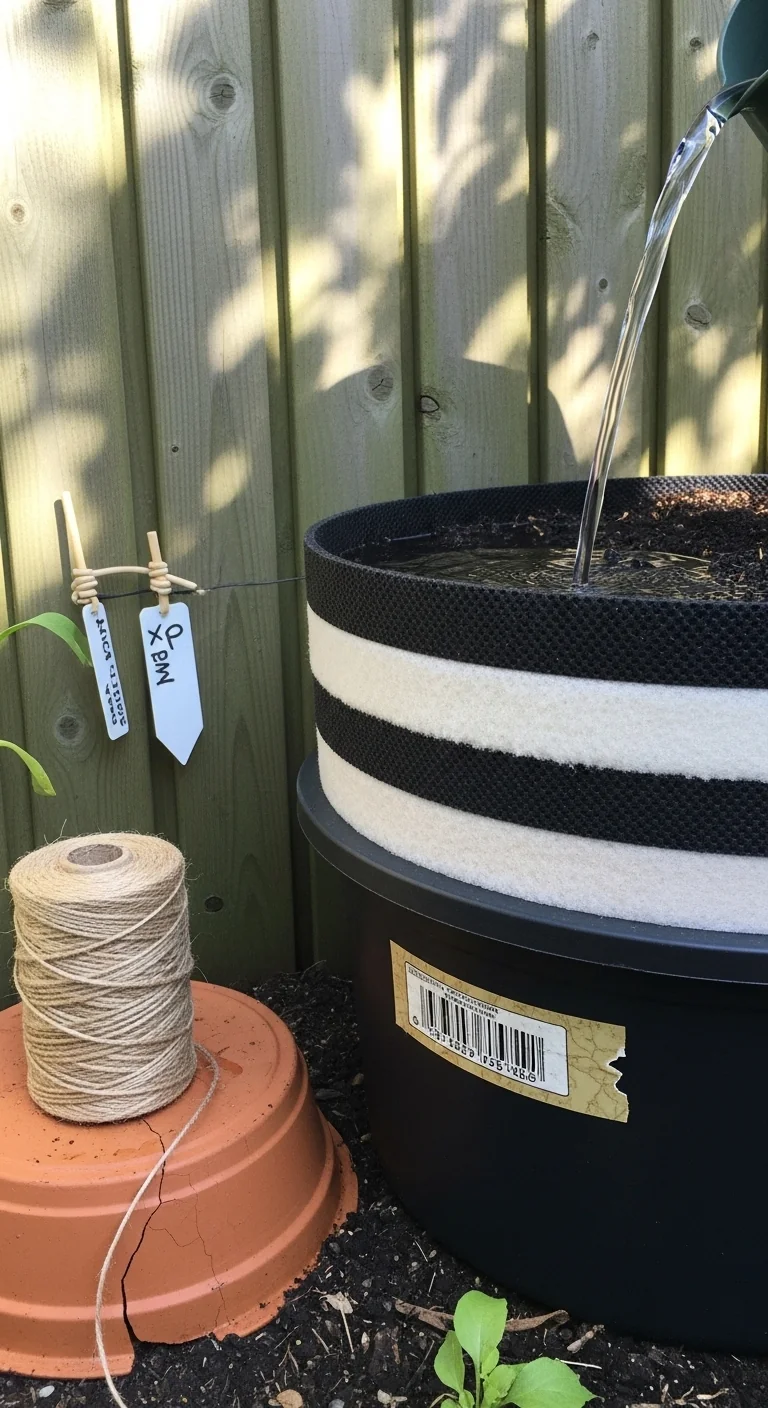
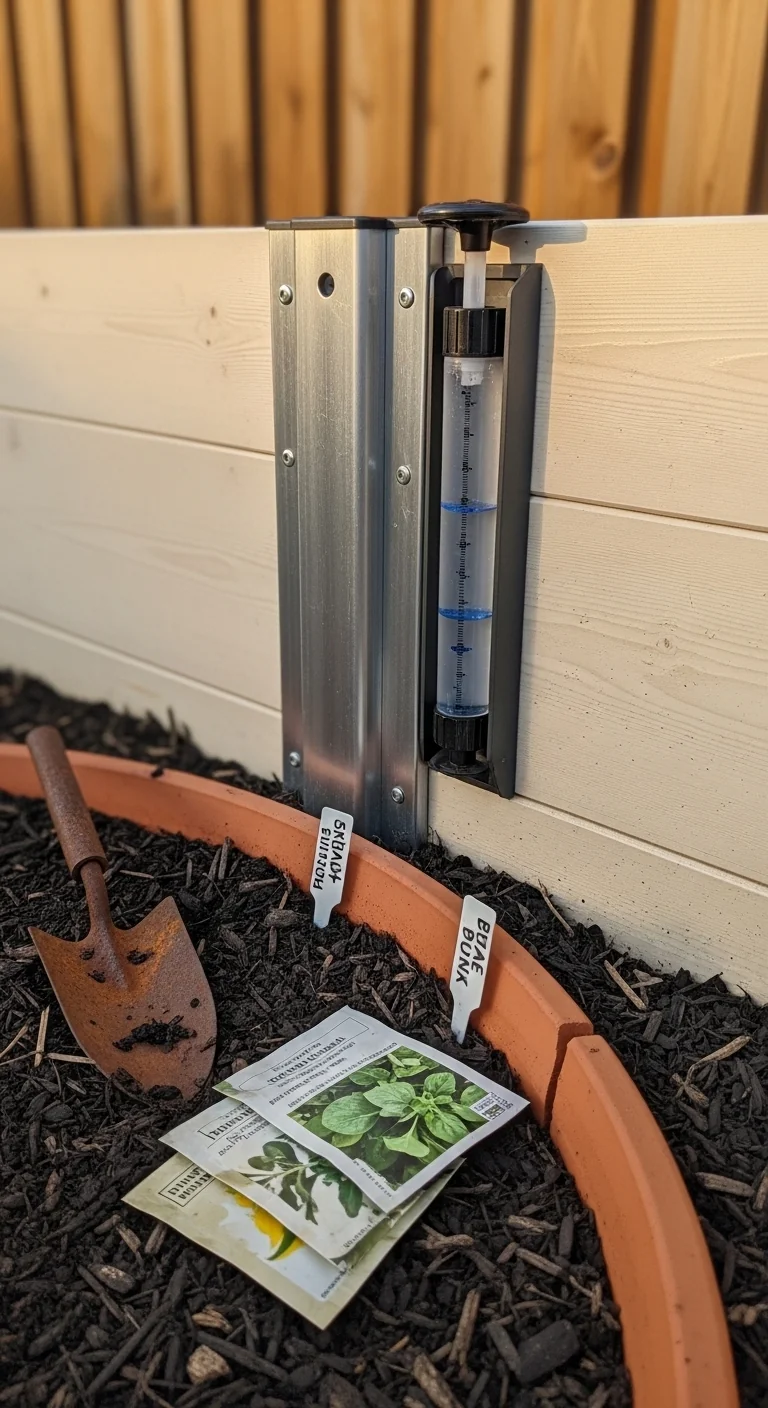
Self-Watering Raised Bed Against Fence
Best for: Branch 1
Reservoir at the base supplies water upward through wicks, keeping the fence line drier than hand-watering ever could. This configuration fits non-porous fences perfectly because excess drains internally. Build time stays under 2 hours once the frame is cut. See the full self-watering raised bed guide.
Barrier-Protected Wood Fence Bed
Best for: Branch 2
Threshold rule: install 1/2-inch cement board plus 6-mil plastic liner whenever the fence is untreated wood. Adjust liner height to match bed walls exactly. This measurable combination blocks all soil moisture transfer. Below 1/2-inch board thickness the barrier flexes under soil weight.
Drip Irrigation Raised Bed Against Fence
Best for: Branch 3
Place emitters 6 inches from the fence line only. This keeps the immediate soil strip dry for inspection access. Upgrade by adding a timer set to 10-minute cycles twice weekly in moderate climates.
Gap-Access Freestanding Configuration
Best for: Branch 3
Blueprint: build the full four-sided bed 4 inches away from any fence, then fill and plant. It works for shared fences because the gap stays clear for painting or repairs. Steps: level the frame, add landscape fabric on the fence side only, and backfill the gap with gravel to suppress weeds. Common mistake: narrowing the gap below 4 inches, which traps debris and blocks maintenance.
Starter Stack (What to Choose First)
For Branch 1: Non-Porous Fence
Begin with the cinder block raised bed against fence and the u-shaped design. They combine for stable corners and zero pressure on vinyl or metal fences. Materials cost range: 200-400 dollars. Build time range: 3-5 hours.
For Branch 2: Wood Fence with Barrier
Start with the wicking raised bed against fence and the hugelkultur version. The wicking reservoir pairs with buried wood for balanced internal drainage that never reaches the barrier. Materials cost range: 150-350 dollars. Build time range: 4-6 hours.
For Branch 3: Limited Access or Shared Fence
Begin with the DIY trellis raised bed against fence and the gap-access freestanding configuration. Vertical growth uses the fence while the gap preserves rear access. Materials cost range: 100-250 dollars. Build time range: 2-4 hours.
When This Won’t Work
A raised bed against a fence fails when the fence already shows soft spots or peeling paint, indicating advanced decay that no barrier can reverse. It also fails when local codes require at least 12 inches clearance from property lines, making any adjacency impossible.
In either case shift to elevated raised beds placed 18 inches away from the fence. This preserves growing space while eliminating all contact risks.
Choosing the Right Option for Your Situation
Budget Threshold
Under 200 dollars in materials favors the gap-access freestanding configuration or wicking setup using basic lumber and liner. Above 300 dollars opens cinder block or full self-watering kits with reservoirs.
Time Threshold
Under 3 hours available limits choices to the u-shaped or gap-access designs that need only framing and filling. Over 5 hours allows hugelkultur layering or drip line installation.
Technical Constraint: Fence Material and Access
Wood fences demand a full barrier plus gap check. Shared fences require the 4-inch clearance rule. Test access first by walking the rear line before cutting any lumber.
Yes if your fence is non-porous and access is open.
No if wood shows decay or codes ban adjacency.
Yes if you can install a liner in one session.
No if rear gap cannot stay 4 inches clear year-round.
Expert Q&A
How far from the fence should emitters sit in a drip setup?
Position emitters no closer than 6 inches to the fence line. This keeps the soil strip next to the fence dry enough for visual inspection while still watering the main root zone.
Which vining crops gain the most from fence trellis support?
Pole beans and cucumbers climb best when trellis posts bolt directly to fence posts. The fence provides wind protection that shortens internode spacing on these crops.
What liner material lasts longest against wood fences?
6-mil plastic sheeting topped by 1/2-inch cement board holds up 8-10 seasons in temperate climates. The board prevents punctures while the plastic blocks moisture migration.
Does fence shading change crop selection in raised beds?
North-facing fences cut morning sun by 2-3 hours. Switch to shade-tolerant leafy greens or root crops in the first 18 inches of bed depth rather than fruiting plants.
How often should you inspect the gap behind a freestanding bed?
Check the 4-inch gap twice per season for debris or weed growth. Clear it in spring and fall to maintain airflow and prevent hidden rot on the fence base.
Conclusion
The correct configuration turns fence adjacency into a reliable growing asset once fence material and access constraints guide every decision. The single biggest mistake remains skipping the barrier or gap on wood fences, which shortens fence life within two seasons.
Next step: Install drip irrigation to fine-tune moisture levels in your chosen setup.
Lead Data Architect
Umer Hayiat
Founder & Lead Data Architect at TheYieldGrid. I bridge the gap between complex agronomic data and practical growing, transforming verified agricultural science into accessible, mathematically precise tools and guides for serious growers.
View all tools & guides by Umer Hayiat →