Winterizing raised beds succeeds when tactics match your local freeze-thaw cycles and rainfall patterns rather than applying a single generic checklist. This reframing turns downtime into targeted soil conditioning and structure preservation for edible gardens.
The guide covers nine tactics suited to raised beds in the US, Canada, UK, Australia, New Zealand, and Ireland. It focuses exclusively on edible gardening and excludes in-ground beds or ornamental setups.
Readers can select the exact combination that protects soil from erosion, supports microbial activity, and reduces spring repairs based on measurable winter conditions.
Identify your winter profile in the decision grid and combine the recommended tactics to prepare beds that require less work next season.
The Yield Grid Decision Grid
Branch 1: If your area experiences more than five hard freezes below 28 degrees F or frequent freeze-thaw cycles, prioritize insulation and stabilization. Recommended: Items 1, 4, 7 below.
Branch 2: If average winter lows stay above 25 degrees F with fewer than three hard freezes, prioritize soil biology. Recommended: Items 2, 5, 8 below.
Branch 3: If winter precipitation averages more than two inches per week, prioritize erosion prevention and drainage. Recommended: Items 3, 6, 9 below.
Before selecting any tactic, confirm your base soil meets the needs for long-term success with our guide to best soil mix for raised beds.
Quick Comparison Table
| Option | Key mechanism | Best for | Decision Grid Branch | Effort Score |
|---|---|---|---|---|
| Build a Layered Mulch Barrier with Straw and Leaves | Insulation and weed suppression | Preventing soil erosion during freeze-thaw | Branch 1 | 1 |
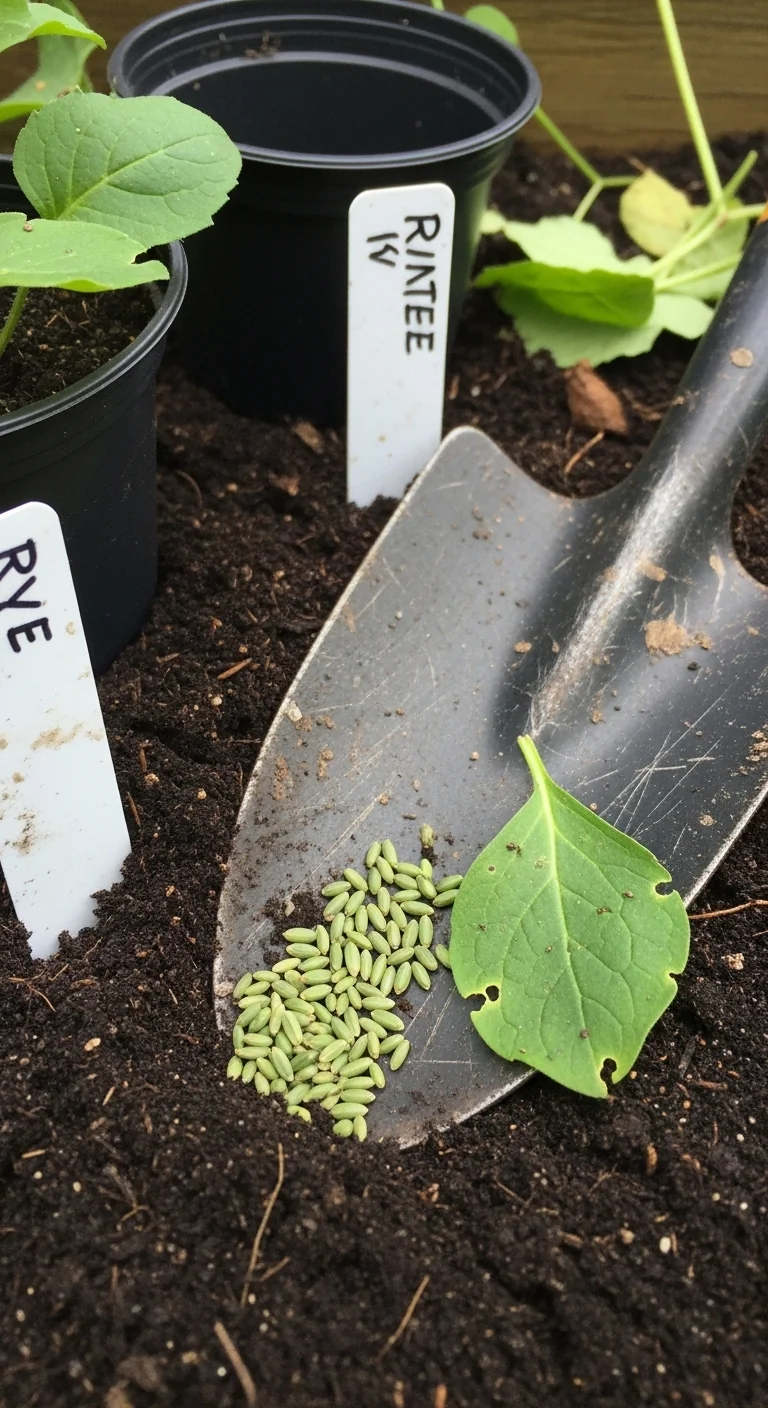
| Seed a Winter Rye Cover Crop | Nitrogen fixation and root anchoring | Building soil biology in mild winters | Branch 2 | 1 |
| Apply a Finished Compost Top-Dressing | Nutrient replenishment without disturbance | Erosion control in wet winters | Branch 3 | 1 |
| Brace Raised Bed Frames to Counter Frost Heave | Mechanical stabilization of walls | Wooden or cinder block beds in cold areas | Branch 1 | 2 |
| Remove and Store Plant Supports and Trellises | Prevent damage and rot from exposure | All setups to avoid winter wear | Branch 2 | 1 |
| Install a Temporary Cold Frame Cover | Extra insulation and moisture barrier | High precipitation to keep soil dry | Branch 3 | 2 |
| Incorporate Woody Debris in a Hugelkultur Layer | Long-term heat and moisture retention | Harsh winters for passive warming | Branch 1 | 1 |
| Inspect and Maintain Wicking Systems | Controlled moisture to avoid saturation | Mild but wet winters | Branch 2 | 1 |
| Check and Adjust Drip Irrigation Lines for Drainage | Prevent ice buildup and clogs | Wet winters to avoid standing water | Branch 3 | 1 |
Build a Layered Mulch Barrier with Straw and Leaves
Best for: Branch 1
This tactic creates a physical blanket that buffers soil temperature swings and blocks erosion at the raised bed edges, which lose soil faster than in-ground gardens. Start with a 2-inch base of shredded leaves for slow decomposition, then top with a 3-inch layer of straw to hold everything in place through snow load. The combination insulates roots at 4 to 6 inches depth while allowing air exchange. Steps include clearing debris first, spreading evenly to the bed walls, and tucking edges down 1 inch to anchor against wind. Common mistake is using fresh leaves alone, which mat into a water-repellent crust. In freeze-thaw heavy areas this maintains consistent soil moisture without daily intervention.
Seed a Winter Rye Cover Crop

Best for: Branch 2
Use this when winters stay mild: sow rye for root systems that hold soil and fix nitrogen over months. Pros include low cost and easy spring chop-and-drop. Cons appear only in very compacted beds where germination drops. Edge case: skip if your first frost arrives within three weeks, as establishment fails. Plant at standard rate for your bed size and rake lightly into the surface for contact.
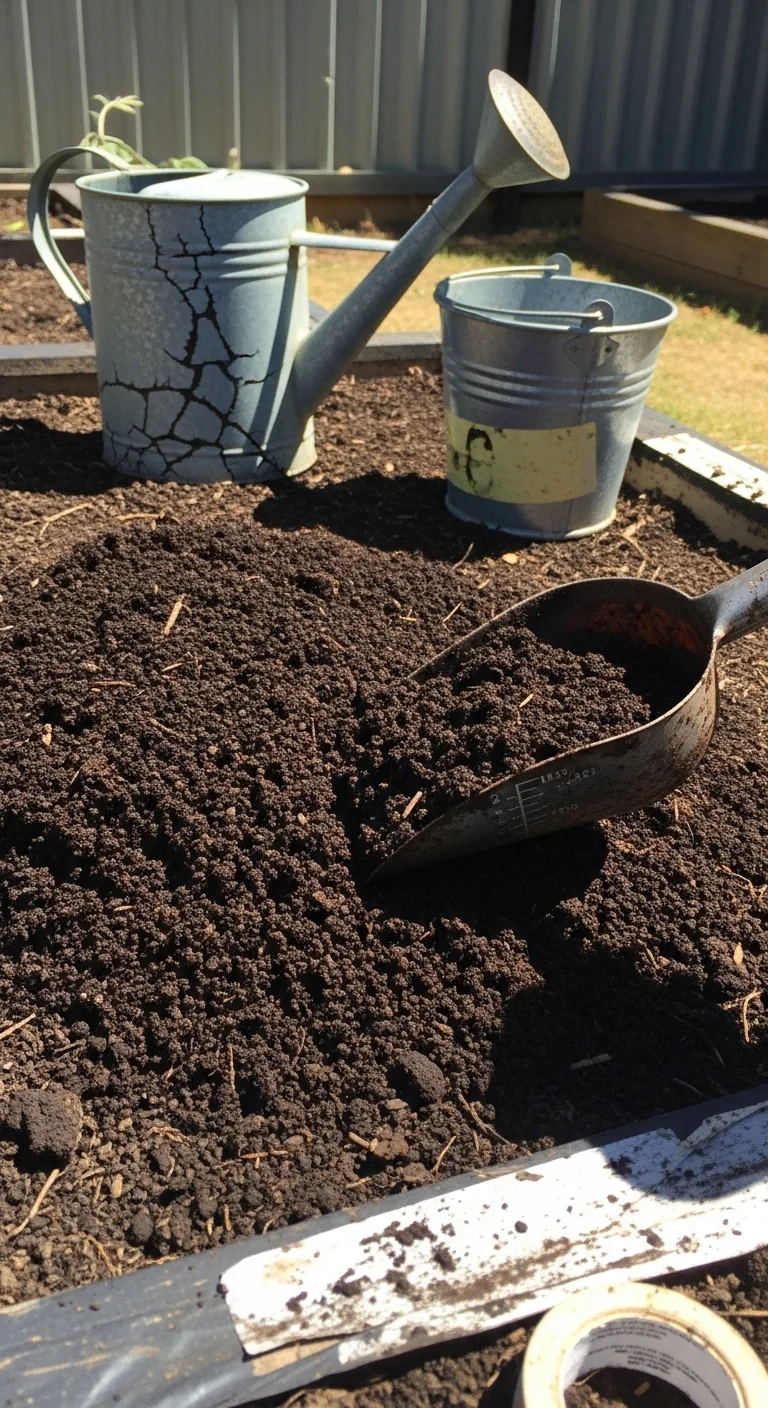
Apply a Finished Compost Top-Dressing
Best for: Branch 3
Apply a 2-inch layer of finished compost across cleared beds to replenish nutrients and create a barrier against heavy rain splash. Adjust thickness down to 1 inch on slopes over 5 percent to avoid slippage. This rule matters most when weekly precipitation exceeds two inches, as the layer absorbs impact and feeds microbes through winter without tilling. Monitor bed edges for washout after storms and add a thin extra inch only where needed.
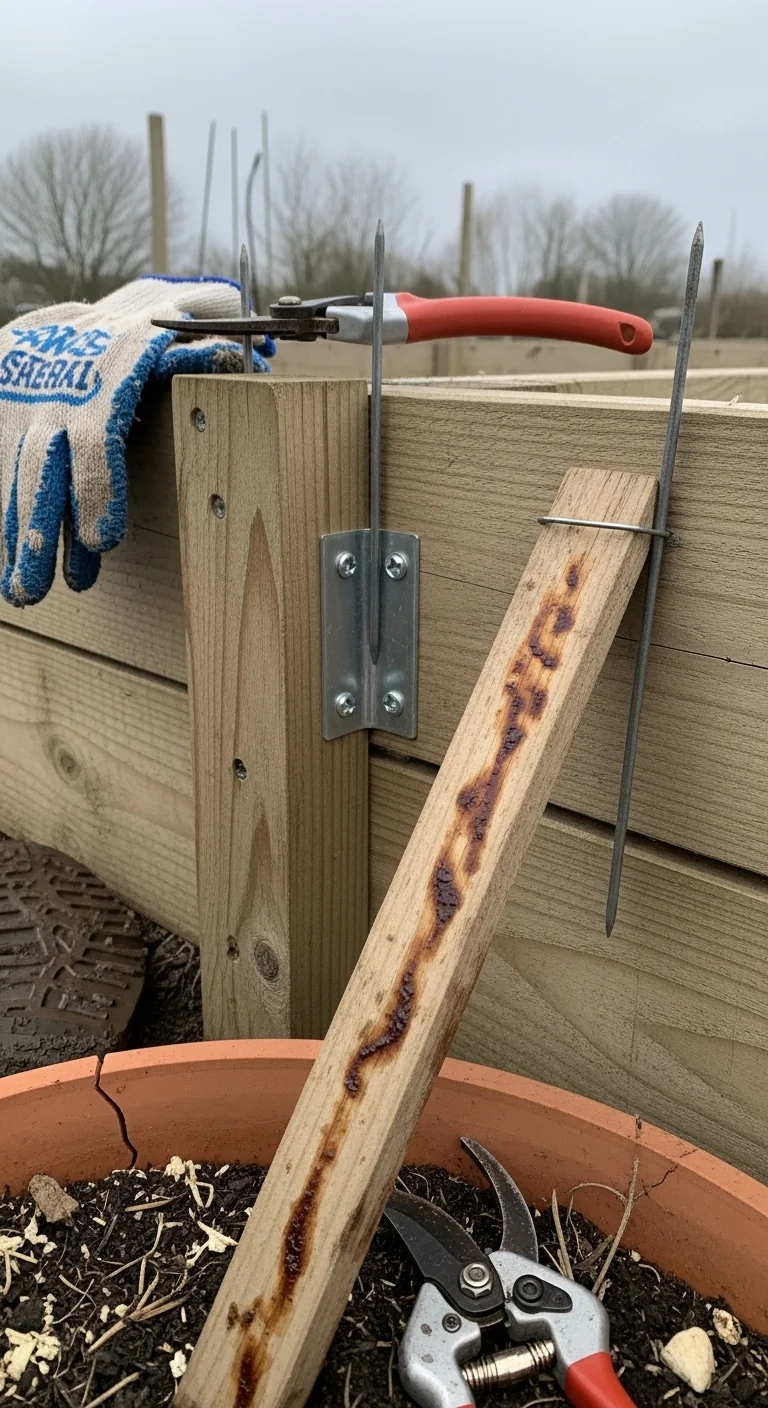
Brace Raised Bed Frames to Counter Frost Heave
Best for: Branch 1
This 10-minute workflow stabilizes walls against repeated expansion and contraction in cold climates. Steps: inspect each corner for gaps, drive rebar or wooden stakes 12 inches deep every 4 feet along long sides, and secure with exterior brackets or wire. Upgrade option includes switching to cinder block raised beds for inherent frost resistance. Complete before first hard freeze to prevent shifting that cracks joints or tilts boards.
Remove and Store Plant Supports and Trellises
Best for: Branch 2
Take down all stakes, cages, and trellises to stop rot and free space for mulch or cover crops. Clean with a stiff brush, dry completely, and store in a shed. This step prevents metal corrosion and wood decay over winter. In mild conditions the saved materials stay ready for immediate spring reuse.
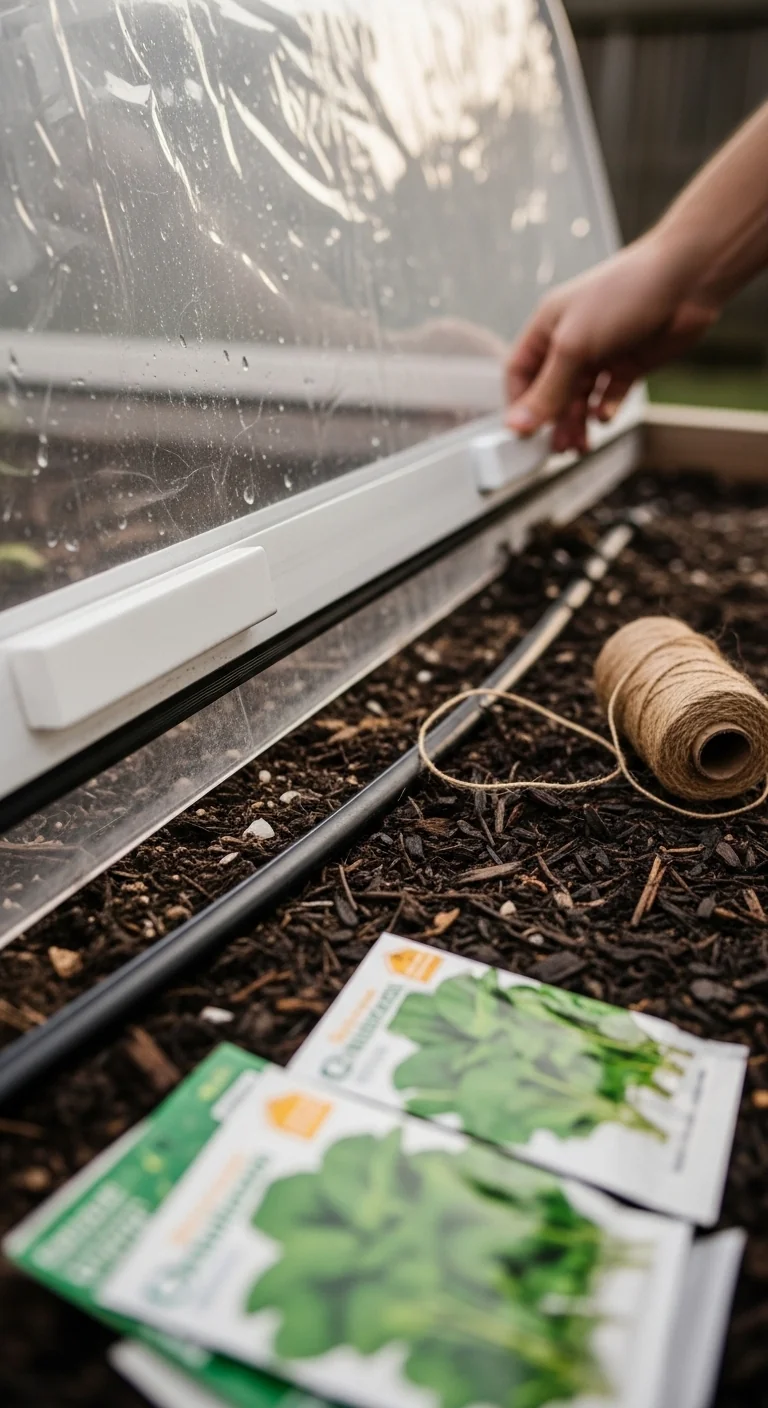
Install a Temporary Cold Frame Cover
Best for: Branch 3
Attach hinged polycarbonate or fabric lids to existing raised beds for targeted protection against rain and light frost. Cut panels to fit exact dimensions, secure with hinges on the north side, and add simple latches. The cover keeps soil drier while still allowing ventilation on warmer days. This works especially well when precipitation is frequent.
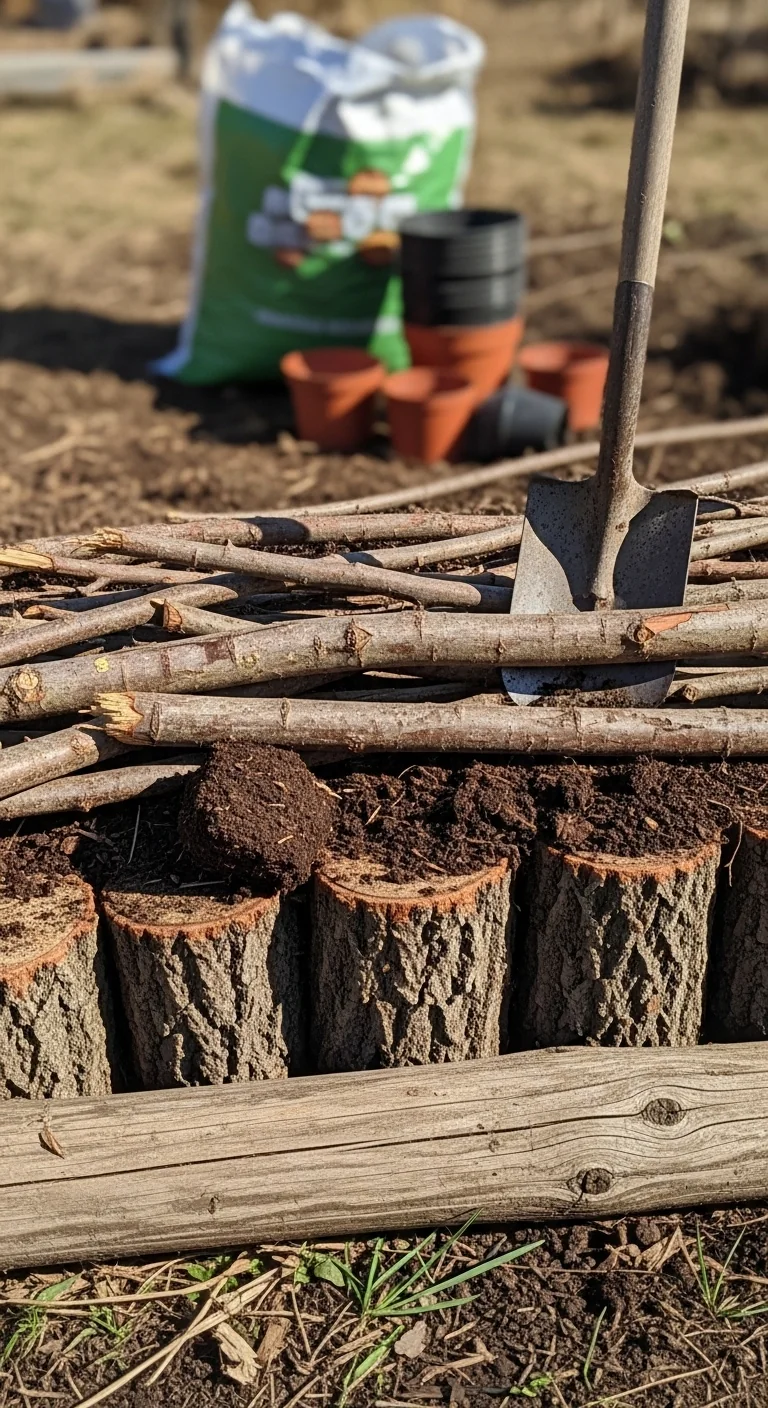
Incorporate Woody Debris in a Hugelkultur Layer
Best for: Branch 1
Lay branches and untreated wood at the bottom of the bed before topping with soil or mulch to create slow-release heat pockets that buffer deep freezes. The decomposition process retains moisture internally and reduces the need for supplemental watering in early spring. In harsh winters this passive layer maintains steadier temperatures than mulch alone. Combine with surface straw for full effect without disturbing established beds.
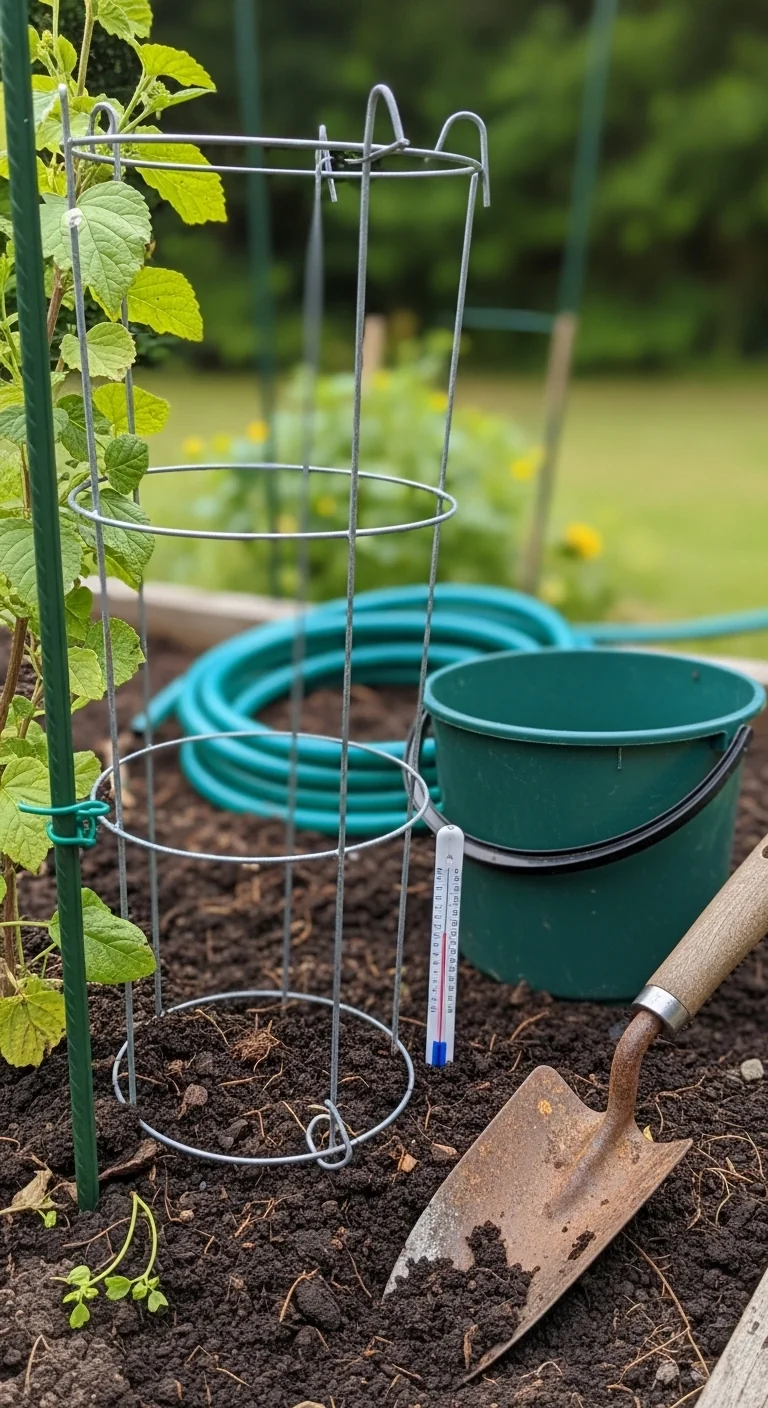
Inspect and Maintain Wicking Systems
Best for: Branch 2
Check reservoirs and wicking channels for debris or ice blockages, then flush with clean water if needed. This ensures even moisture distribution without saturation during mild wet spells. Maintenance takes minutes and prevents root zone issues before spring planting.
Check and Adjust Drip Irrigation Lines for Drainage
Best for: Branch 3
Disconnect lines, blow out residual water with compressed air, and cap ends to stop ice formation inside tubing. Store coils off the ground. This prevents bursts and keeps the system ready for reuse while avoiding puddles that erode bed soil in wet winters.
Starter Stack (What to Choose First)
For Branch 1
Start with items 1 and 7. The layered mulch barrier provides immediate surface protection while the hugelkultur woody layer adds long-term heat retention. Together they stabilize temperature swings and reduce spring soil settling. Materials cost 15 to 35 dollars per standard bed. Time required is 45 to 75 minutes.
For Branch 2
Start with items 2 and 8. Winter rye cover crop anchors soil biology while wicking system inspection prevents excess moisture. The roots improve drainage naturally. Materials cost under 10 dollars per bed. Time required is 20 to 40 minutes.
For Branch 3
Start with items 3 and 6. Compost top-dressing feeds soil while the temporary cold frame cover blocks heavy rain impact. The combination minimizes nutrient leaching. Materials cost 20 to 40 dollars per bed. Time required is 30 to 60 minutes.
When This Won’t Work
These tactics fail in beds with prolonged standing water longer than 48 hours after rain, as excess saturation overrides insulation or cover crops and leads to anaerobic conditions by spring. Install permanent drainage trenches or elevate the entire bed structure instead.
They also fall short in areas with sustained high winds that strip protective layers before snow sets in. Add physical windbreaks around the perimeter to hold materials in place.
Choosing the Right Option for Your Situation
Budget Threshold
Under 25 dollars per bed: select items 1, 2, or 3 using household leaves, straw bales, or existing compost. Over that amount opens options for cold frames or bracing hardware.
Time Threshold
Less than 45 minutes available: limit to effort score 1 items such as mulch application, cover crop seeding, or support removal. Schedule deeper work like bracing for a second session.
Technical Constraint: Bed Material
Wooden or cinder block beds require frame bracing in cold zones to counter heave. Metal or elevated beds benefit most from mulch and compost because they conduct cold faster but resist structural shift.
Yes/No checklist:
- More than five freeze-thaw cycles this winter? Choose Branch 1 items.
- Average lows above 25 degrees F? Choose Branch 2 items.
- Precipitation over two inches weekly? Choose Branch 3 items.
- Budget and time both limited? Stick to two starter stack tactics.
Expert Q&A
Can cover crops be planted after the first light frost?
Winter rye tolerates light frost but needs four to six weeks of growth before hard freezes to establish roots. In regions with early cold, sow by mid-September at latest for reliable establishment and soil holding through winter.
How does winterizing change for metal raised beds compared with wood?
Metal conducts cold more readily, so thicker mulch layers become essential to insulate soil. Wood expands and contracts, requiring corner bracing. Both types still need debris removal and compost, but metal needs no rot inspection.
Should diseased plant residue stay in the bed over winter?
Remove and dispose of any material showing fungal or bacterial signs to break pest cycles. Healthy residue can be chopped and left under mulch, but diseased items must leave the site entirely to protect next season’s crops.
What role does pre-freeze watering play in raised bed preparation?
Water beds thoroughly until soil is moist to 6 inches deep before the ground freezes. This creates an insulating ice barrier in the profile and prevents dry soil from pulling moisture from roots of any overwintering perennials.
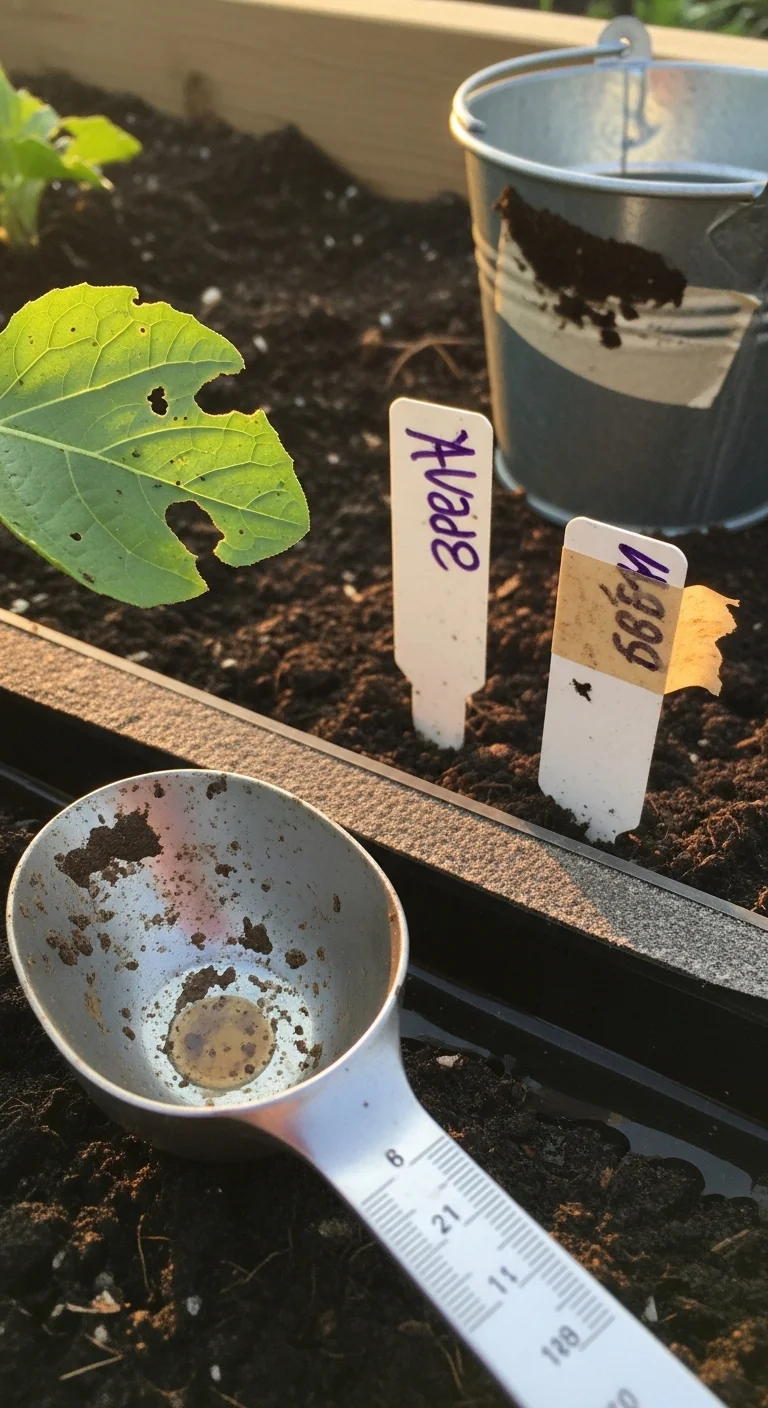
Is it necessary to test soil pH before applying winter amendments?
Test once in late fall if last results are over 18 months old. Most raised bed mixes stay stable, but heavy compost additions can shift pH slightly. Adjust only if readings fall outside 6.0 to 7.0 before spring planting.
Conclusion
The core decision comes down to matching your measured winter conditions to the right tactics so soil stays protected and structured without extra spring labor. The biggest mistake is leaving beds bare, which invites erosion and nutrient loss at the raised edges.
Next step: upgrade one bed to incorporate passive moisture features for simpler future winterizing with our guide to self-watering raised bed designs.
Lead Data Architect
Umer Hayiat
Founder & Lead Data Architect at TheYieldGrid. I bridge the gap between complex agronomic data and practical growing, transforming verified agricultural science into accessible, mathematically precise tools and guides for serious growers.
View all tools & guides by Umer Hayiat →