The right vegetable garden layout succeeds when it matches three measurable conditions on your site: total planting area in square feet, daily direct sun hours, and access constraints such as balcony railings or uneven terrain. Layouts chosen without those measurements lead to shading, overcrowding, or wasted paths.
This guide reframes vegetable garden layout ideas around a decision grid that sorts nine practical designs by those exact factors. It covers in-ground, raised, vertical, and container options for backyards, patios, and larger plots while excluding purely ornamental designs or those needing heavy equipment.
You will leave with the ability to select one layout that fits your conditions, implement it step by step, and avoid the most common mismatches that force mid-season fixes.
Bottom line: Measure your space and sun first, then follow the grid to the exact items below.
The Yield Grid Decision Grid
Branch 1: Compact spaces. Total planting area under 100 square feet or sites with limited ground access such as balconies, patios, or front yards. Recommended: Items 2, 5, and 9 below.
Branch 2: Medium backyard sites. Total area 100 to 300 square feet with 6 or more hours of direct sun daily. Recommended: Items 1, 4, and 7 below.
Branch 3: Large or challenging sites. Total area over 300 square feet or sites with under 6 sun hours, slopes, or variable soil. Recommended: Items 3, 6, and 8 below.
For full planning steps that align any layout with your first planting dates, see how to start a vegetable garden.
Quick Comparison Table
| Option | Key mechanism | Best for | Decision Grid Branch | Effort Score |
|---|---|---|---|---|
| Square Foot Gardening Layout | 1-foot grid divisions with fixed plant counts per square | Organized intensive production in defined beds | Branch 2 | 2 |
| Vertical Trellis Layout | Upward supports that stack vining crops above ground level | Vining vegetables in tight footprints | Branch 1 | 4 |
| Traditional Row Layout | Straight rows spaced for walk-behind cultivation | Open areas that allow easy weeding and harvest access | Branch 3 | 3 |
| Raised Bed Modular Layout | Framed beds 4 feet wide with 2- to 3-foot paths | Backyard sites needing defined zones and soil control | Branch 2 | 2 |
| Container Cluster Layout | Grouped pots on wheels or stands for mobility | Balconies or patios with no permanent ground beds | Branch 1 | 3 |
| Keyhole Garden Layout | Keyhole-shaped bed with central compost access | Larger sites wanting built-in nutrient cycling | Branch 3 | 2 |
| Intensive Block Layout | Offset blocks that eliminate rows for denser planting | Medium sites focused on maximum edible output per foot | Branch 2 | 3 |
| Front Yard Edible Landscape Layout | Integrated beds along walkways with ornamental edging | Visible larger sites that double as landscape features | Branch 3 | 3 |
| Balcony Vertical Layout | Railing and wall-mounted supports with cascading planters | Elevated compact spaces under 50 square feet | Branch 1 | 4 |
1. Square Foot Gardening Layout
Best for: Branch 2
This layout divides beds into 1-foot squares using string or wood dividers so each square holds a precise number of plants based on mature size. It suits medium backyard sites because the grid prevents overplanting while allowing tight spacing that reduces bare soil.
Start by building or marking beds exactly 4 feet wide. Fill with a 50-50 mix of compost and garden soil to 12 inches deep. Stretch string across the surface to create the grid. Plant according to standard counts: one tomato or pepper per square, four lettuce, or nine spinach. Place taller crops on the north side to avoid shading.
Common mistake: ignoring the grid lines after the first season and reverting to random spacing, which defeats the purpose of controlled density. Refresh the grid markers each spring.
Pair this layout with companion planting vegetables to fill empty squares with flowers or herbs that deter pests naturally.
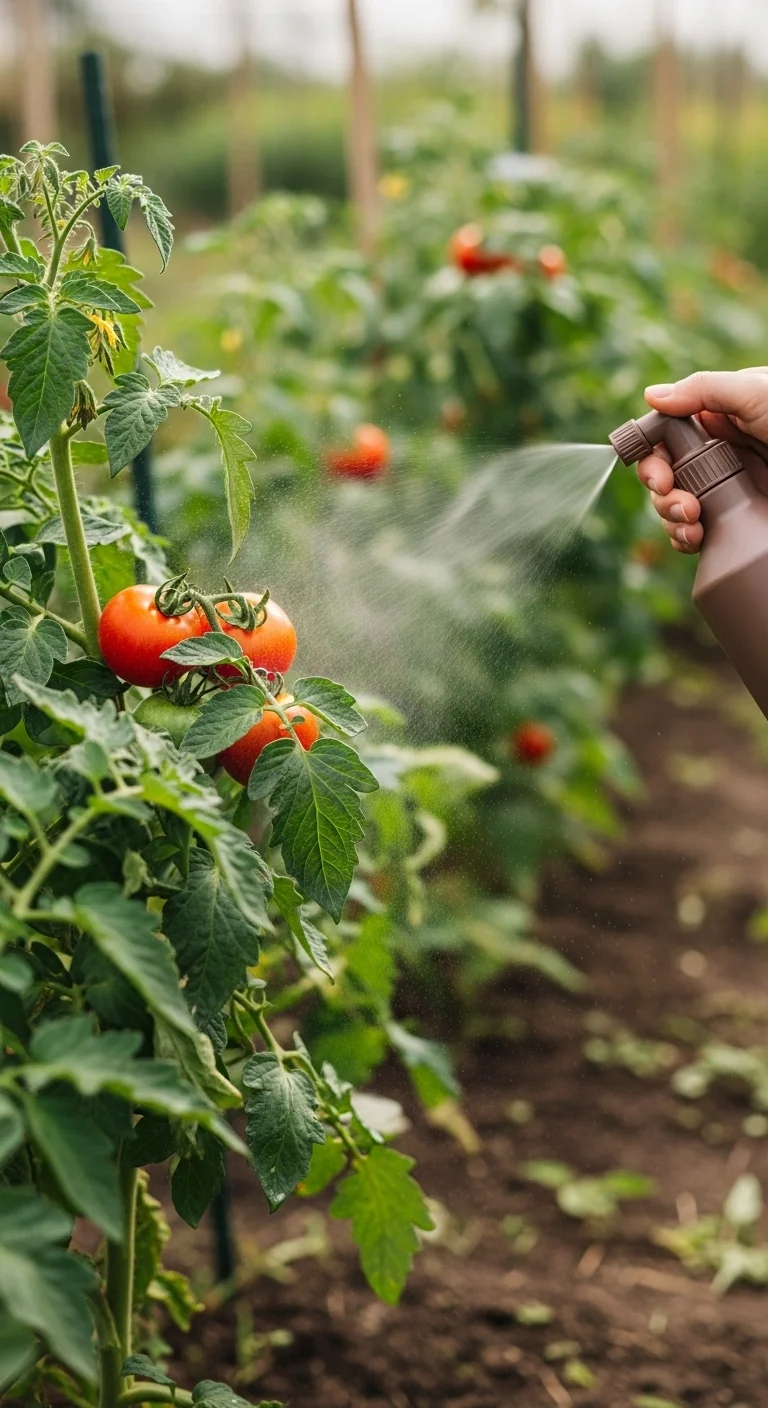
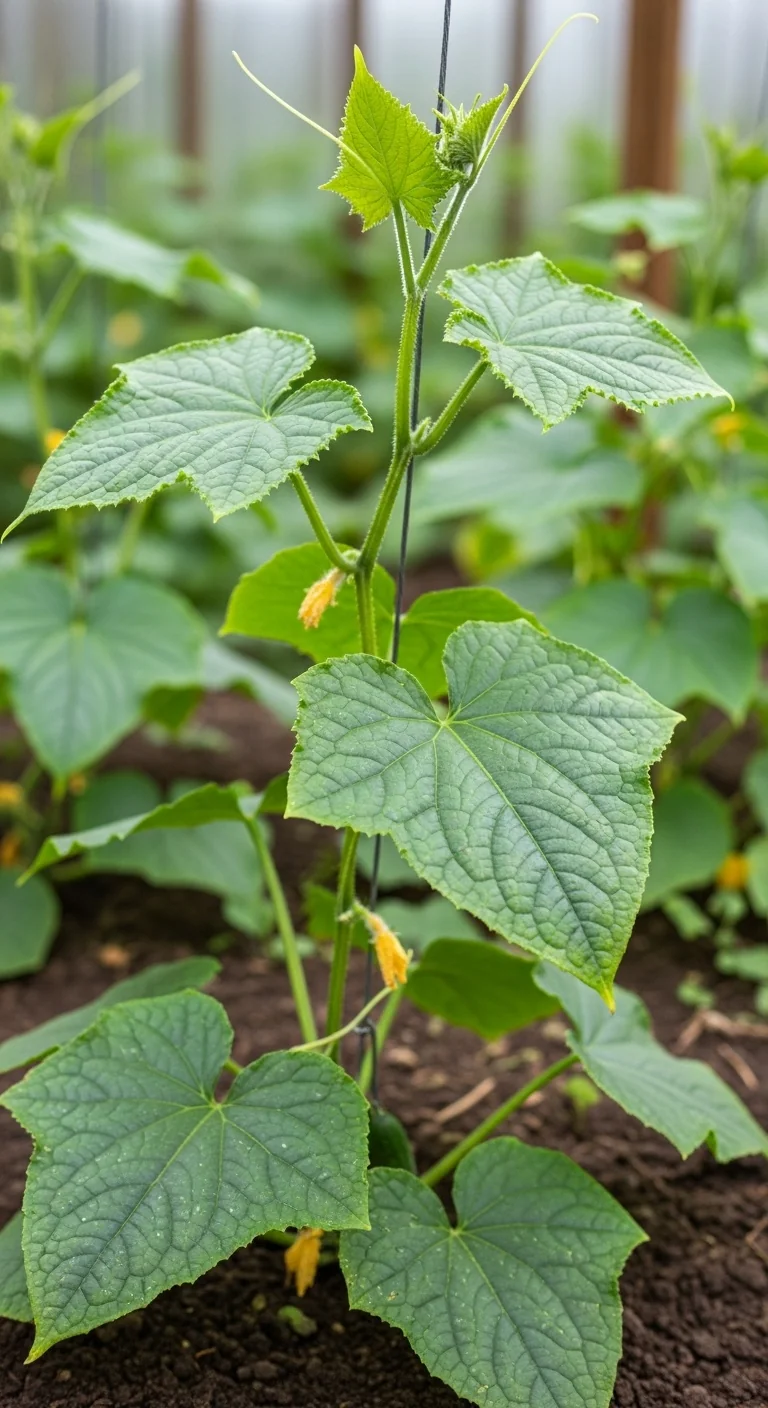
2. Vertical Trellis Layout

Best for: Branch 1
Use this layout when ground space is scarce. It works; skip it on windy sites over 15 miles per hour average where supports may fail without guy wires.
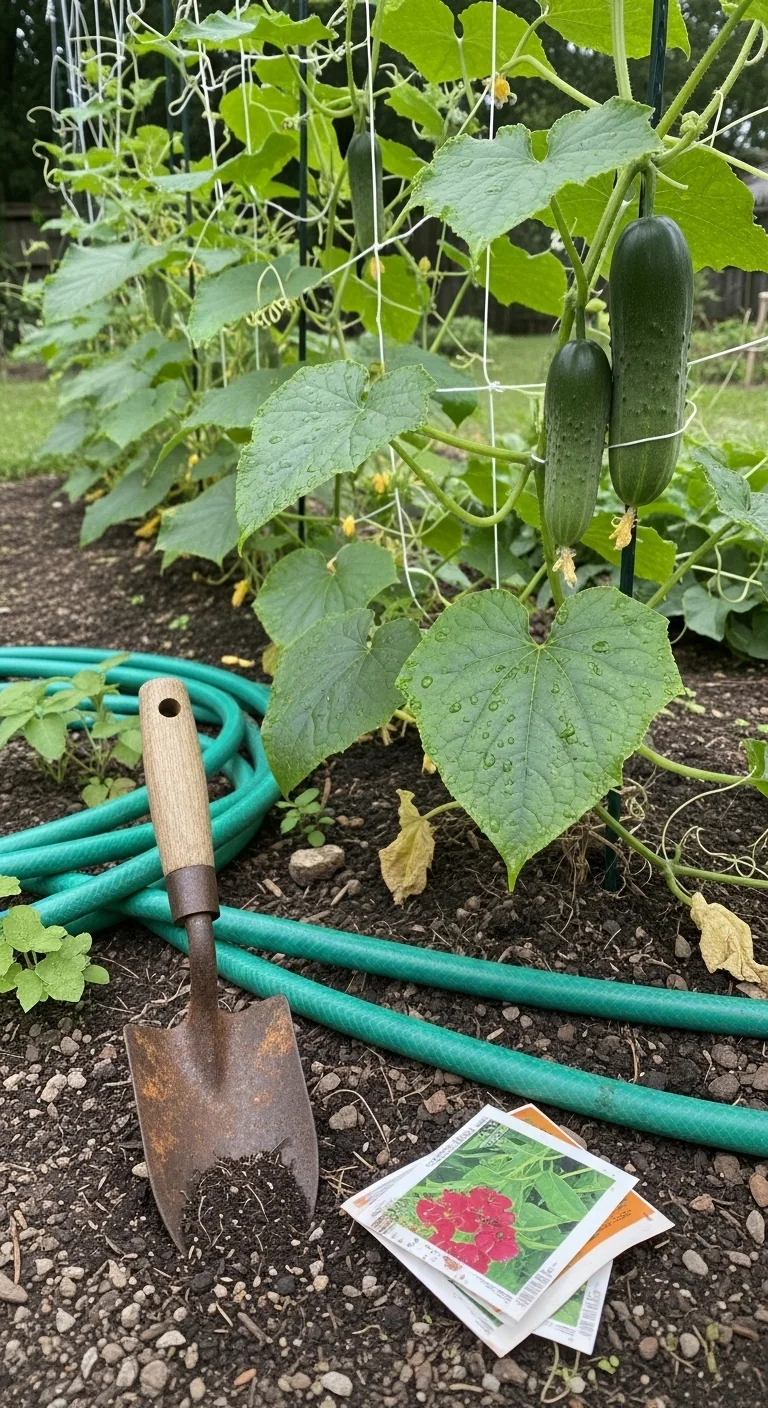
Install A-frame or single-wall trellises using 6- to 8-foot stakes or cattle panels. Anchor deeply and space 4 feet apart. Train cucumbers, beans, or peas upward. Edge case: tomatoes need stronger cages rather than simple strings because fruit weight pulls them down.
3. Traditional Row Layout
Best for: Branch 3
Apply this layout only when your site offers at least 3-foot-wide paths and 6 or more hours of sun. Adjust row spacing to 30 inches for bush beans or 36 inches for corn to allow wheelbarrow access without compaction. If sun drops below 6 hours, widen rows to 48 inches to reduce shading from taller crops. Measure your longest dimension first: rows run north-south on slopes over 5 percent to prevent erosion.
4. Raised Bed Modular Layout

Best for: Branch 2
Build this layout in 10 minutes per bed once lumber is cut. Cut 2-by-6 or 2-by-8 boards to 4-foot widths and 8-foot lengths. Screw corners with 3-inch deck screws. Level the frames on the site, then fill to 12 inches with soil mix. Space beds with 3-foot paths for comfortable reach. Add a second layer of boards later if root crops need 18 inches depth.
Upgrade option: line the bottom with hardware cloth before filling if voles are present in your area. This modular approach lets you expand one bed at a time without redesigning the whole garden. See full construction details in raised bed vegetable garden.
5. Container Cluster Layout
Best for: Branch 1
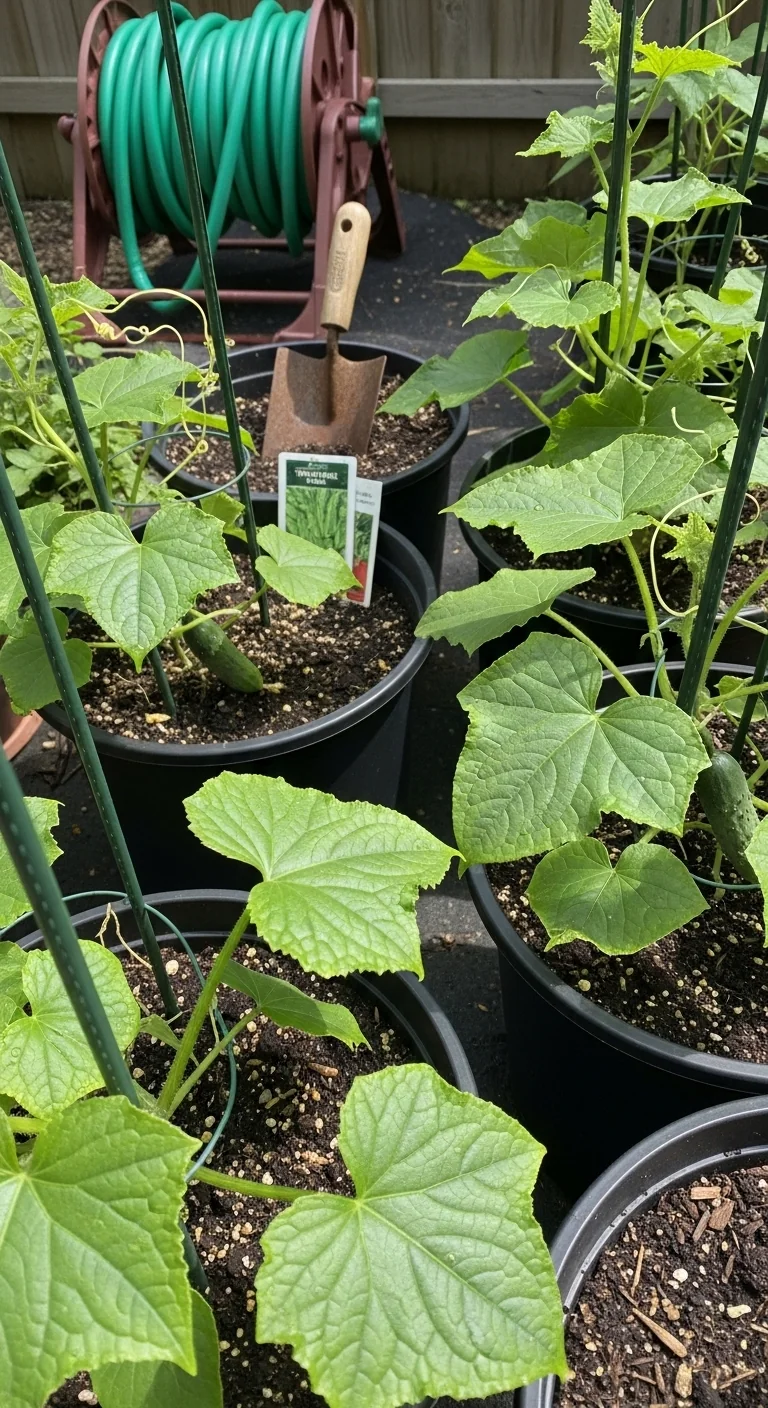
Group five-gallon or larger pots in clusters of three to six on a balcony or patio. Use the same soil depth and spacing rules as in-ground beds but gain mobility to chase sun or protect from frost. Blueprint: select pots at least 12 inches deep for tomatoes and 8 inches for leafy greens. Cluster them against a south-facing wall for reflected heat. Mistake to avoid: placing all pots in full afternoon sun without afternoon shade cloth in zones above 90 degrees Fahrenheit.
6. Keyhole Garden Layout
Best for: Branch 3
Use this layout; skip it on perfectly flat sites where simple rows work equally well. The keyhole shape creates a narrow access path into a round or horseshoe bed with a central compost basket that feeds the bed continuously. Build the outer wall 4 feet high with bricks or logs and keep the center basket 2 feet wide. This design reduces walking distance and concentrates nutrients exactly where roots need them on larger irregular sites.
7. Intensive Block Layout
Best for: Branch 2
Offset planting blocks instead of straight rows to eliminate wasted path space inside the bed. In a 4-by-8-foot bed, plant three staggered rows of carrots at 3-inch spacing within each block. This layout fits medium sun-filled backyards because it increases density by 20 to 30 percent over rows while still allowing hand weeding from the edges.
Threshold rule: keep every block under 4 feet across so you never step inside and compact soil. Measure bed width first; if it exceeds 5 feet, subdivide with temporary boards. Combine with small backyard vegetable garden principles when your total area sits at the low end of Branch 2.
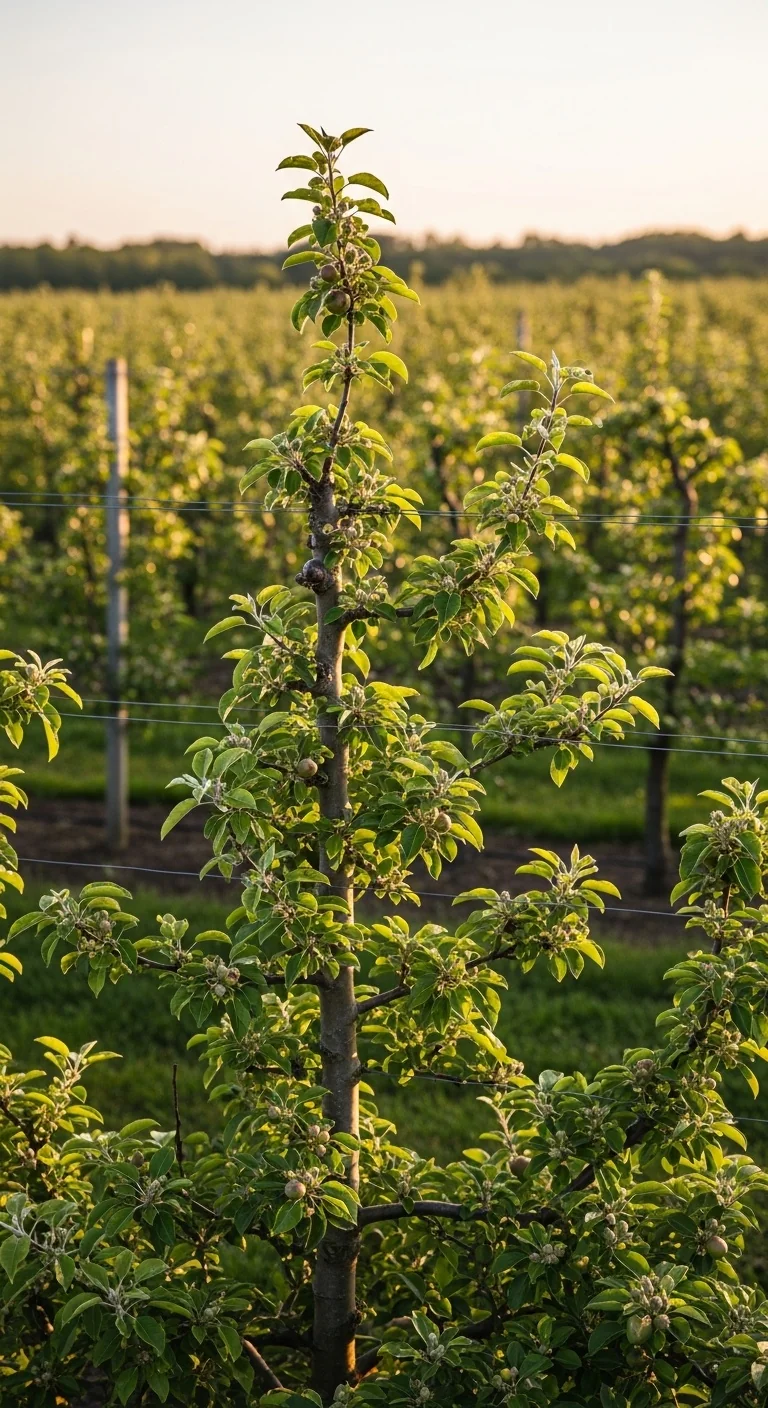
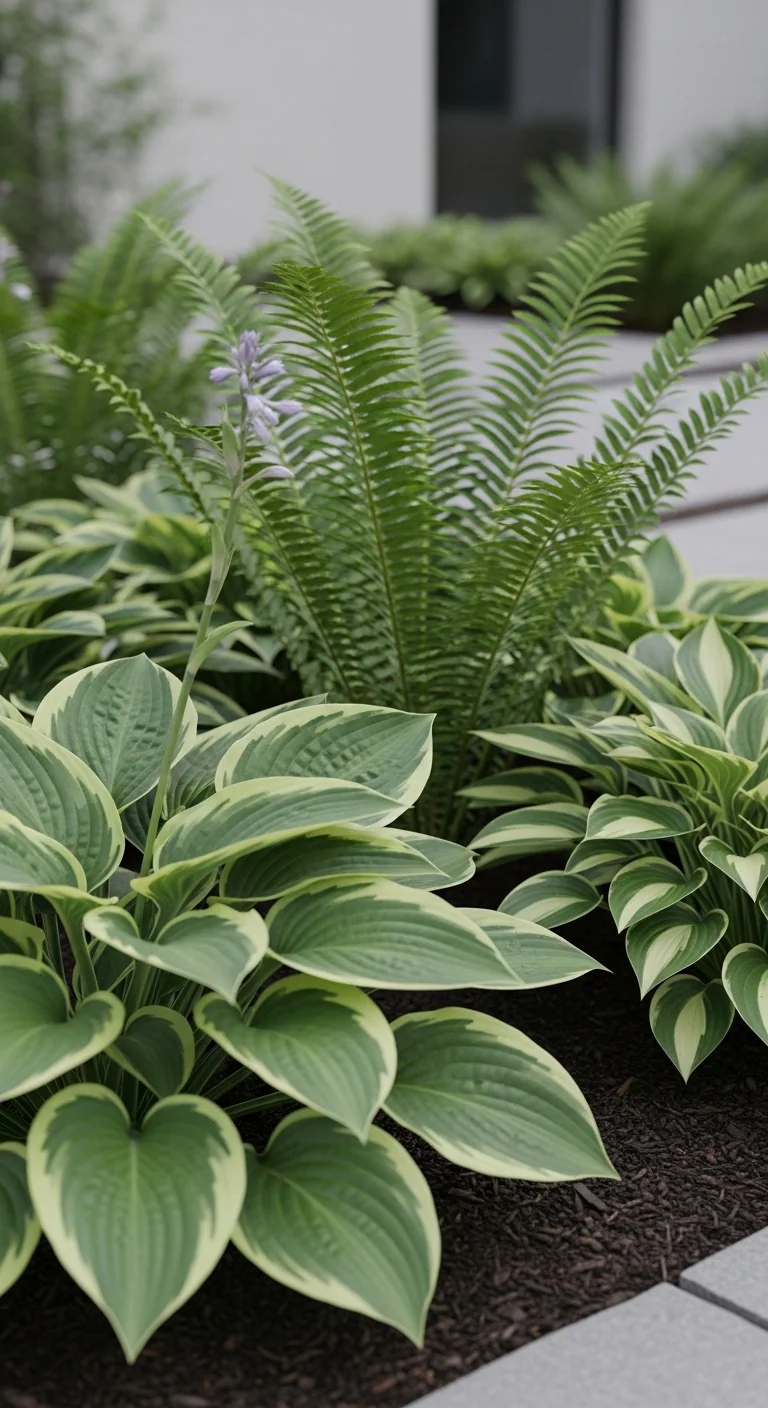
8. Front Yard Edible Landscape Layout
Best for: Branch 3
Integrate low raised beds or bordered in-ground sections along walkways with edible plants that also serve as landscape features. Use 12-inch-high edging to contain soil and mulch heavily between plants. Place taller crops like peppers toward the back and low greens in front. This layout suits larger visible sites because it maintains curb appeal while delivering harvest. Maintenance stays low once the initial edging and mulch layer are in place.
9. Balcony Vertical Layout
Best for: Branch 1
Mount railing planters and wall trellises to turn vertical surfaces into growing space. Use 10-inch-deep troughs along railings for leafy greens and secure 6-foot trellises against walls for beans or cucumbers. Blueprint: secure all supports with heavy-duty brackets rated for wind load. Water from the top down so drainage does not drip on neighbors below. This layout maximizes every square foot on elevated compact sites without permanent ground alteration.
Starter Stack (What to Choose First)
For Branch 1: Compact Spaces
Begin with Vertical Trellis Layout and Container Cluster Layout. The trellis handles vining crops while containers hold roots and herbs at ground or railing level. Synergy comes from shared supports and easy watering in one zone. Setup takes 1 to 3 hours and uses $40 to $150 in pots, panels, and brackets.
For Branch 2: Medium Backyard Sites
Start with Square Foot Gardening Layout and Raised Bed Modular Layout. The grid brings order inside the beds while the frames control soil quality. Together they create defined zones that simplify crop rotation and path maintenance. Total setup ranges from 4 to 8 hours and $120 to $350 in lumber and soil mix.
For Branch 3: Large or Challenging Sites
Begin with Traditional Row Layout and Keyhole Garden Layout. Rows cover open ground efficiently while the keyhole adds a nutrient hub in one section. The combination allows scaling across large areas without constant redesign. Setup spans 6 to 12 hours and $80 to $250 depending on materials already on hand.
When This Won’t Work
These layouts fail when your site receives fewer than 4 hours of direct sun daily regardless of design. Leafy greens may survive but fruiting crops stall without enough light. Move the entire setup to the sunniest available spot or switch to containers on wheels that follow the sun.
They also fail on soil that stays saturated longer than 48 hours after rain. Roots rot and disease spreads in any ground-based layout. Build all beds on 6-inch mounds or switch entirely to raised containers elevated above the wet zone.
Choosing the Right Option for Your Situation
Budget Threshold
If materials stay under $150 (lumber, pots, basic trellis wire), select Vertical Trellis, Container Cluster, or Square Foot layouts. These reuse household items and need no heavy framing.
Time Threshold
If you have under 4 hours for initial setup, choose Container Cluster or Balcony Vertical layouts. They require only placement and filling rather than building frames or digging.
Technical Constraint: Soil or Slope
If native soil is compacted or the site slopes more than 10 percent, default to Raised Bed Modular or Keyhole layouts. They sit above problem soil and prevent runoff.
Yes/No Checklist:
Does your total planting area measure under 100 square feet?
Does your site receive 6 or more sun hours daily?
Can you reach the center of every bed without stepping inside?
Is soil drainage confirmed by a 24-hour saturation test?
Expert Q&A
How does layout choice change watering needs across the season?
Vertical and container layouts dry out faster and need checks every 2 days in heat above 85 degrees Fahrenheit. Row and block layouts hold moisture longer once mulched but still require 1 inch of water weekly measured at the soil line with a rain gauge. Adjust frequency by bed type rather than calendar date.
Which layout best supports annual crop rotation without full redesign?
Raised Bed Modular and Square Foot layouts win because permanent frames keep zones fixed. Divide each bed into four quadrants and rotate families clockwise each year. Record the previous crop in a simple notebook to avoid repeating tomatoes or peppers in the same square.
Can two different layouts sit side by side in one garden?
Yes. Place a Vertical Trellis section next to a Row section as long as path widths stay consistent at 3 feet. The transition works when sun exposure matches across both and taller vertical crops stay on the north edge.
How do I adjust any layout for consistent wind over 12 miles per hour?
Shorten trellises to 5 feet maximum and add cross bracing on every third support. In row or block layouts, plant windbreak rows of corn or sunflowers on the prevailing wind side first. Measure wind direction once with a simple flag test before final planting.
What layout keeps paths from compacting over multiple seasons?
Keyhole and Raised Bed layouts keep traffic off growing soil by design. Add 4 inches of wood chips or straw on all paths and top up yearly. Avoid walking on beds even when harvesting by reaching from the edge.
Conclusion
The single best decision is to match your layout to the decision grid rather than copying a photo from social media. The number one mistake is skipping the sun-hour and square-footage measurements before buying materials.
Next, review companion flowers for vegetables to add pollinator rows that boost every layout you choose.
Lead Data Architect
Umer Hayiat
Founder & Lead Data Architect at TheYieldGrid. I bridge the gap between complex agronomic data and practical growing, transforming verified agricultural science into accessible, mathematically precise tools and guides for serious growers.
View all tools & guides by Umer Hayiat →