“`html
The fastest path to a productive vegetable garden skips generic checklists and instead maps your exact constraints to one of three launch paths using measurable conditions on space, weekly time, and native soil quality. This reframing prevents the most common first-year stall: mismatched setup that demands constant fixes.
This guide covers planning and first-season setup for edible vegetable gardens in the US, UK, Canada, Australia, and New Zealand using containers, raised beds, or in-ground methods. It excludes advanced topics such as hydroponics, large-scale farming, or perennial fruit systems.
You will identify your optimal launch method, select initial crops, prepare growing areas correctly, and sidestep setup errors that halt progress. Every recommendation ties back to your specific conditions so you act only on what fits today.
Bottom line: Use the decision grid below to pick your path and reach first harvest in 6 to 10 weeks.
The Yield Grid Decision Grid
Branch 1: Space under 50 square feet or no digging permission (balcony, patio, or rental property). Recommended: Items 2, 5, 8 below.
Branch 2: Space 50 to 200 square feet, 2 to 4 hours available weekly, any native soil quality. Recommended: Items 3, 6, 9 below. See our raised bed vegetable garden guide for exact framing details.
Branch 3: Space over 200 square feet, full sun over 6 hours daily, over 4 hours available weekly, and workable native drainage. Recommended: Items 1, 4, 7 below.
Quick Comparison Table
| Option | Key mechanism | Best for | Decision Grid Branch | Effort Score |
|---|---|---|---|---|
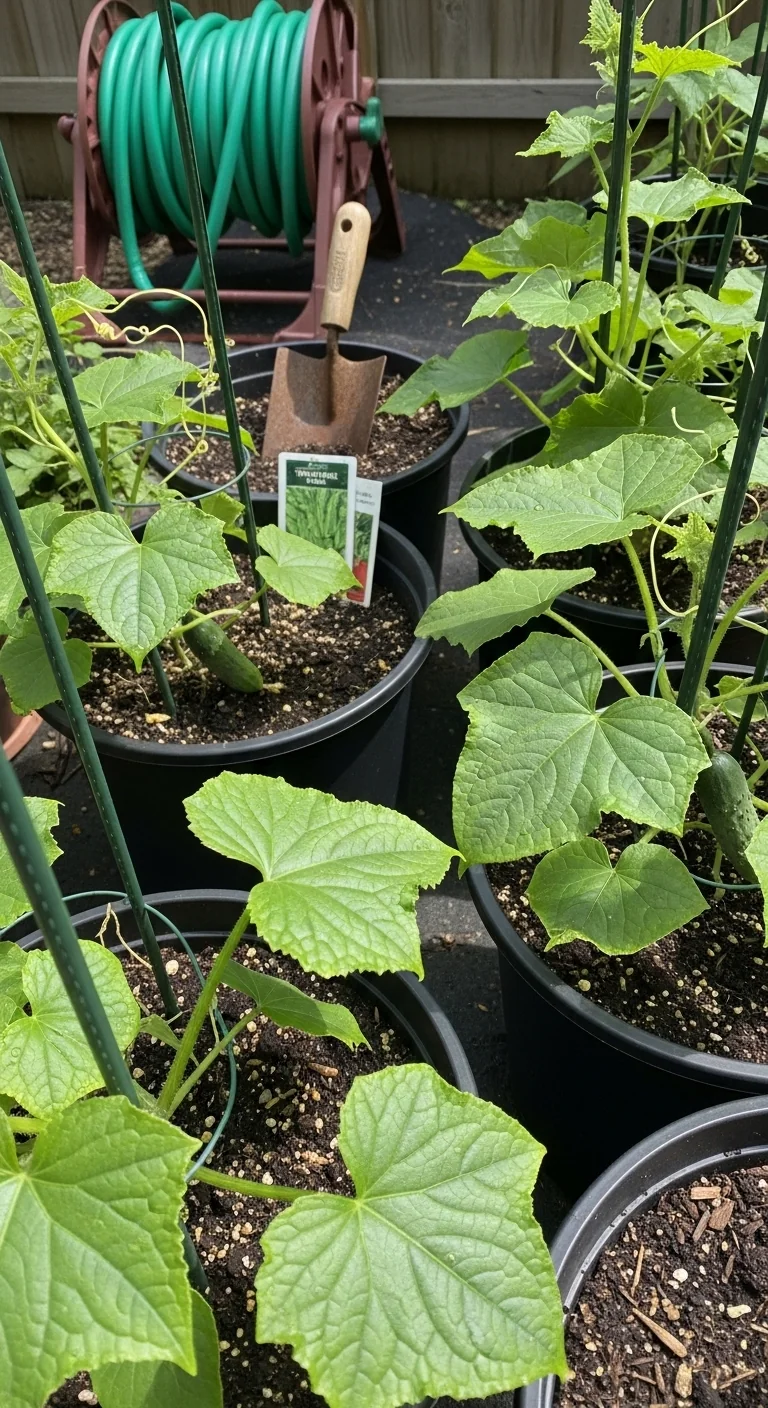
| Container Launch | Portable pots filled with commercial potting mix for instant drainage control | Apartments, balconies, renters | Branch 1 | 4 |
| Raised Bed Launch | Framed beds with imported soil mix for quick soil improvement | Backyards with poor native soil or limited time | Branch 2 | 2 |
| In-Ground Launch | Direct amendment of existing soil with compost for long-term fertility | Established yards with good drainage and full sun | Branch 3 | 3 |
1. Map Your Available Sunlight and Microclimate
Best for: Branch 3
What: Full sunlight mapping for in-ground beds. For: Gardens with dedicated yard space where native conditions can be used directly. Steps: Mark hourly shadows from 9 a.m. to 3 p.m. over three clear days using stakes or string. Count direct sun hours and note wind exposure or frost pockets. Minimum threshold is 6 hours for most vegetables. Common mistake: assuming morning light alone suffices when afternoon sun drives fruit set in tomatoes and peppers. Adjust by siting beds away from tall structures or trees that cast shade after noon. Once mapped, transfer the pattern to paper for permanent layout planning.
Vegetable garden layout ideas show proven patterns that lock in maximum sun while allowing easy access paths.
2. Select Starter Crops That Match Your Season
Best for: Branch 1
Use containers or skip if your first frost arrives before 60 days of growth. Leaf crops such as lettuce and spinach succeed in small pots with harvest in 30 to 45 days. Skip heat-loving crops like eggplant unless you can protect pots from night temperatures below 50 degrees Fahrenheit.
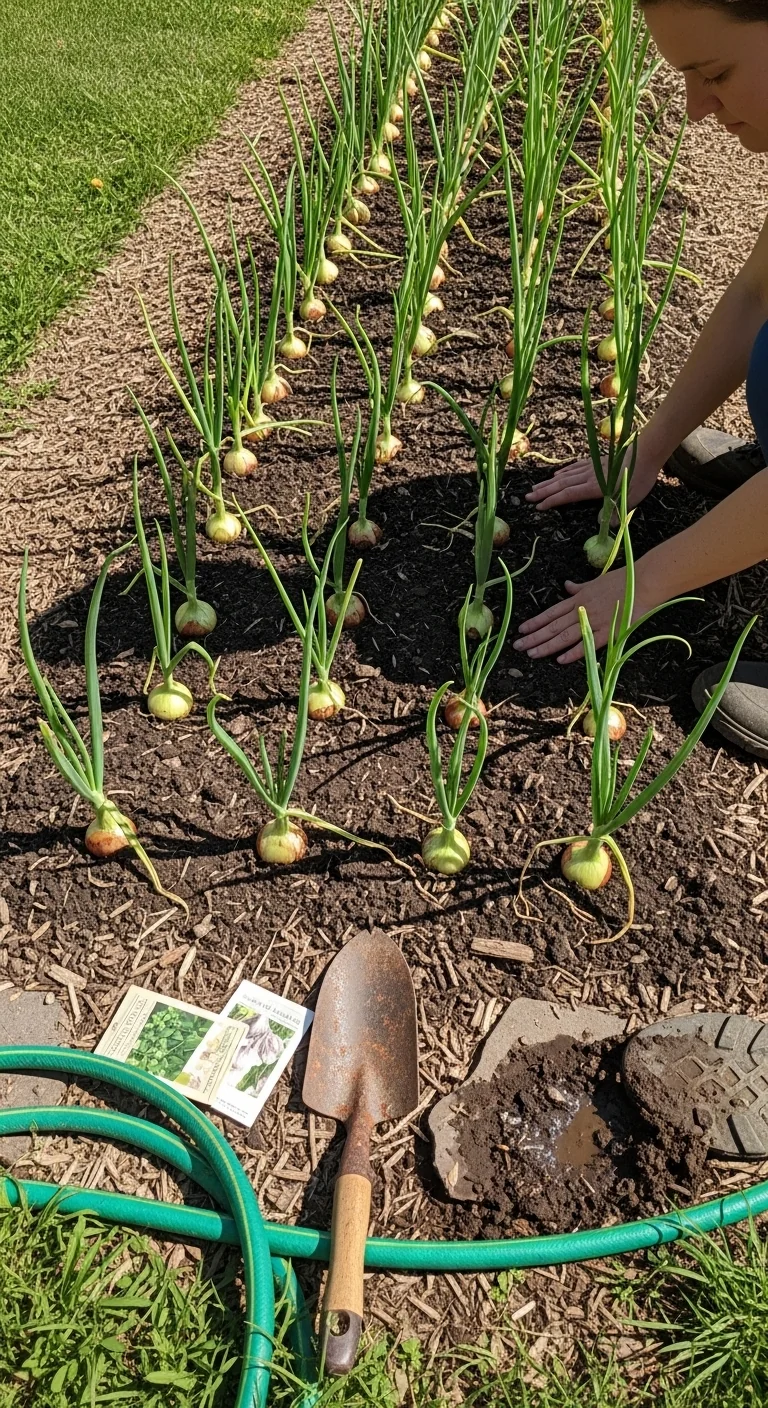
3. Build or Buy Your First Raised Beds
Best for: Branch 2
Threshold rule: Choose 4-foot by 8-foot cedar or composite beds when native soil pH falls outside 6.0 to 7.0 or drainage is slow. Fill with a 50 percent topsoil and 50 percent compost blend to reach 12 inches depth immediately. This bypasses years of native soil improvement. Edge case: If your site slopes more than 2 percent, add leveling blocks before assembly to prevent water pooling at the low end.
4. Test Soil pH and Amend in One Pass

Best for: Branch 3
What: Single-day soil test and amendment for in-ground starts. For: Yards where you plan to use existing ground long term. Steps: Collect samples from 6 to 8 spots at 6-inch depth, mix, and test pH with a home kit or send to a local extension service. Target range is 6.0 to 7.0. If below 6.0, incorporate lime at the rate listed on the package for your soil type. If above 7.0, add elemental sulfur. Water thoroughly after application and wait 7 days before planting. Mistake to avoid: guessing amendment amounts without testing, which can lock nutrients away from roots.
Container vegetable gardening offers a no-test alternative when native soil fails the threshold.
5. Install a Simple Drip System Before Planting
Best for: Branch 1
Use drip tubing or skip overhead watering that wets foliage and invites disease. Run lines along pot rims on timers set for 10 minutes twice weekly when soil surface dries to 1 inch. Upgrade option: add a rain sensor to pause during wet weather.
6. Follow a Zone-Specific Planting Calendar
Best for: Branch 2
Threshold rule: Direct-sow cool-season crops when soil temperature holds above 45 degrees Fahrenheit and last frost date has passed. Warm-season crops wait until soil reaches 60 degrees Fahrenheit. Check your local last frost date once, then mark two-week windows for succession planting every 14 days to extend harvest.
Vegetable planting calendar aligns exact dates to your hardiness zone without guesswork.
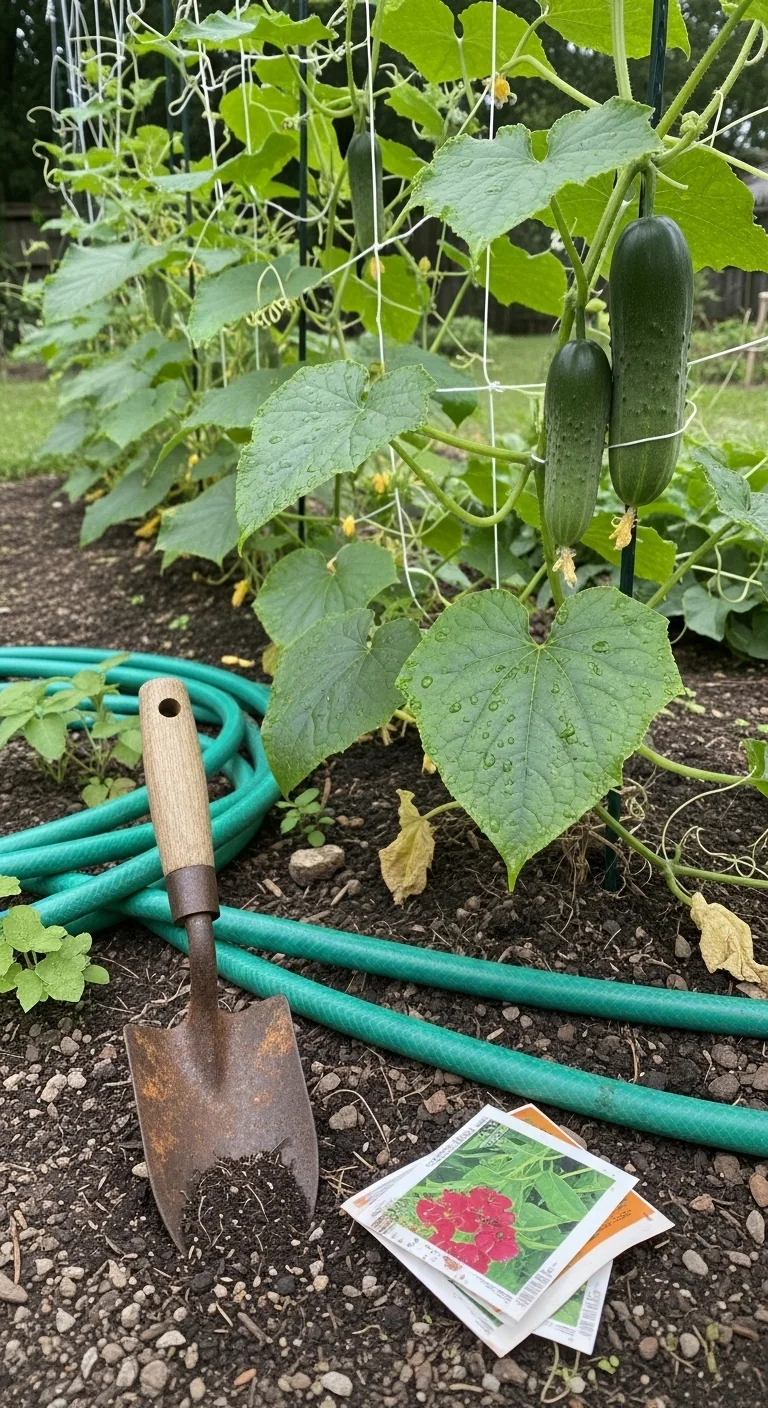
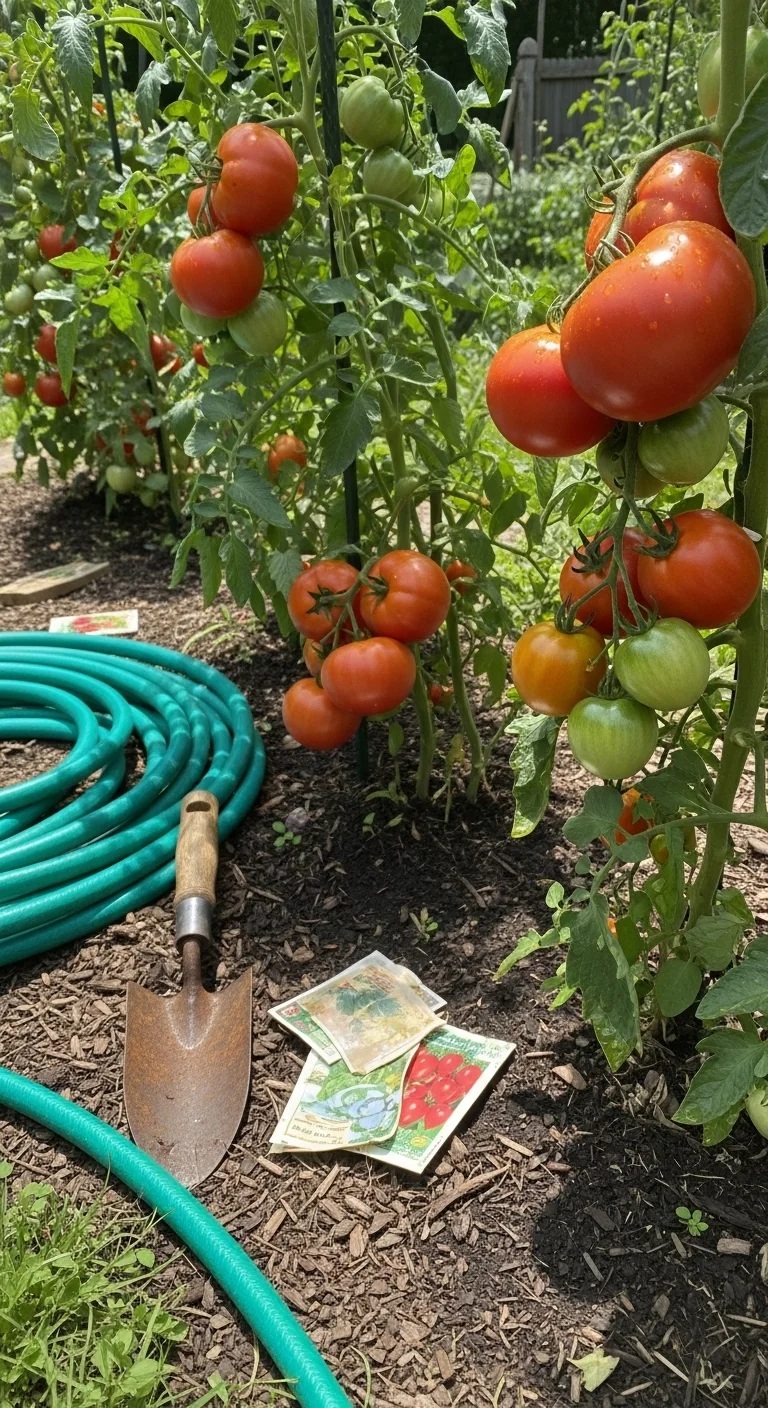
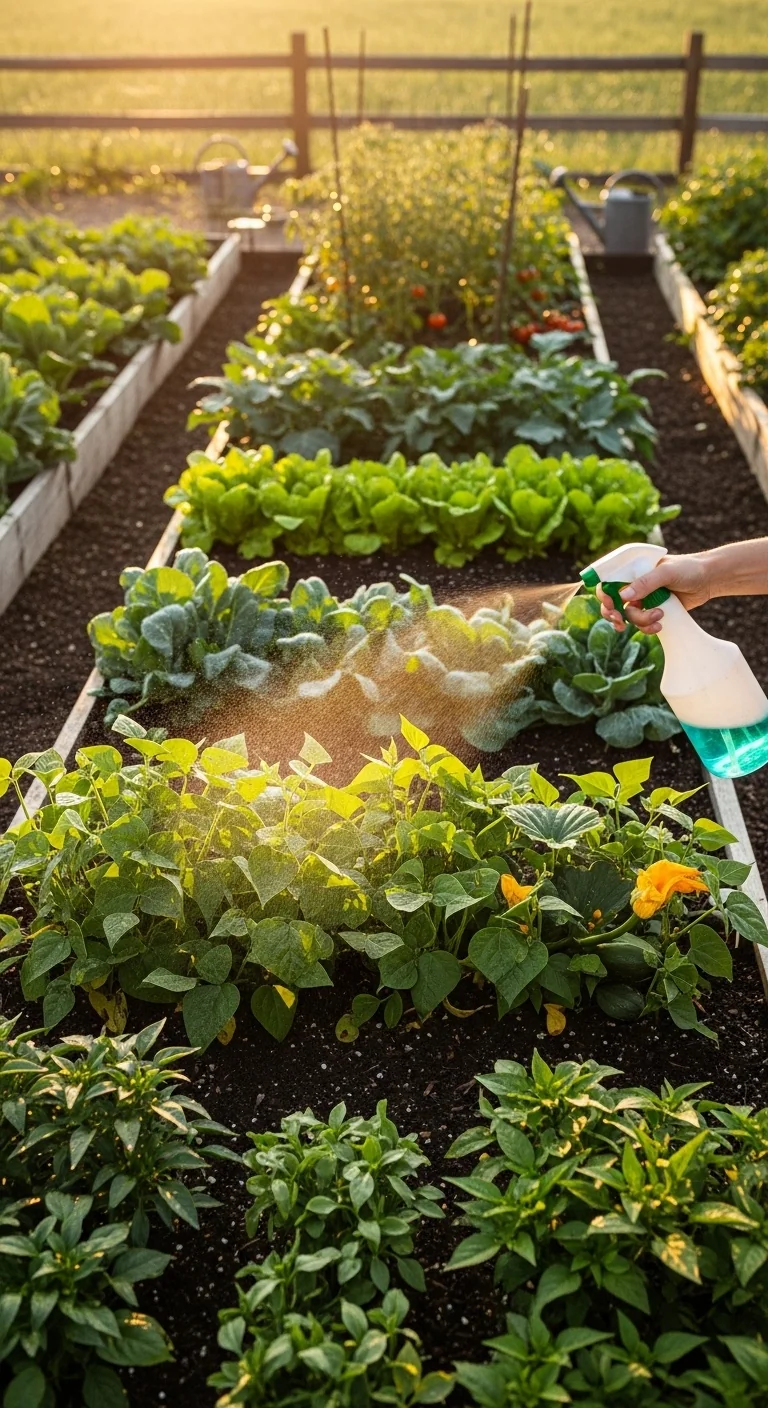
7. Pair Crops With Compatible Neighbors From Day One

Best for: Branch 3
What: Companion planting layout for in-ground beds. For: Larger spaces where interplanting saves room and reduces pest pressure. Steps: Place tall crops like tomatoes at the north end. Pair basil with tomatoes to deter aphids. Alternate carrots and onions in rows to confuse carrot fly. Mechanism: Root exudates and scent masking work best when plants are spaced at maturity width from the start. Edge case: Avoid pairing beans with onions, which slows nitrogen fixation.
Companion planting vegetables lists 12 proven pairs with spacing charts.
8. Apply 2 to 3 Inches of Organic Mulch After Planting
Best for: Branch 1
Use straw or shredded leaves or skip bare soil that dries out containers in under 48 hours. Spread evenly to soil line but keep 1 inch clear of stems to prevent rot. Reapply once per season after first harvest.
9. Water at Soil Level Using the Finger Test
Best for: Branch 2
Threshold rule: Water when top 2 inches feel dry to the finger, usually every 3 to 5 days depending on temperature above 75 degrees Fahrenheit. Deliver water slowly at the base until it runs out the bottom of raised beds. This keeps foliage dry and roots deep.
Mulching vegetable garden extends intervals between water checks by retaining moisture.
Starter Stack (What to Choose First)
For Branch 1 (Limited space)
Start with Items 2 and 5. Select 3 to 4 easy leaf crops and install drip lines the same weekend. Synergy: Containers stay mobile while drip prevents daily checks. Initial cost range: 40 to 120 dollars. Time estimate: 3 to 5 hours.
For Branch 2 (Moderate space)
Start with Items 3 and 6. Assemble two raised beds and mark calendar dates for cool-season sowing. Synergy: Raised beds warm faster in spring while the calendar prevents planting too early. Initial cost range: 150 to 350 dollars. Time estimate: 6 to 10 hours.
For Branch 3 (Large space)
Start with Items 1 and 7. Map sun first, then plant companion pairs the following weekend. Synergy: Accurate sun map plus companions maximizes every square foot without later relocation. Initial cost range: 80 to 200 dollars. Time estimate: 4 to 8 hours.
When This Won’t Work
Two measurable conditions stop standard starts cold. First, if your site receives under 4 hours of direct sun daily even after mapping, vegetables will produce foliage but little to no edible yield. Second, if native soil stays saturated 48 hours after rain (test by digging a 12-inch hole and timing drainage), roots will rot before establishment. In both cases switch immediately to containers placed in the brightest available spot and filled with fresh potting mix that drains in under 30 minutes. Relocate pots as needed to chase sun through the season.
Choosing the Right Option for Your Situation
Budget threshold
Under 100 dollars total: choose Branch 1 containers using recycled pots and basic potting mix. 100 to 300 dollars: choose Branch 2 raised beds with one-time soil fill. Over 300 dollars: choose Branch 3 in-ground with full soil test and amendments.
Time threshold
Under 2 hours weekly: choose Branch 1 containers with drip. 2 to 4 hours weekly: choose Branch 2 raised beds. Over 4 hours weekly: choose Branch 3 in-ground with companions.
Technical constraint: soil drainage
Heavy clay or slow drainage (water stands over 24 hours): choose Branch 2 raised beds. Fast-draining sand or loam: choose Branch 3 in-ground. No soil access: choose Branch 1 containers.
Yes/No checklist:
Do you have at least 6 hours sun and workable drainage? Yes → proceed with mapped branch.
Is weekly time under 2 hours? Yes → default to containers.
Budget under 100 dollars? Yes → start containers only.
All no answers? Reassess site or wait until conditions change.
Expert Q&A
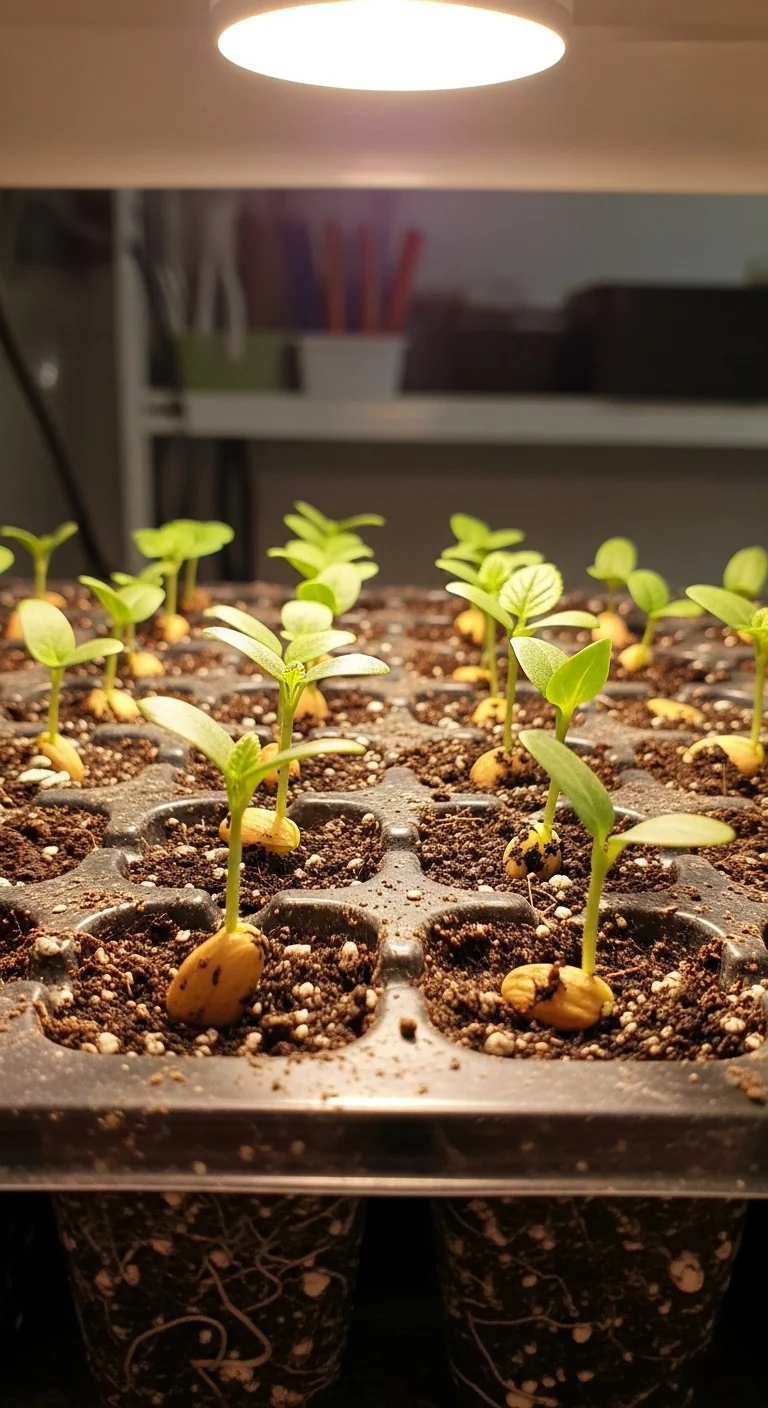
How do I decide between starting seeds indoors versus buying transplants?
Start seeds indoors only for crops needing 8 weeks or more head start, such as tomatoes or peppers, when your last frost date is after mid-May. Buy transplants for everything else to skip the 4-week indoor light and hardening process. Direct sow beans, peas, and radishes once soil temperature stays above 50 degrees Fahrenheit.
What should I do if my soil is heavy clay but I want to plant this season?
Skip in-ground work this year. Build or buy raised beds at least 12 inches deep and fill entirely with a 50 percent topsoil and 50 percent compost mix. This gives immediate drainage and fertility while native clay improves underneath over 2 to 3 seasons.
Does companion planting actually matter in the first year?
It matters most in year one because small plantings have higher pest pressure per plant. Placing basil near tomatoes or onions near carrots reduces early insect visits through scent masking before any problem builds. Space companions at their mature widths from the start to avoid later crowding.
How often should I check soil moisture without a meter?
Push your finger 2 inches into the soil twice per week. Water only when it feels dry at that depth. In temperatures over 80 degrees Fahrenheit check every 3 days. This single habit prevents both underwatering that stunts roots and overwatering that causes rot.
Can I start a garden in fall instead of spring?
Yes in regions with mild winters. Plant cool-season crops such as kale, spinach, and carrots 8 to 10 weeks before your first expected frost. Use row cover if night temperatures drop below 28 degrees Fahrenheit. Fall starts often yield more because pest pressure drops and soil stays moist longer.
Conclusion
The decision grid turns starting a vegetable garden from guesswork into a single measurable choice. The number one mistake is skipping the sunlight map and soil test, which leads to beds that look good but deliver almost nothing. Match your conditions once, then plant.
Next step: install your chosen launch method this weekend and mark your first planting window on the calendar. For daily moisture management see our watering vegetable garden guide.
“`
Lead Data Architect
Umer Hayiat
Founder & Lead Data Architect at TheYieldGrid. I bridge the gap between complex agronomic data and practical growing, transforming verified agricultural science into accessible, mathematically precise tools and guides for serious growers.
View all tools & guides by Umer Hayiat →