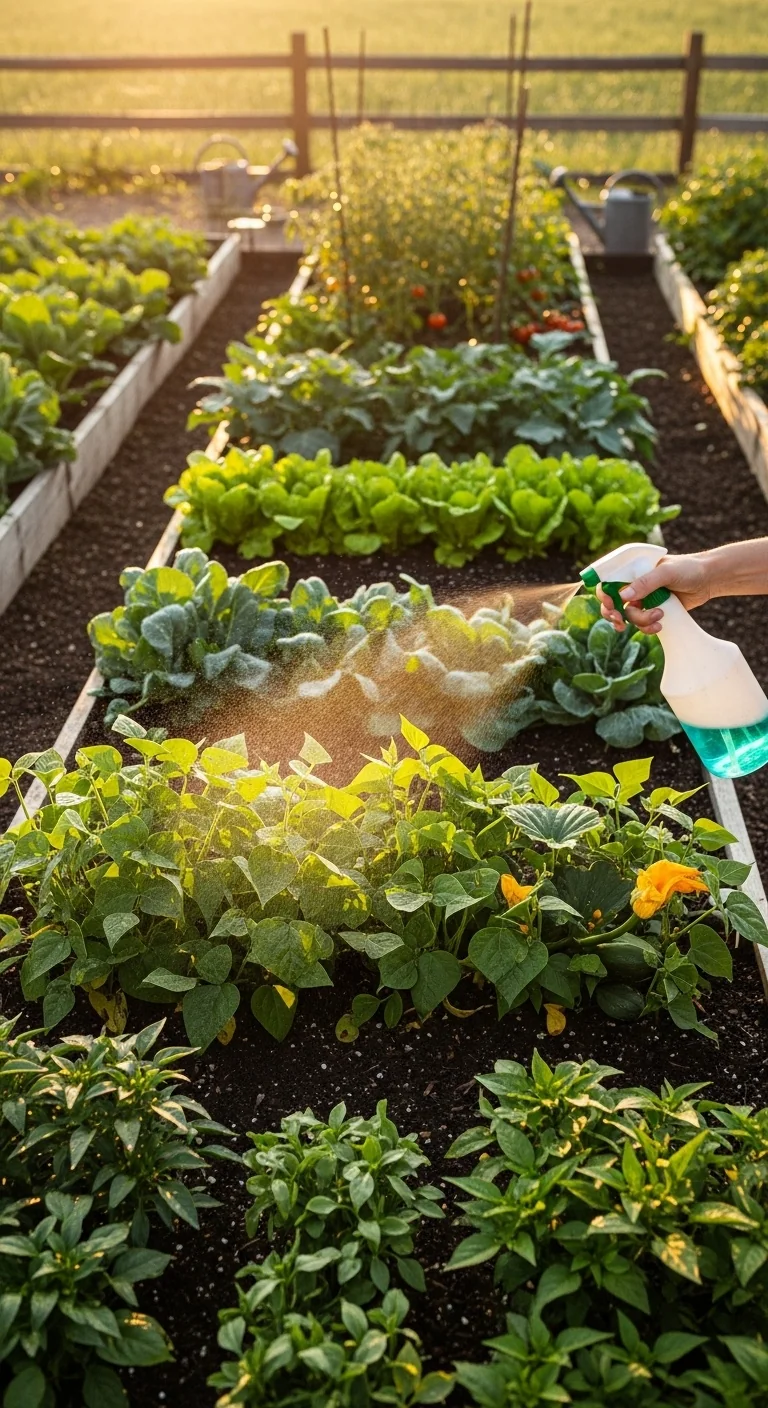
The raised bed vegetable garden is often presented as a simple upgrade over in-ground growing. In reality it is a custom system whose success hinges on aligning the bed type with your yard’s specific constraints.
This article focuses on nine practical options built around measurable conditions such as space limits, drainage rates, and sun exposure. It does not cover container gardening or traditional rows.
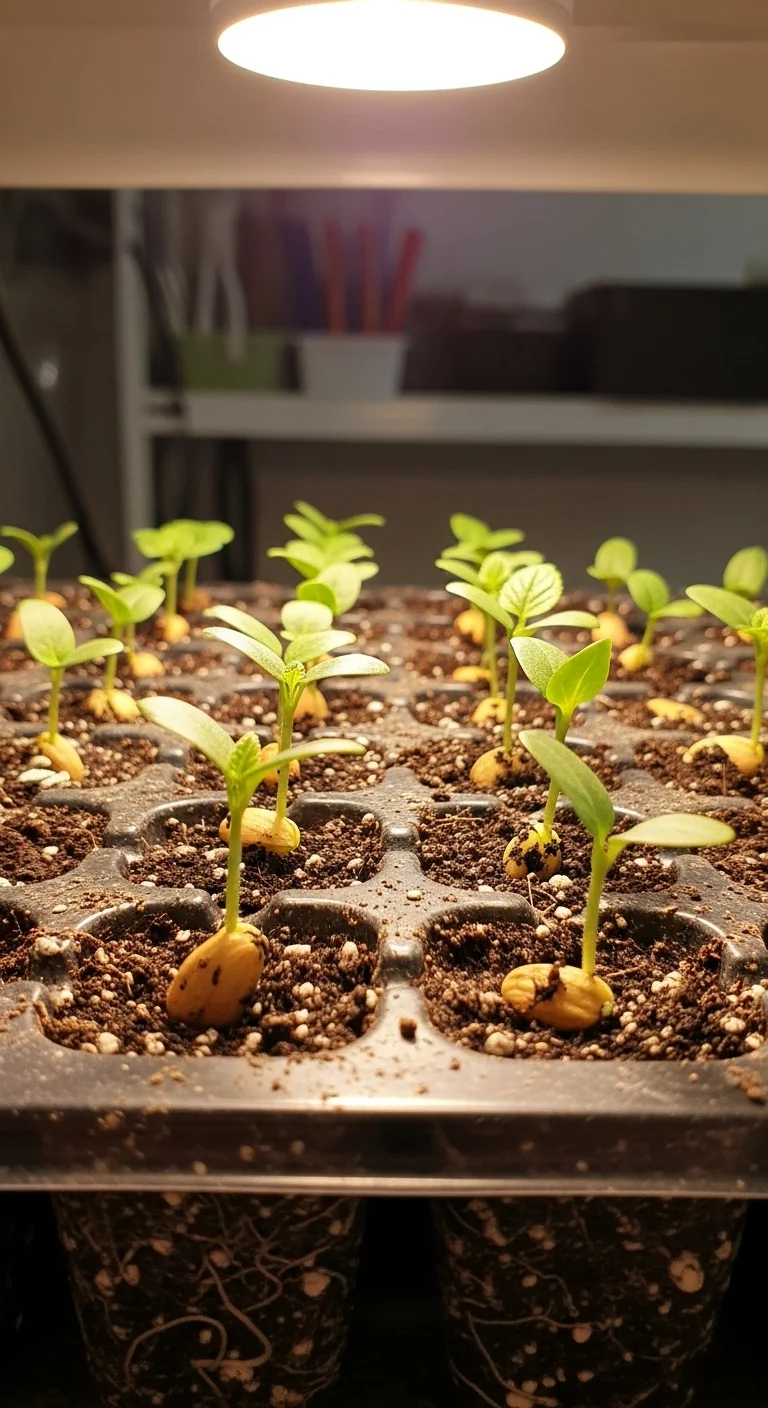
Follow the decision grid and comparison table to select options that deliver consistent access, drainage, and crop support for your vegetables.
Bottom line: Match your yard conditions to one of the three branches below, then build the recommended setups to maintain productive soil and easy harvesting season after season.
The Yield Grid Decision Grid
Branch 1: Space-constrained yards. If your total available area for beds is 250 square feet or less, or beds must fit along a fence line narrower than 4 feet wide. Recommended: Items 1, 5, 8 below. For layout integration see our vegetable garden layout ideas.
Branch 2: Problematic native soil. If a simple drainage test leaves water standing longer than 90 minutes after heavy rain, or a soil test shows pH outside the 6.0 to 7.0 range preferred by most vegetables. Recommended: Items 3, 4, 6 below.
Branch 3: High-production or challenging climate. If daily sun exceeds 8 hours but frost-free days number fewer than 150, or you plan heavy vining crops like cucumbers or beans. Recommended: Items 2, 7, 9 below.
Quick Comparison Table
| Option | Key mechanism | Best for | Decision Grid Branch | Effort Score |
|---|---|---|---|---|
| Untreated Cedar Raised Beds | Natural oils in the wood resist decay in moist conditions | Moderate climates needing 12- to 18-inch height for root crops | Branch 1 | 3 |
| Galvanized Steel Raised Beds | Corrosion-resistant coating prevents leaching into soil | Full-sun sites with long-term durability needs | Branch 3 | 1 |
| Cinder Block Raised Beds | Thermal mass stabilizes soil temperature fluctuations | Areas with variable day-night temperature swings | Branch 2 | 2 |
| Composite Lumber Raised Beds | Recycled material blend offers uniform strength without warping | High-humidity locations requiring low maintenance | Branch 2 | 2 |
| Elevated Fabric Raised Beds | Breathable sides promote air pruning of roots | Portable setups on patios or balconies | Branch 1 | 4 |
| Self-Watering Raised Beds | Reservoir system maintains consistent moisture at root level | Dry spells or vacation absences up to 7 days | Branch 2 | 2 |
| Trellis-Integrated Raised Beds | Built-in vertical supports maximize vertical space | Sites growing pole beans, cucumbers, or peas | Branch 3 | 3 |
| Modular Kit Raised Beds | Interlocking panels allow quick reconfiguration | Gardeners who rearrange beds yearly | Branch 1 | 1 |
| Brick Raised Beds | Stacked masonry creates permanent edging with good drainage | Formal layouts needing clean lines and heat retention | Branch 3 | 2 |
Untreated Cedar Raised Beds
Best for: Branch 1
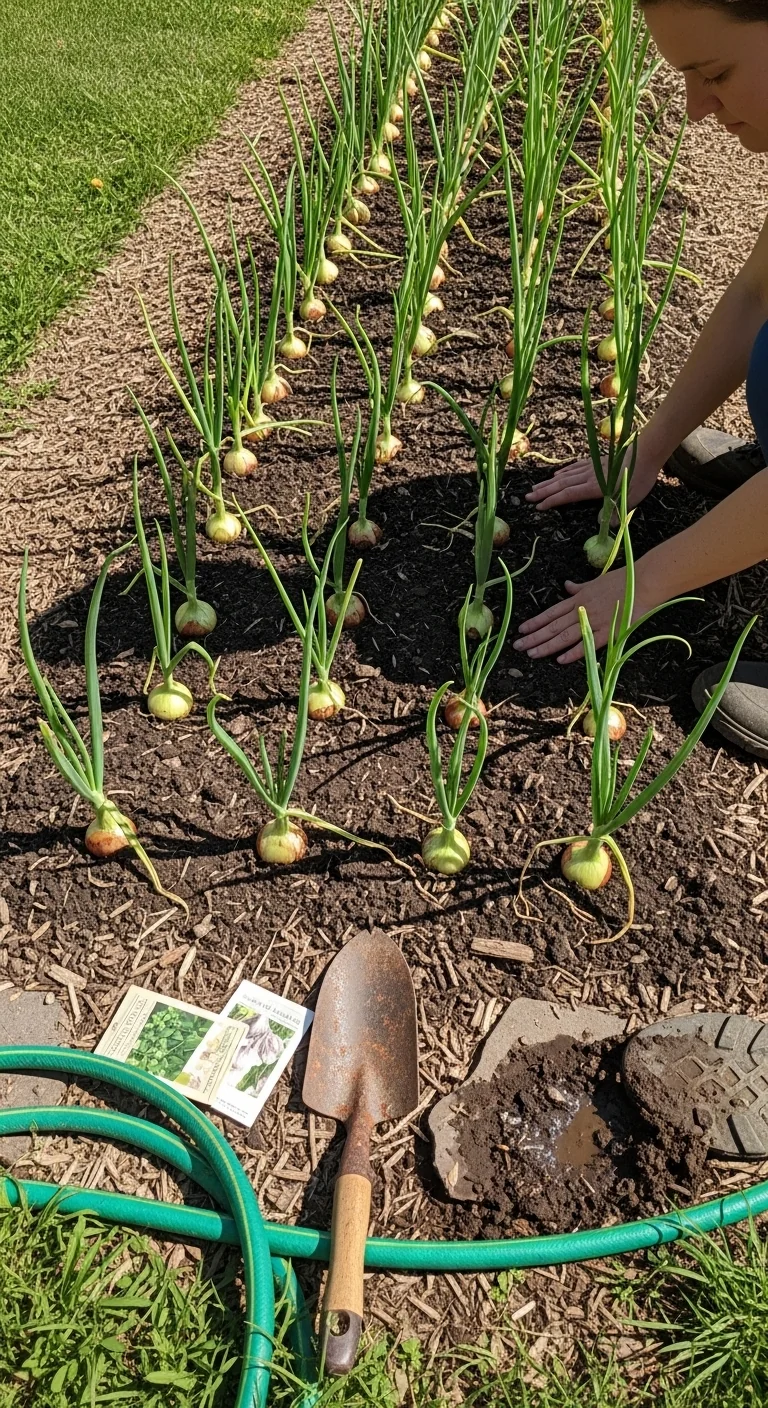
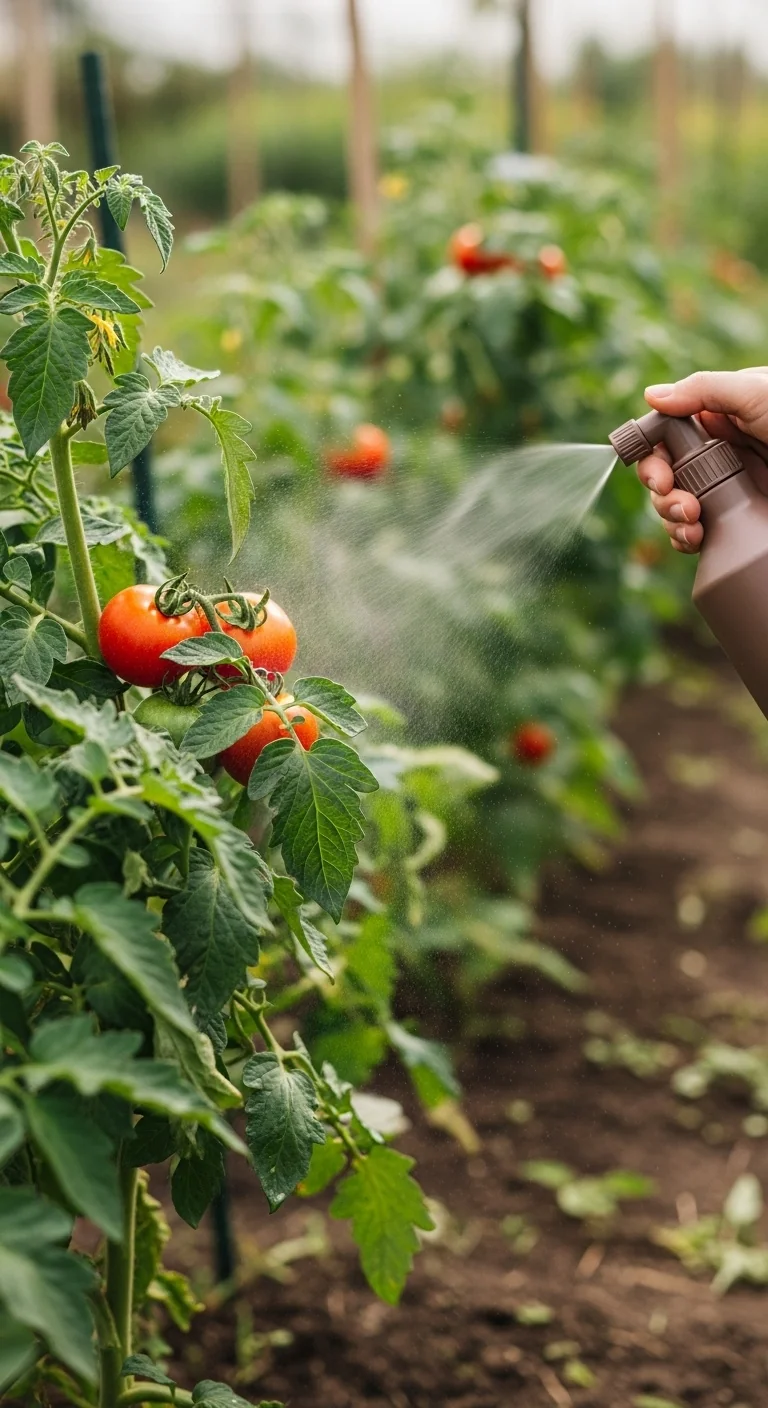
Use this blueprint when space is tight and you want a classic raised bed vegetable garden that lasts without chemical treatments. Start with boards 2 inches thick by 12 inches wide for 18-inch finished height, which accommodates most vegetable root systems including carrots and beets. Cut sides to 4 feet wide maximum so you can reach the center without stepping on soil. Assemble corners with stainless steel screws and line the interior with landscape fabric to block weeds while allowing drainage. Common mistake: skipping the fabric liner, which lets native soil mix upward and compacts the bed within two seasons. Add 12 inches of blended soil mix at planting time. This setup pairs well with companion planting vegetables because the narrow width keeps crops accessible for regular checks.
Galvanized Steel Raised Beds
Best for: Branch 3
Use these when full sun and vining crops demand a permanent structure. Steel sides heat up quickly in spring to extend the planting window but stay rigid through freeze-thaw cycles. Skip them if your soil pH test already shows high iron levels, as the coating can interact over many years. Edge case: windy sites where tall trellises attach directly to the steel frame for extra stability.
Cinder Block Raised Beds
Best for: Branch 2
Follow this threshold rule for problematic soil: build only if your drainage test passes after placing blocks two courses high (16 inches). Fill hollow centers with gravel for extra drainage and top with 12 inches of soil mix. Adjust by adding a third course if your pH needs more buffering from the concrete. This option works best when native clay would otherwise stay waterlogged past 90 minutes after rain.
Composite Lumber Raised Beds
Best for: Branch 2
Build these exactly like cedar but with 10-minute workflow upgrades. Snap panels together using the manufacturer’s corner brackets, then line with fabric and fill. For vegetable gardens add a 2-inch layer of best compost for vegetables on top after initial filling to kick-start microbial activity. The material stays straight even when soil stays moist year-round. Upgrade option: attach a simple drip line along the inside edge for even watering without moving hoses.
Elevated Fabric Raised Beds
Best for: Branch 1
Choose these for patios or balconies where weight and portability matter. Pros include excellent aeration that prevents root circling. Cons appear in high-wind areas where frames can tip unless secured. Edge case: renters who must remove the entire system at move-out.
Self-Watering Raised Beds
Best for: Branch 2
Apply the threshold rule of one reservoir fill every 5 to 7 days during peak summer. The wicking system keeps soil moisture steady even when native drainage is slow. Adjust fill frequency downward to every 10 days once vegetables establish deep roots. This prevents the cracking and compaction common in poorly drained sites.
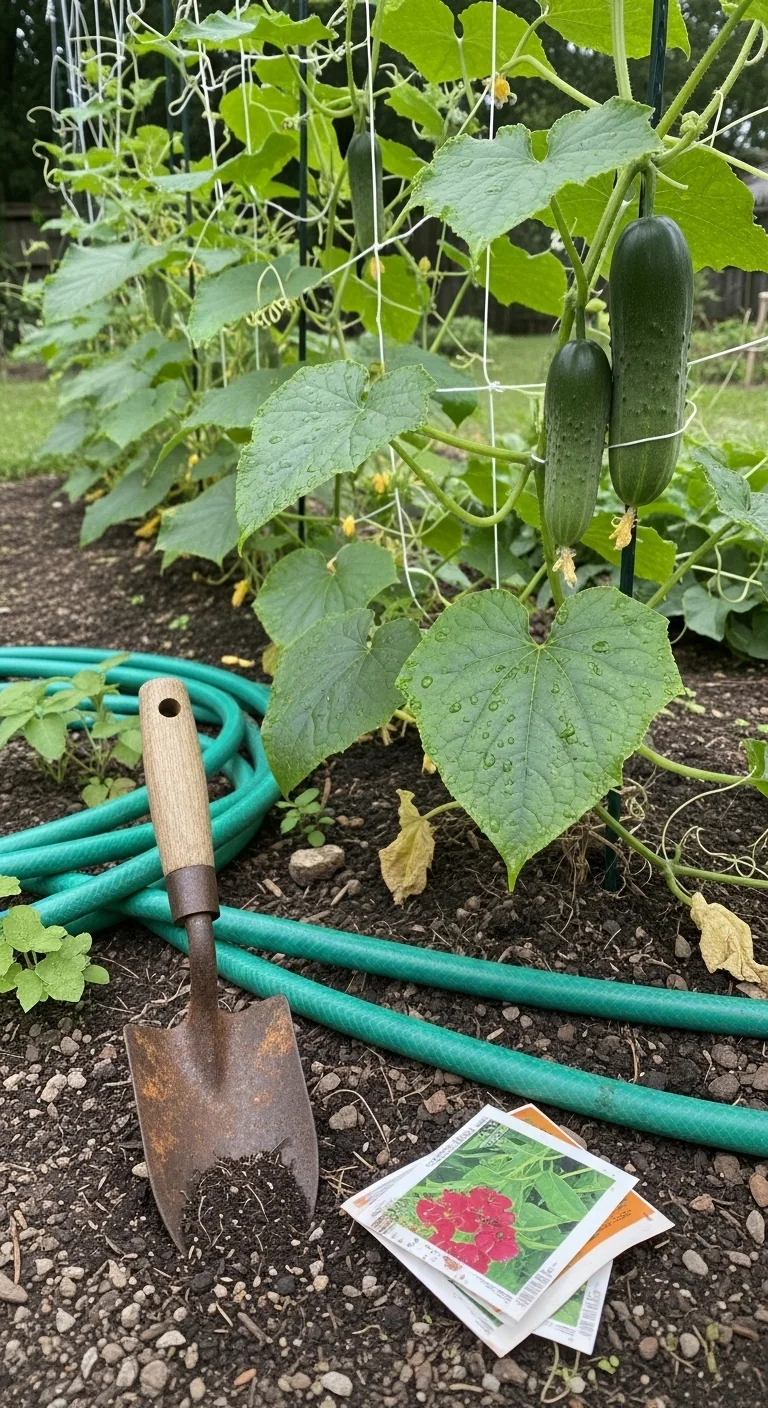
Trellis-Integrated Raised Beds
Best for: Branch 3
Follow this 10-minute workflow for high-production sites. Assemble the base bed first, then bolt vertical trellis panels to the long sides before filling with soil. Use 6-foot panels for cucumbers or beans so vines stay off the ground and air circulates. Upgrade option: add horizontal wires every 12 inches for peas. Maintain by tying new growth weekly and removing lower leaves to reduce disease pressure. Combine with watering vegetable garden techniques by running drip tape along the base of each trellis.
Modular Kit Raised Beds
Best for: Branch 1
Use these when space changes yearly. Kits snap together in under 30 minutes and disassemble just as fast. Pros include exact sizing for narrow strips. Cons appear if panels sit directly on grass without a barrier. Edge case: expanding a small backyard vegetable garden one bed at a time.
Brick Raised Beds
Best for: Branch 3
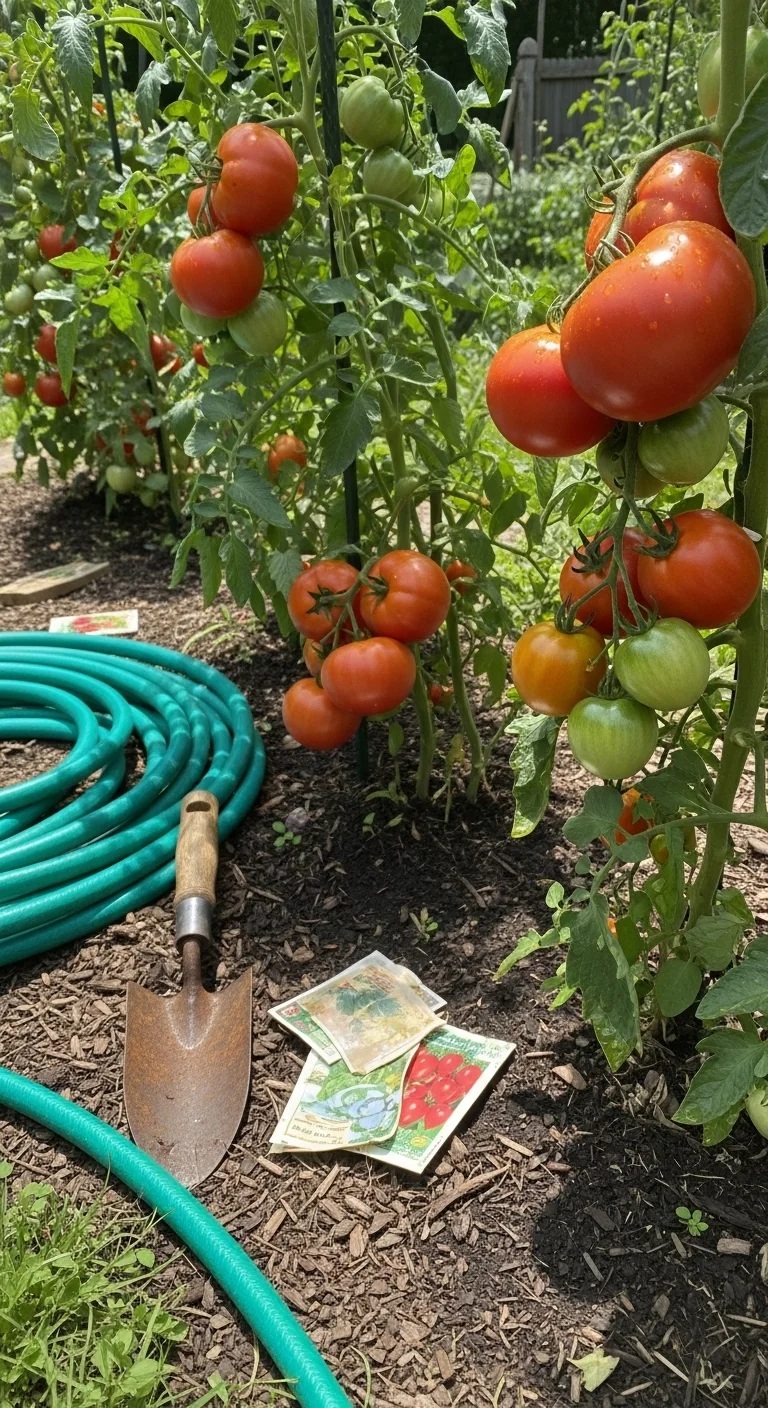
Stack bricks two courses high for a 16-inch finished height that retains daytime heat for faster tomato ripening. Fill gaps with mortar only on the outer face to keep drainage open. This permanent edging works best where formal lines complement full-sun layouts and vining crops need stable support.
Starter Stack (What to Choose First)
Branch 1: Space-Constrained Yards
Start with Untreated Cedar Raised Beds plus Elevated Fabric Raised Beds. The cedar gives rigid structure along fence lines while fabric adds movable sections for crop rotation. Material cost range 80 to 250 dollars per bed. Build time 2 to 4 hours total.
Branch 2: Problematic Native Soil
Start with Cinder Block Raised Beds plus Self-Watering Raised Beds. Blocks handle poor drainage immediately while the reservoir prevents surface drying. Material cost range 120 to 300 dollars per bed. Build time 3 to 5 hours total.
Branch 3: High-Production or Challenging Climate
Start with Galvanized Steel Raised Beds plus Trellis-Integrated Raised Beds. Steel offers permanence and trellises capture vertical space for heavy yields. Material cost range 150 to 350 dollars per bed. Build time 4 to 6 hours total.
When This Won’t Work
Raised bed vegetable gardens fail when yard slope exceeds 8 percent grade because beds shift and soil erodes downhill within one season. They also fail when native soil remains heavy clay after initial filling and no drainage test was performed, leading to water pooling at root level. In both cases switch to the alternative action of building on level ground with imported soil or using raised planters on stable platforms.
Extreme shade under 4 hours of direct sun daily creates another measurable failure because vegetables stay leggy and unproductive regardless of bed type. Consider container vegetable gardening instead and place pots in the brightest micro-climate available.
Choosing the Right Option for Your Situation
Budget Threshold
If your material budget stays under 150 dollars per bed, choose cinder block or modular kits. These deliver full function without premium lumber costs while still meeting drainage and height needs for vegetables.
Time Threshold
If you have under 6 hours total for assembly, select galvanized steel or modular kits. Both require only basic tools and snap-together steps that finish in one afternoon.
Technical Constraint: Soil Depth
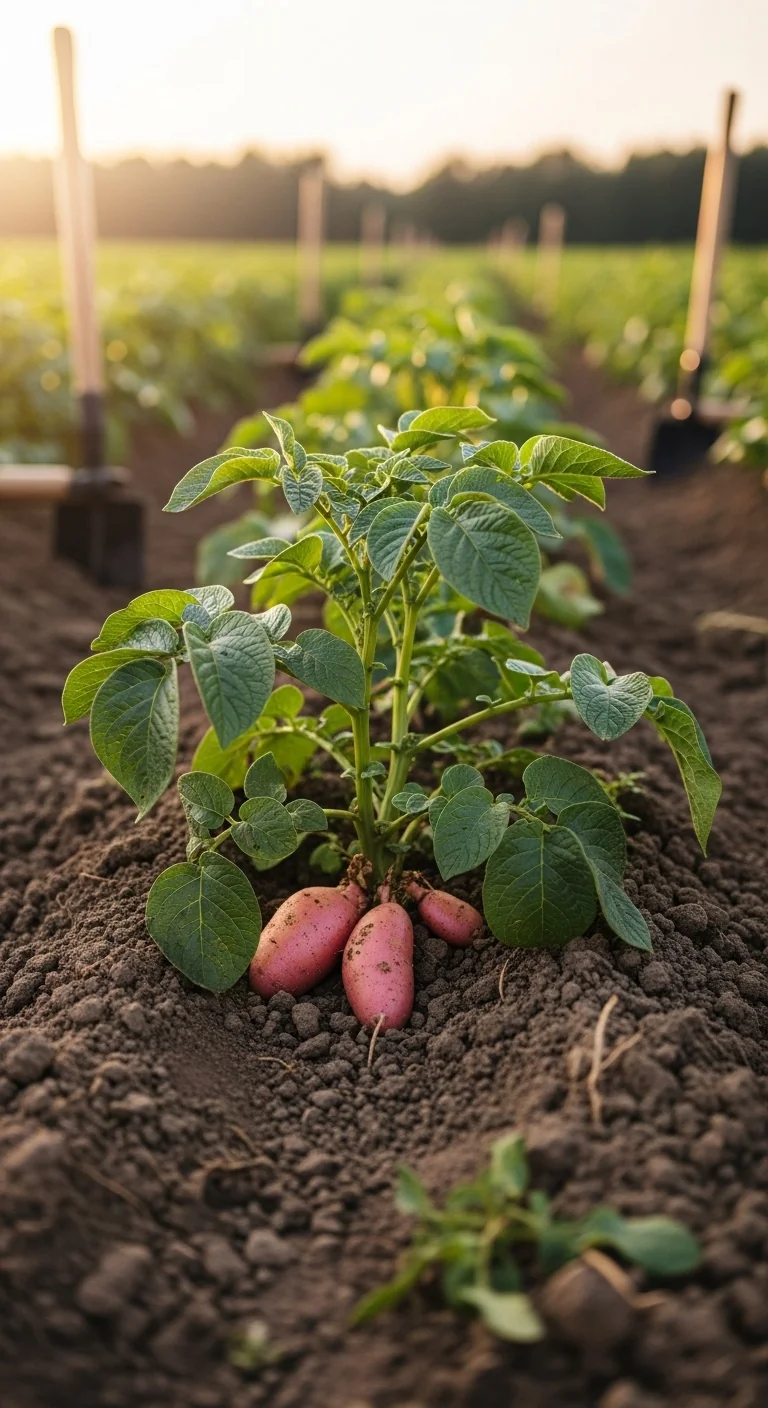
If you grow root crops such as carrots or potatoes, select any option with 12 inches minimum soil depth. Shallower beds limit tuber size and force frequent supplemental feeding.
Yes/No checklist:
Does your space fit Branch 1 conditions?
Did your drainage test pass the 90-minute threshold?
Will your sun exposure support vining crops?
Is your chosen bed width 4 feet or narrower?
Expert Q&A
How does companion planting change inside a raised bed vegetable garden?
Space is tighter so pair tall crops like tomatoes with low-growing basil or marigolds at the front edge only. Keep companion rows 12 inches apart to avoid shading. Rotate pairs each season to prevent nutrient competition within the fixed bed volume.
What role does mulch play in maintaining soil temperature in raised beds?
A 2-inch layer of organic mulch buffers against rapid daytime heating and nighttime cooling. It also slows evaporation so the top 4 inches of soil stay evenly moist longer than unmulched beds during dry spells.
Which vegetables benefit most from trellising in raised beds?
Pole beans, cucumbers, and peas gain the most because vertical growth keeps fruit off damp soil and improves air flow. Trellising also lets you plant a second row of low crops underneath, doubling production in the same footprint.
When is the best time to add organic fertilizer to raised bed systems?
Apply at planting for quick-start nutrients, then side-dress every 4 weeks during active growth. Test soil pH first because values outside 6.0 to 7.0 reduce nutrient uptake even with added fertilizer.
How do you prevent soil compaction in narrow raised beds?
Never step inside the bed. Use a 3-foot-wide board as a temporary bridge when planting or harvesting. Keep pathways between beds at least 18 inches wide so tools and baskets stay outside the growing area.
Conclusion
The key decision in any raised bed vegetable garden is matching the setup to your measured yard conditions rather than copying a generic plan. The number-one mistake is building beds wider than 4 feet, which forces soil compaction when you reach across and reduces root health over time.
Review your drainage test and space measurements against the decision grid, then assemble the starter stack pair for your branch. Take the next step with our how to start a vegetable garden guide to fill and plant your first bed correctly.
Lead Data Architect
Umer Hayiat
Founder & Lead Data Architect at TheYieldGrid. I bridge the gap between complex agronomic data and practical growing, transforming verified agricultural science into accessible, mathematically precise tools and guides for serious growers.
View all tools & guides by Umer Hayiat →