Wicking raised beds pull moisture upward from a bottom reservoir through capillary action to keep edible crops consistently hydrated. The real edge comes from aligning the reservoir type, depth, and separator with your exact evaporation rate, bed dimensions, and crop root habits instead of following generic plans that ignore those thresholds.
This article examines nine wicking raised bed designs suitable for typical 4-by-8-foot or equivalent edible gardening setups. It focuses on mechanisms for raised beds and leaves out ground-level wicking or small pots.
You can now select a design that fits your conditions and avoid common mismatches that lead to dry tops or saturated bottoms.
Bottom line: Match the reservoir mechanism and soil height to your site’s measurable conditions and you gain reliable moisture delivery with minimal intervention.
The Yield Grid Decision Grid
Branch 1: High evaporation conditions (summer daytime highs above 80 degrees F with limited weekly rainfall). Recommended: Items 1, 4, and 7 below.
Branch 2: Budget DIY projects using readily available frames or materials. Recommended: Items 2, 5, and 8 below.
Branch 3: Space-constrained or elevated setups where ground contact or footprint matters. Recommended: Items 3, 6, and 9 below.
For a deeper dive into related self-watering raised bed systems, see self-watering raised bed systems.
Quick Comparison Table
| Option | Key mechanism | Best for | Decision Grid Branch | Effort Score |
|---|---|---|---|---|
| 1. Classic Gravel Reservoir Wicking Raised Bed | Gravel-filled base with geotextile separator | Dry zones needing even moisture | Branch 1 | 2 |
| 2. Perforated Pipe Reservoir Wicking Bed | Corrugated drain pipes for reservoir | Budget retrofits with fast fill | Branch 2 | 3 |
| 3. Commercial Wicking Insert Kit | Pre-made reservoir trays or mats | Quick urban or small-space installs | Branch 3 | 1 |
| 4. IBC Tote Converted Wicking Bed | Repurposed plastic tote with liner | Scalable water storage in arid areas | Branch 1 | 2 |
| 5. Metal Raised Bed Wicking Retrofit | Galvanized frame with internal reservoir | Long-term durability on a budget | Branch 2 | 2 |
| 6. Elevated Wicking Raised Bed on Legs | Legged frame with bottom reservoir | Back-friendly or balcony gardens | Branch 3 | 3 |
| 7. Hybrid Hugelkultur Wicking Raised Bed | Wood layer plus gravel reservoir | Nutrient release in dry climates | Branch 1 | 3 |
| 8. Cinder Block Modular Wicking Bed | Block frame with sealed base reservoir | Affordable modular builds | Branch 2 | 4 |
| 9. Soil-Optimized Wicking Upgrade | Existing bed retrofit with capillary soil | Fine-tuning for any setup | Branch 3 | 2 |
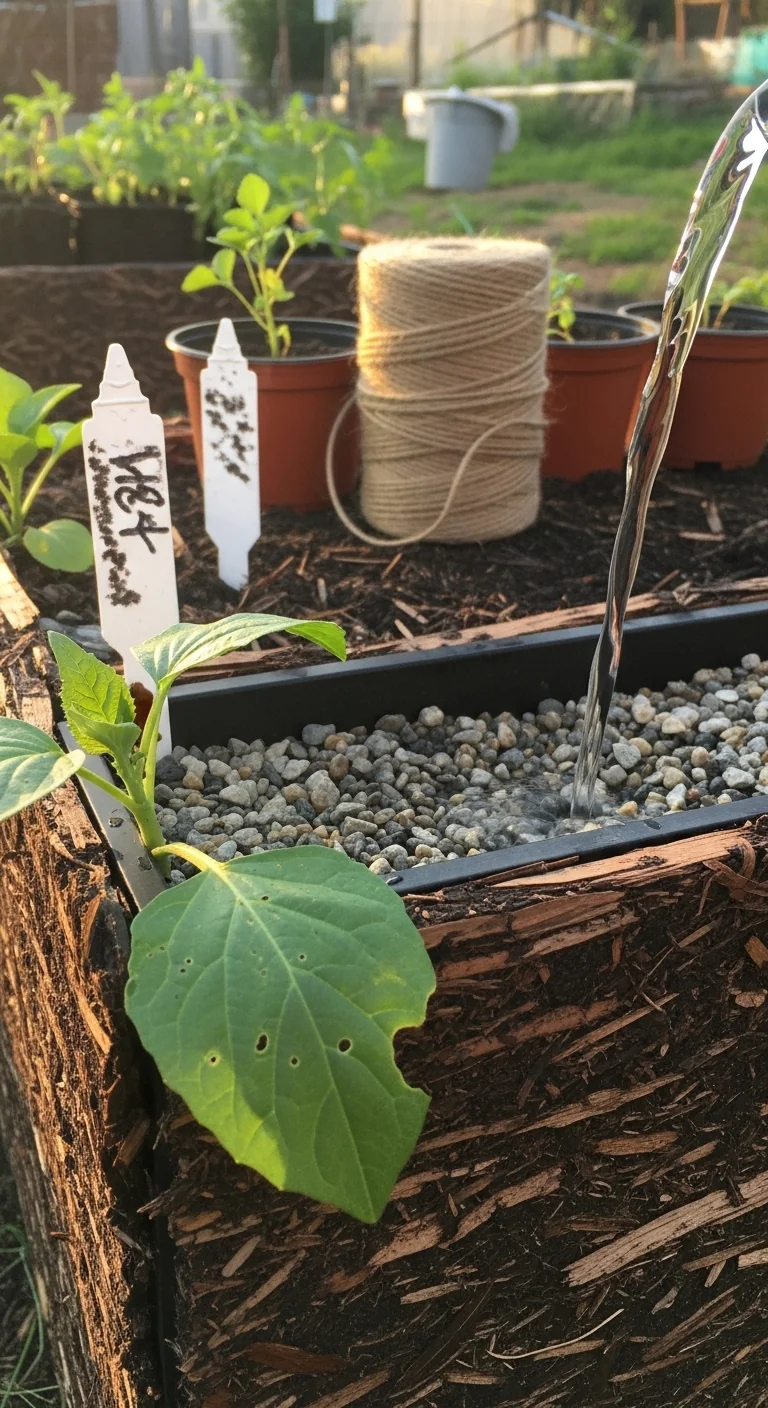
1. Classic Gravel Reservoir Wicking Raised Bed
Best for: Branch 1
Build this design with a standard timber frame lined with pond liner. Add a 150- to 300-millimeter gravel or scoria reservoir layer, cover with geotextile fabric, then top with 250- to 300-millimeter soil. Install a fill pipe and overflow at reservoir height. The blueprint keeps capillary action uniform across the bed. Key step: level the base perfectly before adding gravel to prevent pooling. Common mistake: skipping the fabric separator, which lets soil clog the reservoir and stops wicking. This option excels in high-evaporation zones because the large reservoir stores enough water for extended dry spells while the measured soil depth stays within standard capillary limits. Edge case: in beds wider than 4 feet, add a central fill pipe to reach the middle quickly.
See best soil mix for raised beds for capillary-friendly blends that enhance performance here.
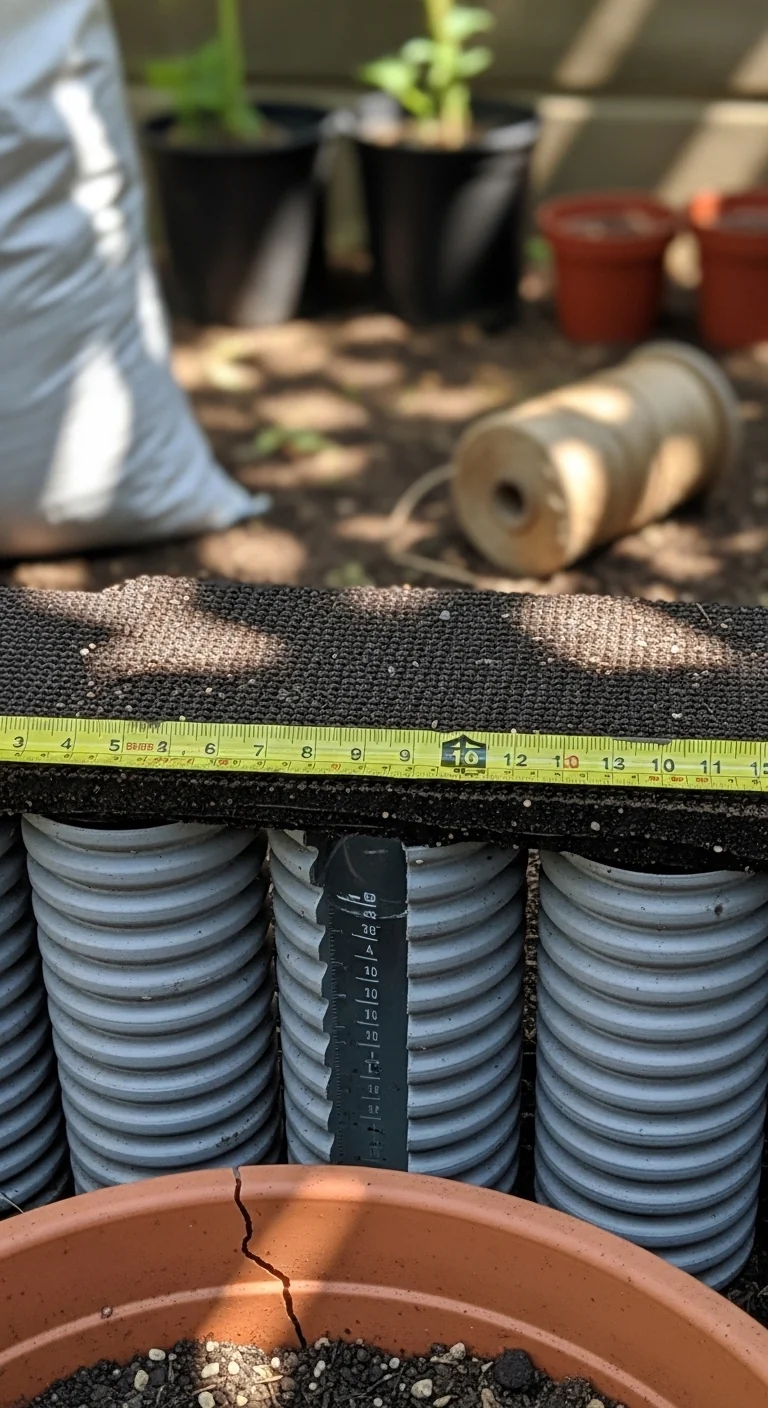
2. Perforated Pipe Reservoir Wicking Bed
Best for: Branch 2
Use 4-inch corrugated drain pipes laid in the base instead of full gravel fill. Connect to a vertical fill tube and add an overflow. This cuts material cost and weight while still providing fast reservoir filling. Skip if your site has heavy clay soil that compacts around pipes and reduces wicking speed. Edge case: works well for shorter beds under 6 feet long where pipe layout stays simple.
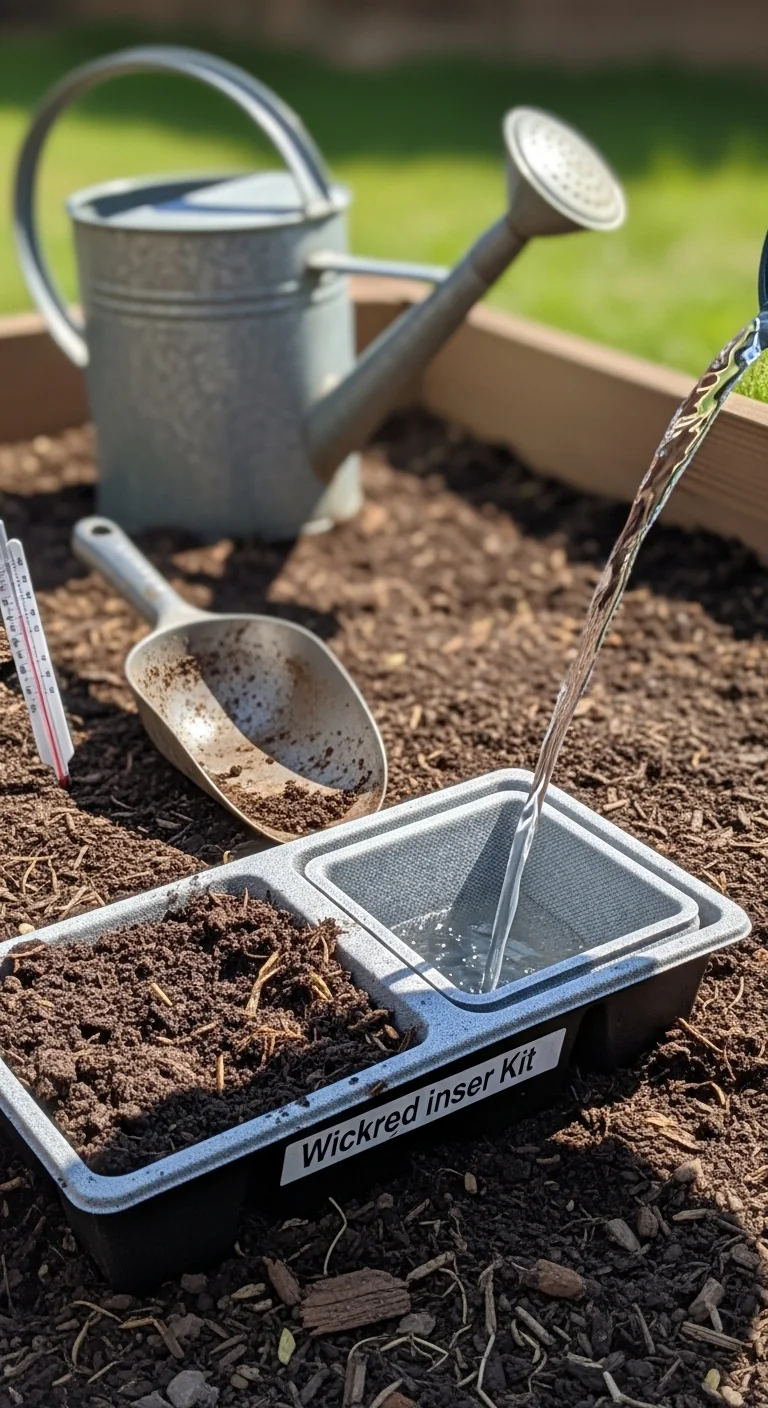
3. Commercial Wicking Insert Kit
Best for: Branch 3
These kits drop pre-formed reservoir trays or mats into any existing raised bed frame. Most include built-in fill and overflow ports plus fabric barriers. Threshold rule: install only if your bed depth allows at least 300 millimeters total height for reservoir plus soil; shallower beds break capillary action. Adjustment: add extra fabric overlap on sides for irregular frames. Ideal for quick urban installs where time and space limit custom work.
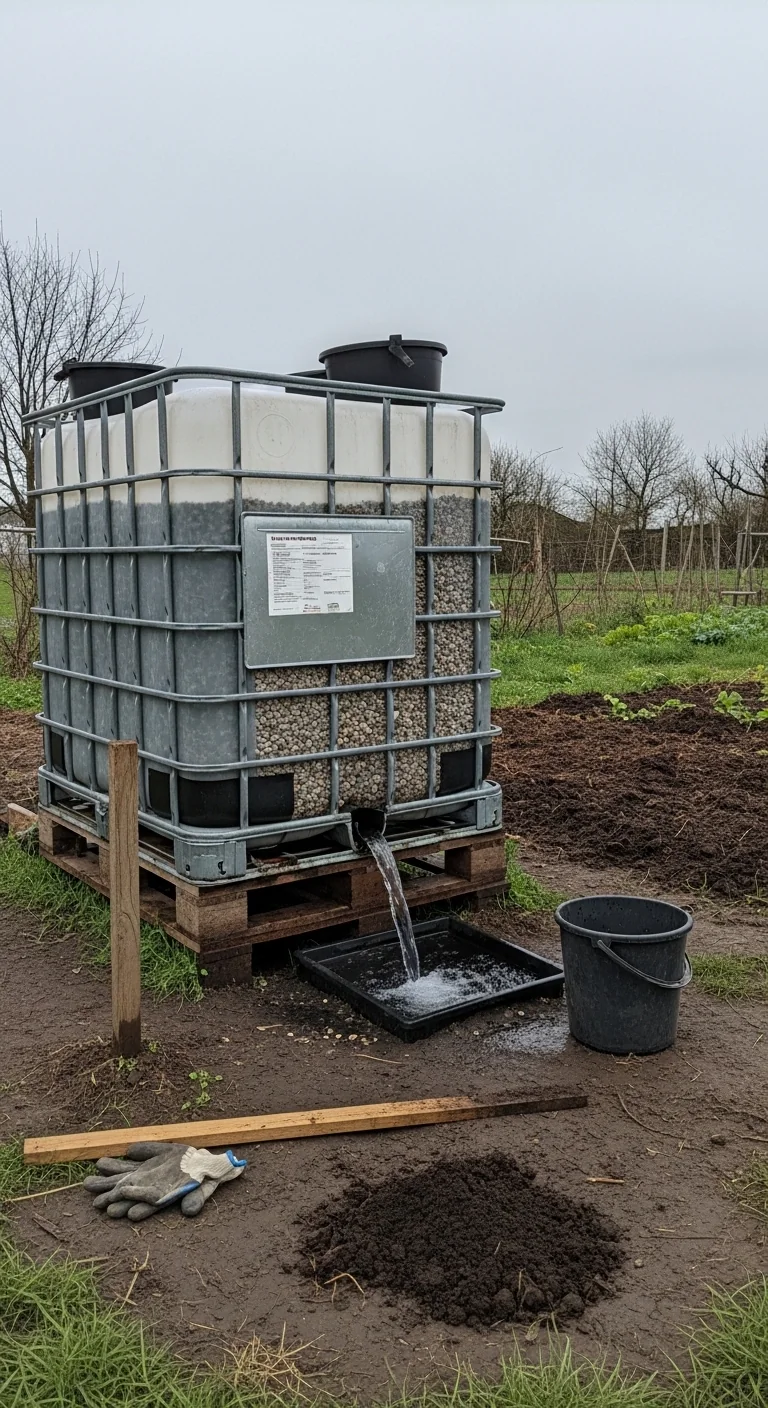
4. IBC Tote Converted Wicking Bed
Best for: Branch 1
Repurpose a food-grade intermediate bulk container by cutting to raised-bed height, lining if needed, and creating a bottom reservoir with gravel and fabric. Drill for fill and overflow pipes near the base. Steps include cleaning the tote thoroughly, adding support bracing for sides, and filling in layers. This gives massive water storage suitable for dry climates. Unique constraint: ensure the tote sits level and on stable ground since the plastic flexes under wet soil weight. Mistake to avoid: using unlined totes without UV protection, which degrades the reservoir seal over seasons.
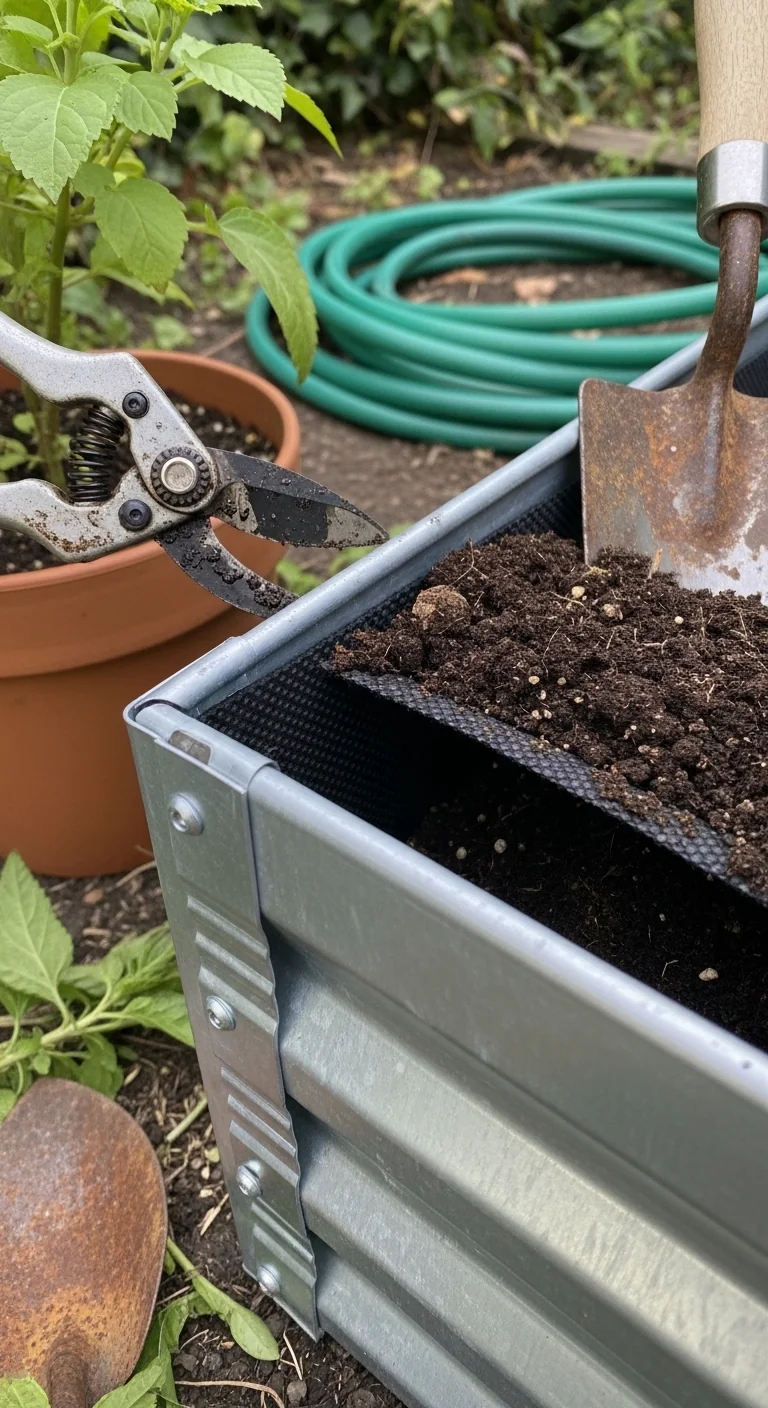
5. Metal Raised Bed Wicking Retrofit
Best for: Branch 2
Line a galvanized steel bed with pond liner, add reservoir layer, fabric, and soil. The metal sides conduct less heat than wood and last longer without rot. Use versus skip: choose this for budget longevity in any climate; skip only if you need to move the bed seasonally since metal is heavy. Edge case: in windy areas, anchor corners extra firmly after adding water weight.
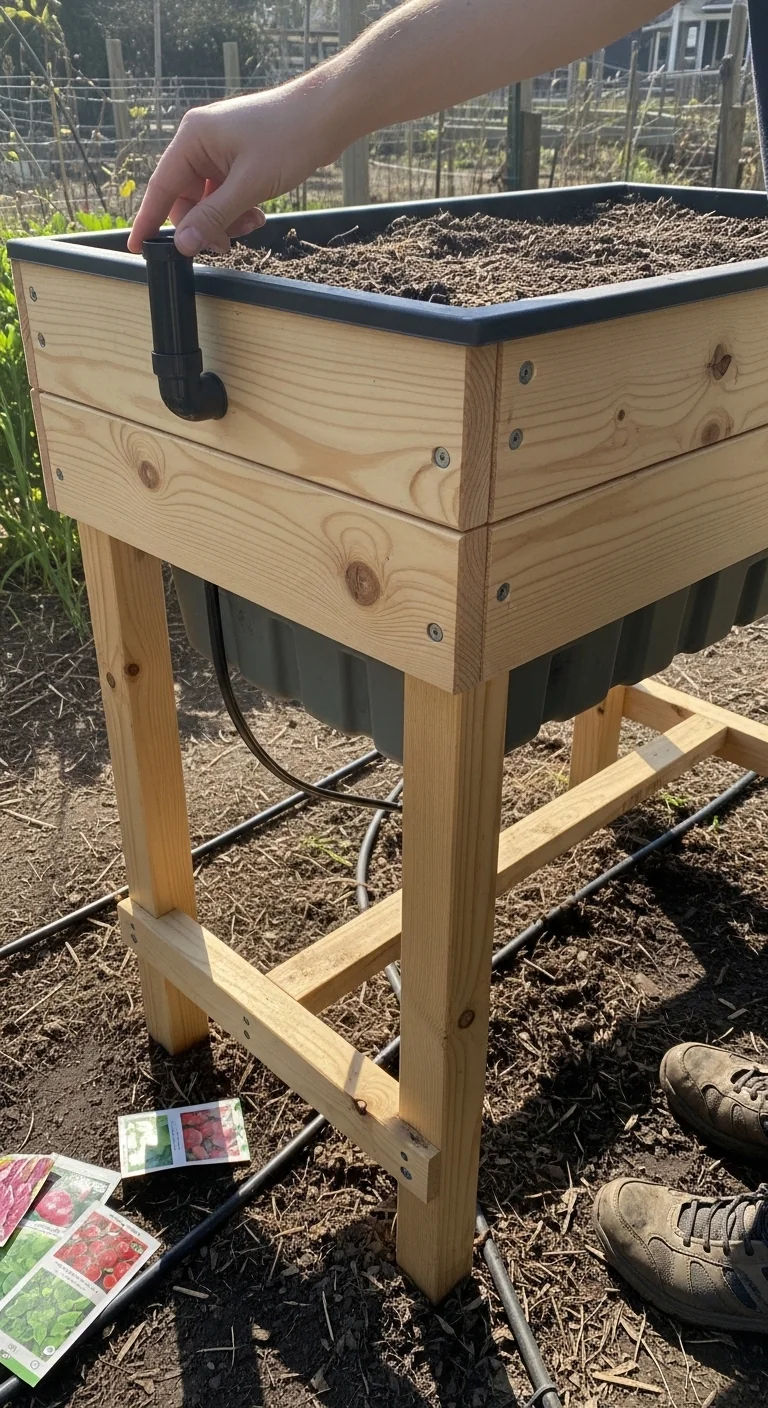
6. Elevated Wicking Raised Bed on Legs
Best for: Branch 3
Build a framed bed on sturdy legs with an internal reservoir and liner. The elevation improves back access and drainage visibility. Threshold rule: keep total height under 36 inches including legs to maintain stability when the reservoir fills. Upgrade option: add casters for mobility in small spaces. This design fits balconies or patios where ground contact is impossible.
See elevated raised beds for compatible framing ideas.
7. Hybrid Hugelkultur Wicking Raised Bed
Best for: Branch 1
Lay woody debris and logs at the very bottom, top with gravel reservoir, fabric, and soil. The hugelkultur base slowly releases nutrients while the wicking layer supplies water. Blueprint steps: mound the wood, add 200-millimeter gravel, seal with fabric, then soil. Synergy in dry areas comes from the wood holding extra moisture below the capillary zone. Constraint: limit wood layer to 150 millimeters to avoid compressing the reservoir. Link to details in hugelkultur raised bed builds.
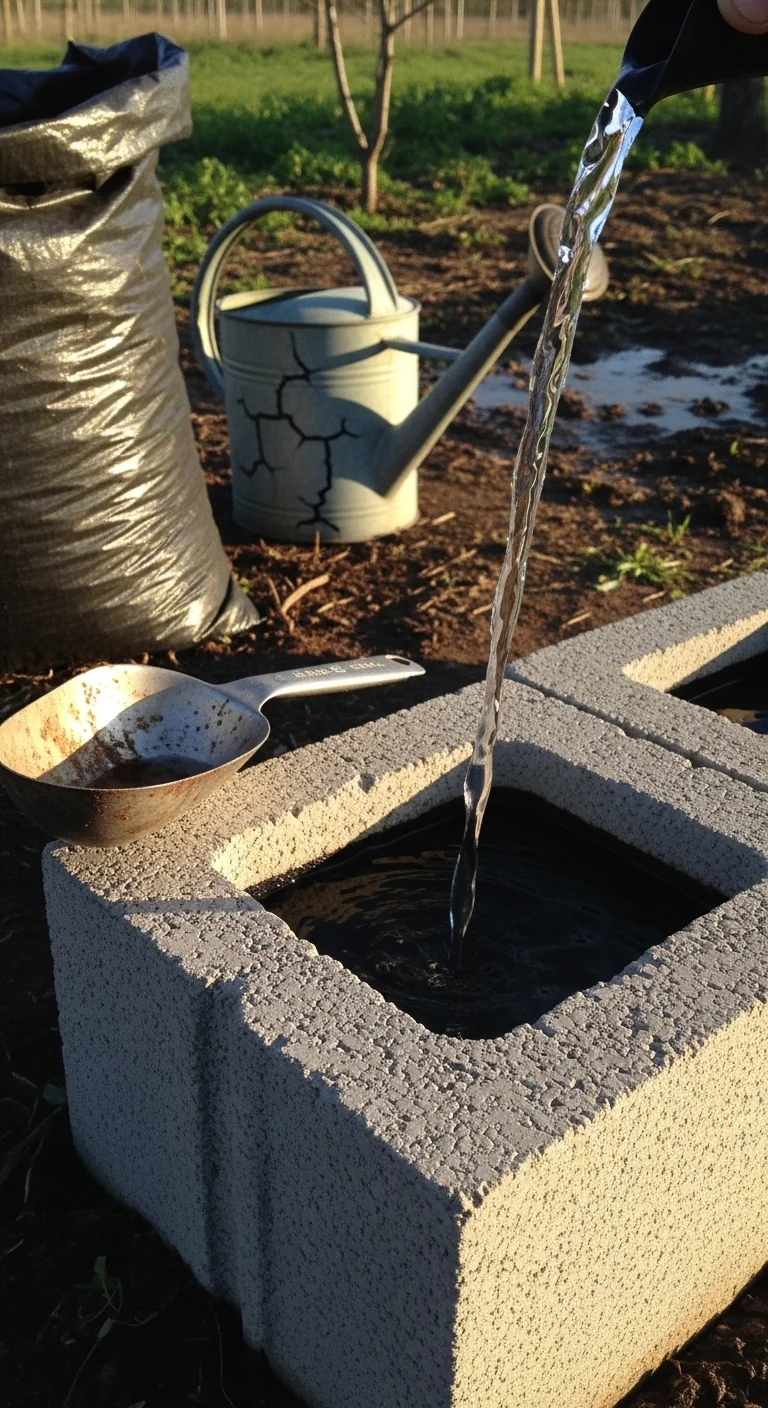
8. Cinder Block Modular Wicking Bed
Best for: Branch 2
Stack cinder blocks into a frame, seal interior with liner or mortar, then add reservoir, fabric, and soil. Modular blocks let you expand or reshape easily. Use versus skip: ideal for budget modular builds; skip in seismic zones where blocks may shift without extra reinforcement. Edge case: cap top blocks to prevent water wicking into hollow cores and evaporating.
See cinder block raised beds for base construction tips.
9. Soil-Optimized Wicking Upgrade
Best for: Branch 3
Retrofit any existing bed by adding a shallow reservoir layer and replacing topsoil with a loamy, organic blend that supports strong capillary pull. Threshold rule: test your current soil drainage first; if it drains faster than 1 inch per hour, amend with compost before installing fabric. Adjustment: layer 50 millimeters of finer mix directly above the separator for faster initial wicking. Perfect for fine-tuning small or rented spaces without full rebuilds.
See best soil mix for raised beds to dial in the exact blend.
Starter Stack (What to Choose First)
For Branch 1 (high evaporation conditions)
Start with Item 1 (classic gravel) plus Item 4 (IBC conversion). The gravel delivers even capillary lift while the IBC adds large-scale storage; together they handle extended dry periods with one fill every three to four weeks. Materials cost range: 200 to 400 dollars. Build time range: four to eight hours.
For Branch 2 (budget DIY projects)
Start with Item 2 (perforated pipe) plus Item 5 (metal retrofit). Pipes cut fill time and cost while metal adds durability; the pair keeps total spend under 200 dollars for a standard bed. Materials cost range: 80 to 180 dollars. Build time range: two to four hours.
For Branch 3 (space-constrained or elevated setups)
Start with Item 3 (commercial insert) plus Item 6 (elevated on legs). The insert speeds assembly and the legs improve access; synergy fits tight footprints or raised access needs. Materials cost range: 150 to 350 dollars. Build time range: three to five hours.
When This Won’t Work
Wicking raised beds fail when total soil depth above the reservoir exceeds standard capillary limits around 300 millimeters; the top layer stays dry no matter how full the base sits. Measure your planned soil height before building and switch to drip irrigation raised beds if the bed must be taller.
They also fail in sites with poor drainage or frequent heavy rain without a properly placed overflow pipe at reservoir height; excess water creates anaerobic conditions and root rot. Test your site drainage first and consider standard raised beds instead.
See raised bed vs in ground for when to pivot away from any wicking design.
Choosing the Right Option for Your Situation
If Your Budget Is Under 200 Dollars
Choose Items 2, 5, or 8. Focus on pipe or block retrofits that reuse existing frames and common local materials rather than full new kits.
If You Have Less Than Four Hours for Setup
Choose Items 3 or 9. Commercial inserts or soil upgrades require minimal cutting and layering compared with full custom reservoirs.
If Your Site Has High Wind or Mobility Needs
Choose Items 4 or 6. Tote conversions or legged designs stay stable once anchored and allow repositioning if conditions change.
Yes/No checklist:
Do you have space for a 4-by-8 footprint? Yes: proceed with any listed design.
Can you install an overflow pipe at exact reservoir height? Yes: wicking will stay reliable.
Does your soil drain faster than 1 inch per hour? Yes: amend before adding fabric.
Will total soil depth stay under 300 millimeters? Yes: capillary action works.
Expert Q&A
How does wicking soil differ from standard raised bed mixes?
Wicking mixes need higher organic content and finer particles to support capillary pull, usually 40 percent compost blended with loamy topsoil and perlite. Avoid coarse sand or bark chunks that break the water column. Test a small sample by saturating the bottom and checking how far moisture climbs within 24 hours.
Which crops perform best versus worst in wicking beds?
Leafy greens, tomatoes, and cucumbers thrive with constant moisture at the roots. Root crops like carrots or potatoes struggle because the lower zone stays wetter than ideal and can cause rot. Adjust by planting deeper-rooted crops near the edges where slight drying occurs.
Can you add a trellis to a wicking raised bed without issues?
Yes, secure trellis posts outside the liner before adding soil or attach to the frame after filling. The consistent moisture supports heavy fruit loads on vines. Keep weight distribution even so the reservoir layer does not compress unevenly.
How do you prepare a wicking raised bed for winter?
Drain the reservoir completely through the overflow, cover the soil with mulch or a tarp, and store any removable pipes indoors. In cold regions, elevate the entire bed slightly to prevent ice expansion cracking liners. Check seals in early spring before refilling.
Is a wicking system compatible with occasional supplemental feeding?
Yes, use the fill pipe to deliver diluted liquid fertilizer directly to the reservoir every four to six weeks during peak growth. Flush the system with plain water afterward to prevent salt buildup in the lower zone.
Conclusion
Wicking raised beds deliver consistent moisture when the reservoir type and soil depth match your climate and crop needs. The number one mistake is ignoring capillary limits or skipping the overflow pipe, which turns a low-effort system into daily troubleshooting.
Next step: audit your current raised bed against the decision grid and pick one starter stack to build this season. See winterizing raised beds for end-of-season steps that keep your wicking design ready for spring.
Lead Data Architect
Umer Hayiat
Founder & Lead Data Architect at TheYieldGrid. I bridge the gap between complex agronomic data and practical growing, transforming verified agricultural science into accessible, mathematically precise tools and guides for serious growers.
View all tools & guides by Umer Hayiat →