Raised bed drip irrigation succeeds only when emitter patterns and flow rates match the confined soil volume and perimeter drying created by wood, metal, or block borders. Linear row-crop designs leave the outer 6 to 8 inches of each bed drier because the elevated structure accelerates evaporation at the edges compared with in-ground planting.
This guide examines nine delivery methods built specifically for raised beds from 4 by 4 feet up to multi-bed arrays. It excludes large-scale agricultural tubing, container-only kits, and overhead sprinklers that increase foliar disease risk.
You will match a system to your exact bed dimensions, faucet pressure, and maintenance window so you install once and maintain consistent moisture at the root zone without daily checks or spot watering.
Bottom line: Align drip emitter patterns and flow rates to your raised bed dimensions and pressure rating to achieve consistent moisture without manual spot watering.
The Yield Grid Decision Grid
Branch 1: Beds 32 square feet or smaller or water pressure 15 to 30 PSI. Recommended: Items 1, 2, and 4 below.
Branch 2: Standard 4 by 8 foot beds with 30 to 60 PSI pressure and balanced soil mixes. Recommended: Items 3, 5, and 6 below. Pair any choice with the best soil mix for raised beds to maximize even distribution.
Branch 3: Three or more beds sharing a supply line or clay-dominant soil mixes. Recommended: Items 7, 8, and 9 below.
Quick Comparison Table
| Option | Key mechanism | Best for | Decision Grid Branch | Effort Score |
|---|---|---|---|---|
| Drip Tape Systems | Flat tubing with inline emitters spaced 6 to 12 inches | Uniform coverage in narrow rectangular beds | Branch 1 | 2 |
| Soaker Hose Setups | Porous tubing that releases water along its entire length | Budget layouts in small single beds | Branch 1 | 3 |
| Pressure-Compensating Emitters | Individual adjustable drippers that maintain flow despite pressure changes | Precision placement around plant bases | Branch 2 | 3 |
| Garden Grid Watering Systems | Pre-formed grid with multiple outlets per square foot | Even delivery across entire bed surface | Branch 1 | 1 |
| Inline Drip Tubing Kits | 1/2-inch tubing with emitters molded inside at fixed intervals | Longer runs in medium beds | Branch 2 | 2 |
| Bubbler and Multi-Outlet Kits | Adjustable multi-port emitters that split flow into several streams | Targeted watering at plant clusters | Branch 2 | 4 |
| Gravity-Fed Drip Systems | Elevated reservoir supplying low-pressure emitters without electricity | Off-grid or low-pressure sites | Branch 3 | 2 |
| Smart Timer Drip Configurations | Battery or solar timers linked to zone valves | Automated scheduling across multiple beds | Branch 3 | 3 |
| DIY PVC Drip Manifolds | Custom PVC headers with barbed emitters or tubing branches | Custom layouts for irregular or large arrays | Branch 3 | 4 |
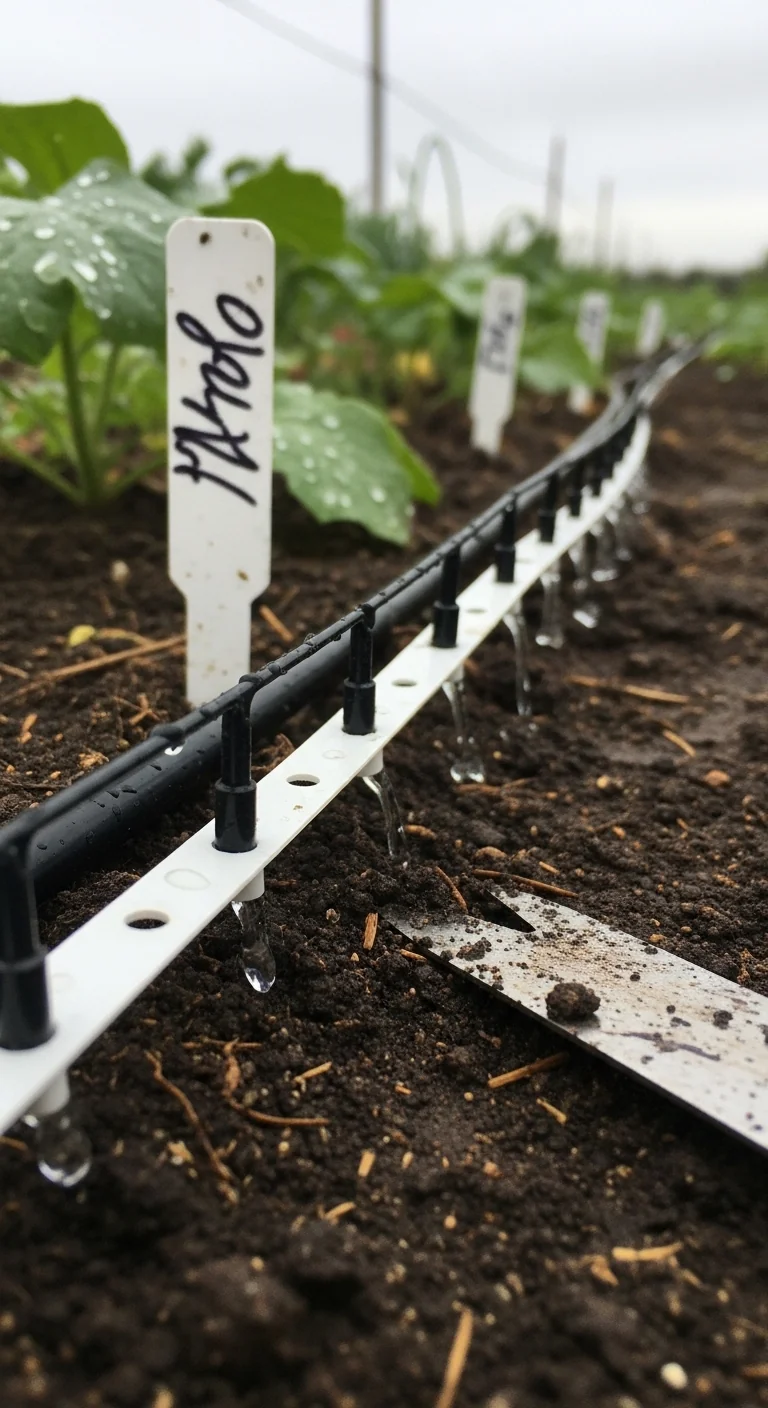
Drip Tape Systems
Best for: Branch 1
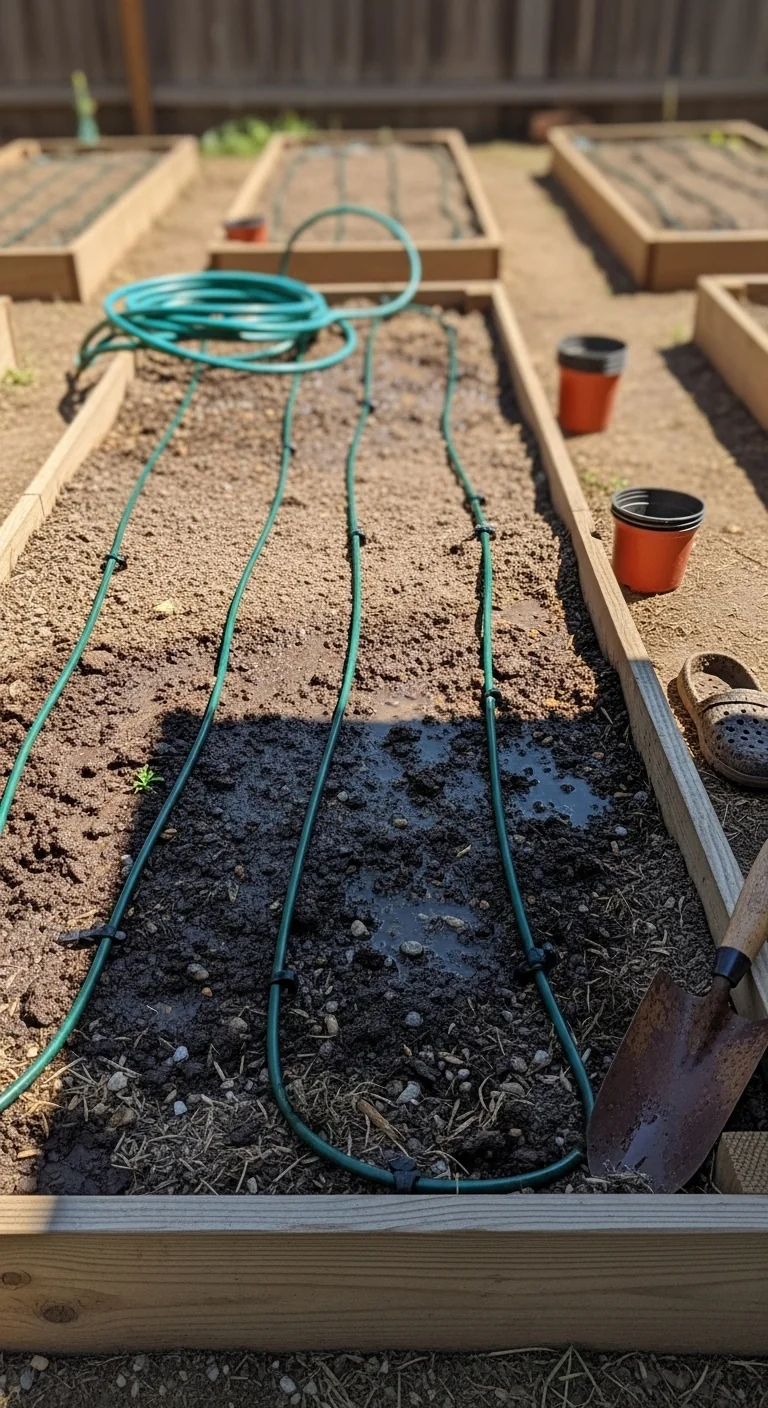
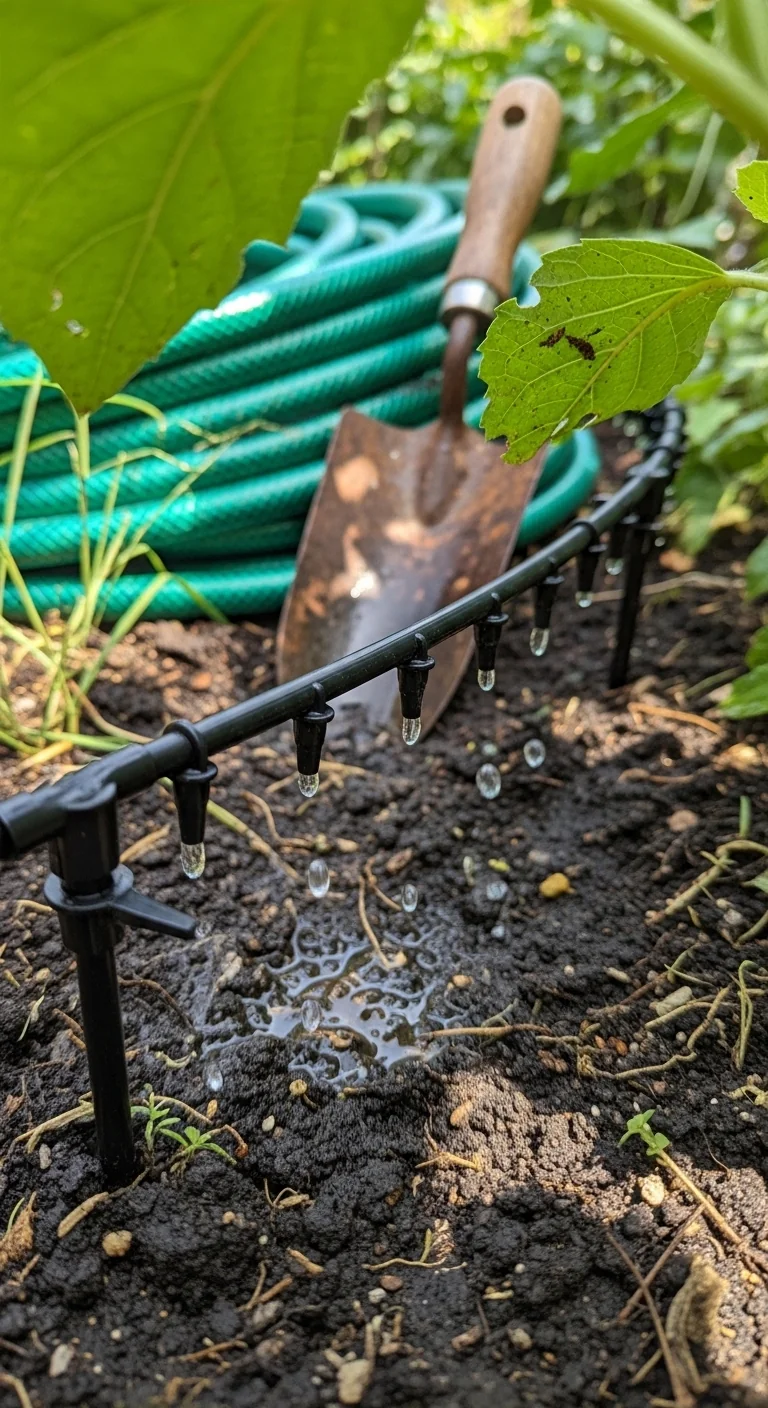
Drip tape consists of flat polyethylene tubing with emitters molded every 6 to 12 inches. For raised beds it delivers water in parallel runs spaced 6 to 8 inches apart to cover the full width without gaps at the borders. Begin by laying a 1/2-inch supply line along one end of the bed, then connect short lengths of tape perpendicular to the long side using barbed fittings. Secure each run with landscape staples every 24 inches to keep emitters in contact with soil. End each tape with a figure-eight closure or flush valve. The most common mistake is running tape longer than 50 feet on low pressure, which causes the far end to deliver half the flow of the near end. This system works especially well when combined with passive backup options detailed in our self-watering raised bed guide.
Soaker Hose Setups
Best for: Branch 1
Use soaker hoses when budget limits kit purchases and beds stay under 4 by 8 feet. They release water slowly through the entire wall but skip them in beds wider than 4 feet because the center receives more moisture than the edges. Pros include low upfront cost and simple connection to a faucet. The edge case arises in sandy soil mixes where water travels only 3 inches sideways, leaving perimeter plants dry. Test placement by running the hose for 20 minutes and checking soil moisture 4 inches deep at multiple points before committing to a permanent layout.
Pressure-Compensating Emitters
Best for: Branch 2
Pressure-compensating emitters deliver a steady 0.5 to 2 gallons per hour regardless of elevation changes or line length. Install one at the base of each plant or every 12 inches along the tubing. They become essential once your raised bed exceeds 20 feet of total tubing run because standard emitters lose flow at the far end. Adjust spacing downward to 8 inches in clay mixes that spread water slowly. Compare performance to in-ground methods in our raised bed versus in-ground guide to see why individual emitters reduce waste at the borders.
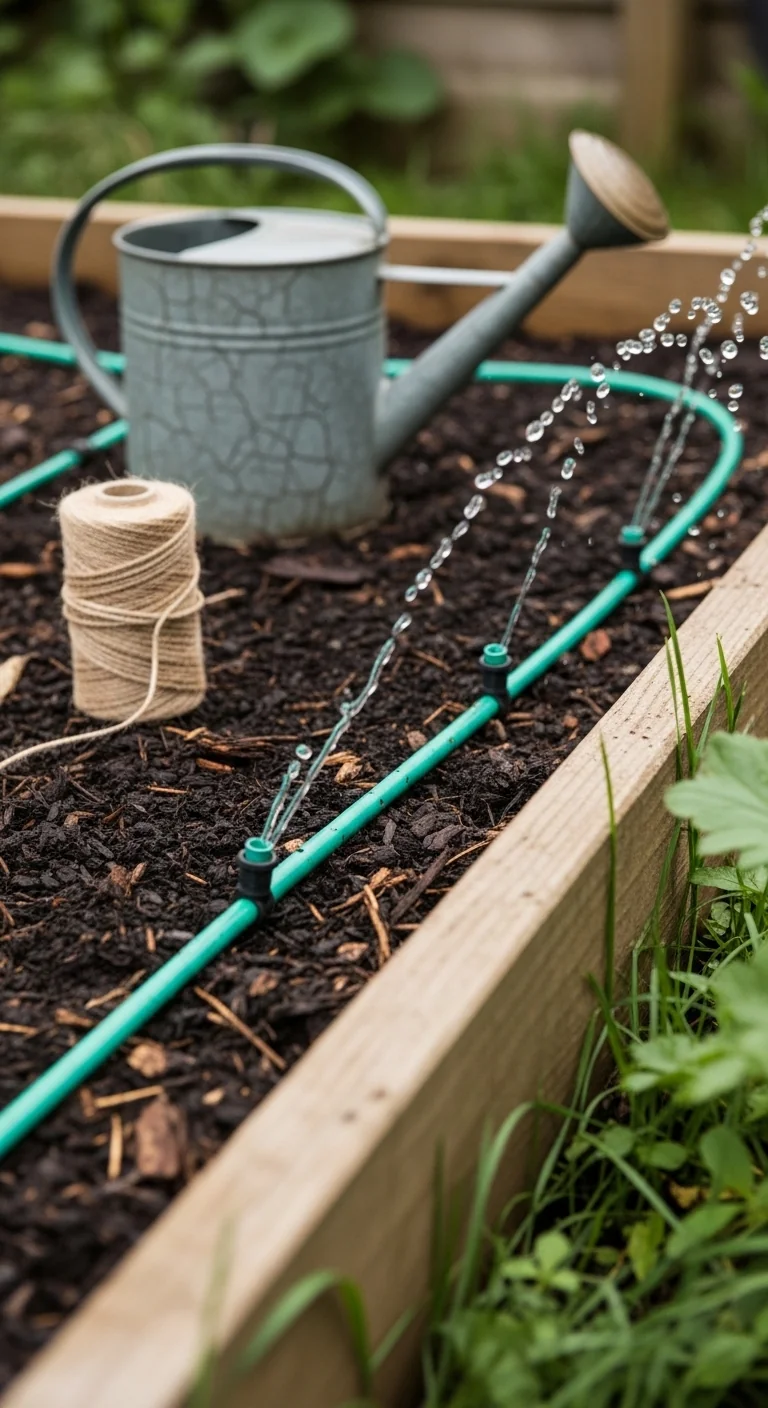
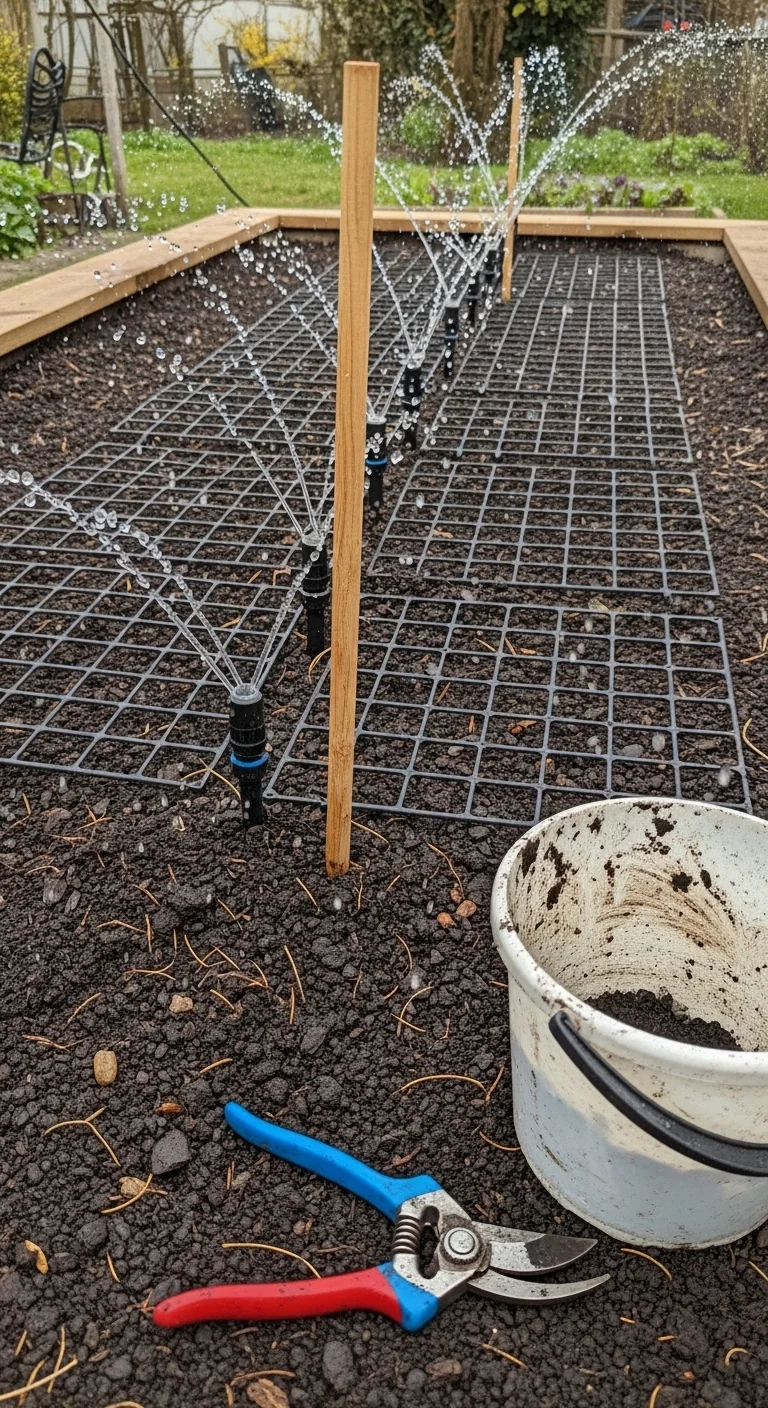
Garden Grid Watering Systems
Best for: Branch 1
Connect the grid to a standard garden hose, lay it flat across the soil surface, and secure the corners. The entire process takes under 10 minutes and requires no cutting or additional fittings. Upgrade by adding a battery timer at the faucet for twice-weekly cycles of 30 minutes each during peak summer. This layout eliminates the dry-edge problem common in tape or tubing because 16 outlets per square foot reach every plant zone. It pairs effectively with wicking designs covered in our wicking raised bed guide for beds that occasionally run dry between waterings.
Inline Drip Tubing Kits
Best for: Branch 2
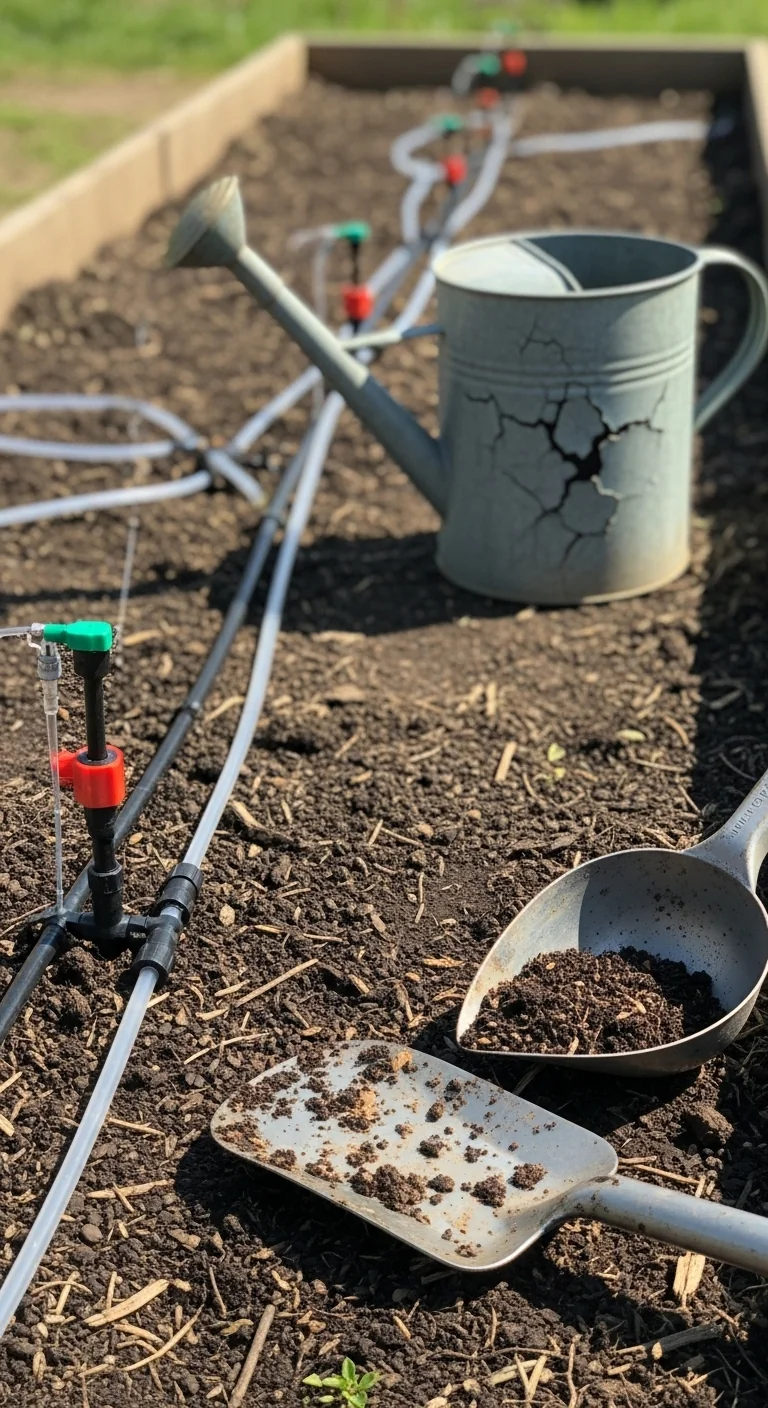
Inline drip tubing carries emitters inside 1/2-inch hose at fixed 12-inch intervals. Cut lengths to fit your bed width, connect to a manifold at one end, and cap the opposite end. The kit format includes all fittings and a filter, making it suitable for 4 by 8 foot beds where pressure stays above 30 PSI. Layout two parallel lines 8 inches from each long edge to cover the full soil area without overlap at the center.
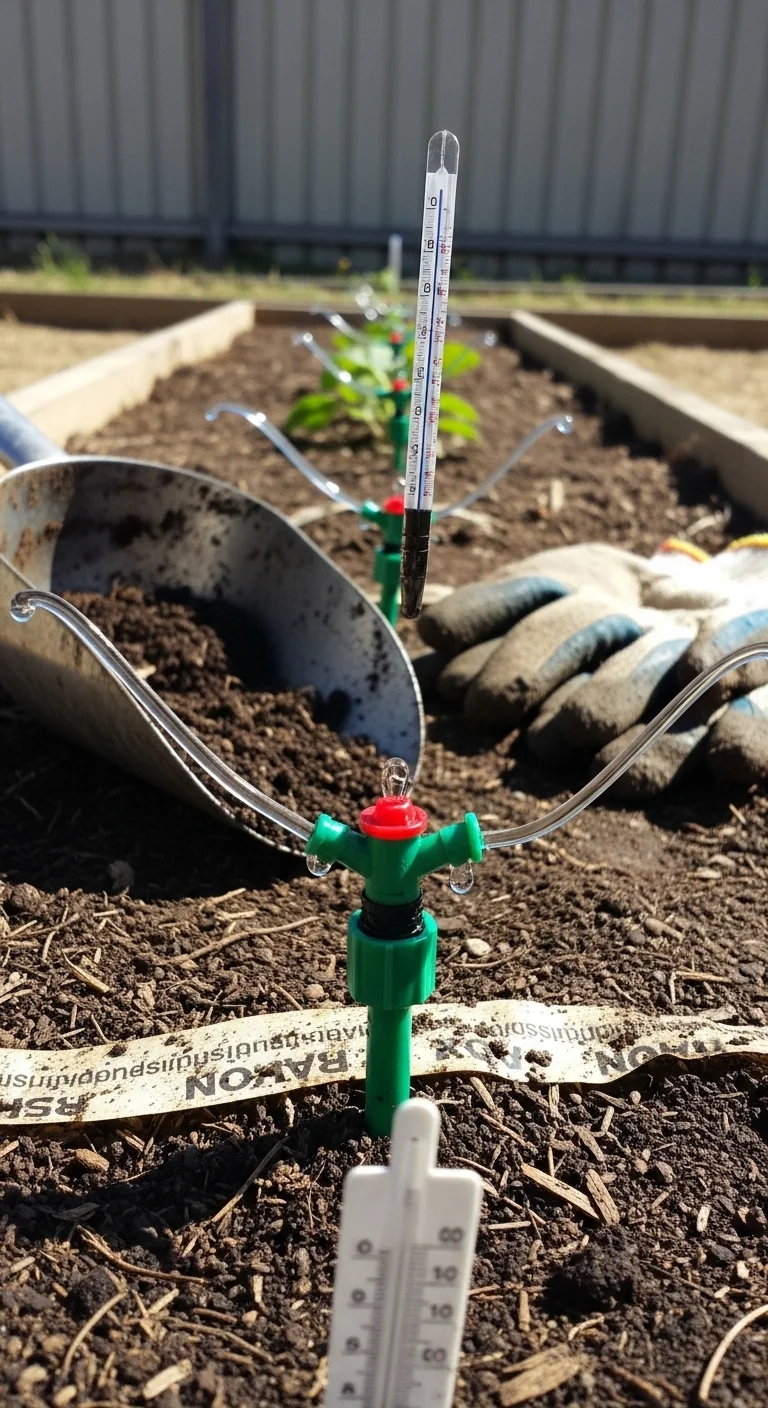
Bubbler and Multi-Outlet Kits
Best for: Branch 2
Bubbler kits split a single inlet into four to eight adjustable streams. Use them for clustered plantings such as tomatoes or peppers where one emitter services multiple stems. They require more frequent filter cleaning than tape because debris collects at the small outlets. Skip them entirely if your water source contains sediment above 200 ppm or if beds sit in full sun without shade cloth, as evaporation concentrates salts at the soil surface. Winter preparation follows the steps outlined in our winterizing raised beds guide.
Gravity-Fed Drip Systems
Best for: Branch 3
Gravity-fed systems use an elevated reservoir 3 to 5 feet above the highest bed to drive flow through 1/4-inch tubing and emitters. No electricity is required, which makes them reliable for remote or off-grid locations. Flow rate stabilizes at 0.5 gallons per hour per emitter when head pressure stays between 2 and 4 feet. The threshold rule is simple: if your total vertical drop falls below 2 feet across the entire run, add a second reservoir or switch to a small solar pump. These systems integrate cleanly with cold-frame covers detailed in our cold frame raised bed guide.
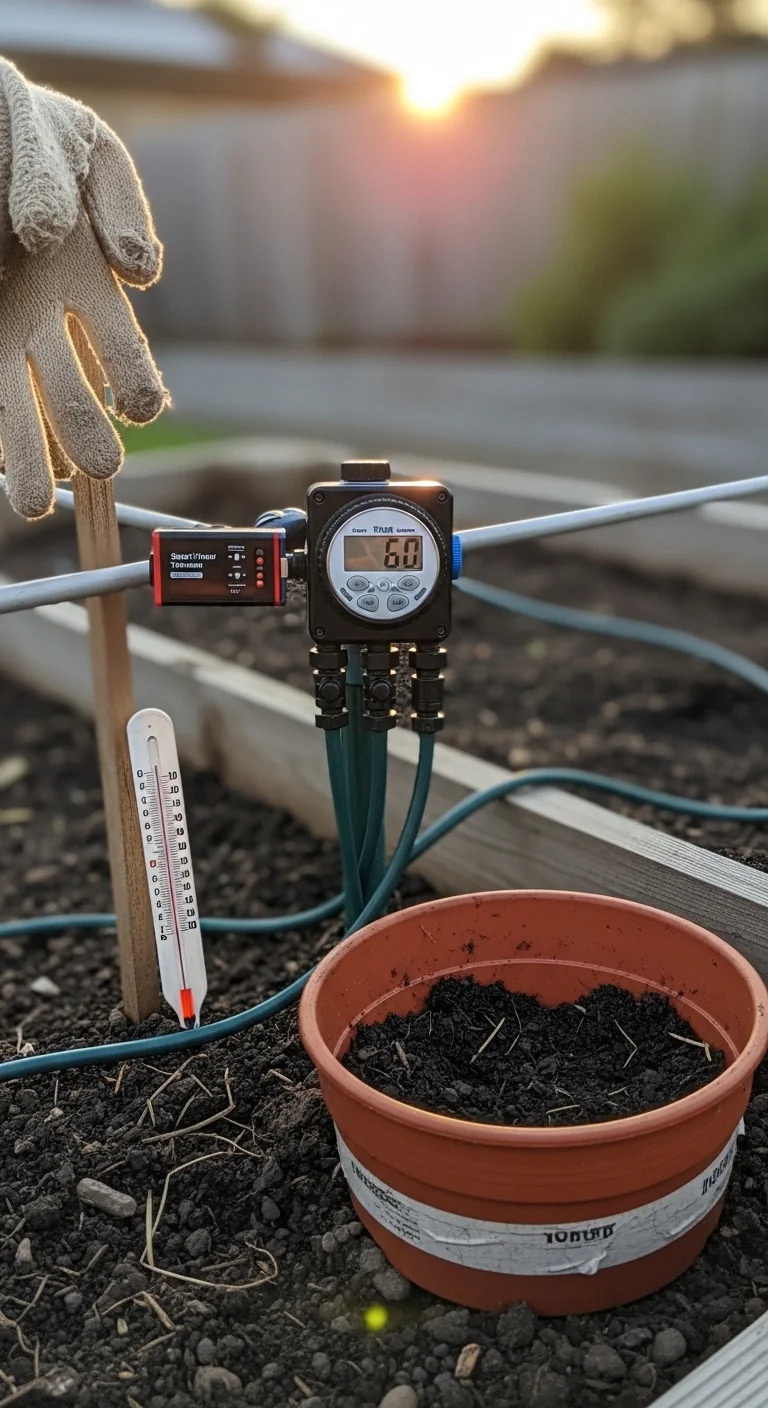
Smart Timer Drip Configurations
Best for: Branch 3
Mount a battery or solar timer at the faucet and connect zone valves for separate beds. Program separate run times for each manifold so clay-heavy beds receive 10 minutes less than sandy ones. The upgrade path adds soil moisture sensors that pause cycles when readings reach field capacity. Total setup stays under 45 minutes once the main supply line is in place.
DIY PVC Drip Manifolds
Best for: Branch 3
Build a manifold from schedule 40 PVC pipe with barbed adapters every 8 inches to feed individual 1/4-inch lines or emitters. Cut the header to match bed length, drill holes, and solvent-weld the end caps. This approach allows custom emitter counts for beds of irregular shape or size. Test the full assembly at full pressure before burying fittings to catch leaks early. The design scales easily to four or more beds sharing one faucet.
Starter Stack (What to Choose First)
For Branch 1 Conditions
Start with Drip Tape Systems and Garden Grid Watering Systems. The tape provides baseline uniform coverage while the grid adds surface-level distribution that counters edge drying in small or low-pressure beds. Combined material cost ranges from 40 to 120 dollars and total install time stays between 30 and 70 minutes.
For Branch 2 Conditions
Begin with Pressure-Compensating Emitters and Inline Drip Tubing Kits. Emitters allow plant-specific placement while the inline tubing handles longer runs efficiently in standard 4 by 8 foot beds. Combined material cost ranges from 50 to 130 dollars and total install time stays between 45 and 90 minutes.
For Branch 3 Conditions
Start with Gravity-Fed Drip Systems and DIY PVC Drip Manifolds. Gravity handles off-grid reliability while the manifold distributes flow evenly across multiple beds or challenging soil. Combined material cost ranges from 60 to 150 dollars and total install time stays between 60 and 120 minutes.
When This Won’t Work
Drip irrigation in raised beds fails when water pressure drops below 15 PSI for more than 30 minutes on any given day or when beds sit on a slope steeper than 4 degrees without separate zone valves. In both cases flow becomes uneven and outer emitters deliver little or no water. Switch instead to fully passive wicking or self-watering designs that rely on capillary action rather than line pressure.
Systems also underperform if the main supply line exceeds 150 feet of total run without pressure-compensating components. The alternative is to install a booster pump rated for 1 to 2 gallons per minute or split the garden into two independent zones at the faucet.
Choosing the Right Option for Your Situation
Budget Threshold
If total spend must stay under 75 dollars select soaker hose or basic drip tape kits. These deliver reliable results in single small beds without timers or extra valves.
Time Threshold
If install time must stay under 1 hour choose garden grid or pre-assembled inline kits. Both require only hose connections and basic stapling.
Technical Constraint
If water pressure measures below 25 PSI at the faucet choose gravity-fed systems or garden grid options that operate effectively at low head pressure.
Yes/No checklist:
Do you have consistent pressure above 25 PSI?
Are your beds all under 32 square feet?
Can you dedicate under 60 minutes to installation?
Does your soil mix contain more than 30 percent clay?
Expert Q&A
How does soil texture change drip spacing requirements in raised beds?
Sandy mixes need emitters spaced 6 inches apart because water moves only 3 to 4 inches sideways before draining. Loamy soils allow 12-inch spacing since water spreads 6 to 8 inches laterally. Clay-dominant mixes require the closest spacing of all because water moves slowly and pools near each emitter.
Can drip systems run under cold-frame lids without creating excess humidity?
Yes when emitters stay at soil level and frames vent daily for two hours. Keep run times to 15 minutes or less during covered periods to limit surface evaporation inside the frame. Position one emitter per square foot to match the reduced transpiration rate under plastic or glass.
What filter size and cleaning schedule prevents clogging in raised bed drip lines?
Use a 150-mesh screen filter at the faucet and inspect it monthly. In municipal water sources flush the filter every 60 days. In well or rainwater sources check every 30 days because sediment loads rise after heavy rain events.
Does drip irrigation require different scheduling than hand watering for heat-loving crops in raised beds?
Schedule early morning cycles of 20 to 30 minutes three times per week when daytime temperatures exceed 85 degrees Fahrenheit. This timing keeps soil surface dry during peak sun while roots receive steady moisture at 4 to 6 inches depth.
How do you troubleshoot uneven wetting along a single raised bed run?
Measure pressure at the beginning and end of the line with a gauge. If the drop exceeds 10 PSI install pressure-compensating emitters or shorten the run by adding a second feed line from the opposite end. Check also for kinks or buried staples that pinch tubing.
Conclusion
The core decision remains matching emitter pattern and flow rate to your raised bed footprint and available pressure rather than defaulting to the cheapest kit. The most frequent mistake is installing a single straight run down the center and expecting the borders to stay moist through soil spread alone.
Take the next step by measuring your bed dimensions and pressure, then follow the starter stack for your decision grid branch. For further water retention gains explore hugelkultur raised beds that reduce overall irrigation frequency once established.
Lead Data Architect
Umer Hayiat
Founder & Lead Data Architect at TheYieldGrid. I bridge the gap between complex agronomic data and practical growing, transforming verified agricultural science into accessible, mathematically precise tools and guides for serious growers.
View all tools & guides by Umer Hayiat →