The real barrier to success with rosemary in pots is not lack of sun or poor soil. It is using the wrong pot material and size for your local humidity and temperature swings, which forces constant manual adjustments or leads to root issues.
This listicle details nine specific decisions for pot selection, soil, varieties, watering, pruning, and overwintering. It focuses only on container methods and skips ground beds or advanced hydro setups.
You will walk away knowing which pot to buy immediately, the exact soil ratio to mix, the watering test that never fails, and whether your setup needs indoor moves.
Bottom line: Use the decision grid below to pick your branch, then start with the two starter stack recommendations for immediate results.
The Yield Grid Decision Grid
Branch 1: Mild climates (USDA zones 8 and warmer, winter lows above 20°F). Porous materials that promote fast drying in heat. Recommended: Items 1, 4, 7 below.
Branch 2: Cooler climates (zones 7 and below). Lightweight pots that are easy to move indoors before temperatures drop below 20°F. Recommended: Items 2, 5, 8 below.
Branch 3: Small space or high humidity setups (balconies or indoor with limited air flow). Systems that balance drainage without daily checks. Recommended: Items 3, 6, 9 below.
For more on matching herbs to your space, see our best herbs for containers guide.
Quick Comparison Table
| Option | Key mechanism | Best for | Decision Grid Branch | Effort Score |
|---|---|---|---|---|
| Terracotta Pots Larger Than 12 Inches | Porous walls allow passive evaporation | Hot dry summers | Branch 1 | 2 |
| Lightweight Plastic Pots | Insulated walls retain even moisture | Easy seasonal moves | Branch 2 | 1 |
| Modified Self-Watering Planters | Reservoir with overflow drainage holes | Balconies with variable rain | Branch 3 | 3 |
| Soil Mix With 25 Percent Grit | Added inorganic particles speed drainage | Root health in any pot | Branch 1 | 4 |
| Upright Versus Trailing Varieties | Plant habit matches pot shape and use | Culinary access on patios | Branch 2 | 1 |
| Watering Threshold Rules | Finger test at 1 inch depth | Preventing overwatering | Branch 3 | 3 |
| Pruning Schedules for Bushy Growth | Post-flowering cuts encourage side shoots | Compact shape and harvest volume | Branch 1 | 2 |
| Overwintering Potted Rosemary | Indoor move at set temperature threshold | Zones with freezes | Branch 2 | 2 |
| Companion Planting in Containers | Shared pot with matching needs | Space-efficient herb clusters | Branch 3 | 2 |
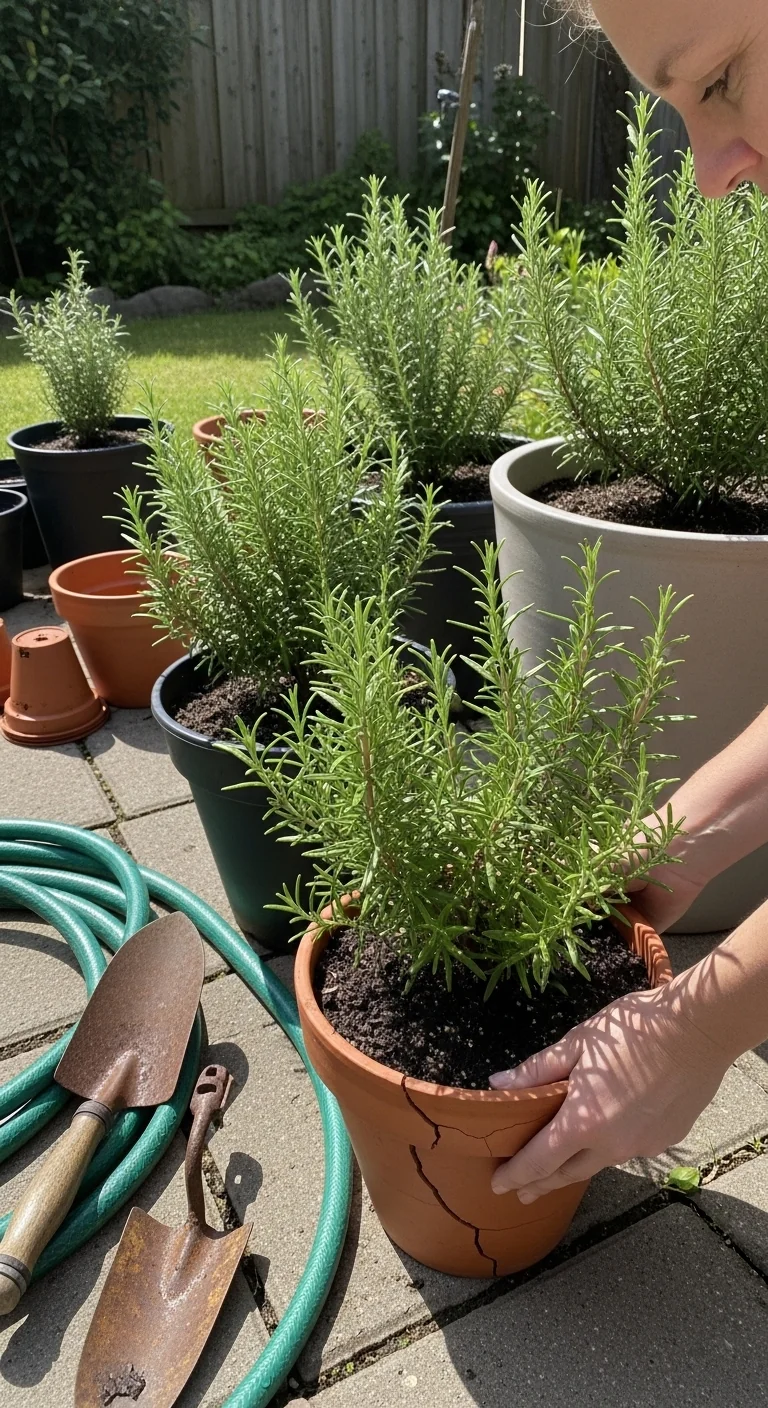
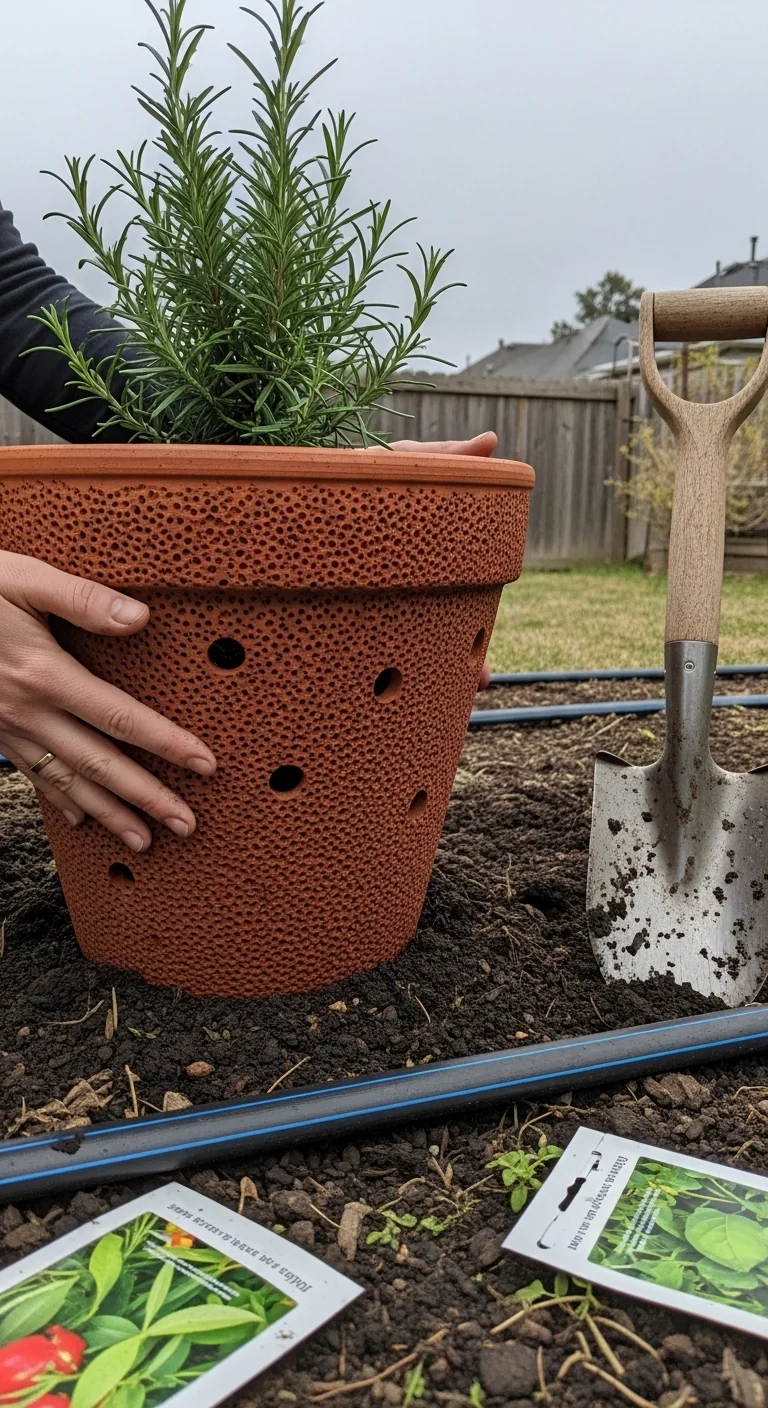
Terracotta Pots Larger Than 12 Inches

Best for: Branch 1
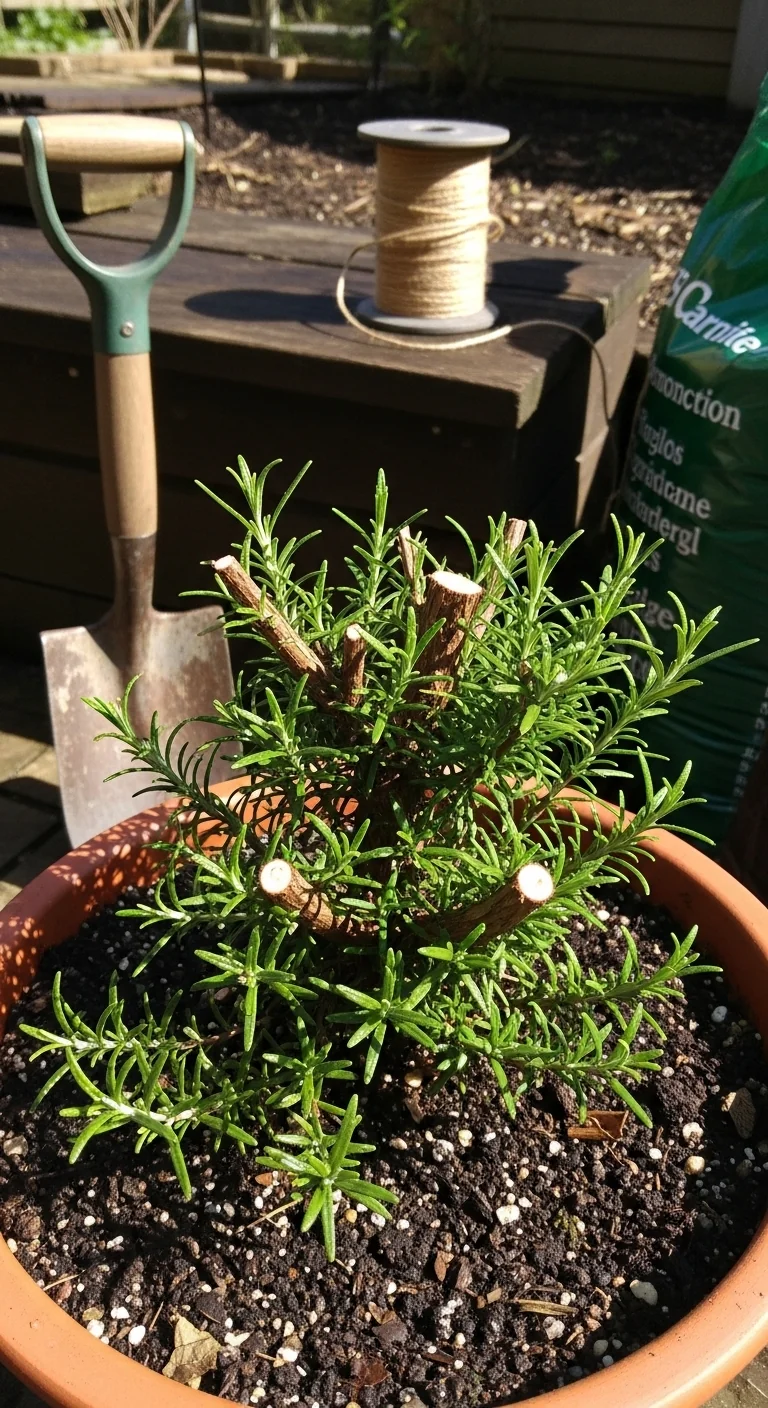
Terracotta pots larger than 12 inches wide and deep deliver the exact drainage rosemary needs because the porous clay walls pull excess moisture away from roots faster than plastic or glazed options. Start by selecting an unglazed terracotta pot with multiple drainage holes at the base. Fill with your chosen mix, plant at the same depth as the nursery pot, and place in full sun for at least 6 hours daily. The material naturally buffers day-night temperature swings common in mild zones. Common mistake: skipping the grit layer at the bottom, which can still trap water in heavy rain. This setup mimics the rocky Mediterranean slopes rosemary evolved on and requires repotting only every 2 to 3 years when roots circle the interior. Expect the pot to weigh 15 to 25 pounds when wet, so position it permanently on a wheeled saucer if moving is ever needed.
Lightweight Plastic Pots
Best for: Branch 2
Lightweight plastic pots shine when you need to shift plants indoors quickly before temperatures drop below 20°F. They cost less and weigh half as much as terracotta when filled, yet still provide solid drainage when you add extra holes. Skip them only if your summer humidity stays above 60 percent for weeks, as the non-porous walls can hold moisture too long and invite fungal issues.
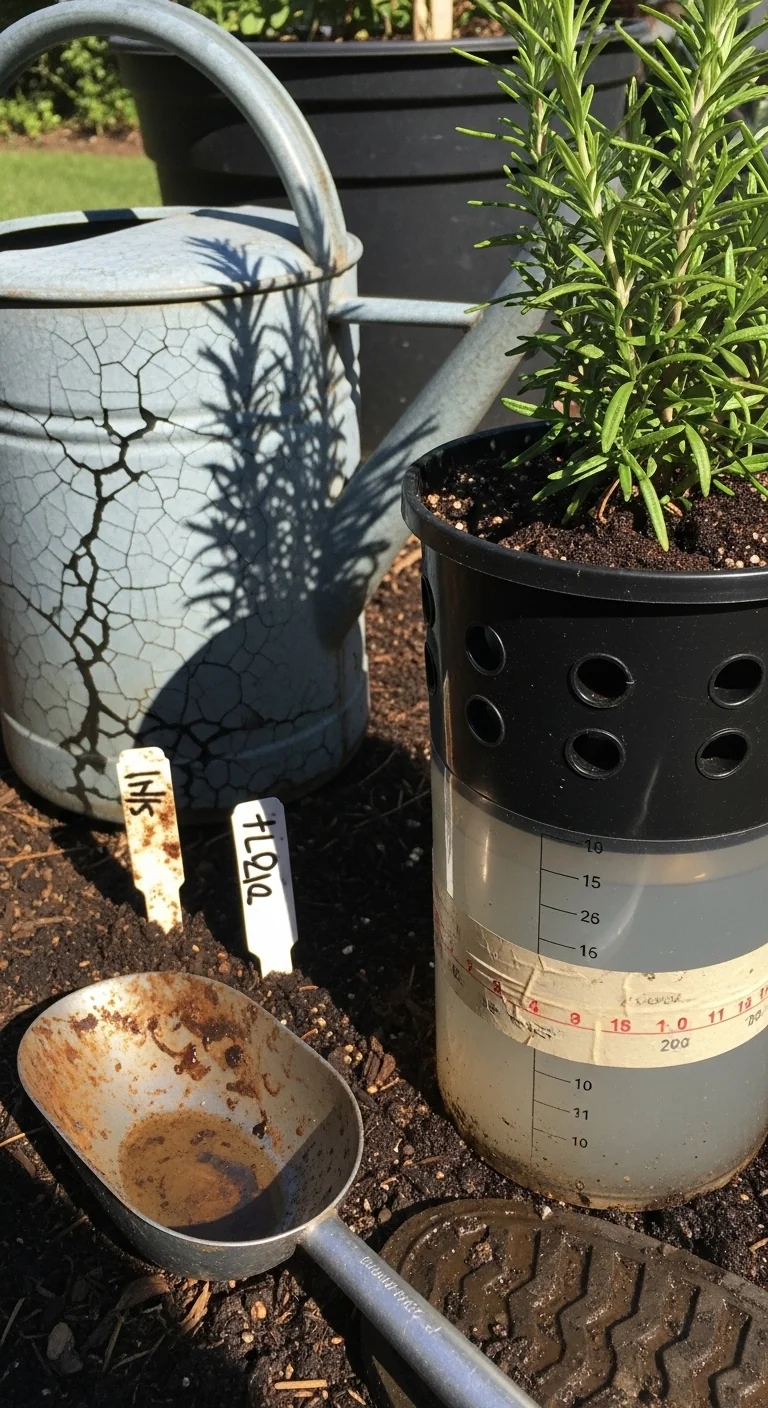
Modified Self-Watering Planters
Best for: Branch 3
Modified self-watering planters work for small spaces only when you drill extra overflow holes 1 inch above the reservoir bottom to force excess water out. The mechanism keeps roots from sitting wet while the wicking system supplies moisture during dry spells on balconies. Test the setup by filling the reservoir and checking that water drains completely within 24 hours. This meets the needs of high-humidity or variable-rain locations without daily checks. See our balcony herb garden ideas for placement tips.
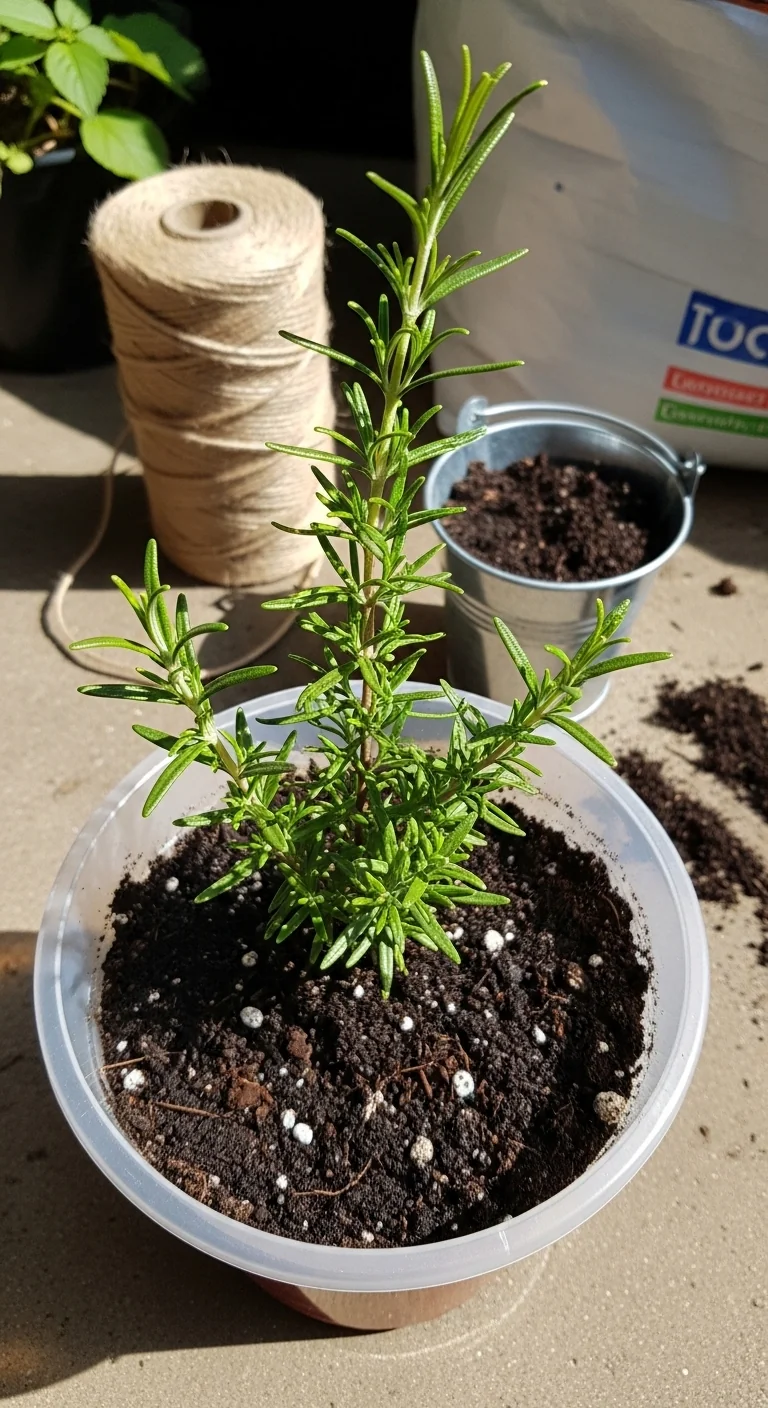
Soil Mix With 25 Percent Grit
Best for: Branch 1
Soil mix with 25 percent grit creates the lean, fast-draining profile rosemary demands in mild climates. Combine 50 percent standard potting mix, 25 percent horticultural grit or coarse sand, and 25 percent perlite. This ratio keeps pH between 6 and 7 while preventing compaction over time. Mix in a wheelbarrow or large tub, then fill pots leaving 1 inch of headspace. Water thoroughly once after planting to settle the blend. The added inorganic particles stop roots from staying damp longer than 48 hours, which is the threshold that triggers rot in warm weather. Reapply the same mix only when repotting every few years. For full recipes tailored to herbs, see our soil mix for herbs guide.
Upright Versus Trailing Varieties
Best for: Branch 2
Upright varieties like Tuscan Blue suit taller pots and provide easy snipping for cooking. Trailing types such as Prostratus drape over edges and work better in hanging or wide shallow containers. Choose based on your zone and pot height rather than flavor, as all share the same rosemary taste profile.
Watering Threshold Rules

Best for: Branch 3
Watering threshold rules keep rosemary alive in humid or small-space pots: push your finger 1 inch into the soil and water only if it feels dry. In summer this might mean every 7 to 10 days. Reduce to every 14 days in cooler months. The rule prevents the most common failure, which occurs when soil stays saturated beyond 48 hours. Rosemary tolerates drought far better than excess moisture, especially in self-watering setups where you empty the reservoir if it does not drain fully.
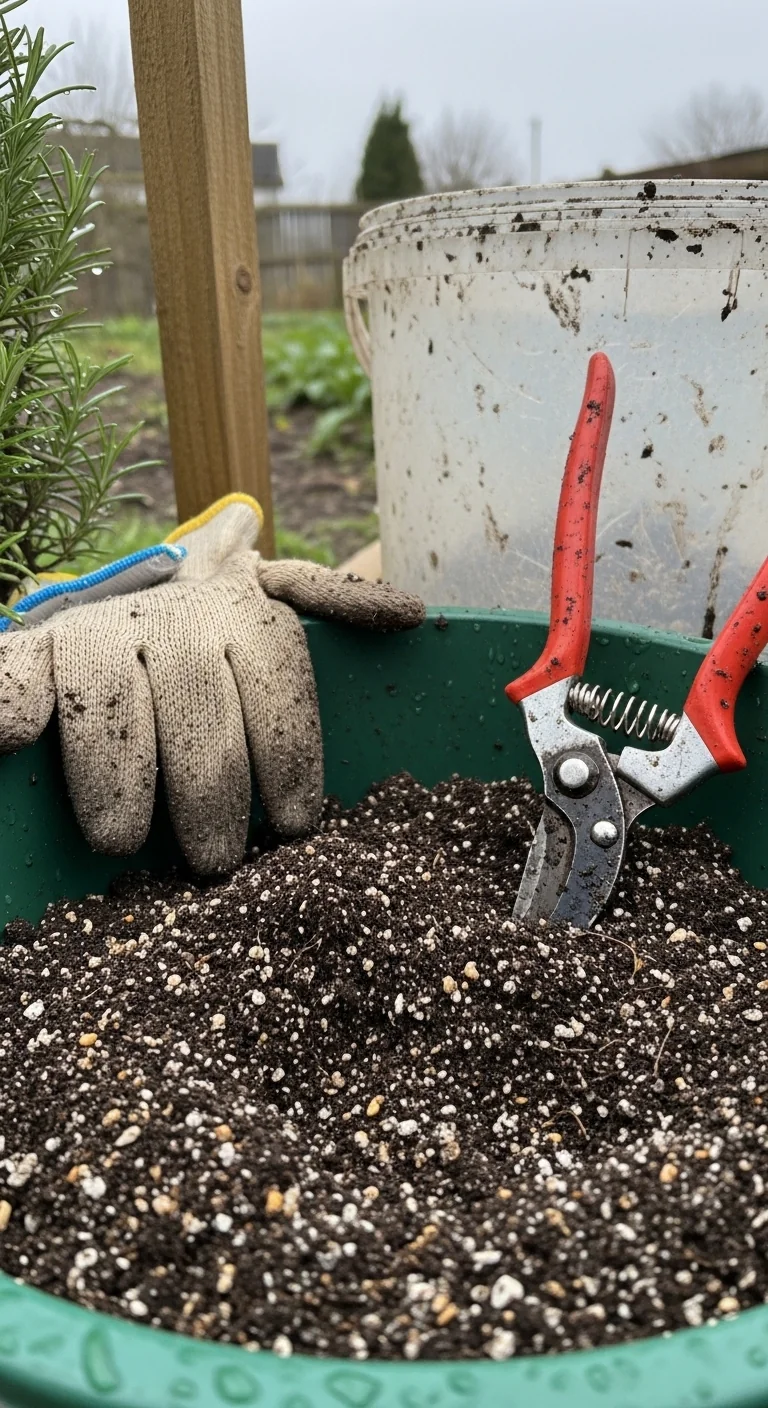
Pruning Schedules for Bushy Growth

Best for: Branch 1
Pruning schedules for bushy growth turn leggy rosemary into a dense, productive plant. After flowering ends, cut back stems by up to one third using clean shears just above a leaf node. This timing encourages side shoots and prevents woody centers that form after year two. Remove any dead or crossing branches at the same time to improve air flow inside the canopy. Harvest sprigs anytime for cooking, but never take more than one third of the plant at once so roots stay supported. Regular cuts also keep the overall height under 24 inches in a 12-inch pot, making it easier to move if weather shifts. For best timing and tools, see our harvesting herbs guide.
Overwintering Potted Rosemary
Best for: Branch 2
Overwintering potted rosemary requires moving plants indoors when nights fall below 20°F. Place in a bright south-facing window or under grow lights for 6 hours minimum. Keep soil on the dry side and maintain room temperatures between 50°F and 70°F. This protects the evergreen foliage from freeze damage while the plant rests until spring.
Companion Planting in Containers
Best for: Branch 3
Companion planting in containers works when you pair rosemary with other drought-tolerant herbs such as thyme or oregano that share the same sun and drainage needs. Use one central rosemary plant and surround it with two or three smaller companions in a 16-inch pot. The combination fills space efficiently on balconies and reduces pest pressure through natural aromas. Avoid pairing with high-water herbs like basil, which would force uneven watering. For visual layouts, see our companion planting herbs chart.
Starter Stack (What to Choose First)
For Branch 1 (Mild climates)
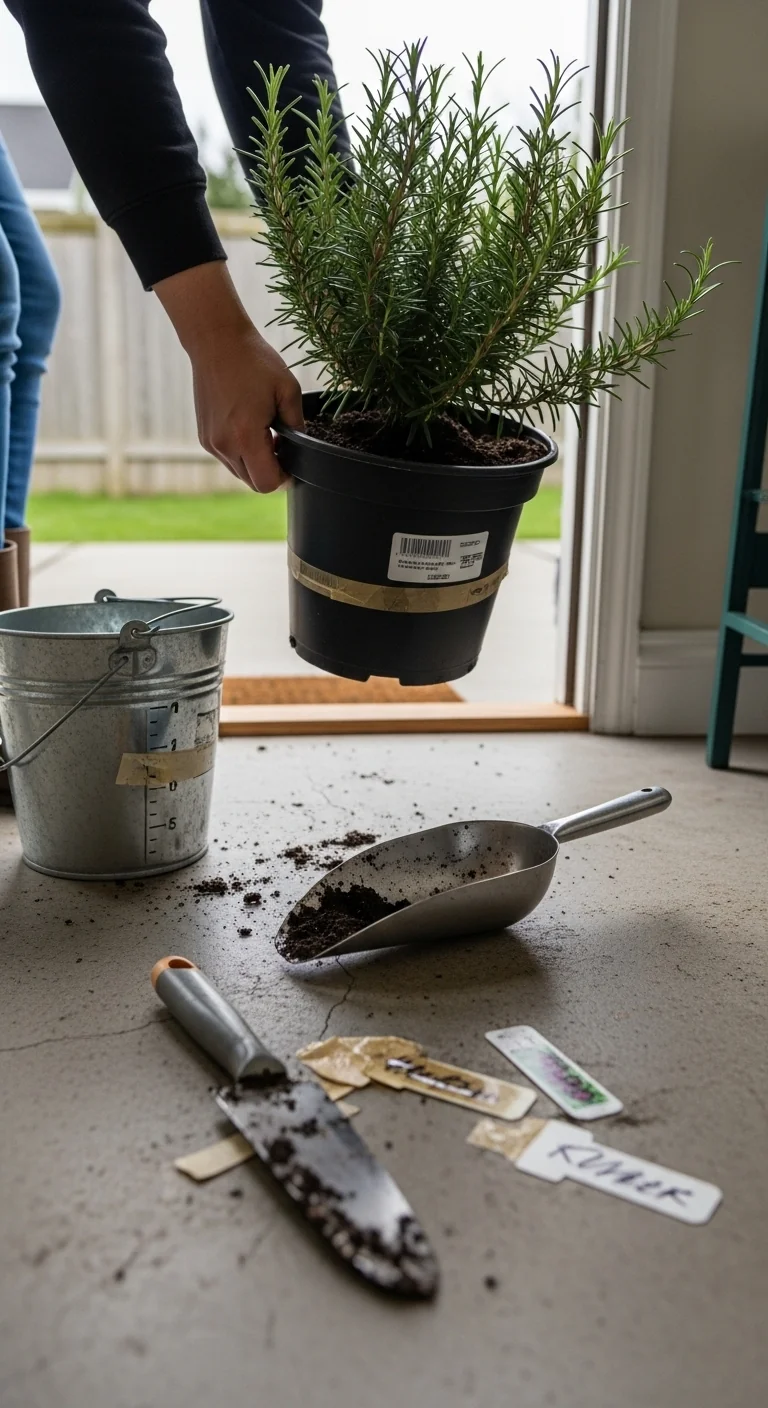
Start with terracotta pots larger than 12 inches plus soil mix with 25 percent grit. The porous pot and gritty blend work together to keep roots aerated in summer heat. Setup takes 20 to 30 minutes and costs 20 to 40 dollars depending on pot quality.
For Branch 2 (Cooler climates)
Start with lightweight plastic pots plus upright versus trailing varieties matched to your space. Mobility plus the right habit lets you shift indoors quickly. Setup takes 10 to 15 minutes and costs 10 to 25 dollars.
For Branch 3 (Small space or high humidity)
Start with modified self-watering planters plus watering threshold rules. The reservoir with overflow plus the finger test eliminates daily checks. Setup takes 15 to 25 minutes and costs 25 to 45 dollars.
When This Won’t Work
Rosemary in pots fails when soil stays saturated beyond 48 hours after watering or when daily sunlight falls below 6 hours without a supplement. Both conditions lead to yellow needles and root decline within weeks. The fix is to switch to a different drought-tolerant herb from the same family or move to a raised bed setup that drains even faster.
Another measurable failure appears if night temperatures drop below 20°F without an indoor move. Foliage blackens and the plant does not recover. In that case, treat the current pot as temporary and plan for a mobile option next season.
Choosing the Right Option for Your Situation
Budget threshold
Under 20 dollars total: lightweight plastic pots and basic potting mix amended at home. Over 40 dollars: terracotta plus grit and a larger starter plant.
Time threshold
Under 10 minutes per week: self-watering planters with the finger test. Over 20 minutes per week: terracotta with weekly pruning checks.
Technical constraint (light hours)
Less than 6 hours natural sun: add a portable grow light positioned 12 inches above the canopy and run for 4 to 6 hours daily.
Yes/No checklist: Does your winter low stay above 20°F? Is your pot material porous if summers are hot? Does soil dry at 1 inch within 7 to 10 days? Will you move the pot indoors if needed?
Expert Q&A
Why do rosemary needles turn brown at the tips in pots?
Brown tips usually signal inconsistent watering that swings from bone dry to soggy. The fix is strict adherence to the 1-inch finger test and ensuring pots have unobstructed drainage holes. Adjust frequency rather than volume once you confirm the soil mix drains properly.
Can I root rosemary from grocery store stems in a pot?
Yes, strip lower leaves from a 4-inch stem, place in water until roots reach 1 inch, then move to a 6-inch pot with gritty mix. Success rate rises when you keep the cutting in bright indirect light at 65°F to 75°F and change water every 2 days.
What causes woody stems in potted rosemary after the first year?
Woody stems develop when pruning stops after flowering. Cut back by one third each spring to force new tender growth from the base and keep the plant compact enough for container life.
Is it possible to keep rosemary productive indoors year round?
It is possible when you provide 6 hours of direct light or equivalent grow-light exposure and drop watering to every 14 days. Rotate the pot weekly so all sides receive even light and avoid drafts near heating vents that dry foliage too fast.
How does pot color affect root temperature in summer?
Dark-colored pots absorb more heat and can raise root zone temperatures by 5°F to 10°F compared with light terracotta. In zones with summer highs above 85°F, choose pale or white exteriors to prevent heat stress on roots.
Conclusion
The decision grid simplifies rosemary in pots by placing pot material and size first, then aligning soil, watering, and pruning to your exact climate data. The number one mistake is treating every container the same regardless of local humidity or winter lows.
Your next step is to measure your winter low temperature, pick the matching branch, and assemble the starter stack items today. For a complete beginner walkthrough on herb containers, see our herb gardening for beginners guide.
Lead Data Architect
Umer Hayiat
Founder & Lead Data Architect at TheYieldGrid. I bridge the gap between complex agronomic data and practical growing, transforming verified agricultural science into accessible, mathematically precise tools and guides for serious growers.
View all tools & guides by Umer Hayiat →