The right way to dry herbs at home starts with your specific indoor conditions rather than a one-size-fits-all list of techniques. Most approaches overlook how local airflow, moisture levels, and available tools determine whether your herbs retain their essential oils or end up flavorless and prone to mold.
This article focuses on nine home-scale drying options that work with standard kitchen setups. It excludes commercial equipment, direct sunlight exposure, or large-scale production methods. Coverage includes harvest timing links, storage notes, and clear failure points so you select only what fits your space.
Readers gain a repeatable choice process: check your conditions once, match to the grid, and execute with exact steps. The result is herbs that crumble cleanly and stay aromatic for cooking or tea blends.
Run the three-branch grid against your humidity and tools, then follow the assigned items to preserve your harvest without guesswork.
The Yield Grid Decision Grid
Branch 1 applies in dry indoor environments with good natural ventilation or for woody-stemmed herbs such as rosemary and thyme. These conditions allow passive methods to finish reliably in one to two weeks.
Branch 2 applies in humid indoor conditions or for delicate leafy herbs such as basil, mint, and parsley. Active temperature control prevents moisture buildup that leads to spoilage.
Branch 3 applies when you need quick results or work in small batches and already own basic kitchen appliances. These options shorten drying time to hours instead of days.
Recommended: Items 1, 2, and 8 for Branch 1; Items 3, 4, and 6 for Branch 2; Items 5, 7, and 9 for Branch 3. Start with proper harvest timing detailed in our guide on harvesting herbs.
Quick Comparison Table
| Option | Key mechanism | Best for | Decision Grid Branch | Effort Score |
|---|---|---|---|---|
| Air-Drying Hanging Bundles | Natural airflow around tied stems | Woody herbs in ventilated spaces | Branch 1 | 1 |
| Screen Tray Method for Leaves | Exposed single-layer drying on mesh | Delicate leaves and flowers | Branch 1 | 2 |
| Food Dehydrator with Temperature Control | Circulated warm air at fixed setting | Humid homes needing consistency | Branch 2 | 2 |
| Low-Heat Oven Drying | Residual oven warmth with door ajar | Medium batches in any climate | Branch 2 | 4 |
| Microwave in Short Bursts | Rapid microwave evaporation in cycles | Small urgent batches | Branch 3 | 5 |
| Air Fryer Quick Drying | Forced hot air in compact basket | Fast results with appliance access | Branch 2 | 3 |
| Fan-Assisted Paper Bag Technique | Enclosed airflow with periodic shaking | Humid spaces without extra tools | Branch 3 | 2 |
| Windowsill Shade Drying | Indirect light and passive room air | Arid homes with south-facing windows | Branch 1 | 1 |
| Basic Indoor Rack Airflow Setup | Elevated racks with room circulation | Everyday home drying of mixed herbs | Branch 3 | 1 |
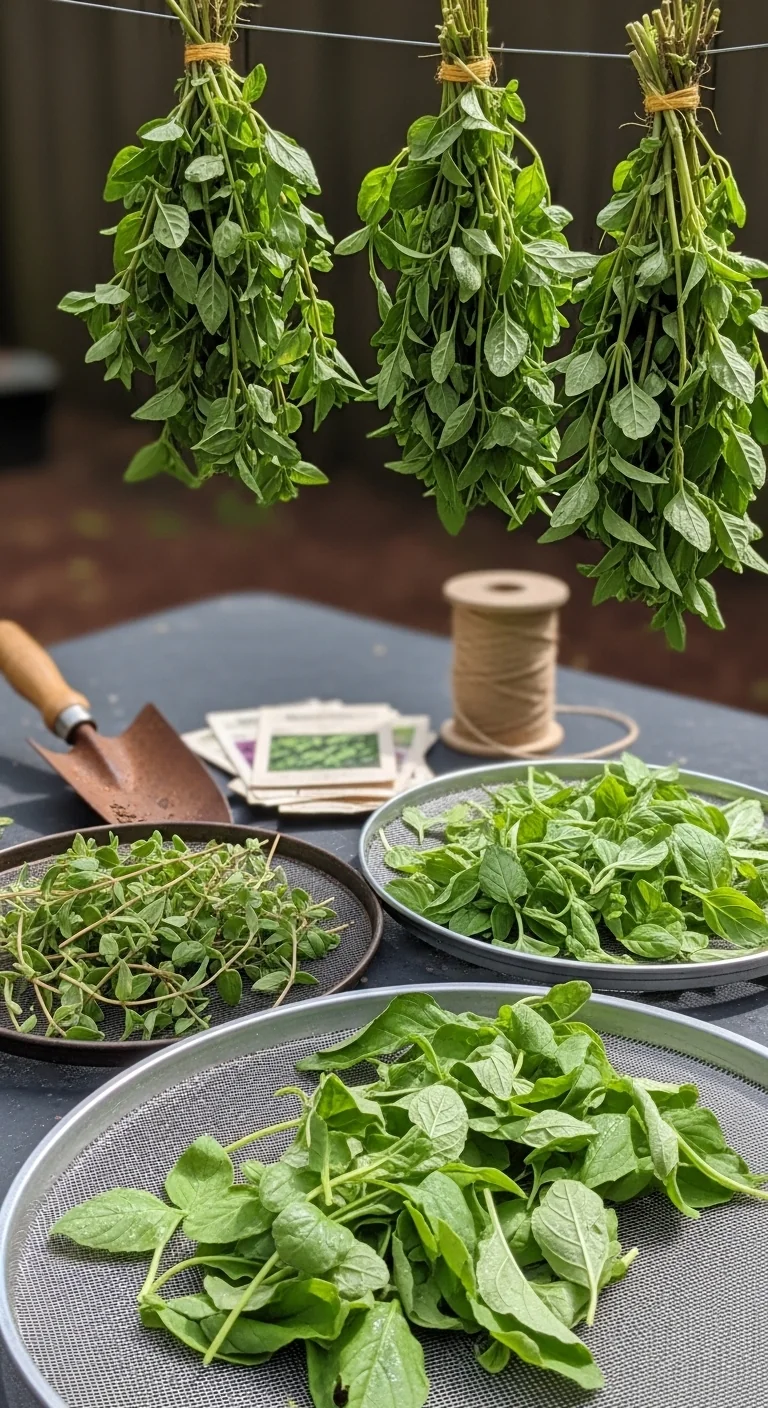
Air-Drying Hanging Bundles

Best for: Branch 1
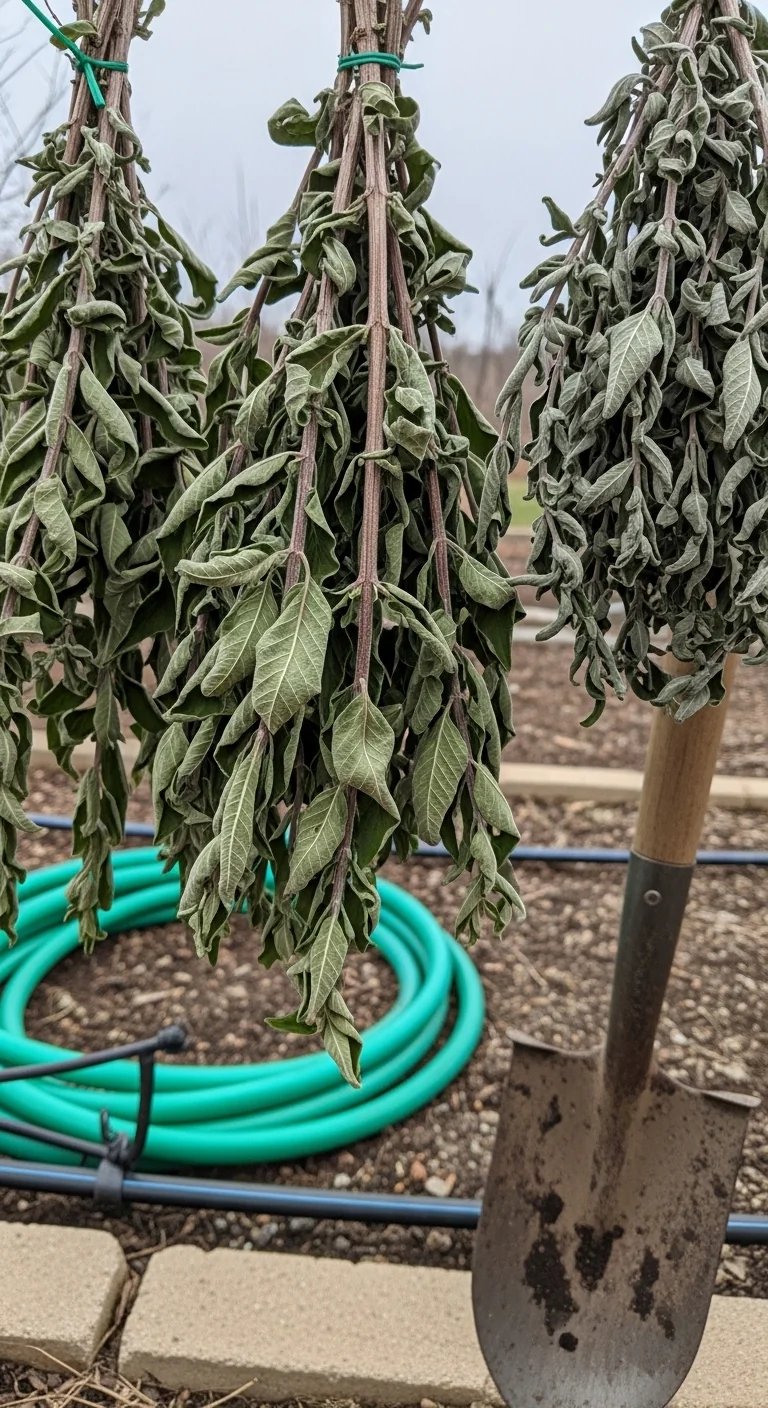
Use this blueprint when your indoor space stays dry and you grow woody herbs. Gather stems after morning harvest, remove lower leaves to expose 4 cm of bare stem, and divide into bundles of no more than 10 stems each. Secure each bundle with a rubber band placed 2 cm from the cut ends; the band contracts as stems shrink and prevents loose pieces from dropping. Hang bundles upside down in a warm, dark room with steady airflow such as near a vent or window. Check after seven days by testing one stem: it should snap cleanly. The mechanism works because the open structure exposes all surfaces equally without stacking. Common mistake: overcrowding bundles, which traps moisture in the center and invites mold. This method requires zero electricity and suits rosemary or thyme harvested at peak oil content.
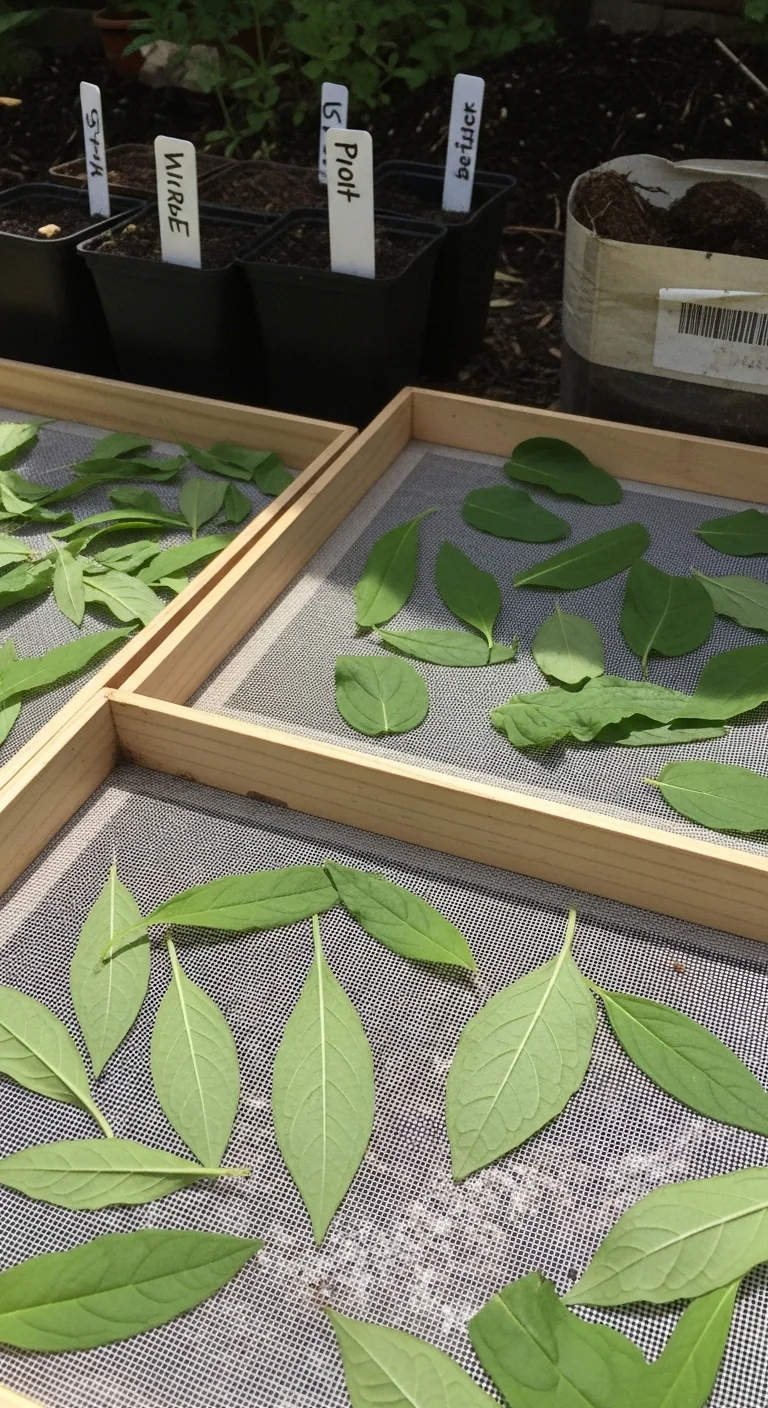
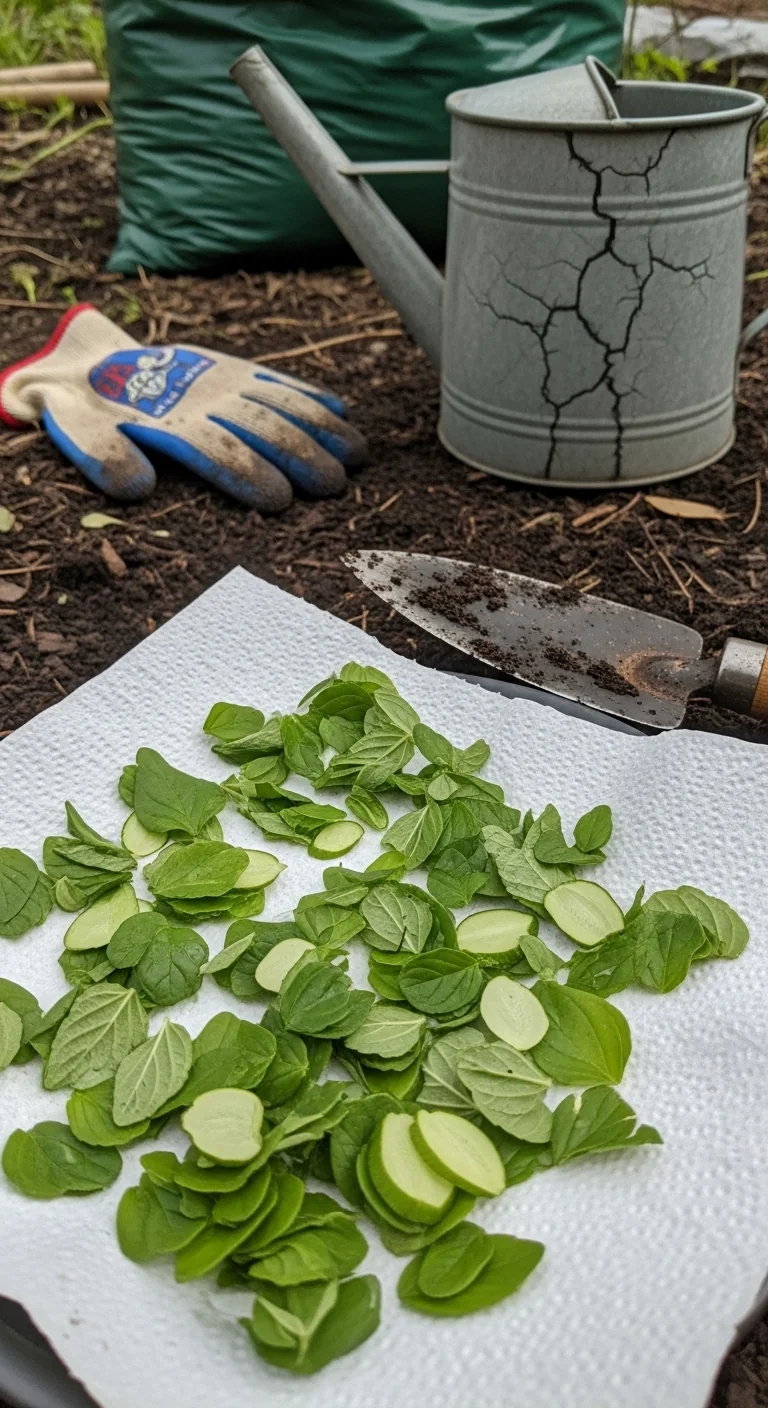
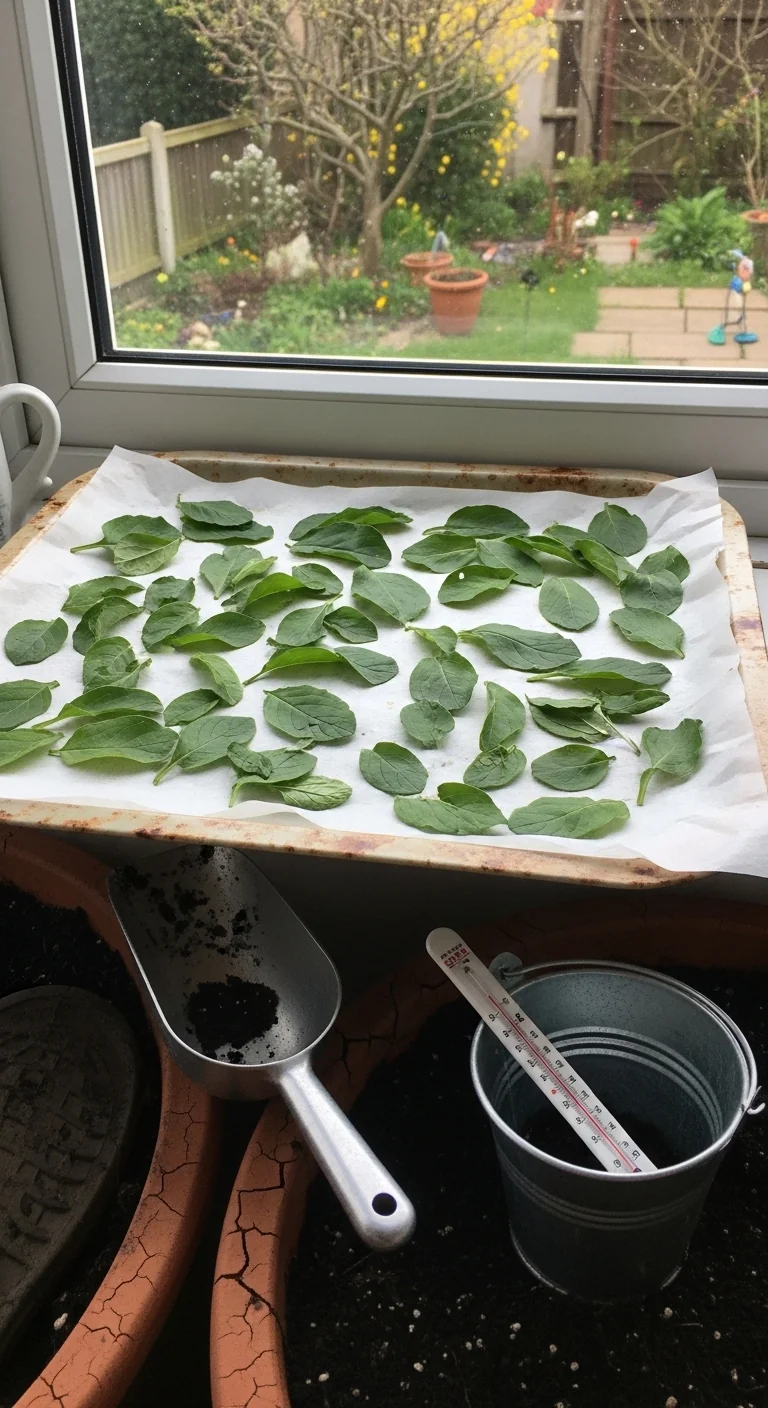
Screen Tray Method for Leaves
Best for: Branch 1
Use screen trays when you have flat leaves or flowers but skip this for thick-stemmed items that need hanging support. The method exposes every surface to moving air, cutting drying time compared with stacked plates. Edge case: high-pollen flowers drop residue onto lower trays, so rotate positions daily.
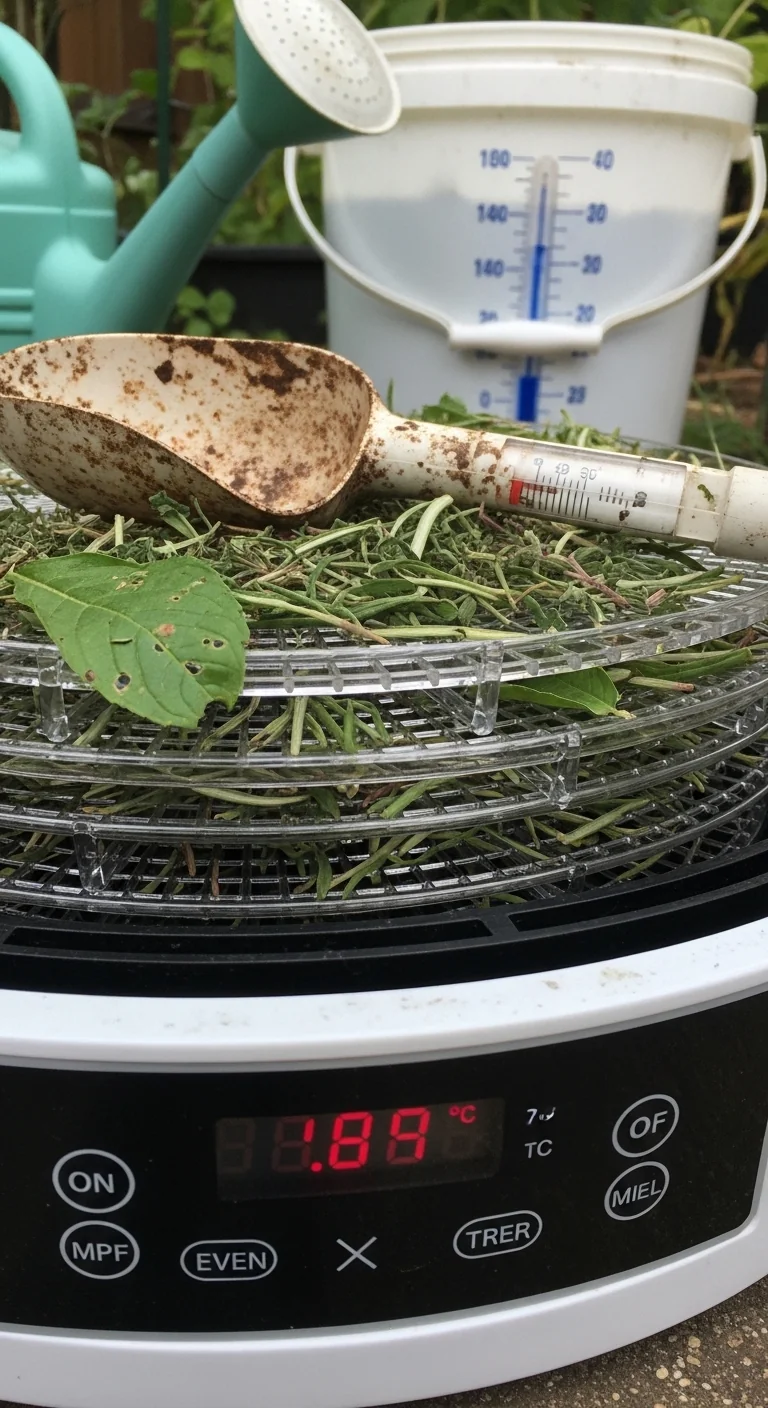
Food Dehydrator with Temperature Control
Best for: Branch 2
Follow the threshold rule of setting the unit between 35 and 46 degrees Celsius. Below 35 degrees drying slows too much in humid air; above 46 degrees volatile oils begin to evaporate. Load trays in a single layer, run for 4 to 12 hours depending on leaf thickness, and rotate trays halfway through. This controlled airflow removes moisture faster than passive methods while keeping temperatures low enough to protect flavor compounds in leafy herbs.
Low-Heat Oven Drying
Best for: Branch 2
Use this blueprint in homes without a dehydrator. Preheat the oven to its lowest setting, usually around 50 degrees Celsius, then turn it off. Spread herbs in a single layer on parchment-lined trays, prop the door open 5 cm with a wooden spoon for ventilation, and place trays inside. Turn the oven back on briefly every two hours to maintain gentle warmth. The residual heat plus airflow dries medium batches evenly. Mistake to avoid: closing the door fully, which steams the herbs instead of drying them. Ideal for mixed garden harvests when humidity rules out air drying.
Microwave in Short Bursts

Best for: Branch 3
Use microwave bursts for tiny test batches but skip if you need more than one cup of finished herbs. The rapid cycles work well for urgent needs yet risk uneven results with larger volumes. Edge case: woody stems stay damp while leaves scorch, so separate stems first.
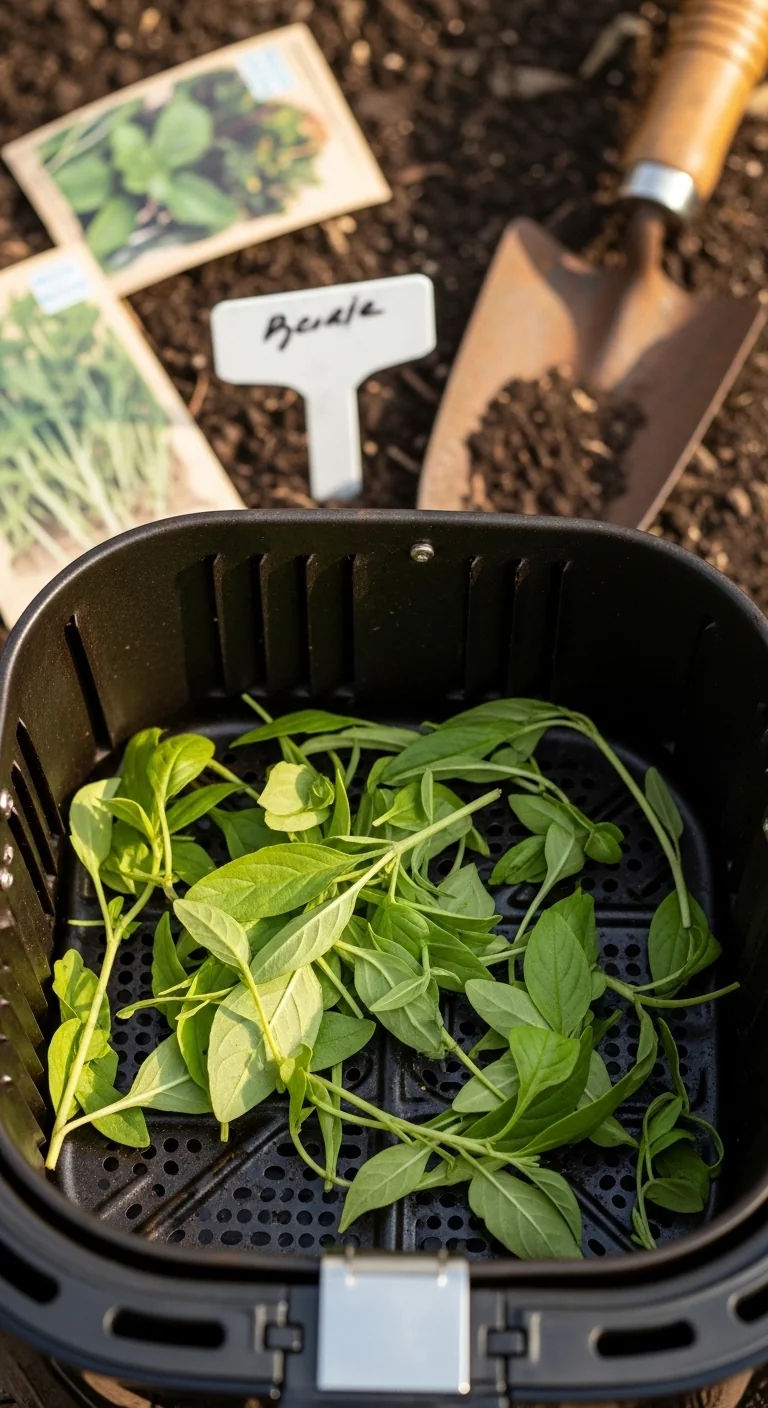
Air Fryer Quick Drying
Best for: Branch 2
Apply the threshold rule of limiting each cycle to 3 minutes at 50 degrees Celsius or lower. Exceeding this temperature threshold drives off flavor oils before moisture fully leaves. Load the basket in a single loose layer, shake every cycle, and repeat until leaves crumble. This method suits humid kitchens because the forced air removes moisture faster than static ovens. See our dedicated guide on drying herbs in air fryer for model-specific adjustments.
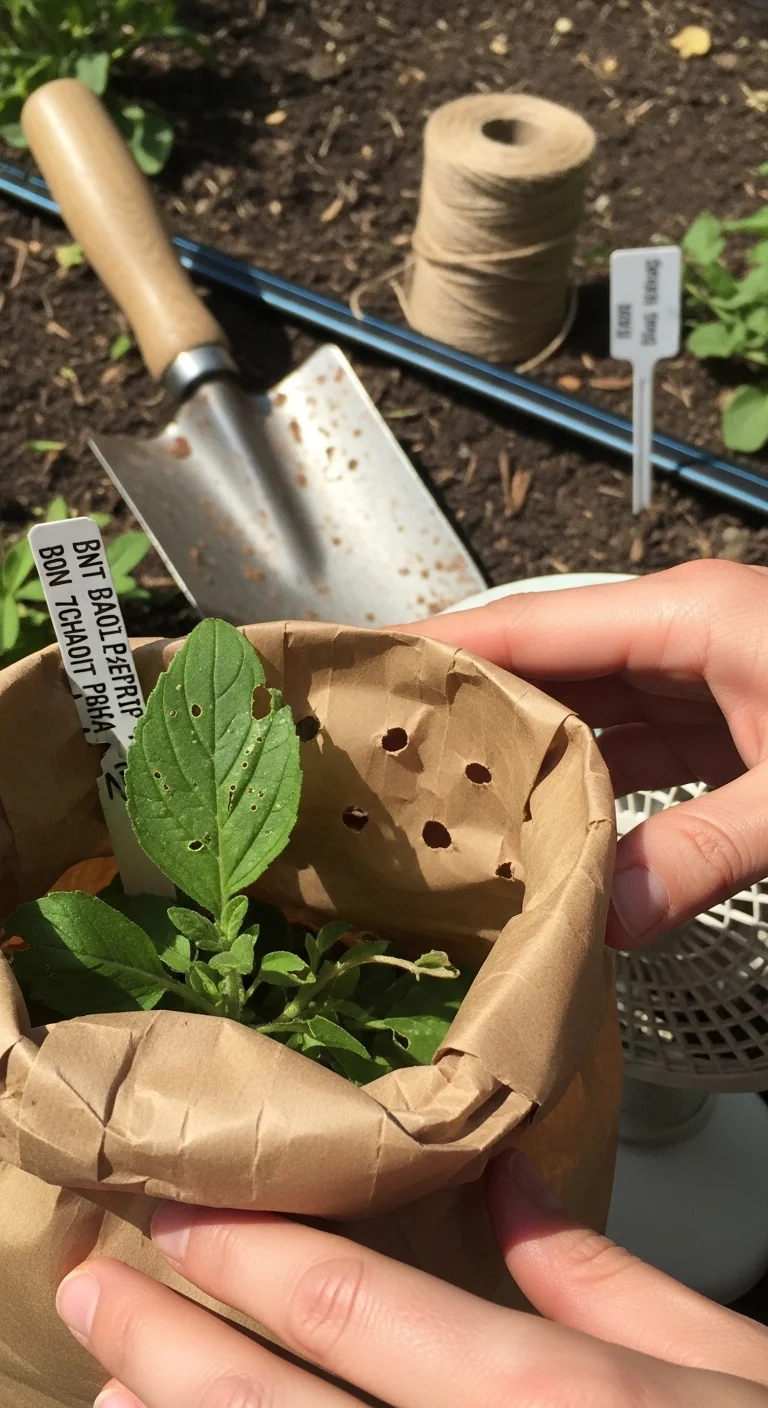
Fan-Assisted Paper Bag Technique
Best for: Branch 3
Use this 10-minute workflow when humidity is high but you lack specialized gear. Step 1: place clean, dry herbs loosely inside a brown paper bag. Step 2: fold the top closed and punch 10 small holes for ventilation. Step 3: set the bag near a small fan on low speed in a warm room. Step 4: shake the bag gently every 24 hours to separate leaves. Upgrade option: add a second fan for cross-flow if drying exceeds five days. The enclosed space traps dust while the fan supplies constant air movement that humid homes otherwise lack. Prep takes under 10 minutes and works for tender herbs like cilantro.
Windowsill Shade Drying
Best for: Branch 1
Use this method when you have south-facing windows in arid regions but skip it in direct sun or humid zones. Indirect light provides gentle warmth without bleaching colors. Edge case: morning condensation on glass can re-wet leaves, so elevate trays 5 cm off the sill.
Basic Indoor Rack Airflow Setup
Best for: Branch 3
Follow the threshold rule of keeping room temperature between 20 and 27 degrees Celsius with relative air movement from a ceiling fan or open window. Below 20 degrees drying stalls; above 27 degrees flavor compounds degrade. Arrange herbs on elevated racks spaced 10 cm apart and rotate positions daily. This everyday setup handles mixed batches without any appliance and fits apartments where dedicated space is limited.
Starter Stack (What to Choose First)
Branch 1 Starter Stack
Begin with Air-Drying Hanging Bundles plus Windowsill Shade Drying. The bundles handle woody stems while trays manage leafy overflow; together they use zero electricity and finish most home harvests in 7 to 14 days. Prep time totals under 15 minutes; drying time ranges from 5 to 12 days depending on room airflow.
Branch 2 Starter Stack
Start with Food Dehydrator with Temperature Control paired with Low-Heat Oven Drying. The dehydrator manages consistent runs while the oven serves as backup for overflow batches; the combination keeps temperatures low across humid conditions. Prep time ranges from 10 to 20 minutes; drying time ranges from 4 to 10 hours.
Branch 3 Starter Stack
Combine Microwave in Short Bursts with Fan-Assisted Paper Bag Technique. The microwave handles immediate small needs while the fan bag processes larger daily picks; synergy comes from using the microwave test to confirm when the bag batch is ready. Prep time totals 5 to 12 minutes; drying time ranges from 30 minutes to 5 days.
When This Won’t Work
Drying fails when room temperature stays below 18 degrees Celsius for more than two weeks or when herbs are placed in direct sunlight that bleaches oils within hours. In both cases leaves either remain pliable and mold-prone or lose color and aroma before they become brittle. Switch immediately to freezing fresh herbs as the reliable alternative that locks in flavor without heat.
Another measurable failure occurs when stems do not snap cleanly after the expected drying window. This signals trapped moisture that will ruin stored batches. Discard the batch and restart with smaller quantities and increased airflow.
Freezing fresh herbs provides a no-fail backup when drying conditions cannot be met.
Choosing the Right Option for Your Situation
Budget Threshold
Under 10 dollars in supplies favors passive options such as hanging bundles or screen trays that require only rubber bands and repurposed racks. Above 50 dollars opens electric dehydrators or air fryers that shorten total time but add upfront cost.
Time Threshold
If you can spend only 15 minutes on prep and checks, select fully passive methods like indoor racks or windowsill drying. If you accept up to two hours of active monitoring spread across days, oven or dehydrator options become viable for humid homes.
Technical Constraint: Herb Type
Woody perennial herbs tolerate slower passive methods while tender annual leaves demand faster active airflow to avoid wilting. Match stem thickness to the option: thick stems need hanging space; thin leaves need flat exposure.
Yes or No Checklist:
– Does your indoor air dry a test leaf in under 7 days? Yes: choose Branch 1 options.
– Do you own an oven, dehydrator, or air fryer? Yes: add Branch 3 items.
– Are your herbs mostly leafy and delicate? Yes: prioritize Branch 2 controlled methods.
– Can you dedicate vertical hanging space? No: skip bundles and use trays or racks.
Expert Q&A
Does drying change the medicinal strength of culinary herbs?
Low-temperature methods under 46 degrees Celsius retain most volatile compounds that provide both flavor and traditional herbal benefits. Higher heat or prolonged exposure to light reduces potency of delicate oils in herbs such as chamomile or lemon balm, so always choose the lowest effective setting for medicinal use.
Can I dry different herb types together in one batch?
Only if they share similar moisture content and stem thickness. Mixing thick rosemary stems with thin basil leaves causes uneven drying: the basil finishes early and becomes brittle while rosemary stays damp. Separate by type or check and remove finished pieces daily to avoid over-drying or mold risk.
How do I know when herbs are fully dry without guessing?
Leaves should crumble to powder between your fingers and stems should snap cleanly rather than bend. If any part still feels leathery or flexible after the expected window, return the batch to the chosen method for another 24 hours before testing again.
Should I crush herbs right after drying or leave them whole?
Leave them whole until you need them for cooking. Whole leaves and stems protect essential oils from oxidation and light exposure during storage. Crush only the amount required for the immediate recipe to keep the remainder potent for months longer.
What is the best way to label and track multiple dried herb batches?
Use dated paper tags inside clear jars noting the herb variety and harvest month. This simple system prevents confusion when blends look similar after six months and lets you rotate stock by using oldest jars first for consistent flavor year-round.
Conclusion
The decision grid turns drying herbs at home from guesswork into a repeatable process that respects your exact indoor conditions and herb types. The single biggest mistake is ignoring harvest timing or airflow, which wastes the entire effort regardless of method chosen.
Next step: once your chosen batch reaches the crumble test, transfer immediately to proper storage containers using our dedicated guide on storing dried herbs.
Lead Data Architect
Umer Hayiat
Founder & Lead Data Architect at TheYieldGrid. I bridge the gap between complex agronomic data and practical growing, transforming verified agricultural science into accessible, mathematically precise tools and guides for serious growers.
View all tools & guides by Umer Hayiat →