A spiral herb garden succeeds when the spiral shape functions as a microclimate machine rather than a generic stack. The elevation creates drier, warmer zones at the top and moister, cooler zones at the base, but only if the materials, orientation, and scale align with your site drainage and daily sun path.
This guide covers nine spiral configurations built from common materials and sized for real yards or patios. It includes measurable site factors such as footprint under 10 square feet, full sun exposure, and drainage under two hours after rain. It excludes indoor versions and non functional sculptures.
You will end with exact criteria to select one configuration over another plus the first steps tailored to your conditions.
Match the spiral build to your site drainage and sun exposure to fit multiple herb types into one compact structure.
The Yield Grid Decision Grid
Branch 1: Sites with under 10 square feet of level hard surface or balcony access. Recommended: Items 2, 5, 8 below.
Branch 2: Sites in full sun with soil that drains in under two hours after rain. Recommended: Items 1, 4, 7 below.
Branch 3: Yards over 10 square feet with partial shade or consistent moisture. Recommended: Items 3, 6, 9 below. For broader layout ideas see herb garden design ideas.
Quick Comparison Table
| Option | Key mechanism | Best for | Decision Grid Branch | Effort Score |
|---|---|---|---|---|
| Stone Spiral for Dry Sunny Sites | Rock thermal mass and gravity drainage | Hot dry climates | Branch 2 | 4 |
| Brick Spiral for Small Patios | Uniform stacking on hard surfaces | Balconies and patios | Branch 1 | 3 |
| Wood Spiral for Moist Yards | Organic edging with natural moisture retention | Partial shade yards | Branch 3 | 2 |
| Cinder Block Spiral for Fast Assembly | Hollow blocks filled on site | Quick sunny setups | Branch 2 | 2 |
| Mini Spiral Using Pots | Modular pots arranged in spiral | Tight balcony spaces | Branch 1 | 1 |
| Spiral with Pond at Base | Water feature at lowest point | Moist yard integration | Branch 3 | 4 |
| Perennial Focused Spiral | Deep root zones at mid levels | Long term sunny sites | Branch 2 | 3 |
| Self Watering Spiral Adaptation | Built in drip line at top | Low maintenance patios | Branch 1 | 3 |
| Pizza Herb Spiral Integration | Themed planting pockets | Family yards with moisture | Branch 3 | 2 |
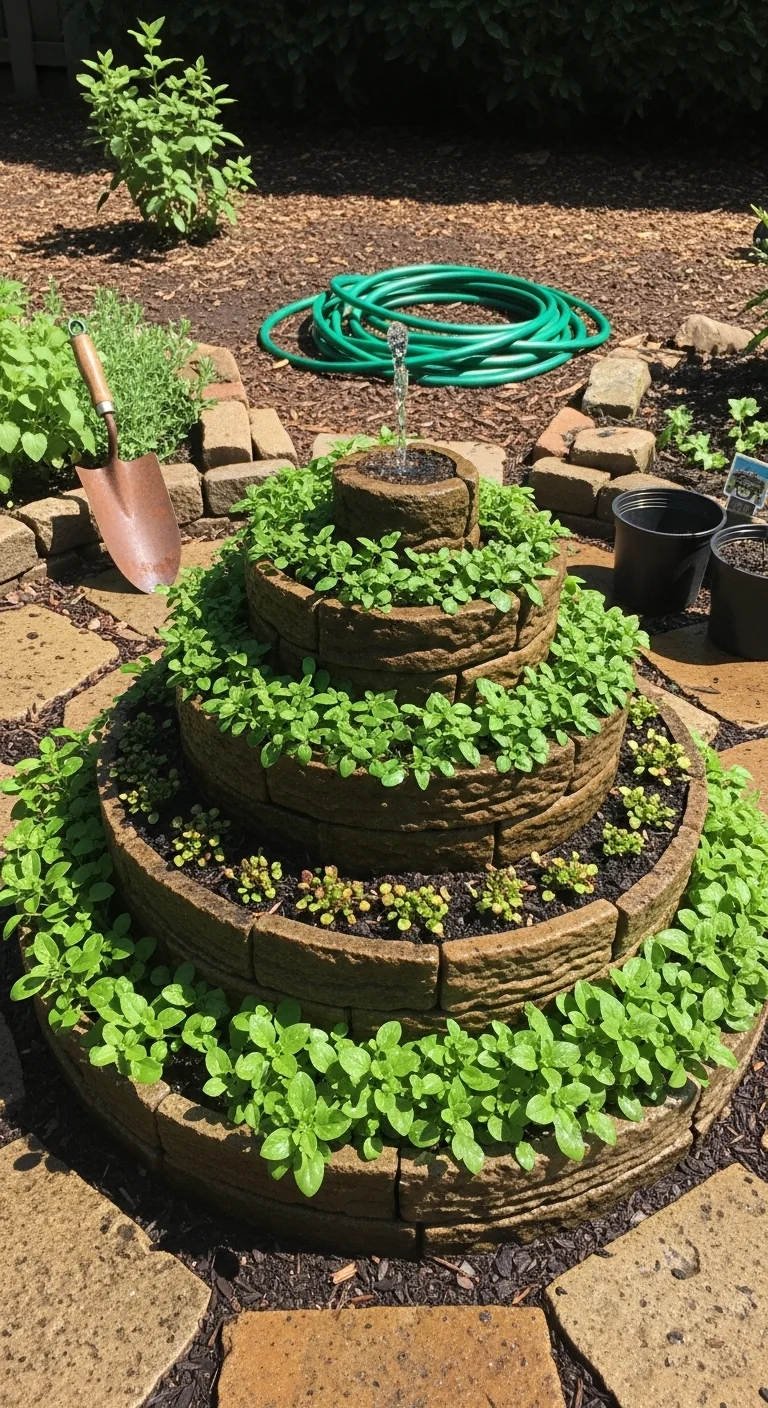
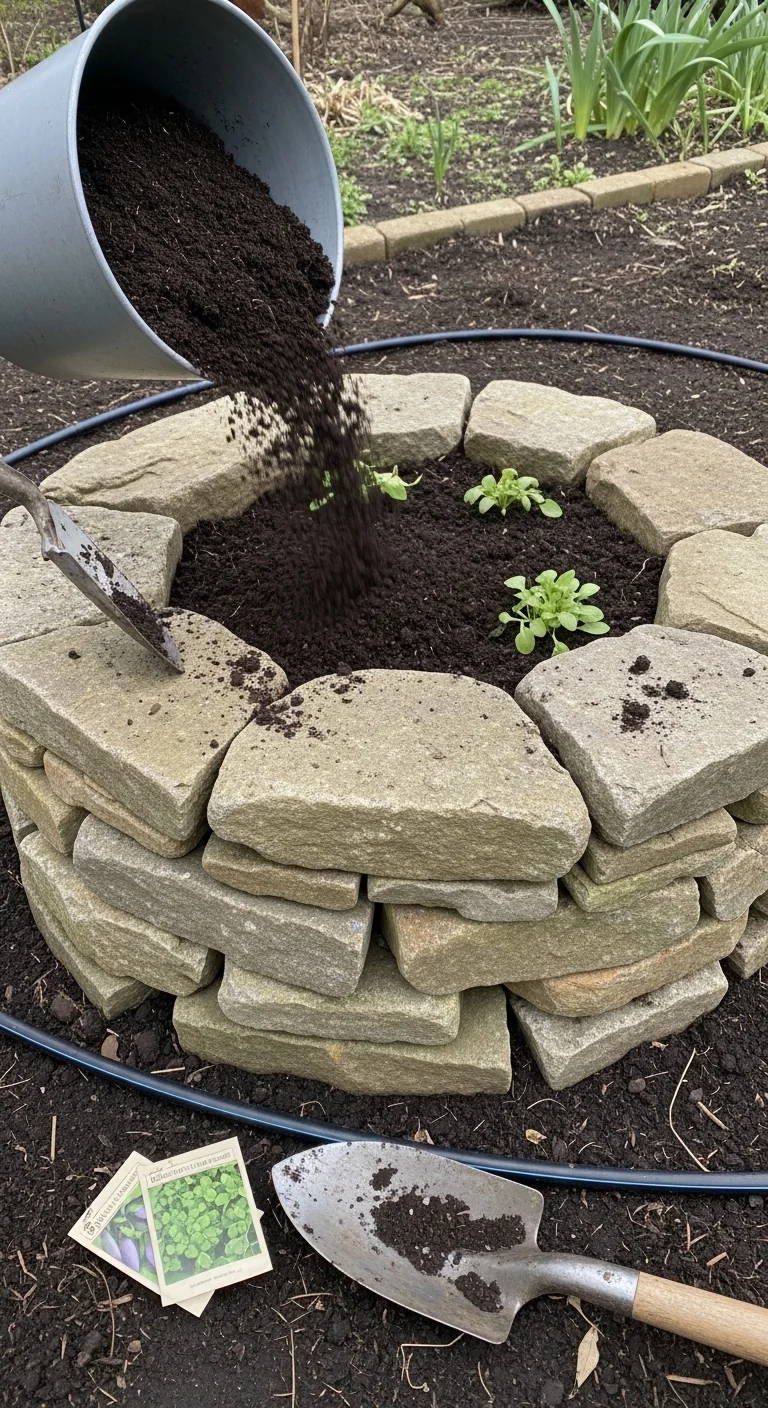
1. Stone Spiral for Dry Sunny Sites
Best for: Branch 2
This configuration uses local rocks or fieldstone to form the spiral wall. It suits sites with full sun and fast draining soil because the rocks absorb daytime heat and release it at night while allowing excess water to flow downward through the spiral.
What to build: a 5 to 6 foot diameter spiral rising to 3 feet at the center. For whom: gardeners in zones with summer temperatures above 75 degrees Fahrenheit and low annual rainfall. Steps: level the ground, lay a 2 inch gravel base, stack rocks in a continuous outward spiral leaving 12 inch wide planting pockets, then fill pockets with equal parts garden soil and compost. Common mistake: skipping the gravel base on clay soil, which causes water to pool at the bottom instead of draining through the layers.
Pair plant choices with drought tolerant herbs at the top zone.
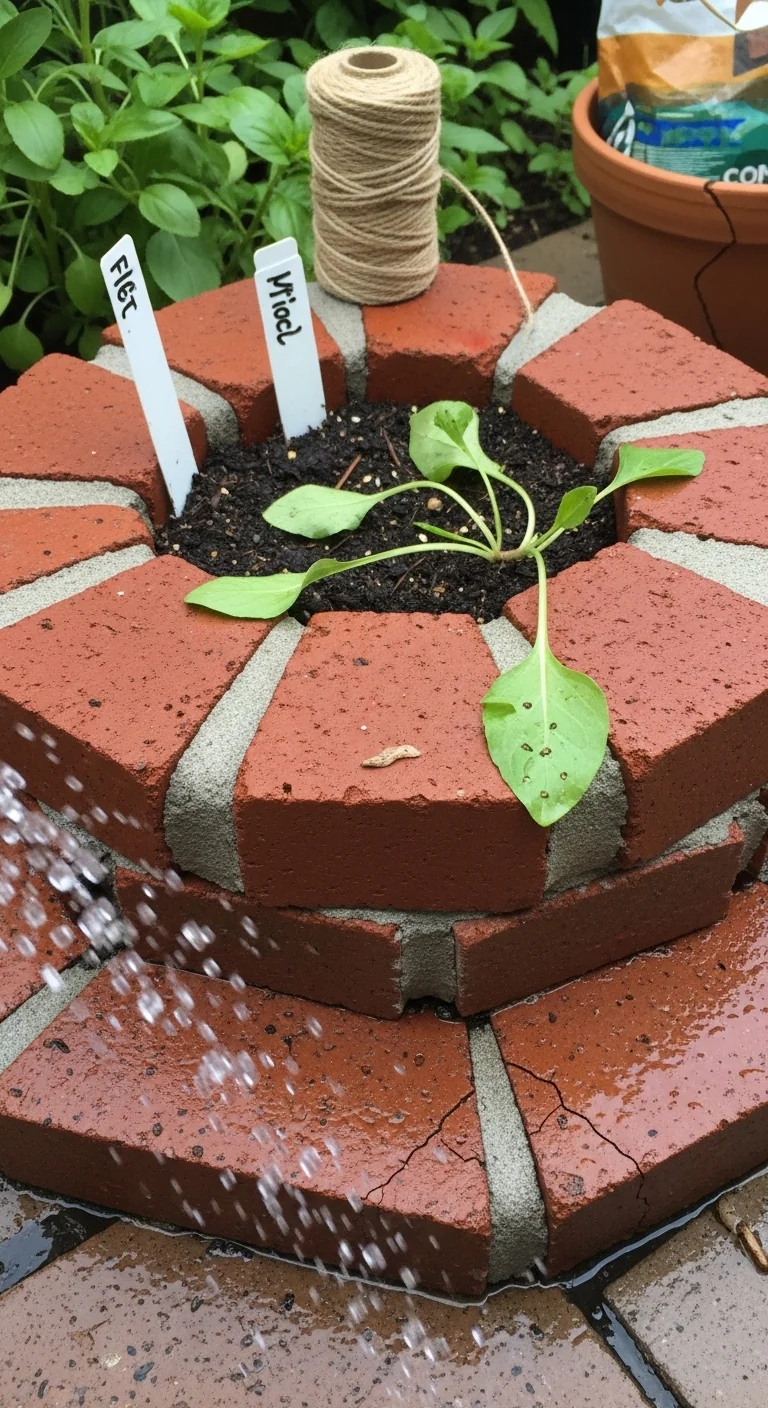
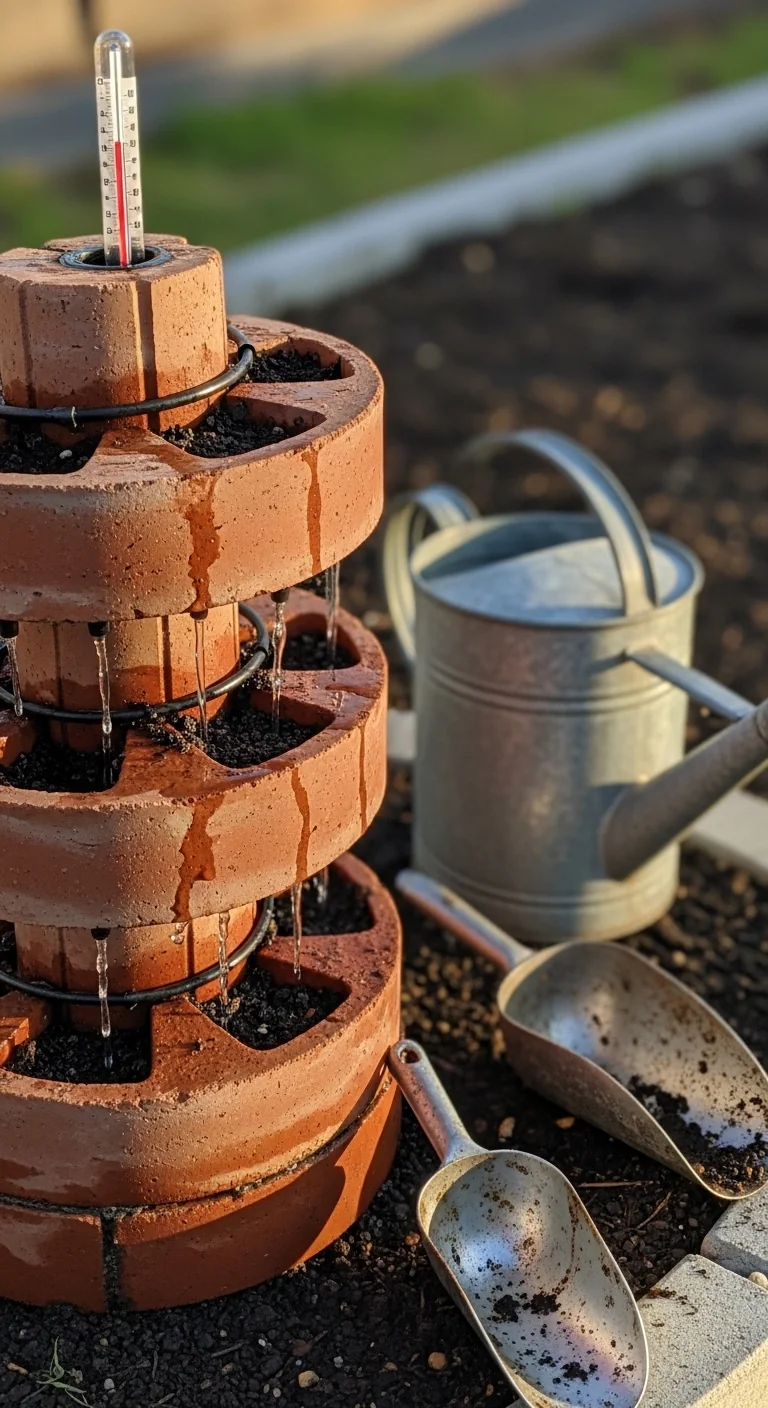
2. Brick Spiral for Small Patios
Best for: Branch 1
Use versus skip: choose this when you have a concrete or paved surface and want clean lines without digging. Pros include easy stacking and stability on hard ground. Cons appear in high wind areas where loose bricks can shift unless mortared. Edge case: skip if your patio receives less than six hours of direct sun daily, because the compact 4 foot diameter limits microclimate variation.
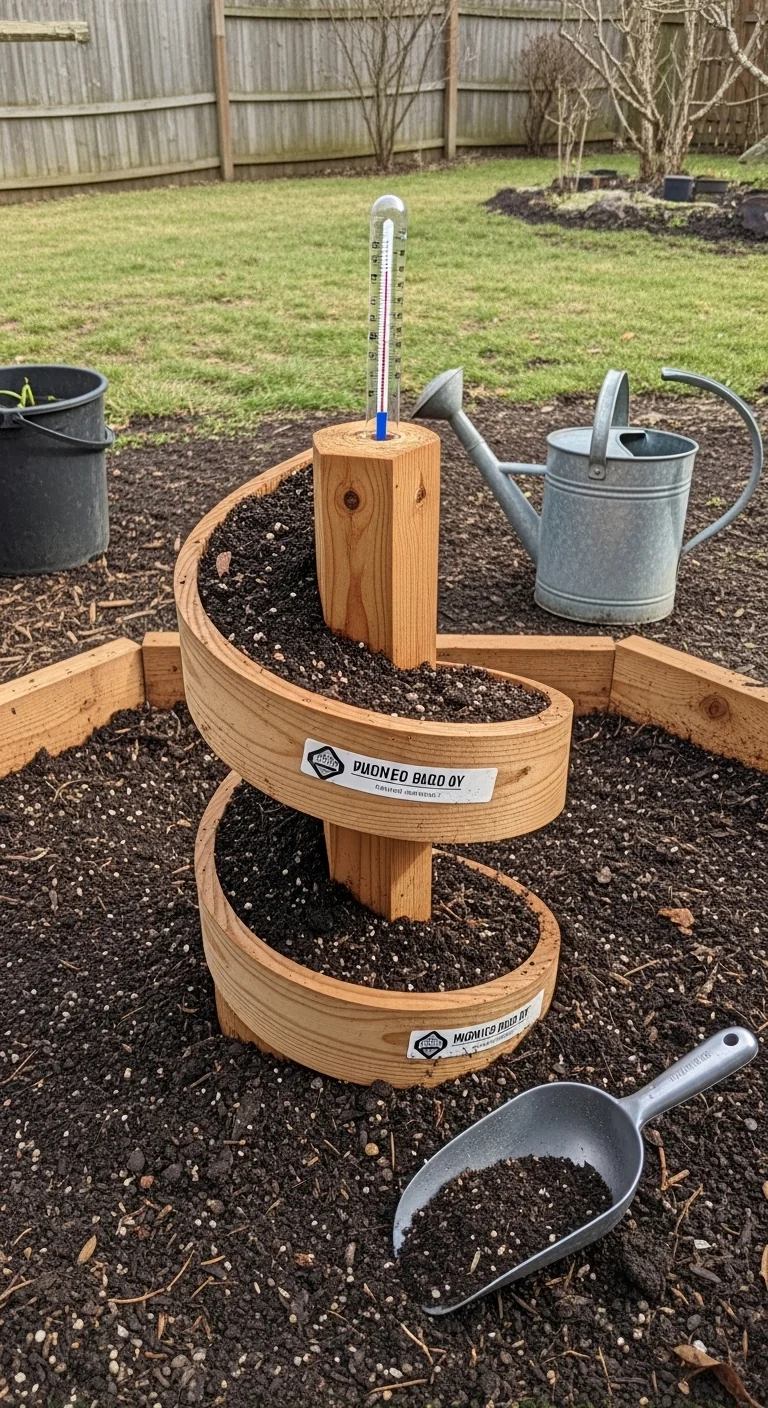
3. Wood Spiral for Moist Yards
Best for: Branch 3
Use untreated cedar or locust logs because they resist rot for three to five seasons in consistently moist conditions. The threshold that matters is soil moisture: if your test shows water draining slower than two hours after rain, add extra gravel at the base and reduce spiral height to 2 feet to prevent sogginess. Adjustment: in areas with winter temperatures below 20 degrees Fahrenheit, select thicker logs at least 6 inches in diameter for better insulation around perennial roots.
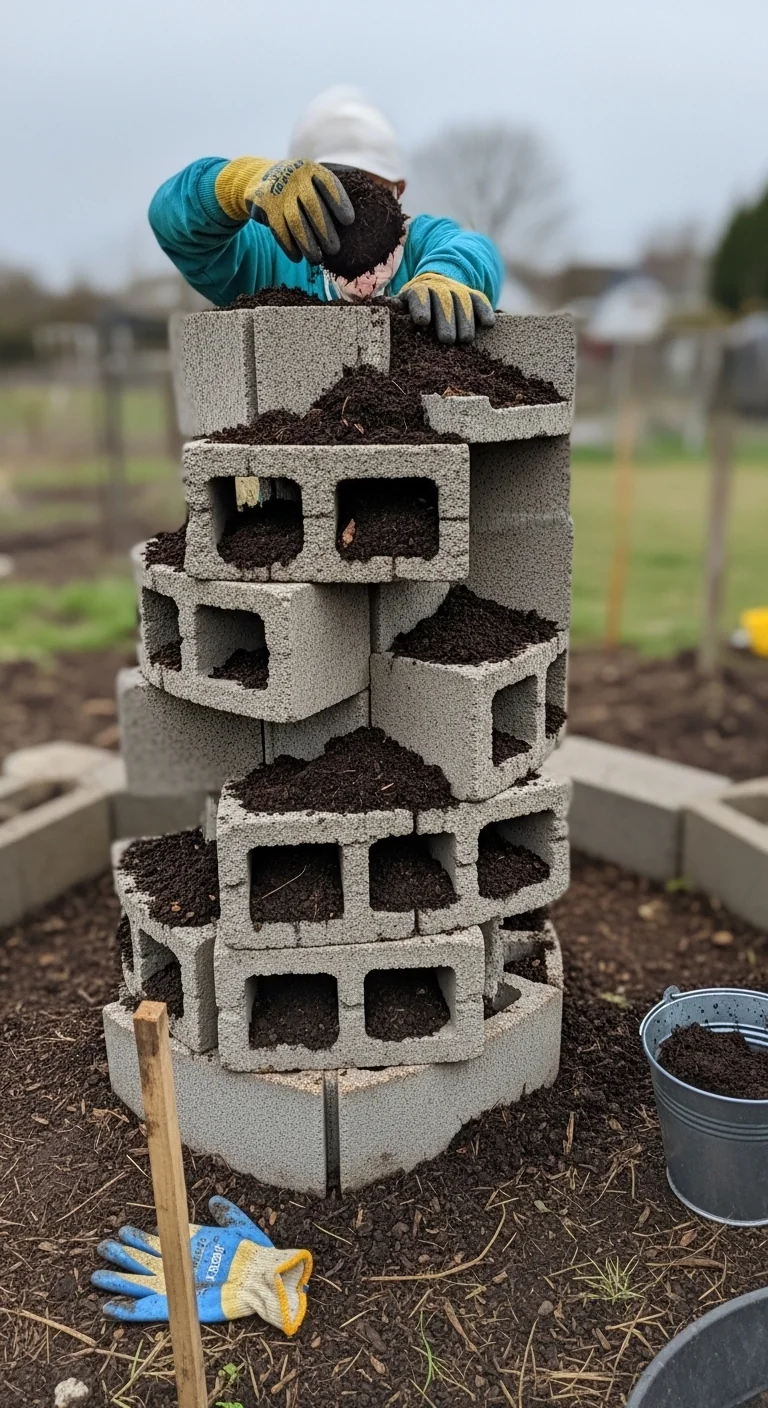
4. Cinder Block Spiral for Fast Assembly
Best for: Branch 2
This version relies on standard cinder blocks turned on their sides and filled with soil to create instant pockets. It works for full sun sites because the blocks provide instant structure and the open cells allow roots to reach deeper moisture layers. Blueprint: mark a 5 foot center point, lay the first course in a spiral pattern, stagger subsequent courses inward while maintaining 12 inch planting width, then cap the top with a flat stone. Fill each cell starting from the center outward. Common mistake: placing blocks without a gravel base in dry climates, which leads to rapid drying at the lower levels.
Adjust the fill using guidance from soil mix for herbs.
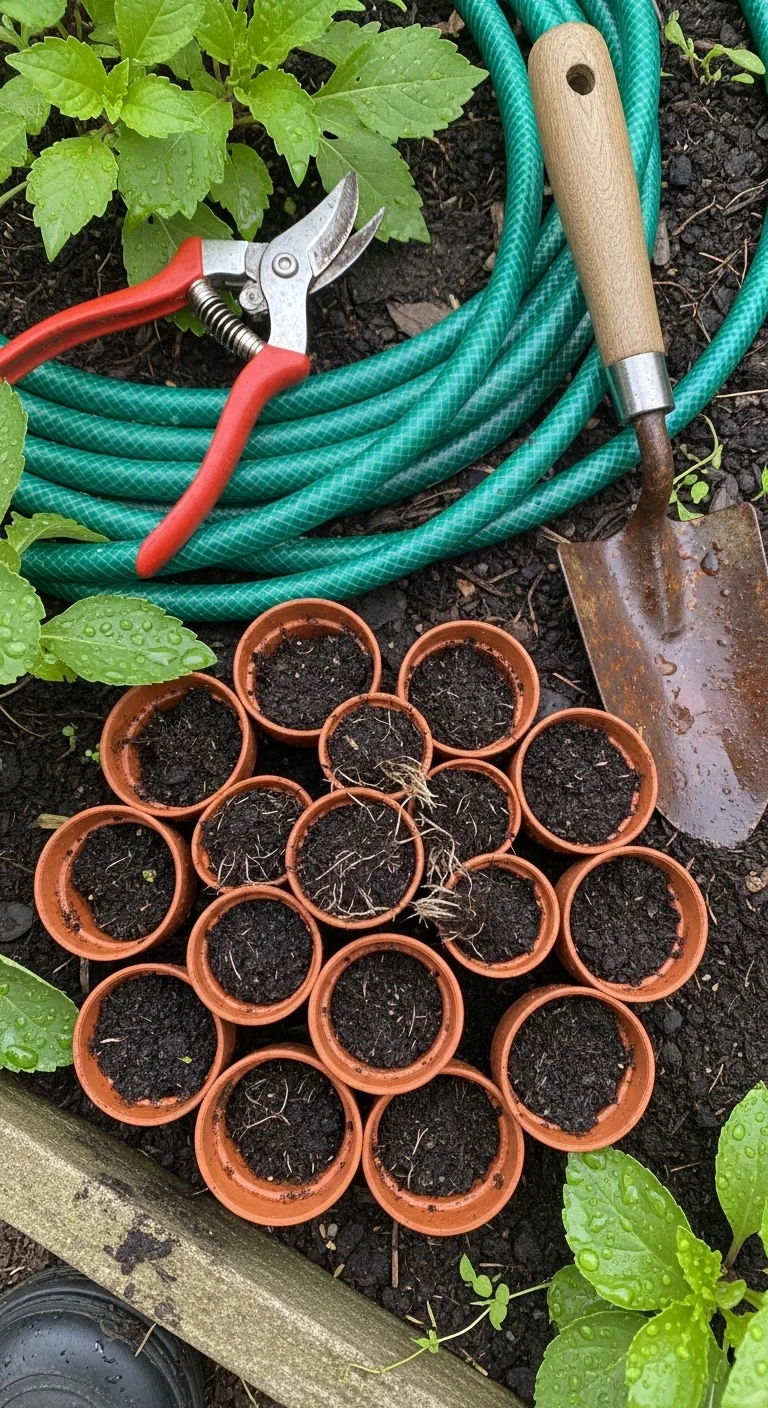
5. Mini Spiral Using Pots
Best for: Branch 1
Arrange 8 to 10 terracotta or plastic pots in a spiral pattern on a balcony or small deck. This modular approach skips permanent construction and lets you rearrange zones if sun patterns shift seasonally. It fits any hard surface under 10 square feet and requires only a stable base tray to catch drainage.
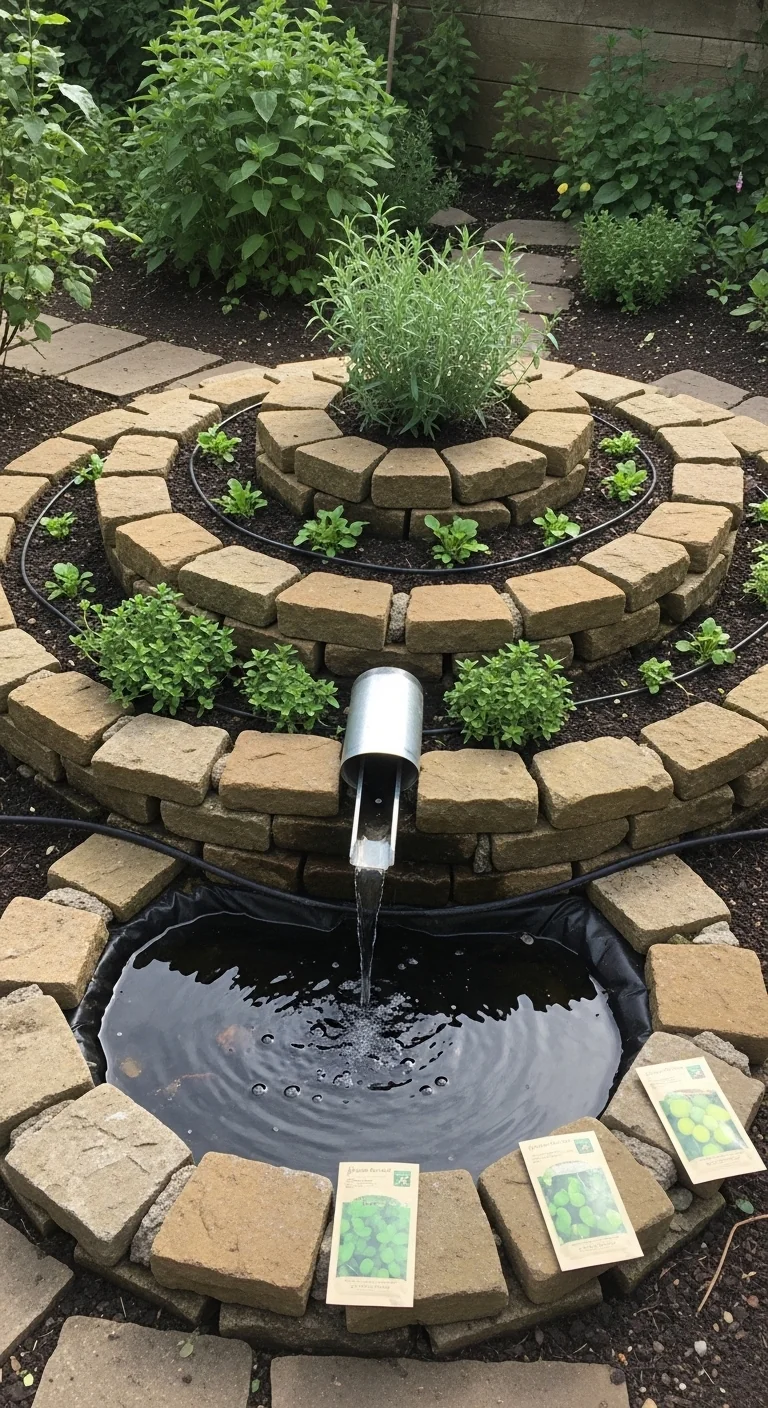
6. Spiral with Pond at Base
Best for: Branch 3
Build the spiral around a small lined pond or water feature at the lowest point. The pond creates a humid microclimate for moisture loving herbs while the upward spiral provides drier pockets above. Threshold rule: limit pond depth to 6 inches and place it on the north side in northern hemisphere sites to avoid overheating the water in full sun. This integration works best in yards with natural moisture because the pond edge doubles as a planting shelf for chives or parsley.
Reference broader layout strategies in herb garden layout ideas.
7. Perennial Focused Spiral
Best for: Branch 2
Design the spiral with deeper soil pockets at the mid levels to accommodate long lived roots of rosemary, thyme, and oregano. It suits full sun dry sites because the elevated structure improves air circulation around perennial crowns and reduces winter rot risk. Blueprint: start with a 2 foot high central cairn of stones, wind the wall outward over three courses, and reserve the largest pockets for perennials while using the top for annual companions. Common mistake: planting shallow rooted annuals at the base where perennial roots compete for space over multiple seasons.
Compare herb lifecycles with annual versus perennial herbs.
8. Self Watering Spiral Adaptation
Best for: Branch 1
Install a drip line or soaker hose along the top of any compact spiral and let gravity carry water downward through the layers. This adaptation reduces daily checks on small patios and works with brick or pot versions. It requires only a timer and reservoir elevated 2 feet above the top.
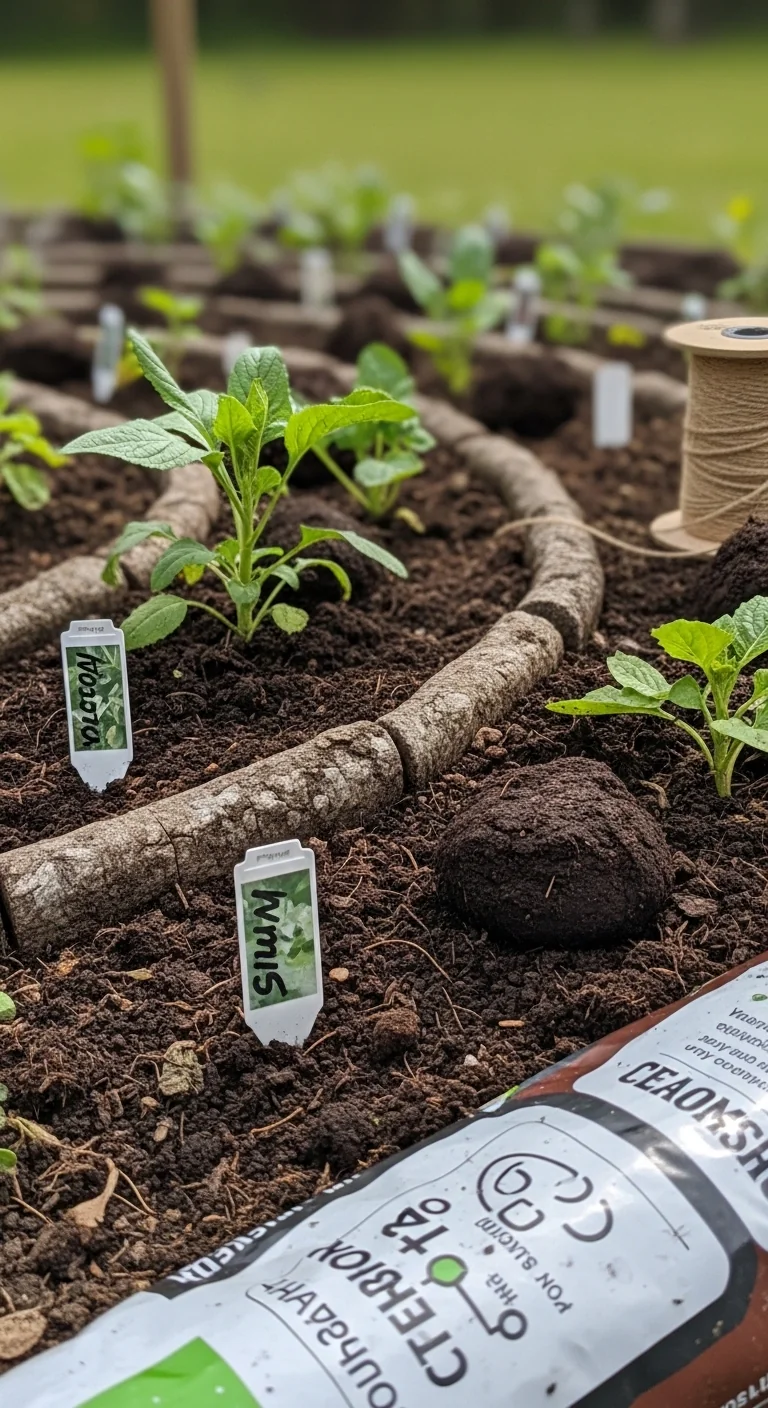
9. Pizza Herb Spiral Integration
Best for: Branch 3
Plant oregano, basil, thyme, and rosemary in dedicated pockets sized for frequent harvesting. The spiral shape keeps the herbs within arm reach of a kitchen path while the moisture gradient supports the full range needed for pizza toppings. Use versus skip: ideal in family yards with partial shade because the lower zones stay moist enough for basil while the top stays dry for oregano.
Starter Stack (What to Choose First)
For Branch 1: Limited Space Setups
Start with the Brick Spiral for Small Patios and the Mini Spiral Using Pots. Together they deliver full microclimate variation in under 10 square feet with no digging required. Synergy comes from the brick providing permanent structure while the pots allow seasonal swaps. Time estimate: 4 to 6 hours. Cost range: 40 to 90 USD.
For Branch 2: Dry and Sunny Conditions
Begin with the Stone Spiral for Dry Sunny Sites and the Cinder Block Spiral for Fast Assembly. The stone offers thermal mass while the blocks speed construction and fill quickly. Synergy appears in the shared drainage needs and ability to plant the same dry tolerant herbs across both. Time estimate: 1 to 2 days. Cost range: 60 to 150 USD.
For Branch 3: Larger Yards with Moderate Moisture
Choose the Wood Spiral for Moist Yards and the Spiral with Pond at Base. The wood edges blend naturally while the pond adds humidity at the lowest level. Synergy results from the combined moisture gradient that supports both perennial and annual herbs without extra irrigation. Time estimate: 8 to 12 hours. Cost range: 30 to 120 USD.
When This Won’t Work
A spiral herb garden fails on sites that slope more than 5 degrees without prior leveling because the wall will shift and erode over one season. It also fails when drainage tests show water standing longer than four hours after rain because the lower zones stay saturated and roots rot.
In both cases switch to a flat raised bed configuration that you can level and amend independently. See details in our raised bed herb garden guide.
Choosing the Right Option for Your Situation
Budget threshold
If total materials stay under 75 USD select the Wood Spiral or Mini Spiral Using Pots because both rely on scavenged or low cost items and basic tools.
Time threshold
If you have only one afternoon available choose the Cinder Block Spiral or Mini Spiral Using Pots because both assemble without extensive leveling or heavy lifting.
Technical constraint
If your soil pH falls outside 6.0 to 7.5 test and amend the fill mix before planting because most herbs require that narrow window for nutrient uptake.
Yes or no checklist:
Does your site drain in under two hours after rain? Yes proceed.
Does available space exceed 10 square feet? Adjust branch choice.
Can you access the site with hand tools only? Limit to effort score 1 to 3.
Will sun exposure stay full for at least six hours daily? Match to dry branch options.
Expert Q&A
Which herbs go at the top versus the base of a spiral herb garden?
Place heat loving and drought tolerant types such as rosemary, thyme, oregano, and lavender at the top where drainage is fastest and temperatures run higher. Reserve the base for moisture loving types such as mint, parsley, and chives because water collects there by gravity.
How do you maintain drainage in a spiral herb garden over multiple seasons?
Inspect the base gravel layer each spring and top up any settled areas with 1 to 2 inches of fresh coarse material. Remove any compacted soil from lower pockets and replace with fresh mix to keep water moving downward rather than pooling.
Can you build a spiral herb garden on a sloped site?
Yes if you first create a level pad at least 6 feet wide using cut and fill or retaining boards. Without leveling the spiral wall will lean and collapse within the first heavy rain cycle.
What is the ideal orientation for a spiral herb garden in the northern hemisphere?
Position the open side of the spiral toward the south so the top receives maximum sun hours while the lower north facing pockets stay slightly cooler and moister for shade tolerant herbs.
How often should you harvest from a spiral herb garden to keep plants compact?
Pinch or cut stems weekly during active growth from spring through fall because regular removal encourages bushy regrowth and prevents any single zone from becoming overcrowded.
Conclusion
The right spiral herb garden configuration turns limited space into a functional microclimate system when you match materials and scale to your drainage and sun exposure. The number one mistake is following a generic plan without testing your site first, which leads to uneven watering across the zones.
Take the next step by reviewing beginner level planning details and plant selection charts to lock in your build this season. Start here: herb gardening for beginners.
Lead Data Architect
Umer Hayiat
Founder & Lead Data Architect at TheYieldGrid. I bridge the gap between complex agronomic data and practical growing, transforming verified agricultural science into accessible, mathematically precise tools and guides for serious growers.
View all tools & guides by Umer Hayiat →