U shaped raised beds reframe standard layouts by converting the open center into a dedicated workflow corridor that shortens every step from seeding to harvest.
This guide examines nine configurations built for edible gardening using wood panels, metal kits, cinder blocks, and targeted integrations such as layered fills, irrigation zoning, and vertical supports. It addresses construction mechanics, soil and watering pairings, and practical constraints while excluding basic rectangular beds or pure in ground methods.
You will leave with a clear match for your space size, assembly timeline, and accessory needs plus exact starter recommendations that combine two configurations for immediate synergy.
Identify your Decision Grid branch first, then follow the Starter Stack for that branch to assemble a functional U shaped raised bed system.
The The Yield Grid Decision Grid
Branch 1: Compact Spaces. If your total footprint allows no more than 10 feet in width by 8 feet in depth.
Recommended: Items 2, 5, 8 below.
Branch 2: DIY Sourcing Preference. If you source lumber or blocks locally and can dedicate one to two days for assembly.
Recommended: Items 1, 4, 7 below.
Branch 3: Accessory Ready Layouts. If you plan to add trellises, frames, or zoned watering lines in the first season.
Recommended: Items 3, 6, 9 below.
For placement strategies that complement U shaped raised bed designs, see our guide to raised bed against fence options.
Quick Comparison Table
| Option | Key mechanism | Best for | Decision Grid Branch | Effort Score |
|---|---|---|---|---|
| Hugelkultur Wooden U Shaped | Layered wood debris base topped with soil mix | Long term fertility without frequent amendments | Branch 2 | 2 |
| Galvanized Steel U Kit | Pre cut modular panels with open bottom | Quick assembly in small patios | Branch 1 | 1 |
| Trellis Integrated U Shaped | Built in vertical supports on arms | Climbing edible crops | Branch 3 | 3 |
| Fence Backed Custom Soil U | Optimized soil layers against stable back | Backyard sites with existing boundaries | Branch 2 | 2 |
| Wicking U Shaped Bed | Reservoir base with capillary mats | Consistent moisture in variable weather | Branch 1 | 2 |
| Cold Frame Compatible U | Removable frame rails on top edges | Early and late season extension | Branch 3 | 3 |
| Drip Zoned U Shaped | Central line with individual arm emitters | Targeted watering for mixed crops | Branch 2 | 3 |
| Self Watering U Configuration | Integrated reservoir walls with wicks | Low frequency watering schedules | Branch 1 | 1 |
| Cinder Block Permanent U | Stacked blocks with liner and fill | Fixed structures for repeated seasons | Branch 3 | 2 |
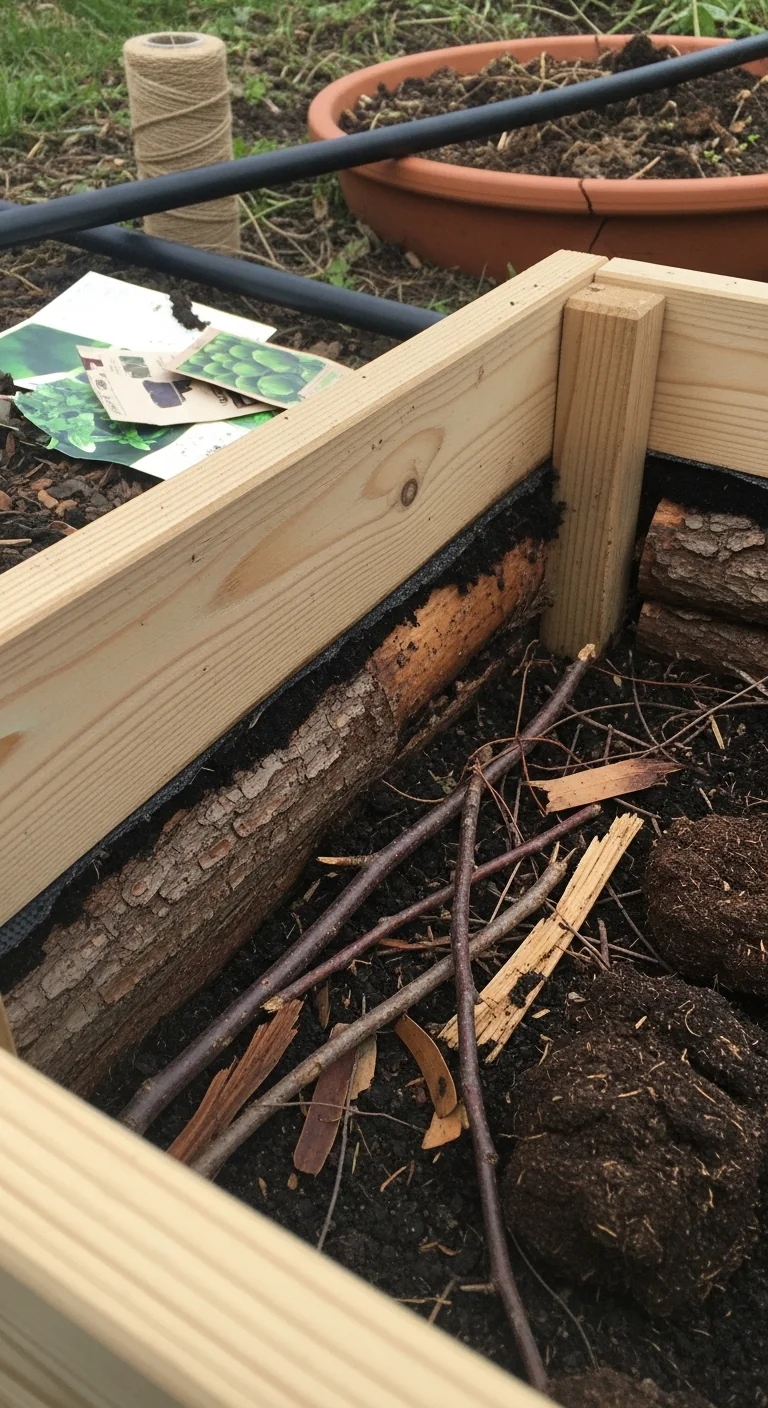
Hugelkultur Wooden U Shaped Raised Bed

Best for: Branch 2
Construct the arms and base from 2 by 8 or 2 by 10 lumber panels cut to 4 feet wide for easy reach from the center corridor. Begin with a 12 inch layer of logs and branches at the bottom, cover with 6 inches of twigs and leaves, then top with 12 inches of the recommended soil blend. The decomposition process releases nutrients slowly over multiple seasons while improving drainage in the corners where water can otherwise collect. A common mistake is skipping the bottom liner on sloped sites, which allows fine soil to wash into the wood gaps. Secure corners with exterior grade brackets and level the entire structure before filling. This configuration works especially well when the U opens toward the prevailing sun direction to warm the central path earlier in spring. Total growing area typically reaches 80 to 120 square feet depending on arm length chosen between 6 and 8 feet.
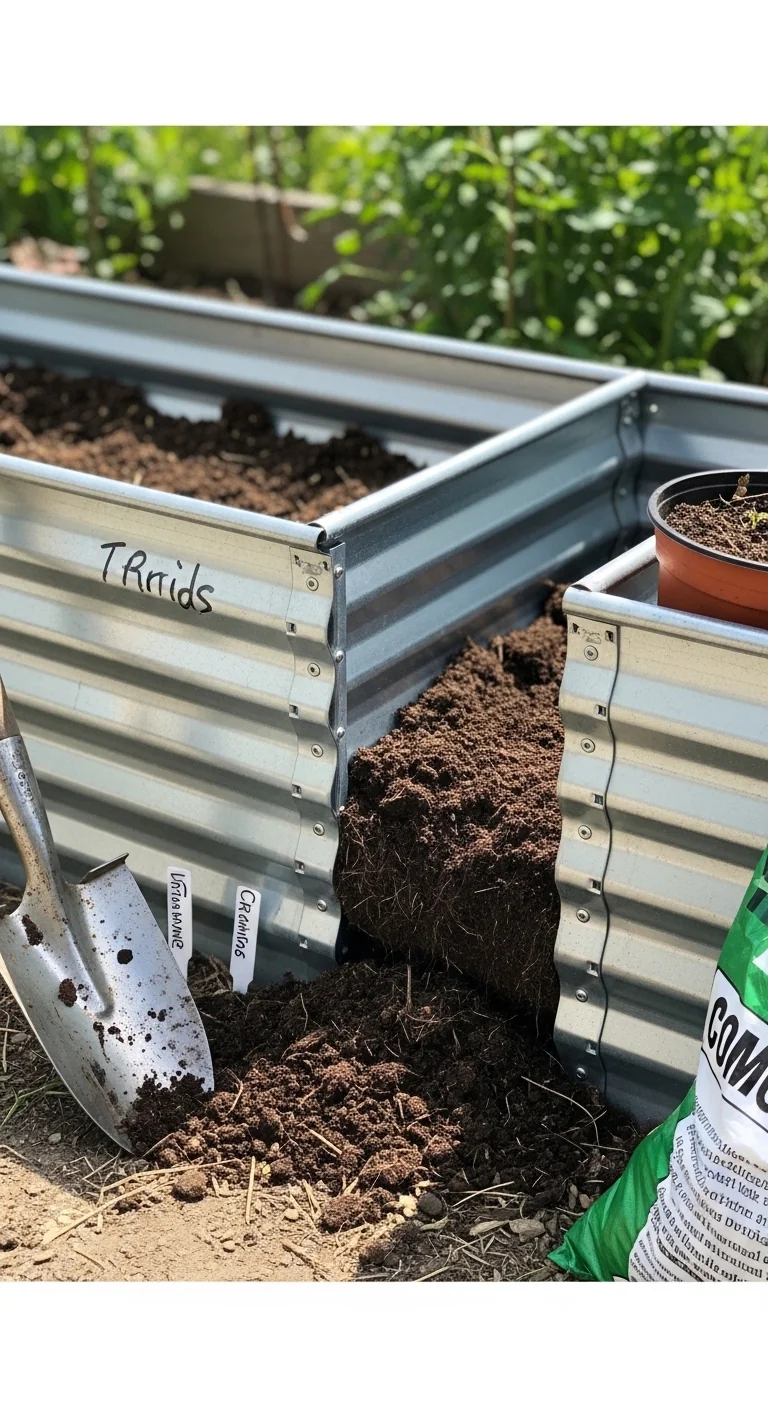
Galvanized Steel U Shaped Raised Bed Kit
Best for: Branch 1
Use this option when speed matters more than customization. Kits arrive with pre formed panels that bolt together in under two hours and require only a flat base. The open bottom design promotes natural root extension into native soil below while the raised sides keep the central corridor clear for movement. Skip this if your site has heavy clay that compacts under the panels or if you need heights above 17 inches, as most kits top out there. Edge case: coastal gardens benefit from the rust resistant coating that withstands salt spray better than untreated wood.
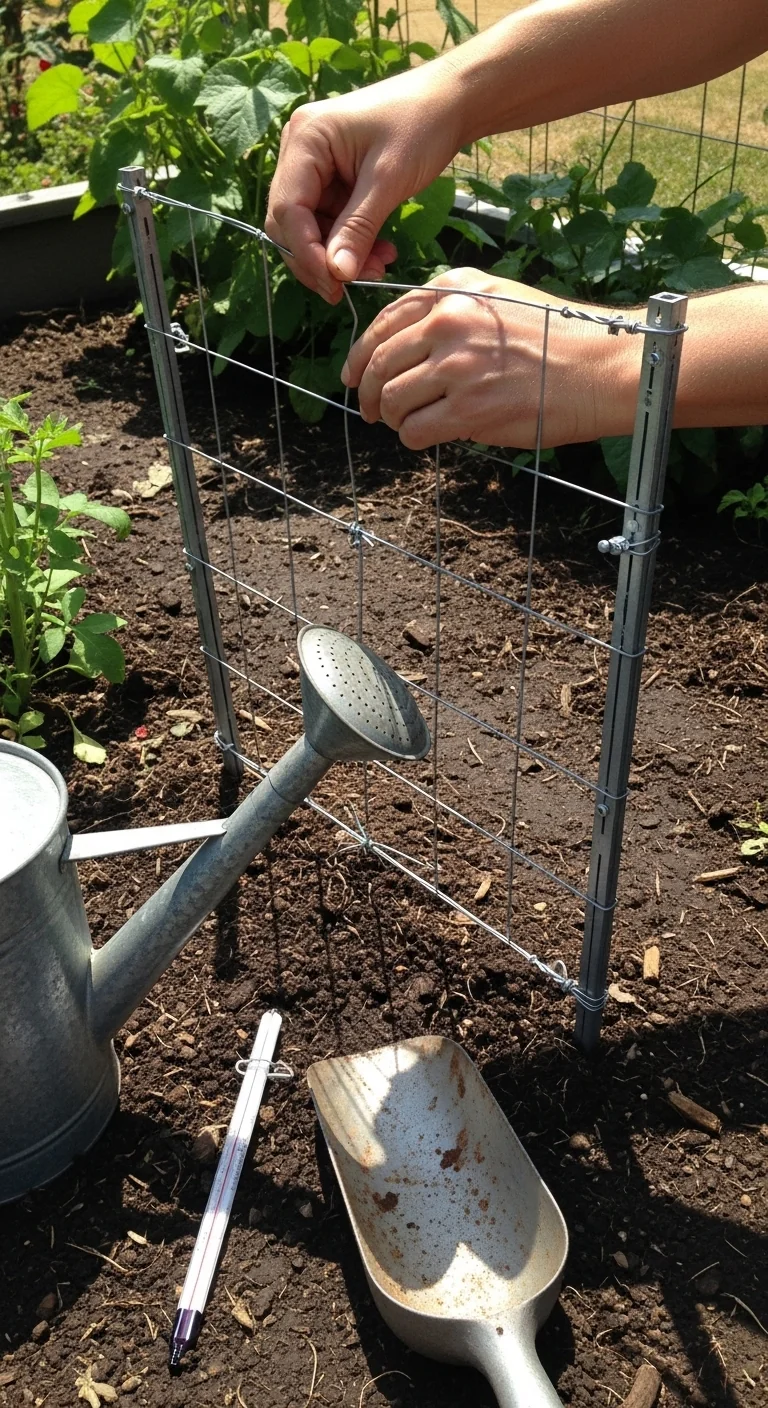
Trellis Integrated U Shaped Raised Bed
Best for: Branch 3
Mount vertical supports directly to the outer faces of the arms using lag screws into the top rail. Space posts every 4 feet and run horizontal wires or netting between them at 12 inch intervals up to 6 feet high. The central corridor then serves as the perfect aisle for tying and harvesting climbing crops without stepping into the beds. Adjust post height if your local wind speeds regularly exceed 20 miles per hour by adding diagonal braces. This setup keeps the U shape stable even when loaded with mature vines.
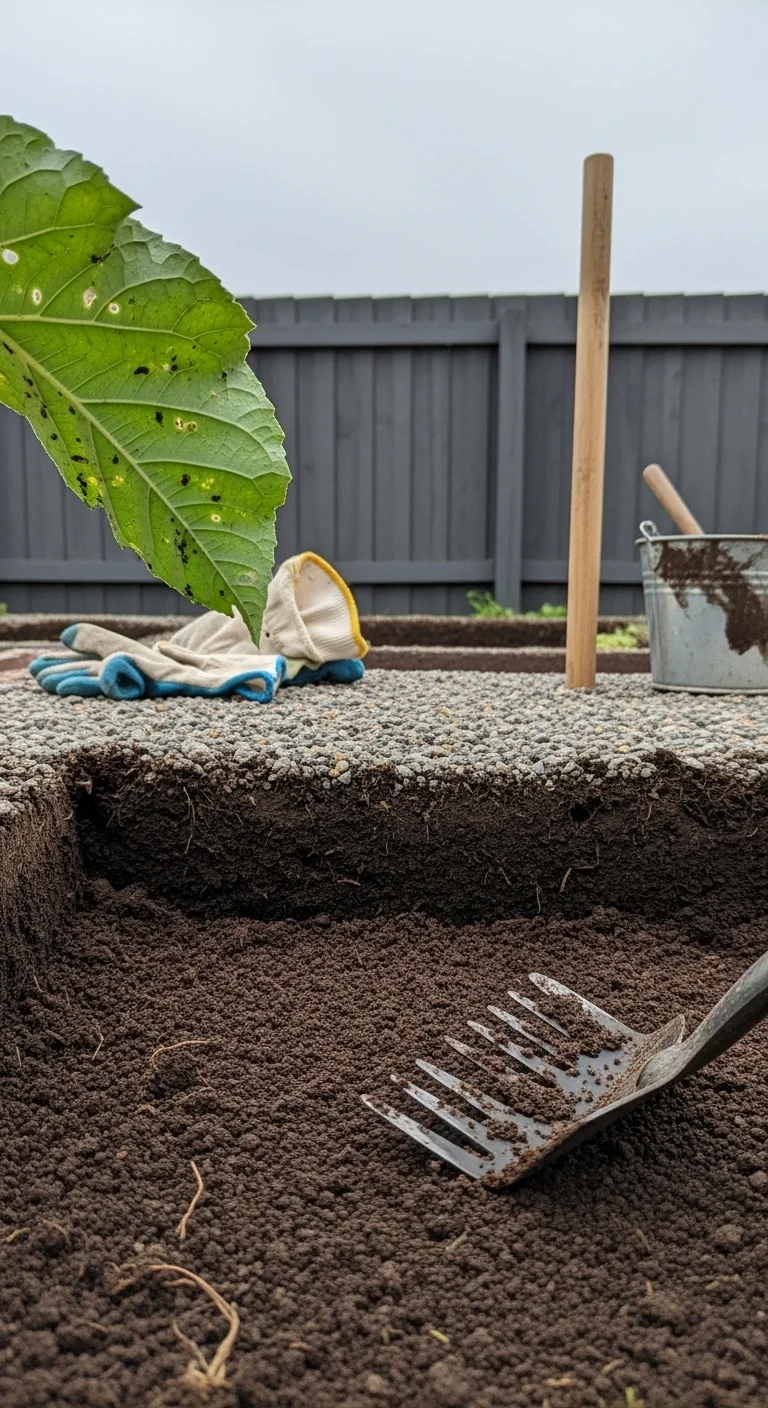
Fence Backed Custom Soil U Shaped Raised Bed
Best for: Branch 2
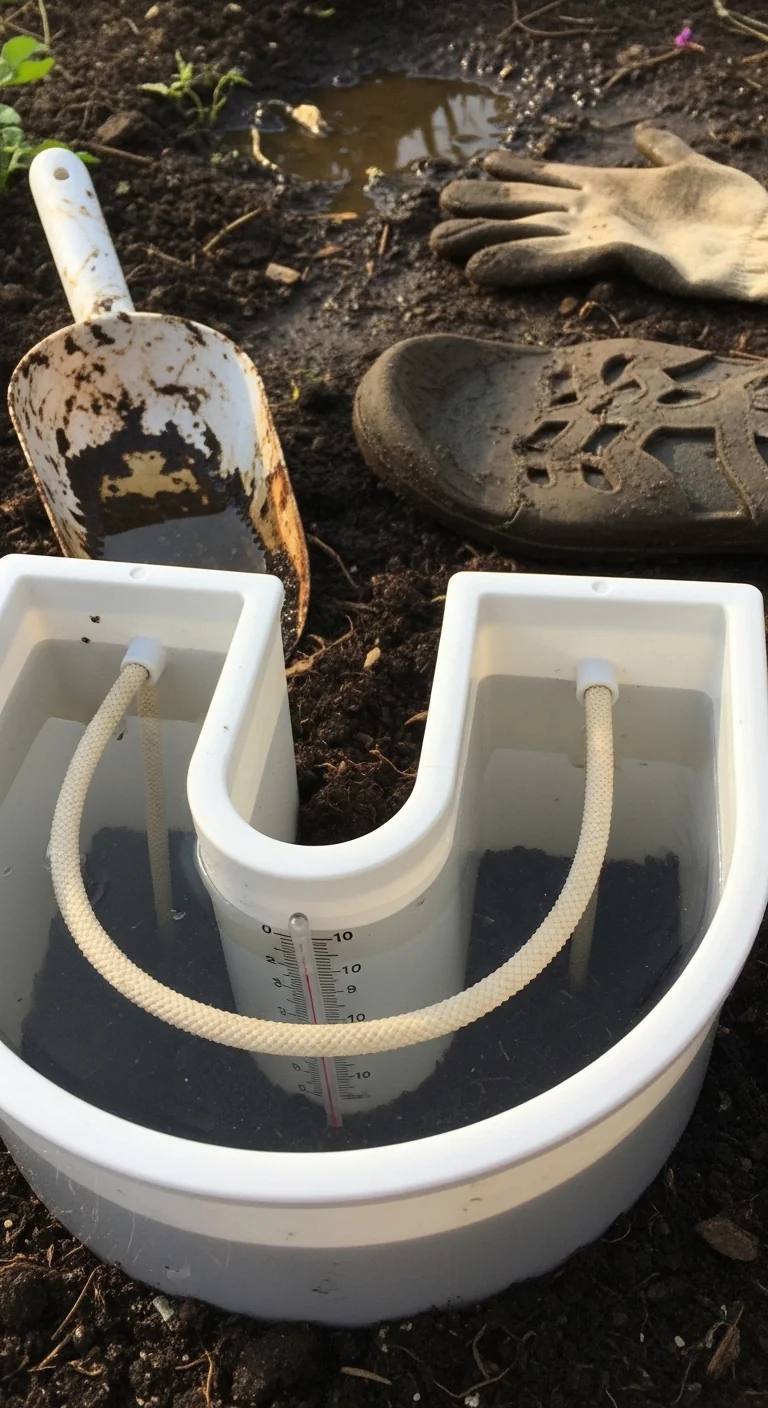
Position the closed base of the U directly against an existing fence or wall for added structural support on the back arm. Fill with a layered soil mix starting with 4 inches of coarse gravel for drainage, followed by 10 inches of the blended formula that balances aeration and water retention. The fence backing reduces material needs on one side while the open center remains fully accessible. Test soil temperature at 4 inch depth before planting; it rises faster here than in freestanding beds because the fence reflects daytime heat. Avoid this layout if the fence is pressure treated with older chemicals that could leach into the soil.
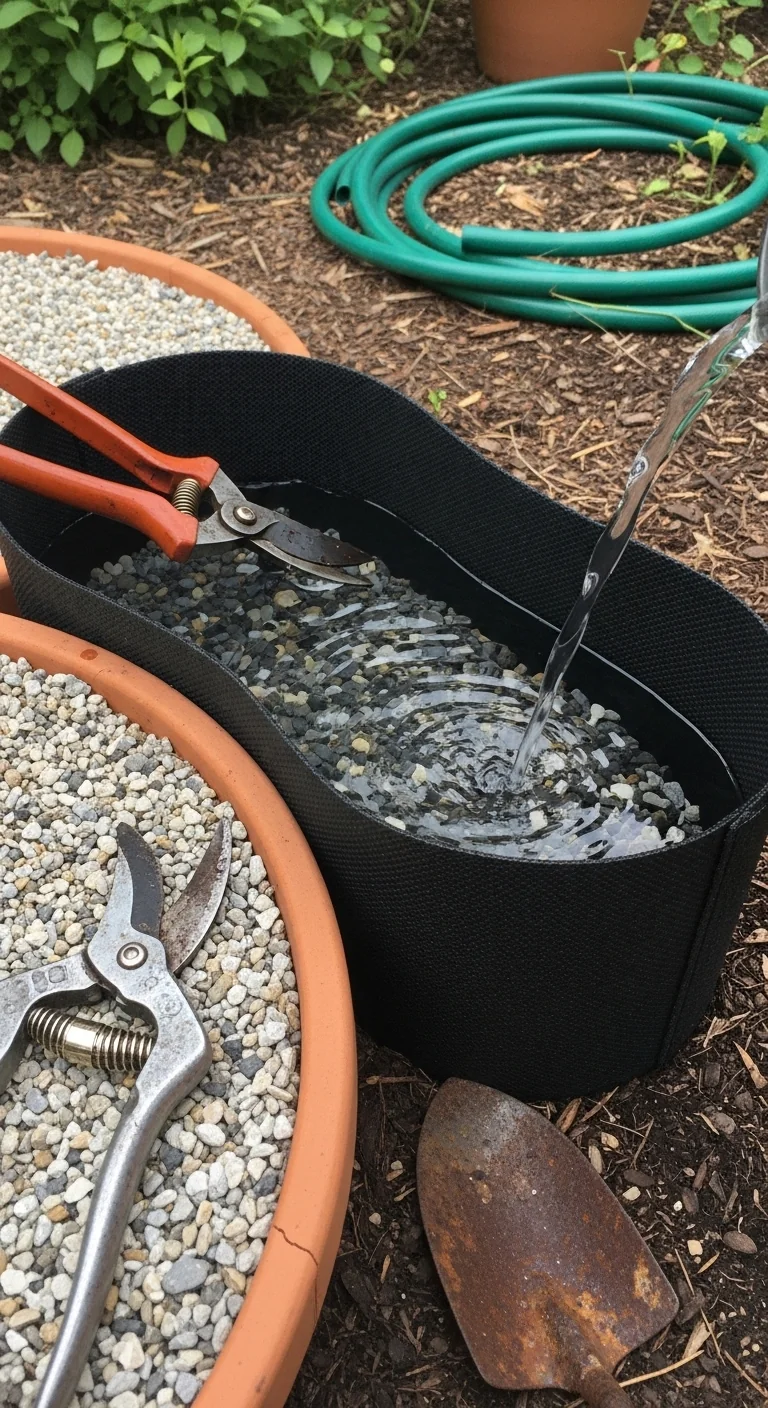
Wicking U Shaped Raised Bed
Best for: Branch 1
Line the base with a reservoir layer of perforated pipe or fabric filled with coarse aggregate, then run capillary mats up the sides. Water added to the reservoir travels upward to plant roots on demand, reducing surface evaporation in the arms. This performs best when arm width stays at 4 feet or less so the wicking distance never exceeds 24 inches from the reservoir edge. In high rainfall areas add an overflow drain at the 2 inch mark to prevent saturation.
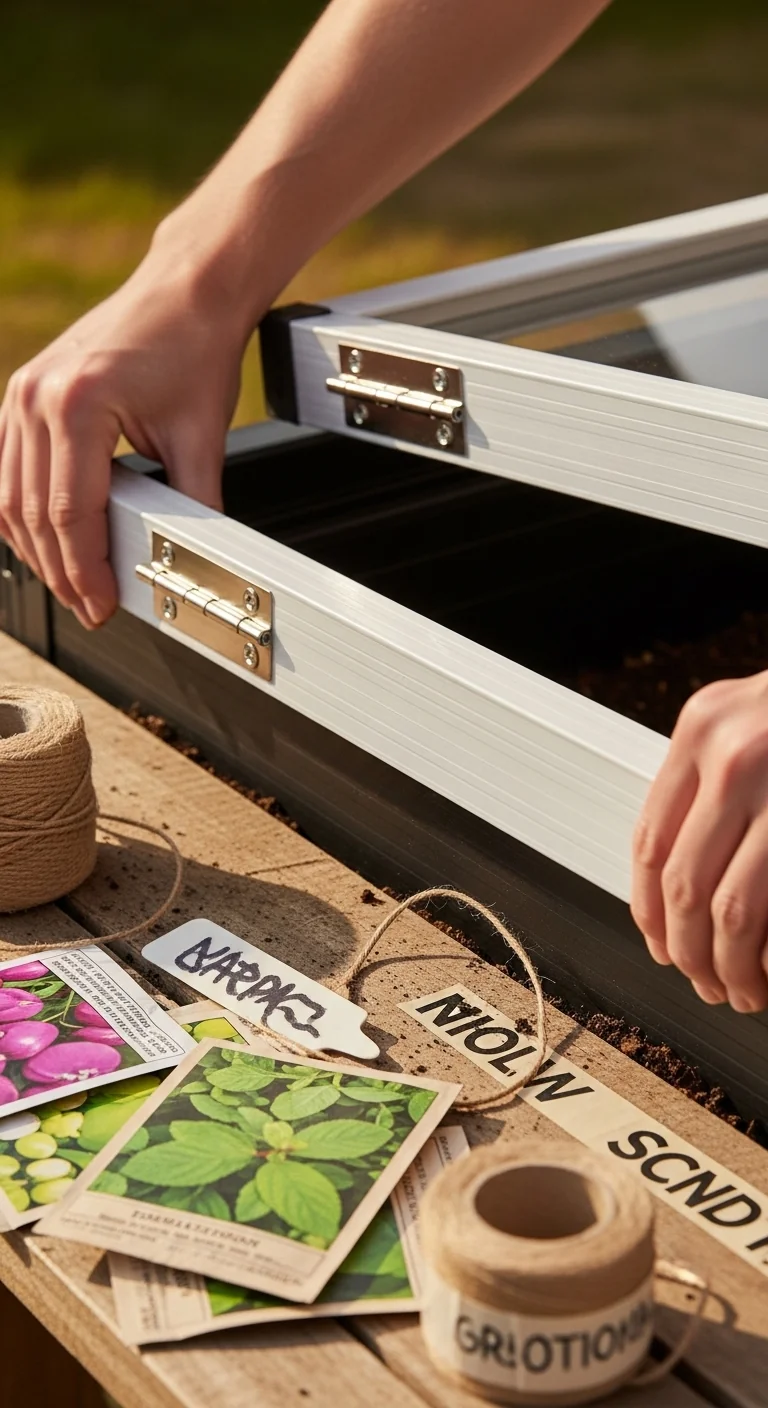
Cold Frame Compatible U Shaped Raised Bed
Best for: Branch 3
Attach hinged frame rails to the top edges of all three sides using heavy duty hinges rated for outdoor exposure. The central corridor allows easy lifting of the entire frame without entering the growing area. Use polycarbonate or tempered glass panels cut to match the arm lengths; the U shape naturally channels cold air away from the center during shoulder seasons. Remove frames entirely in summer to maintain full sun exposure and airflow.
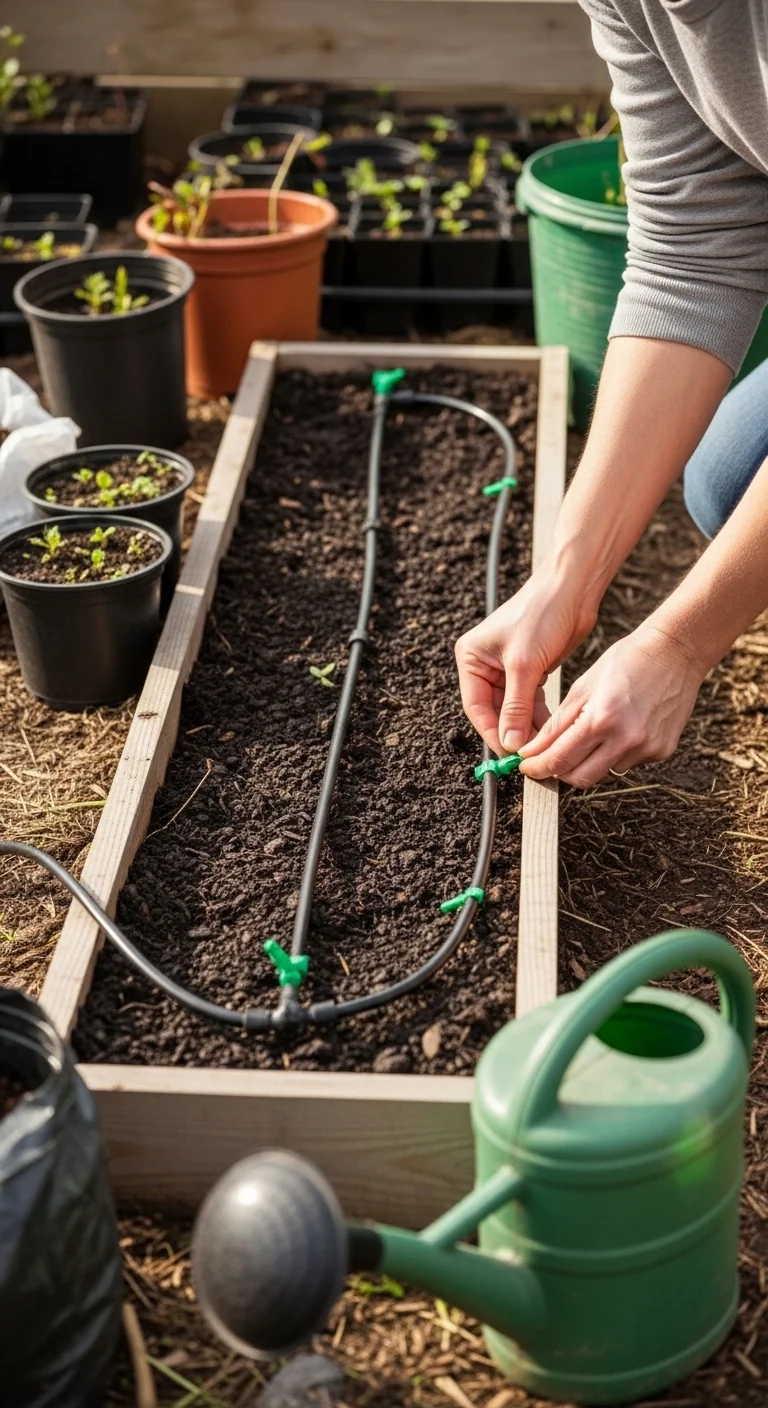
Drip Zoned U Shaped Raised Bed
Best for: Branch 2
Run a single main supply line down the center corridor with separate emitter tubing branched into each arm and the base. Place emitters every 12 inches along the planting rows and set the timer for 20 minutes three times per week in average conditions. The zoning lets you deliver different volumes to the base (leafy greens) versus the arms (fruiting crops) without separate systems. Pressure compensate emitters if your water source varies more than 10 psi.
Self Watering U Configuration
Best for: Branch 1
Build or purchase panels with double wall construction that creates a 4 inch deep water reservoir along the bottom perimeter. Float valves maintain the level automatically when connected to a hose. The design keeps soil moisture even across the U without daily checks, making it ideal for weekend only gardeners. Clean the reservoir every spring to remove any sediment that could clog the wicks.
Cinder Block Permanent U Shaped Raised Bed
Best for: Branch 3
Stack standard 8 by 8 by 16 inch blocks in a running bond pattern for the three sides, lining the interior with landscape fabric before filling. The hollow cores accept rebar for extra stability on larger builds over 12 feet per arm. The permanent structure tolerates repeated freeze thaw cycles when capped with mortar on the top course. Leave the central path at least 36 inches wide for comfortable tool access between seasons.
Starter Stack (What to Choose First)
Branch 1: Compact Spaces
Begin with the Galvanized Steel U Kit and the Wicking U Shaped Bed. The kit assembles in hours while the wicking layer maintains even moisture in tight areas where daily checks are difficult. Estimated cost range: 250 to 550 dollars. Assembly time range: 3 to 6 hours.
Branch 2: DIY Sourcing Preference
Start with the Hugelkultur Wooden U Shaped and the Drip Zoned U Shaped. The layered base builds long term fertility while zoned emitters match watering to crop needs. Estimated cost range: 180 to 420 dollars. Assembly time range: 8 to 14 hours.
Branch 3: Accessory Ready Layouts
Choose the Trellis Integrated U Shaped and the Cold Frame Compatible U Shaped. Vertical supports handle climbing edibles immediately and the frame rails extend the season without extra structures. Estimated cost range: 320 to 680 dollars. Assembly time range: 6 to 10 hours.
When This Won’t Work
U shaped raised beds encounter problems on sites with slopes steeper than 5 degrees because water collects in the inner corners and saturates the base layer. Level the ground first or switch to in ground planting on contour. Another measurable failure condition appears when the central corridor narrows below 30 inches after arm construction, blocking wheelbarrow or kneeling access for maintenance.
In both cases the alternative is to select a straight raised bed layout or move to elevated designs that sit above grade without relying on the U corridor. For situations where any raised bed may not suit the site conditions, review our comparison of raised bed vs in ground.
Choosing the Right Option for Your Situation
Budget Threshold
If total project cost must stay under 400 dollars, select kits or cinder block builds from Branch 1 or 3 rather than full lumber panel systems.
Time Threshold
If assembly must finish in one weekend under 8 hours, limit choices to metal kits or pre formed self watering configurations.
Technical Constraint: Soil Drainage
If native soil drains slower than 1 inch per hour, always add a 4 inch gravel base layer beneath any U shaped raised bed fill.
Yes checklist:
Space allows 3 foot minimum central path?
Local materials or kits fit your timeline?
Irrigation or frame plans match crop goals?
Slope under 5 degrees or levelable?
Expert Q&A
What soil depth provides the best root zone in the arms of a U shaped raised bed?
Aim for 12 to 18 inches of blended soil above any base layer. Shallower depths under 10 inches restrict root development for most edible crops while depths over 24 inches add unnecessary weight and cost without proportional gains in yield stability.
How do you prevent corner pooling in a U shaped raised bed after heavy rain?
Incorporate a 4 inch gravel base and slope the entire structure 1 percent toward the open end. Add perimeter weep holes at soil level if using solid panels or blocks. Test after the first heavy rain and adjust grading before planting season.
Can a U shaped raised bed support both low growing greens and tall vertical crops in the same season?
Yes when the arms host the vertical crops on trellis supports and the base holds compact greens or herbs. The center corridor provides unobstructed access for harvesting both layers without trampling lower plants.
What differs in winter preparation for a U shaped raised bed versus other shapes?
Cover the open center path with mulch or a temporary boardwalk to prevent soil compaction from foot traffic. Empty and store any removable frames or trellis panels to avoid snow load damage on the arms.
Is a U shaped raised bed suitable for crop rotation across multiple years?
The three sided layout allows clear division into zones for rotation: one arm for legumes, the opposite arm for brassicas, and the base for roots. The corridor simplifies record keeping and soil testing between seasons.
Conclusion
The deciding factor for any U shaped raised bed is matching the configuration to your Decision Grid branch so the central corridor actually improves daily workflow instead of becoming unused space. The most frequent mistake is building without first confirming the corridor width stays at least 30 inches after all accessories are in place.
Review your branch and gather materials for the Starter Stack pair, then consult our guide to winterizing raised beds once construction finishes to protect the investment through the off season.
Lead Data Architect
Umer Hayiat
Founder & Lead Data Architect at TheYieldGrid. I bridge the gap between complex agronomic data and practical growing, transforming verified agricultural science into accessible, mathematically precise tools and guides for serious growers.
View all tools & guides by Umer Hayiat →