Hardy kiwi vines succeed when the trellis matches their exact growth reach and heavy crop load rather than relying on generic sturdy posts. Most guides push one universal T-bar design without addressing how your row length and pruning access change the required wire layout and anchoring.
This article covers nine trellis systems suitable for home edible gardens in the US, UK, Canada, Australia, New Zealand, and parts of Europe. It focuses on Actinidia arguta (hardy kiwi) and excludes commercial vineyard machinery or fuzzy kiwi setups that scale differently.
You will gain clear decision rules to select a system that fits your linear footage, vine count, and harvest height so the structure remains intact through year three and beyond when vines hit full vigor.
Bottom line: Select your trellis by measuring your available row length first, then align it to the training steps that keep fruiting canes accessible.
The Yield Grid Decision Grid
Branch 1 (Small space): Your linear row measures 10 feet or less and you plan one vine. Recommended: Items 2, 5, 8 below.
Branch 2 (Medium space): Your row spans 10 to 25 feet with two to four vines. Recommended: Items 1, 4, 6 below.
Branch 3 (Large space): Your row exceeds 25 feet with five or more vines. Recommended: Items 3, 7, 9 below.
For training vines horizontally along supports see our guide to espalier fruit trees.
Quick Comparison Table
| Option | Key mechanism | Best for | Decision Grid Branch | Effort Score |
|---|---|---|---|---|
| T-Bar Trellis System | Central posts with crossarm and parallel wires | Medium rows with easy side access | Branch 2 | 3 |
| Cattle Panel Arch | Bent livestock panel on bent posts | Compact vertical growth in tight spots | Branch 1 | 2 |
| Overhead Pergola | Full overhead grid on perimeter posts | Shaded patio integration with high yield | Branch 3 | 5 |
| Multi-Wire Horizontal Grid | Multiple vertical wire planes on spaced posts | Row setups needing precise cane spacing | Branch 2 | 4 |
| Wall-Mounted Espalier | Wires anchored directly to existing wall or fence | Narrow boundaries with zero footprint | Branch 1 | 1 |
| Lean-To Fence Attachment | Slanted wires tied to sturdy fence line | Existing fence upgrades for one-sided growth | Branch 2 | 2 |
| Black Locust Post Framework | Natural rot-resistant posts with cross bracing | Long-term permanent installations | Branch 3 | 4 |
| Portable Pipe Frame | Galvanized pipe sections with quick connectors | Rental properties or seasonal testing | Branch 1 | 1 |
| Hybrid Shade Arbor | T-bar base topped with overhead lattice | Dual harvest and shade function | Branch 3 | 4 |
T-Bar Trellis System

Best for: Branch 2
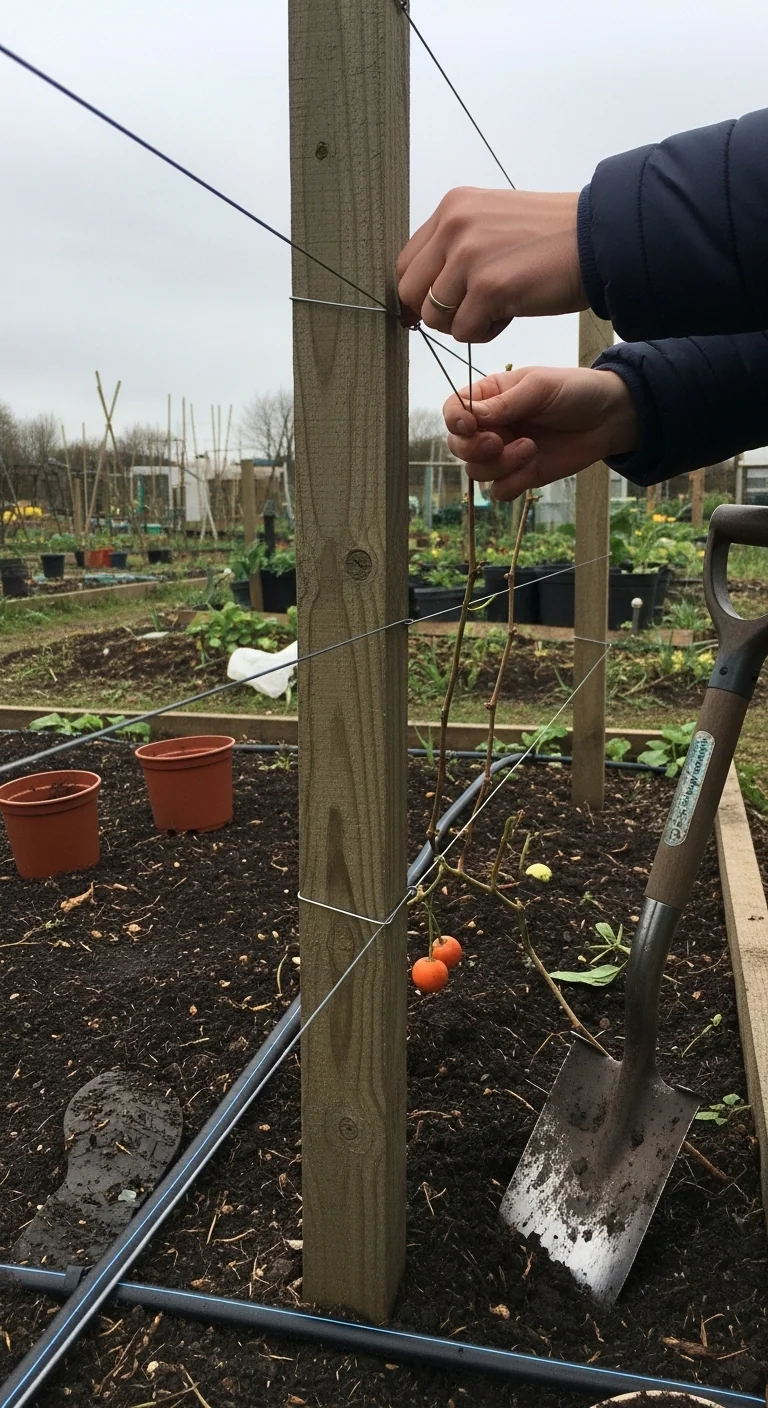
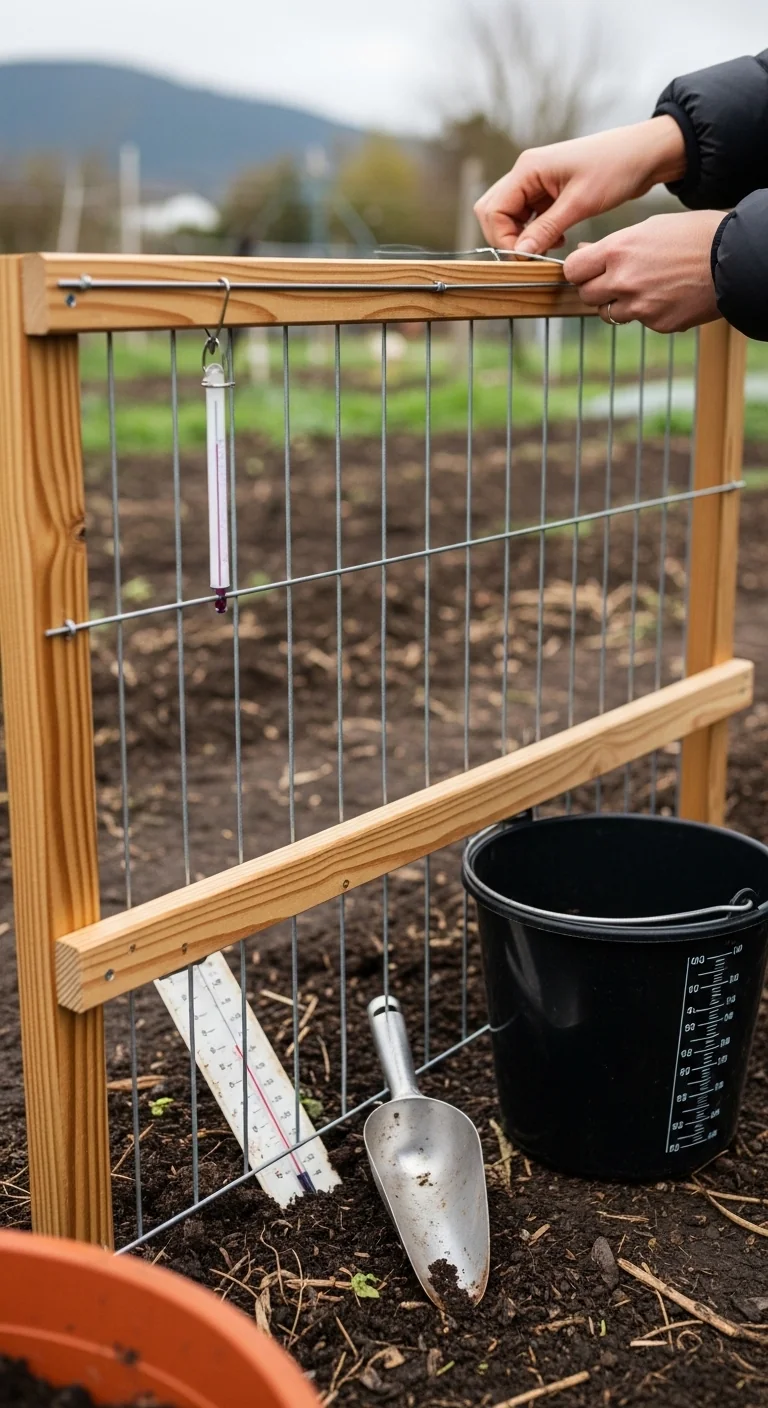
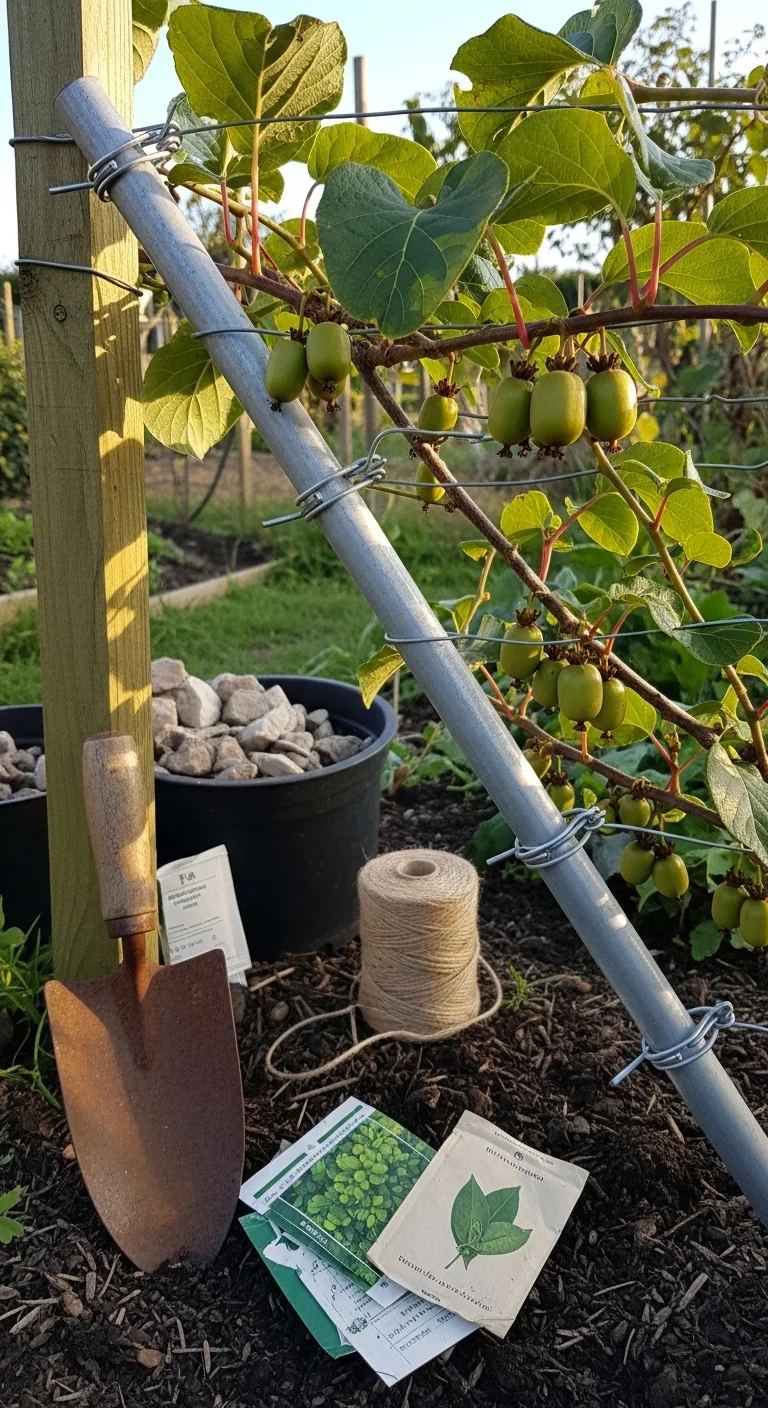
This system uses two to three 4- to 6-inch diameter treated posts set 15 to 20 feet apart with a horizontal crossarm at 6 to 7 feet high. High-tensile wires run parallel along the crossarm at 18- to 24-inch intervals. The lowest wire sits about 4 feet above ground to elevate fruit and improve airflow. Vines train to a single trunk then split into two cordons that run along the wires with fruiting laterals spaced 6 to 12 inches apart.
Build steps begin with setting end posts in concrete footings 2 to 3 feet deep for stability under loads that reach 100 pounds per mature vine. Add intermediate posts every 15 feet. Stretch wires tightly and attach with clips. This layout mirrors effective bramble support in blackberry trellis ideas.
Edge case: in zones with heavy winter snow load add diagonal bracing to the crossarm. Common mistake is placing the crossarm below 6 feet, which forces awkward bending during dormant pruning from December to March.
Cattle Panel Arch
Best for: Branch 1
Use versus skip: choose this when your space is narrow and you want an instant curved framework without custom cutting. Skip if you need straight rows for equipment access or plan more than two vines. It bends a standard 16-foot cattle panel into an arch over two bent posts and holds vines that twine upward while fruit hangs through the grid for easy picking.
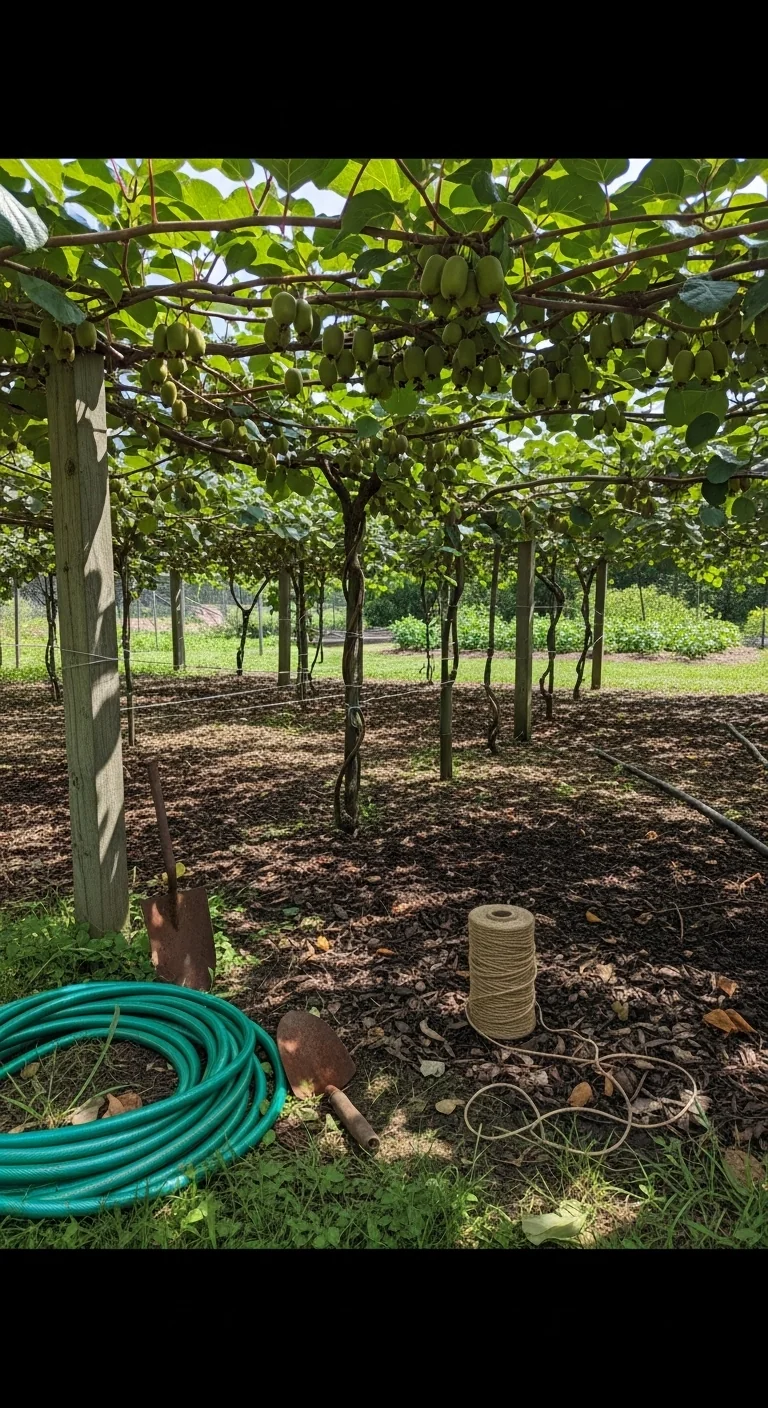
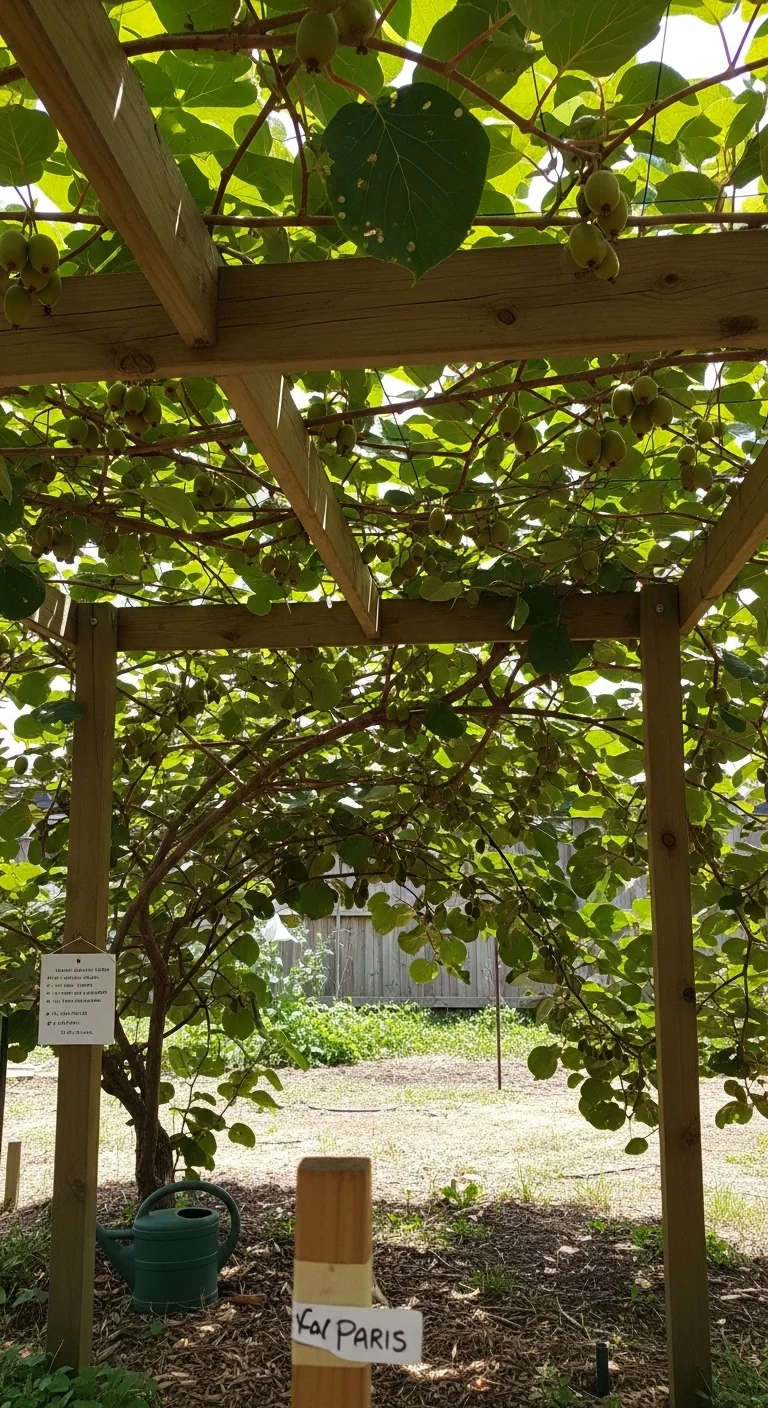
Overhead Pergola

Best for: Branch 3
Threshold rule: install only when your row exceeds 25 feet and you can commit to 6- to 7-foot height clearance. Use 4-inch posts spaced 15 feet apart around the perimeter with overhead wires or lattice forming a grid. This creates a shaded walkway but requires the strongest anchors because the entire vine canopy sits above head level. Adjust wire spacing to 18 inches vertically if summer pruning will occur multiple times per season.
Unique detail: north-south orientation maximizes light on both sides of the canopy in northern hemisphere gardens.
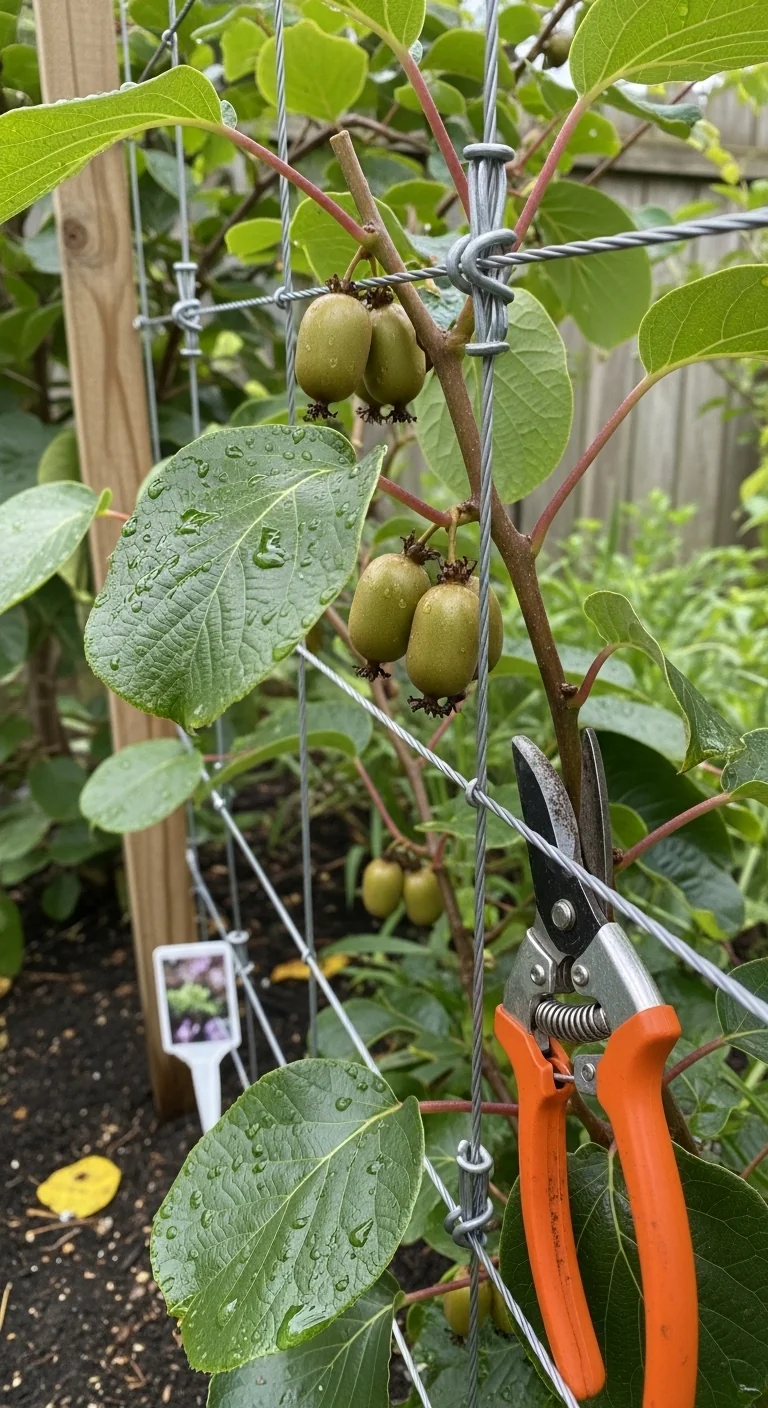
Multi-Wire Horizontal Grid
Best for: Branch 2
10-minute workflow: drive three 4-inch posts per 15-foot bay, attach crossarms, then string four wires per side at 18- to 24-inch vertical intervals in under 10 minutes per bay once posts cure. Upgrade option: switch to metal posts if soil is heavy clay to avoid rot after five years. This system gives precise control over cordon placement and works especially well when integrated with raspberry supports for mixed berry rows.
Wall-Mounted Espalier
Best for: Branch 1
Use versus skip: ideal for urban lots where ground space is under 10 feet but a south-facing wall or fence exists. Skip in high-wind zones without additional diagonal ties. Anchor eye bolts every 18 inches vertically starting at 4 feet high and run wires horizontally. Train the trunk straight up then develop cordons outward along the wall.
Lean-To Fence Attachment
Best for: Branch 2
This system leans wires at a 45-degree angle from a sturdy existing fence line to ground anchors 5 to 6 feet out. Posts or stakes every 10 to 15 feet support the upper wire plane. It suits medium rows where one side already has a boundary and saves material costs. Similar vine training appears in passionfruit vine care setups.
Edge case: works in zones 5 through 8 but add wind bracing in exposed coastal areas of the UK or Canada.
Black Locust Post Framework
Best for: Branch 3
Black locust posts resist rot for 20-plus years without treatment. Set 8- to 10-foot lengths 3 feet deep every 15 feet with cross bracing at the top. Run multiple wire planes at 18-inch intervals. This permanent framework handles the full vigor of multiple vines in large gardens and requires only annual wire tension checks. Unique detail: source posts locally where black locust grows natively to keep costs moderate.
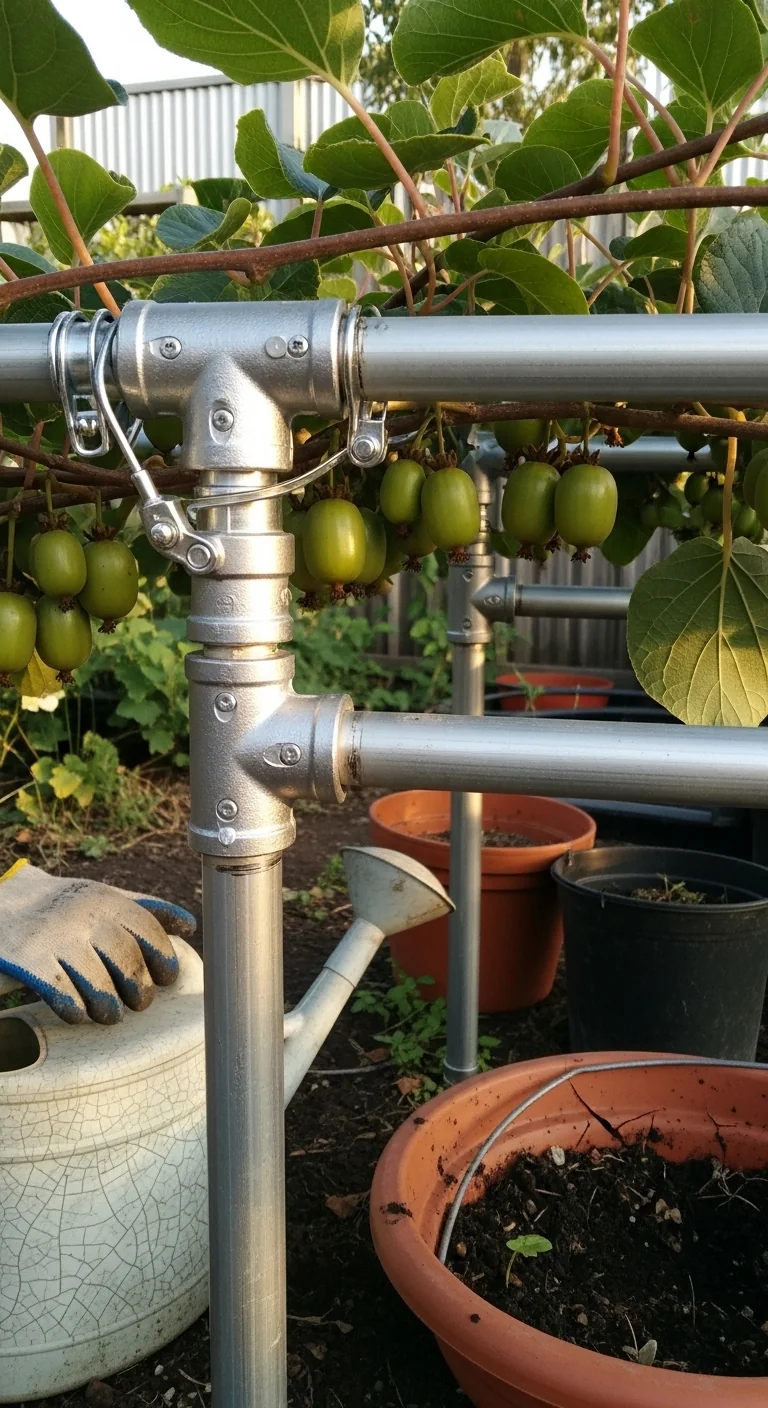
Portable Pipe Frame
Best for: Branch 1
Use versus skip: select for rental properties or trial plantings because the entire frame disassembles with quick-connect fittings. Skip for permanent high-production goals. Use 1.5-inch galvanized pipe sections to form a 6- by 8-foot rectangle with two internal cross wires. Move or store when needed.
Hybrid Shade Arbor
Best for: Branch 3
Threshold rule: build when you want both fruit production and summer shade. Combine a T-bar base with overhead lattice panels on 4-inch posts. Wires run horizontally at 18- to 24-inch spacing under the lattice. Height stays at 7 feet maximum for safe ladder-free harvest.
Starter Stack (What to Choose First)
For Branch 1 Small Spaces
Start with Cattle Panel Arch plus Wall-Mounted Espalier. The arch gives immediate vertical structure while the espalier uses the boundary for zero added footprint. Synergy comes from training one vine section on each for balanced pollination. Estimated materials cost 80 to 180 dollars and build time 3 to 5 hours.
For Branch 2 Medium Spaces
Start with T-Bar Trellis System plus Lean-To Fence Attachment. The T-bar handles main production while the lean-to expands along an existing fence. Synergy allows cordons to connect across sections for easier dormant pruning. Estimated materials cost 200 to 450 dollars and build time 6 to 10 hours.
For Branch 3 Large Spaces
Start with Overhead Pergola plus Black Locust Post Framework. The pergola creates shaded harvest zones while black locust posts provide rot-proof permanence. Synergy supports heavy crop loads across the full row. Estimated materials cost 500 to 900 dollars and build time 12 to 20 hours.
When This Won’t Work
A trellis fails when posts measure under 4 inches in diameter and sit in loose soil without concrete footings. The vines pull the structure sideways by year three once they reach full spread. Switch to metal posts or add diagonal bracing in such conditions.
It also fails when overall height stays below 6 feet because you cannot stand underneath for summer pruning or harvest. Raise the crossarms or choose a taller system before planting. Once the trellis is stable add bird netting for fruit protection.
Choosing the Right Option for Your Situation
Budget Threshold
Under 200 dollars limits you to Cattle Panel Arch, Wall-Mounted Espalier, or Portable Pipe Frame. These deliver full function without concrete or heavy lumber.
Time Threshold
One weekend or less points to systems rated effort 1 or 2. Avoid anything needing concrete curing time or multiple bracing layers.
High Wind or Snow Load Constraint
In exposed sites or areas with winter accumulation over 12 inches choose systems with concrete footings and cross bracing such as T-Bar or Black Locust Post Framework.
Yes if your row length matches one decision grid branch and you can maintain 6- to 7-foot clearance.
No if posts are thinner than 4 inches or you skip concrete in soft soil.
Yes if you plan dormant pruning access from below.
No if the chosen system blocks equipment or path use in your layout.
Expert Q&A
How does wire spacing affect winter pruning on a hardy kiwi trellis?
Spacing wires 18 to 24 inches apart lets you reach every fruiting lateral without fighting dense growth. Closer spacing crowds canes and forces removal of up to 70 percent of wood each dormant season from December to March.
What trunk-to-cordon training timeline keeps the trellis load balanced?
Year one grows a single trunk to the top wire. Year two selects two cordons trained horizontally. By year three fruiting laterals fill the 6- to 12-inch spacing. This schedule prevents overload on any single wire plane.
Does male vine placement change trellis layout requirements?
Males need only 5 feet of space versus 10 to 15 feet for females. Place the male centrally within 50 feet of females on the same wire system so pollen reaches evenly without extra posts.
How do you adjust trellis height for zones with short growing seasons?
Keep the 6- to 7-foot standard even in cooler zones 4 to 6. Lower height reduces airflow and increases disease pressure while making harvest harder in a compact canopy.
Can you combine hardy kiwi with other vines on one trellis?
Yes when vigor levels match and you keep separate cordons. Passionfruit or certain melons share wire planes if spaced 15 feet apart and pruned to avoid entanglement.
Conclusion
The right hardy kiwi trellis turns a vigorous vine into a reliable producer when it matches your measured space and pruning access. The number-one mistake remains under-sizing posts or skipping concrete footings, which leads to collapse once the crop load peaks.
Install the chosen system before planting so roots stay undisturbed. Next review raspberry pruning techniques to keep your kiwi canes productive for decades.
Lead Data Architect
Umer Hayiat
Founder & Lead Data Architect at TheYieldGrid. I bridge the gap between complex agronomic data and practical growing, transforming verified agricultural science into accessible, mathematically precise tools and guides for serious growers.
View all tools & guides by Umer Hayiat →