Thyme plant care succeeds when you prioritize one upfront setup choice that most guides overlook: matching soil drainage speed and light exposure to its Mediterranean roots instead of applying routine watering or feeding schedules.
This article details soil mixes, watering thresholds, sunlight positioning, pruning, propagation, overwintering, and companion strategies for common thyme (Thymus vulgaris). It leaves out flavor profiles across varieties and recipe applications.
You will finish with a clear protocol for your exact space type so you can sidestep root rot and keep plants productive for years with minimal follow-up checks.
Bottom line: Run a simple percolation test on your soil first, then follow the branch-specific options below.
The The Yield Grid Decision Grid
Branch 1: Your in-ground or raised bed soil drains a test hole (filled with water) in under 30 minutes and receives at least six hours of direct sun daily. Recommended: Items 1, 4, and 8 below.
Branch 2: Your setup uses containers or balcony planters that dry out within one to two days after watering. Recommended: Items 2, 5, and 7 below. See our guide to raised bed herb gardens for hybrid options.
Branch 3: Your location offers four to six hours of light or relies on grow lights indoors. Recommended: Items 3, 6, and 9 below.
Quick Comparison Table
| Option | Key mechanism | Best for | Decision Grid Branch | Effort Score |
|---|---|---|---|---|
| Soil Preparation Protocol | Grit and sand amendment for rapid drainage | In-ground beds | Branch 1 | 1 |
| Sunlight Positioning Guidelines | South-facing placement with reflective mulch | Outdoor full sun | Branch 1 | 2 |
| Watering Thresholds | Finger test at two-inch depth | All setups once established | Branch 2 | 1 |
| Pruning and Shaping Techniques | Post-flowering cutbacks to woody base | Perennial maintenance | Branch 1 | 2 |
| Container Adjustments | Elevated pot feet and grit top-dress | Limited soil volume | Branch 2 | 2 |
| Overwintering Protection | Light mulch after ground freeze | Colder zones | Branch 3 | 1 |
| Propagation Methods | Stem cuttings in sand mix | Expanding stock | Branch 2 | 3 |
| Companion Planting Pairings | Drought-tolerant neighbors for airflow | Outdoor beds | Branch 1 | 1 |
| Indoor Light Supplementation | Full-spectrum grow lights on timers | Low natural light | Branch 3 | 3 |
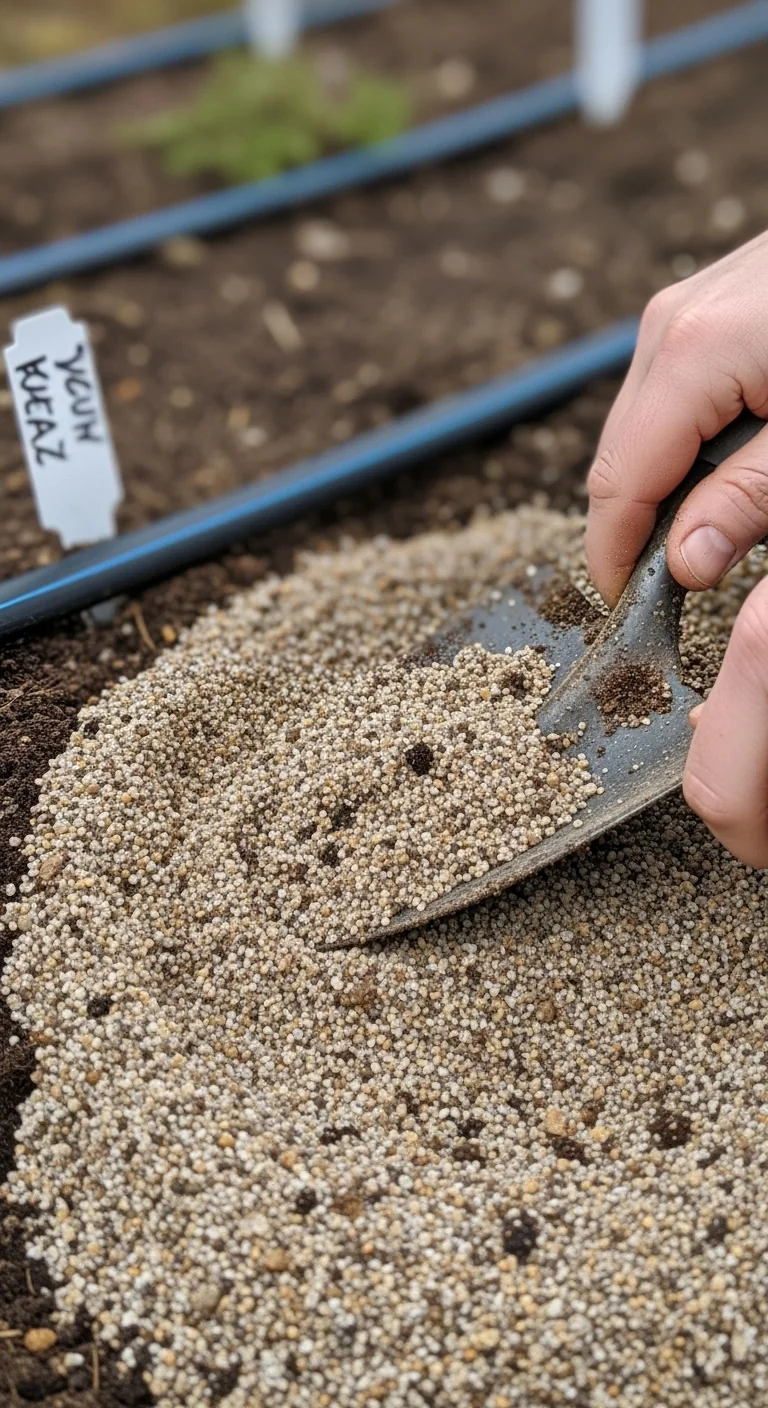
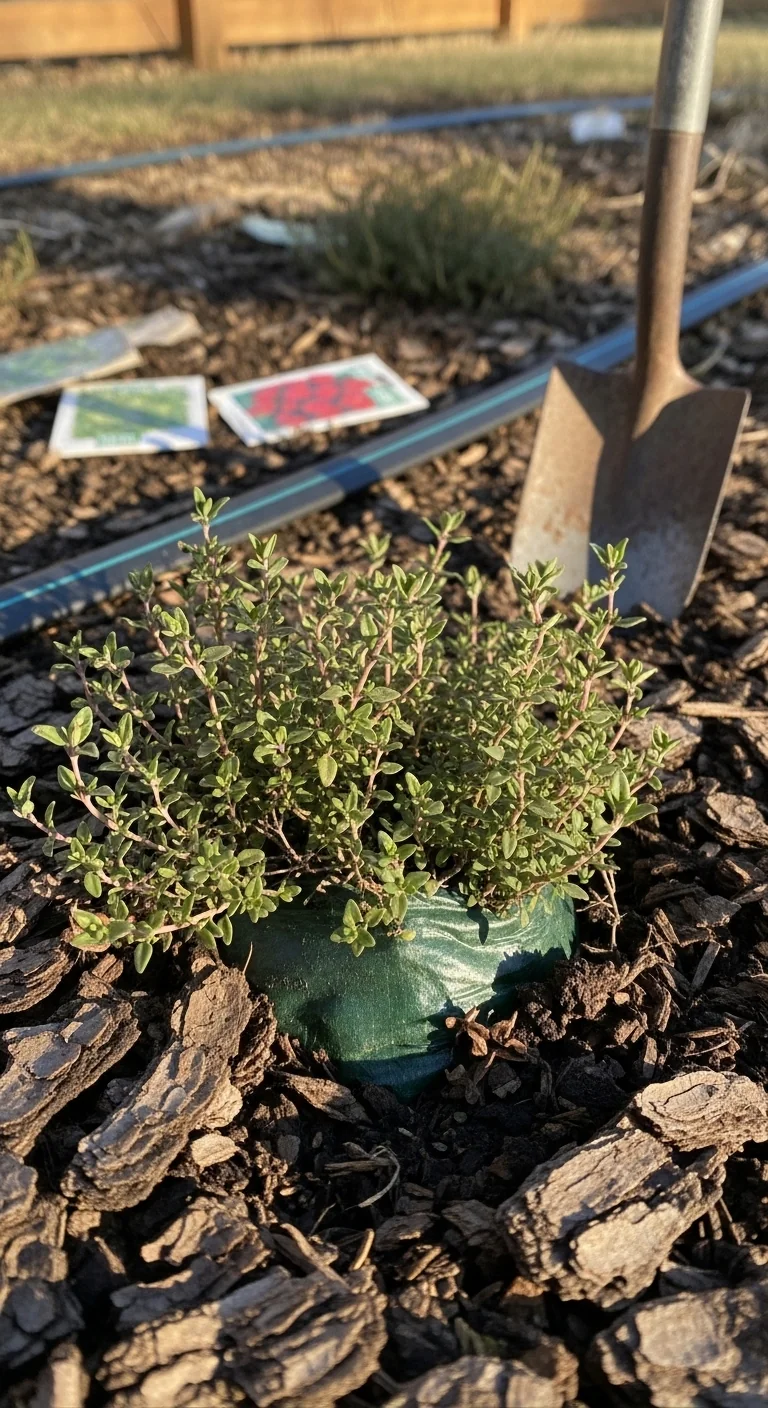
Soil Preparation Protocol

Best for: Branch 1
Thyme demands lean, fast-draining soil to prevent root rot. Mix existing garden soil with equal parts coarse sand or horticultural grit and a small amount of compost. Target pH stays between 6.0 and 8.0. Test drainage by digging a six-inch hole, filling it with water, and timing how quickly it empties: under 30 minutes confirms suitability. If slower, raise the bed or switch to containers. This single mix supports thyme for multiple seasons without further amendment. Apply the blend at planting time only. Avoid rich potting mixes that retain moisture. In zones with heavy clay, incorporate gravel at the base of the planting hole for extra insurance against winter saturation.
Sunlight Positioning Guidelines
Best for: Branch 1
Place thyme where it receives at least six hours of direct sun daily. South-facing borders or slopes work best in the northern hemisphere. Use light-colored mulch or gravel around the base to reflect extra light and keep soil surface dry. In partial shade, growth slows and flavor weakens. Rotate containers weekly if light is uneven. This step locks in compact, aromatic foliage without extra inputs.
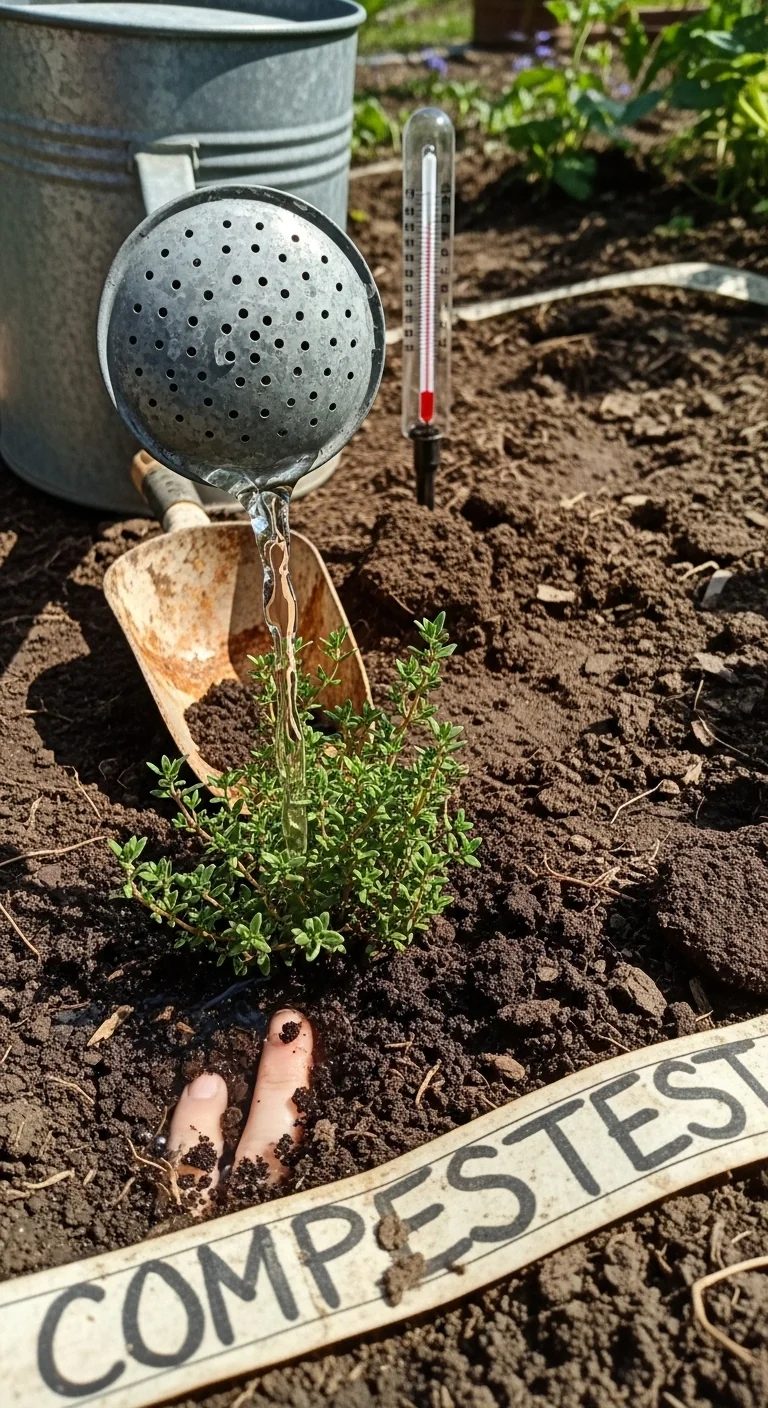
Watering Thresholds
Best for: Branch 2
Established thyme tolerates drought. Insert your finger two inches into the soil: water only when it feels completely dry. In containers this may occur every seven to ten days in summer heat. Skip watering entirely during rainy periods or once plants reach full size. Overly frequent checks lead to soggy roots. Use a pot with multiple drainage holes and elevate it on feet to speed evaporation.
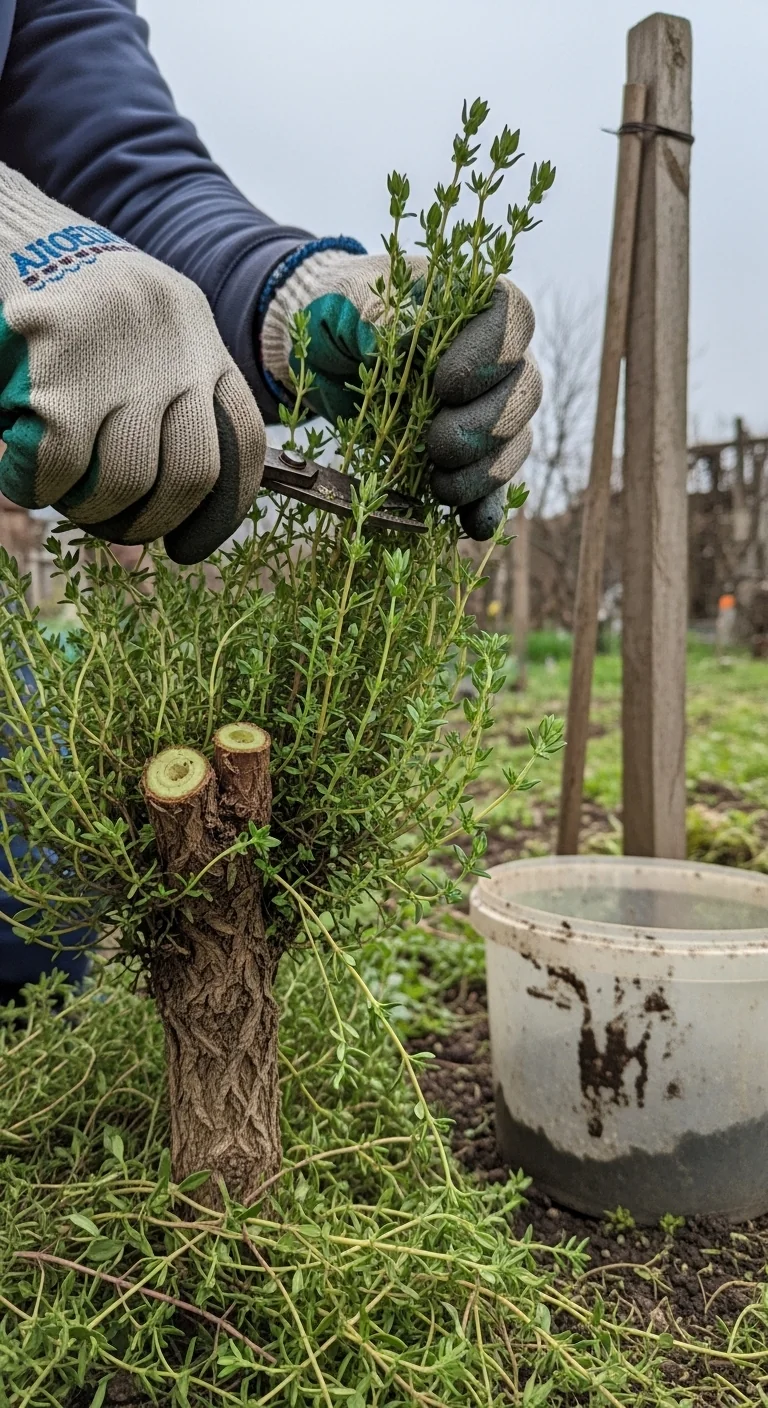
Pruning and Shaping Techniques
Best for: Branch 1
Prune thyme lightly after flowering in early summer by cutting stems back to just above the woody base. Remove no more than one-third of the plant at a time. This keeps growth bushy and prevents legginess. Harvest sprigs anytime for kitchen use, but always leave at least five inches of green growth. In spring, trim away any winter-damaged tips before new leaves emerge. Regular light cuts extend plant life beyond five years in suitable conditions. Avoid cutting into bare wood, which slows recovery. Combine pruning with harvesting to maintain shape without separate sessions.
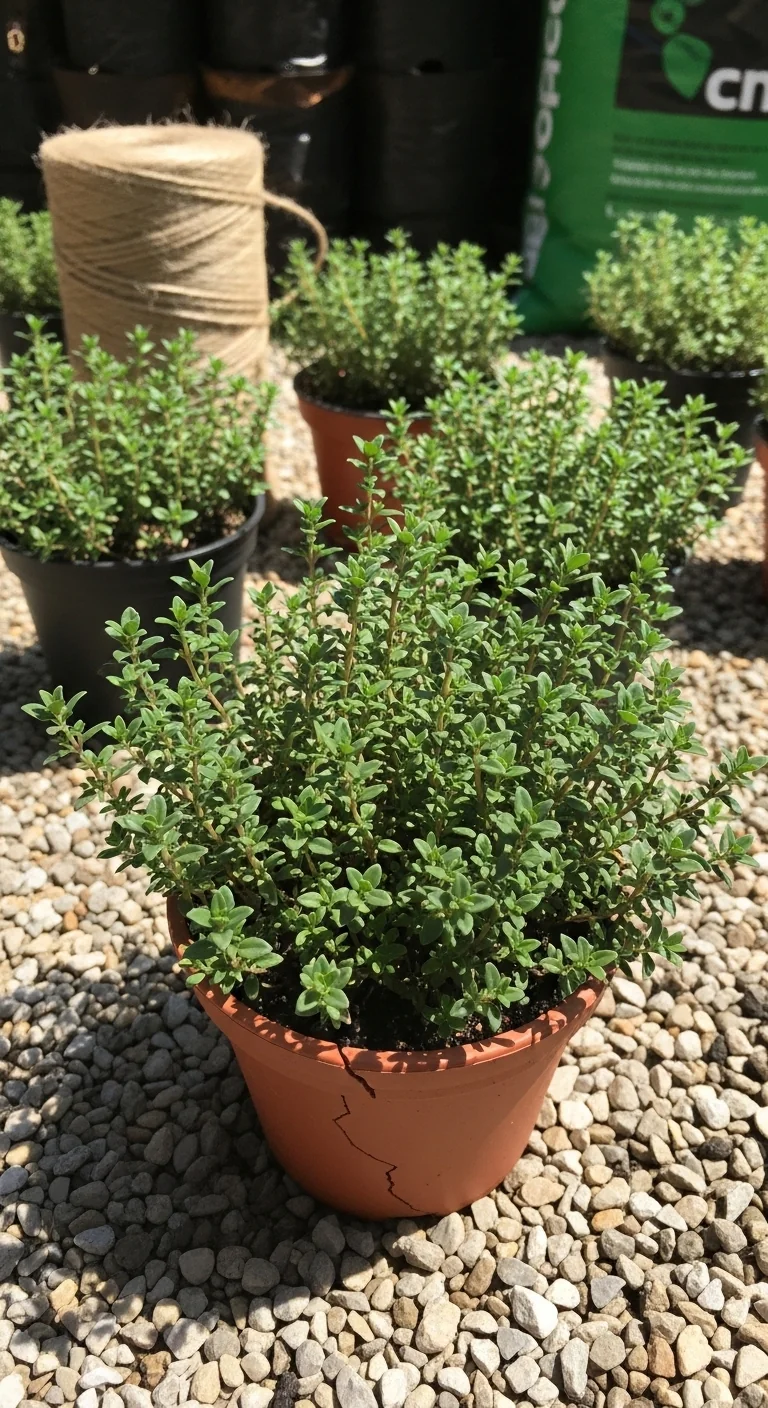
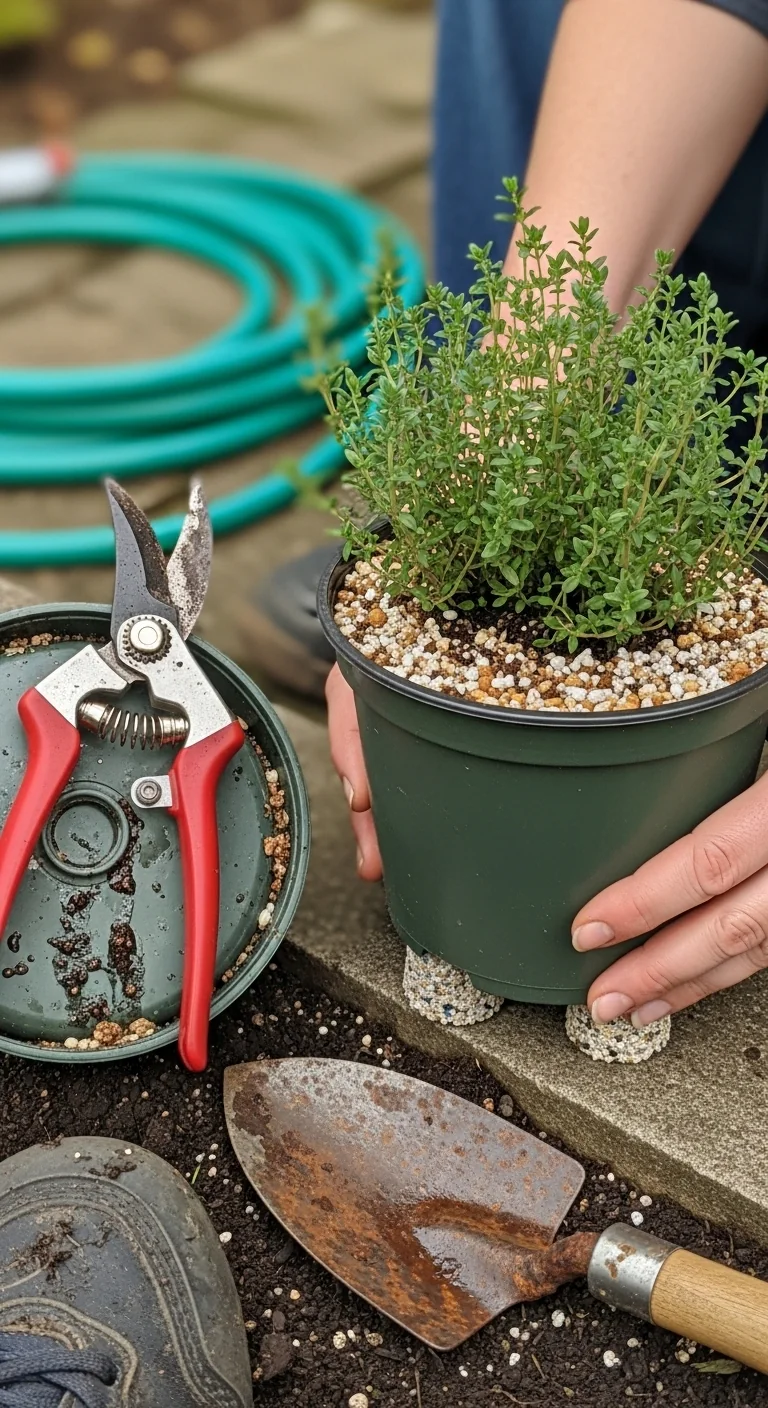
Container Adjustments
Best for: Branch 2
Choose pots at least eight inches deep with drainage holes. Fill with a 50:50 blend of potting soil and coarse sand. Top-dress with gravel to reduce surface moisture. Position containers against a south wall for reflected heat. Check soil dryness more often than in-ground plants because smaller volume dries faster. Refresh the top inch of mix each spring.
Overwintering Protection
Best for: Branch 3
In zones below five, apply a two-inch layer of light mulch such as straw or evergreen boughs after the ground freezes. Remove mulch in early spring to avoid rot. Container plants move to a sheltered spot against the house or into an unheated garage. Water sparingly during winter dormancy when soil remains frozen. This protection keeps roots alive without active growth.
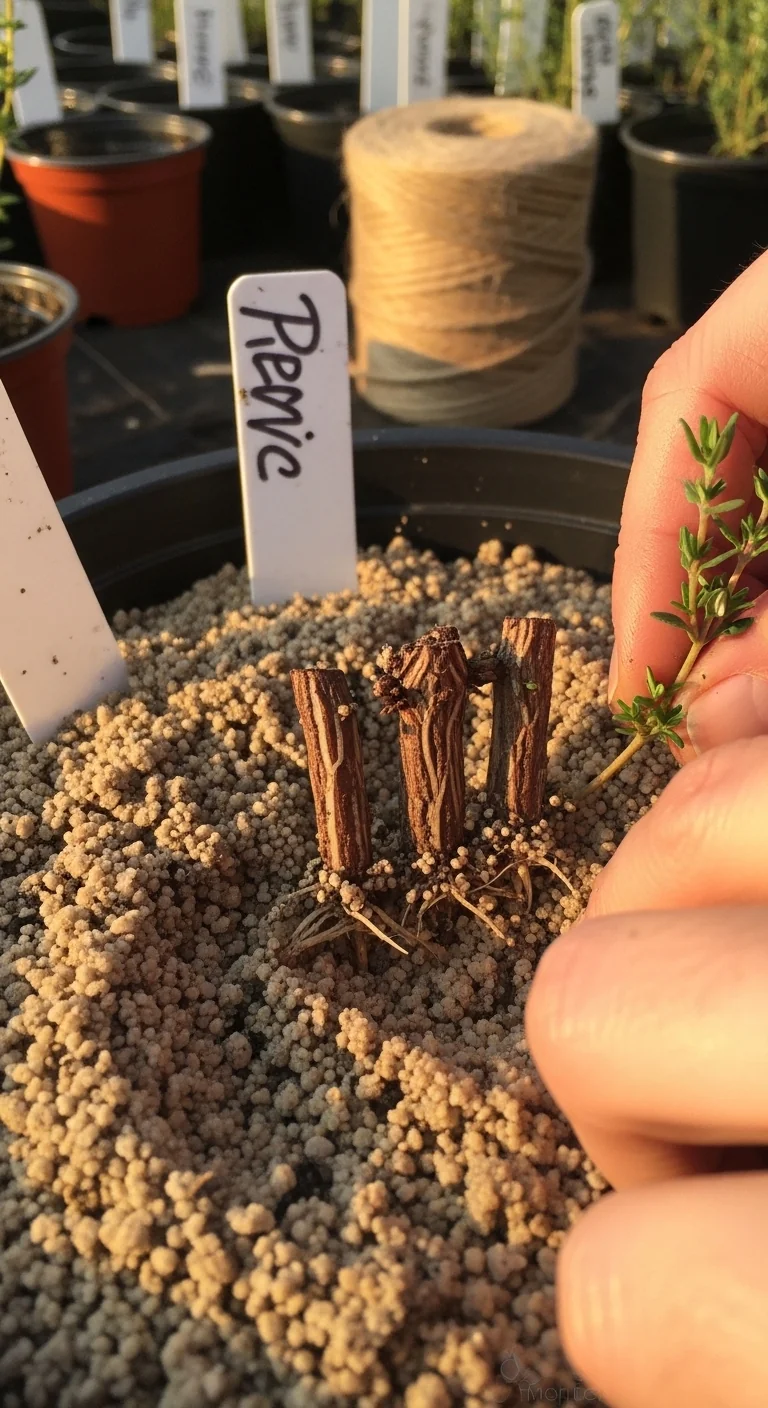
Propagation Methods
Best for: Branch 2
Take four-inch stem cuttings in late spring or early summer. Strip lower leaves and insert into a sand-perlite mix kept barely moist. Roots form within two to three weeks at room temperature with bright indirect light. Transplant once new growth appears. Seed starting works but takes longer and requires consistent surface moisture until germination. Cuttings produce identical plants faster than seed and suit container expansion. Space new plants 12 to 18 inches apart once moved outdoors.
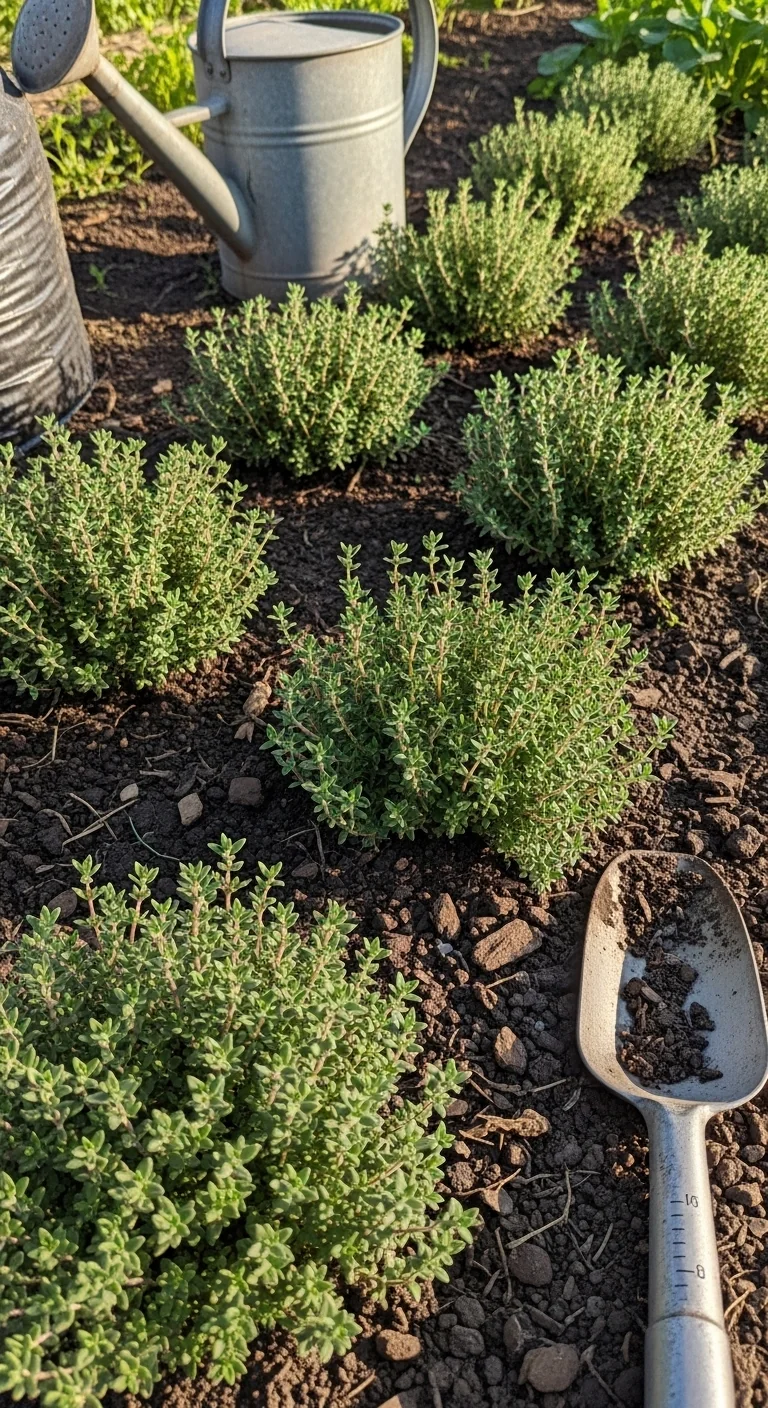
Companion Planting Pairings
Best for: Branch 1
Pair thyme with other drought-tolerant herbs such as rosemary, sage, or oregano. These neighbors share similar soil and water needs and improve airflow to reduce fungal risk. Avoid pairing with moisture-loving plants like basil or mint that require more frequent watering. Position thyme at the front of beds for easy harvest access.
Indoor Light Supplementation
Best for: Branch 3
Provide 12 to 14 hours of full-spectrum grow light daily when natural sun falls short. Keep lights six to eight inches above foliage and run a small fan for air circulation. Maintain daytime temperatures between 65 and 75 degrees Fahrenheit. Water only when the top inch dries. Rotate plants weekly for even exposure. This schedule supports steady leaf production through winter months.
Starter Stack (What to Choose First)
For Branch 1 (In-Ground or Raised Beds)
Start with Soil Preparation Protocol and Pruning and Shaping Techniques. The drainage mix sets the foundation while seasonal pruning maintains shape. Combined time investment stays under 30 minutes at planting plus one 15-minute trim per year.
For Branch 2 (Containers or Balconies)
Begin with Container Adjustments and Propagation Methods. Elevated pots with grit prevent sogginess while cuttings expand your stock cheaply. Expect 20 minutes of setup per pot and one propagation session lasting 10 minutes.
For Branch 3 (Low Light or Indoor)
Choose Overwintering Protection and Indoor Light Supplementation. Mulch safeguards roots in cold snaps while lights replace missing sun. Setup takes 25 minutes initially with weekly light checks under five minutes.
When This Won’t Work
Thyme fails when soil stays saturated longer than 48 hours after rain or watering. Switch to raised containers or add more grit and sand to the mix. It also struggles with fewer than four hours of direct light daily even with supplementation. Relocate to a brighter spot or install stronger grow lights immediately. In both cases, test conditions with a soil moisture meter and light meter before replanting.
Choosing the Right Option for Your Situation
Budget Threshold
Under 20 dollars per plant: select bare-root or small nursery starts and use existing garden soil amended with free sand or gravel. Above that amount, invest in quality pots and grow lights for indoor setups.
Time Threshold
Less than 10 minutes weekly: stick to Branch 1 or 2 options that need only seasonal checks. More time available: add propagation and indoor supplementation for year-round supply.
Technical Constraint
Poor native drainage or limited sun: prioritize containers with custom mixes and supplemental lighting. Heavy clay or shaded yards require full conversion to raised systems.
Yes if your soil drains fast and you have full sun: follow Branch 1. No if pots stay wet or light is low: move to Branch 2 or 3. Yes if you test conditions first: success rate stays high. No if you skip drainage checks: root issues follow.
Expert Q&A
How does thyme differ from rosemary in cold tolerance?
Thyme survives lower temperatures than rosemary in most zones because its woody base protects roots better. Both need excellent drainage, but thyme tolerates brief freezes down to zone 4 with mulch while rosemary often requires zone 7 or protection below that.
Can lemon thyme follow the same care rules as common thyme?
Lemon thyme shares identical soil, water, and light needs with common thyme. The only difference appears in flavor intensity, which stays stronger when plants receive full sun and minimal fertilizer.
What seed starting mistakes reduce thyme germination indoors?
Surface sowing without covering seeds and keeping soil too wet cause most failures. Maintain 70-degree soil temperature and mist lightly until sprouts appear in 14 to 21 days.
Does thyme need division every few years like other perennials?
Division helps only when centers become woody and sparse after four to five years. Lift, separate healthy outer sections, and replant in fresh amended soil to restore vigor.
How do you adjust care when moving thyme from outdoors to indoors for winter?
Gradually reduce watering frequency and introduce grow lights before the first frost. Keep indoor humidity low with airflow to prevent mildew while maintaining the same dry soil rule.
Conclusion
Thyme plant care boils down to choosing the drainage-matched setup first and then applying restraint in watering and feeding. The biggest mistake remains overwatering or using rich soil that stays damp. Follow the decision grid and your chosen options to maintain productive plants season after season.
Take the next step by reviewing our beginner overview for more ways to integrate thyme into your overall herb plan. Start here to build your full edible garden layout.
Lead Data Architect
Umer Hayiat
Founder & Lead Data Architect at TheYieldGrid. I bridge the gap between complex agronomic data and practical growing, transforming verified agricultural science into accessible, mathematically precise tools and guides for serious growers.
View all tools & guides by Umer Hayiat →