
Most compost bin idea lists jump straight to materials and assembly, as if the only question is “what can you build cheaply.” The better question is “how do you want your organic waste to break down?” because that choice dictates bin design, not the other way around. Your decomposition pathway determines everything from bin size and material to how often you interact with the pile.
This article covers 12 compost bin configurations spanning three decomposition pathways: hot aerobic composting (fast, high-effort), cold passive composting (slow, low-effort), and indoor accelerated systems (vermicomposting, bokashi, electric). Every option includes a budget tier relative to US, UK, Canada, Australia, New Zealand, India, and South Africa markets. Excluded are general composting tutorials and soil amendment recipes (those live elsewhere on The Yield Grid).
By the end, you will be able to match your available time, space, and waste type to a specific bin setup. You will also understand which pathway your situation demands and why forcing a bin onto the wrong pathway is the most common composting mistake.
Bottom line: Pick your decomposition method first; the bin is just the container that makes that method work.
The Yield Grid Decision Grid
Answer one question: how fast do you need finished compost, and how much effort can you sustain? Your answer places you in one of three branches. Each branch lists measurable conditions that must be met for success. If you are new to composting, start with Branch 2 (cold composting) to build confidence before committing to the monitoring demands of hot systems.
Branch 1: Hot & Fast (8 Weeks or Less)
You need finished compost in 4 to 8 weeks and are willing to turn the pile at least once per week. Conditions: pile volume must reach at least 1 cubic yard (roughly 1 cubic meter) to generate self-insulating heat; internal temperature must hold between 130 and 160 degrees Fahrenheit (55 to 70 degrees Celsius) for at least 72 hours to kill weed seeds; carbon-to-nitrogen ratio must be maintained near 30:1 by volume. If your pile drops below 110 degrees Fahrenheit, it has entered cold-composting territory and decomposition will slow significantly. Recommended: Items 1, 2, 9 below.
Branch 2: Set & Forget (6 to 12 Months)
You add materials as they become available and let nature take its course. Conditions: no minimum volume requirement (though larger piles retain moisture better); no mandatory turning schedule; accepts a wider range of materials including weedy plants and coarse woody waste that would slow a hot pile. The trade-off is time: expect 6 to 12 months for finished compost, longer in cool climates. Recommended: Items 3, 4, 7, 10, 12 below.
Branch 3: Indoor & Small-Space (2 to 4 Weeks to Pre-Compost)
You have no outdoor space, or you generate primarily kitchen scraps with minimal yard waste. Conditions: bin must fit indoors or on a balcony; odor control and pest exclusion are non-negotiable; most systems produce a pre-compost product that requires a secondary curing step in soil or a traditional pile. Recommended: Items 5, 6, 8, 11 below.
Quick Comparison Table
| Option | Key Mechanism | Best For | Decision Grid Branch | Budget Tier |
|---|---|---|---|---|
| 1. Three-Bin Pallet System | Aerobic hot composting with staged turnover | Large gardens with high yard waste volume | Branch 1 | Low–Medium |
| 2. Tumbling Composter | Rotating drum aerates by tumbling | Medium gardens, cooks who want faster results | Branch 1 | Medium |
| 3. Wire Mesh Bin | Open-air passive decomposition | Leaf-heavy yards, low-effort gardeners | Branch 2 | Low |
| 4. Plastic Dalek Bin | Enclosed cold composting with bottom harvest door | Small to medium gardens, beginners | Branch 2 | Low–Medium |
| 5. Worm Bin | Red wiggler worms digest kitchen scraps | Apartment dwellers, indoor composters | Branch 3 | Low–Medium |
| 6. Bokashi Bucket | Anaerobic fermentation with inoculated bran | Kitchens producing cooked food and meat scraps | Branch 3 | Low |
| 7. In-Ground Digester | Underground perforated chamber feeds soil directly | Gardens with poor soil, no turning desired | Branch 2 | Low |
| 8. Electric Composter | Heat and grinding produce dehydrated crumb | Kitchens with zero outdoor access | Branch 3 | High |
| 9. Dual-Chamber Tumbler | Two rotating chambers for continuous batch composting | Households wanting uninterrupted compost supply | Branch 1 | Medium |
| 10. Leaf Mold Bin | Fungal decomposition of autumn leaves only | Wooded properties with heavy leaf fall | Branch 2 | Low |
| 11. Countertop Collector | Temporary storage for transport to municipal or garden compost | Urban residents using community compost programs | Branch 3 | Low |
| 12. Hügelkultur Bed | Buried wood core decomposes over years, feeding plants | Permaculture gardens, water-conserving landscapes | Branch 2 | Low |
1. Three-Bin Pallet System
Best for: Branch 1 (Hot Composting)
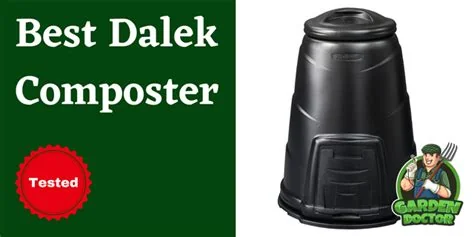
What: A three-bay structure built from heat-treated (HT) pallets, each bay roughly 3 feet by 3 feet by 3 feet (1 cubic yard). Bay 1 receives fresh material, bay 2 holds actively cooking compost at 130–160 degrees Fahrenheit, and bay 3 stores finished compost ready for use. Who it suits: Gardeners generating at least 4 to 5 gallons of combined kitchen and yard waste per week, with space for a 9-foot by 3-foot footprint. Basic steps: Level the ground where your bins will sit. Stand four pallets upright to form each bay, lashing corners with galvanized wire or heavy-duty zip ties. Leave the front pallet of each bay removable or hinged for access. Fill bay 1, then turn the entire contents into bay 2 after 2 to 3 weeks when internal temperature drops below 110 degrees Fahrenheit. Repeat into bay 3 for curing. Common mistake: Using pallets stamped MB (methyl bromide fumigant), which can leave residues that inhibit microbial activity. Only use pallets marked HT (heat-treated) or debarked (DB). For a deeper understanding of the temperature thresholds that make this system work, see our hot composting method guide.
2. Tumbling Composter
Best for: Branch 1 (Hot Composting)
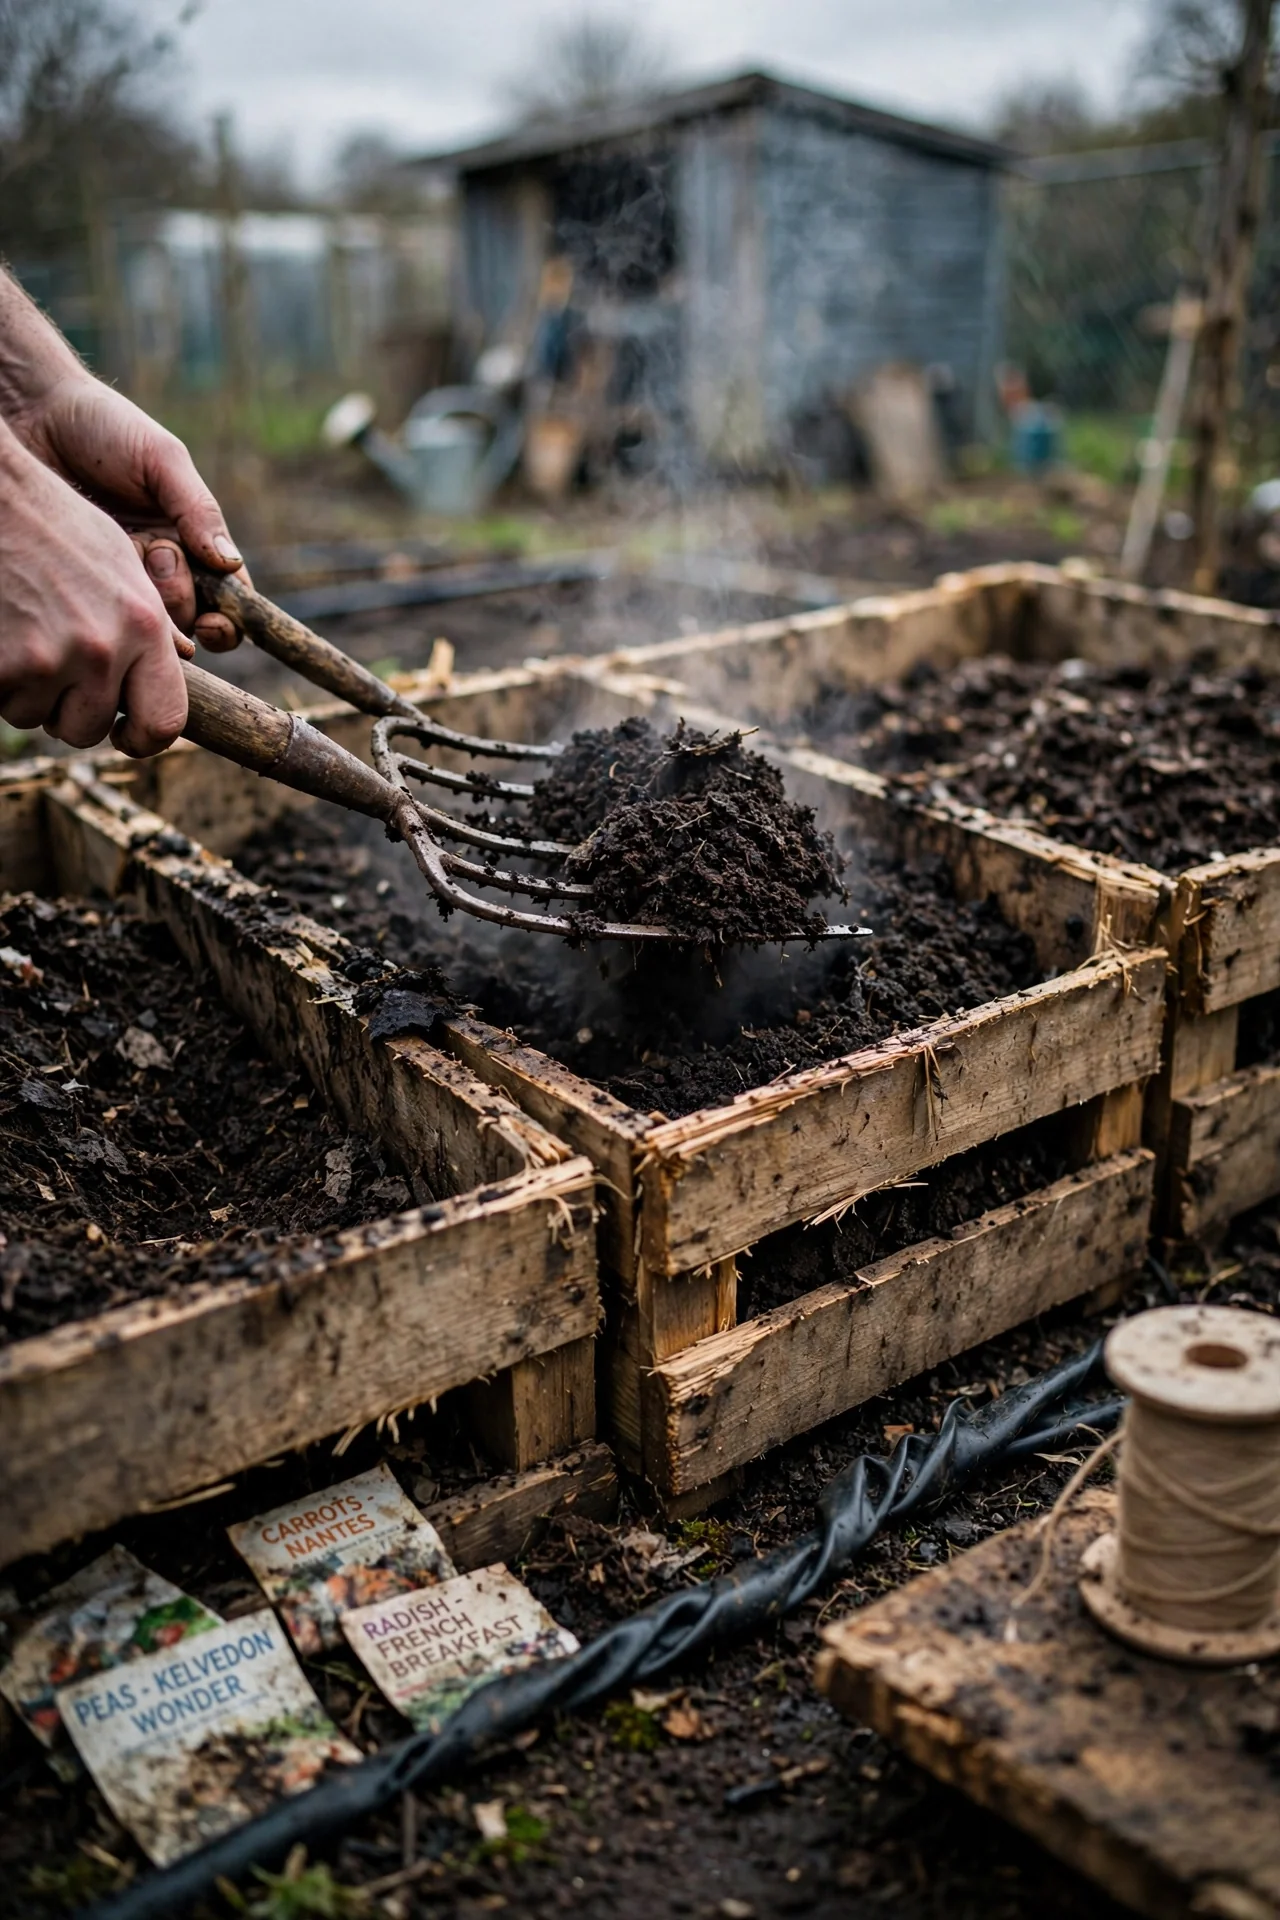
Use when: You want finished compost in 4 to 6 weeks and have a moderate waste stream (roughly 2 to 3 gallons per week). Tumblers reach thermophilic temperatures faster than static bins because rotating every 2 to 3 days injects oxygen evenly. Skip when: Your waste includes large volumes of woody prunings or corn stalks; these jam the rotating mechanism. Also skip if you live in a cold climate where the elevated drum freezes solid; ground-contact bins fare better. Edge case: Single-chamber tumblers force you to stop adding fresh material once the batch begins. A dual-chamber model (see item 9) solves this by letting one side cure while you fill the other.
3. Wire Mesh Bin
Best for: Branch 2 (Cold Composting)
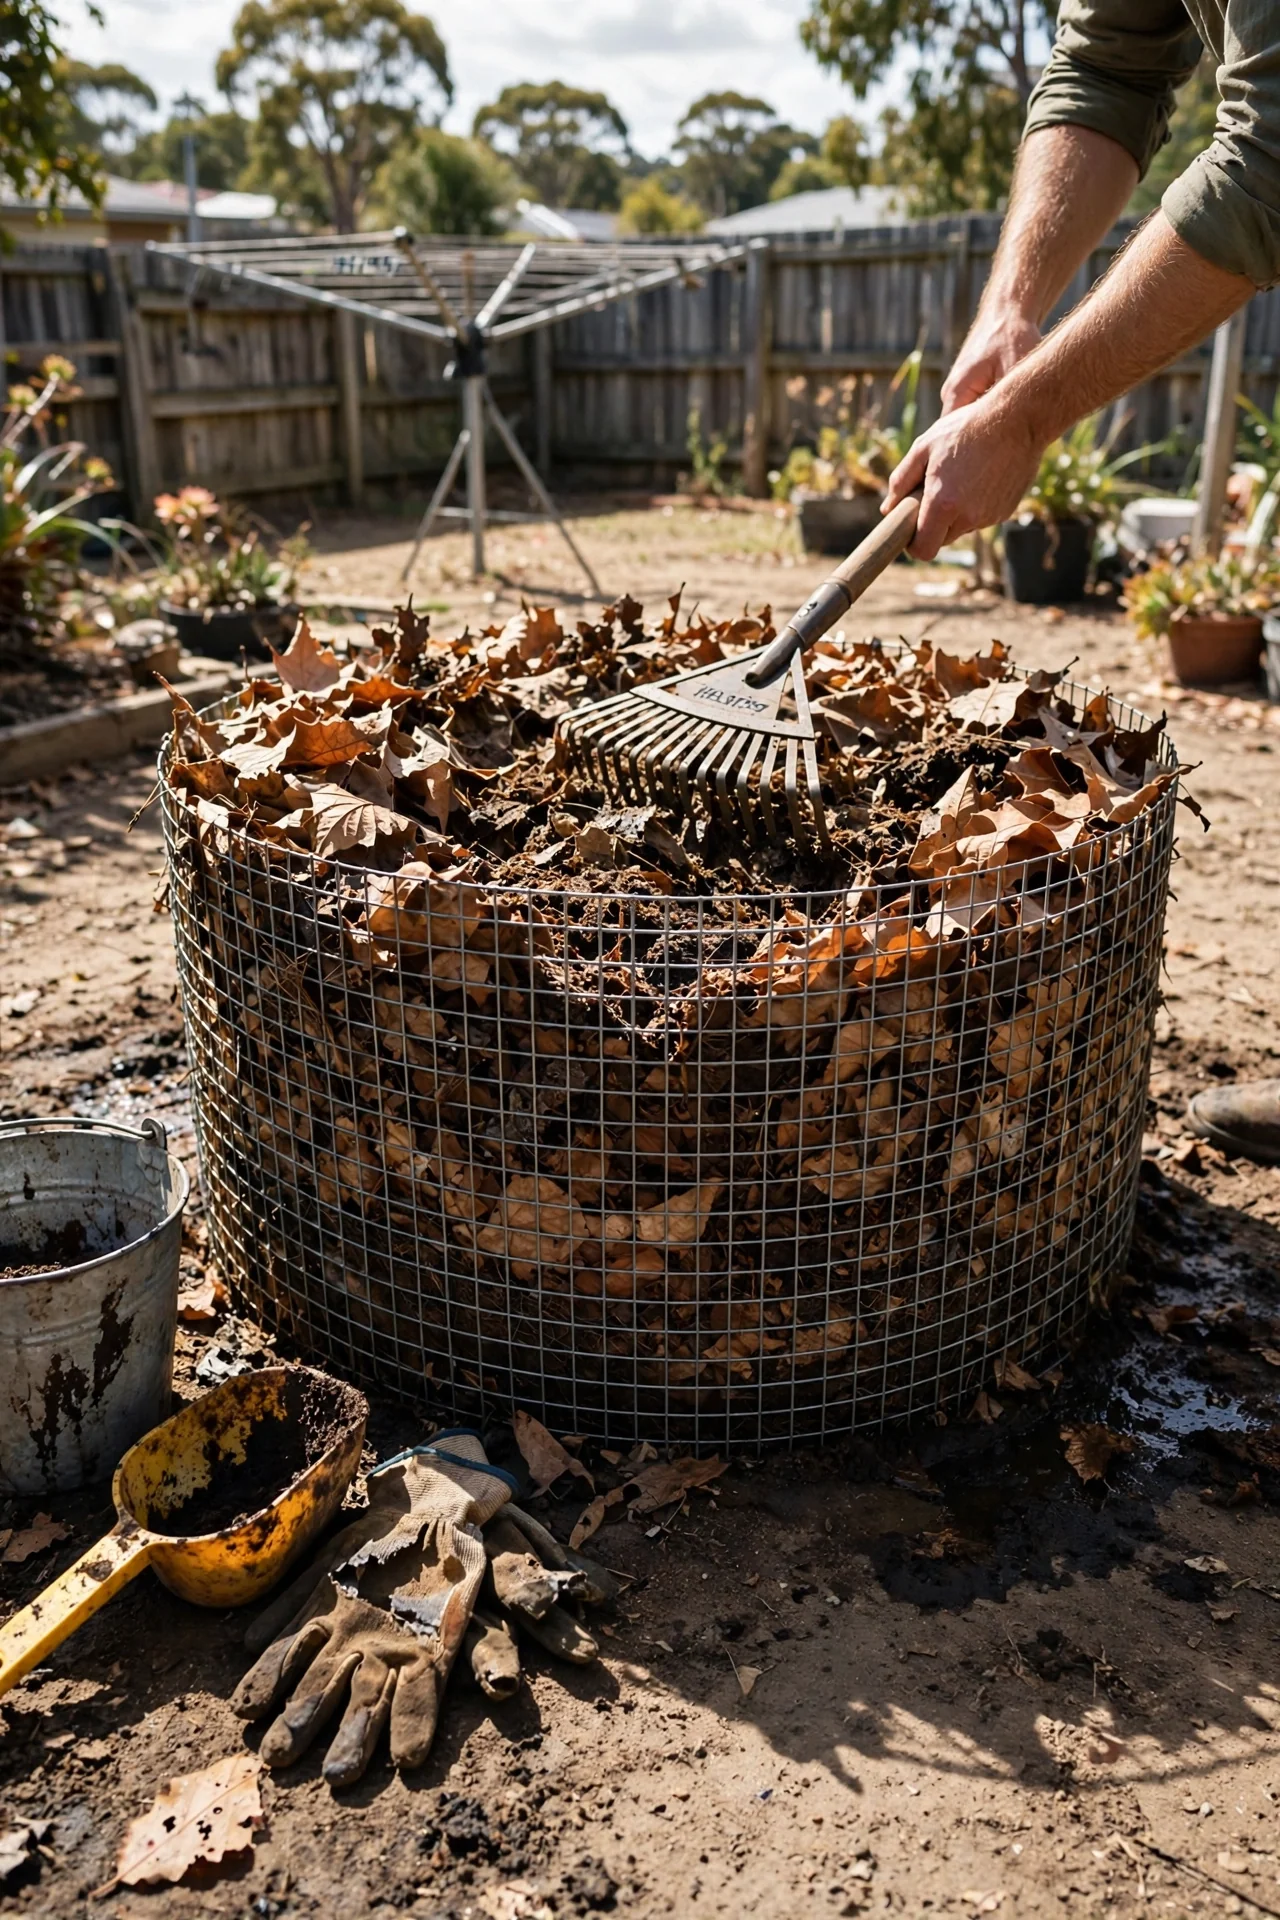
Threshold rule: Wire mesh bins work only when your carbon-to-nitrogen ratio stays between 25:1 and 40:1 by volume. If the ratio exceeds 40:1 (too many dry leaves, not enough greens), decomposition stalls for months. Check by squeezing a handful of material: it should feel like a wrung-out sponge, with 50 to 60 percent moisture content. If it is dry and crumbly, add nitrogen sources (grass clippings, coffee grounds) and water until the squeeze test passes. Adjustment: In windy sites, line the interior with cardboard to slow moisture loss. This bin type excels at leaf-heavy composting but struggles with kitchen scraps, which attract rodents through the open mesh. For the full cold-composting timeline and material guidance, see our cold composting overview.
4. Plastic Dalek Bin
Best for: Branch 2 (Cold Composting)
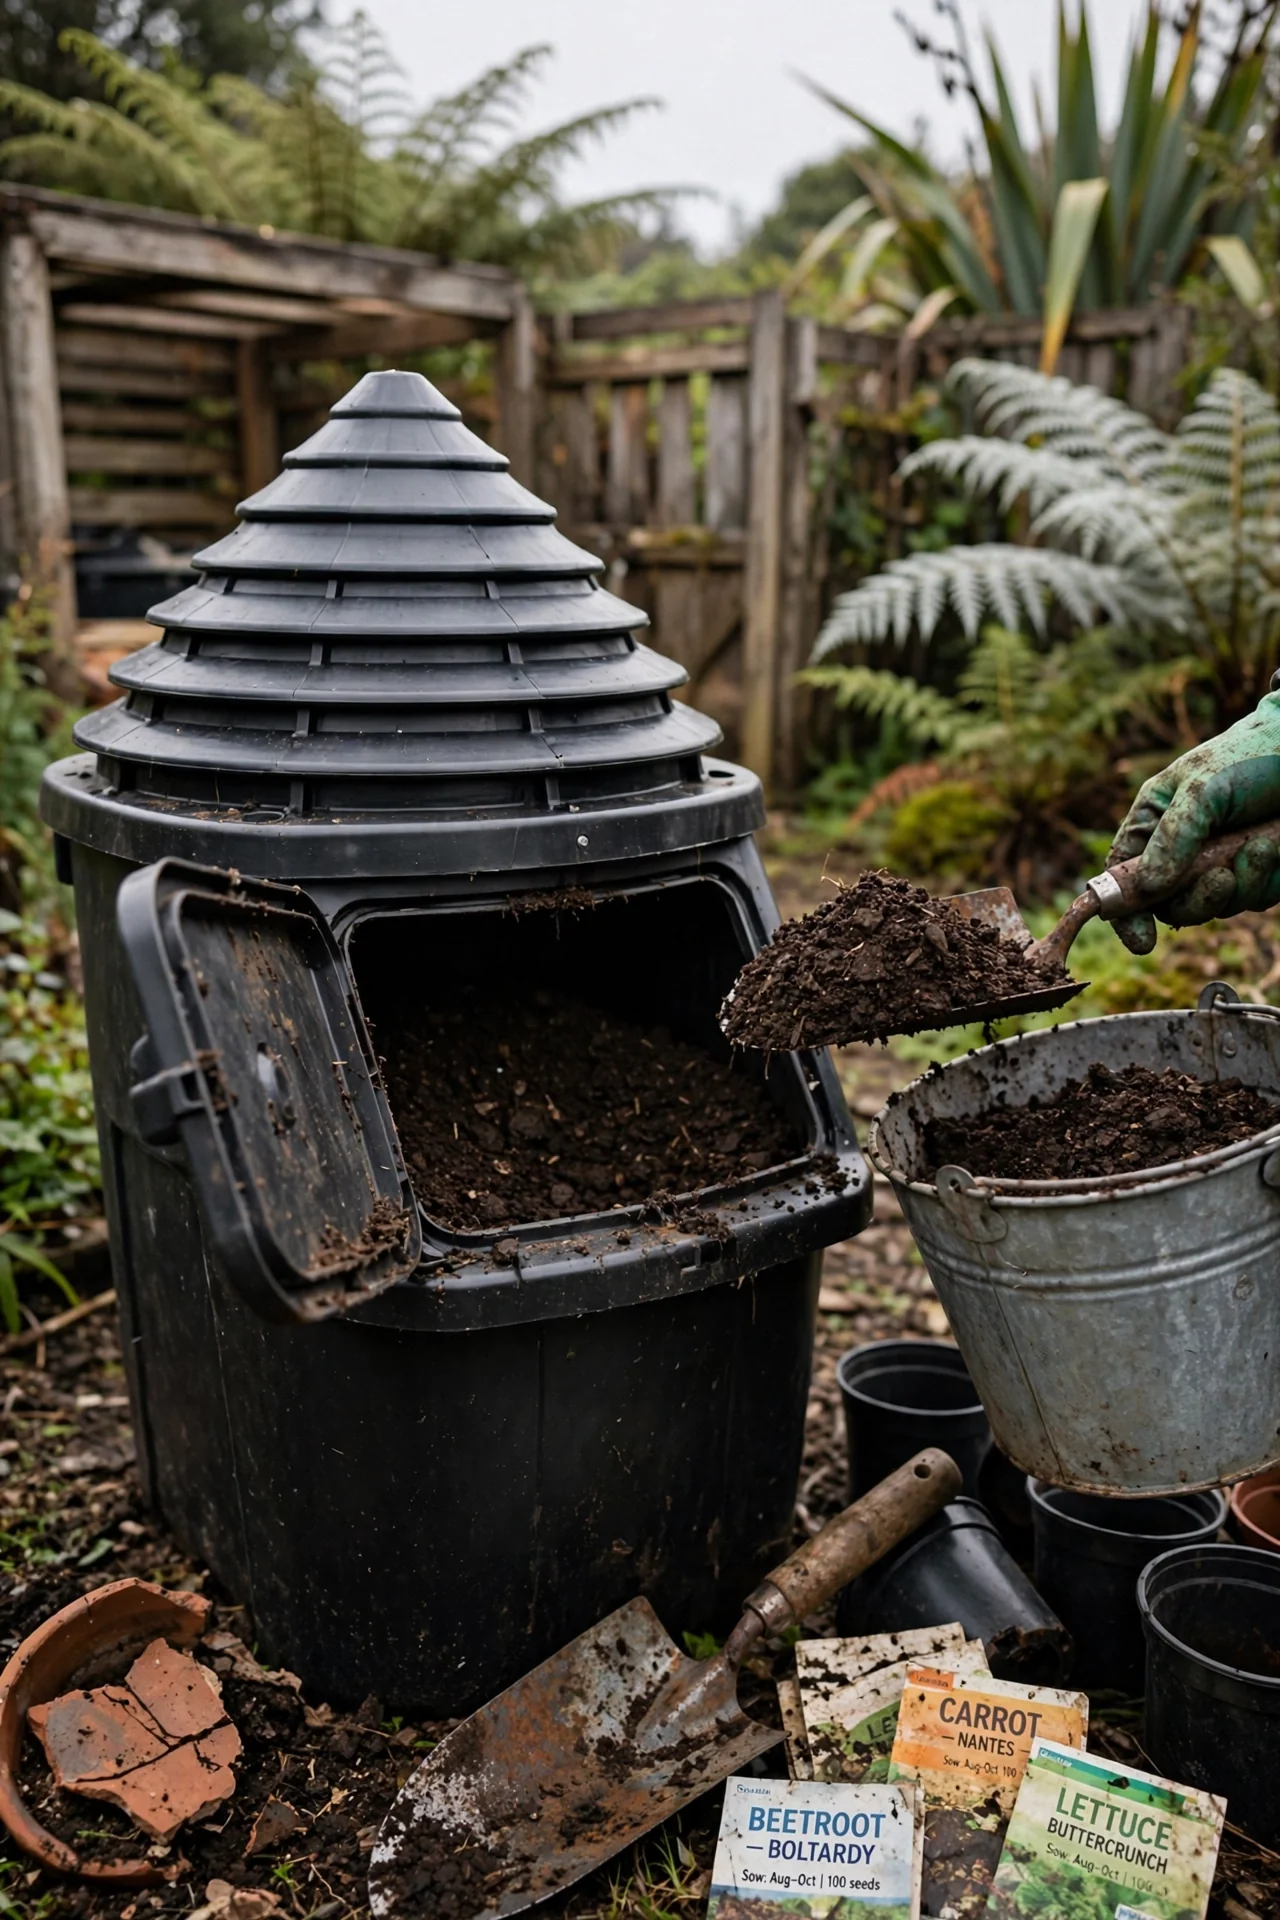
10-minute setup workflow: Step 1: Choose a level spot on bare soil (not concrete) so worms and microorganisms can enter from below. Step 2: Place the bin and add a 4-inch layer of twigs or straw at the base for drainage and airflow. This coarse layer prevents the bottom from becoming anaerobic. Step 3: Add your first batch of alternating 2-inch green layers (vegetable scraps, grass) and 2-inch brown layers (shredded cardboard, dry leaves). Step 4: Close the lid and let it sit. Add material continuously through the top; finished compost exits through the small hatch at the bottom, typically ready in 6 to 12 months. Upgrade option: If the bottom hatch becomes jammed with unfinished material, you can retrofit a second bin beside it and turn the pile between bins every 3 months. Avoid adding materials that disrupt cold composting; consult our list of what not to compost before filling.
5. Worm Bin
Best for: Branch 3 (Indoor & Small-Space)
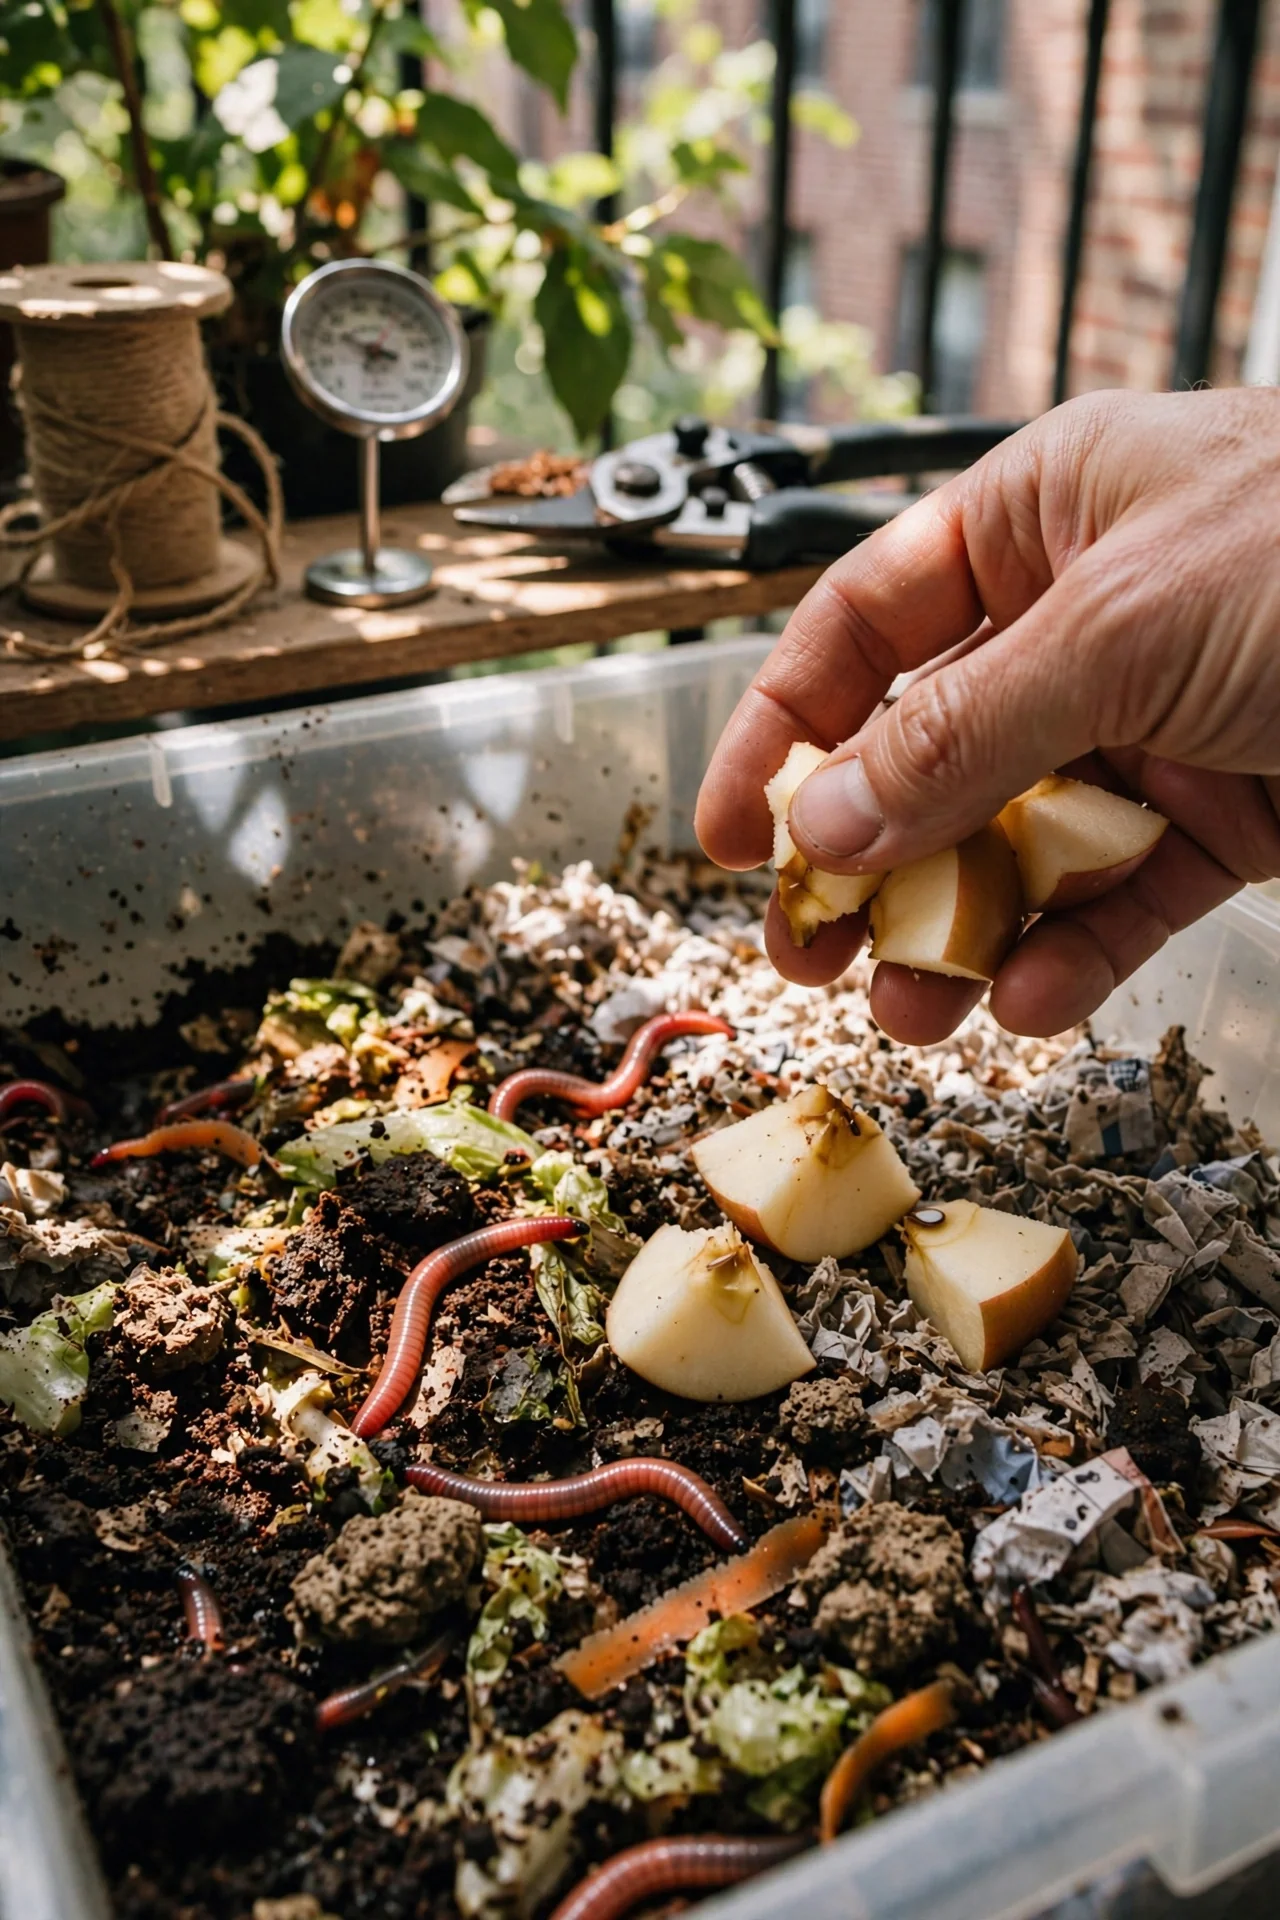
What: A shallow, opaque plastic or wood bin (12 to 18 inches deep) housing red wiggler worms (Eisenia fetida) that consume kitchen scraps and produce castings. Stacking tray systems allow worms to migrate upward as food is consumed, leaving finished castings in lower trays. Who it suits: Apartments and homes generating 1 to 2 gallons of fruit and vegetable scraps per week. Worms cannot process meat, dairy, oily foods, or citrus in large quantities. Steps: Drill 8 to 10 quarter-inch holes in the lid for air and 4 to 6 holes in the bottom for drainage. Fill one-third of the bin with moistened shredded cardboard and newspaper bedding. Add 500 to 1,000 red wigglers (roughly half a pound to one pound) and bury scraps under bedding to prevent fruit flies. Harvest castings every 2 to 3 months. Mistake: Overfeeding. Add new scraps only after the previous batch is mostly consumed. For worm selection and bin sizing, see our best worms for composting guide.
6. Bokashi Bucket
Best for: Branch 3 (Indoor & Small-Space)
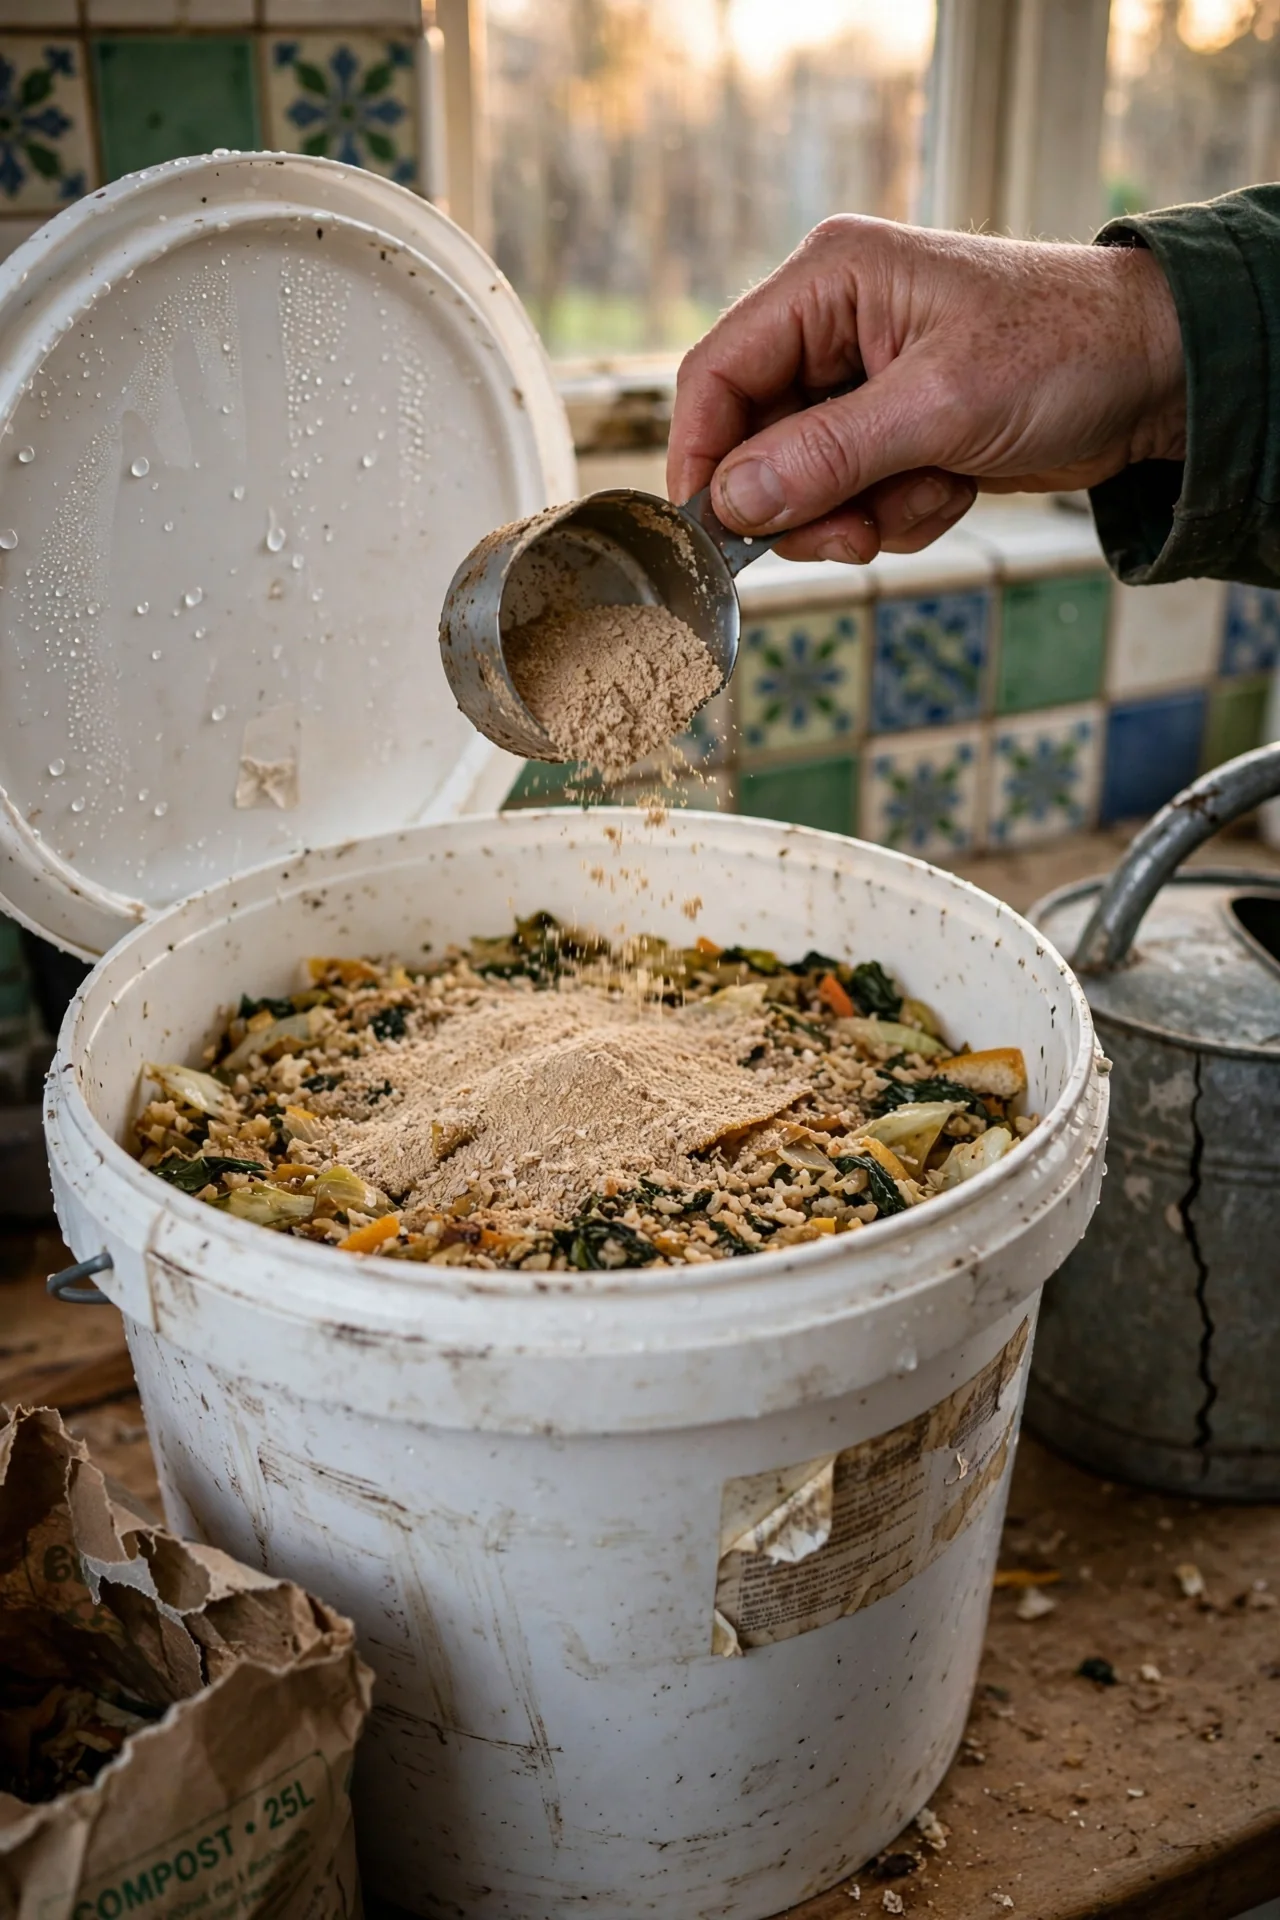
Use when: You want to compost cooked food, meat, fish, and dairy that cannot go into a traditional pile or worm bin. Bokashi uses anaerobic fermentation with Effective Microorganism (EM) inoculated bran to pickle scraps in an airtight bucket. Skip when: You lack outdoor space to bury the fermented pre-compost afterward; the final product is acidic (pH 3.5–4.5) and must be trenched into soil or added to a traditional compost pile for 2 to 3 weeks to neutralize. Edge case: In apartments, the burial step is often the bottleneck. Pair a bokashi bucket with a small bokashi composting system that includes a soil factory (a secondary bin of potting soil where fermented scraps finish breaking down).
7. In-Ground Digester
Best for: Branch 2 (Cold Composting)
Threshold rule: An in-ground digester (a perforated bucket or cone buried with its rim at soil level) works only when soil temperature remains above 45 degrees Fahrenheit (7 degrees Celsius) at 6 inches depth. Below this threshold, microbial and worm activity in surrounding soil drops sharply, and scraps accumulate without breaking down. Measure soil temperature with a probe thermometer before installing. Adjustment: In regions where soil freezes, insulate the area with a 6-inch layer of straw or leaves over winter, or switch to an indoor system (items 5, 6, or 8) during the coldest months. This method excels at handling kitchen scraps with zero turning, but it requires rotating the digester location every 6 to 12 months to allow soil recovery. For guidance on managing kitchen waste streams, see our how to compost kitchen scraps page.
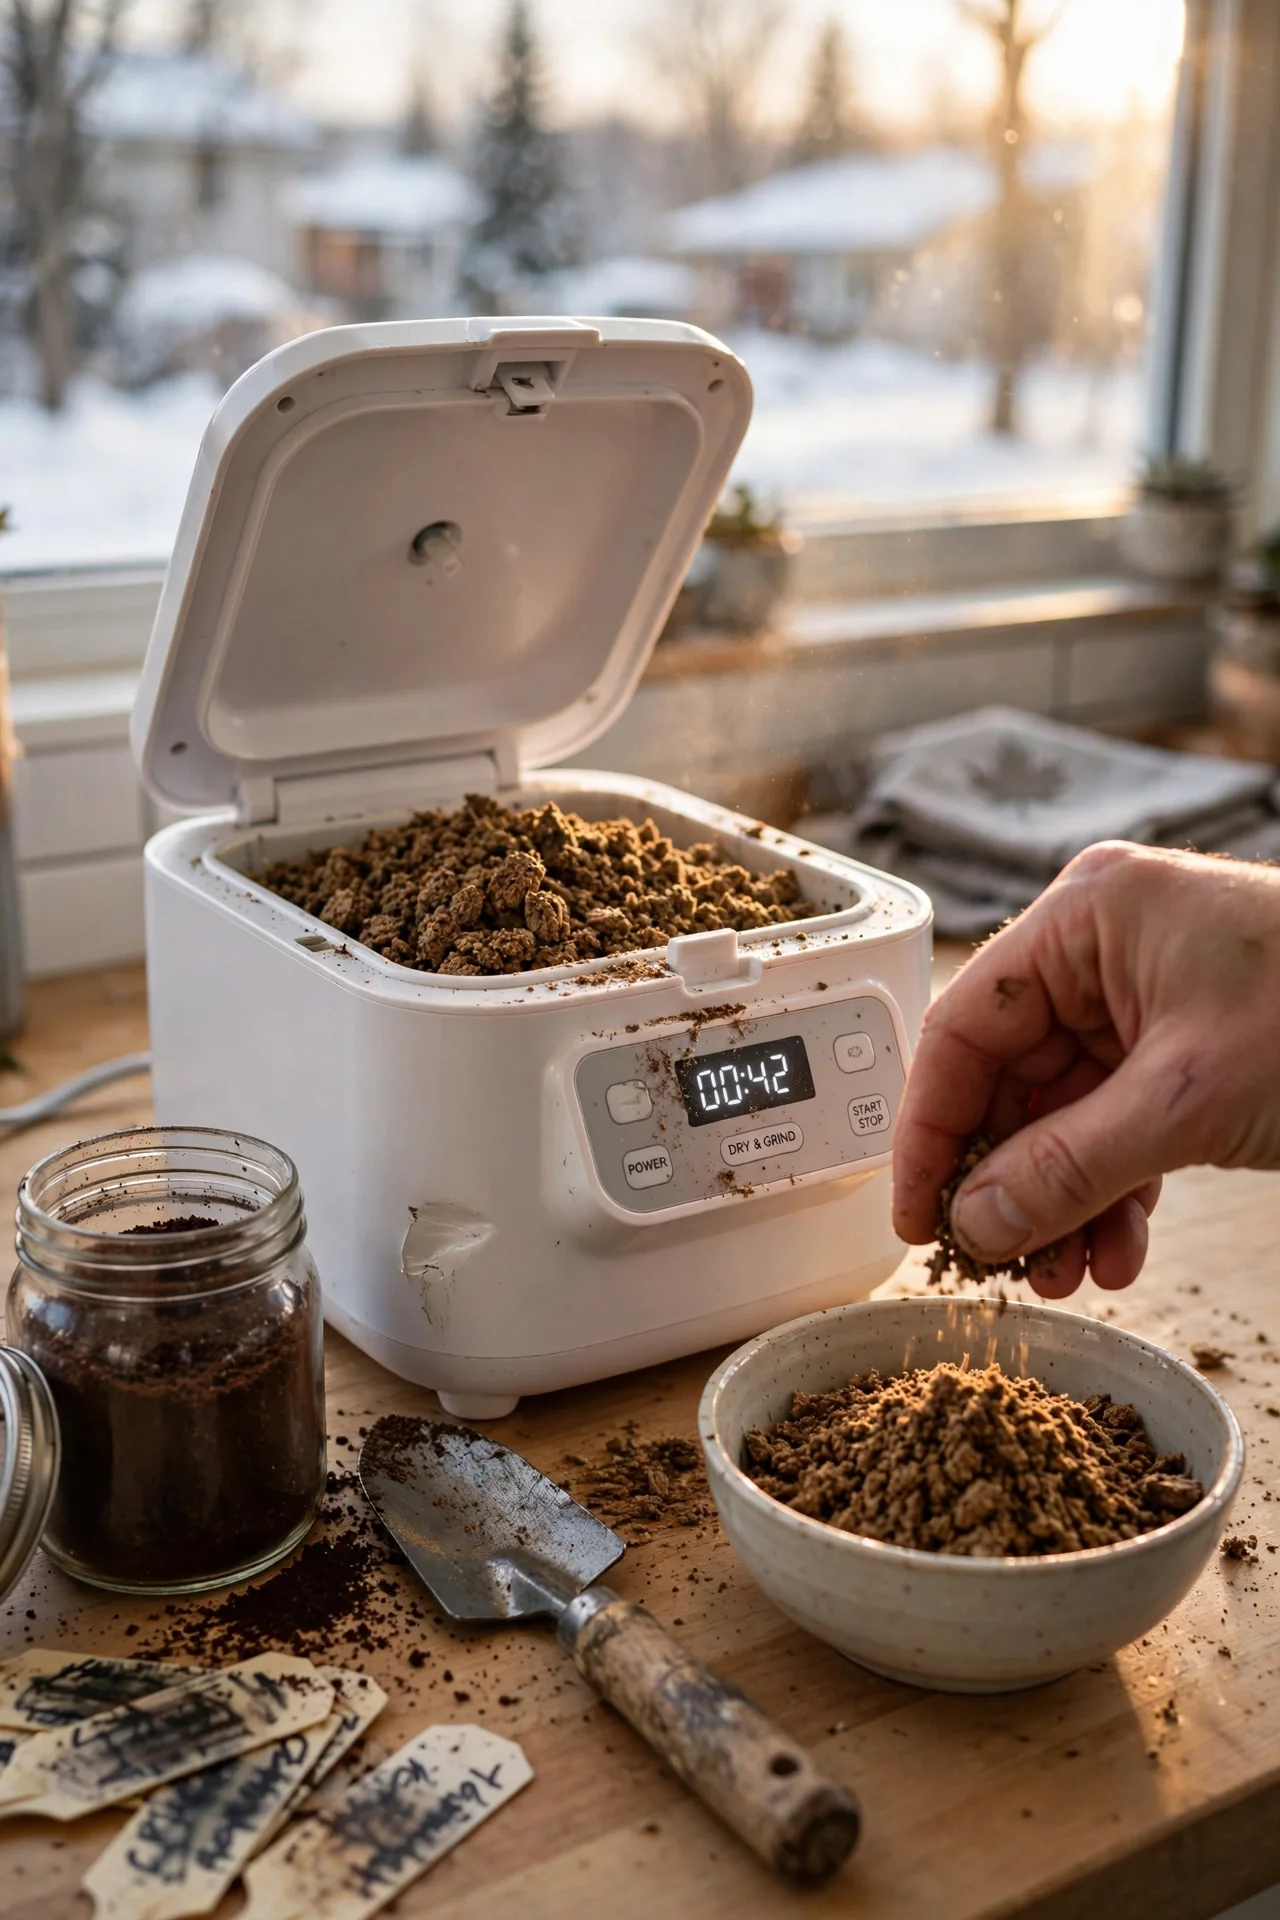
8. Electric Composter

Best for: Branch 3 (Indoor & Small-Space)
10-minute decision workflow: Step 1: Confirm you have counter space and a power outlet within 2 feet. Step 2: Understand that electric composters do not produce finished compost; they dehydrate and grind scraps into a crumb that can be mixed into soil as a slow-release amendment, but it has not undergone microbial decomposition. Step 3: Budget for the unit cost (typically $250–$500 USD) plus ongoing electricity use and occasional filter replacements. Step 4: If you accept the pre-compost output and higher upfront cost, an electric unit offers the fastest scrap reduction of any indoor method. For alternatives requiring no electricity, see our small space composting guide.
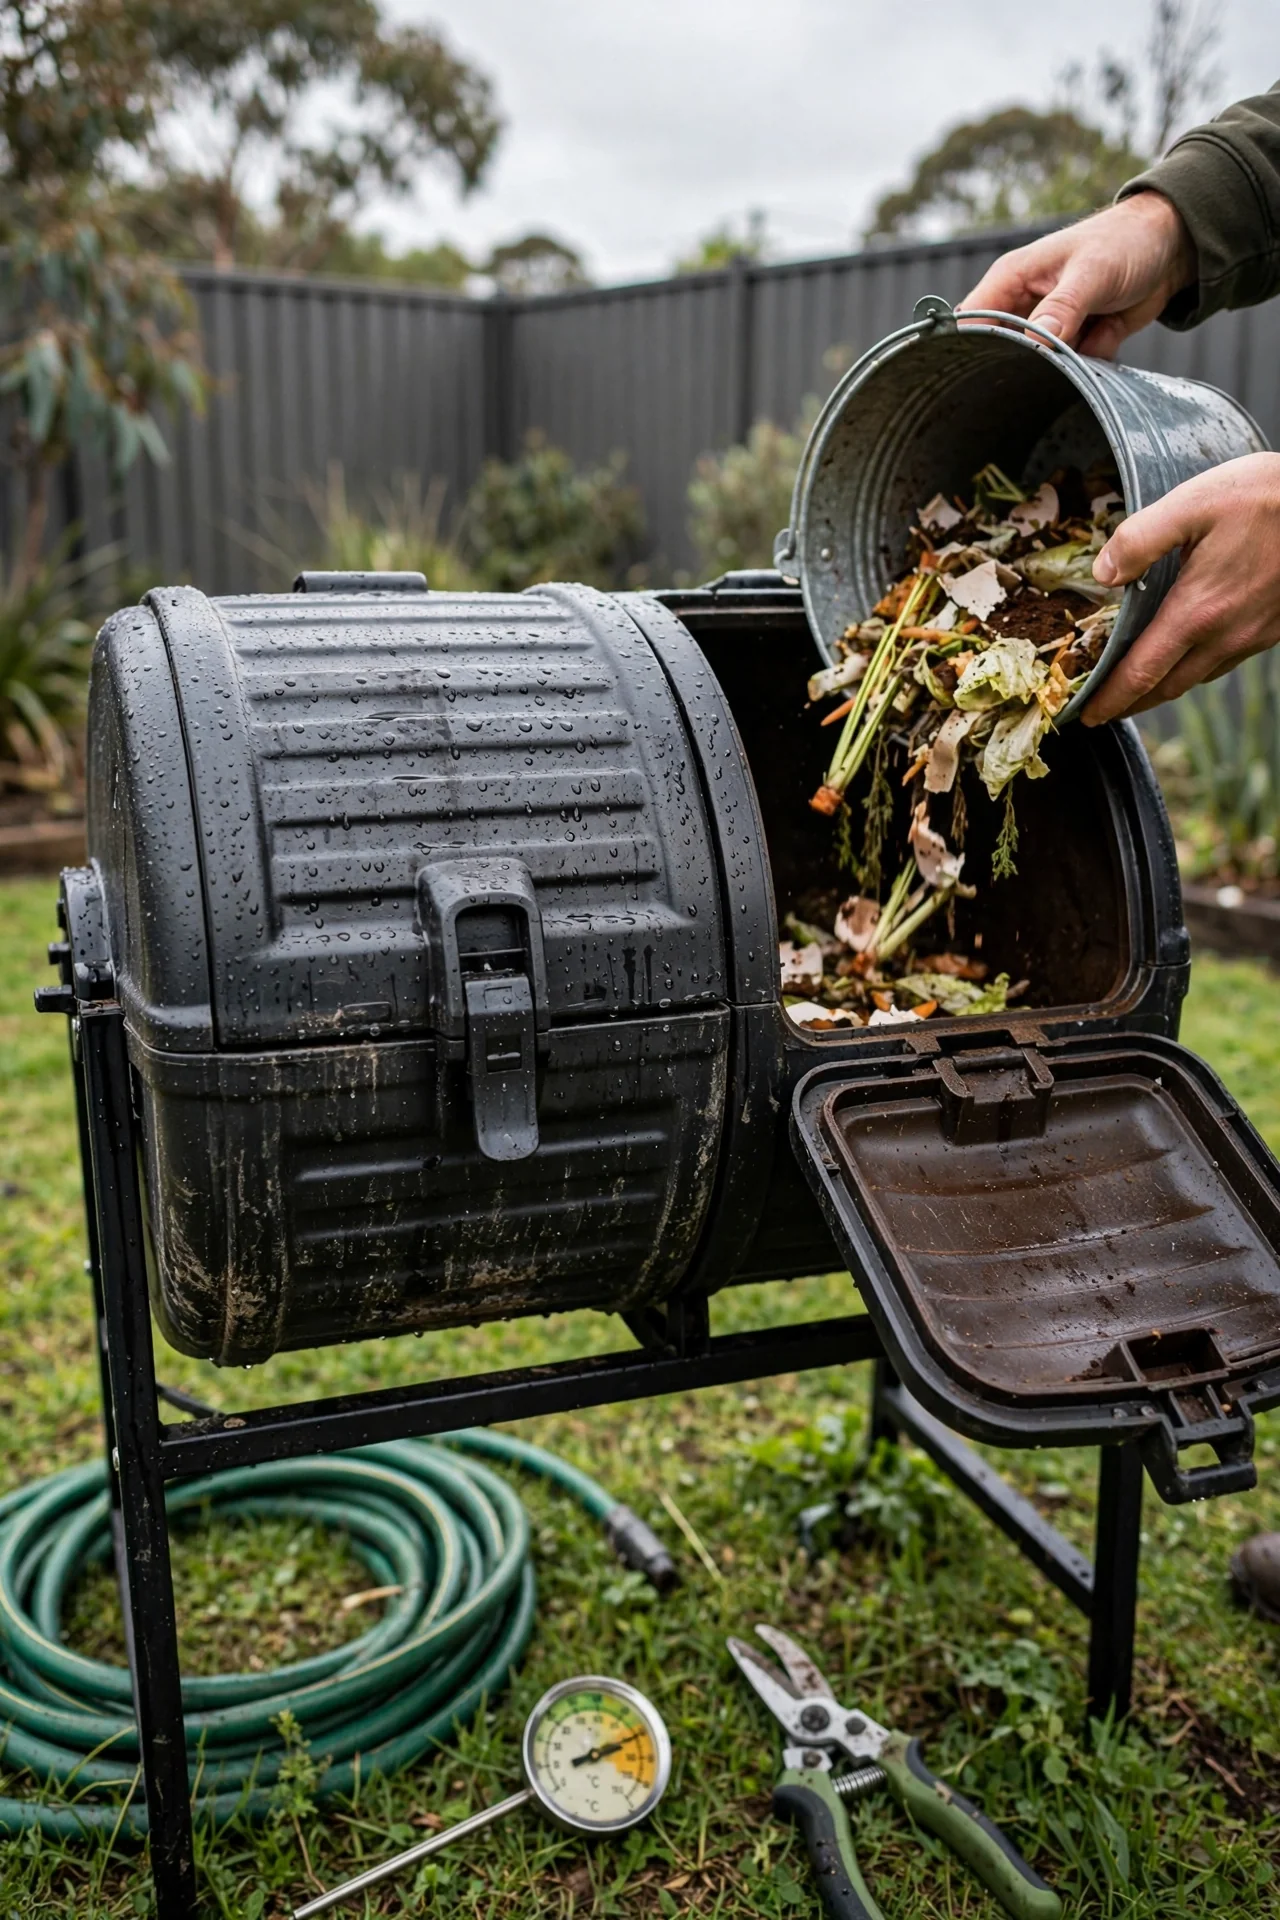
9. Dual-Chamber Tumbler
Best for: Branch 1 (Hot Composting)
What: A two-sided rotating drum mounted on a steel frame, each chamber holding 20 to 25 gallons. One side actively cooks a batch while you add fresh scraps to the other, providing continuous compost production without the pause of a single-chamber tumbler. Who it suits: Households with 2 to 4 people generating consistent kitchen waste plus moderate yard clippings. Steps: Fill chamber A over 1 to 2 weeks, maintaining a 30:1 carbon-to-nitrogen ratio. Tumble 5 to 6 rotations every 2 to 3 days. When chamber A reaches capacity, close it and begin filling chamber B. Chamber A finishes in 4 to 6 weeks while chamber B builds. Mistake: Overfilling. Keep each chamber below 75 percent capacity; a drum that is too full cannot tumble effectively, creating anaerobic pockets. For managing nitrogen-rich inputs like grass, see our grass clippings compost resource.
10. Leaf Mold Bin
Best for: Branch 2 (Cold Composting)
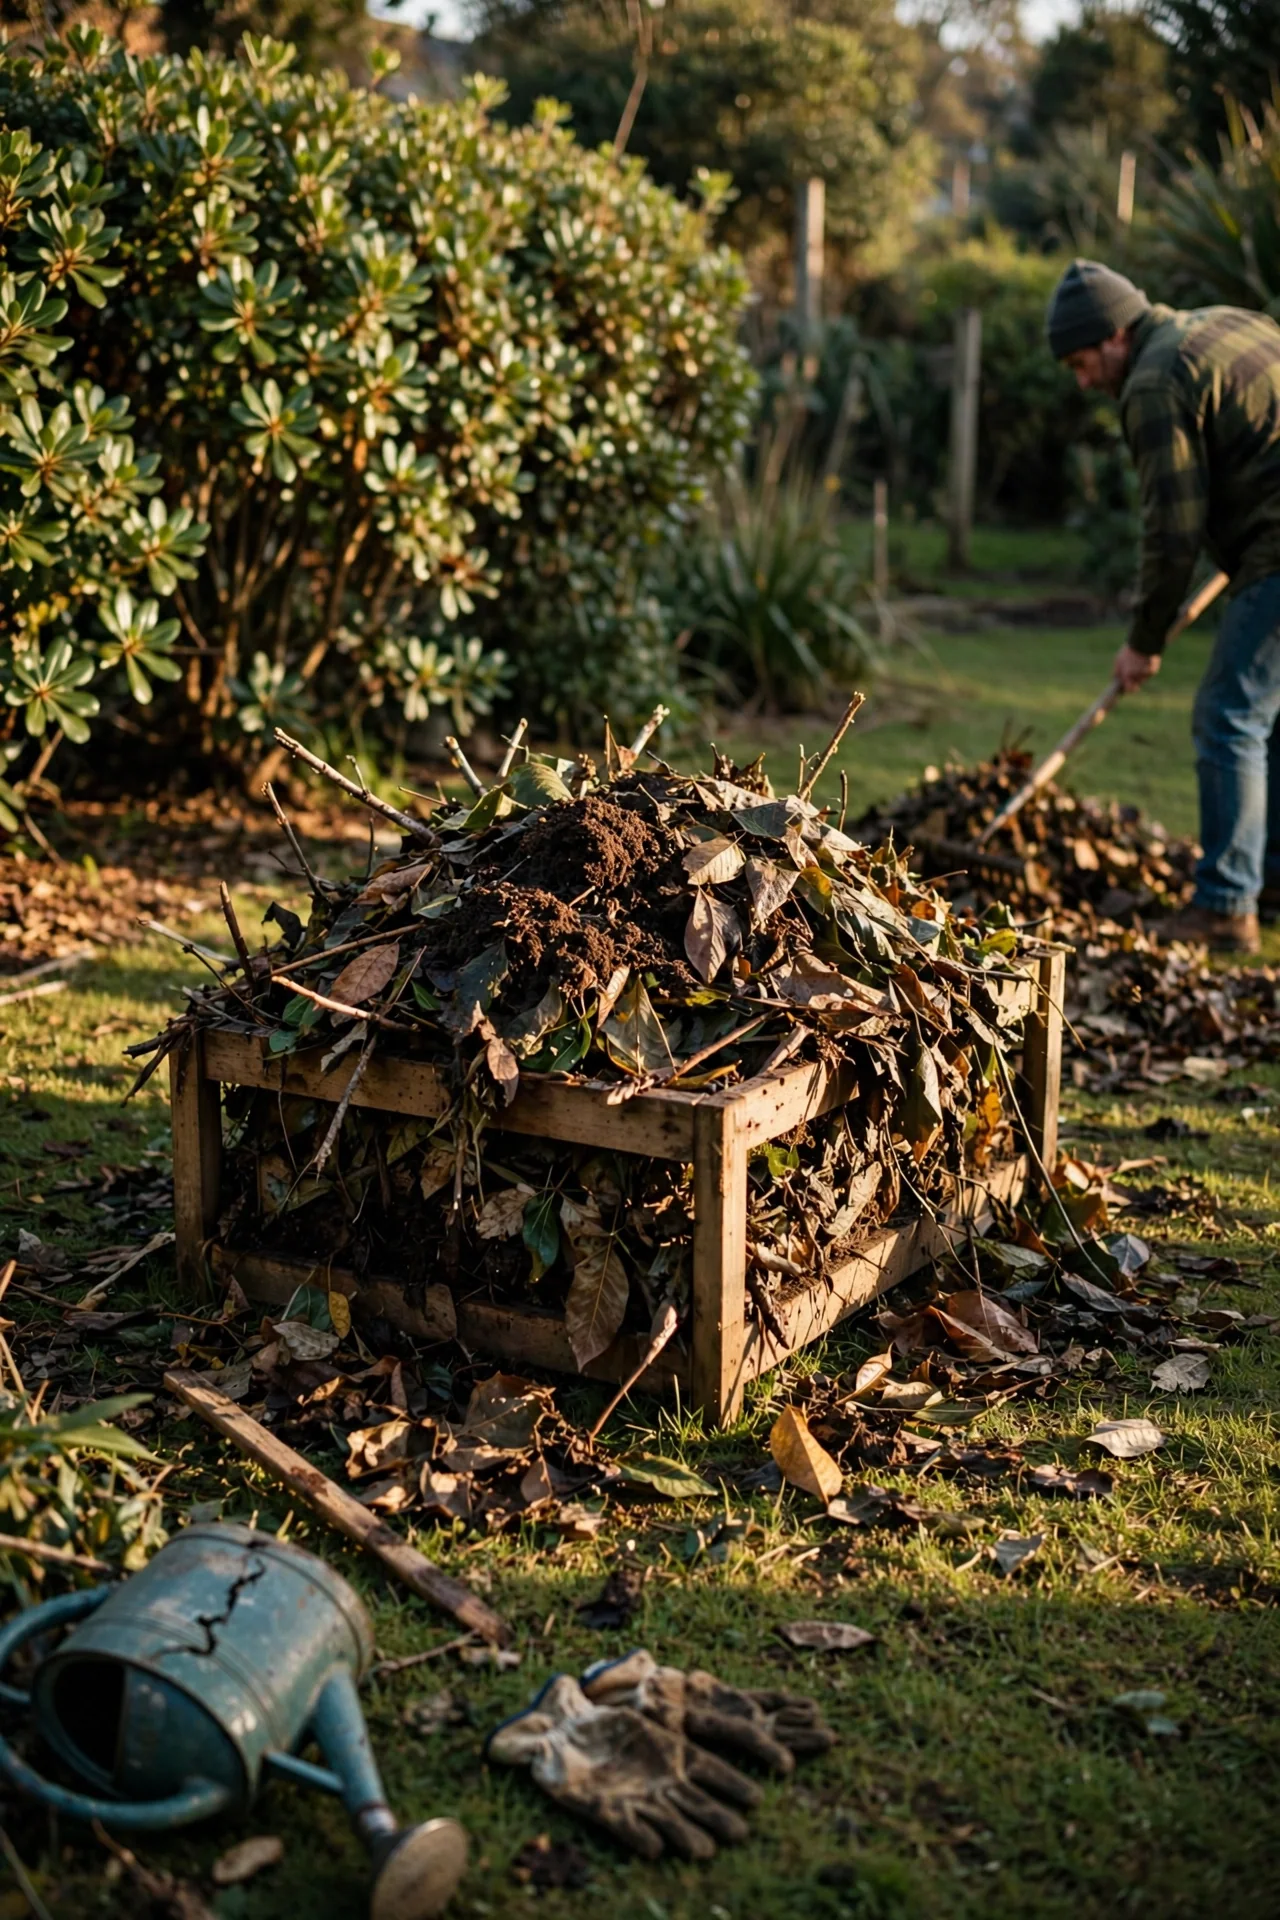
Use when: Your property generates large volumes of autumn leaves and you want a low-effort fungal compost. Leaf mold is produced by fungi rather than bacteria, requiring no turning and no nitrogen supplementation. Simply pile leaves in a wire or wooden enclosure and keep them moist; finished leaf mold appears in 12 to 24 months. Skip when: You need compost quickly or want a product with significant nutrient content. Leaf mold is primarily a soil conditioner, not a fertilizer. Its carbon-to-nitrogen ratio runs 40:1 to 80:1, meaning it will draw nitrogen from soil if applied before fully decomposed. Edge case: Shredding leaves with a mower before piling reduces decomposition time by roughly half. For the full process, see our leaf mold guide.
11. Countertop Collector
Best for: Branch 3 (Indoor & Small-Space)
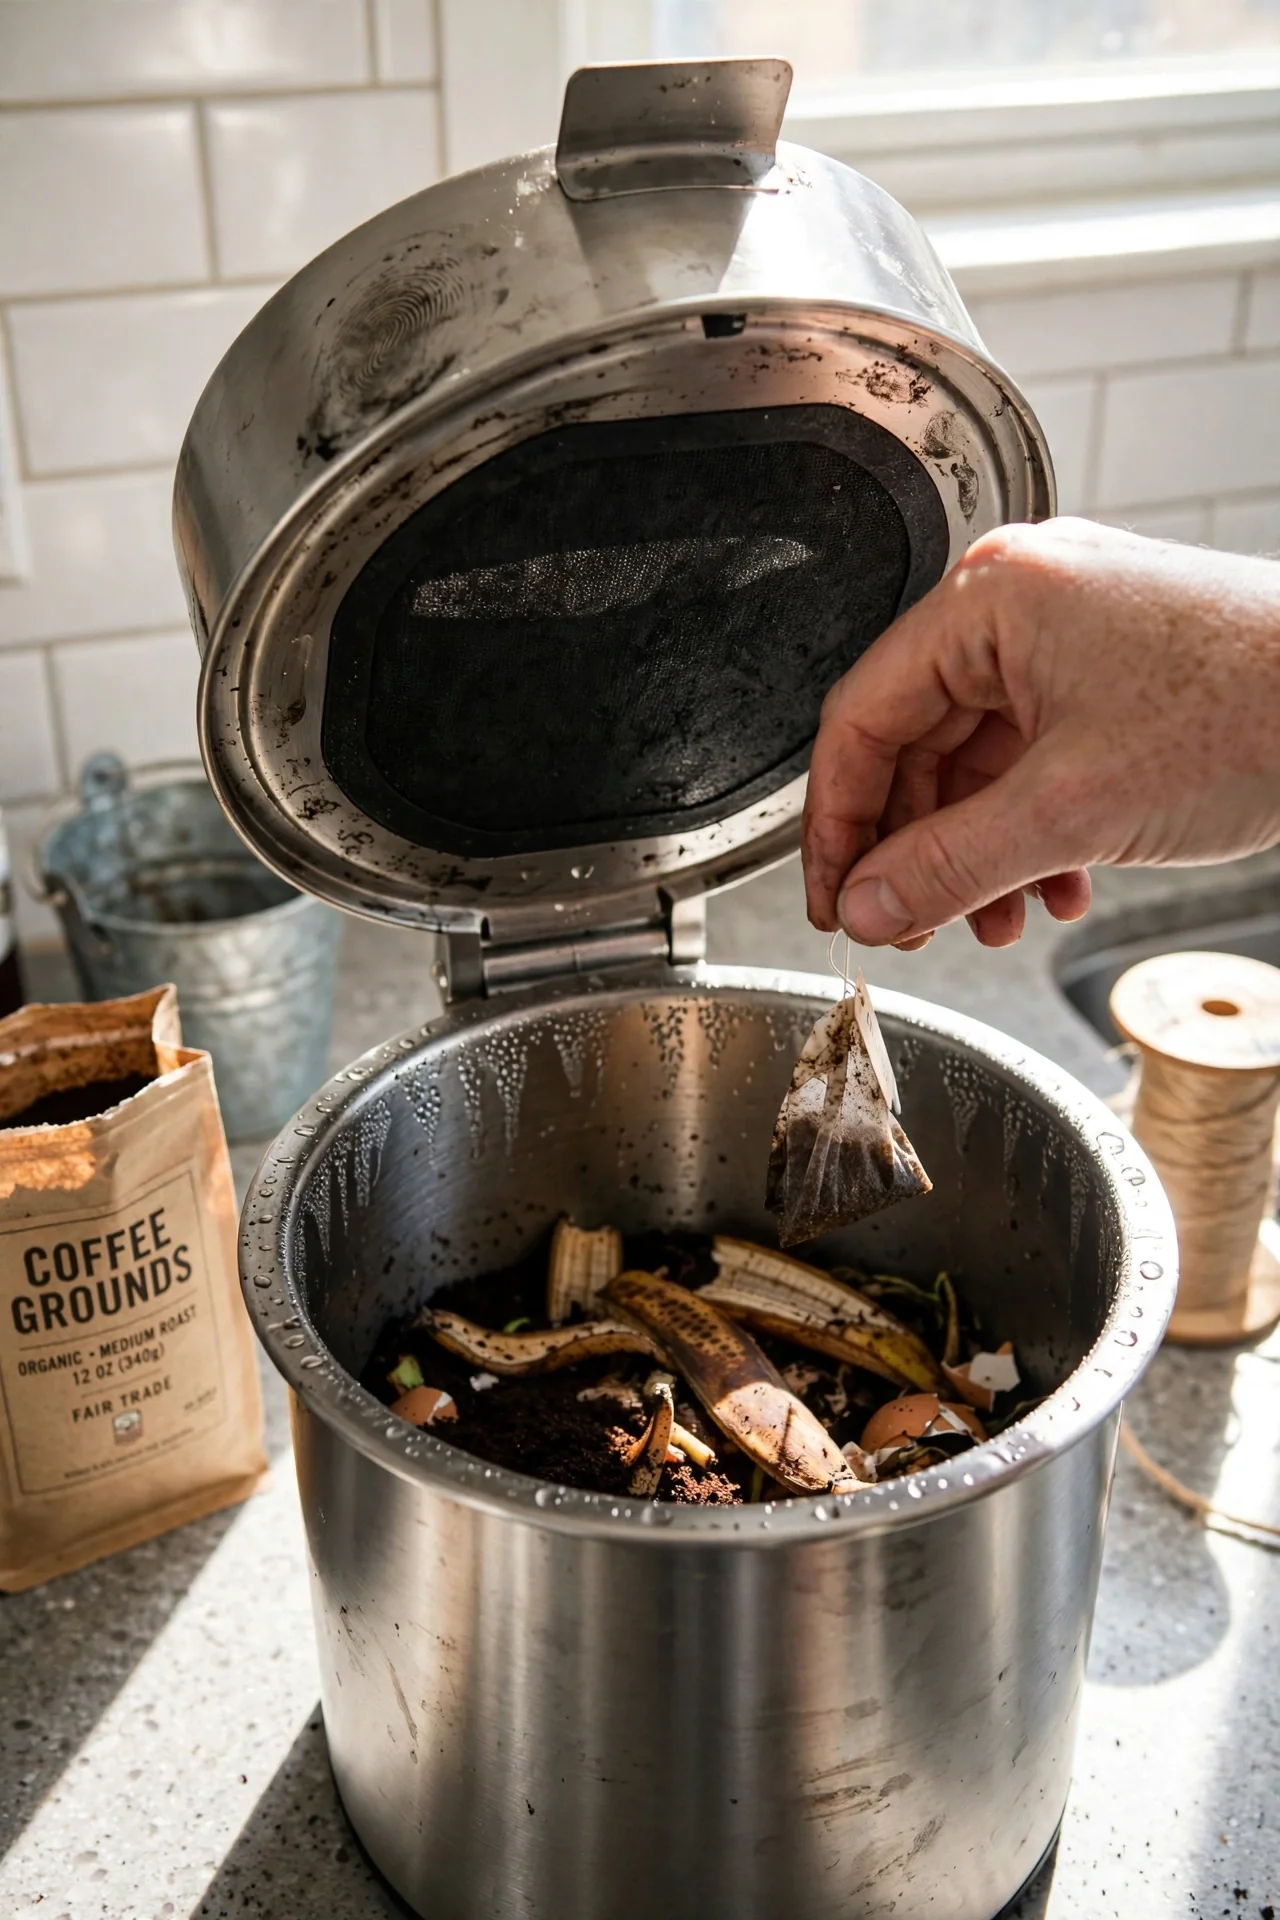
Threshold rule: A countertop collector is purely a holding container for transporting scraps to an external compost system. It becomes a pest problem if scraps remain for more than 3 to 4 days at room temperature. Use a bin with a charcoal filter in the lid to adsorb odors and keep capacity under 1.5 gallons (roughly 6 liters) to enforce regular emptying. Adjustment: If your collection interval exceeds 4 days, store the bin in the refrigerator or freezer to halt decomposition and eliminate odor. This approach works well for households using municipal compost pickup or community drop-off programs. For managing plant material that is better left out of indoor collection, see our composting weeds page.
12. Hügelkultur Bed
Best for: Branch 2 (Cold Composting)
10-minute assessment workflow: Step 1: Confirm you have space for a raised mound roughly 3 feet wide, 6 feet long, and 3 feet tall. Step 2: Gather logs, branches, and woody debris as the core material, plus nitrogen-rich green waste (grass clippings, manure) and a top layer of soil. Step 3: Understand the timeline: the wood core decomposes over 3 to 5 years, releasing nutrients and retaining moisture. First-year planting is limited to shallow-rooted crops because the mound settles and the interior has not yet begun releasing nitrogen. Step 4: If your goal is immediate compost for soil amendment, choose a bin system instead. Hügelkultur is a long-term bed-building investment, not a fast compost producer. For a detailed construction walkthrough, see our hugelkultur bed guide.
Starter Stack (What to Choose First)
Branch 1 Starter Stack: Hot & Fast
Begin with Item 2 (Tumbling Composter) and Item 1 (Three-Bin Pallet System). The tumbler gets you finished compost in 4 to 6 weeks with minimal learning curve while you build the pallet system over a weekend. Once both are running, the tumbler handles kitchen scraps and the three-bin system processes yard waste in bulk. Estimated combined cost: $80–$250 USD (tumbler) plus $0–$50 USD for pallets and hardware, assuming you source pallets free. Time investment: 30 minutes per week for tumbling and turning.
Branch 2 Starter Stack: Set & Forget
Begin with Item 4 (Plastic Dalek Bin) and Item 3 (Wire Mesh Bin). The Dalek bin handles kitchen scraps in a pest-resistant enclosure, while the wire bin processes leaf fall and garden trimmings with zero effort beyond occasional watering. Together they cover the two main cold-composting waste streams. Estimated combined cost: $30–$80 USD for a Dalek bin plus $15–$30 USD for wire mesh and stakes. Time investment: 10 minutes per week to add materials, no turning required.
Branch 3 Starter Stack: Indoor & Small-Space
Begin with Item 5 (Worm Bin) and Item 11 (Countertop Collector). The worm bin processes fruit and vegetable scraps into castings, while the countertop collector holds meat, dairy, and cooked foods for municipal or community compost drop-off if available. If drop-off is not an option, swap the countertop collector for Item 6 (Bokashi Bucket) to handle all food waste types indoors. Estimated combined cost: $30–$80 USD for a DIY worm bin plus $15–$30 USD for a countertop pail, or $50–$100 USD if adding bokashi. Time investment: 15 minutes per week for feeding worms and emptying the collector.
When This Won’t Work
Failure condition 1: You cannot achieve the minimum pile volume for hot composting. Hot composting requires at least 1 cubic yard of material to generate self-sustaining heat. If your weekly waste output is less than 3 gallons total (kitchen plus yard), a hot pile will never reach the 130–160 degree Fahrenheit range needed for pathogen and weed seed destruction. The pile will behave like a cold compost regardless of the bin you choose. Alternative: Switch to Branch 2 or combine your waste stream with a neighbor’s to reach critical mass.
Failure condition 2: Your site has persistent standing water or no direct soil contact. All ground-contact bins (Items 1, 3, 4, 7, 10, 12) rely on drainage into soil and organism migration from below. If your intended site sits on concrete, asphalt, or compacted clay that holds water after rain, the bin bottom will become anaerobic within weeks, producing foul odors and halting decomposition. Alternative: Use an elevated system (tumbler, worm bin, bokashi, electric) or install a 6-inch gravel drainage base beneath the bin. For sites with severe drainage issues, sheet mulching can improve soil structure before you install a bin.
Choosing the Right Option for Your Situation
Budget Threshold
If you have less than $25 USD to spend, confine your search to Items 3 (Wire Mesh), 6 (Bokashi), 7 (In-Ground Digester), 10 (Leaf Mold), 11 (Countertop Collector), and 12 (Hügelkultur). These require only basic materials: wire, a bucket, leaves, or buried wood. Pallet systems (Item 1) can also fit this range if you source pallets free.
Time Threshold
If you have less than 15 minutes per week, eliminate Items 1, 2, and 9 (all require weekly turning). Cold systems (Items 3, 4, 7, 10, 12) demand almost no time after setup. Indoor systems (Items 5, 6, 8) require brief weekly feeding but no physical turning.
Technical Constraint: Feedstock Type
If your waste includes meat, bones, dairy, or cooked foods, you are limited to Items 6 (Bokashi), 8 (Electric), and municipal collection via Item 11. Traditional composting cannot safely process these materials due to odor and pest risks. If cardboard and paper dominate your waste stream, worm bins (Item 5) handle them well as bedding; hot systems (Items 1, 2, 9) accept them as browns when shredded.
Yes/No Checklist
- Do you generate more than 3 gallons of combined kitchen and yard waste per week? Yes: Branch 1 or 2. No: Branch 3.
- Do you have at least 9 square feet of outdoor space with bare soil? Yes: Ground-contact bins viable. No: Elevated or indoor only.
- Can you commit to weekly turning for 4 to 8 weeks per batch? Yes: Hot composting works. No: Cold or indoor.
- Does your waste include meat, dairy, or cooked food? Yes: Bokashi, electric, or municipal. No: All systems open.
Expert Q&A
Can I mix hot and cold composting methods in the same bin?
No single bin can simultaneously serve both pathways. A bin is either managed for heat (turned, balanced C:N, minimum volume) or left passive. If you stop turning a hot pile, it becomes a cold pile, but the materials already present will finish decomposing slowly. You can, however, run separate bins for each method side by side.
How do I know if my compost bin is too wet?
Perform the squeeze test: take a handful of material from the center of the pile and squeeze firmly. If more than 2 to 3 drops of water emerge, the moisture content exceeds 60 percent. Add dry browns (shredded cardboard, sawdust, dry leaves) and turn to incorporate. If no water appears and the material feels dusty, moisture is below 40 percent; add water and turn.
Do compost bins attract rats?
Compost bins attract rats when they contain cooked food, meat, dairy, or uncovered fresh kitchen scraps. Hot piles (above 130 degrees Fahrenheit) deter rodents. Cold piles with only raw vegetable scraps and yard waste rarely attract rats if the base is secured with half-inch hardware cloth buried 6 inches into the soil. Avoid adding bread, pasta, or oily foods to any outdoor bin.
Can I use compost that did not heat up?
Yes, cold-composted material is safe to use, but it may contain viable weed seeds and plant pathogens that hot composting would destroy. Apply cold compost as a surface mulch rather than digging it into planting holes where weed seeds find ideal germination conditions. If the material was produced from kitchen scraps in a sealed system (worm bin, bokashi), no heating is required for safety.
What is the smallest viable compost bin I can build?
For outdoor hot composting, the minimum is 3 feet by 3 feet by 3 feet (1 cubic yard). For cold composting, no minimum exists; a 5-gallon bucket with drainage holes works for a modest kitchen scrap stream. For indoor systems, a worm bin as small as 10 gallons can process scraps from 1 to 2 people. Smaller than that, and the system cannot maintain stable moisture or temperature.
Conclusion
The bin is the last decision, not the first. Define your decomposition pathway based on your waste volume, available time, and space, then select the bin that supports that pathway. The most common mistake is choosing an appealing bin design and then trying to force a composting method onto it.
If you only take one action after reading this, start a cold composting system with a simple wire bin or plastic Dalek. It is the most forgiving entry point and produces useful compost with almost no management. Once you understand your waste rhythm, you can add a hot system or an indoor unit. For the next step, learn how to apply your finished compost with our compost tea guide, which shows you how to turn your compost into a liquid soil amendment.