
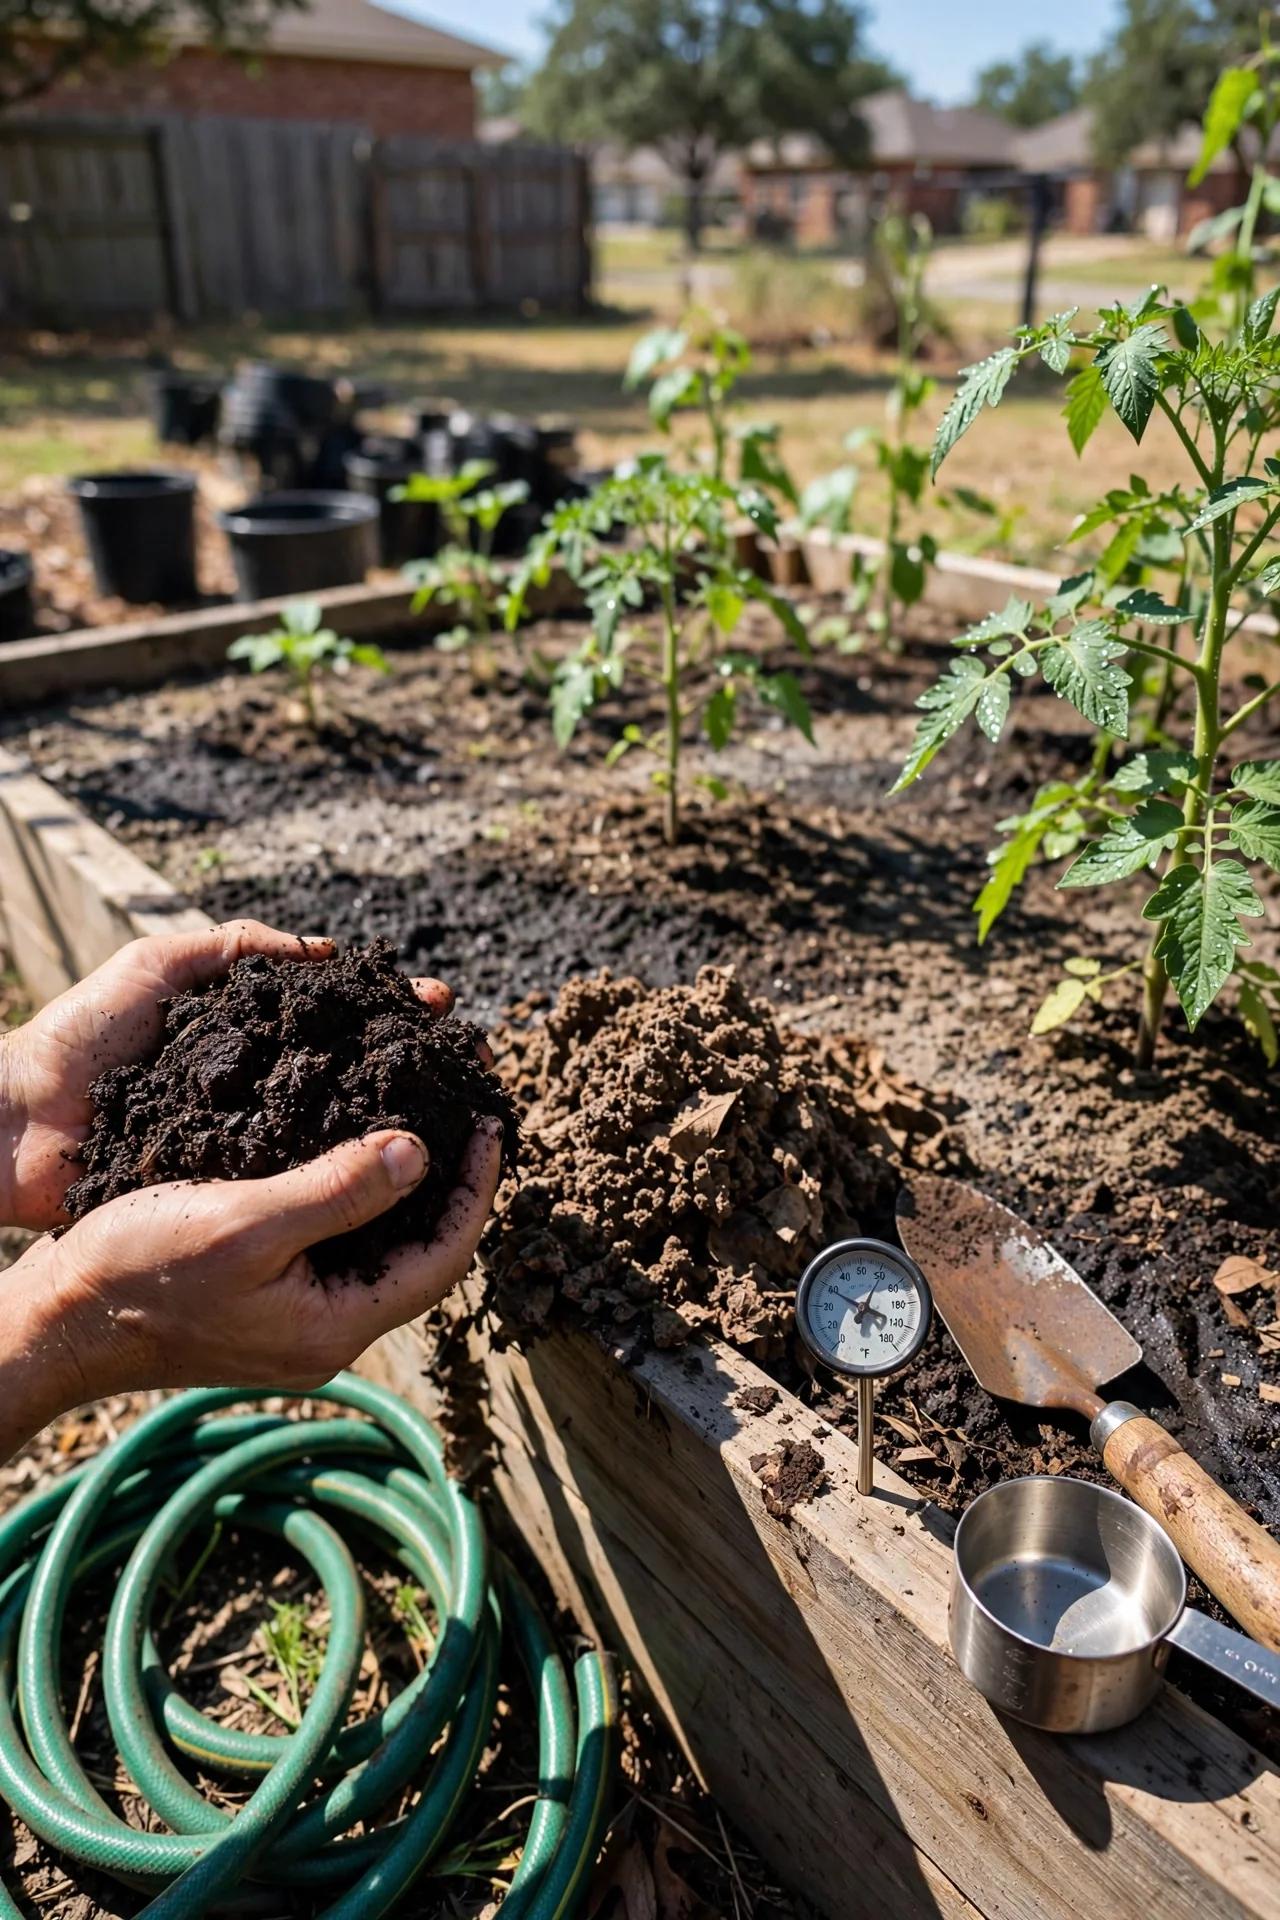
Choosing compost for a raised bed is less about chasing a “best” material and more about lining up your labor budget, your soil’s current condition, and the crops you grow. A strategy that delivers perfect tomatoes for a gardener who turns piles weekly may overwhelm someone who simply wants to top-dress once after harvest. The real decision is not which compost is superior but which type you can sustain season after season without burning out or neglecting the bed.
This guide covers nine distinct approaches, from homemade hot compost and worm castings to leaf mold, bokashi, compost tea, grass clippings, biochar blends, and commercial bagged products. We deliberately exclude synthetic fertilizers, peat moss, and uncomposted mulches that do not function as biologically active organic matter. Every option here contributes to a living soil food web in a raised bed.
By the end, you will know exactly which two or three inputs match your raised bed’s age, crop intensity, and your available time. You will be able to pick a primary compost for building new soil, a booster for heavy-feeding vegetables, or a low-effort annual replenishment and understand the trade-offs before you buy or build.
Bottom line: Match the compost type to whether you are constructing new soil, fueling hungry crops, or simply preserving what you already have.
The Yield Grid Decision Grid
Start here instead of scrolling straight to the list. Choose the branch that describes your raised bed this season. Each one leads to a shortlist of compost types calibrated to measurable conditions. For a complete walkthrough on starting any composting system, read our composting for beginners guide.
Branch 1: Low-Touch Annual Replenishment
Condition: The raised bed is at least two years old, drainage remains acceptable, and you primarily grow moderate feeders like greens, roots, or herbs. Soil organic matter feels crumbly and dark; a simple jar test shows a healthy silt-loam texture. You want to add organic matter once per season with minimal ongoing effort.
Recommended: Items 2, 4, and 9 below.
Branch 2: High-Output Intensive Feeding
Condition: You grow heavy feeders (tomatoes, squash, brassicas) in succession, often harvesting three or more crops from the same bed per year. Soil nutrients deplete rapidly, and you are willing to invest weekly or biweekly attention to keep productivity high. The bed demands re-amending multiple times during the growing season.
Recommended: Items 1, 3, 5, 6, and 7 below.
Branch 3: Fresh Fill or Structural Rebuild
Condition: You built a new raised bed and filled it with imported bulk soil that lacks organic matter, or an existing bed has become compacted, drains poorly, and shows few earthworms. Water ponds on the surface after rain. You need to build volume, biology, and water-holding capacity from the ground up.
Recommended: Items 1, 8, and 9 below. (A hugelkultur base layer is often paired with these, but that is a structural fill, not a compost.)
Quick Comparison Table
| Option | Key Mechanism | Best For | Decision Grid Branch | Effort Score |
|---|---|---|---|---|
| 1. Homemade Hot Compost | Thermophilic microbes generate heat, kill pathogens, produce stable humus | Heavy feeders, new bed activation | Branch 2 or 3 | 4 |
| 2. Cold Compost | Slow, passive decomposition at ambient temperature | Annual maintenance, low-input beds | Branch 1 | 1 |
| 3. Vermicompost | Worm castings dense in plant-available nutrients and humic substances | Fruiting crops, seed starting, stressed plants | Branch 2 | 3 |
| 4. Leaf Mold | Fungal-dominated decay of tree leaves, improves soil aggregation | Water retention, clay or sandy soil amendment | Branch 1 | 1 |
| 5. Bokashi Pre-Compost | Anaerobic fermentation preserves kitchen waste, then rapid soil integration | Quick organic matter boost, food scrap recycling | Branch 2 | 3 |
| 6. Compost Tea | Liquid extraction of soluble nutrients and microbes from finished compost | Foliar feeding, immediate nutrient delivery, stressed plants | Branch 2 | 4 |
| 7. Grass Clippings (in situ) | Fresh clippings decompose as a nitrogen-rich surface mulch | Moisture conservation, light feeding, weed suppression | Branch 2 | 2 |
| 8. Biochar-Compost Blend | Charged biochar mixed with compost increases nutrient and water retention | Long-term soil structure build, new beds | Branch 3 | 2 |
| 9. Commercial OMRI Compost | Screened, cured compost from consistent feedstock | Convenience, bulk fill, transplanting | Branch 1 or 3 | 1 |
Homemade Hot Compost
Best for: Branch 2 or Branch 3
Blueprint (What, For, Steps, Common Mistake)
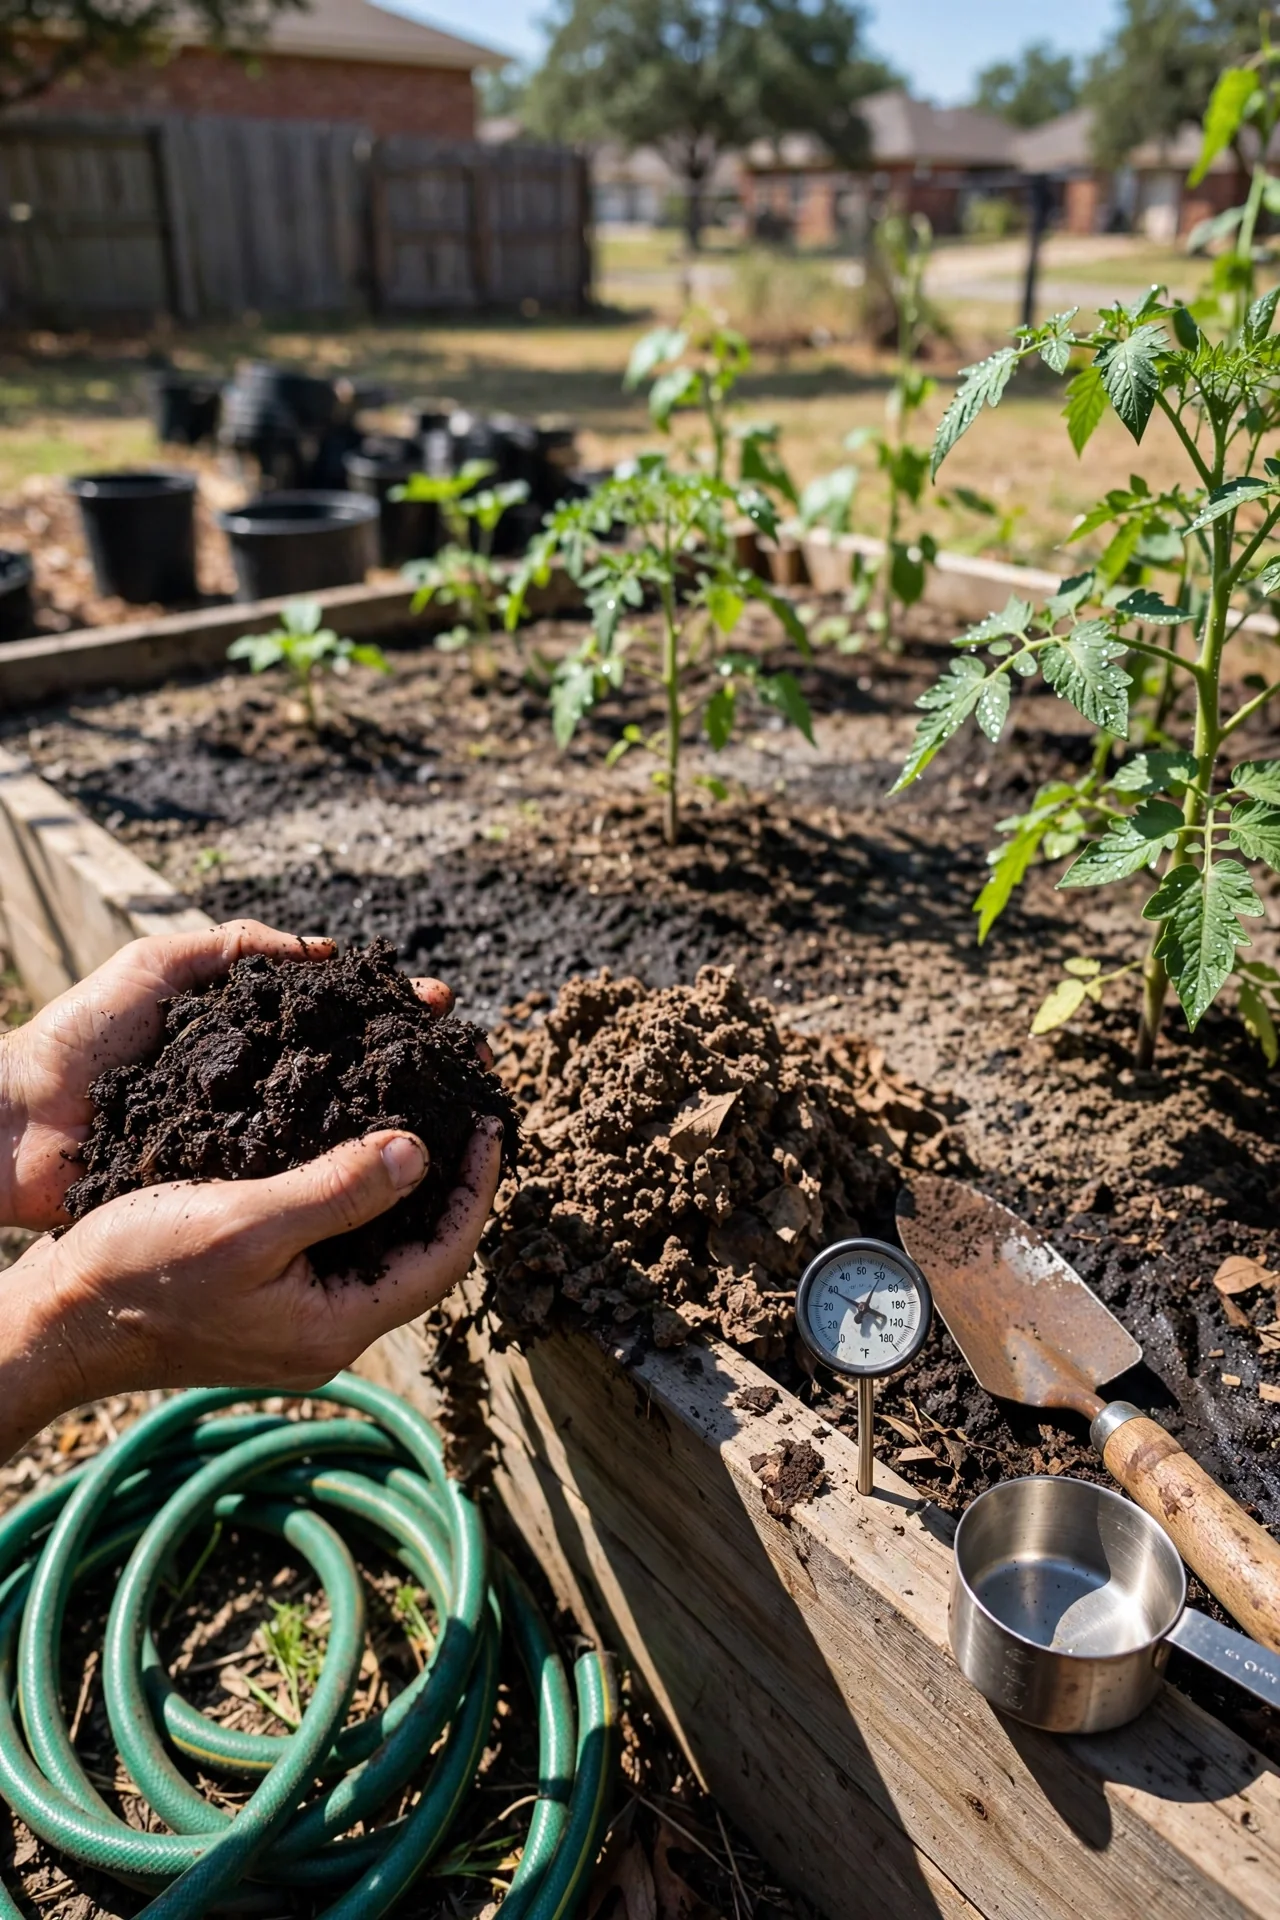
What: A managed thermophilic compost pile built with a 25-30:1 carbon-to-nitrogen ratio, turned regularly to maintain temperatures between 131°F and 150°F. For: Gardeners who can dedicate 20-30 minutes twice a week during the active phase and need large volumes of nutrient-dense humus for heavy-feeding raised beds. Steps: 1) Stockpile browns (straw, shredded cardboard) and greens (veg scraps, fresh grass, manure) separately. 2) Build a pile at least 3 feet high and wide in one go; smaller piles lose heat. 3) Track temperature with a compost thermometer; turn when the core drops below 131°F or rises above 155°F. 4) Cure the finished compost for 3-4 weeks before applying at a 2-inch layer to beds. Common mistake: Turning too infrequently causes anaerobic pockets and ammonia smell; turning too aggressively cools the core and stalls decomposition. Hot compost works best in raised beds that demand rapid nutrient cycling. Read our full step-by-step hot composting method guide for pile sizing in small yards.
Cold Compost
Best for: Branch 1
Use vs. Skip
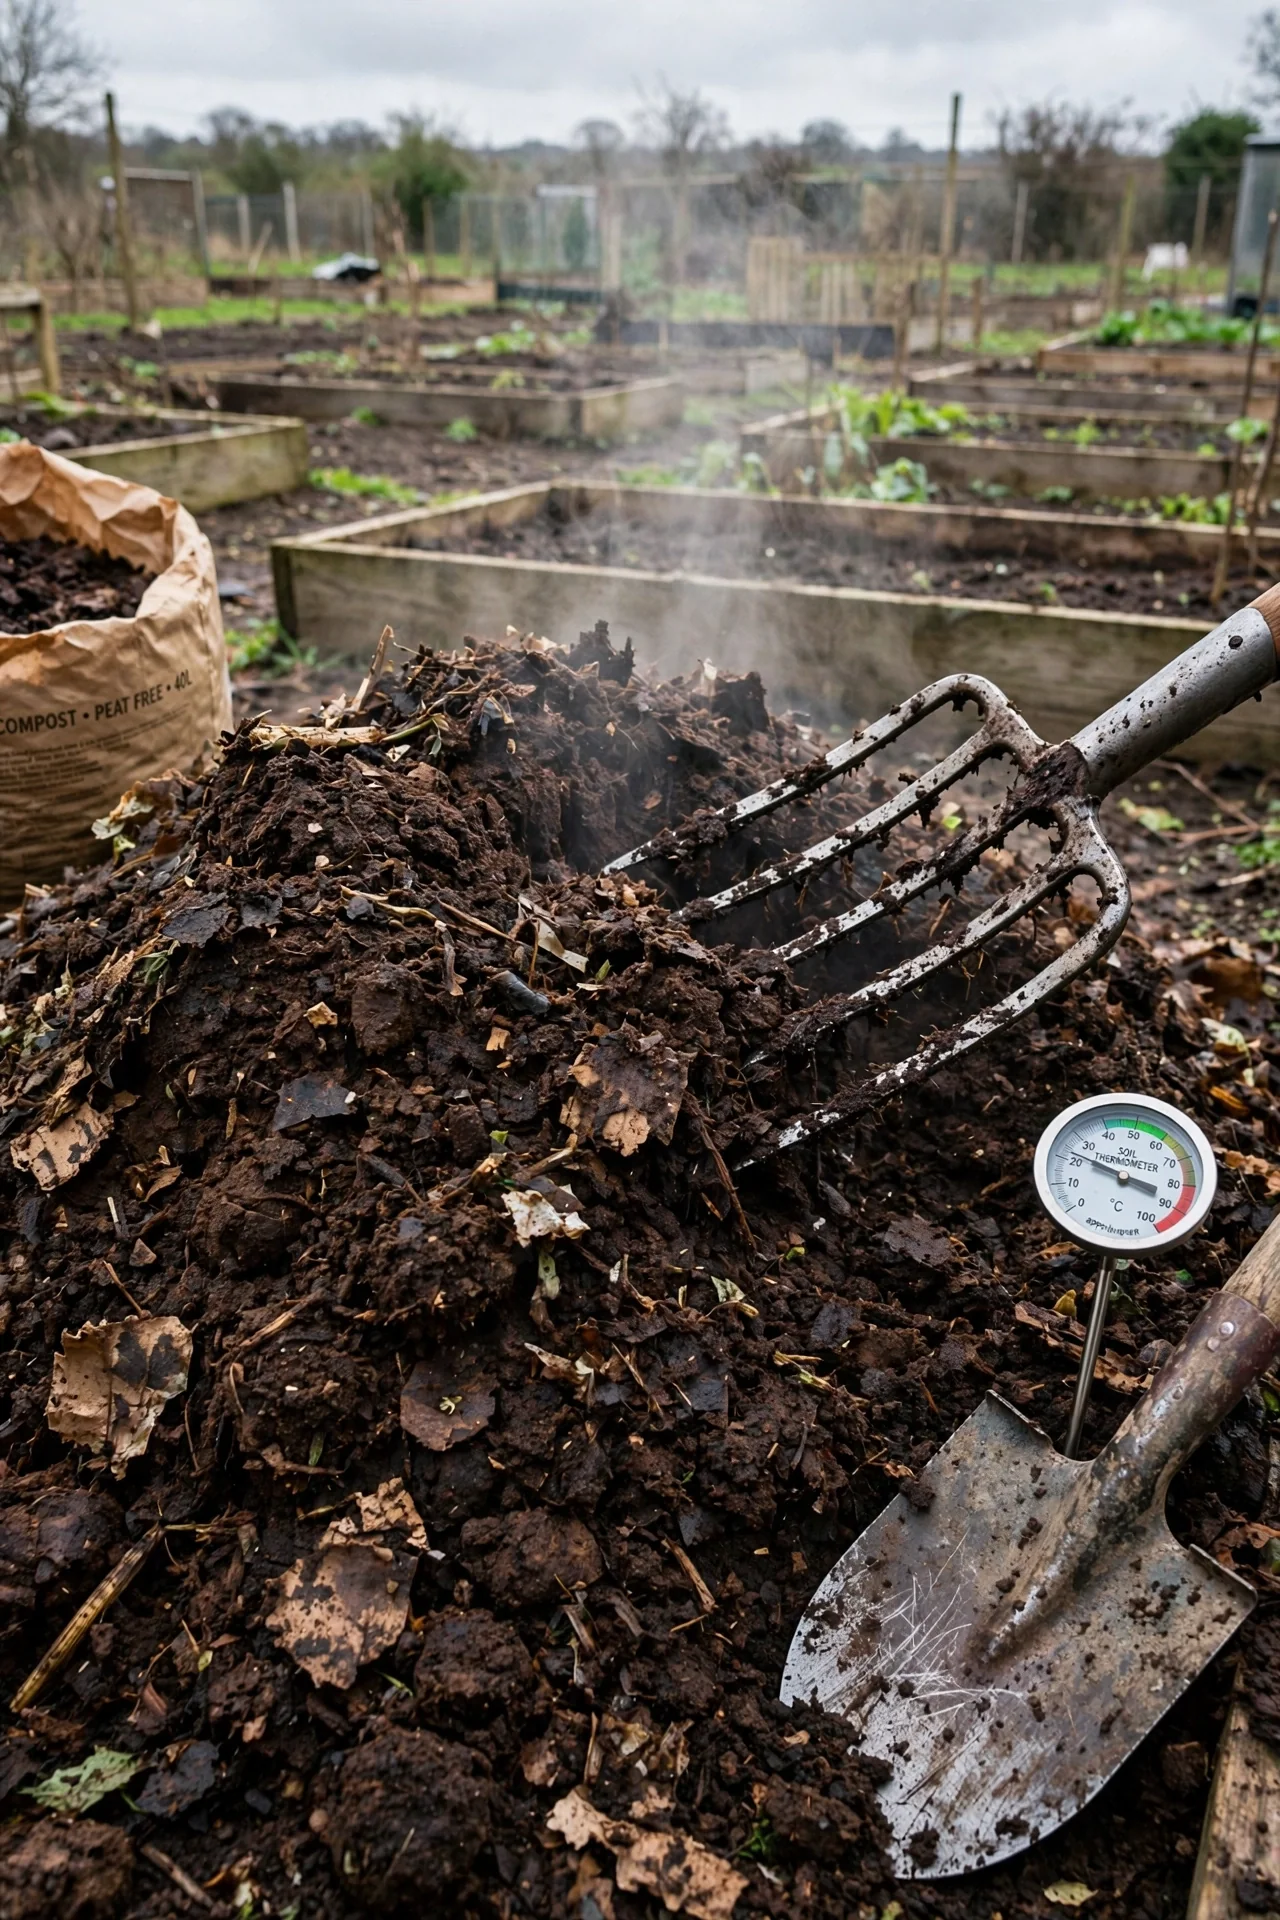
Use cold compost when you have a year or more before you need the finished material and you generate yard waste steadily. It requires almost no labor after the initial pile is built: just add materials as they come and let fungi and bacteria work slowly. The end product may contain some viable weed seeds, so skip it for beds where you will direct-seed tiny carrots or lettuce; those beds benefit from seed-free hot compost. Cold compost excels as an autumn top-dress on established beds, where earthworms incorporate it over winter. See our cold composting overview for building a simple bin.
Vermicompost
Best for: Branch 2
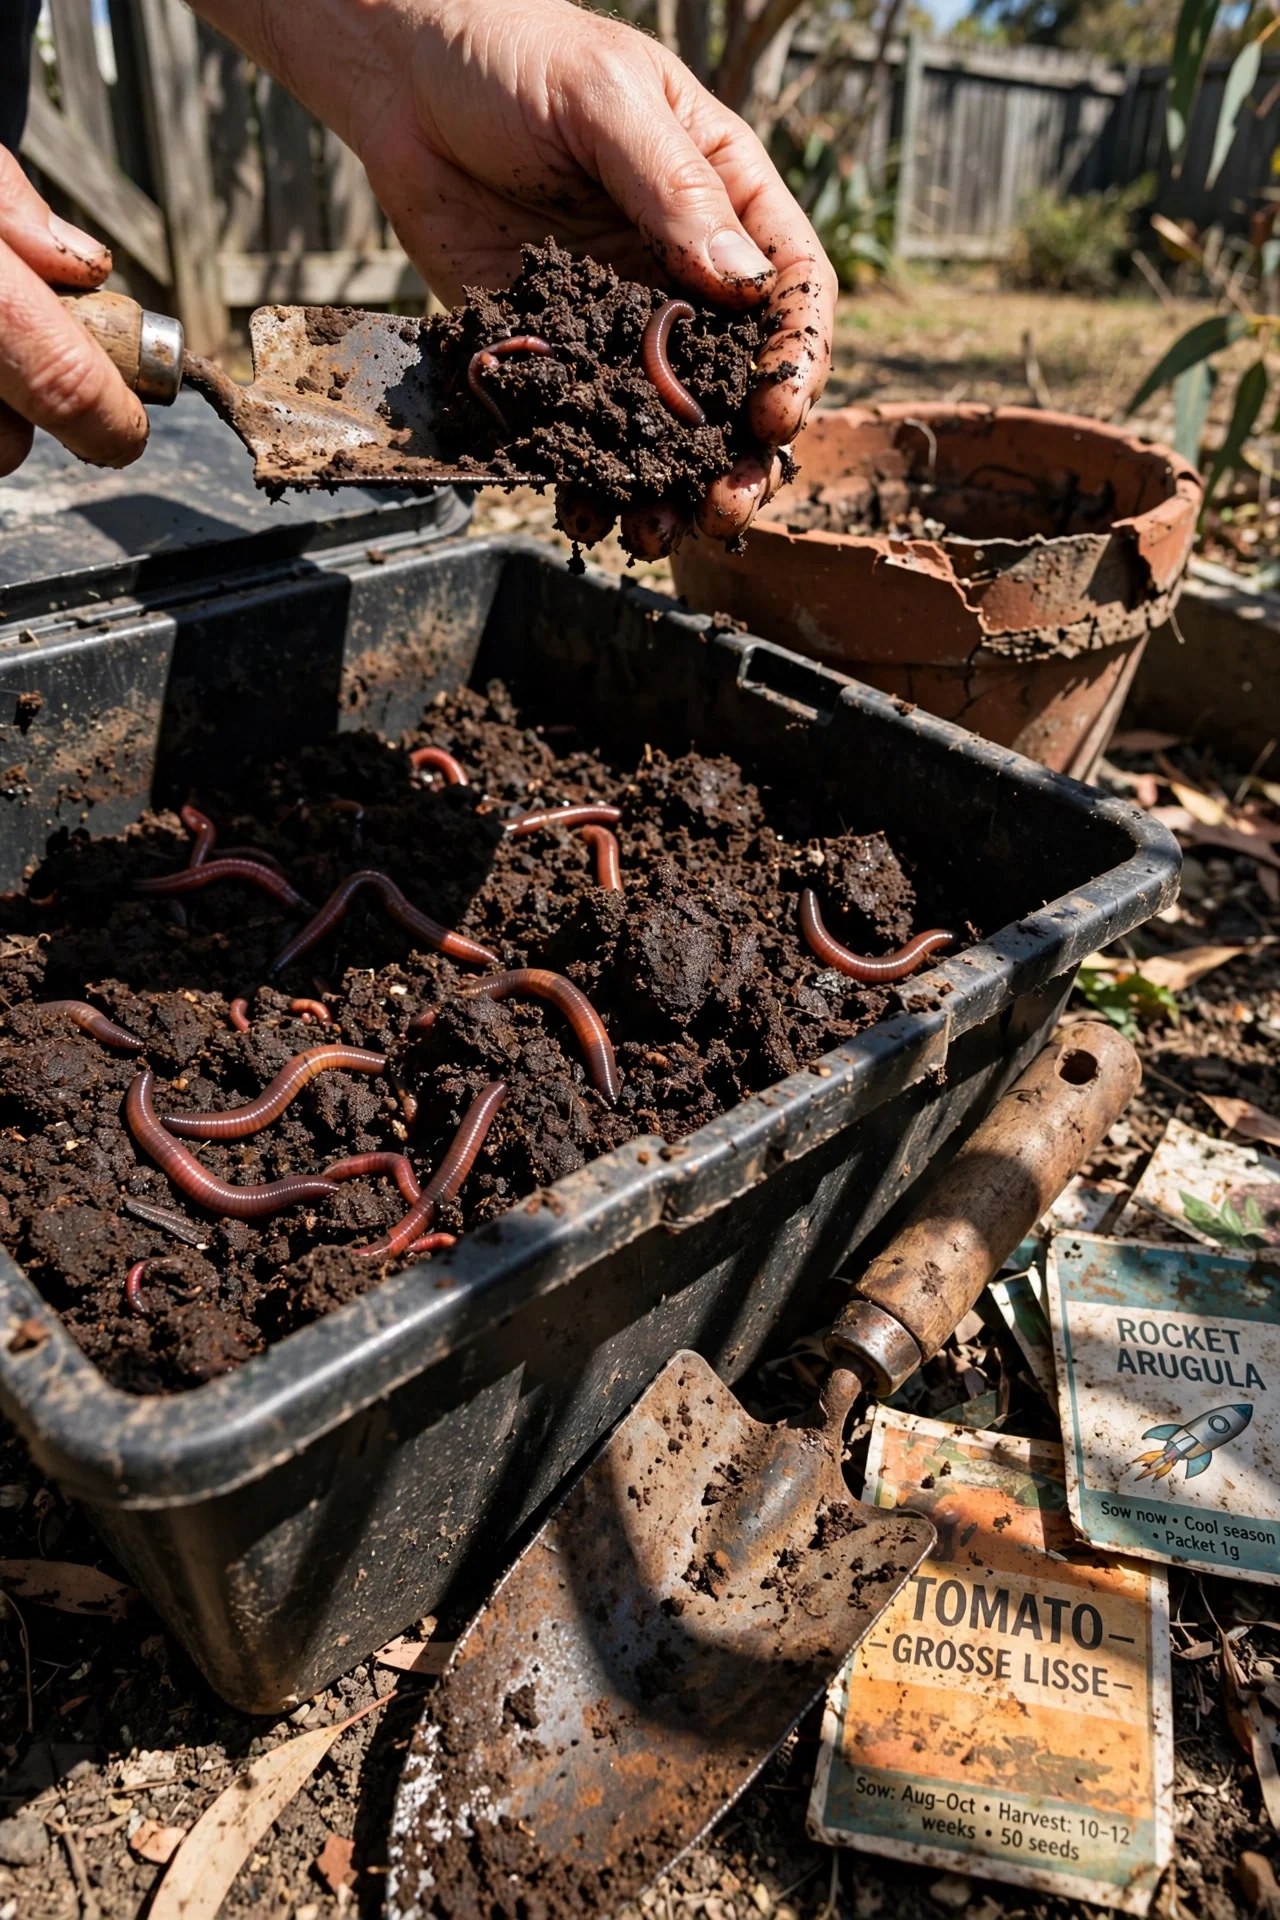
Threshold rule: Use worm castings at 1 part castings to 4 parts potting mix when starting seeds, or top-dress heavy feeders with a half-inch layer scratched into the soil surface every 6 weeks during active growth. Do not exceed 20 parts castings by volume in a raised bed fill blend; beyond that, the fine texture can reduce drainage. Worm castings deliver a balanced microbial community and plant-available nitrogen, making them especially useful for tomatoes and peppers. The limitation is volume: a healthy worm bin yields roughly 5-10 pounds of castings per month, so plan accordingly for larger beds. Choose the right worm species with our best worms for composting guide.
Leaf Mold
Best for: Branch 1
10-Minute Workflow
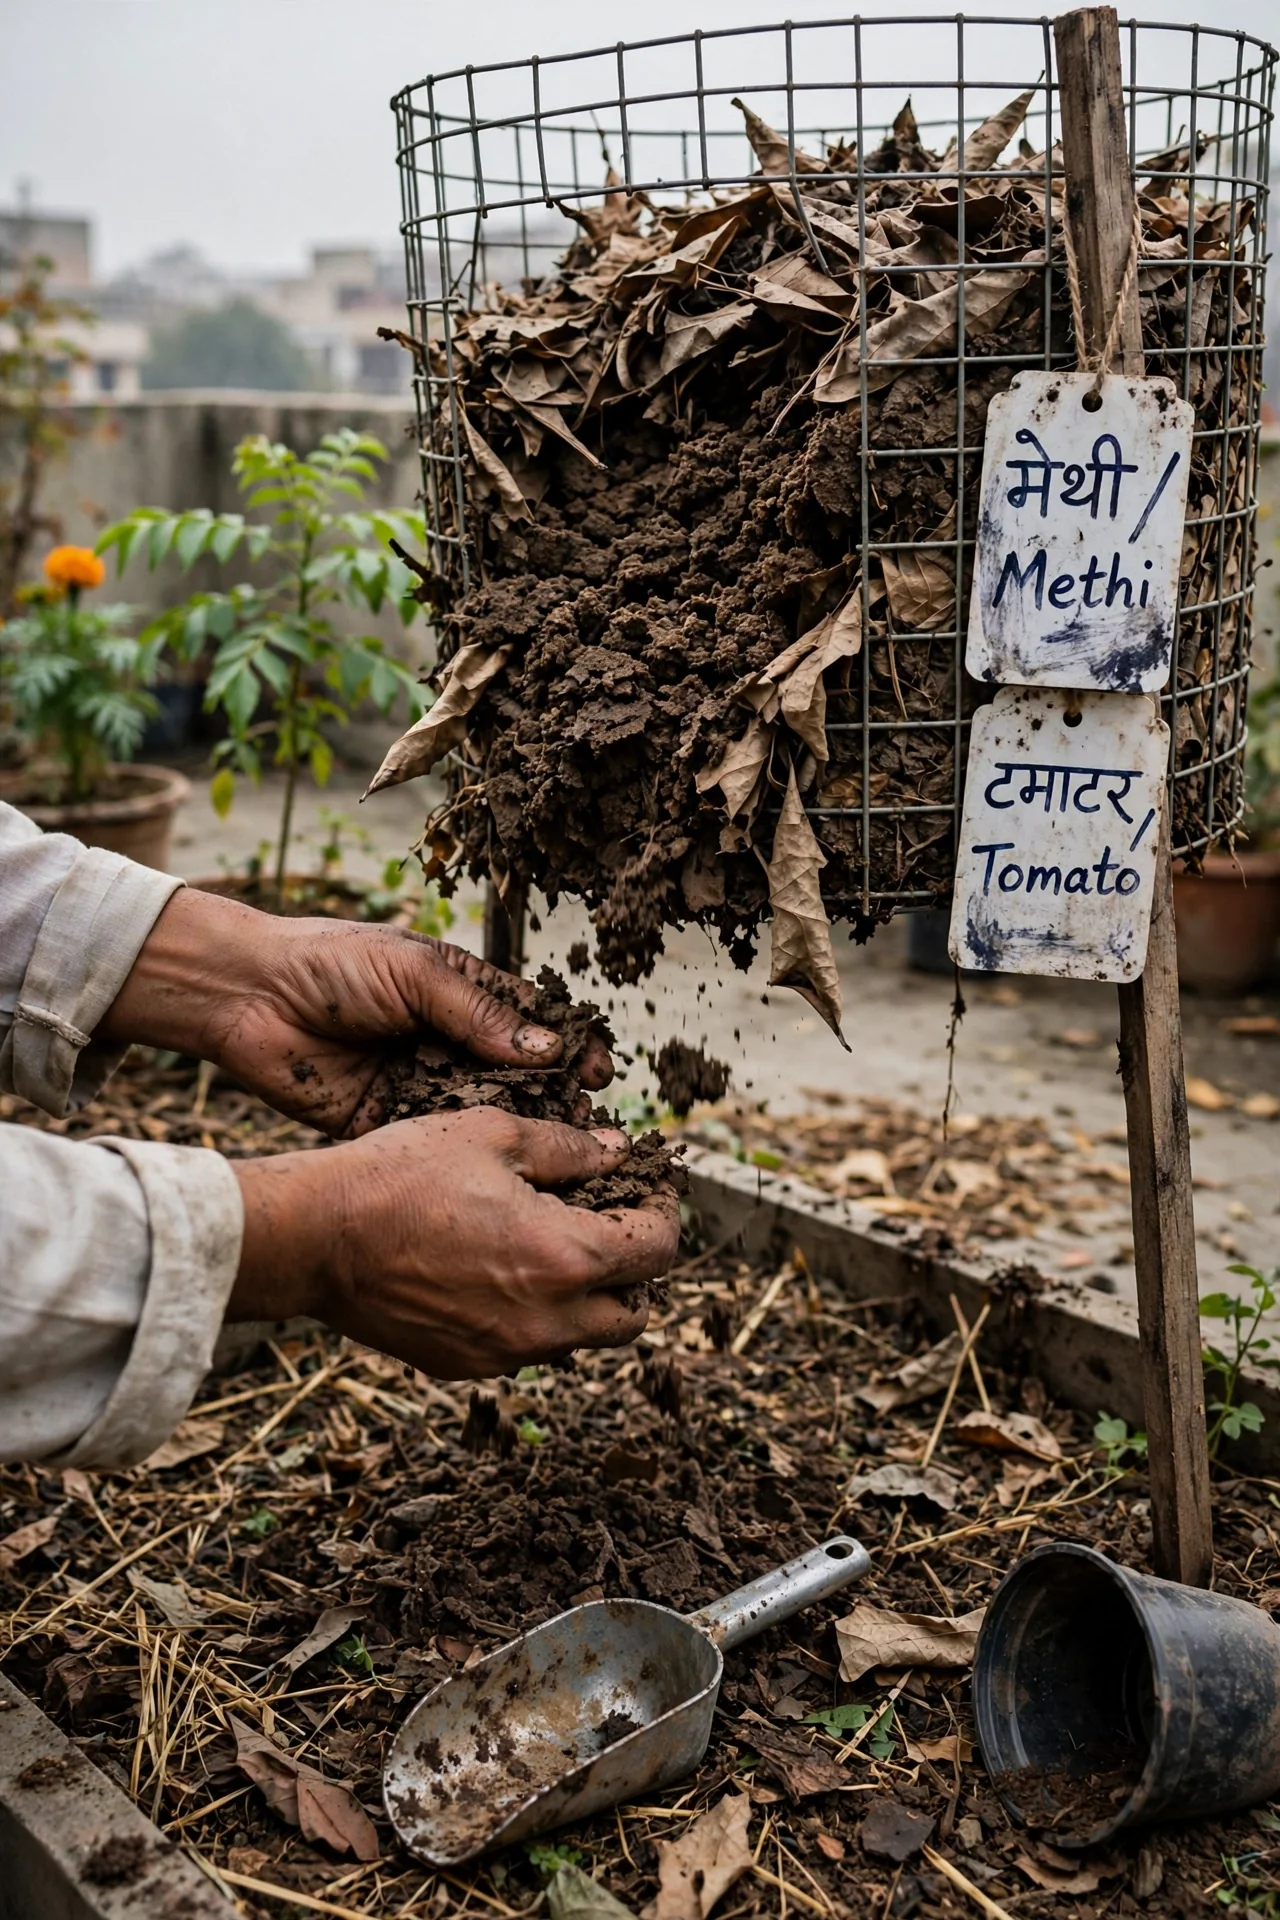
1. In autumn, shred fallen leaves with a mower or string trimmer inside a trash can (2-3 minutes per bin). Shredding multiplies the surface area and cuts decomposition time from 24 months to about 12. 2. Pile shredded leaves in a simple wire ring, moistening layers as you go until the pile feels like a wrung-out sponge. 3. Cover loosely with a tarp, leaving the bottom exposed for earthworm entry. 4. Forget the pile until the following autumn; harvest the dark, crumbly leaf mold from the bottom center and apply a 2-3 inch layer to raised beds. Upgrade option: For a nutrient boost, mix in a handful of alfalfa pellets during piling to introduce nitrogen. Leaf mold’s real gift is its fungal network, which dramatically improves water-holding capacity in sandy soil and aeration in clay. See our leaf mold guide for chooser tips on leaf types.
Bokashi Pre-Compost
Best for: Branch 2
Use vs. Skip
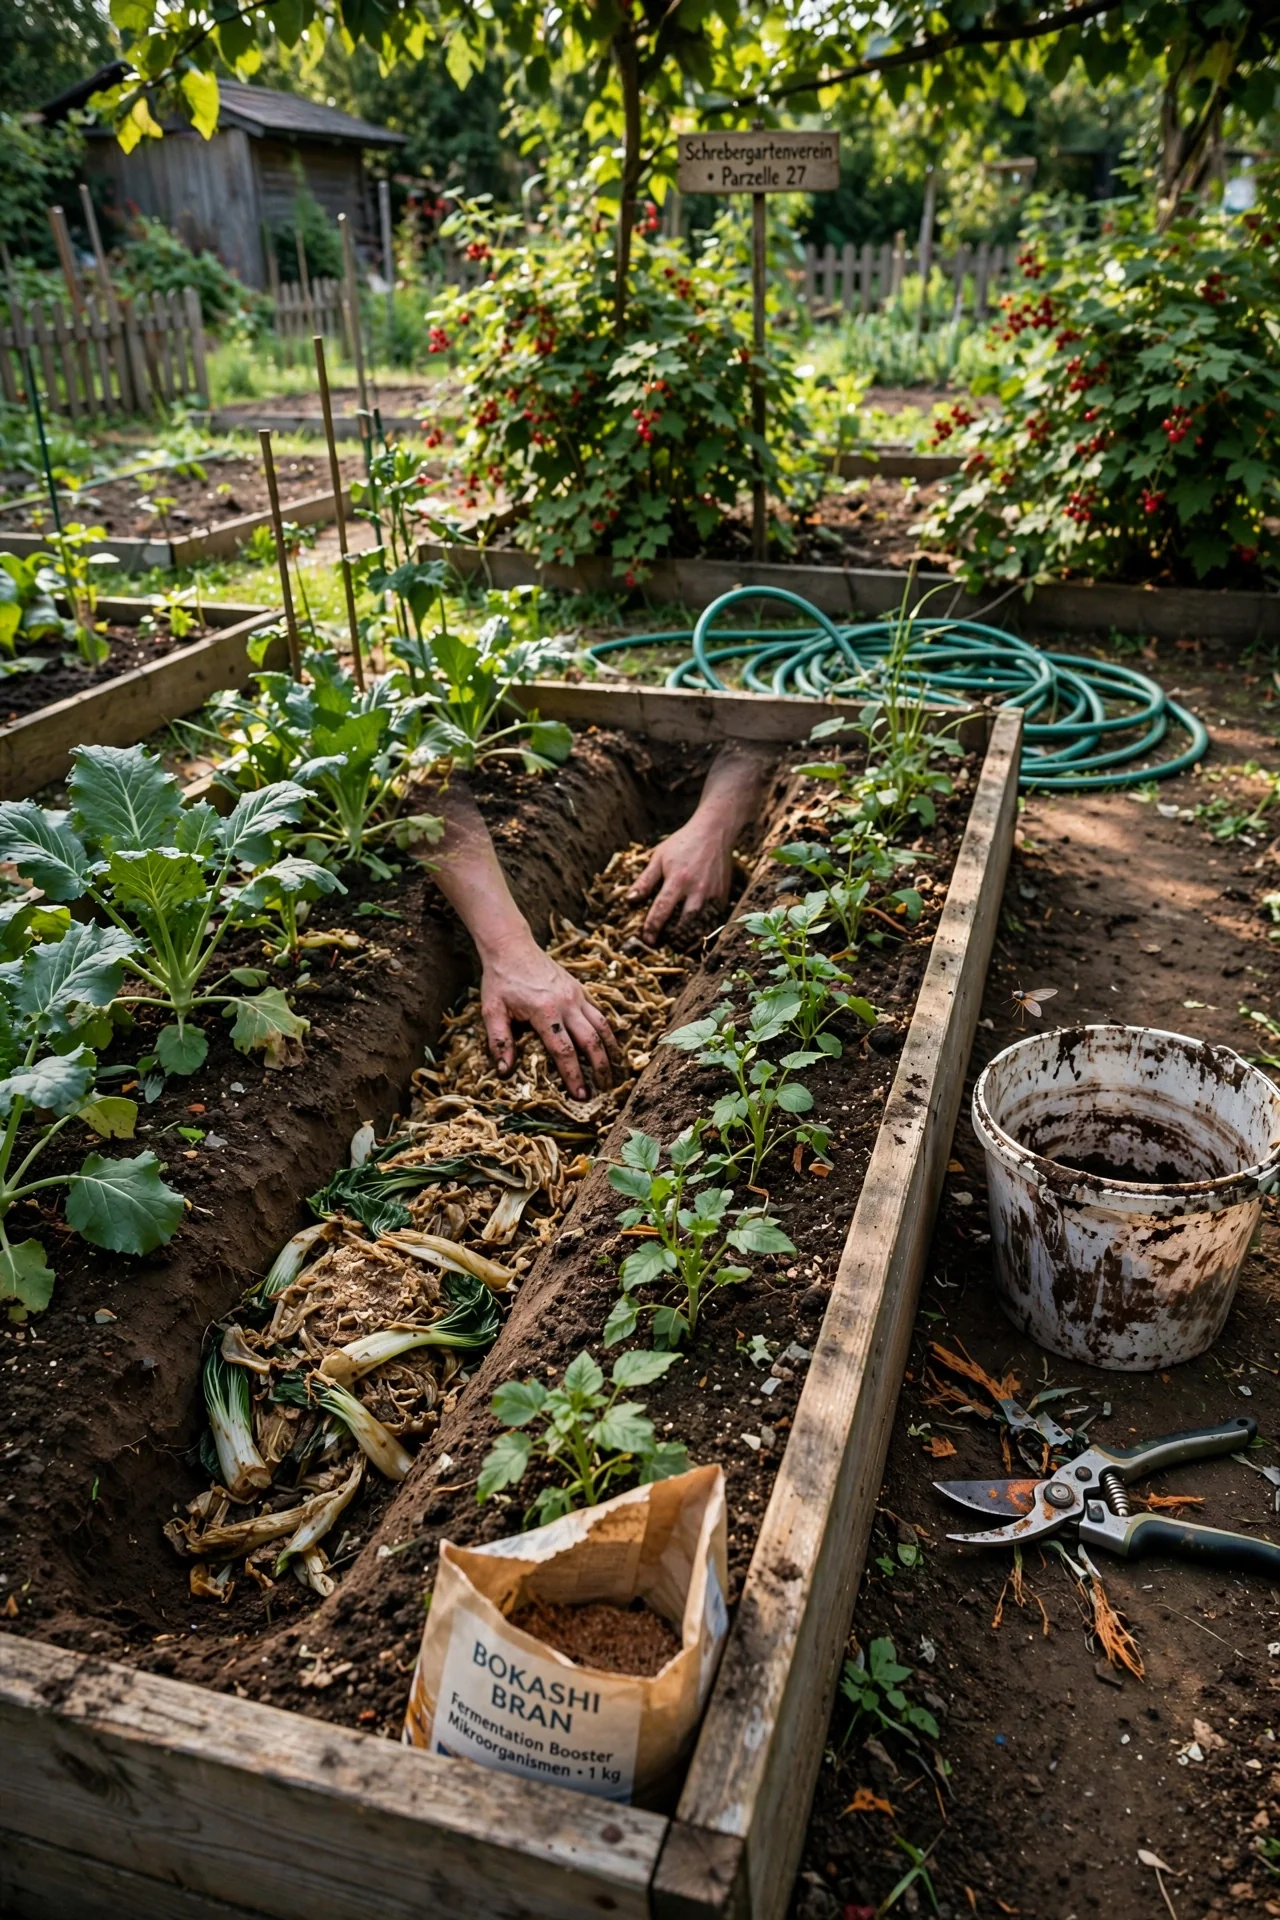
Use bokashi to recycle cooked food, small bones, and citrus that cannot go into a worm bin. Fermented material breaks down rapidly when buried in a raised bed trench, releasing a pulse of organic acids and nutrients within 2-4 weeks. Skip bokashi if your raised bed has existing root crops growing; the temporary drop in pH during breakdown can stunt carrots or beets. It shines in beds that will sit fallow for a month between plantings. Pair with a bokashi composting routine to close the kitchen-to-garden loop year-round.
Compost Tea
Best for: Branch 2
10-Minute Non-Aerated Workflow
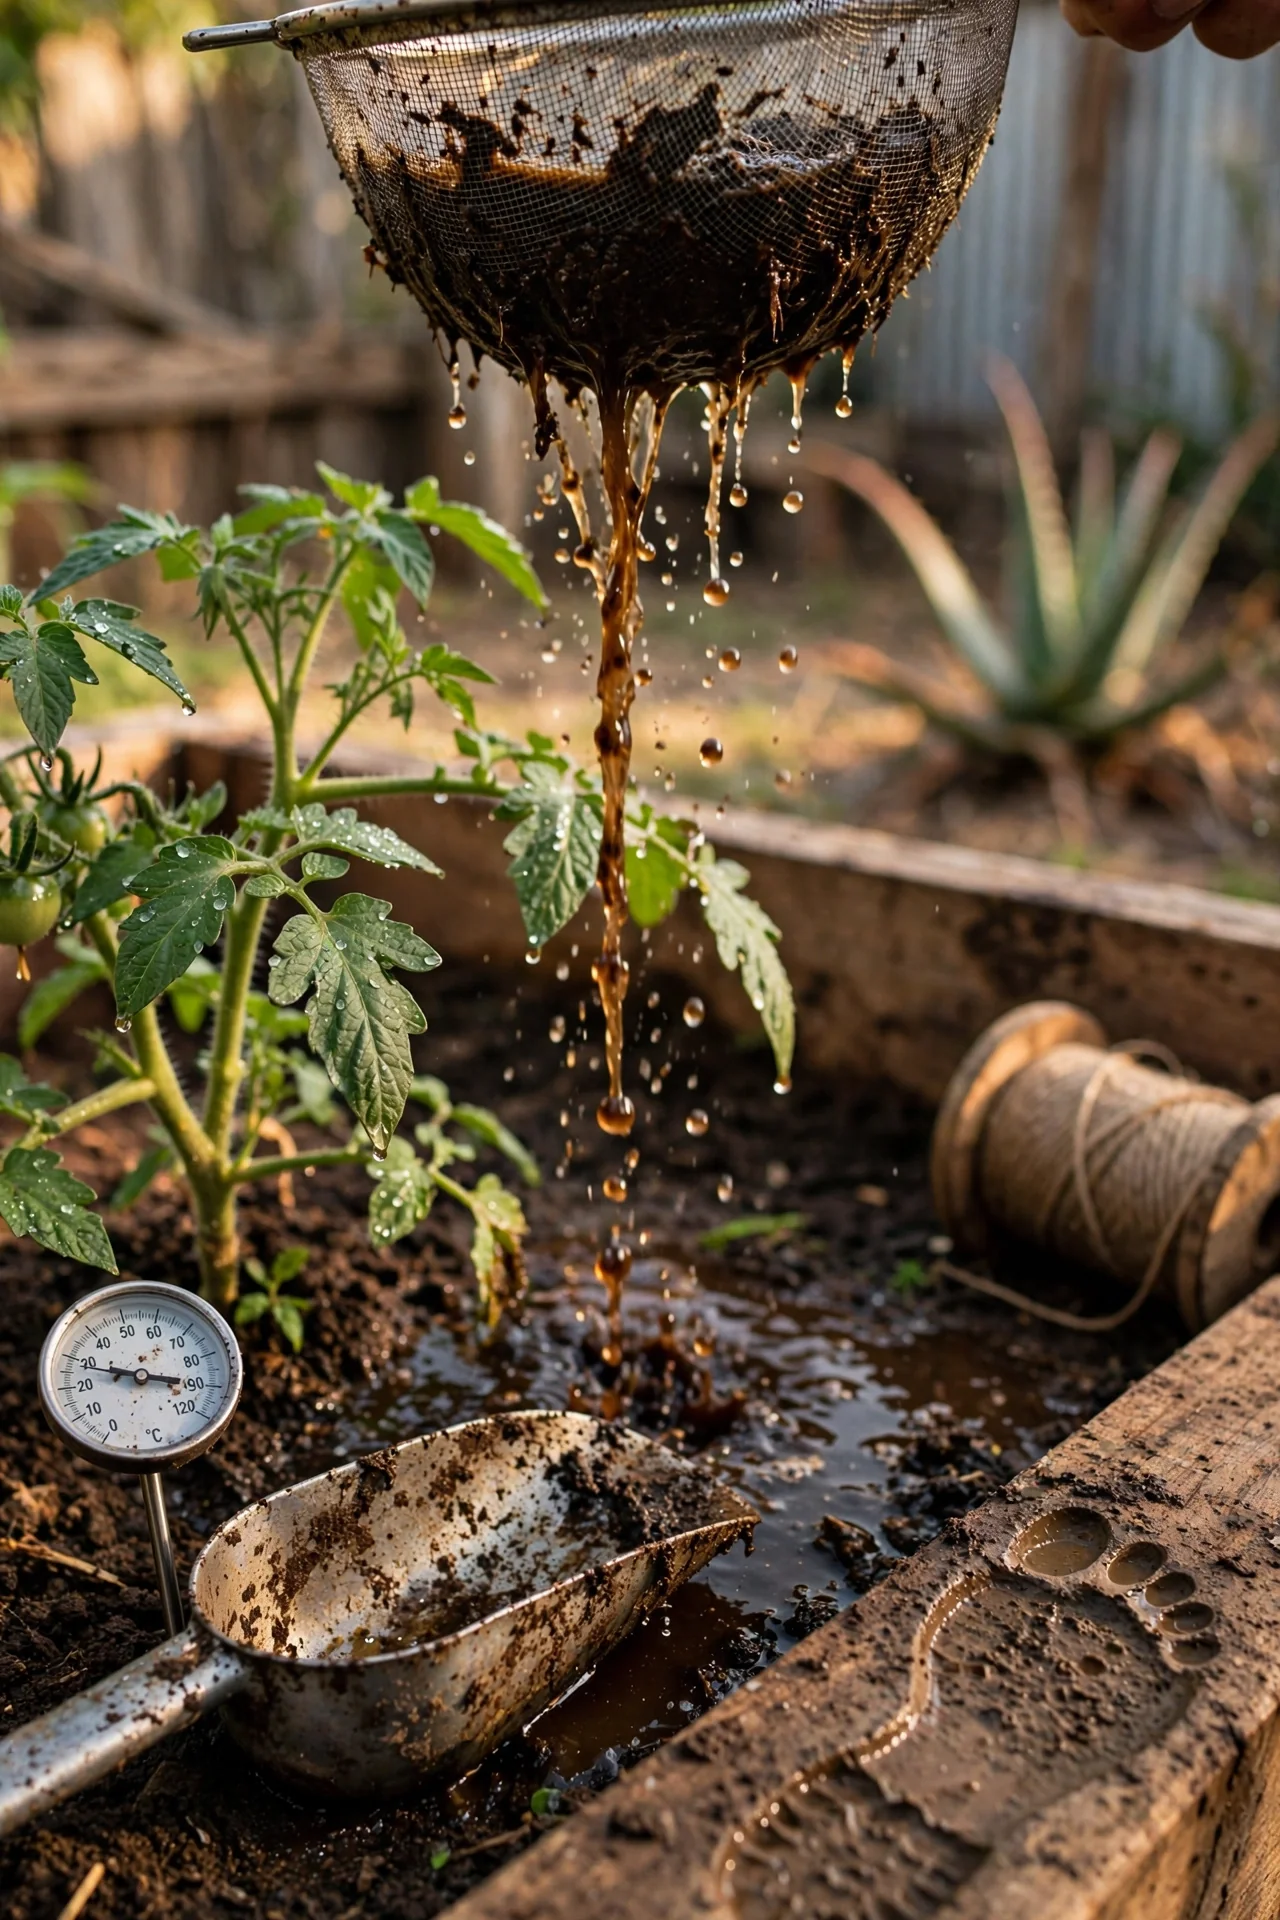
1. Fill a 5-gallon bucket with dechlorinated water (let tap water sit uncovered for 24 hours). 2. Add 1 shovel of finished, mature compost into a mesh paint strainer bag, submerge, and tie off. 3. Let steep for 3-5 days, stirring once daily with a stick. 4. Dilute the finished tea to the color of weak iced tea (roughly 1 part tea to 3-5 parts water) and apply as a soil drench or foliar spray within 4 hours of finishing the steep. Upgrade: Add 1 tablespoon unsulphured molasses to feed bacteria during steeping, but only if you will use the tea immediately; otherwise risk anaerobic spoilage. Compost tea delivers a soluble nutrient boost that can rescue chlorotic plants quickly, but it does not build long-term soil structure. See our compost tea instructions for aerated options.
Grass Clippings as In-Situ Compost
Best for: Branch 2
Blueprint
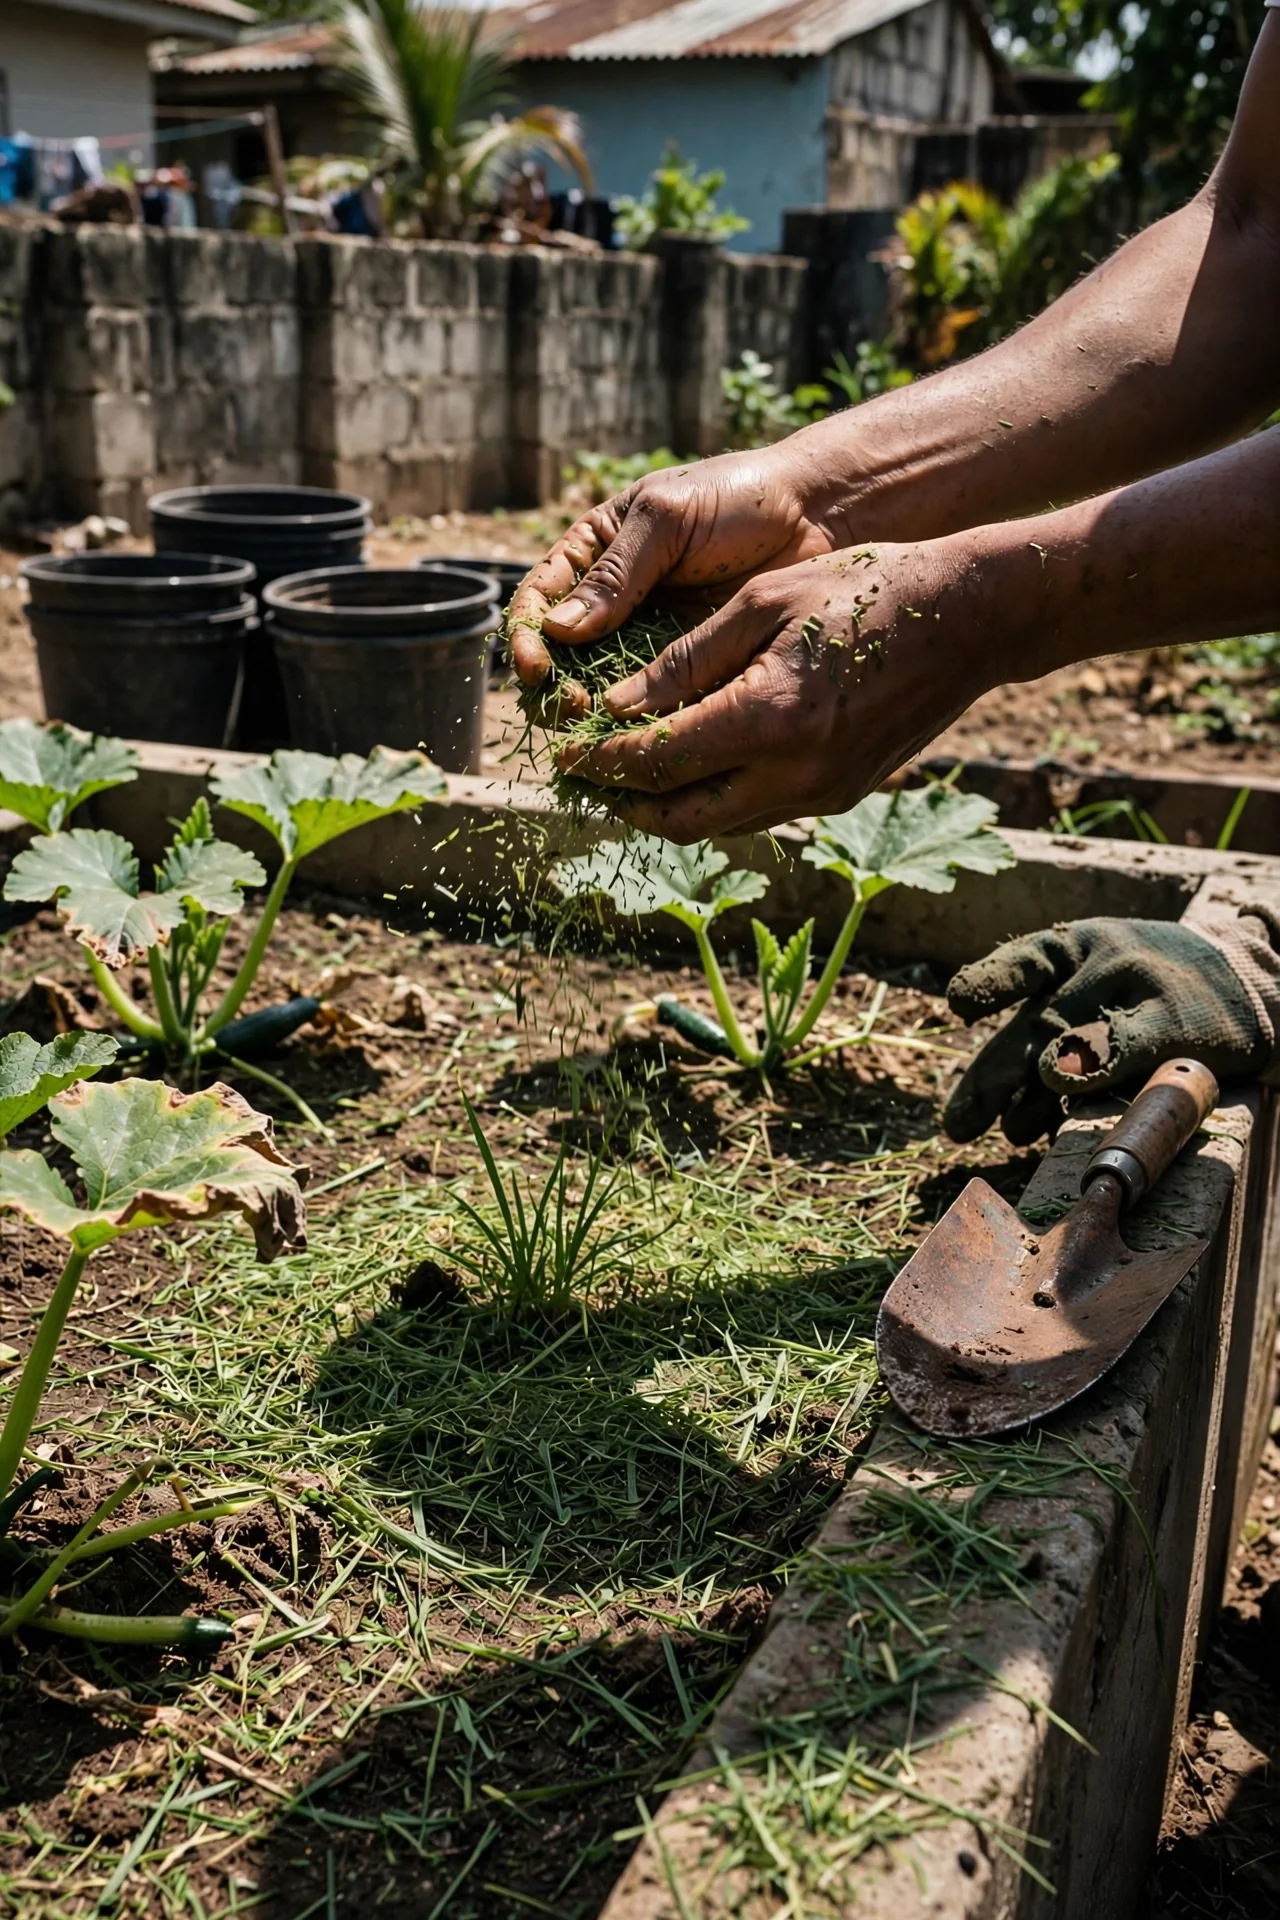
What: Fresh, untreated grass clippings applied as a 1-inch thick mulch that decomposes in place, feeding soil microbes and releasing nitrogen. For: Gardeners who mow regularly and want to suppress weeds while slowly building organic matter in beds growing squash, corn, or brassicas. Steps: 1) Harvest clippings only from lawns that have not been treated with broadleaf herbicides within the last 3 mowings. 2) Spread a layer no thicker than 1 inch; thicker mats become slimy and impenetrable to water. 3) Allow the layer to dry partially before watering it in, then reapply every 2 weeks as clippings vanish. 4) In autumn, mix the remaining partially decomposed material into the top 3 inches of soil. Watch point: If your raised bed is small, mix clippings with shredded leaves to prevent a nitrogen burst that can burn seedlings. Use our grass clippings compost guide to manage herbicide carryover risk.
Biochar-Compost Blend
Best for: Branch 3
Use vs. Skip
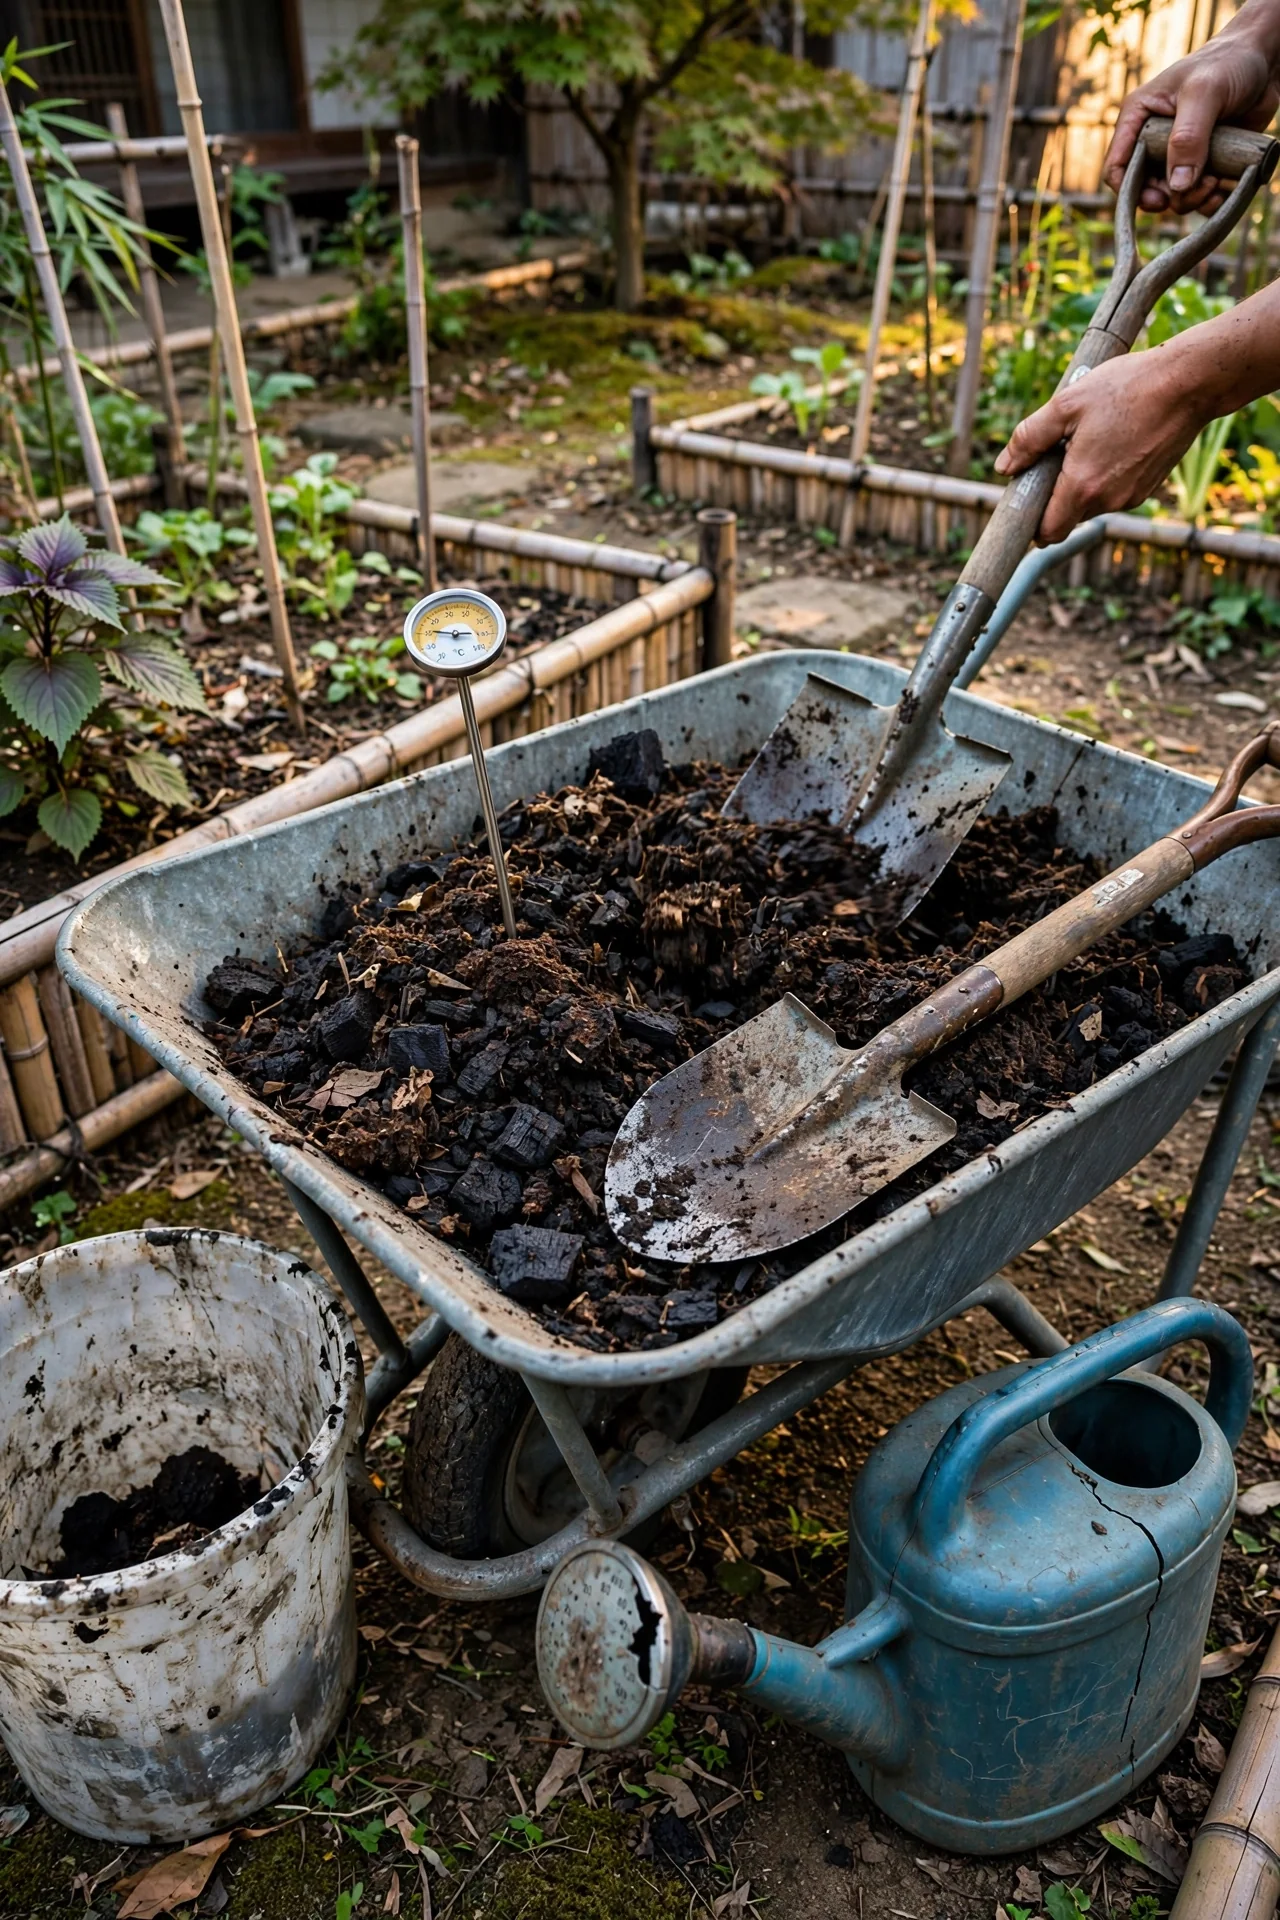
Use a pre-charged biochar blend when building a new raised bed or remediating one that has failed to hold nutrients after multiple seasons. Mix raw biochar with finished compost at a 1:1 volume ratio, moisten, and let it sit for 14 days before incorporating into the bed at a rate of 1 cup per square foot, dug into the top 6 inches. Skip this blend if you cannot commit to the 2-week charging period; raw biochar will temporarily lock up soil nitrogen. Once established, biochar persists for decades, improving cation exchange capacity. See our biochar for soil guide before sourcing any product.
Commercial OMRI-Listed Compost
Best for: Branch 1 or Branch 3
Threshold rule: Look for a Seal of Testing Assurance (STA) label and a C:N ratio below 20:1 on the lab analysis. If the compost smells of ammonia or feels hot, it is unfinished and will burn roots. For new bed fill, purchase enough to mix 1 part compost with 2 parts existing soil by volume; for annual maintenance, apply a 1-inch layer. Avoid products listing “biosolids” unless you confirm they meet EPA Exceptional Quality standards. The convenience is offset by variable quality, so always do a squeeze test: a handful should leave moisture on your palm without dripping water.
Starter Stack (What to Choose First)
Branch 1: Low-Touch Maintenance Stack
Combine cold compost and leaf mold. In autumn, spread a 2-inch layer of each on the raised bed surface. Cold compost supplies a broad nutrient base, while leaf mold’s fungal dominance improves water infiltration and soil crumb. Earthworms will incorporate both over winter, eliminating any spring digging. Approximate cost: free if you collect leaves and pile yard waste. Time: one afternoon per season for spreading.
Branch 2: Intensive Production Stack
Pair homemade hot compost with a simple non-aerated compost tea. Apply a 2-inch layer of hot compost at planting time, then drench the root zone with compost tea every 14 days during fruit set. The solid fraction builds structure and sustained nutrition; the liquid fraction rapidly delivers soluble nitrogen and potassium during peak demand. Cost: roughly $30-$50 for a compost thermometer and a bucket; material inputs are kitchen and yard waste. Time: 30 minutes weekly for tea brewing and occasional pile turning.
Branch 3: New Bed Fill Stack
Use commercial OMRI compost and a biochar-compost blend. Mix the commercial compost with your native or imported soil at a 1:2 ratio to build volume, then incorporate 1 cup of the pre-charged biochar-compost per square foot into the top 6 inches. The commercial product jumpstarts fertility, while the biochar locks it in for years. Cost: commercial compost runs $30-$60 per cubic yard; biochar about $20 per cubic foot, enough for a 4×8 bed. Time: one weekend to source, mix, and fill.
When This Won’t Work
Any compost method fails when carbon sources are added in large, woody pieces that have not decomposed. Raw sawdust, un-composted wood chips, or bark fines incorporated directly into a raised bed will immobilize nitrogen for a full growing season, causing stunted, yellowing plants. The measurable warning sign is a rapid drop in available nitrogen, detectable by a soil test after mixing. If you have already added coarse wood, do not add more compost; instead apply a nitrogen-rich side dressing like blood meal and wait.
A second failure condition occurs when manure-based composts are used before they are fully aged. Fresh or partially aged manure can contain high ammonia levels and viable pathogens. The telltale indicator is an ammonia smell at application. If that odor is present, the material must be cured for at least 4 additional weeks, turned weekly, before it touches a growing bed. For beds already planted, remove the offending material and replace with mature compost immediately.
For a deeper explanation of how compost differs from simple surface mulch in these scenarios, read our compost vs mulch comparison.
Choosing the Right Option for Your Situation
Budget Threshold
If your annual compost budget is below $50, prioritize homemade cold compost, leaf mold, and grass clippings. These inputs cost nothing beyond basic tools. A budget above $150 allows purchasing a quality commercial OMRI compost and perhaps a bag of biochar for long-term structure.
Time Threshold
Gardeners who can spare less than 2 hours per month on compost activities should stick with Effort Score 1 or 2 options: cold compost, leaf mold, grass clippings, or commercial compost. Those willing to invest 4 or more hours per month can effectively manage hot compost, vermicompost, and compost tea without feeling rushed.
Technical Constraint: Soil Texture
Raised beds built over heavy clay benefit most from fungal-dominated composts like leaf mold, which form stable aggregates that pry open clay platelets. Beds on sandy soil need the same fungal action to create water-holding micro-structures. In both cases, a hot, bacterially dominated compost used alone may improve tilth temporarily but degrades quickly. Adjust your primary input to your native soil’s drainage profile, not just your crop list.
Yes/No Checklist:
1. Do you need to fill a brand-new raised bed? (Yes → Branch 3)
2. Are you growing tomatoes, squash, or brassicas intensively? (Yes → Branch 2)
3. Is your existing bed soil dark, crumbly, and full of worms? (Yes → Branch 1)
4. Can you dedicate at least 1 hour each week to compost management? (No → favor low-effort options within your branch.)
Expert Q&A
Can I use fresh manure directly in a raised bed?
Raw manure contains high ammonia and potential pathogens. It must be hot-composted or aged for at least 6 months before application. Placing fresh manure on a bed risks root burn and can introduce E. coli to leafy greens. A safer route is to compost it in a separate pile first.
How much compost do I need for a standard 4×8 foot raised bed?
For a new 12-inch deep bed, you need roughly 32 cubic feet of total soil. If mixing 1 part compost to 2 parts soil, that is about 10-11 cubic feet, or approximately 8-9 five-gallon buckets of finished compost. For annual top-dressing, 3-4 cubic feet (one standard bag) covers a 1-inch layer.
Does compost tea replace the need for solid compost?
No. Compost tea provides a soluble nutrient and microbial boost but lacks the organic bulk that improves soil structure, water retention, and aeration. Use tea as a supplement during heavy growth, not as a substitute for an annual solid compost application.
Can I bury kitchen scraps directly in a raised bed instead of composting separately?
Yes, this is called trench composting. Dig a 12-inch deep trench between plant rows, bury scraps, and cover with soil. They decompose over 4-8 weeks. Keep scraps at least 3 inches from living roots to avoid a temporary nitrogen dip. Avoid during active root crop growth cycles.
What is the difference between compost and potting mix for raised beds?
Compost is decomposed organic matter rich in biology; potting mix is a soilless blend of peat, perlite, and sometimes fertilizers, designed for containers and sterile seed starting. Raised beds are not containers. Using pure potting mix leads to rapid nutrient depletion and poor structure; always incorporate real compost.
Conclusion
The single most common mistake is treating all compost as interchangeable. Instead, choose based on your raised bed’s age and your willingness to engage with the material weekly or seasonally. If you only remember one rule, let it be this: new beds and heavy feeders demand high-effort, nutrient-dense inputs; established beds with moderate crops thrive on low-effort structural composts like leaf mold and cold compost.
If you are working with very limited space and still want to produce meaningful compost, see our small-space composting strategies to start today.