
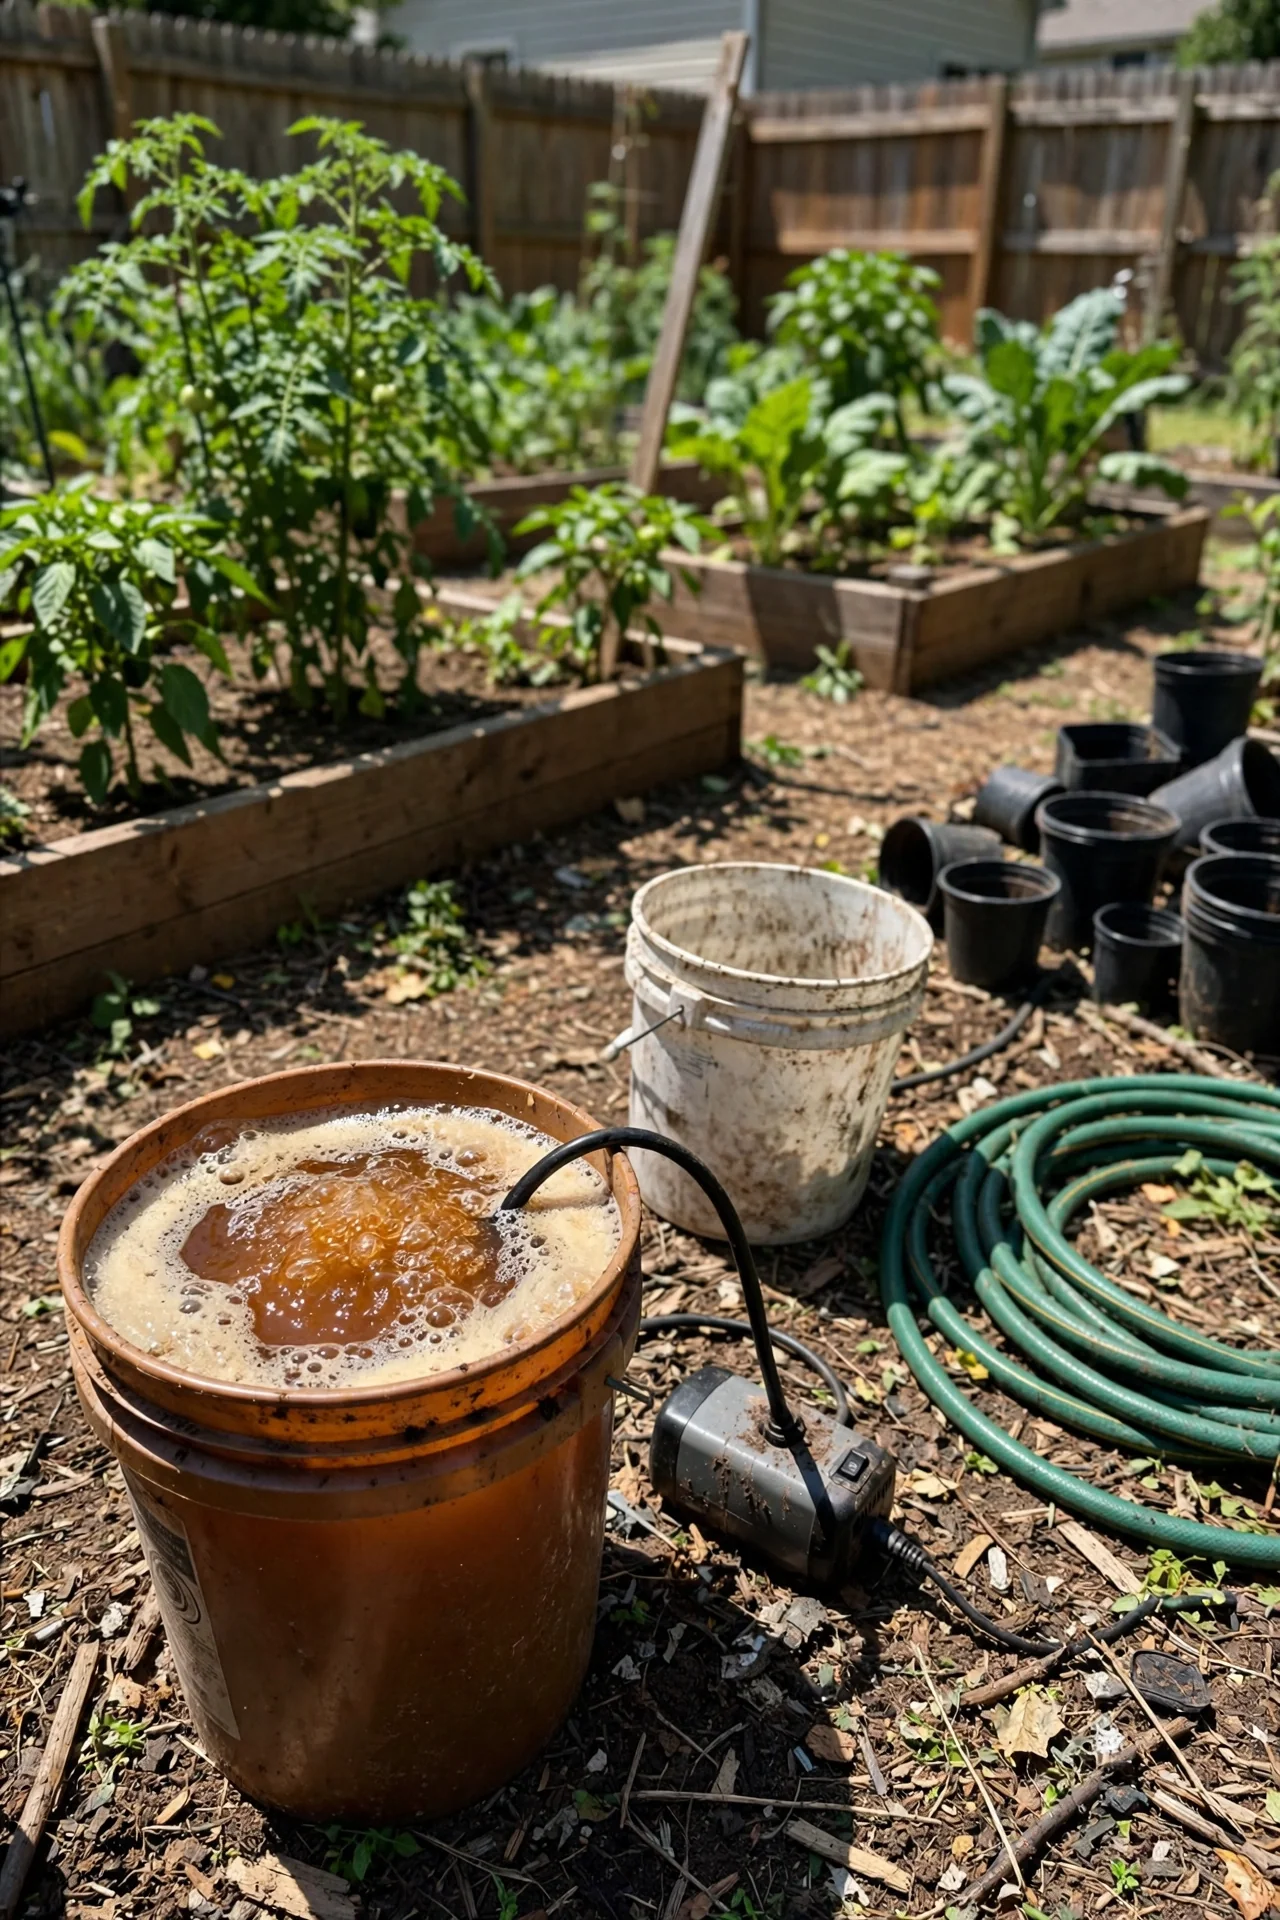
Compost tea is often sold as a single product, but calling all compost tea the same thing is like calling all bread the same thing. A sourdough boule and a slice of Wonder Bread share a name but almost nothing else. The same is true here. The difference between a carefully aerated brew rich in beneficial bacteria and a bucket of stagnant compost water is not a matter of opinion. It is a matter of measurable variables: oxygen saturation, brew duration, water temperature, and compost maturity. Most guides treat these methods as interchangeable. They are not. The method you choose determines whether you deliver living biology or dead organic soup, and that decision starts before you fill the bucket.
This article ranks nine distinct compost tea approaches by the level of control each gives you over the final brew. We cover aerated, non-aerated, worm-based, bokashi, manure-based, plant-fermented, commercial concentrates, compost extracts, and biochar-enhanced teas. Each method is mapped to a specific decision branch so you can match your equipment, time, and compost quality to the right approach instead of guessing. We also identify exactly when compost tea is the wrong tool for the job.
By the end, you will know which method fits your available time (from 10 minutes to 48 hours), your equipment (from a bucket to an air pump setup), and your compost quality. You will also understand the safety thresholds that separate a beneficial brew from a pathogen risk, and the dilution ratios that apply regardless of method.
Bottom line: Choose your compost tea method based on whether you can continuously aerate, not on which recipe sounds most appealing.
The Yield Grid Decision Grid
Before you pick a method, answer one question: Can you provide continuous aeration? This single variable shapes everything else. Use the three branches below to find your starting point.
Branch 1: I can aerate continuously with an air pump for 24 to 48 hours. You have or can acquire an aquarium pump, air stone, and tubing. You are willing to monitor the brew at least once daily. You have access to mature, aerobic compost that reached thermophilic temperatures (above 131 degrees F during composting). Your goal is maximum microbial diversity for foliar disease suppression and vigorous soil food web inoculation. Recommended: Items 1, 2, and 9 below.
Branch 2: I want to keep it simple with a bucket and no equipment. You have a bucket, water, and compost. You are willing to stir occasionally over several days. You do not own an air pump and do not plan to buy one. Your compost is well-aged but you cannot confirm it reached thermophilic temperatures. Your goal is a basic nutrient and microbial boost without equipment. Recommended: Items 3, 4, and 5 below.
Branch 3: I have a specific crop need or want specialized results. You are willing to invest extra time or money for targeted outcomes. You may be managing high-value crops, addressing a specific deficiency, or experimenting with advanced soil amendments. You understand that some specialized methods carry higher pathogen risk and require strict hygiene protocols. Your compost feedstock is specific (manure, bokashi pre-compost, or purchased concentrate). Recommended: Items 6, 7, and 8 below.
Still deciding which branch fits your situation? Our composting for beginners guide walks through the fundamentals of building quality compost, which is the foundation every tea method shares.
Quick Comparison Table
| Option | Key Mechanism | Best For | Decision Grid Branch | Effort Score (1-5) |
|---|---|---|---|---|
| 1. Aerated Compost Tea (AACT) | Continuous aeration multiplies aerobic bacteria, fungi, protozoa, and nematodes | Foliar disease suppression, maximum microbial diversity | Branch 1 | 5 |
| 2. Vermicompost Tea | Worm castings provide plant-growth hormones, humic acids, and dense beneficial bacteria | Seedlings, transplants, stressed plants needing gentle nutrition | Branch 1 | 4 |
| 3. Non-Aerated Steeped Tea | Passive extraction of soluble nutrients and some microbes over several days | Soil drench for established plants, low-equipment setup | Branch 2 | 2 |
| 4. Compost Extract (Quick-Stir) | Immediate suspension of compost particles and microbes in water without brewing | Same-day application, retaining full compost biodiversity | Branch 2 | 1 |
| 5. Plant-Based Fermented Tea | Anaerobic fermentation of comfrey, nettle, or other nutrient-accumulating plants | Potassium boost for fruiting crops, free homemade fertilizer | Branch 2 | 2 |
| 6. Bokashi Fermented Tea | Anaerobic fermentation by effective microorganisms produces acidic, nutrient-dense liquid | Acid-loving plants, pre-digested nutrients, small-space systems | Branch 3 | 3 |
| 7. Manure-Based Tea | High-nitrogen liquid extracted from aged animal manure | Heavy-feeding crops, nitrogen-deficient soils | Branch 3 | 3 |
| 8. Commercial Concentrated Tea | Lab-cultured or industrially brewed microbial inoculant with guaranteed shelf stability | Precision applications, commercial growers, pathogen-tested guarantee | Branch 3 | 1 |
| 9. Biochar-Enhanced Compost Tea | Biochar particles provide microbial habitat during brewing; co-application delivers carbon-stable soil amendment | Long-term soil carbon building alongside immediate microbial boost | Branch 1 | 5 |
1. Aerated Compost Tea (AACT)
Best for: Branch 1
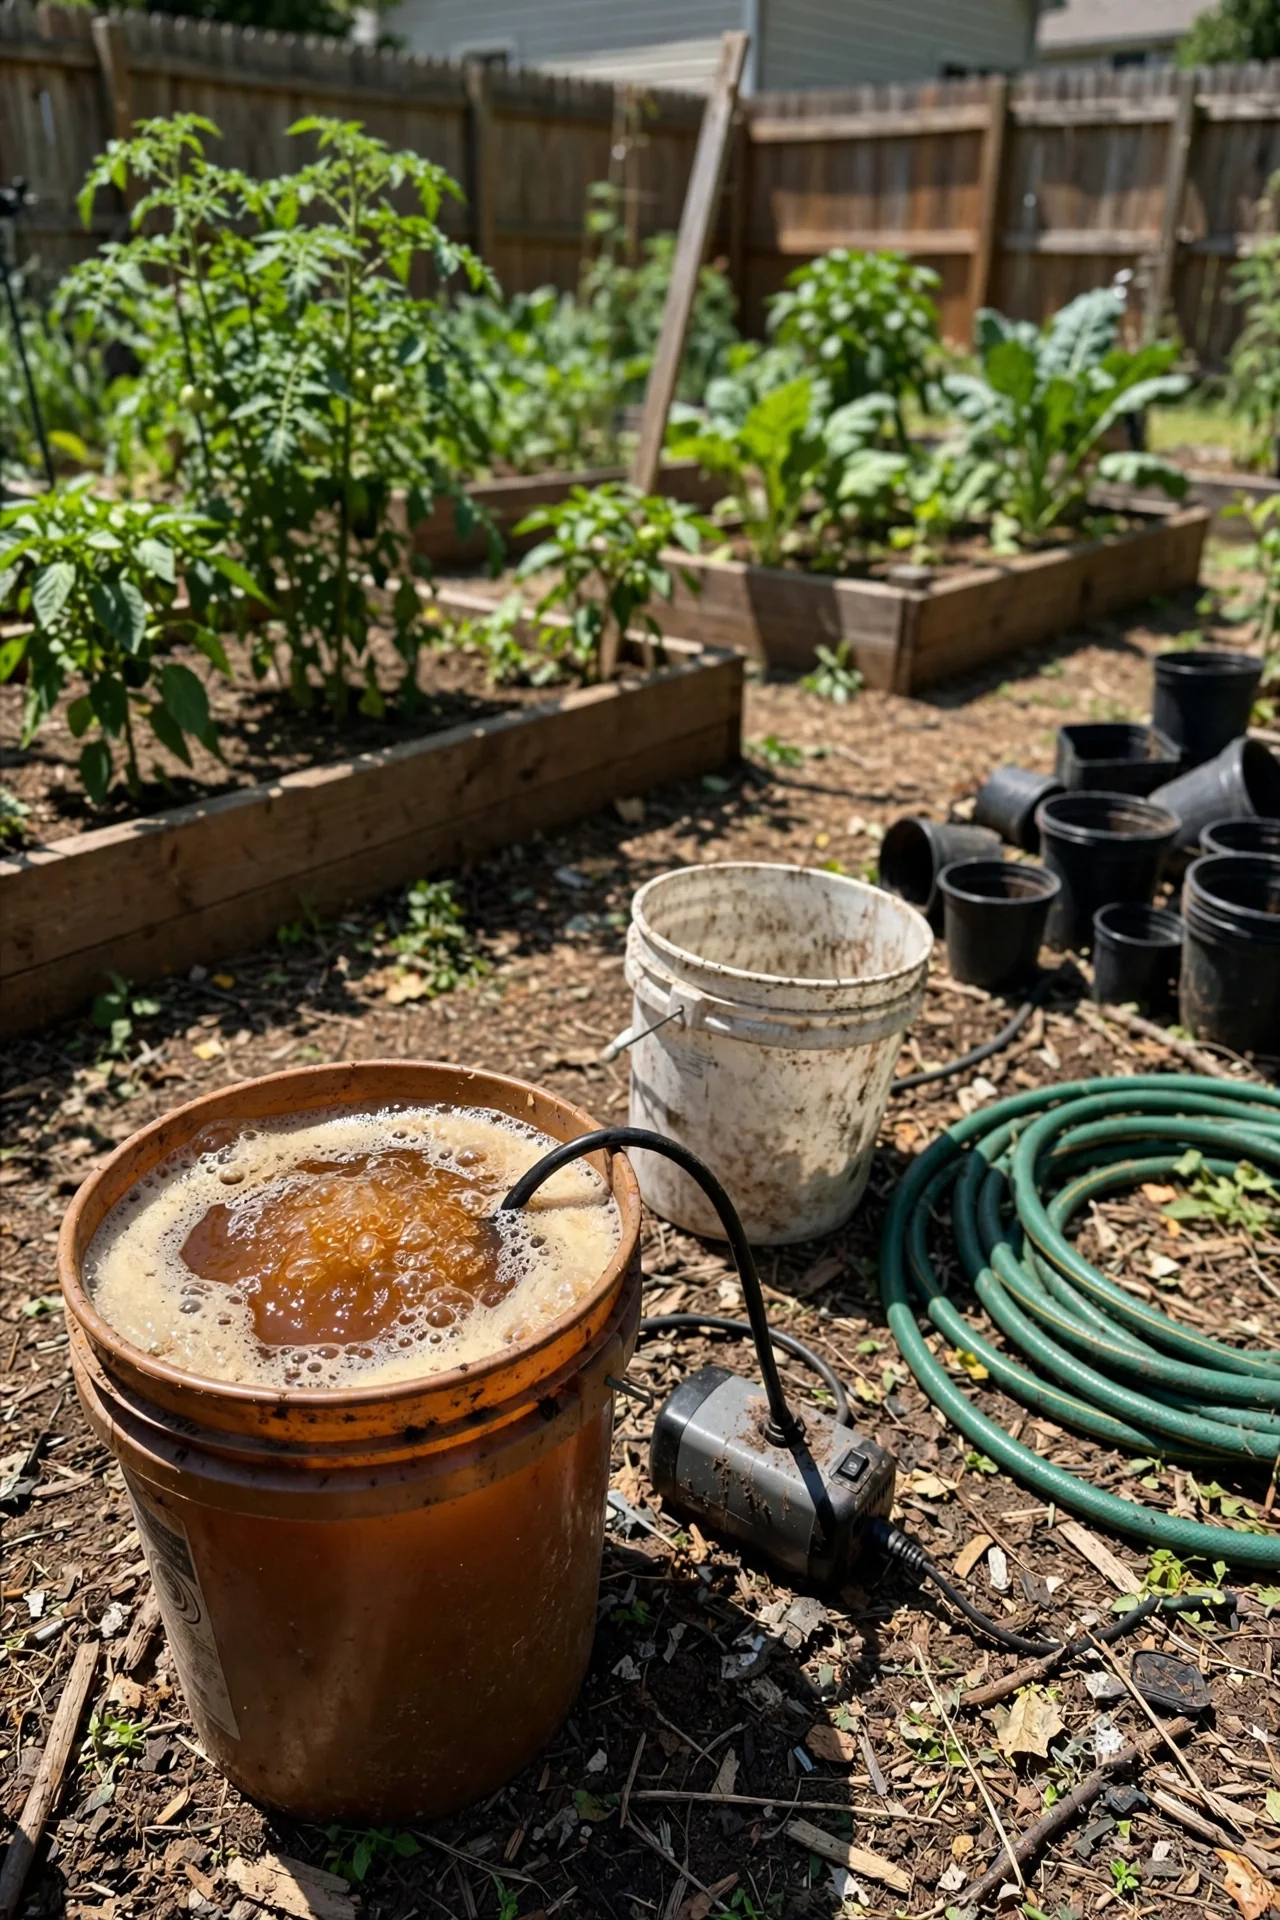
What it is: Aerated compost tea (often abbreviated AACT) uses an aquarium air pump and air stone to bubble oxygen through a bucket containing compost suspended in water, plus a microbial food source such as unsulfured molasses, for 24 to 48 hours. The continuous oxygen supply favors the explosive multiplication of aerobic bacteria, fungi, protozoa, and beneficial nematodes: the same organisms that drive nutrient cycling in healthy soil. Research from Oregon State University Extension confirms that aeration shifts the microbial community toward oxygen-tolerant species and increases total dissolved oxygen in the brew.
Why use it: AACT is the method to choose when you want maximum microbial density and diversity for foliar disease suppression. The foam that forms on the surface during brewing indicates active microbial growth, though foam alone is not a reliable quality indicator: a earthy, yeasty smell matters more. This method produces the most biologically active product, but it is also the most demanding. Aeration must be continuous. If the pump stops for more than a few hours, the brew shifts anaerobic and beneficial organisms die off.
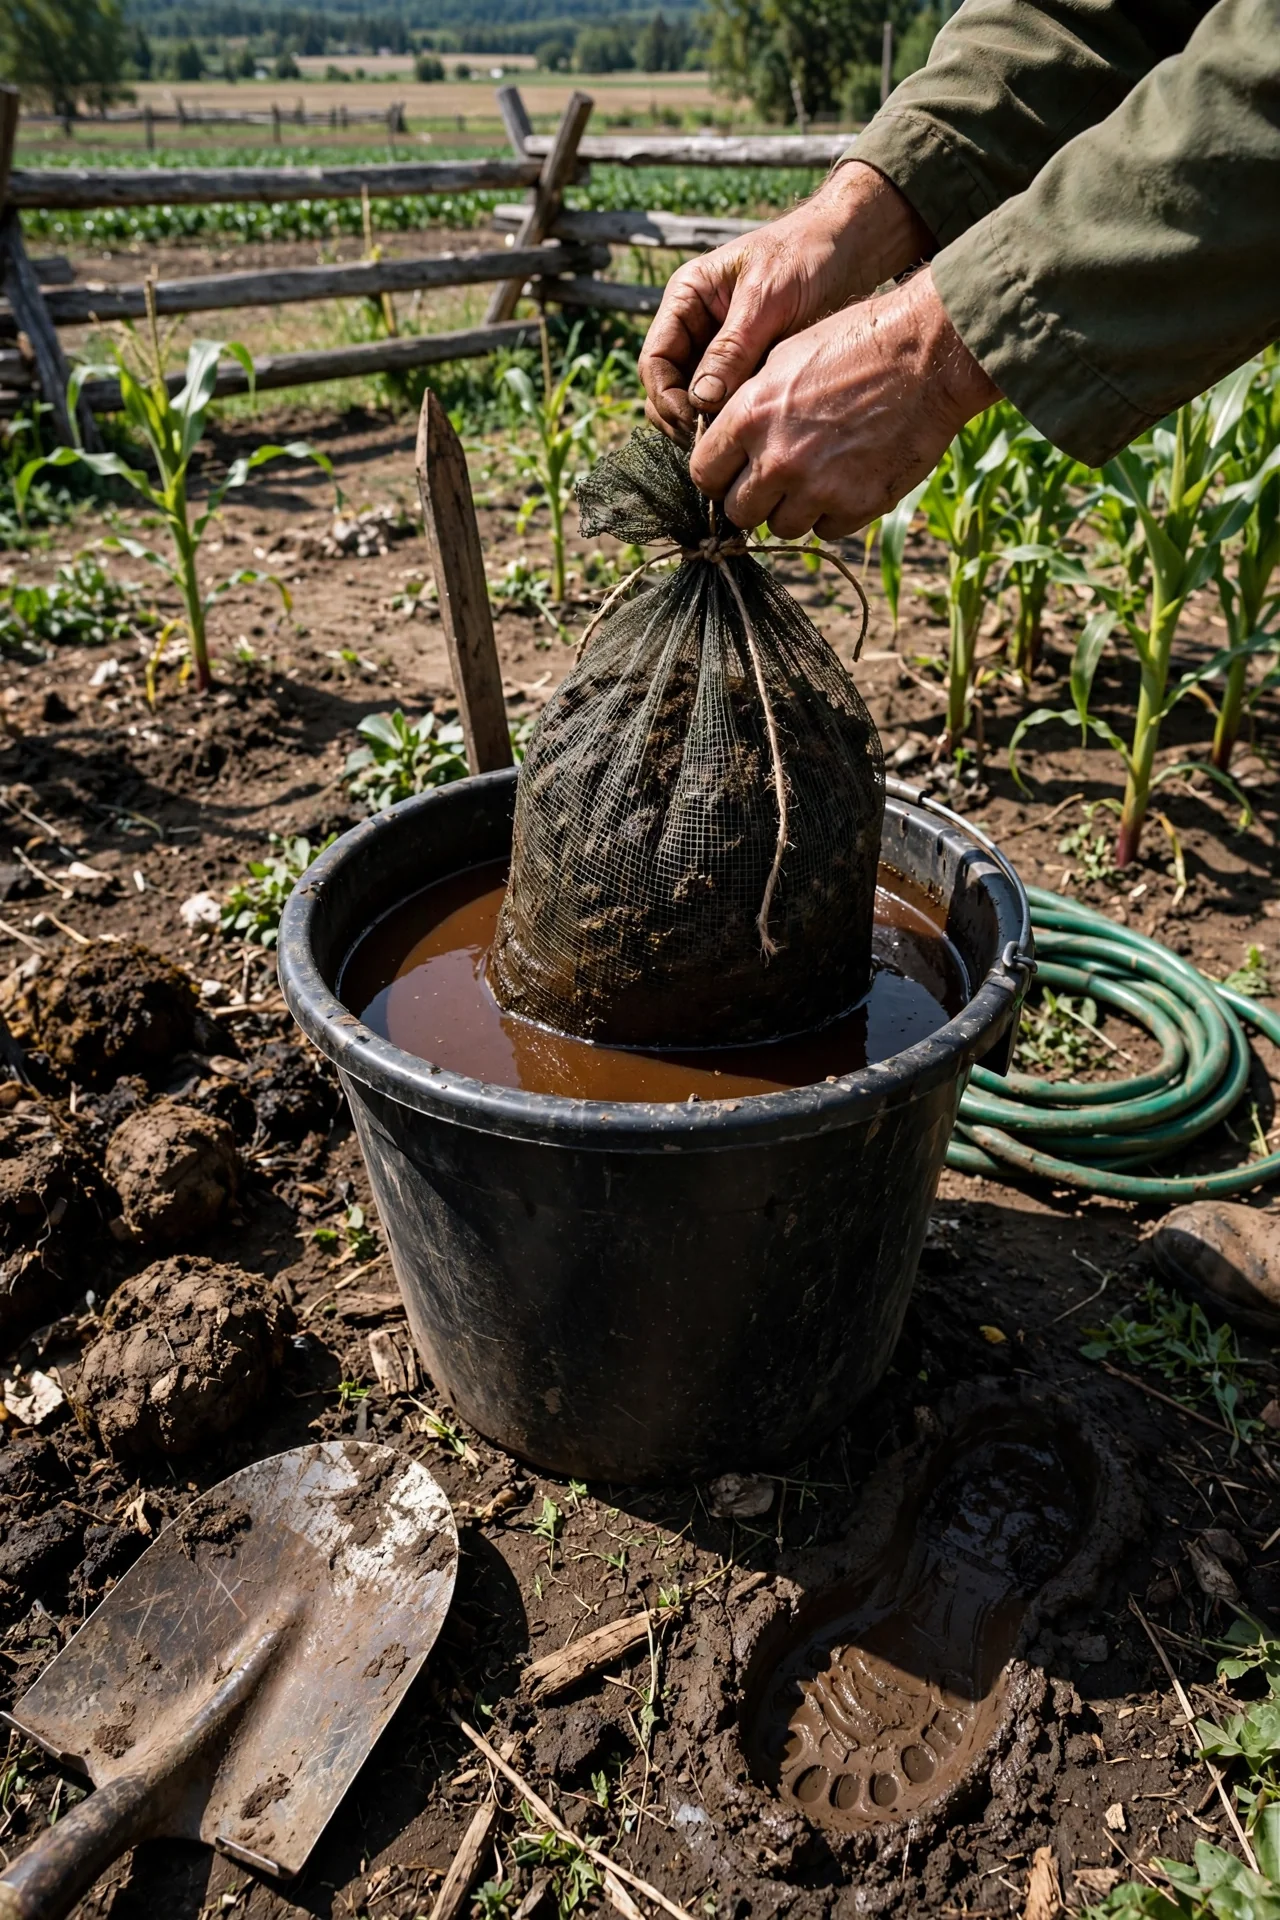
Key steps: Fill a 5-gallon bucket with dechlorinated water (let tap water sit uncovered for at least 24 hours, or use rainwater). Place 2 to 4 cups of mature, aerobic compost in a mesh bag and submerge it. Add 2 to 4 tablespoons of unsulfured molasses as a microbial food source. Position the air stone at the bottom of the bucket, connect to the pump, and run continuously for 24 to 36 hours. Ideal water temperature is 68 to 86 degrees F (20 to 30 degrees C). Use the finished tea within 4 to 6 hours of stopping aeration. Dilute at 1:10 for foliar spray or 1:5 for root drench on established plants.
Most common mistake: Using chlorinated water straight from the tap. Chlorine and chloramine are added to municipal water specifically to kill microorganisms. Pouring freshly brewed AACT into chlorinated water kills the microbes you just spent 24 hours cultivating. Always dechlorinate both your brewing water and dilution water. The quality of your source compost directly determines the quality of your tea: if the compost never reached thermophilic temperatures (above 131 degrees F), the resulting tea may contain pathogens. For guidance on building compost that reliably hits those temperatures, see our hot composting method guide.
2. Vermicompost Tea
Best for: Branch 1
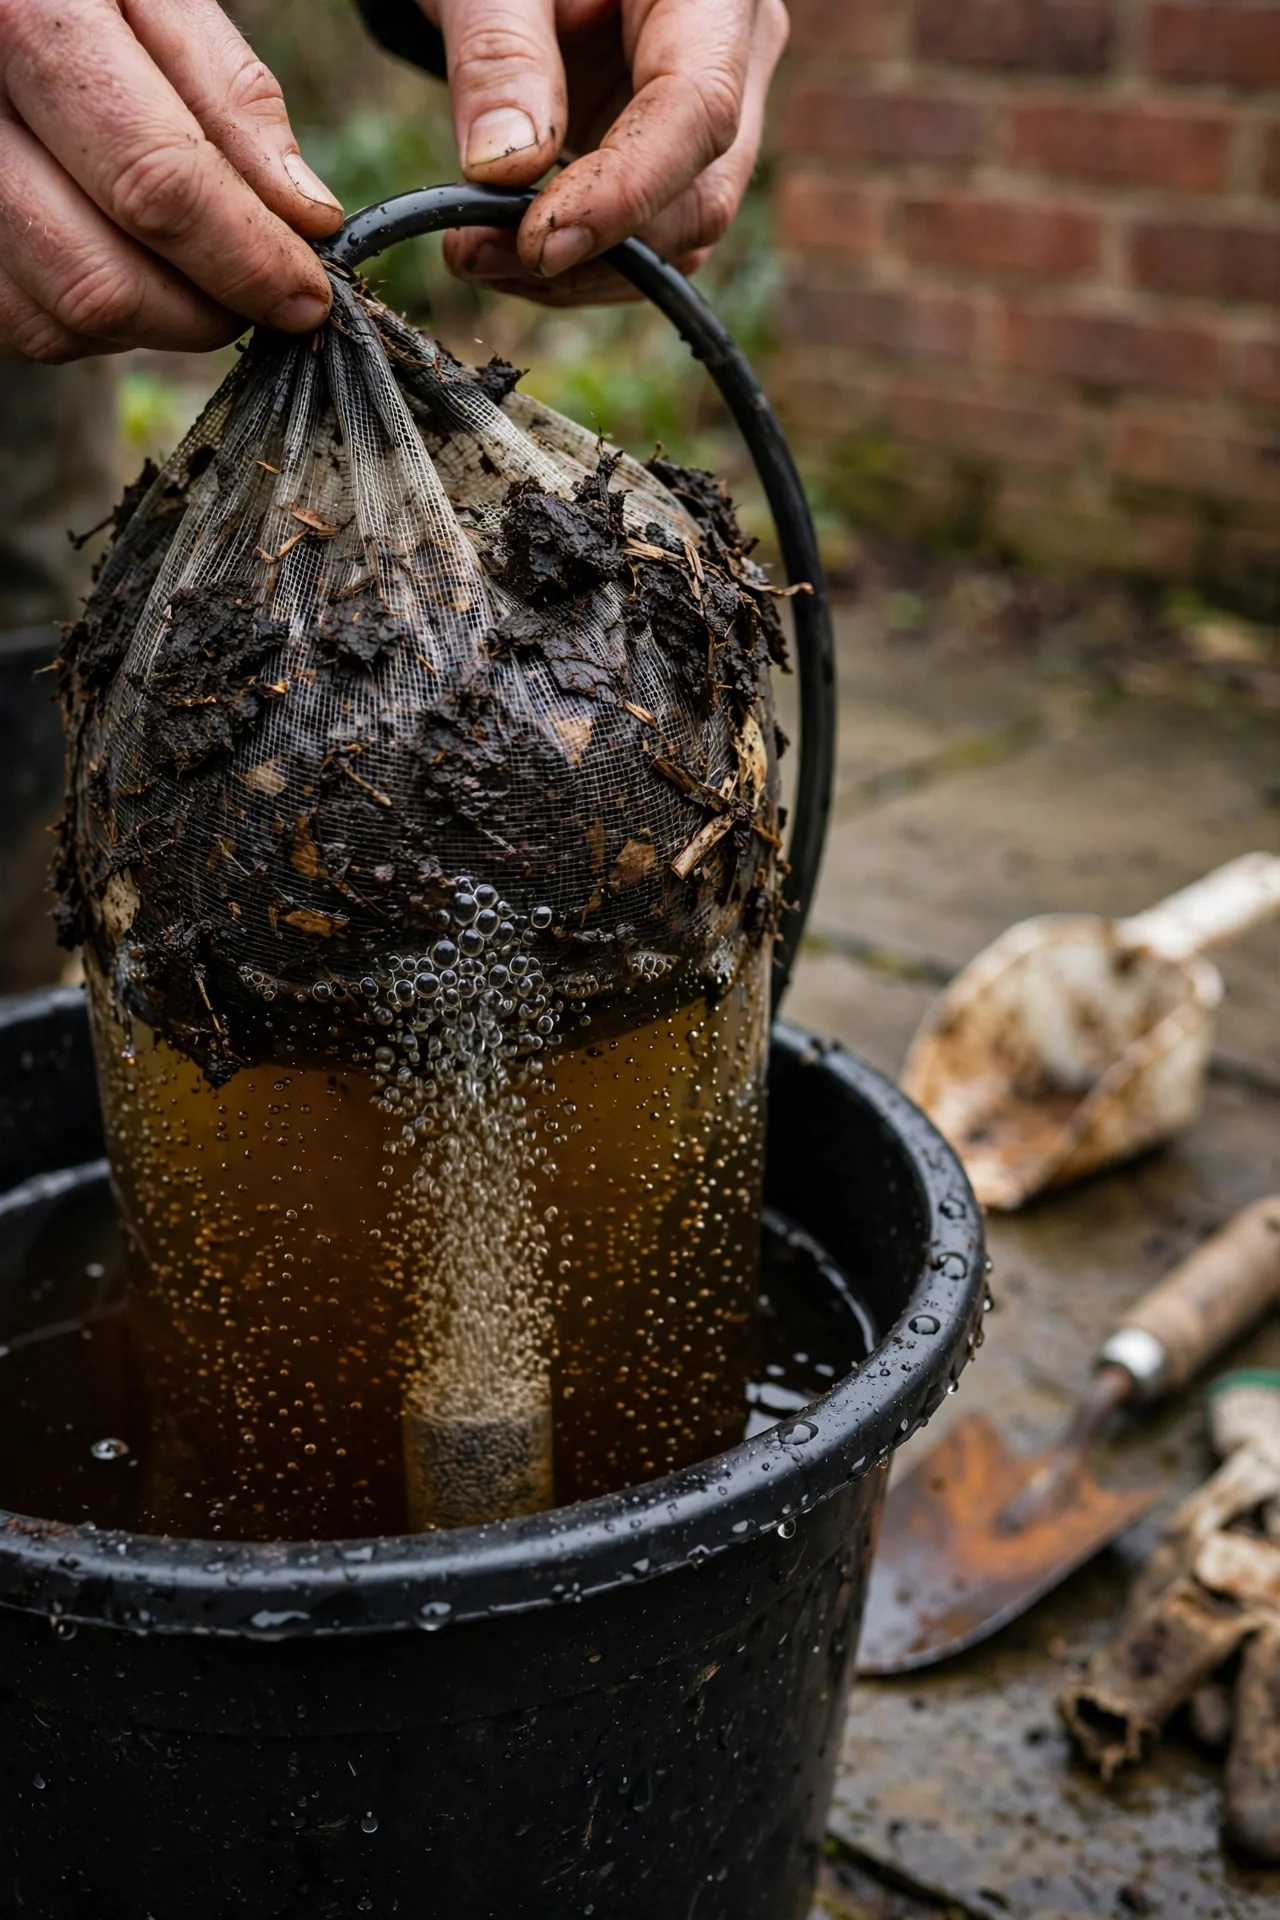
Use it when: You need a gentler, plant-growth-hormone-rich tea for seedlings, transplants, or stressed plants. Worm castings contain humic acids, indoleacetic acid, and gibberellins that stimulate root development. Vermicompost tea can be brewed aerated (24 hours with a pump) or as a quick extract (stir and apply).
Skip it when: You need strong fungal dominance for woody perennials or trees. Worm castings are naturally bacteria-dominant. For fungal-rich teas, use leaf-mold-based compost instead.
Edge case: Vermicompost tea has a narrower effective window than standard AACT. Because worm castings start with extremely high bacterial counts, the brew can go anaerobic faster once aeration stops. Apply within 2 to 4 hours of finishing the brew, not the usual 4 to 6. If you are building your own worm system, our guide to the best worms for composting covers species selection and bin setup.
3. Non-Aerated Steeped Compost Tea
Best for: Branch 2
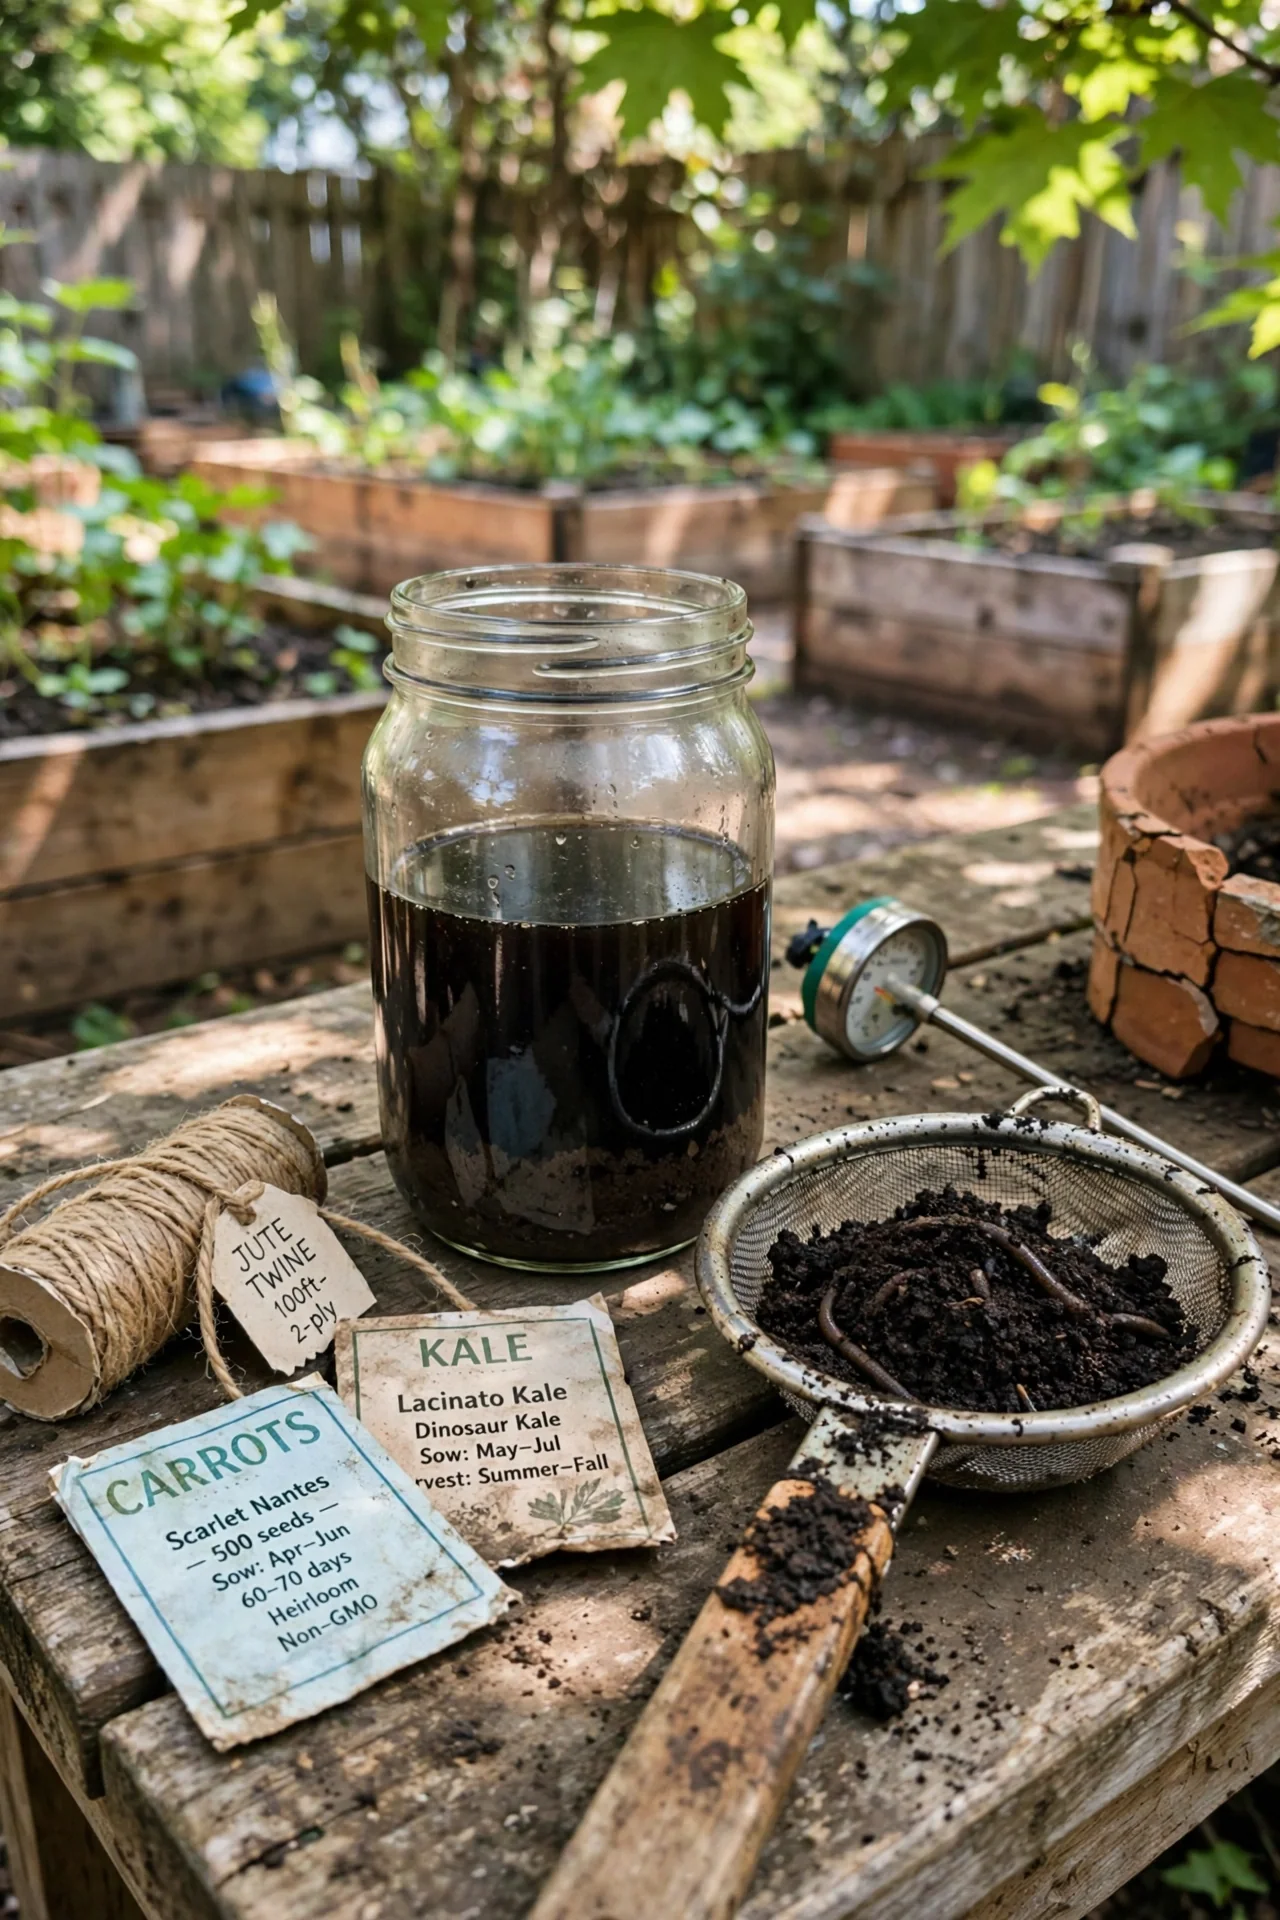
The threshold that matters: Non-aerated tea becomes anaerobic once dissolved oxygen drops below a critical point, typically within 24 to 48 hours of steeping without aeration. In the first 24 hours, the brew may still support aerobic microbes. After that window, the microbial community shifts toward facultative and obligate anaerobes. This is not automatically dangerous: many traditional farming methods use non-aerated extracts successfully. But the risk of harboring plant pathogens or human pathogens (especially E. coli and Salmonella if manure-based compost is used) rises as oxygen depletes.
How to adjust: Keep steep time to 3 to 7 days maximum, stirring at least twice daily to reintroduce some oxygen at the surface. Use only compost confirmed to have reached thermophilic temperatures. Do not add molasses or sugar to non-aerated teas: USDA Agricultural Research Service studies found that additives like molasses can cause pathogen populations to multiply in non-aerated conditions, while pathogen levels remained undetectable in compost teas made without additives. Dilute at 1:10 before soil application. Never apply non-aerated tea as a foliar spray on edible crops within two weeks of harvest.
4. Compost Extract (Quick-Stir Method)
Best for: Branch 2
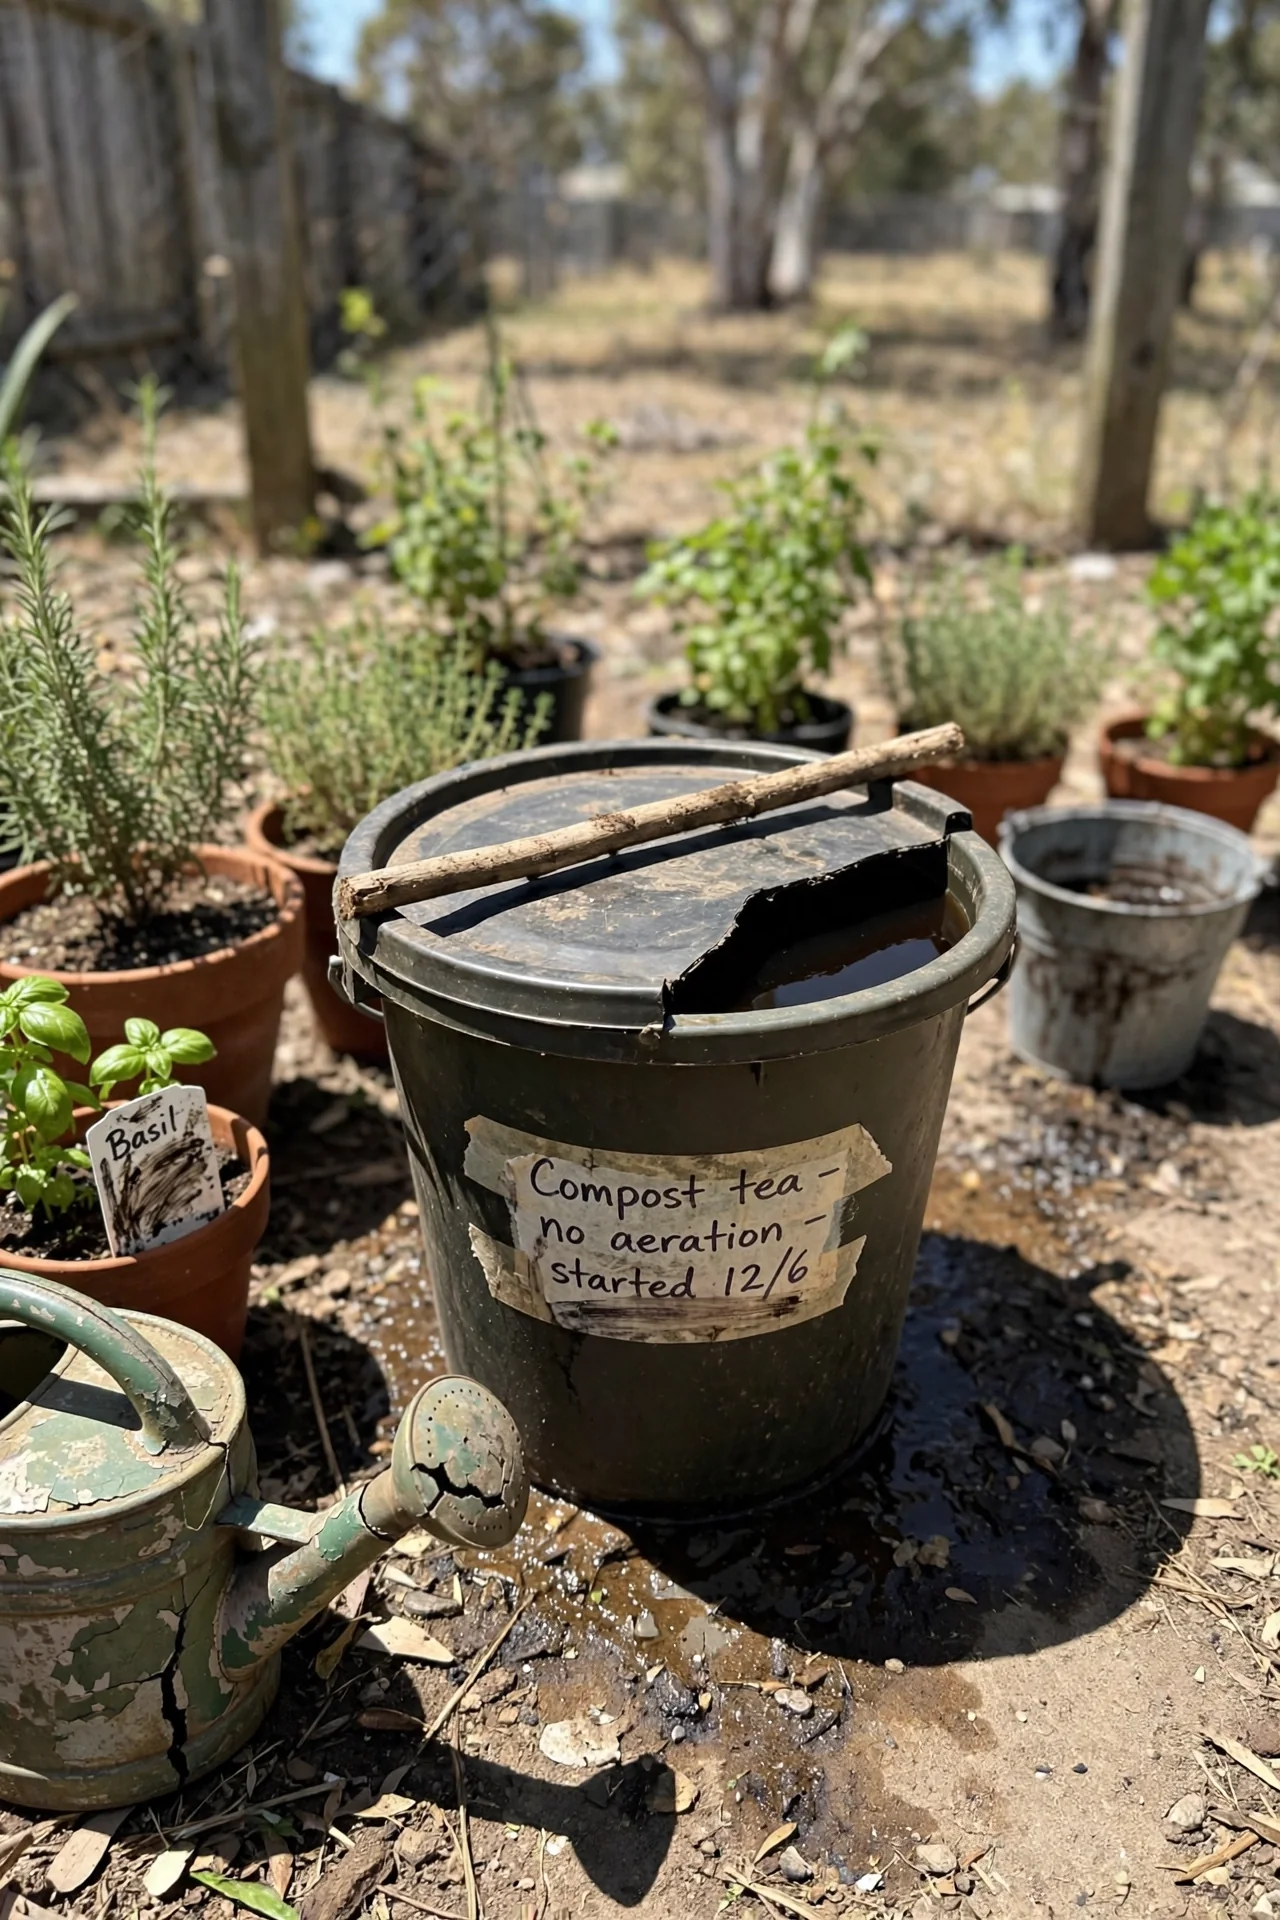
The 10-minute workflow: Add 1 part mature compost to 5 to 10 parts dechlorinated water in a bucket. Stir vigorously for 2 to 5 minutes, let the heavier particles settle for 5 minutes, then pour the liquid through a coarse strainer or cheesecloth directly into your watering can or sprayer. Apply immediately. Do not store. This is not brewing. It is extraction: you are suspending existing microbes and soluble nutrients from the compost into water without multiplying them.
Upgrade option: If you have a second bucket and 30 extra minutes, run the extract through a second batch of fresh compost using the same water. This increases nutrient concentration without requiring aeration equipment. Compost extract retains a wider diversity of microbial species than aerated tea because no single group is selectively favored by oxygenation. For soil drenching established perennials, this method achieves adequate results with near-zero equipment cost. The source compost for extracts can come from passive systems, and our cold composting guide explains how to build compost slowly without turning if you prefer a low-effort approach.
5. Plant-Based Fermented Tea
Best for: Branch 2
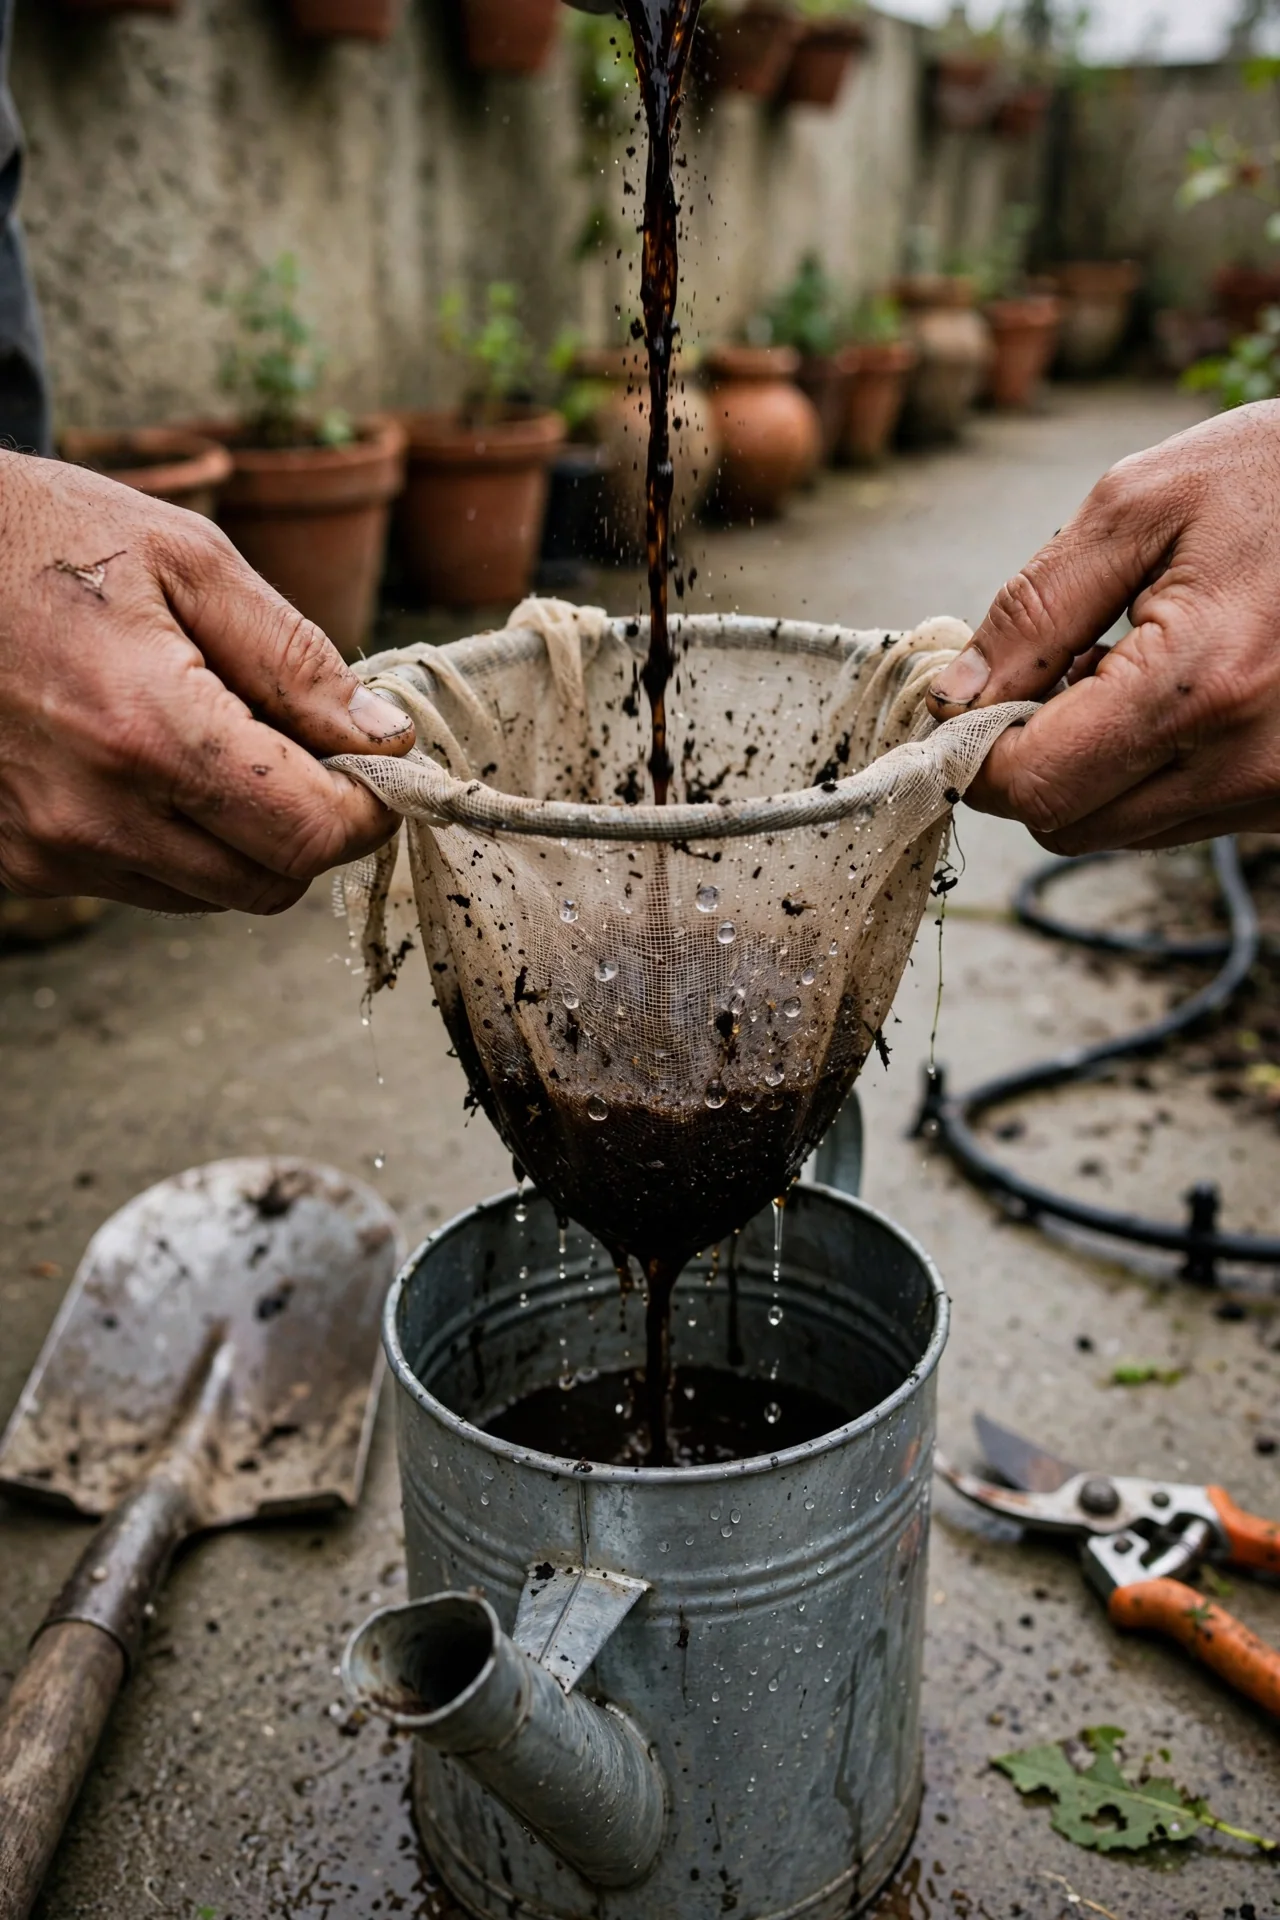
Use it when: You want a free, homemade liquid fertilizer from plants you already grow. Comfrey and nettle are the most common choices because they are nutrient accumulators: comfrey is rich in potassium (ideal for fruiting and flowering), and nettle provides nitrogen and iron. Fill a bucket loosely with chopped leaves, cover with dechlorinated water, cover loosely with a lid, and let it ferment for 2 to 4 weeks, stirring every few days.
Skip it when: You cannot tolerate the smell. Plant-based fermented teas produce a notoriously strong ammonia-like odor during decomposition. This is normal and indicates nitrogen is being released, but it may be unacceptable in urban or shared spaces. Dilute the finished liquid at 1:10 or until it looks like weak tea before applying as a soil drench.
Edge case: Comfrey tea is high in potassium but low in phosphorus. If your soil already tests high in potassium, using comfrey tea can create nutrient imbalances. For fungal-dominant leaf mold that pairs well with plant-based teas in low-phosphorus soils, our leaf mold guide covers the two-year decomposition process that produces an excellent fungal inoculant.
6. Bokashi Fermented Tea
Best for: Branch 3
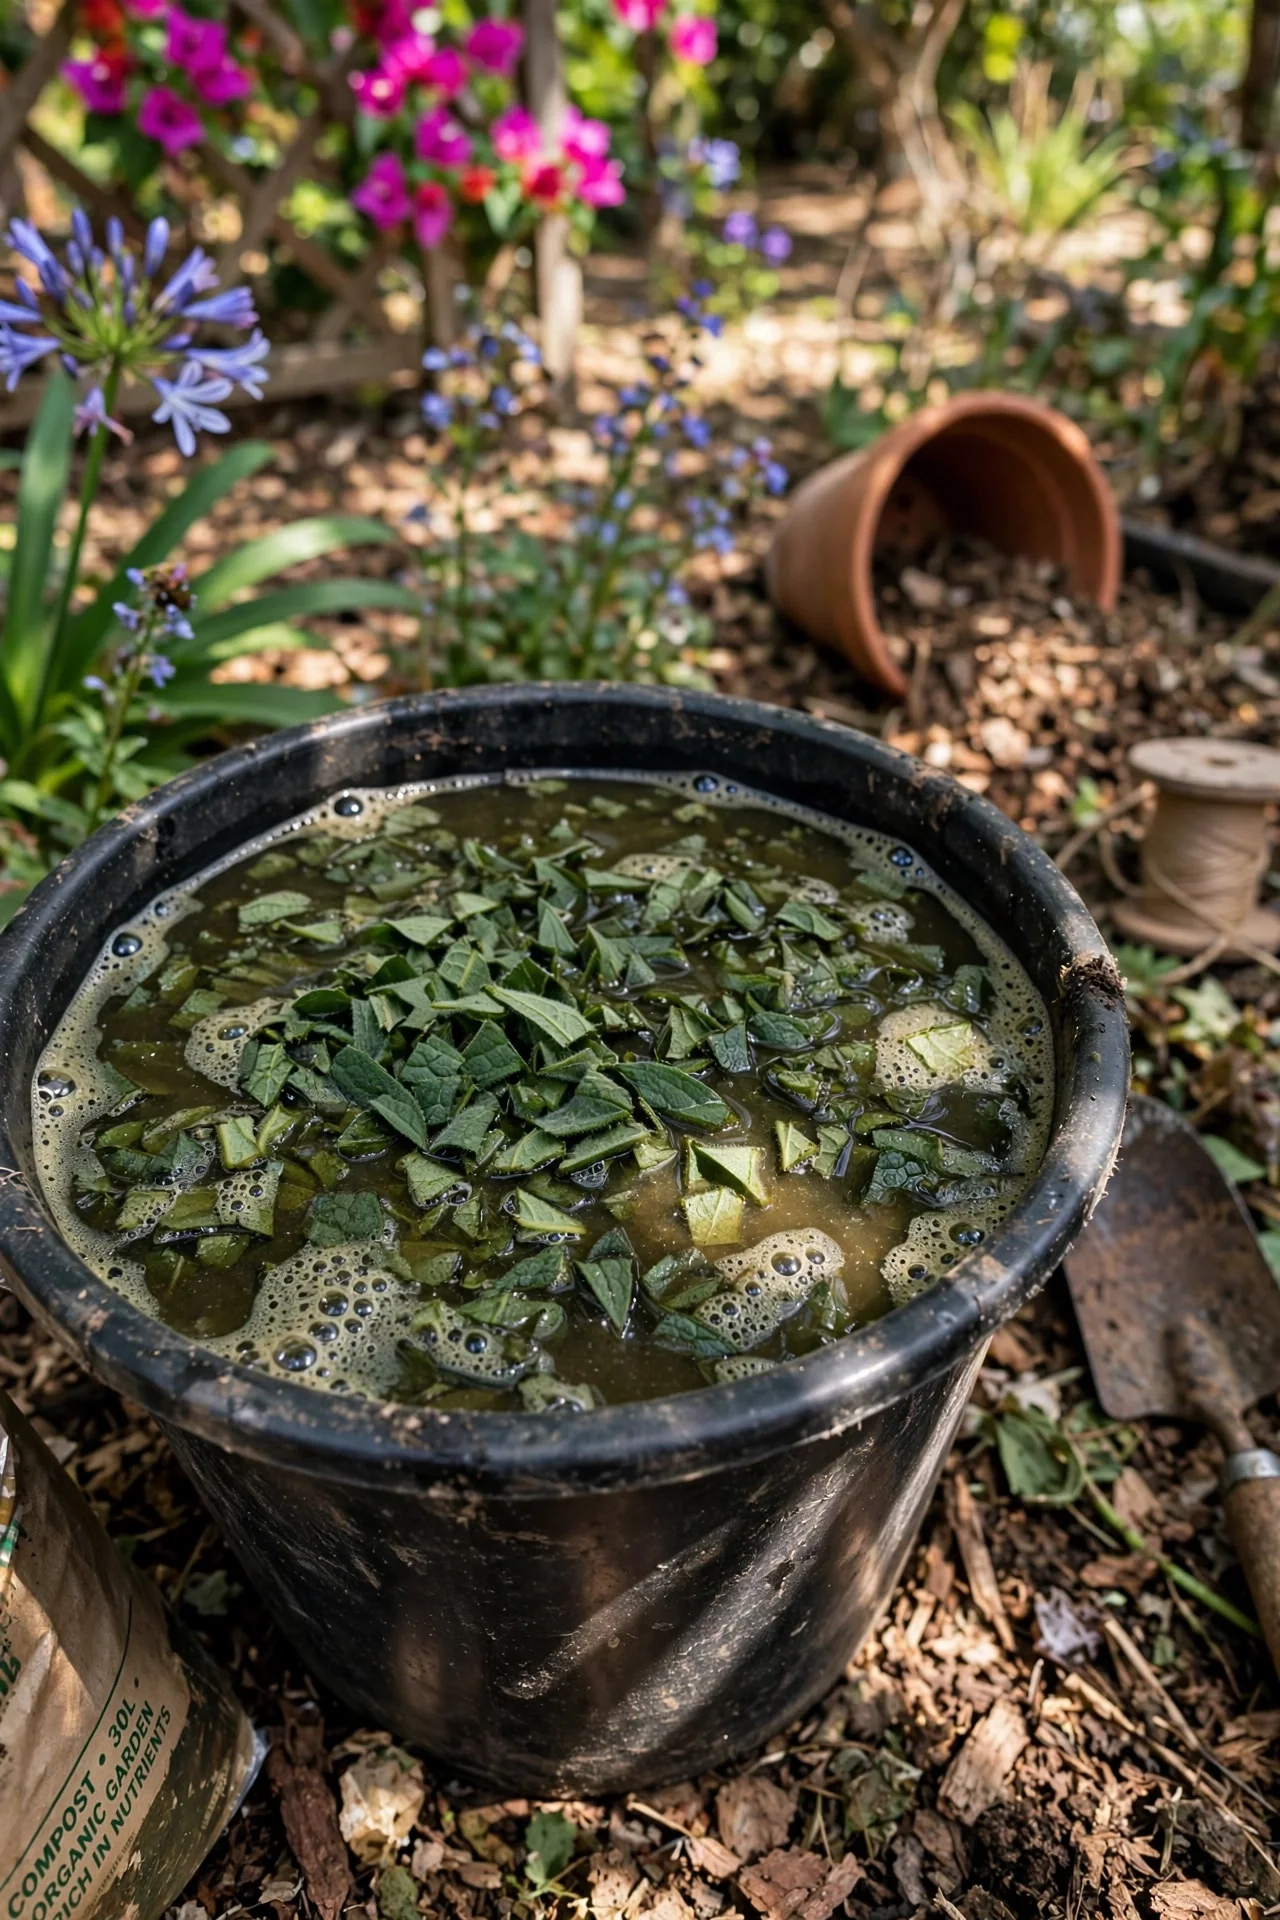
The threshold that matters: Bokashi tea is acidic, with a pH typically ranging from 3.5 to 4.5 due to the lactic acid bacteria and yeast fermentation process. This acidity makes it unsuitable for direct, undiluted application to most plants. Dilution is non-negotiable: use a minimum ratio of 1:100 (tea to water) for soil application. The liquid that drains from a bokashi bin is not finished compost tea; it is a fermented byproduct that must be diluted and used within 24 hours of collection.
How to adjust: Test the pH of your diluted bokashi tea before applying to sensitive plants. If the diluted solution is still below pH 5.5, increase dilution. Apply only as a soil drench, never as a foliar spray. Bokashi tea works best on acid-loving plants such as blueberries, azaleas, and rhododendrons. The fermentation process pre-digests organic matter, making nutrients more immediately available, but the same process means the liquid contains organic acids that can burn roots if over-applied. For a complete primer on setting up a bokashi system, see our bokashi composting guide.
7. Manure-Based Tea
Best for: Branch 3
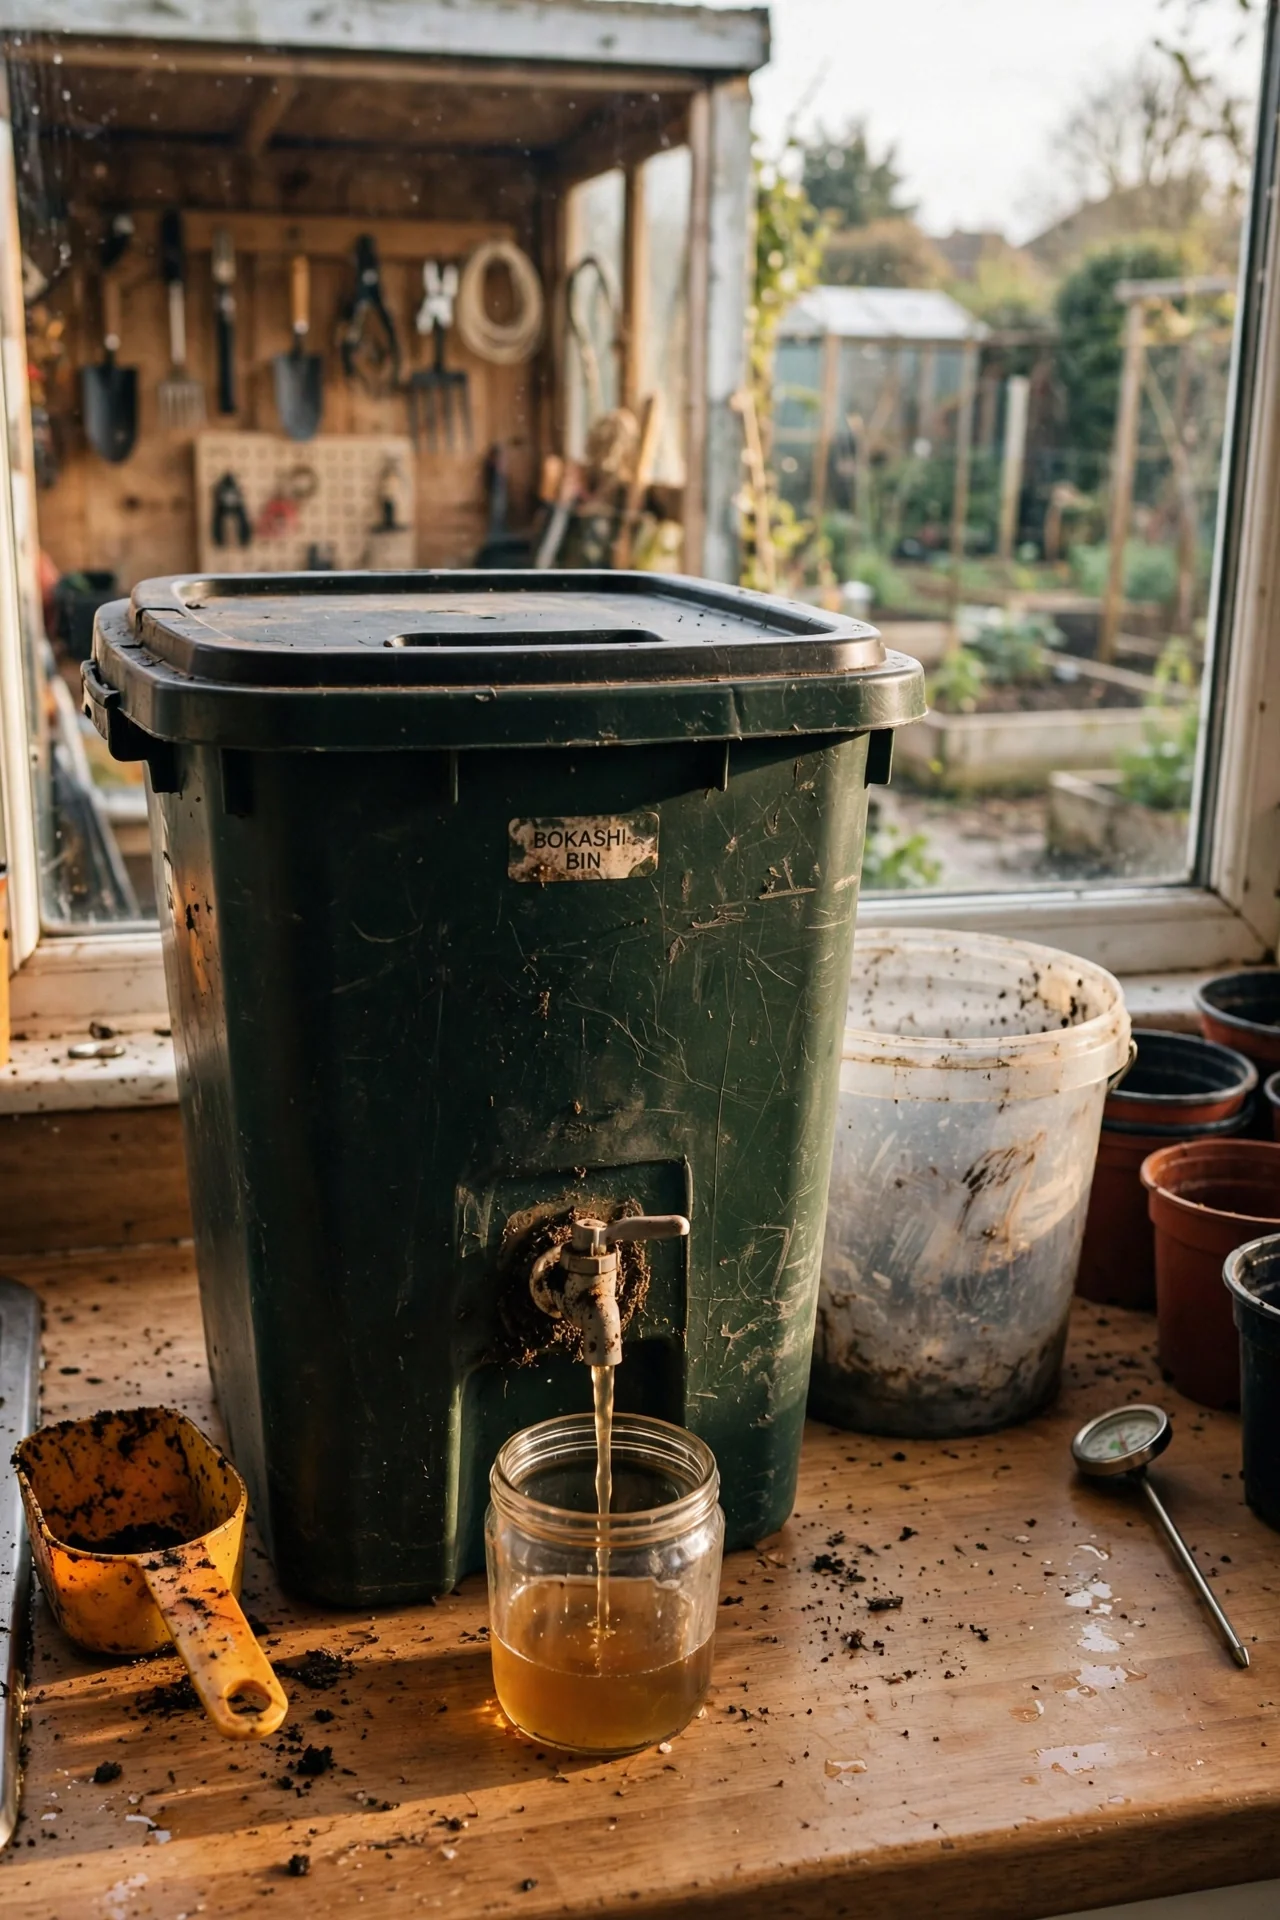
What it is: Manure tea is made by steeping aged, composted animal manure in water to extract soluble nitrogen, phosphorus, and potassium. Cow, horse, chicken, and rabbit manure are the most common feedstocks, with chicken manure producing the highest nitrogen concentration. Unlike compost-based teas, manure tea functions primarily as a liquid fertilizer rather than a microbial inoculant, though it does contain some microorganisms.
Why use it: Manure tea provides a fast-acting nitrogen boost to heavy-feeding crops like corn, squash, and tomatoes during peak vegetative growth. It is most useful when soil tests confirm nitrogen deficiency and you need a liquid fertilizer that can be applied through irrigation or as a side-dress drench. The nutrient profile varies dramatically by feedstock: cow manure tea is relatively balanced, chicken manure tea is nitrogen-heavy, and rabbit manure tea is gentler and less likely to burn plants even at stronger concentrations.
Key steps: Fill a mesh bag with aged manure (never fresh manure, which carries unacceptable pathogen risk). Submerge in dechlorinated water at a ratio of roughly 1:5 manure to water by volume. Steep for 3 to 7 days, stirring twice daily. Strain and dilute the finished liquid at 1:10 or weaker. Apply only as a soil drench, never as a foliar spray on edible crops. The pathogen risk with manure teas is higher than with plant-based compost teas. E. coli O157:H7 and Salmonella can survive and multiply during brewing, particularly when nutrient additives are included, according to USDA research. Use manure tea only on ornamental plants or apply at least 120 days before harvesting any root or tuber crop that contacts the soil. For a list of materials that should never enter your compost or tea system, review our what not to compost guide.
Most common mistake: Using fresh or incompletely composted manure. Pathogens that survive in fresh manure do not reliably die during the steeping process. Only manure that has been hot-composted (sustained above 131 degrees F for at least 15 days with turning) should be used for tea production.
8. Commercial Concentrated Compost Tea
Best for: Branch 3
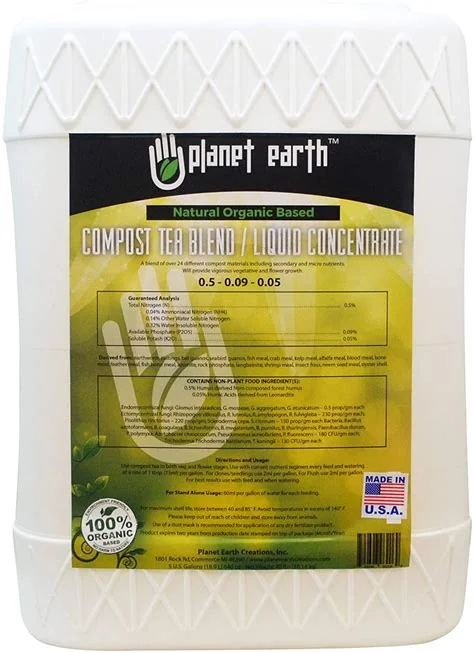
Use it when: You need guaranteed microbial content, shelf stability, or pathogen-tested product. Commercial concentrates are produced under controlled conditions with quality assurance testing. They are ideal for commercial growers who cannot risk batch failure, for gardeners who lack compost-making capacity, and for anyone who wants a product with labeled application rates.
Skip it when: You are trying to save money. Commercial concentrates are the most expensive option per application. A single quart of concentrated compost tea can cost $15 to $30, while homemade AACT costs roughly $0.50 to $2 per 5-gallon batch in electricity, molasses, and amortized equipment.
Edge case: Not all commercial products labeled “compost tea” are living products. Some are sterilized nutrient extracts. Read the label: if the product does not specify viable microbial content (typically measured in CFU per milliliter), assume it is a nutrient supplement, not a microbial inoculant.
9. Biochar-Enhanced Compost Tea
Best for: Branch 1
The 10-minute upgrade workflow: Brew standard AACT as described in Item 1, but add 1 to 2 cups of finely crushed, charged biochar to the mesh bag along with your compost. “Charged” means the biochar has been pre-soaked in compost tea, worm castings, or liquid fertilizer for at least 48 hours so its pore structure is saturated with nutrients and microbes rather than absorbing them from your soil on first application. During the 24 to 36 hour brew, the biochar’s microscopic pore structure provides additional surface area for microbial colonization. The resulting tea delivers both an immediate microbial boost and slow-release carbon structures that persist in soil for decades to centuries.
Upgrade option: After straining the tea, spread the spent biochar-compost mixture directly onto garden beds as a soil amendment. The biochar particles continue hosting microbes and retaining moisture long after the liquid tea has been absorbed. This method combines two soil-building strategies into one workflow: the liquid tea addresses immediate biology, and the biochar residue addresses long-term soil carbon and water-holding capacity. For a deeper understanding of biochar production and charging protocols, our biochar for soil guide covers feedstock selection, pyrolysis basics, and activation methods.
Starter Stack (What to Choose First)
Branch 1 Starter Stack: AACT plus Vermicompost Tea
Start with Aerated Compost Tea (Item 1) as your primary weekly brew and Vermicompost Tea (Item 2) for seedlings and transplants. Together, these two methods cover the full spectrum: AACT provides peak microbial diversity for established plants, while vermicompost tea supplies growth hormones for young plants. Equipment cost: a 5-gallon bucket, an aquarium air pump rated at 0.05 CFM per gallon minimum, tubing, and an air stone, totaling approximately $25 to $40. Ongoing cost: roughly $0.50 to $2 per batch. Time investment: 10 minutes of setup, 24 to 36 hours of unattended brewing, and 15 minutes for straining and application. Brew these two on alternating weekends to maintain consistent soil biology throughout the growing season.
Branch 2 Starter Stack: Compost Extract plus Non-Aerated Steeped Tea
Use Compost Extract (Item 4) for same-day applications when you need a quick soil drench, and Non-Aerated Steeped Tea (Item 3) for planned weekly feedings. The extract takes 10 minutes from start to finish and uses the same bucket you already own. The steeped tea requires 3 to 7 days of passive time with twice-daily stirring. Equipment cost: $5 to $10 for a dedicated 5-gallon bucket and strainer. Ongoing cost: near zero beyond water. Time investment: 10 minutes for extract, or 5 minutes of stirring twice daily for the steeped version. This pair requires no electricity and no specialized equipment, making it the lowest-barrier entry point.
Branch 3 Starter Stack: Commercial Concentrate plus Bokashi Tea
Begin with a pathogen-tested Commercial Concentrate (Item 8) to establish consistent results while you experiment with Bokashi Fermented Tea (Item 6) as a zero-cost supplement from kitchen waste. The commercial product gives you a reliable benchmark for what properly brewed tea should look and smell like. The bokashi system diverts kitchen scraps into a continuous supply of fermented liquid. Equipment cost: $15 to $30 for the commercial concentrate, and $40 to $80 for a bokashi bin system including bran. Ongoing cost: $15 to $30 per growing season for concentrate refills; bokashi tea is free once the system is running. Time investment: 5 minutes to dilute and apply commercial tea; 2 minutes daily to drain the bokashi bin.
When This Won’t Work
Failure condition 1: You are applying compost tea to soil that is already biologically healthy and balanced. Compost tea is an inoculant and a mild fertilizer, not a soil replacement. If your soil has good structure, a diverse microbial community, and adequate organic matter, the marginal benefit of compost tea is small. A 2-inch layer of finished compost applied once per season often provides more sustained benefit than weekly tea applications. The alternative action: skip the tea and invest your time in building soil organic matter directly. Understanding the difference between these approaches matters because compost and mulch serve fundamentally different functions in the soil ecosystem. Our compost vs mulch comparison explains when each is the better choice.
Failure condition 2: You cannot commit to using the tea within hours of finishing the brew. Compost tea is a living product with a short shelf life. Once aeration stops, aerobic microbes begin dying within 4 to 6 hours. Storing tea overnight, even in a sealed container, produces anaerobic conditions that can breed plant pathogens and human pathogens alike. If your schedule cannot accommodate brewing and applying on the same day, every time, the alternative action is to use dry compost as a top-dressing or to switch to a commercial concentrate that is formulated for longer shelf stability. This constraint is absolute: a batch of tea that sat for 24 hours after brewing should be discarded, not diluted and applied.
Choosing the Right Option for Your Situation
Budget Threshold
If your total budget is under $15, stay in Branch 2 with Compost Extract (Item 4) and Non-Aerated Steeped Tea (Item 3). All you need is a bucket and mature compost. If you can spend $25 to $40, move to Branch 1 with an AACT setup. If you are willing to spend $50 to $100 upfront plus $15 to $30 per season, Branch 3 gives you commercial-grade reliability and specialized options.
Time Threshold
If you have less than 30 minutes per week for tea-related tasks, use Compost Extract (Item 4, 10 minutes) or Commercial Concentrate (Item 8, 5 minutes). If you can spare 1 to 2 hours weekly, AACT (Item 1) or Biochar-Enhanced Tea (Item 9) become viable. The largest time cost in compost tea is not brewing, which is passive, but the straining and cleanup afterward.
Technical Constraint: Water Quality
If your only water source is chlorinated municipal tap water and you cannot let it sit for 24 hours before brewing, your options narrow significantly. Chlorine kills the beneficial microbes that are the entire point of compost tea. You can dechlorinate water by letting it sit uncovered for 24 hours (chlorine off-gasses; chloramine does not), by using a campden tablet (potassium metabisulfite), or by using a carbon filter rated for chloramine removal. If none of these are feasible, use Compost Extract (Item 4) made with the best water you have and accept reduced microbial activity, or switch to a Commercial Concentrate (Item 8) that includes a dechlorination agent in the formulation.
Yes/No Checklist:
- Can I dechlorinate water 24 hours before brewing? If no, reconsider whether compost tea is the right tool.
- Can I apply the entire batch within 4 to 6 hours of finishing the brew? If no, scale down or switch to extract.
- Is my source compost mature and confirmed thermophilic (above 131 degrees F)? If no, do not brew aerated tea with additives.
- Am I prepared to clean and sanitize all equipment between batches? If no, pathogen risk accumulates with each brew.
Expert Q&A
Can compost tea replace fertilizer entirely?
Not for most crops. Compost tea delivers microbes and soluble nutrients, but its NPK values are typically low and highly variable depending on feedstock. A soil test is the only way to know if your tea is meeting crop nutrient demands. In most cases, compost tea supplements a soil fertility program rather than replacing it.
Why does my aerated tea sometimes not produce foam?
Foam is not a reliable quality indicator. Some high-quality brews produce minimal foam while some low-quality brews foam abundantly due to saponins from certain compost ingredients. The smell test is more reliable: a healthy brew smells earthy and slightly sweet like forest soil. A foul or ammonia odor means the batch went anaerobic.
Is compost tea safe for edible crops harvested within days?
Foliar-applied compost tea should be stopped at least two weeks before harvesting any edible crop eaten raw. This allows microbial populations on leaf surfaces to decline through UV exposure and desiccation. Soil drenches carry lower risk because soil microbes compete with any potential pathogens, but the same two-week guideline is prudent for root crops.
What water temperature is too cold for brewing?
Below 50 degrees F (10 degrees C), microbial metabolism slows significantly and the brew may not develop adequate populations within the standard 24 to 36 hour window. If brewing in cold weather, start with lukewarm water (around 70 to 80 degrees F) and insulate the bucket. The brew will cool over time, but the initial warmth kickstarts microbial growth.
Can I combine multiple compost sources in one brew?
Yes, and blending compost types (such as one part worm castings, one part fungal leaf mold, and one part thermophilic compost) can produce a more microbially diverse tea than any single source. The constraint is that all sources must individually meet quality and safety thresholds. One contaminated component compromises the entire batch.
Conclusion
The decision that matters most in compost tea is not which recipe you follow but whether your method matches your ability to maintain aerobic conditions. Every failed batch traces back to the same root cause: oxygen ran out before the tea was applied. The single biggest mistake is brewing aerated tea and then killing it with chlorinated dilution water or letting it sit too long after the pump stops.
If you take one action after reading this, let it be testing your water and timing your brew-to-application window before you invest in any specialized equipment or additives. A simple bucket, good compost, and disciplined timing will outperform an elaborate setup with sloppy execution every time. For gardeners working with limited space who still want to produce quality compost for tea, our small space composting guide offers practical strategies for generating finished compost in apartments, balconies, and small yards.