
The question is not whether you can compost weeds. The useful question is whether your current composting setup can neutralize the specific weed you are holding. A dandelion without a seed head behaves nothing like a runner of bindweed, and treating them as interchangeable is how compost piles become weed distribution centers.
This guide sorts every common weed scenario into one of three decision branches based on measurable conditions: pile temperature, weed growth stage, and propagation method. You will also find treatment options that let you safely compost weeds even when your pile cannot hit the thermal kill threshold. The scope covers annuals, perennials, weeds with seeds, weeds with runners, and weeds with storage roots, all handled in home-scale systems. Municipal or commercial composting is excluded because it operates under different thermal and regulatory conditions.
By the end, you will know which section of the list applies to your setup, which two items to start with, and exactly when composting weeds is the wrong choice.
Bottom line: Weed type and pile temperature together determine method; neither factor alone is enough.
The Yield Grid Decision Grid
Choose your branch by answering two questions: (1) Can your compost pile reach and hold 130°F (54°C) for at least three consecutive days? (2) Does the weed have viable seeds, runners, bulbs, or storage roots right now?
Branch 1: Hot pile available, weed has seeds or persistent roots. Your pile can thermally inactivate most weed seeds and reproductive tissue. This is the broadest category and the only one where you can compost weeds with seeds directly. The key constraint: the pile must be turned so that all material spends time in the hot core. A stationary hot pile leaves cold shoulders where seeds survive. Learn the turning schedule and temperature monitoring that makes hot composting reliable. Recommended: Items 1, 2, 4, 7, 9 below.
Branch 2: Cold or passive pile, weed has no seeds or reproductive structures. You are composting young annual weeds, leafy tops without seed heads, or weeds that have been pre-treated to destroy viability. Cold piles (ambient to 100°F) will break down the green material without spreading the weed. The risk is misidentification: if any seed or runner fragment enters, the pile becomes a problem. Recommended: Items 3, 5, 6, 8, 10 below.
Branch 3: Cold or passive pile, weed has viable seeds or persistent roots. Your pile cannot kill the reproductive material. You must either pre-treat the weeds (drowning, solarization, drying) to destroy viability before adding, or dispose of them off-site. Skipping treatment guarantees weed carryover into finished compost. Recommended: Items 11, 12 below.
Quick Comparison Table
| Option | Key Mechanism | Best For | Decision Grid Branch | Effort Score (1–5) |
|---|---|---|---|---|
| Hot Compost Core Treatment | Thermal kill at 130–160°F sustained | Weeds with seeds, annuals, perennials | Branch 1 | 4 |
| Turned Pile Seed Sanitation | Repeated relocation into hot core | Weeds with tough seeds (bindweed, dock) | Branch 1 | 5 |
| Cold Compost Leafy Weeds | Ambient decomposition without seed risk | Young annuals, pre-flower weeds | Branch 2 | 1 |
| Bokashi Fermentation Pre-Treatment | Anaerobic fermentation pickles seeds and roots | Small batches of mixed weeds, kitchen scraps | Branch 2 | 3 |
| Solarization Bag Treatment | Solar heat buildup inside sealed clear bag | Perennial roots, weed seeds, small volumes | Branch 2 | 2 |
| Drowning (Anaerobic Water Soak) | Sustained submersion deprives oxygen, rots tissue | Weeds with bulbs, tubers, seeds | Branch 2 | 2 |
| Sun Drying on Hard Surface | Desiccation kills vegetative tissue | Weeds with runners, rhizomes, fleshy stems | Branch 2 | 1 |
| Chop-and-Drop as Sheet Mulch Layer | Smothering under carbon layers blocks light | Seed-free green weeds as nitrogen layer | Branch 2 | 1 |
| Thermophilic Batch (Berkeley Method) | Rapid 18-day hot composting with daily turns | Large volumes of mixed weeds, rapid throughput | Branch 1 | 5 |
| Green Waste Bin (Municipal) | Commercial-scale hot composting, regulated | Noxious weeds, invasive species, diseased plants | Branch 3 | 1 |
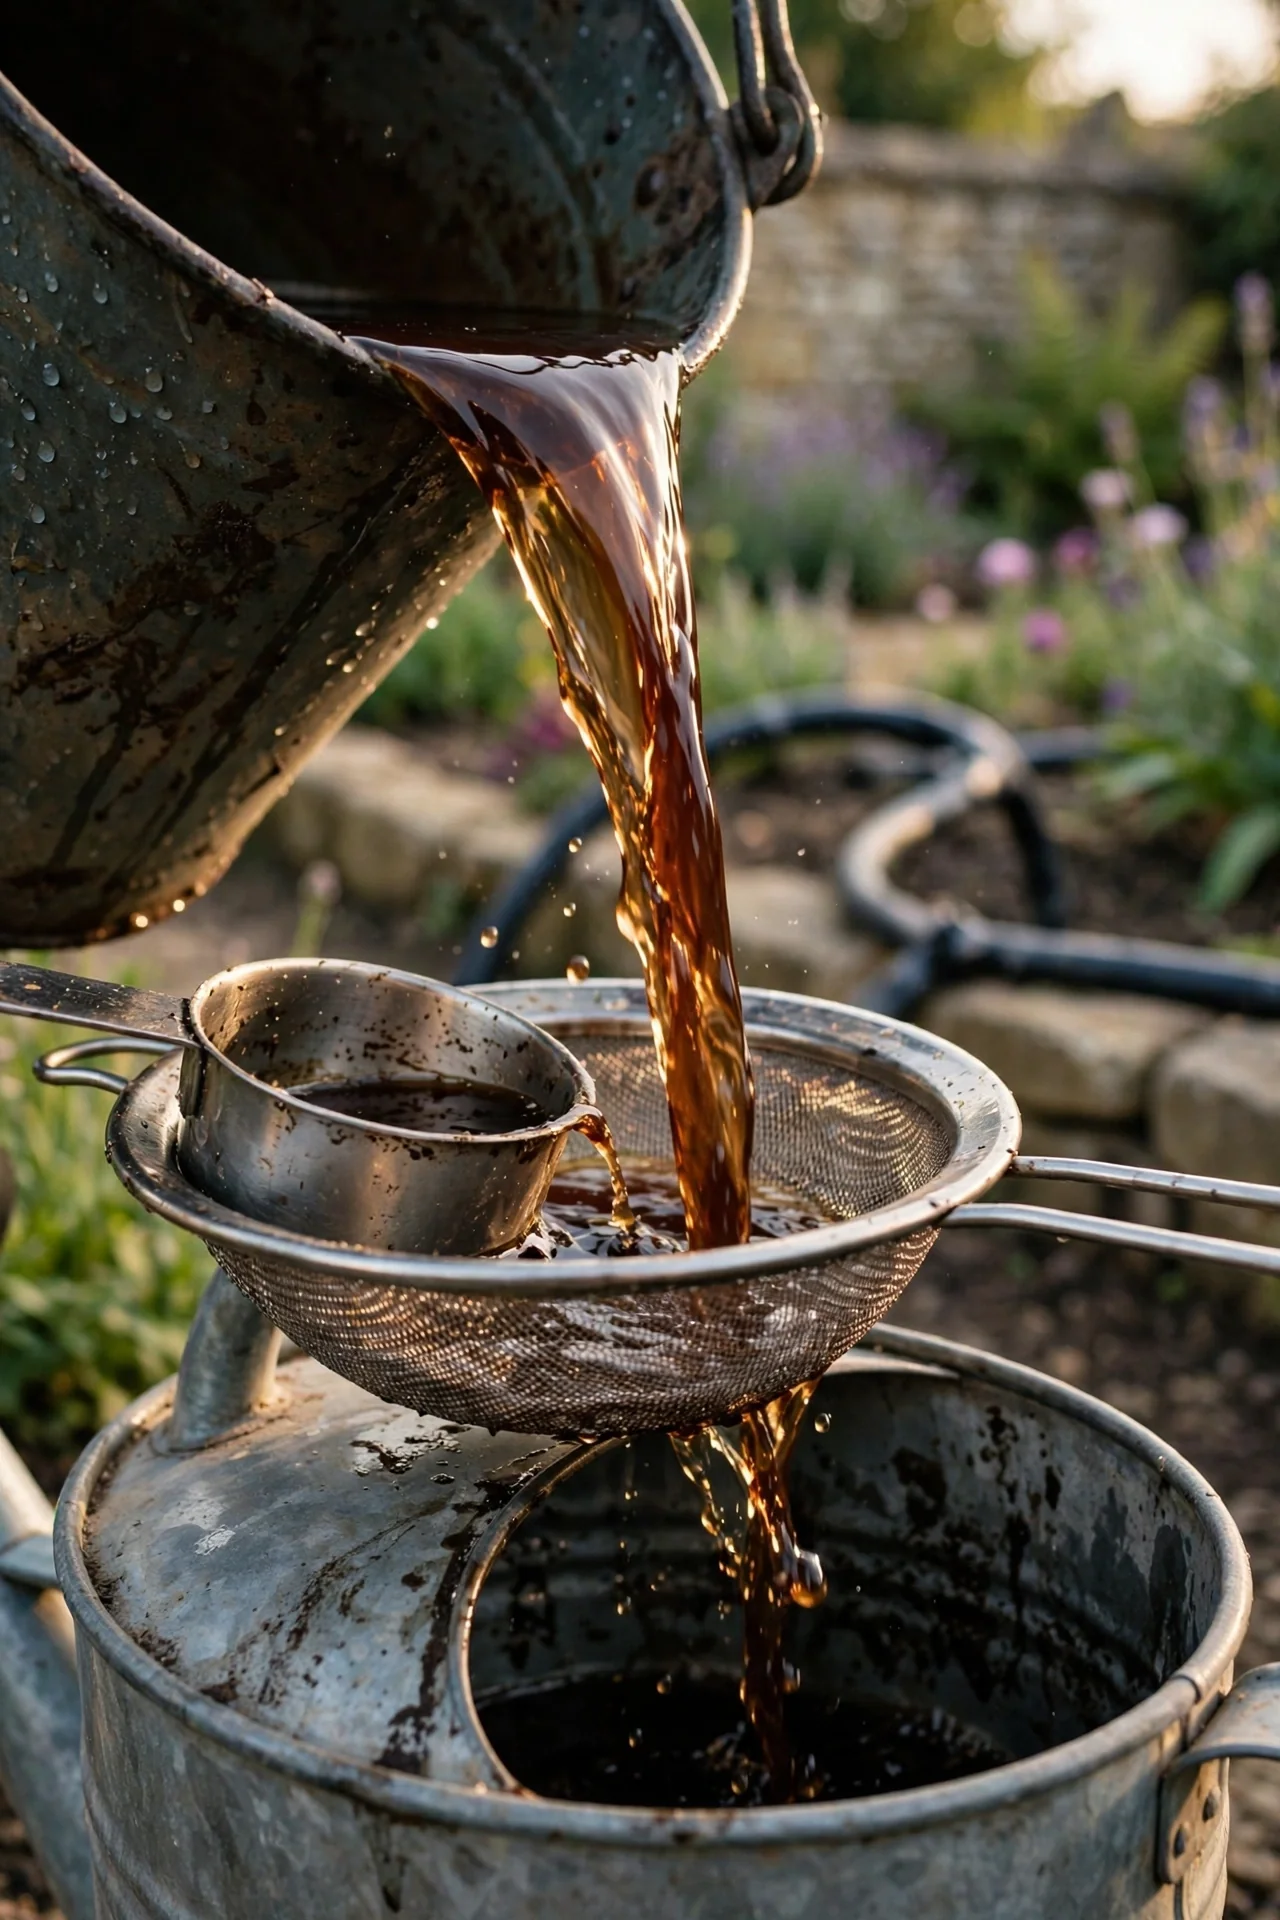
| Weed Tea (Anaerobic Extract) | Nutrient extraction without composting solids | Nettles, comfrey, seed-free leafy weeds | Branch 2 | 2 |
| Isolated Quarantine Pile | Separate cold pile monitored for 12 months | Uncertain weed identity, mixed seed status | Branch 3 | 3 |
1. Hot Compost Core Treatment: Kill Seeds With Sustained Temperature
Best for: Branch 1
What it is: A thermophilic compost pile that reaches 130°F to 160°F (54–71°C) throughout the core and holds that range long enough to render weed seeds non-viable.
Why it matters for weeds: Research compiled from multiple extension sources indicates that most annual weed seeds lose viability after three days at 55°C (131°F). The Chicago Botanic Garden notes that weed seeds are killed at 180°F, though few home piles reach that threshold. The practical target for home composters is consistent exposure at or above 130°F for at least three days, combined with turning so that all material cycles through the hot core. Seeds surviving the process typically do so because they were lodged in cooler outer zones that never hit the kill temperature.
The constraint most guides miss: The margin between a pile that thermophilically composts and one that kills weed seeds is not just peak temperature but temperature uniformity. A pile that spikes to 140°F in the center while the outer 6 inches stay at 100°F will leave viable seeds. Turning frequency is the determinant: every 2 to 3 days during the active phase relocates material into the hot core. Without turning, assume seed survival.
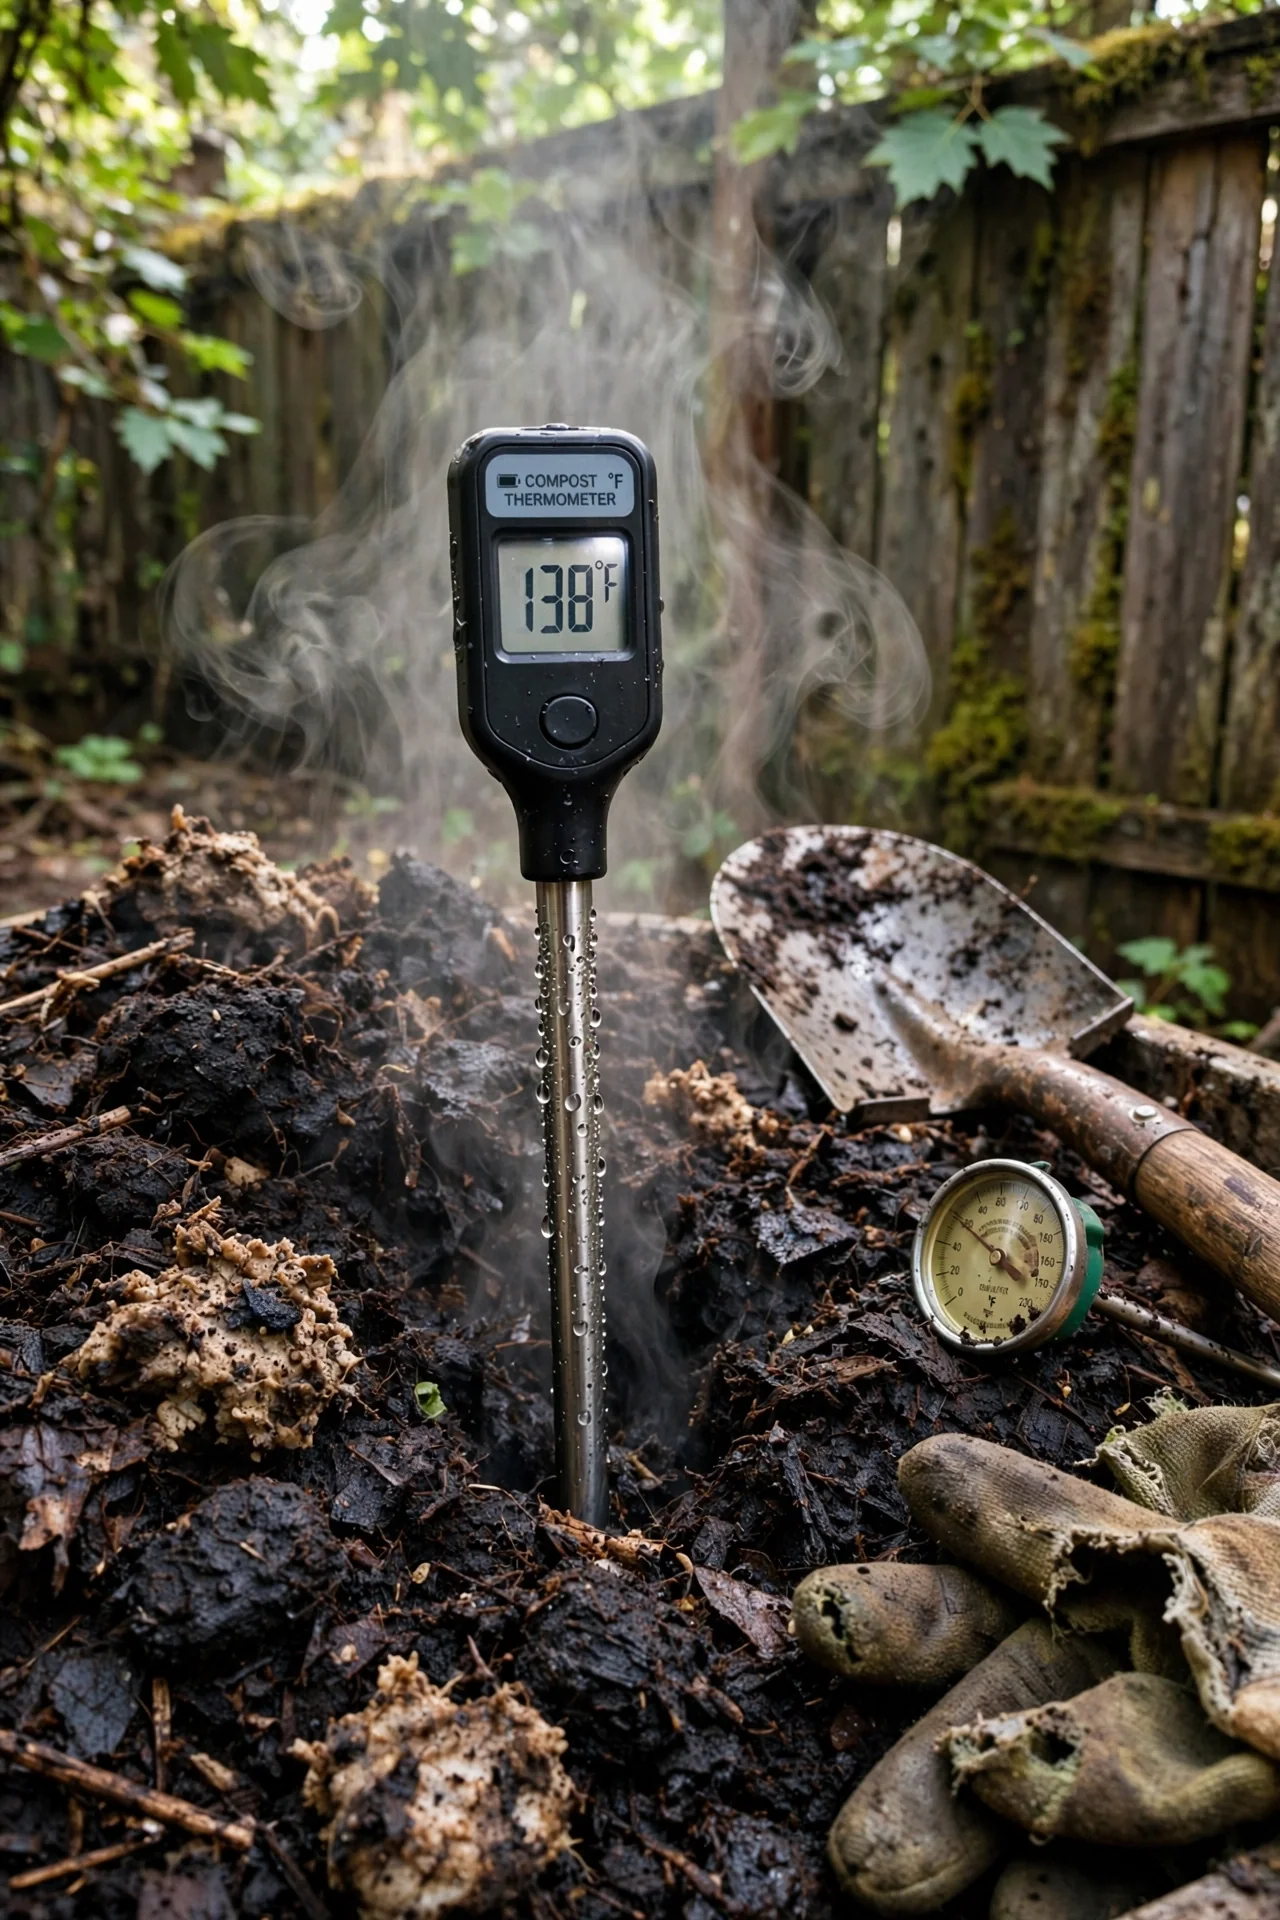
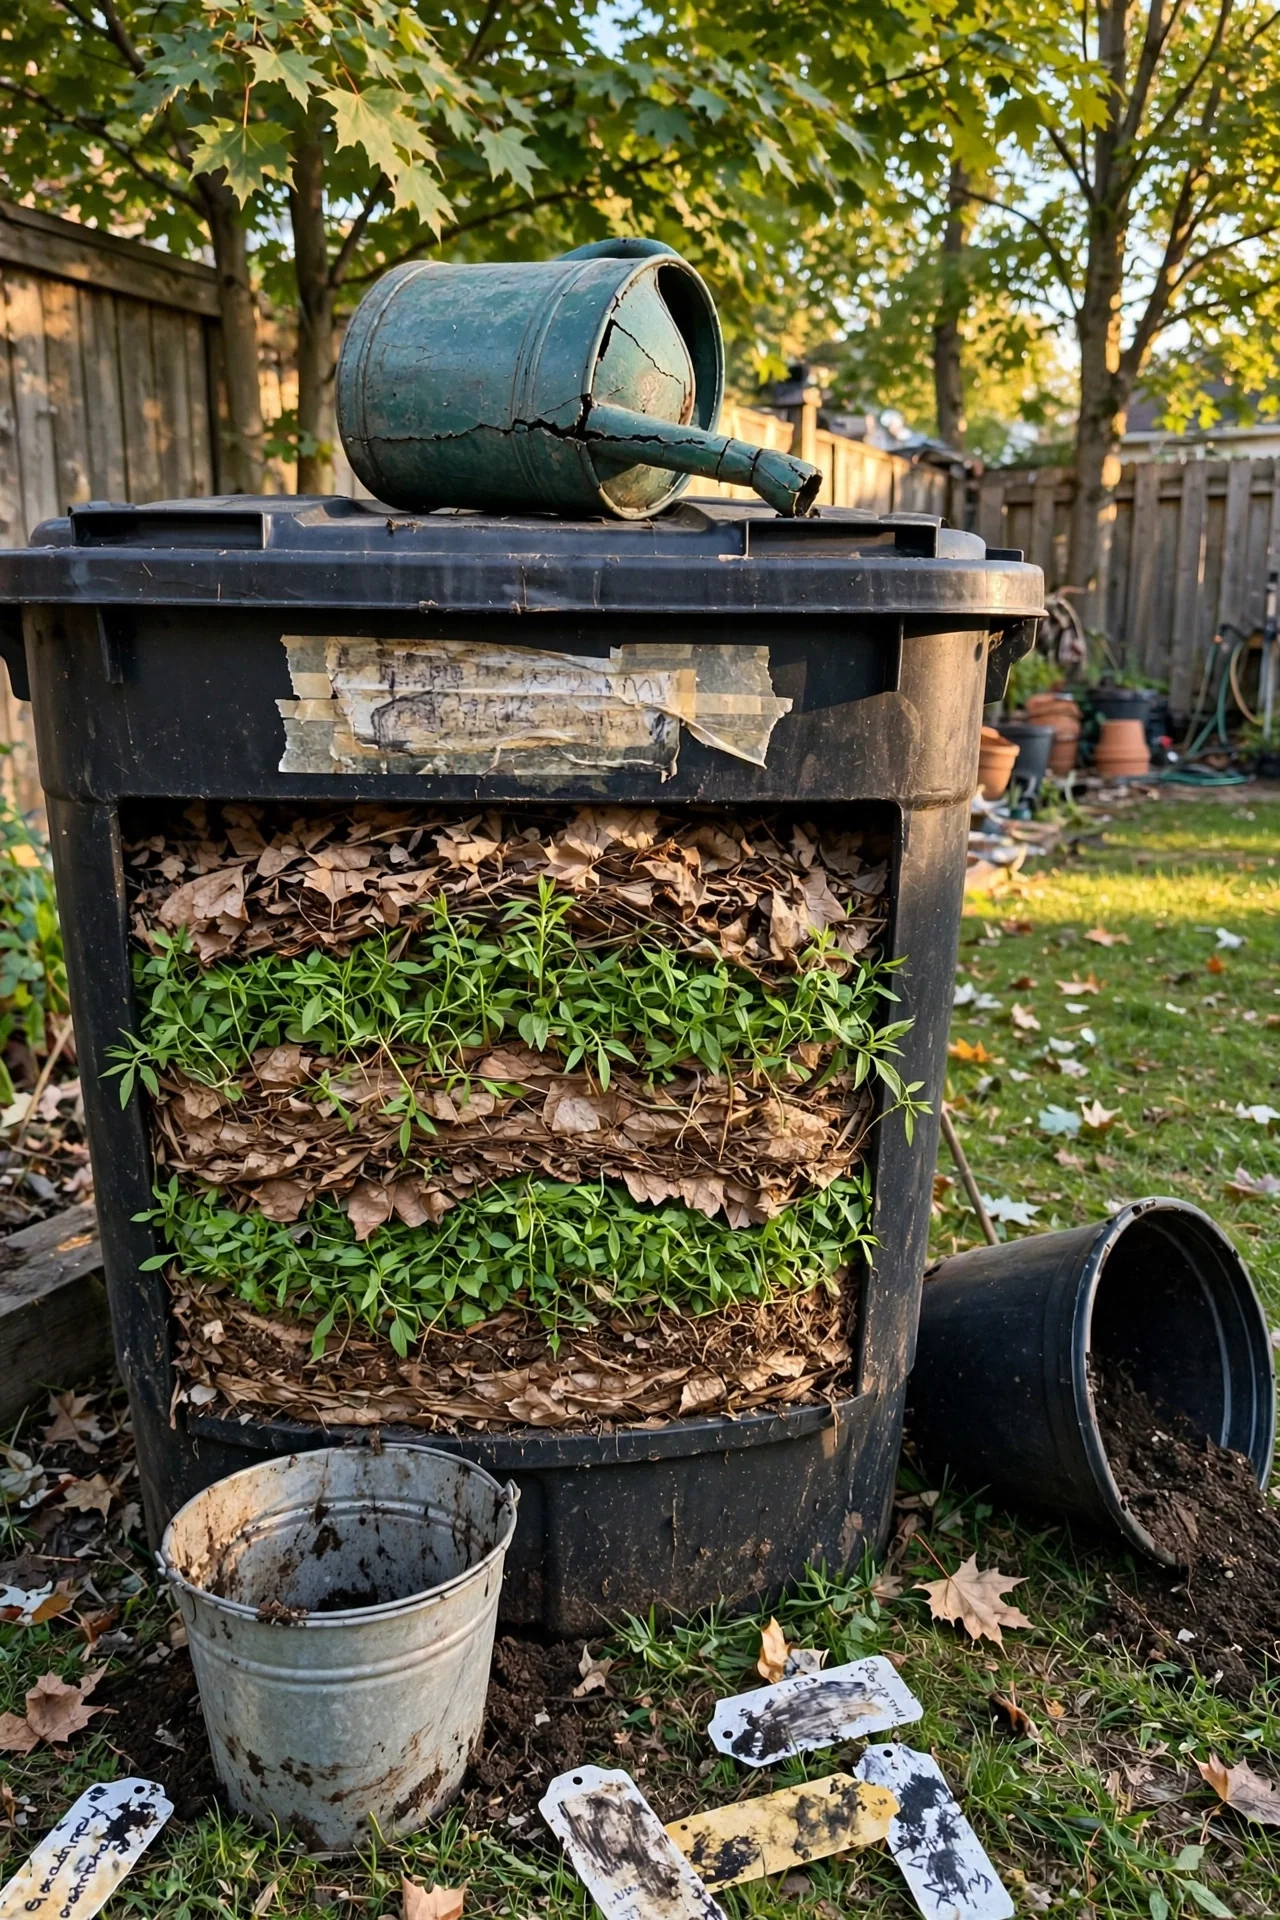
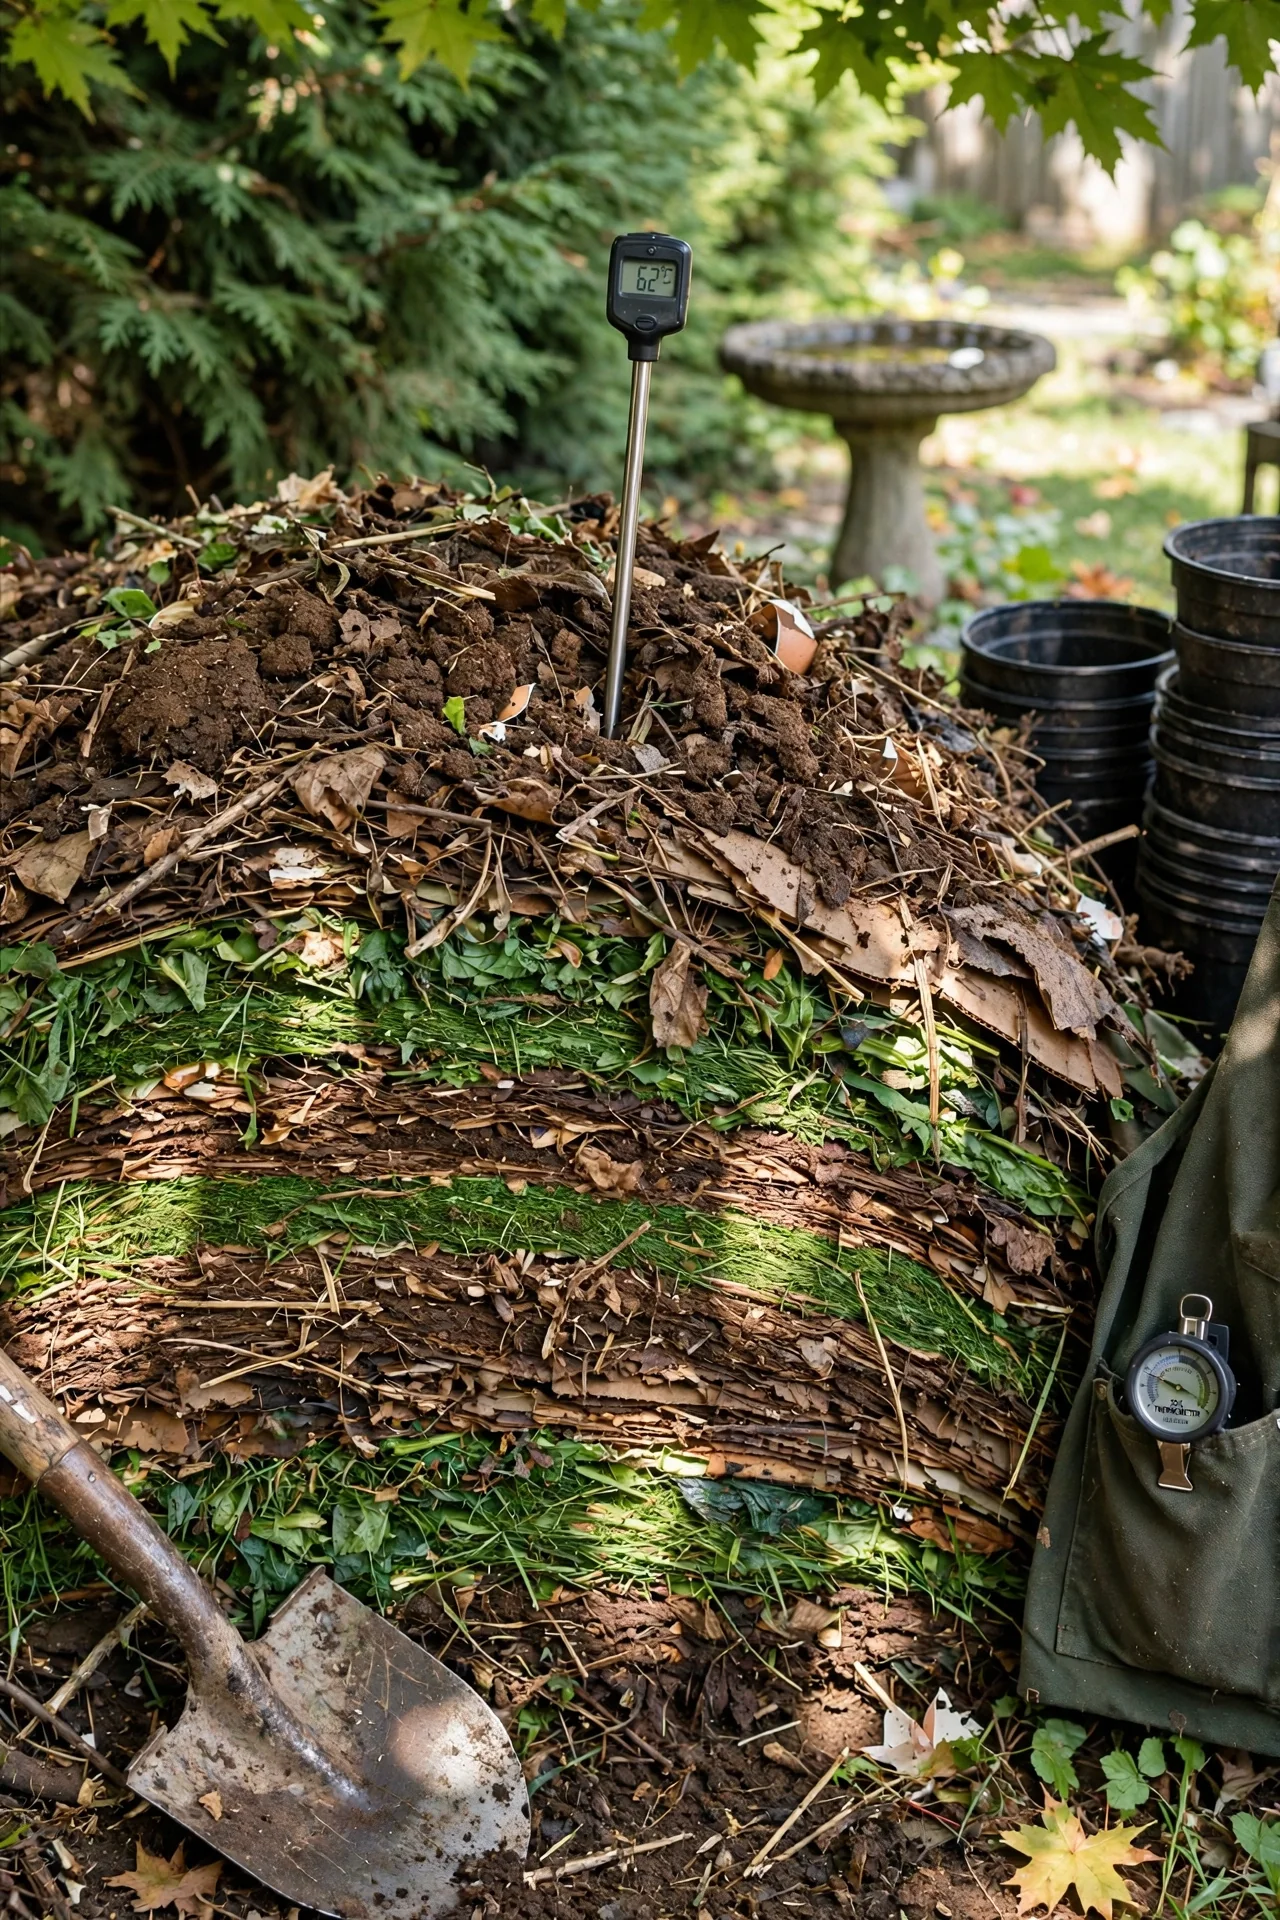
Steps: Build a pile at least 1 cubic yard (roughly 1 cubic meter) in one batch. Layer green weeds with brown materials at a carbon-to-nitrogen ratio near 30:1 by weight. Monitor internal temperature with a compost thermometer daily. When the pile drops below 130°F, turn it. After three to five turn cycles, most weed seeds will have been exposed to lethal temperatures.
Common mistake: Adding weeds with seeds to a pile that is not yet at temperature. The pile must already be hot when seeded weeds are introduced.
2. Turned Pile Seed Sanitation: Relentless Core Cycling
Best for: Branch 1
When you are dealing with weeds that produce tough seeds (field bindweed, dock, lambsquarters), a standard hot pile may not be enough. These species can require temperatures above 145°F held for several days or repeated exposure. A study on feedlot manure composting found that field bindweed seed required seven days at 83°C (180°F) for complete kill; in dry air, seeds survived 60°C for 30 days. The practical home-composter response: turn the pile aggressively every two days for two weeks, ensuring every pocket of material cycles through the core. Use a compost thermometer to verify that the core hits at least 140°F. If your pile cannot sustain that temperature, see Item 11 (solarization) or Item 12 (quarantine pile) below.
3. Cold Compost Leafy Weeds: The Zero-Risk Default
Best for: Branch 2
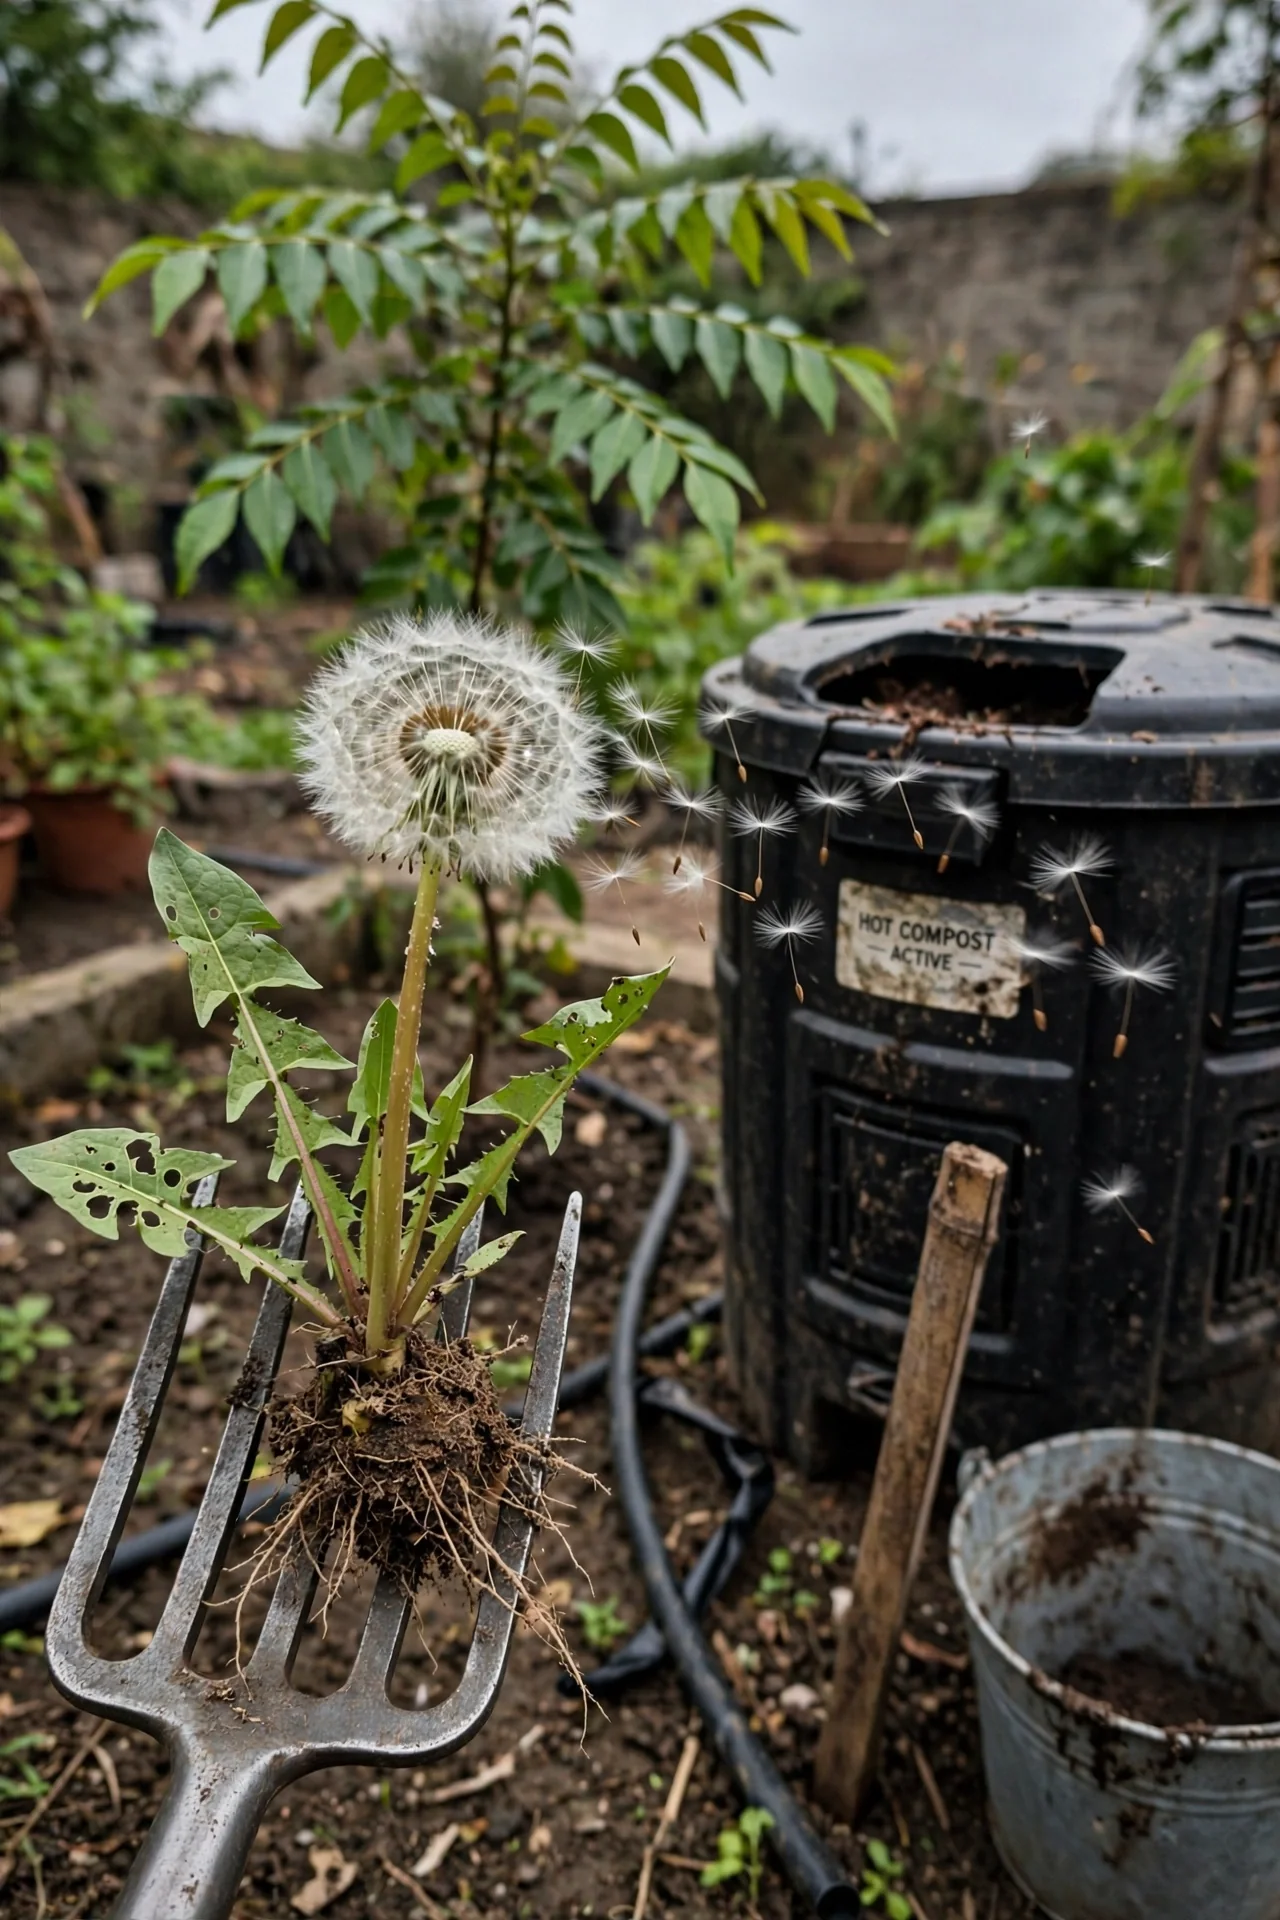
When to use: You have pulled young annual weeds that have not yet flowered or set seed. Examples include chickweed before flowering, young dandelion leaves without the crown, and crabgrass before seed heads form.
When to skip: If you cannot confidently identify the weed growth stage, or if any seed heads are present. A single shepherd’s purse plant can release thousands of seeds that remain viable in soil for years. One misidentified weed in a cold pile can seed an entire garden bed later.
Edge case: Weeds like purslane can continue ripening seeds even after being pulled if left in a moist pile. Purslane stems are succulent and can reroot at nodes. For purslane, either dry it completely on a hard surface first (Item 7) or ensure the pile is actively hot. If neither option is available, discard it.
How to do it: Chop weeds into 2- to 4-inch pieces with a spade. Layer them in the pile as green material, alternating with browns at roughly 1 part greens to 2 parts browns by volume. This method requires no temperature monitoring and no turning beyond normal pile aeration. The finished compost will be ready in 6 to 12 months depending on climate. Read our cold composting guide for the full timeline and layering technique.
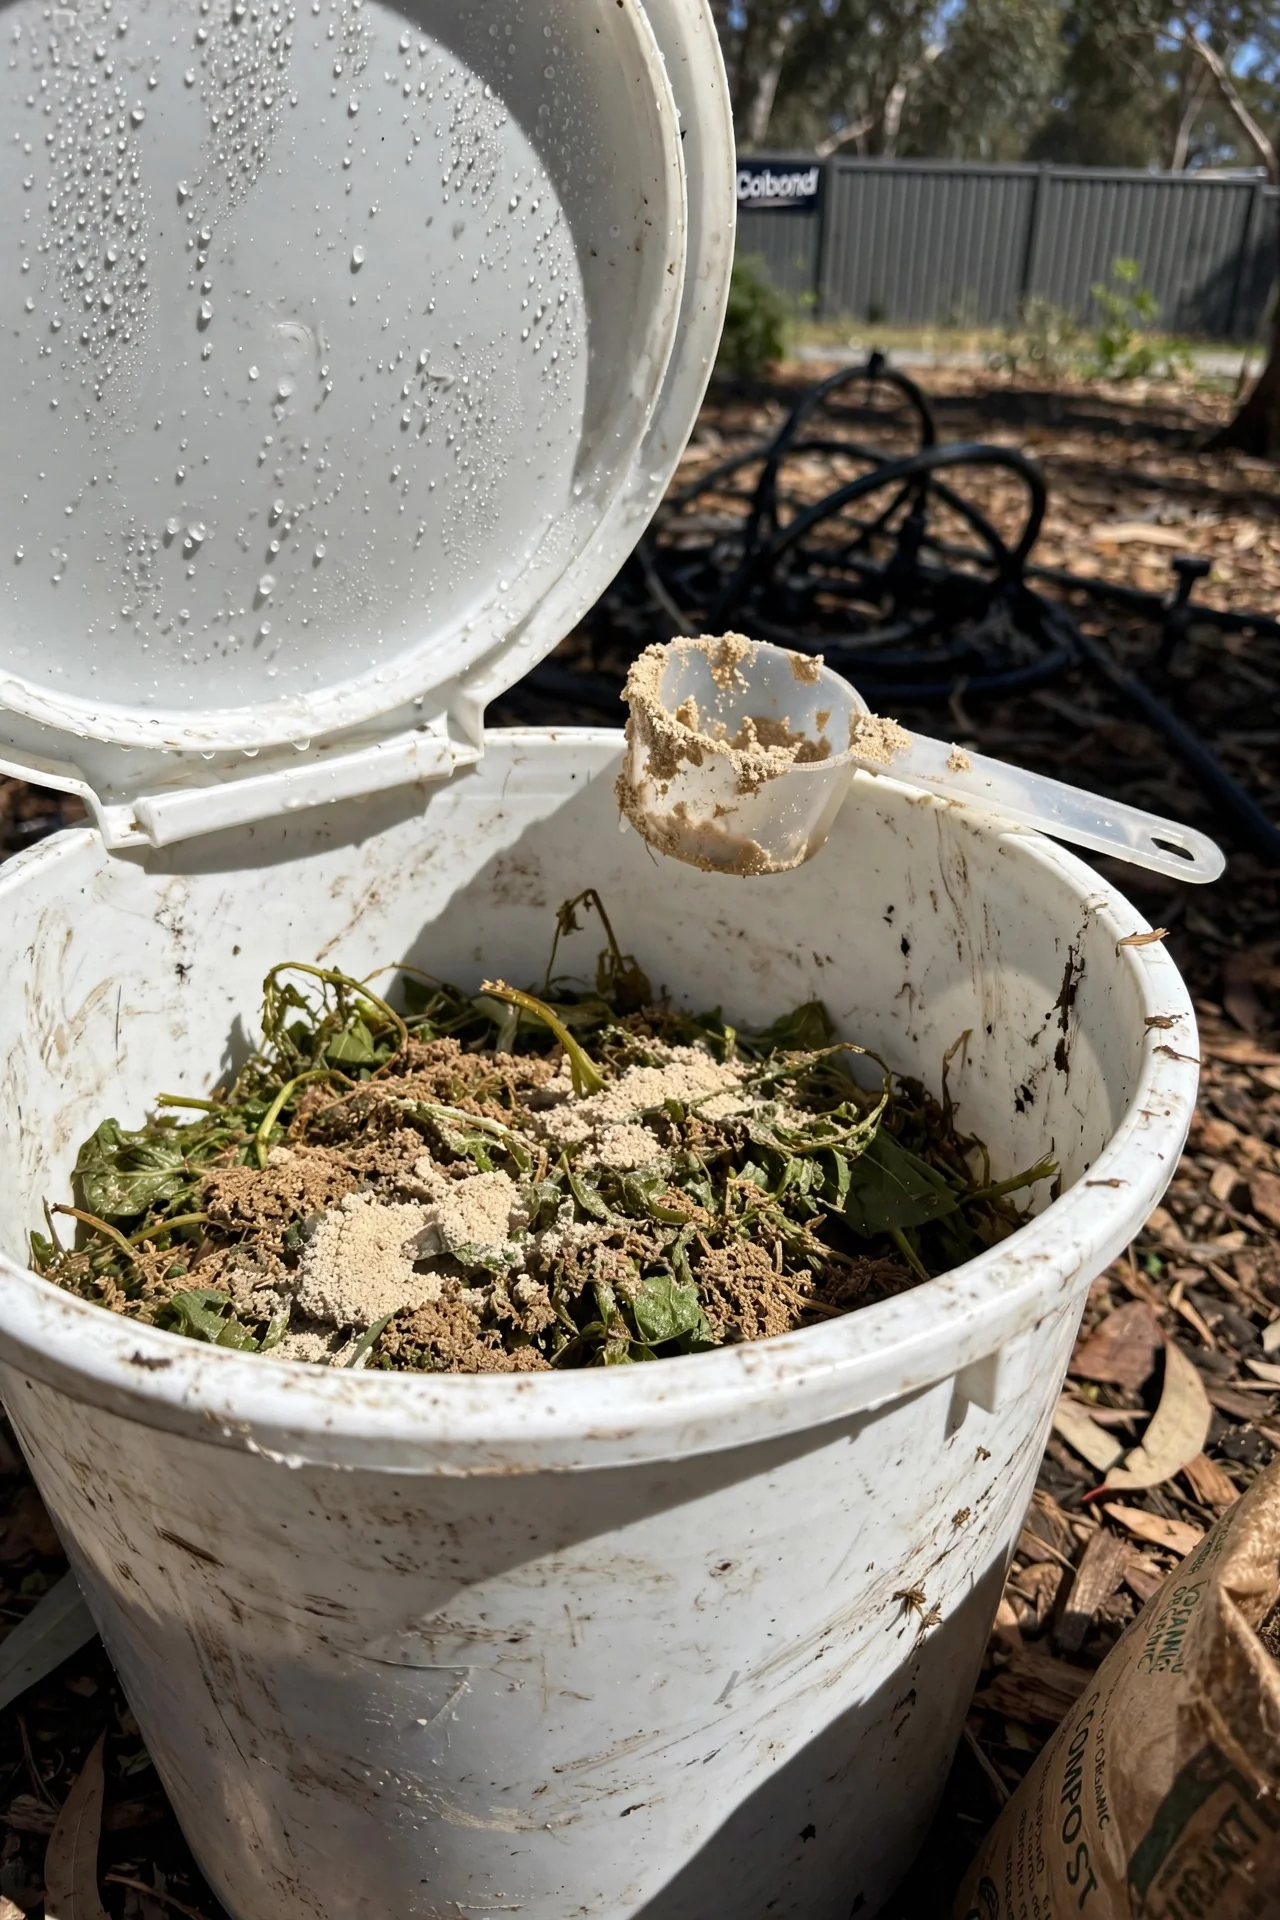
4. Bokashi Fermentation Pre-Treatment: Pickle Seeds and Roots Before Composting
Best for: Branch 2
The mechanism: Bokashi is an anaerobic fermentation process using inoculated bran (effective microorganisms) that pickles organic material in a sealed bucket. The low pH and anaerobic conditions render weed seeds and roots non-viable over a 2- to 4-week fermentation period. After fermentation, the material can be added to a cold compost pile or buried in soil without risk of regrowth.
The constraint: Bokashi buckets are small (typically 5 gallons). This method suits the steady small output of a kitchen garden, not a major bed renovation. Also, the fermented material is acidic and must be incorporated into soil or compost rather than applied directly to plant roots. Our bokashi composting guide covers the full setup, bran recipe, and burial method.
What the research suggests: A Purdue University study on black soldier fly larvae composting found it can reduce weed seed emergence, though bokashi uses a different microbial pathway. Anecdotally, gardeners report that bokashi-treated weed seeds fail to germinate after burial. The conservative approach: treat bokashi as a pre-treatment that reduces seed viability risk, not a guaranteed kill. For weeds you know have tough seeds (bindweed, dock), combine bokashi with a subsequent hot compost phase if possible.
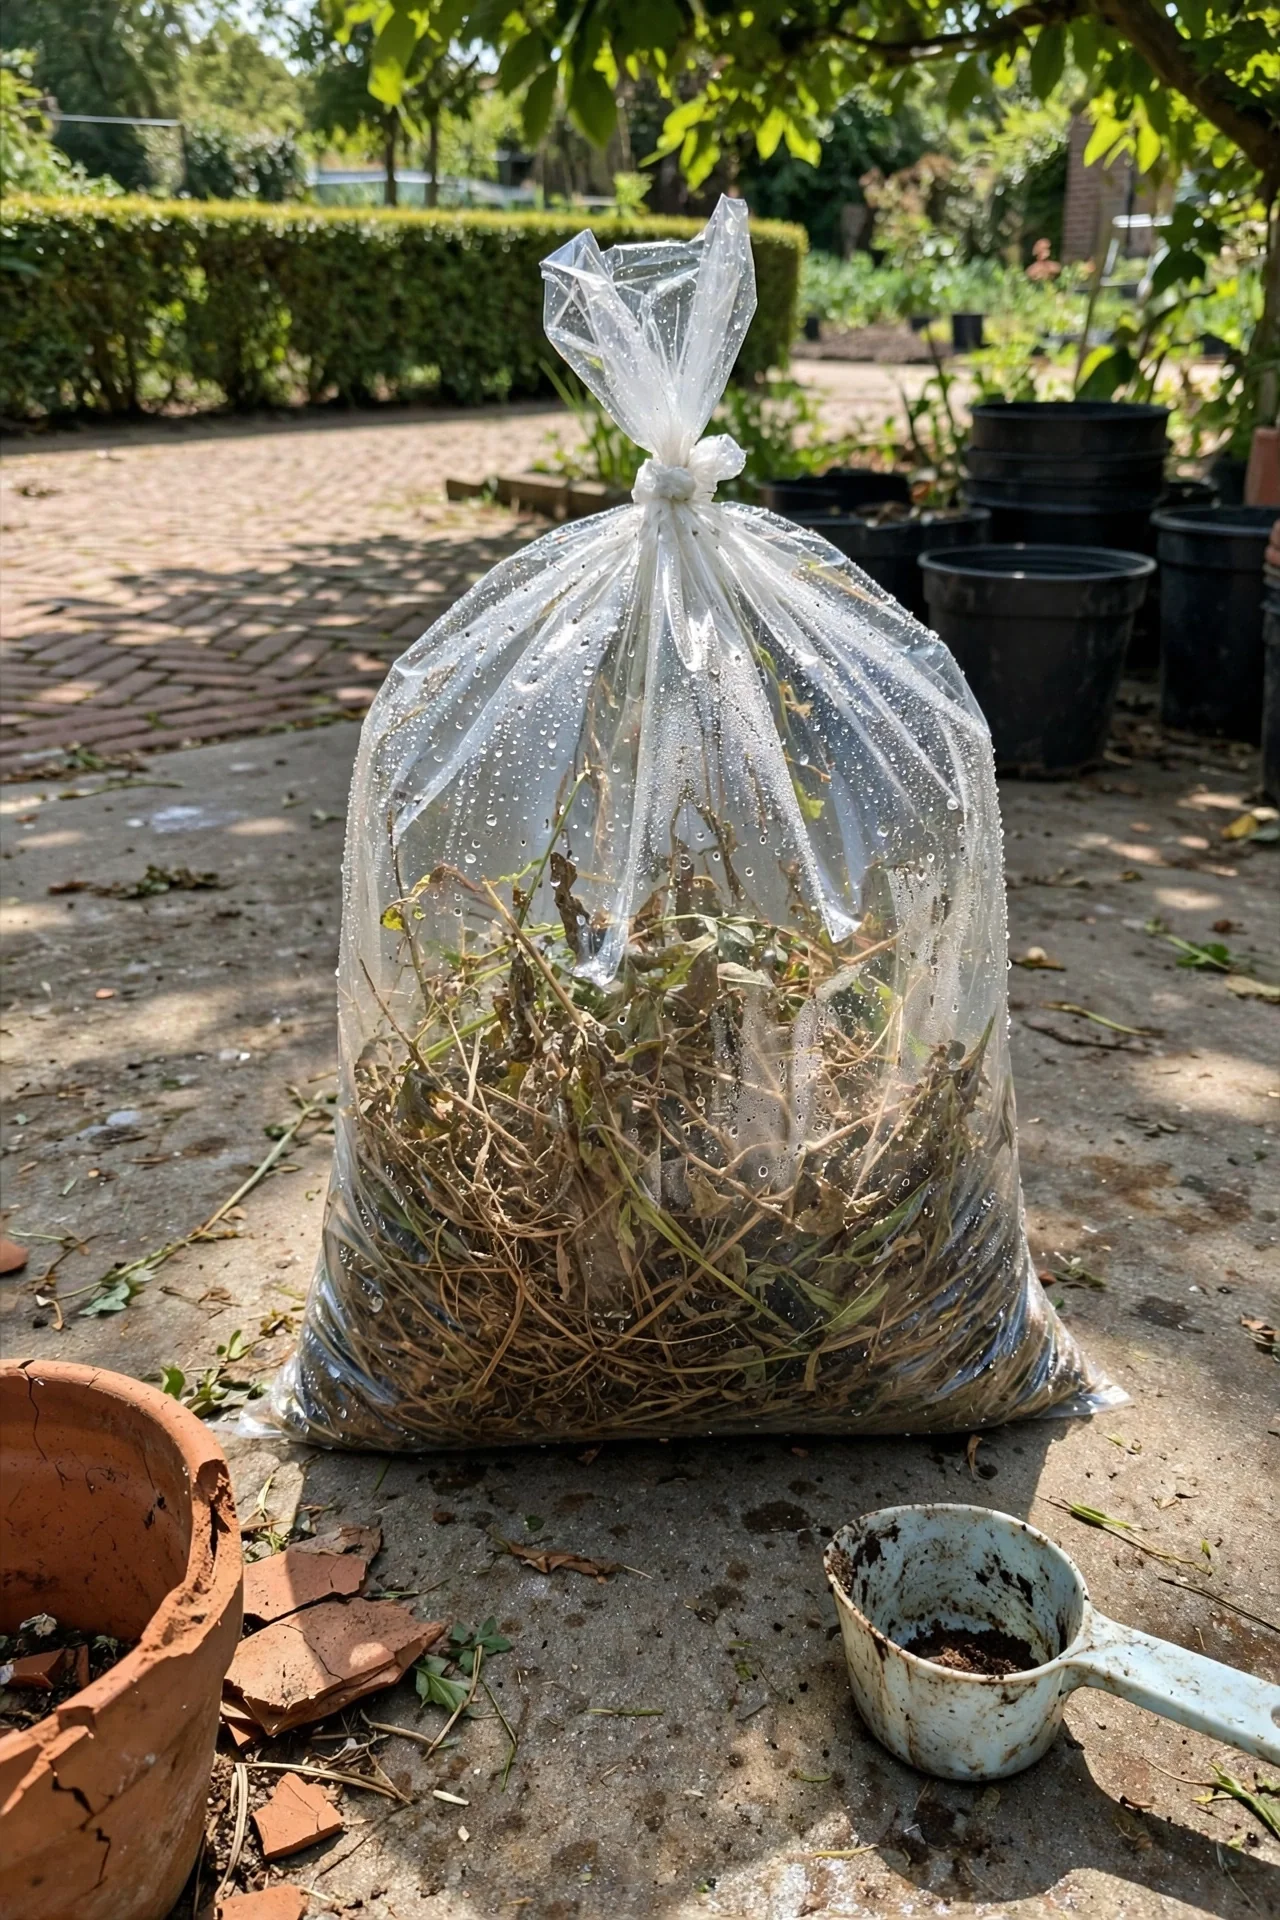
5. Solarization Bag Treatment: Passive Heat Kill in Clear Plastic
Best for: Branch 2
Place pulled weeds (seeds, roots, and all) inside a clear plastic bag, seal it, and leave it in full sun for 4 to 8 weeks during warm months. The greenhouse effect inside the bag can raise internal temperatures high enough to kill seeds and desiccate roots. This method works best in climates with consistent summer sun. Opaque black bags trap less heat; clear bags are essential. The constraint: solarization is seasonal and requires temperatures consistently above 80°F ambient to achieve lethal internal temperatures. In cooler climates or winter, use drowning (Item 6) instead.
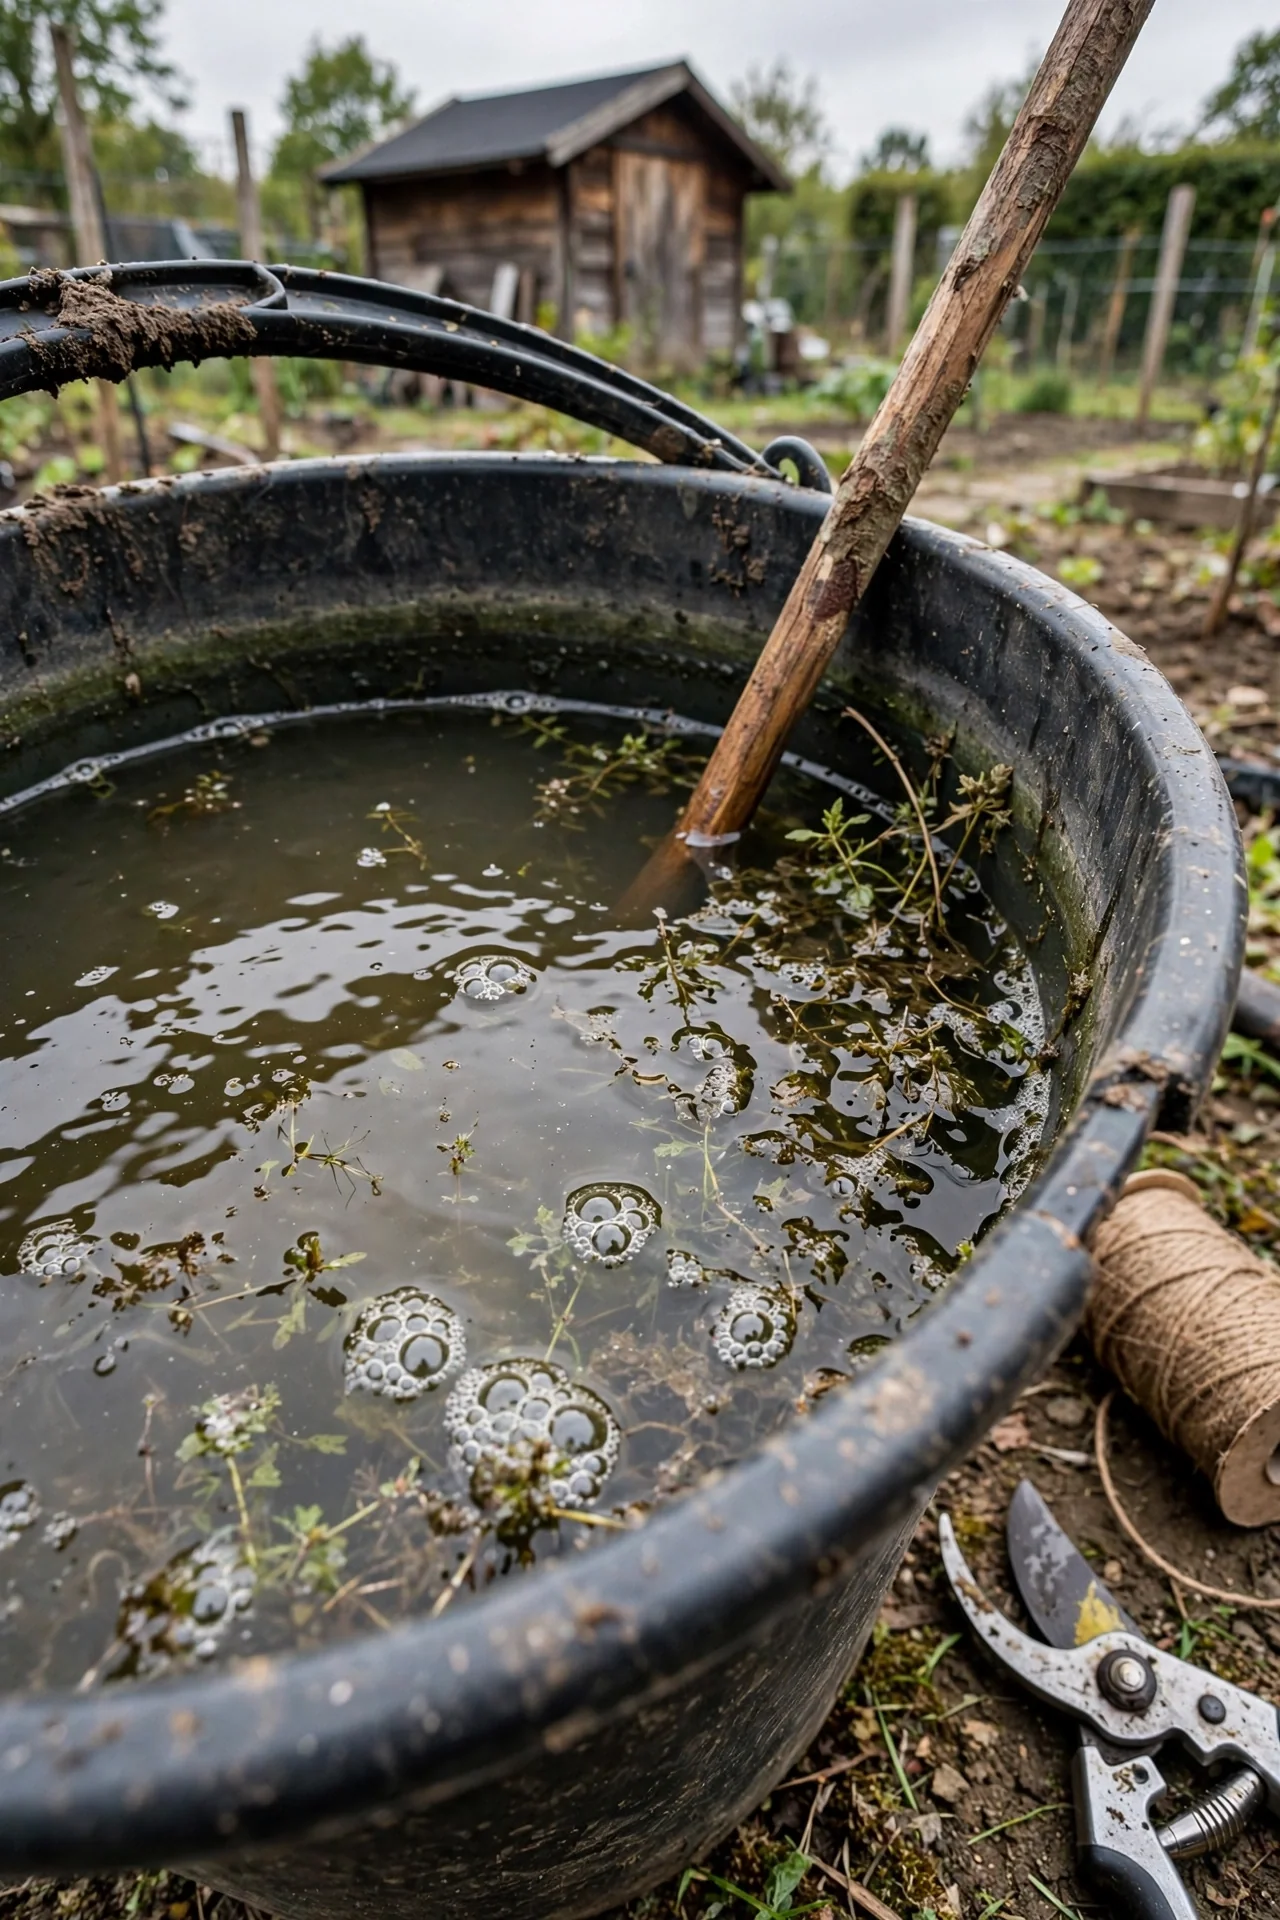
6. Drowning (Anaerobic Water Soak): Rot the Reproductive Tissue
Best for: Branch 2
Threshold rule: Submerge weeds fully in water inside a covered container for a minimum of 2 to 3 months. The lack of oxygen kills roots, bulbs, and most seeds. The water becomes anaerobic and develops a strong odor, so position the container away from living areas.
Adjustment for seed-heavy weeds: If the weeds carry mature seed heads, extend the soak to 4 to 6 months. After draining, the sludge can be added to a compost pile or buried directly in garden beds as a nitrogen-rich amendment. The liquid (weed tea) is too concentrated for direct application; dilute it 1:10 with water before using on established plants.
What survives: Some hard-coated seeds (velvetleaf, for example) can survive extended submersion. If you are dealing with a known persistent seed-bank species and cannot verify kill, default to municipal green waste disposal (Item 10).
7. Sun Drying on Hard Surface: Desiccate Before Composting
Best for: Branch 2
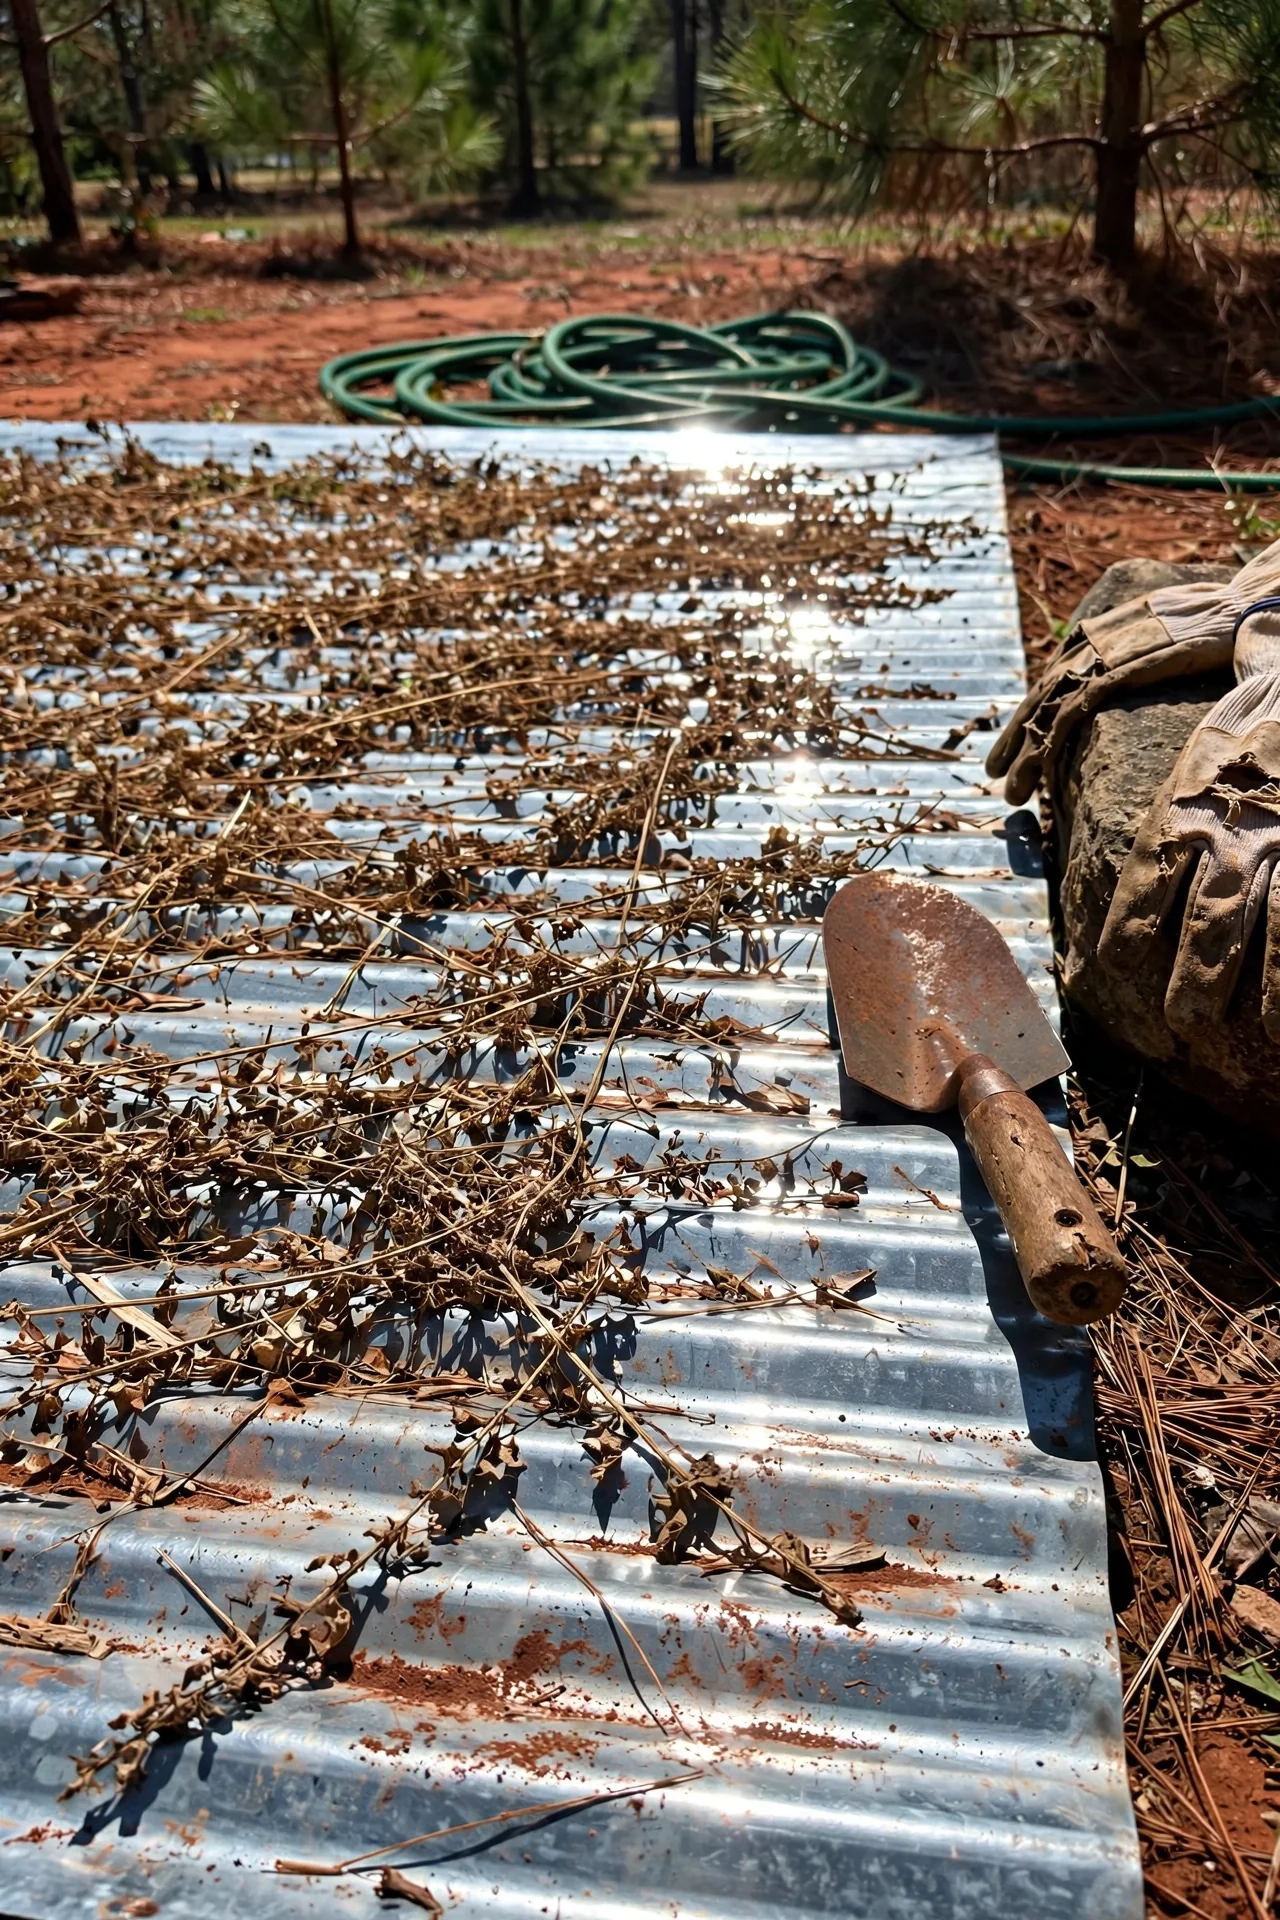
The method: Spread pulled weeds in a single layer on a concrete driveway, corrugated metal sheet, or tarp in full sun. Leave them for several days to two weeks until they are completely crisp, brown, and brittle. The desiccation kills vegetative tissue, including runners and rhizomes of grasses like couch grass and kikuyu. Once fully dried, the weeds are safe to add to any compost pile, hot or cold.
The limitation that matters: Drying kills the plant body but does not reliably kill seeds. Seeds are designed to survive desiccation. If the weeds have seed heads, drying alone is insufficient as a seed-kill method. Combine drying with another treatment (solarization, drowning, or hot composting) or remove seed heads separately and discard them. Clemson Extension specifically recommends sun-drying weeds with large storage roots, such as nutsedge and Florida betony, before composting to reduce survival chances.
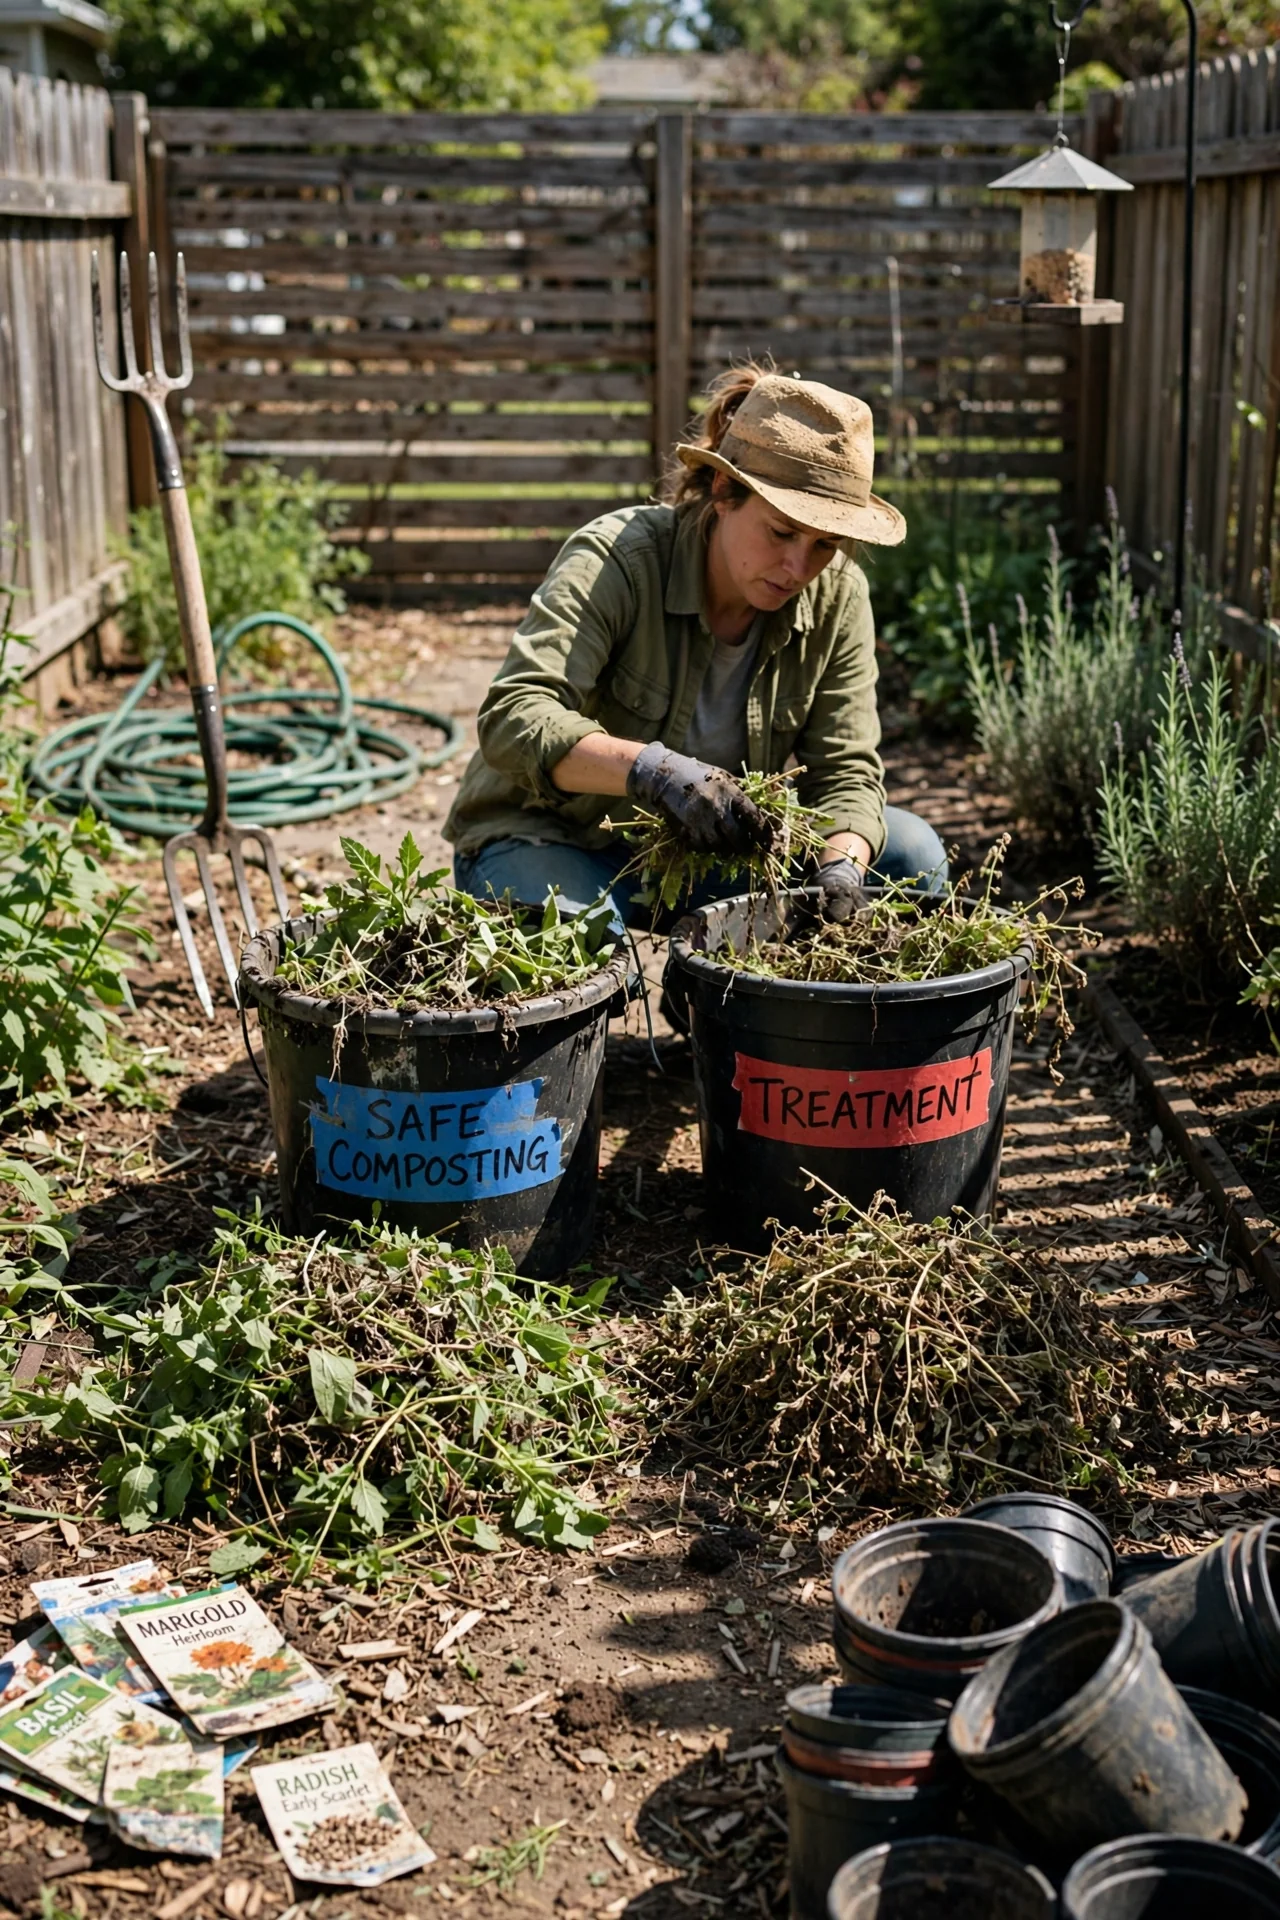
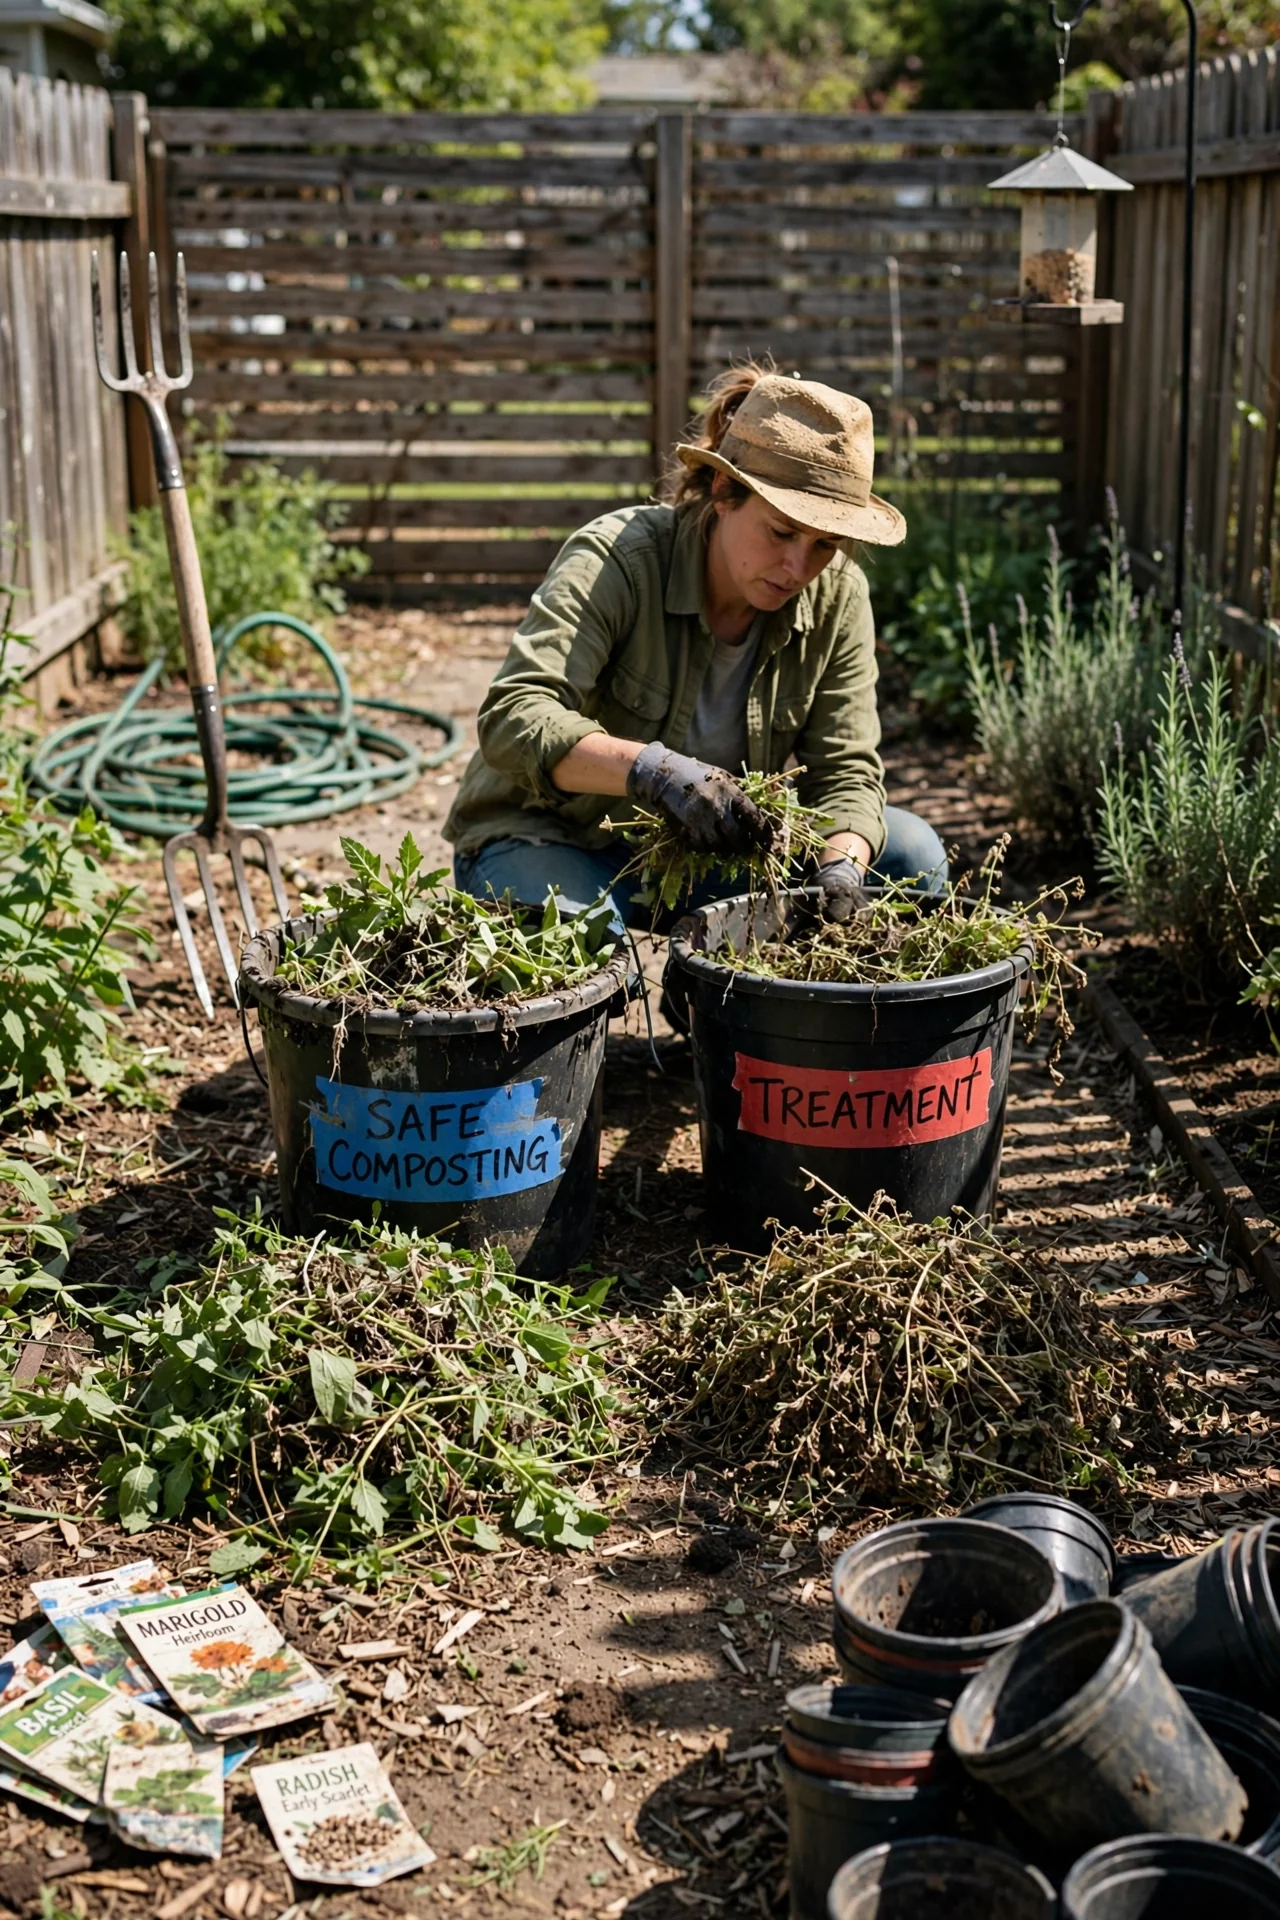
Workflow: After weeding, sort material on a tarp. Seed-free vegetative weeds go to the drying zone. Seeded weeds go into a separate container for alternative treatment. This two-bucket system, recommended by several municipal composting guides, prevents cross-contamination at the point of collection.
8. Chop-and-Drop as Sheet Mulch Layer: Bypass the Pile Entirely
Best for: Branch 2
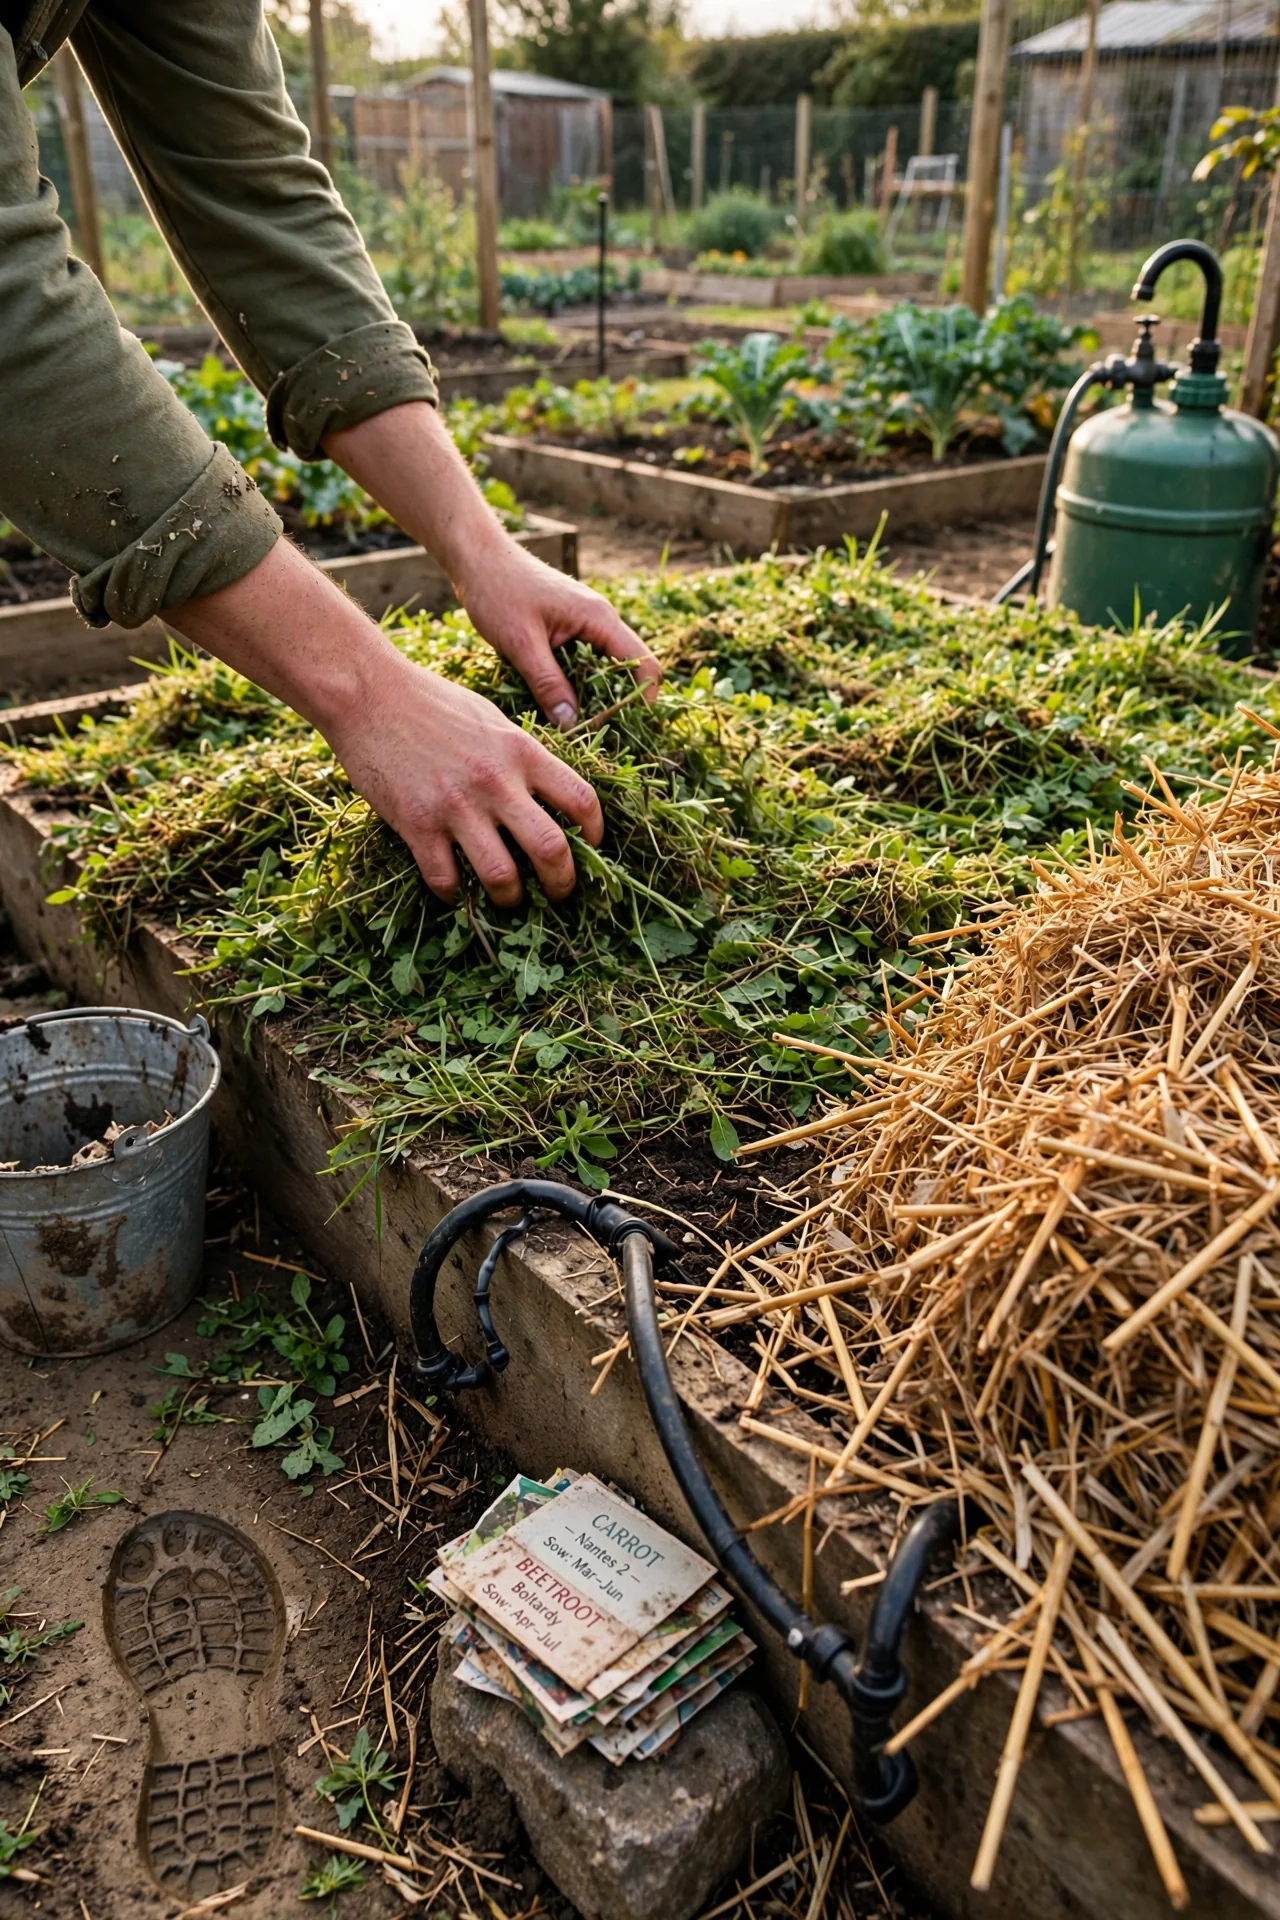
Instead of composting seed-free weeds in a pile, lay them directly on the soil surface as a green nitrogen layer under a carbon mulch (straw, wood chips, or cardboard). The weeds break down in place, feeding the soil without ever entering a compost bin. The key conditions: (1) weeds must have zero viable seeds, (2) no perennial roots or runners that can reroot on soil contact, and (3) the green layer must be covered immediately with a thick carbon layer to block light and prevent any fragments from photosynthesizing. Our sheet mulching guide explains the layering order and depth requirements.
9. Thermophilic Batch (Berkeley Method): 18-Day Rapid Weed Processing
Best for: Branch 1
What it is: The Berkeley method of hot composting turns material daily, producing finished compost in approximately 18 days. The pile is built all at once with a precise carbon-to-nitrogen ratio (roughly 30:1), and daily turning ensures the entire mass cycles through sustained thermophilic temperatures. For weed seed kill, this method is the most reliable home-scale option because it eliminates cold spots.
What the research tells us: A study published in Compost Science & Utilization found that three days at 55°C was sufficient to destroy all selected weed species. The Berkeley method typically sustains temperatures above 55°C for at least a week, well beyond the minimum kill threshold. The daily turning schedule forces every particle through the core.
Who it is for: Gardeners with access to large volumes of material in a single batch and the willingness to turn daily for 18 days. The pile must be at least 1 cubic yard to self-insulate. Smaller piles will not hold temperature. If you cannot commit to daily turning, use the standard hot compost method (Item 1) instead.
10. Green Waste Bin (Municipal): Off-Site for the Risky Stuff
Best for: Branch 3
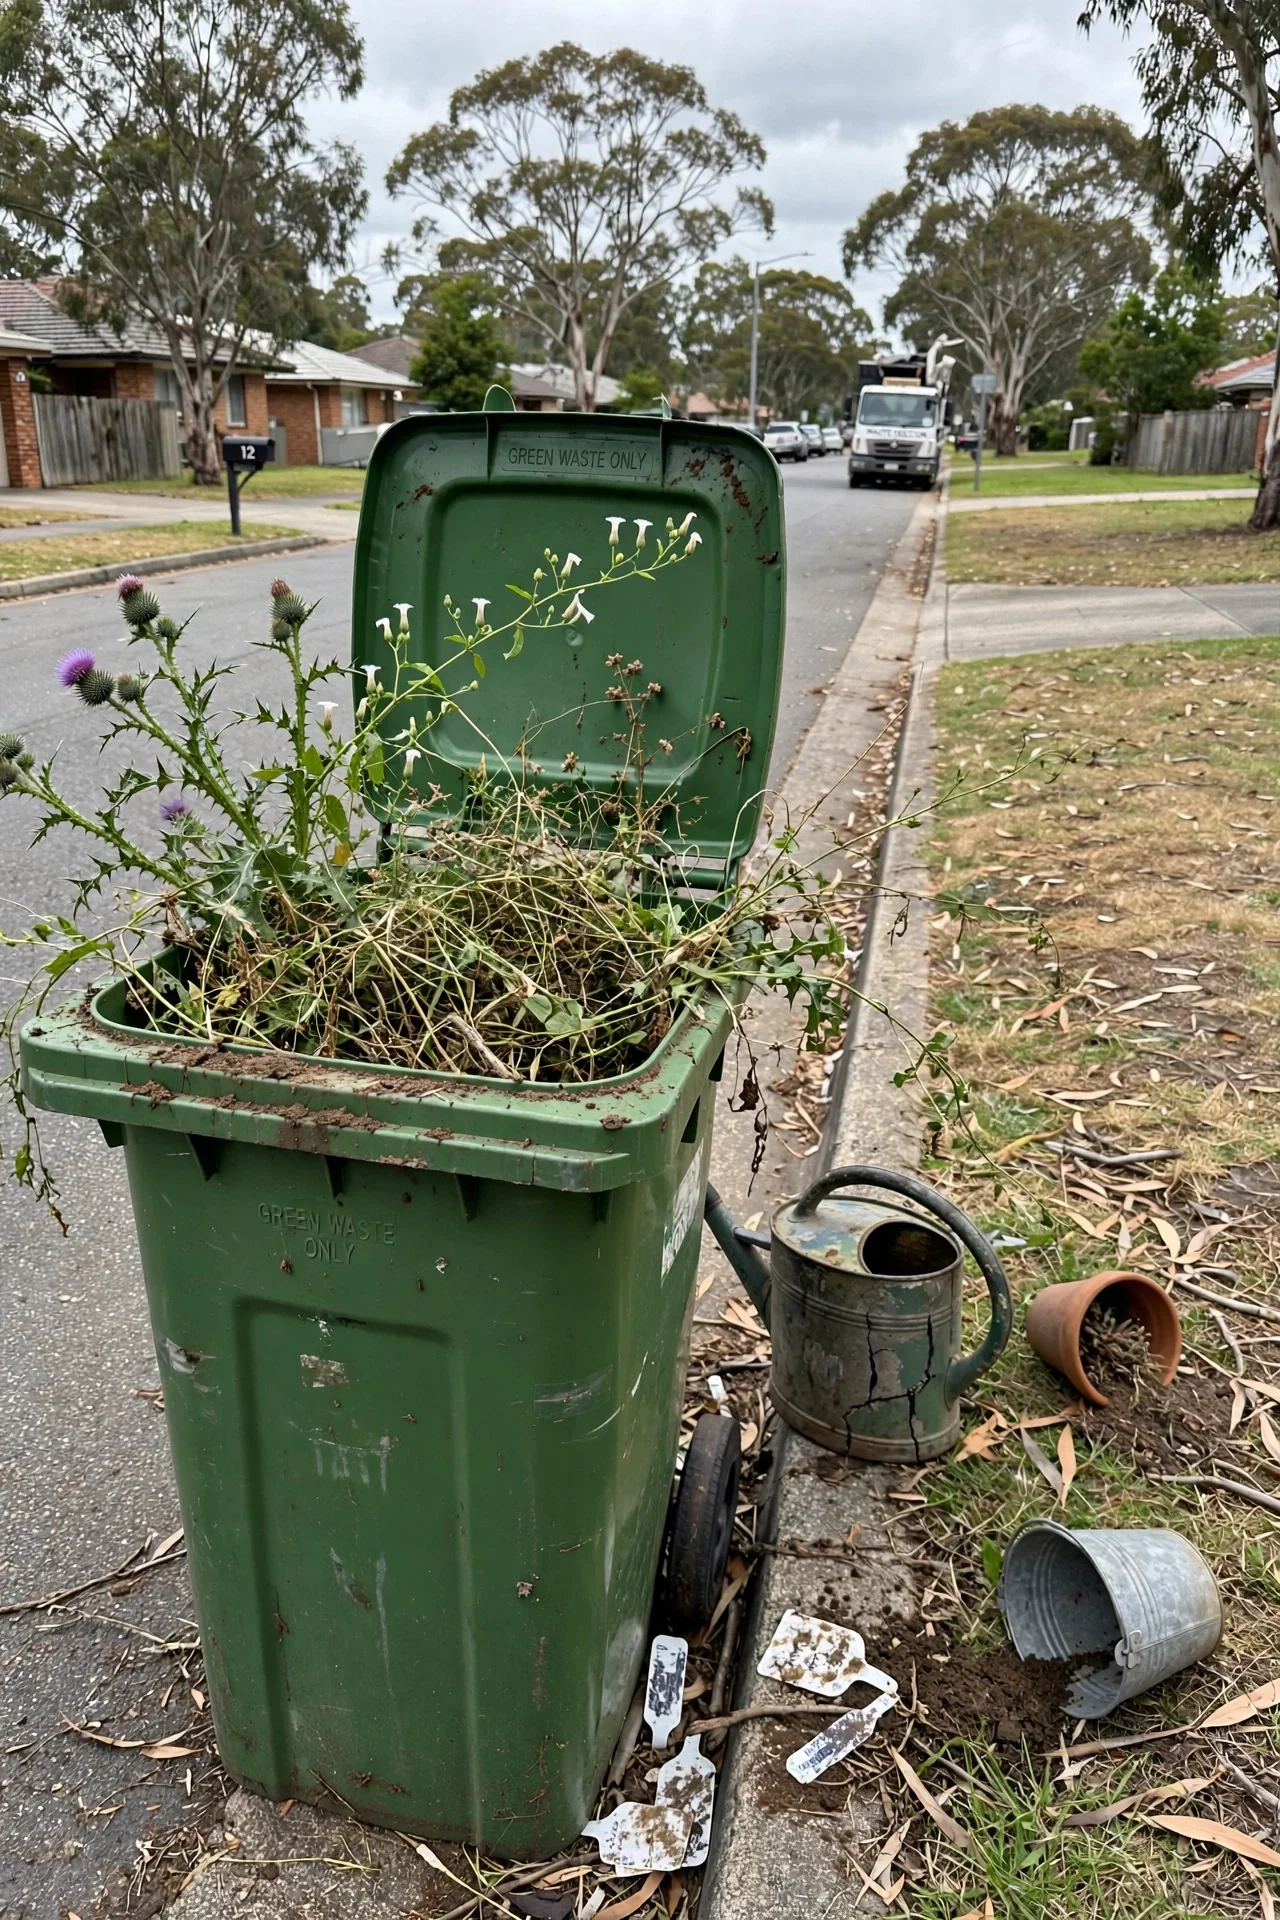
Noxious weeds, invasive species, and diseased plant material belong in the municipal green waste bin, not your home pile. Commercial composting facilities operate under regulated conditions that reach sustained high temperatures, typically through windrow composting with mechanical turning. Iowa State University Extension notes that municipal and commercial composting facilities achieve higher temperatures than home piles, destroying weed seeds and disease pathogens that would survive backyard composting. Examples of weeds best sent off-site: Japanese knotweed, Canada thistle with seed heads, bindweed with mature seeds, and any weed you cannot confidently identify.
11. Weed Tea (Anaerobic Extract): Extract Nutrients Without Composting Solids
Best for: Branch 2
Use vs. skip: Weed tea is a nutrient extraction method, not a composting method. You steep seed-free leafy weeds (nettles, comfrey, young annuals) in water for 1 to 4 weeks, then strain and dilute the liquid as a fertilizer. The solid residue is safe to compost afterward because the anaerobic soak has killed most vegetative tissue. Skip this method for weeds with seeds, bulbs, or rhizomes. The anaerobic soak is not long enough to reliably kill seeds, which may remain viable in the sludge.
Edge case: Nettles make an exceptionally nitrogen-rich tea, but wear gloves when handling both fresh and soaked material. The stinging hairs break down during the soak, but fresh nettles will sting. Dilute the finished tea at a ratio of 1 part tea to 10 parts water before applying to plant roots.
Pro tip: Use a dedicated bucket with a lid and a tap at the bottom for easy draining. Keep it away from the house; the smell is strong. For more on brewing aerated compost extracts, see our compost tea guide, including the dilution calculator.
12. Isolated Quarantine Pile: When You Cannot Identify the Weed
Best for: Branch 3
The protocol: Build a separate, small compost pile using only the weeds you cannot confidently categorize. Do not mix this pile with your main compost. Monitor it for 12 months. After a full year, check whether any weed species have emerged from the pile or the surrounding soil where leachate drained. If the pile shows no signs of live weeds, the finished compost can be used on ornamental beds, not vegetable gardens. If weeds emerge, bag the entire pile and send it to municipal green waste.
Why 12 months: Some weed seeds can remain dormant in soil for years, but the combination of decomposition and exposure in a compost pile reduces viability over time. A year-long quarantine allows you to observe a full growing season of potential emergence.
Alternative: For small volumes of suspect weeds, a sealed black plastic bag left in the sun for a full summer (Item 5) is faster and requires less space than a quarantine pile.
Starter Stack (What to Choose First)
Branch 1 Starter Stack: You Have a Hot Pile
Start with Item 1 (Hot Compost Core Treatment) plus Item 7 (Sun Drying). The hot pile handles most weeds directly, but sun-drying perennial roots and runners before adding them gives you a safety buffer. If your pile temperature dips, the dried material will not reroot. Together, these two methods cover roughly all weed types: the hot core kills seeds, and desiccation kills vegetative propagules that might survive a brief temperature dip. Cost: a compost thermometer ($15 to $30 USD) and a tarp or hard surface for drying. Time per session: 20 minutes to turn the pile, plus periodic sorting during weeding.
Branch 2 Starter Stack: You Have a Cold or Passive Pile
Start with Item 3 (Cold Compost Leafy Weeds) plus Item 6 (Drowning). Use cold composting for all seed-free young weeds. For anything with seeds, bulbs, or tubers, use the drowning bucket. This two-method system covers the full spectrum of weeds without requiring a hot pile. The drowning bucket does the heavy lifting on seed kill that the cold pile cannot do. Cost: one dedicated bucket or bin with a lid ($10 to $20 USD). Time: 5 minutes per weeding session to sort and submerge.
Branch 3 Starter Stack: Your Pile Cannot Handle the Weeds You Have
Start with Item 5 (Solarization Bag) plus Item 10 (Green Waste Bin). Solarization bags handle weeds that are borderline, like annuals that may have begun flowering. For known noxious or invasive species, use the green waste bin without hesitation. This stack keeps your home system clean while maximizing what you can process on-site. Cost: clear plastic bags ($5 to $10 USD for a roll); municipal green waste service may be included in your waste collection fee. Time: 5 minutes to bag and place in sun; less than a minute to bin.
When This Won’t Work
Failure condition 1: Your pile cannot reach 130°F and you add weeds with seeds anyway. A cold or passive pile that receives weed seeds will distribute viable seeds into your finished compost. When that compost is spread on garden beds, the seeds germinate in the enriched soil. The solution is not to try harder with a cold pile; it is to either pre-treat the weeds to kill seeds (Items 5, 6) or send them off-site (Item 10).
Failure condition 2: You misidentify a perennial weed with vegetative propagules. Weeds like Japanese knotweed, horsetail, and Canada thistle can regenerate from small root or stem fragments. Even a hot pile may not reliably kill every fragment if turning is inconsistent. The alternative action: for any weed you suspect can regenerate from fragments, either dry it to complete brittleness on a hard surface before composting (Item 7) or send it to municipal green waste. When in doubt, bin it. The cost of one bagged weed is far lower than years of managing an introduced invasive in your garden soil.
For a broader list of materials that should stay out of your compost entirely, see our guide on what not to compost.
Choosing the Right Option for Your Situation
Budget Threshold
The lowest-cost options are Items 3, 7, and 8 (cold composting, sun drying, chop-and-drop), which require no purchased equipment beyond what a gardener already owns. A compost thermometer ($15 to $30 USD) unlocks Items 1, 2, and 9. Bokashi bran and a dedicated bucket system (Item 4) run roughly $40 to $60 USD to start plus ongoing bran costs. Municipal green waste (Item 10) may be included in your existing waste service or cost a small monthly fee, depending on your municipality.
Time Threshold
If you have less than 30 minutes per week for compost management, stay in Branch 2 or Branch 3. Cold composting, drowning, solarization bags, and green waste bins are low-touch. Hot composting methods (Items 1, 2, 9) require regular turning and monitoring; budget at least two sessions per week during the active phase.
Technical Constraint: Pile Volume
A compost pile must be at least 1 cubic yard (roughly 1 cubic meter) to self-insulate and sustain thermophilic temperatures. Gardeners with very small spaces or intermittent material supply cannot reliably hot compost. Our small-space composting guide covers options for compact systems that still manage weed material responsibly. If your system cannot achieve hot temperatures, you must use pre-treatment or off-site disposal for any weeds with seeds.
Yes/No Checklist
- Can your pile reach and hold 130°F for at least 3 days? Yes: use Branch 1 items. No: go to next question.
- Are the weeds seed-free, runner-free, and bulb-free? Yes: use Branch 2 items for direct composting or pre-treatment. No: go to next question.
- Can you pre-treat the weeds (drown, solarize, or dry to kill viability)? Yes: use Items 5, 6, or 7 before composting. No: go to next question.
- Are the weeds noxious, invasive, or unidentifiable? Yes: use Item 10 (municipal green waste bin). Do not compost at home.
Expert Q&A
Can I compost weeds that have already gone to seed?
Only if your compost pile can reach and sustain at least 130°F for three or more days with regular turning to cycle all material through the hot core. Even then, some tough-seeded species like bindweed and velvetleaf may survive at that temperature. If you cannot verify temperature and turning consistency, treat seeded weeds as Branch 3 material and use pre-treatment or off-site disposal.
What temperature kills weed seeds in compost?
Most annual weed seeds lose viability after three days at 55°C (131°F). Research published in Compost Science & Utilization confirmed that three days at 55°C destroyed all selected weed species tested. However, temperature uniformity matters more than peak temperature. Seeds in cool spots survive. The Chicago Botanic Garden notes that 180°F kills weed seeds, but home piles rarely sustain that level.
Are there any weeds I should never compost at home?
Yes. Japanese knotweed, horsetail (Equisetum), Canada thistle with seed heads, and any noxious weed designated by your local agricultural authority should go to municipal green waste, not your home pile. These species can regenerate from tiny fragments and may survive even hot composting if turning does not expose every fragment to the core temperature. The risk of introducing a persistent invasive to your garden soil outweighs any composting benefit.
How long do weed seeds survive in compost?
Weed seeds can remain dormant in soil and compost for years, with some species viable for decades. In a properly managed hot compost pile that sustains lethal temperatures, seeds are killed within days to weeks. In a cold or passive pile, seeds may remain viable for the entire composting period and beyond. A study on feedlot manure composting found that field bindweed seed required seven days at 83°C (180°F) for complete kill.
Can I use weeds to make compost tea?
Yes, but only with seed-free leafy weeds like nettles and comfrey. The anaerobic soaking period (1 to 4 weeks) for weed tea is too short to reliably kill seeds. If the weeds have seeds, bulbs, or rhizomes, the solid residue after straining may still contain viable propagules and should not be added to a cold compost pile. For weeds with reproductive structures, use the drowning method (Item 6) with a longer soak time instead.
Conclusion
The decision to compost a weed comes down to whether the reproductive material (seed, runner, bulb, rhizome) can survive your pile conditions. Most composting failures with weeds trace back to one error: assuming the pile will handle what the gardener cannot identify. Slow down at the point of collection, sort weeds into their decision branch, and act accordingly.
The single highest-impact step you can take is to keep two containers while weeding: one for safe material (seed-free, runner-free) and one for material that needs treatment or disposal. That 5-second sorting decision eliminates the guesswork later. For gardeners building their first pile, start with our composting for beginners guide to get the fundamentals of pile construction and material balance right before introducing weed material.