
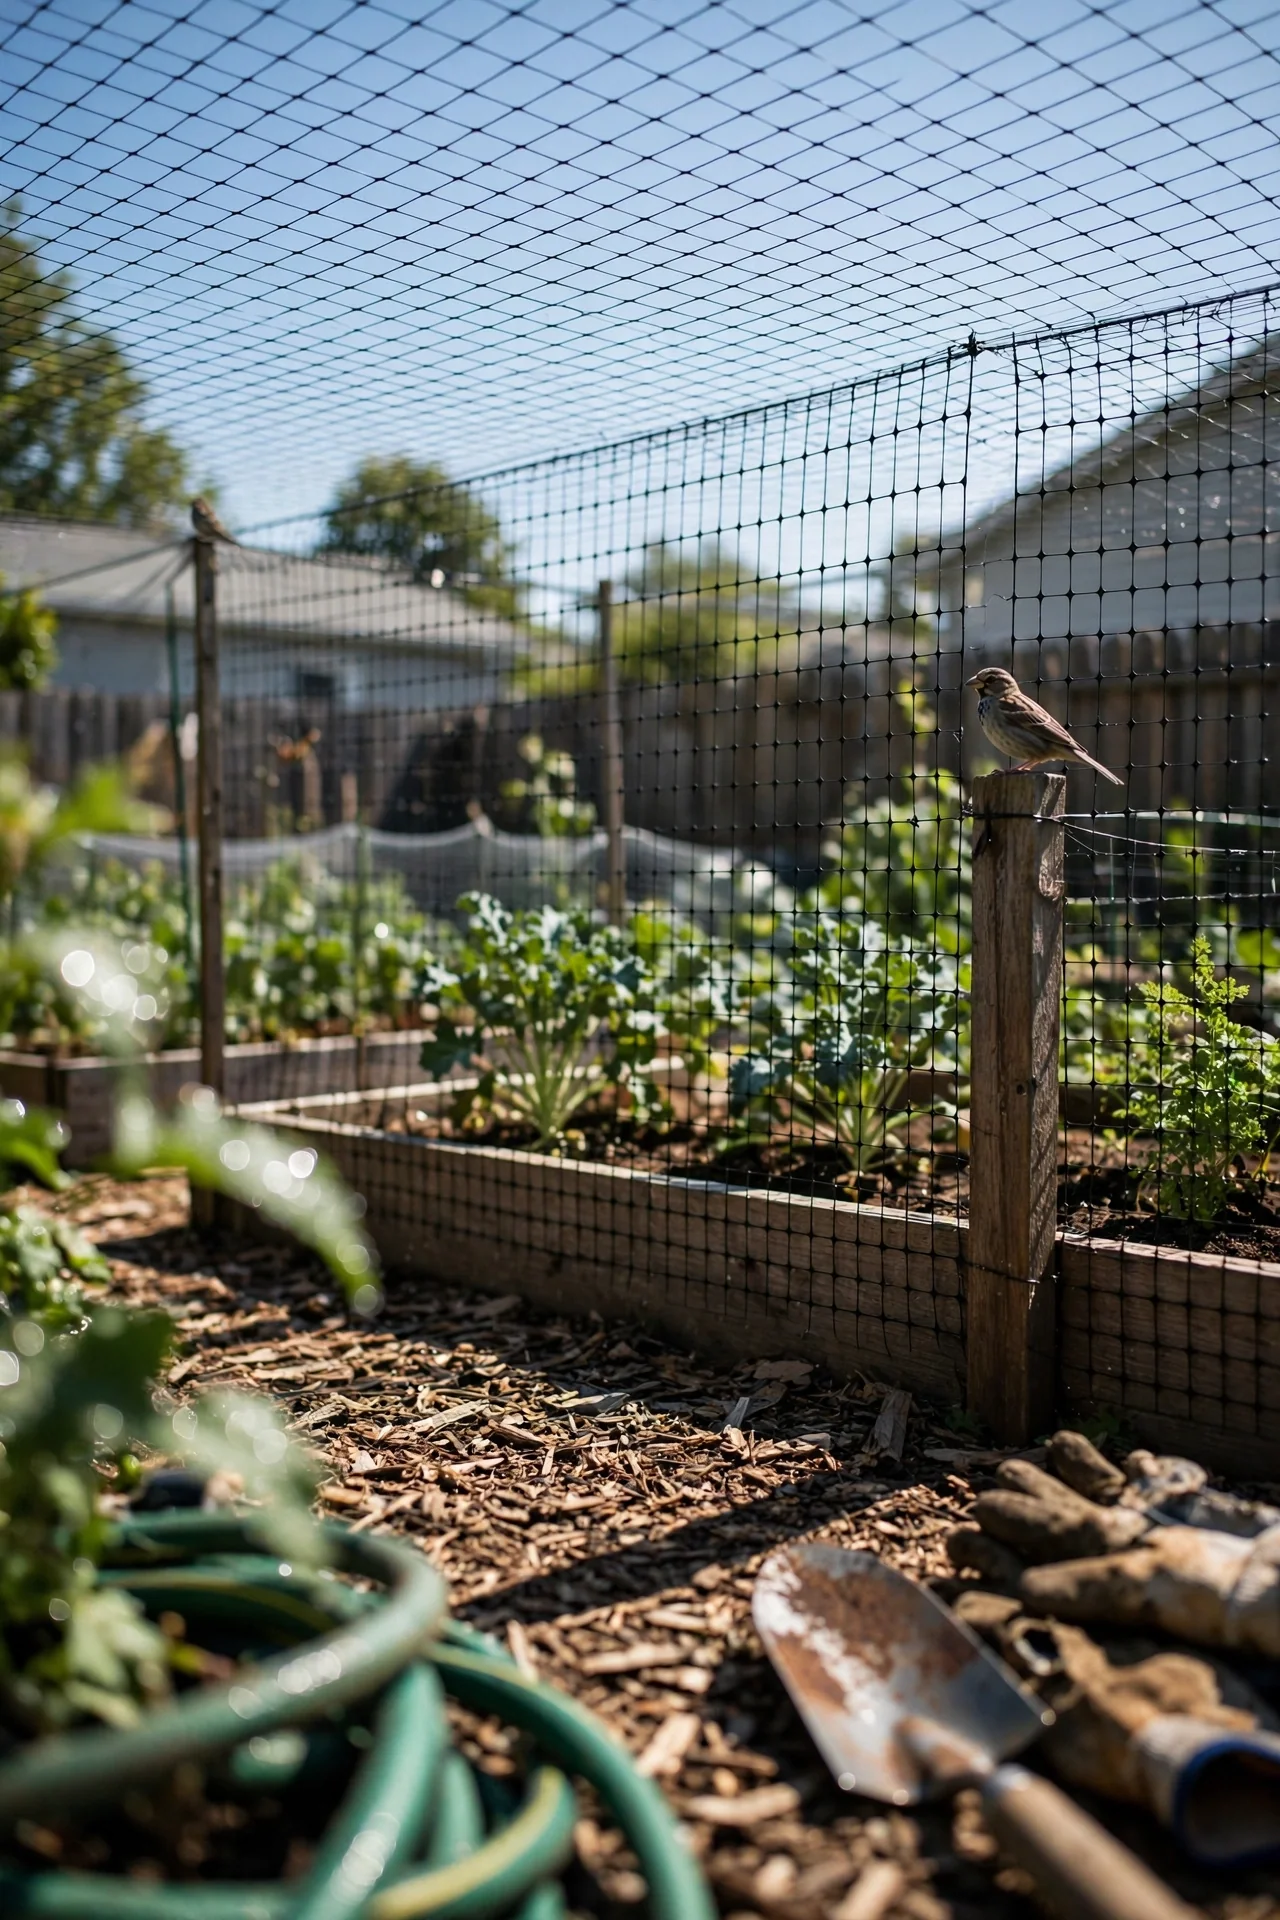
Most gardeners shop for bird netting the way they shop for mulch: pick a roll, drape it, and expect results. That approach is why garden forums fill up with photos of tangled sparrows, torn mesh, and berries eaten through sagging fabric. Bird netting is not a product decision. It is a structural engineering decision. The system you choose (drape, frame, or full enclosure) dictates whether birds are excluded cleanly or trapped fatally, and the wrong system for your layout will fail regardless of how much you spend on the netting itself.
This guide covers nine distinct approaches to bird netting garden protection, ranging from a two-minute drape over a single blueberry bush to a permanent walk-in structure that protects an entire orchard. Every option is matched to a measurable condition: garden size, crop type, season length, and how often you need access. We exclude scare devices, chemical repellents, and ultrasonic deterrents. Those belong in a different category. This is about physical exclusion alone.
By the end, you will know which branch of the decision tree fits your situation and which specific system within that branch minimizes installation labor, wildlife risk, and seasonal maintenance. You will also know the two failure conditions where bird netting is the wrong tool entirely and what to use instead.
Bottom line: The best bird netting is the system you can keep taut and inspect regularly; slack netting kills wildlife, not crop loss.
The Yield Grid Decision Grid
Choose your branch based on three measurable conditions before you pick any product.
Branch 1: Minimal Structure, Seasonal Use. Your garden area is under 100 square feet. You need protection for a defined window (fruiting or seedling stage) and will remove the netting afterward. You can inspect the netting daily because the plot is small. Recommended: Items 1, 6, 9 below.
Branch 2: Moderate Structure, Recurring Annual Use. Your protected area is 100 to 400 square feet. You garden in raised beds or defined rows and will reinstall protection each season. You can build or assemble a frame but do not want a permanent structure. Recommended: Items 2, 3, 7 below.
Branch 3: Full Structure, Permanent Installation. Your garden exceeds 400 square feet or includes fruit trees and bushes that need year-round exclusion. You are willing to invest in a fixed structure that stays up across seasons. Recommended: Items 4, 5, 8 below.
Understanding which garden pests you are actually targeting matters. Not every crop loss comes from birds. If you are unsure whether birds are your primary problem, review our guide to identifying beneficial insects versus pest species in your garden before committing to a netting system.
Quick Comparison Table
| Option | Key Mechanism | Best For | Decision Grid Branch | Effort Score (1-5) |
|---|---|---|---|---|
| Direct-Drape Knotted Netting | Mesh laid directly over plants, secured at base with pegs or weights | Single-season crops, bushes under 4 ft tall | Branch 1 | 1 |
| PVC Hoop Frame System | Flexible conduit arches draped with netting, secured with clips | Raised beds, row crops, seedlings | Branch 2 | 2 |
| Pre-Fabricated Pop-Up Fruit Cage | Ready-made tubular frame with integrated netting, push-in installation | Berry bushes, small fruit trees, allotments | Branch 2 | 2 |
| Walk-In Aluminum Frame Enclosure | Rigid metal frame with door, netting panels tensioned on all sides | Large vegetable gardens, orchards, permanent setups | Branch 3 | 4 |
| UV-Stabilized Knotted Polyethylene Mesh | Heavy-gauge woven HDPE netting, knotted at intersections for tear resistance | High-wind sites, long-term installations, large trees | Branch 3 | 3 |
| Knotless Fine Pollinator Mesh | Ultra-fine extruded mesh (15-20 mm) that blocks birds but admits bees | Flowering crops needing pollination, strawberries, squash | Branch 1 | 2 |
| Modular Tube-and-Joint Frame System | Connectable aluminum or plastic tubes with rubber joint connectors, custom sizing | Irregularly shaped beds, expandable gardens | Branch 2 | 3 |
| Cable-Tensioned Perimeter Netting | Stainless steel or galvanized wire grid with netting hog-ringed at intervals | Orchards, vineyard rows, permanent tree protection | Branch 3 | 5 |
| Individual Fruit Protection Bags | Small drawstring mesh bags placed over individual fruit clusters | Small trees, select branches, low bird pressure | Branch 1 | 1 |
1. Direct-Drape Knotted Netting
Best for: Branch 1 (Minimal Structure, Seasonal Use)
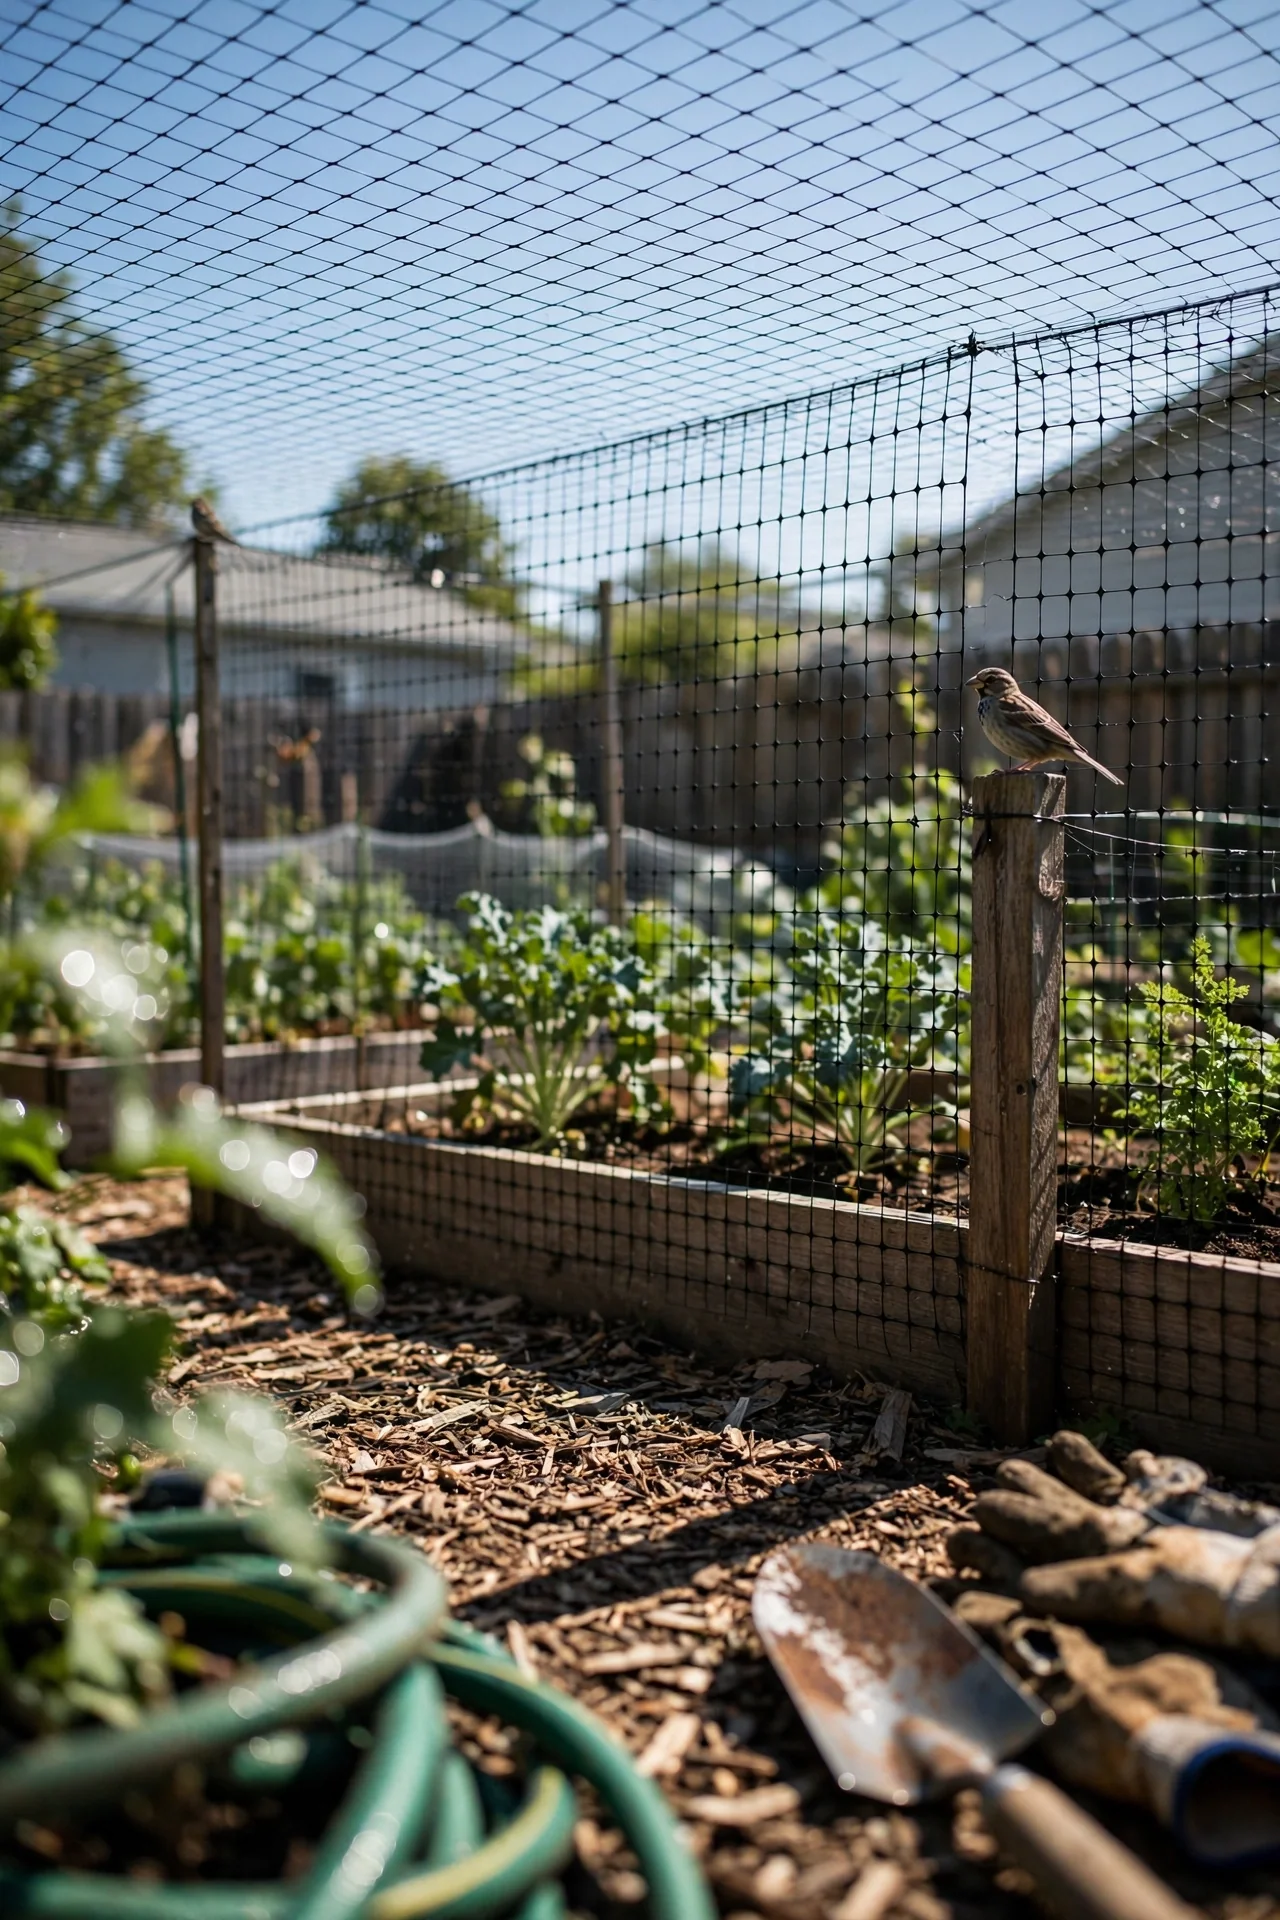
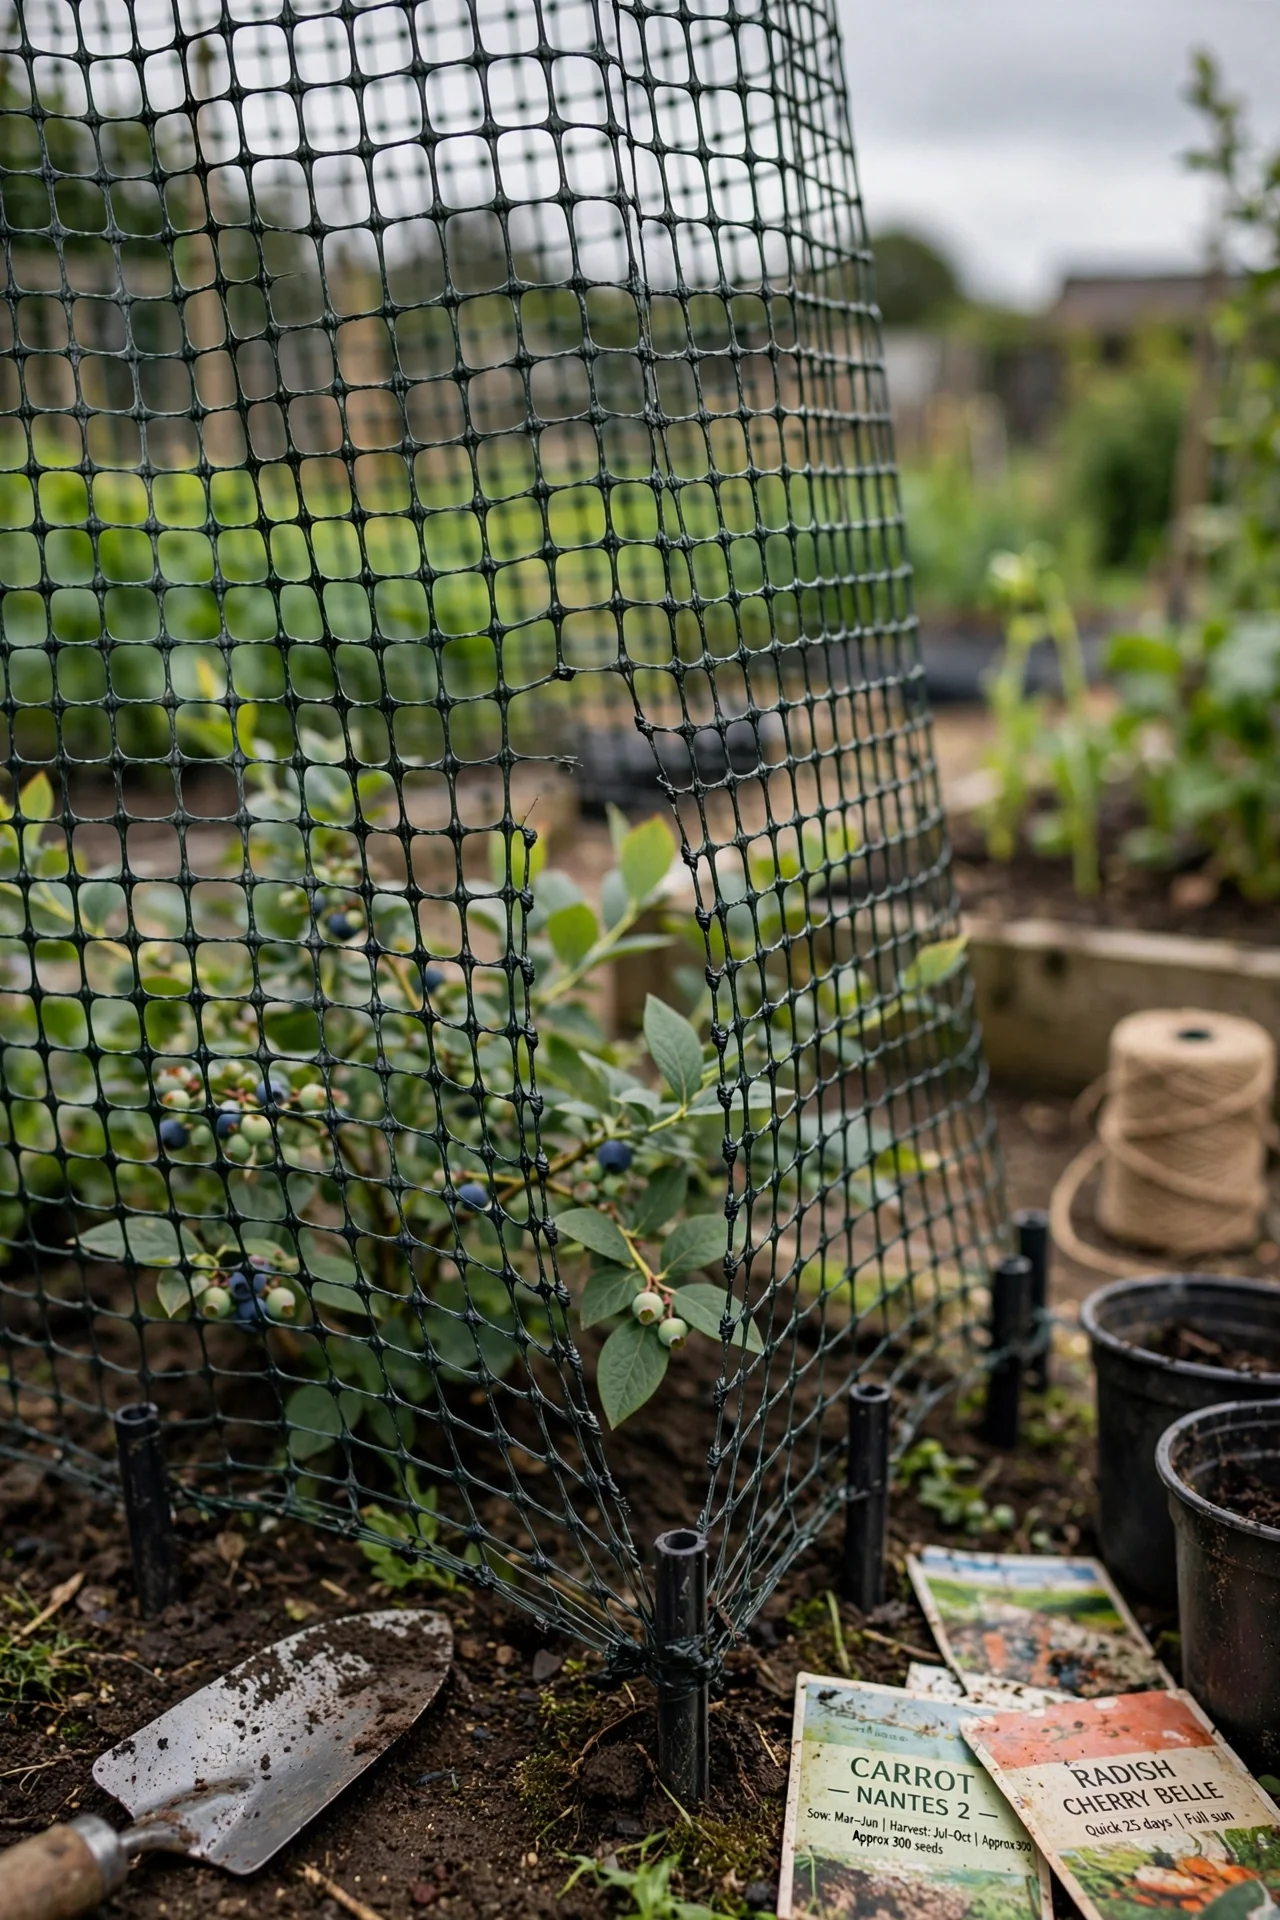
What it is: A lightweight knotted polyethylene or nylon mesh draped directly over plants and secured at ground level with pegs, stones, or landscape staples. No frame, no hoops, no hardware. The mesh size typically ranges from 15 mm to 25 mm, and the netting is sold in rectangular cuts or by the roll.
Who it is for: Gardeners protecting a single bush, a short row of strawberries, or a small raised bed for a defined fruiting window of four to eight weeks. This is the lowest-cost entry point and the fastest to deploy. It works on crops that do not need pollinator access once fruit has set.
Critical constraint most guides miss: Draped netting must never touch the fruit or foliage directly. Birds will peck through mesh that rests on a ripe berry, and tender shoots will grow through the holes and tangle irreversibly. If the plants are taller than 18 inches at maturity, you need at least 6 inches of clearance between foliage and net. Without that gap, this method is not appropriate. Use bamboo canes with inverted plastic bottles on top as improvised spacers if a full frame is unavailable.
The most common mistake: Leaving loose gathers of netting at the base. Excess material that pools on the soil creates a trap for ground-feeding birds, snakes, and small mammals. Peg every 12 to 18 inches and trim, do not bunch. For gardeners also dealing with ground-level pests, our guide to rabbit deterrent strategies for vegetable gardens covers complementary protection that pairs with draped netting.
2. PVC Hoop Frame System
Best for: Branch 2 (Moderate Structure, Recurring Annual Use)
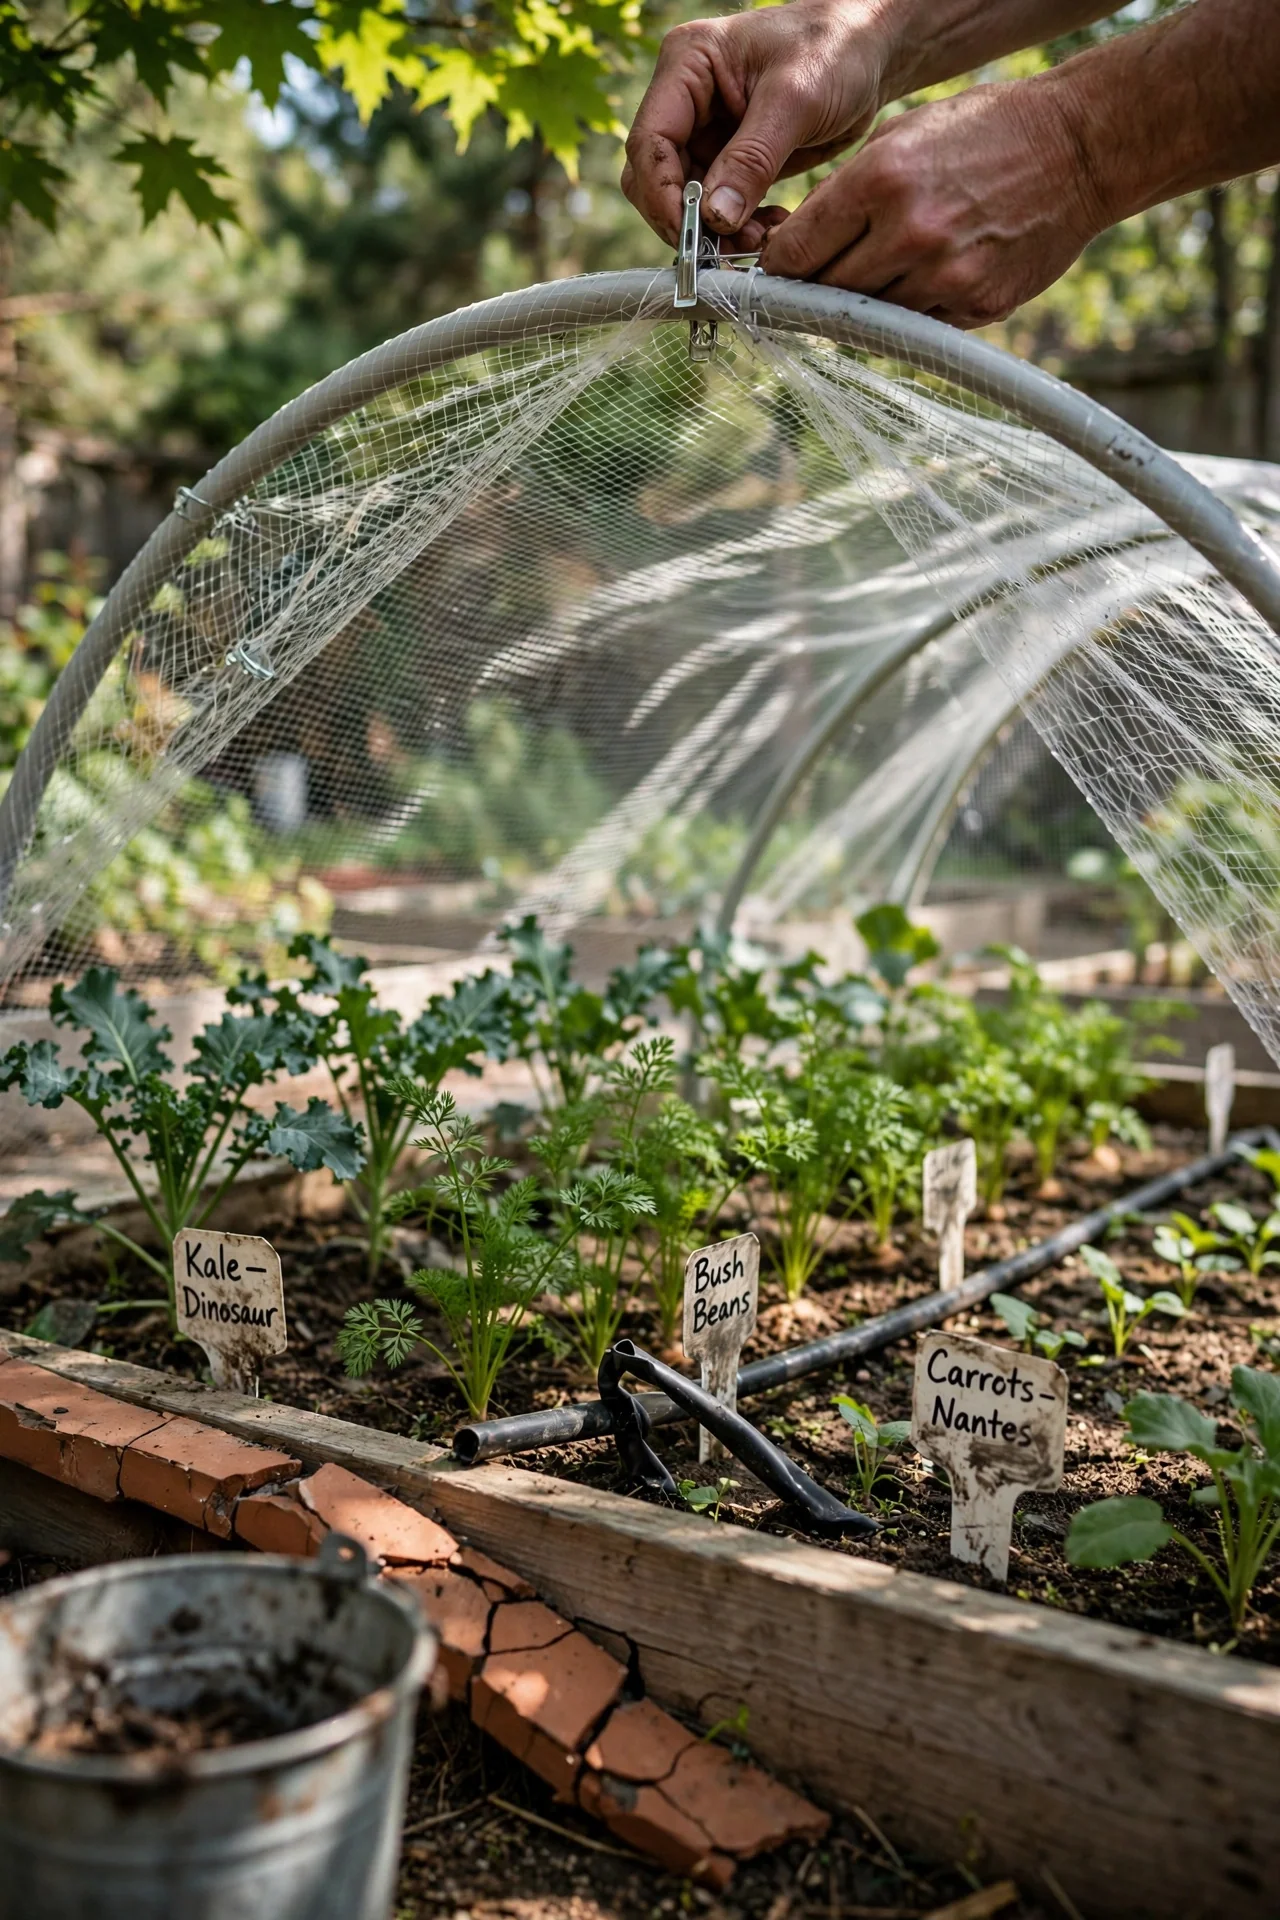
Half-inch PVC electrical conduit bent into arches and pushed over rebar stakes driven into the ground creates a rapid hoop frame. Drape netting over the hoops and secure with spring clips or zip ties. Hoop spacing of 60 to 90 cm prevents sag. The curved shape sheds wind better than flat frames and naturally tensions the mesh. This system works particularly well for row crops and raised beds under 4 feet wide. The entire structure disassembles in minutes for off-season storage. The constraint: PVC degrades under UV exposure and becomes brittle after two to three seasons unless painted with a UV-blocking coating.
3. Pre-Fabricated Pop-Up Fruit Cage
Best for: Branch 2 (Moderate Structure, Recurring Annual Use)
A pre-fabricated fruit cage arrives as a kit with tubular metal or plastic poles, corner connectors, and pre-cut netting panels. Assembly requires no tools beyond perhaps a rubber mallet for anchoring. Sizes range from compact 2 x 2 x 2-foot cubes for single berry bushes to 6 x 4 x 6-foot walk-in models.
The key differentiator among kits is mesh size. A 20 mm mesh keeps out blackbirds and pigeons while letting bees through. A 12 mm mesh also excludes sparrows but may restrict larger bumblebees. If your crop requires insect pollination (squash, strawberries, cucumbers), verify the mesh size before purchase. Most kits use knotted polyethylene netting with a stated lifespan of five to seven years under UV exposure. The edge case: pop-up cages are vulnerable to wind lift if not anchored. Use the included ground pegs and consider adding a perimeter of bricks or landscape staples along the bottom hem in exposed sites. For a deeper look at protecting specific fruit crops, see our article on effective fruit fly trapping methods which covers additional threats to ripening fruit.
4. Walk-In Aluminum Frame Enclosure
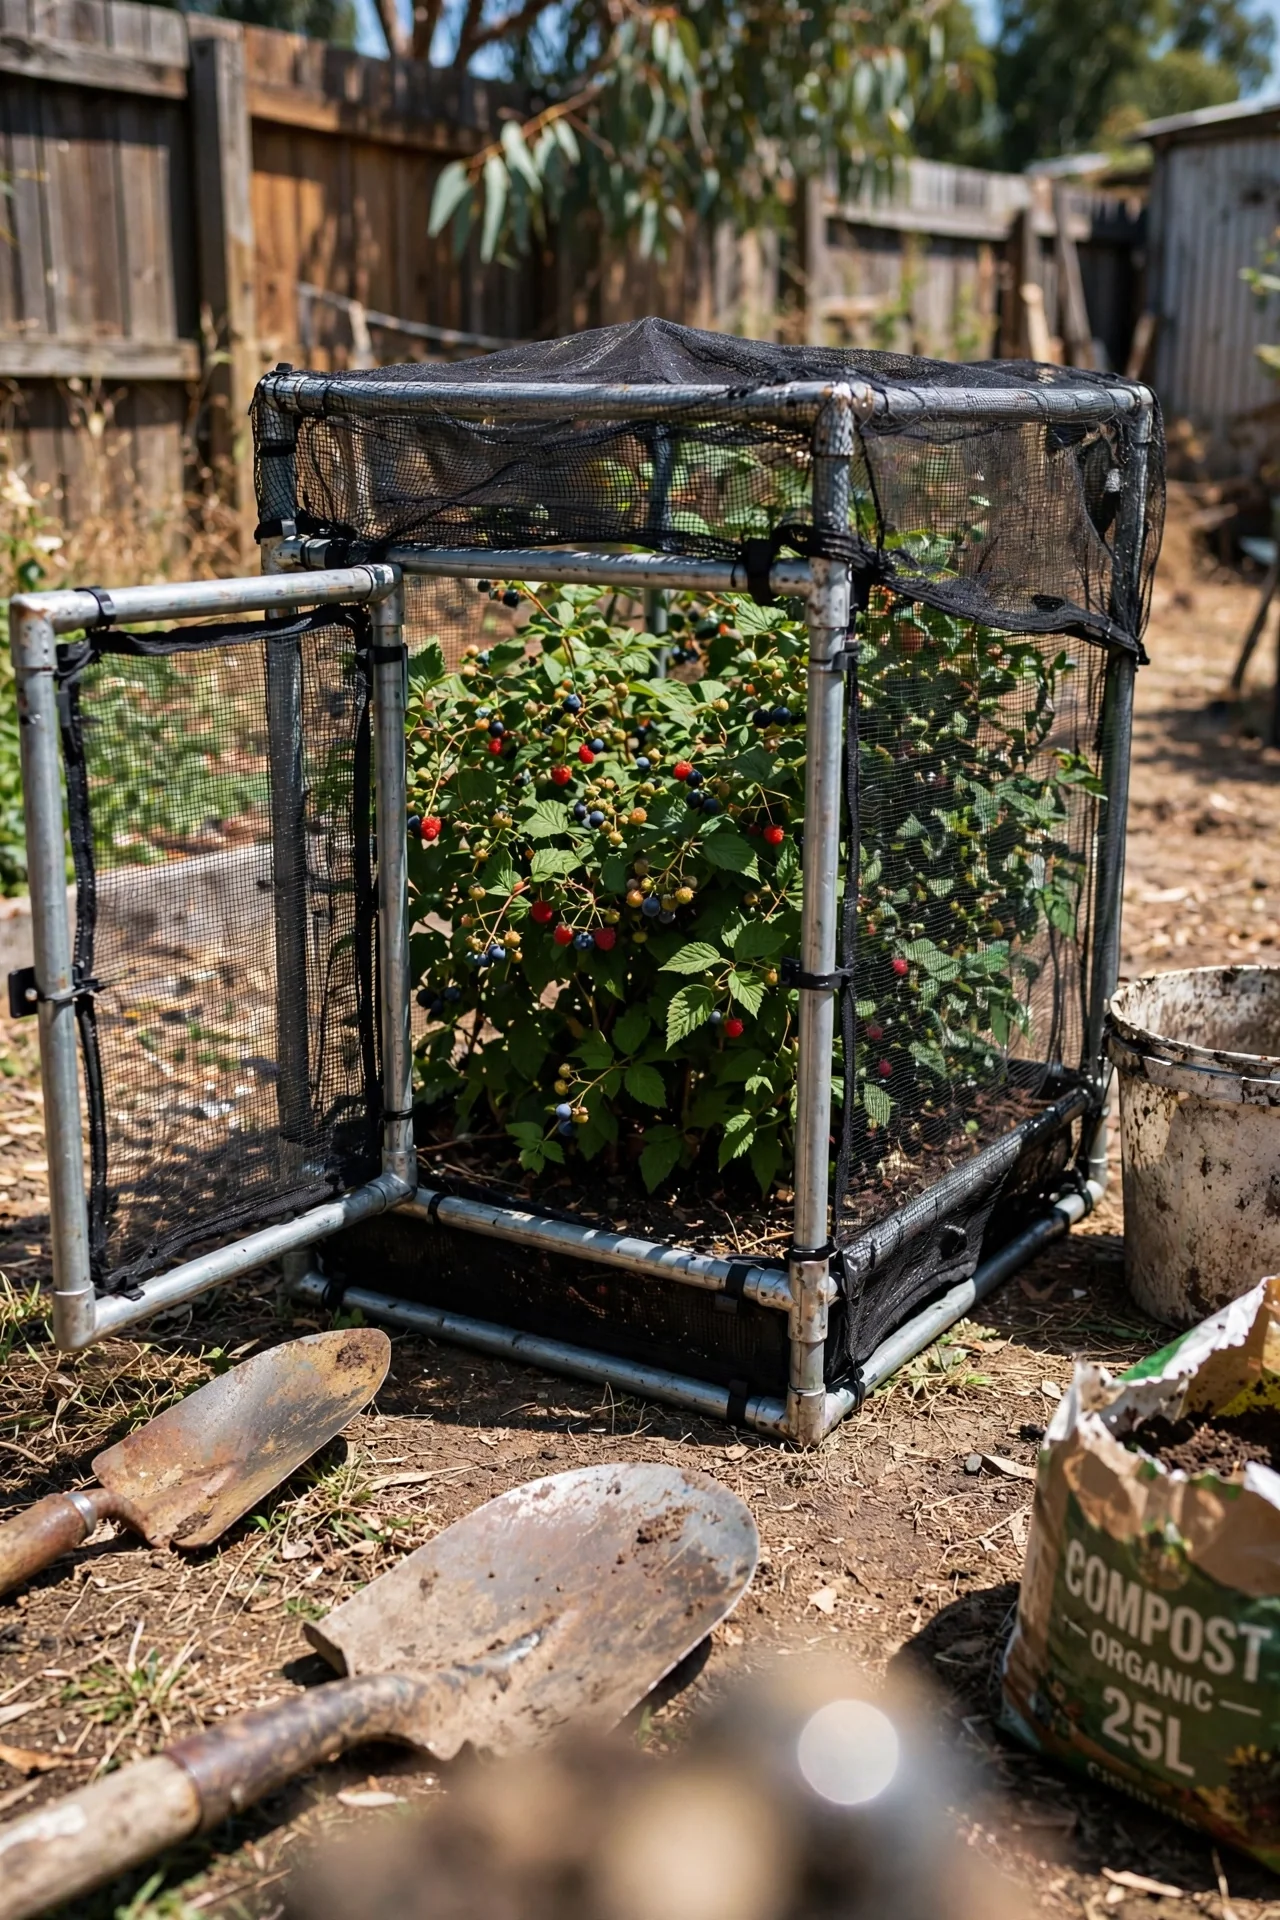
Best for: Branch 3 (Full Structure, Permanent Installation)
What it is: A rigid, permanent structure built from aluminum box-section tubing or powder-coated steel poles, assembled with bolted or clamp-fit connectors. The frame is covered with tensioned netting panels on all sides, including the roof, and includes a framed door with a latch. Dimensions typically start at 6 x 4 feet and scale to structures covering several hundred square feet.
Who it is for: Gardeners committing to long-term fruit and vegetable protection who want uninterrupted access for harvesting, pruning, and maintenance without removing netting each time. This is the standard solution for dedicated kitchen gardens, allotments where vandalism or deer pressure exists, and properties where bird pressure is year-round rather than seasonal.
The mechanism that makes it work: Tension. Unlike draped or hoop-supported netting, walk-in enclosures keep mesh permanently taut across a rigid frame. Birds cannot push through taut mesh, cannot land on it without bouncing off, and cannot find entry gaps if the door seal is properly fitted. The frame must be anchored to the ground with concrete footings or driven ground sleeves in windy locations. The critical threshold: if your site experiences sustained winds above 30 mph, aluminum frame joints need cross-bracing or the structure will rack and loosen over time.
The constraint nobody mentions: A permanent structure changes your garden’s light profile. Netting reduces light transmission by roughly 15 to 25 percent depending on mesh density and color. Position the enclosure so it does not shade neighboring beds during the shorter days of spring and autumn. For gardeners dealing with larger vertebrate pests that walk-in enclosures can also deter, our article on selecting deer-resistant plants for high-pressure gardens offers complementary strategies for unprotected areas.
5. UV-Stabilized Knotted Polyethylene Mesh
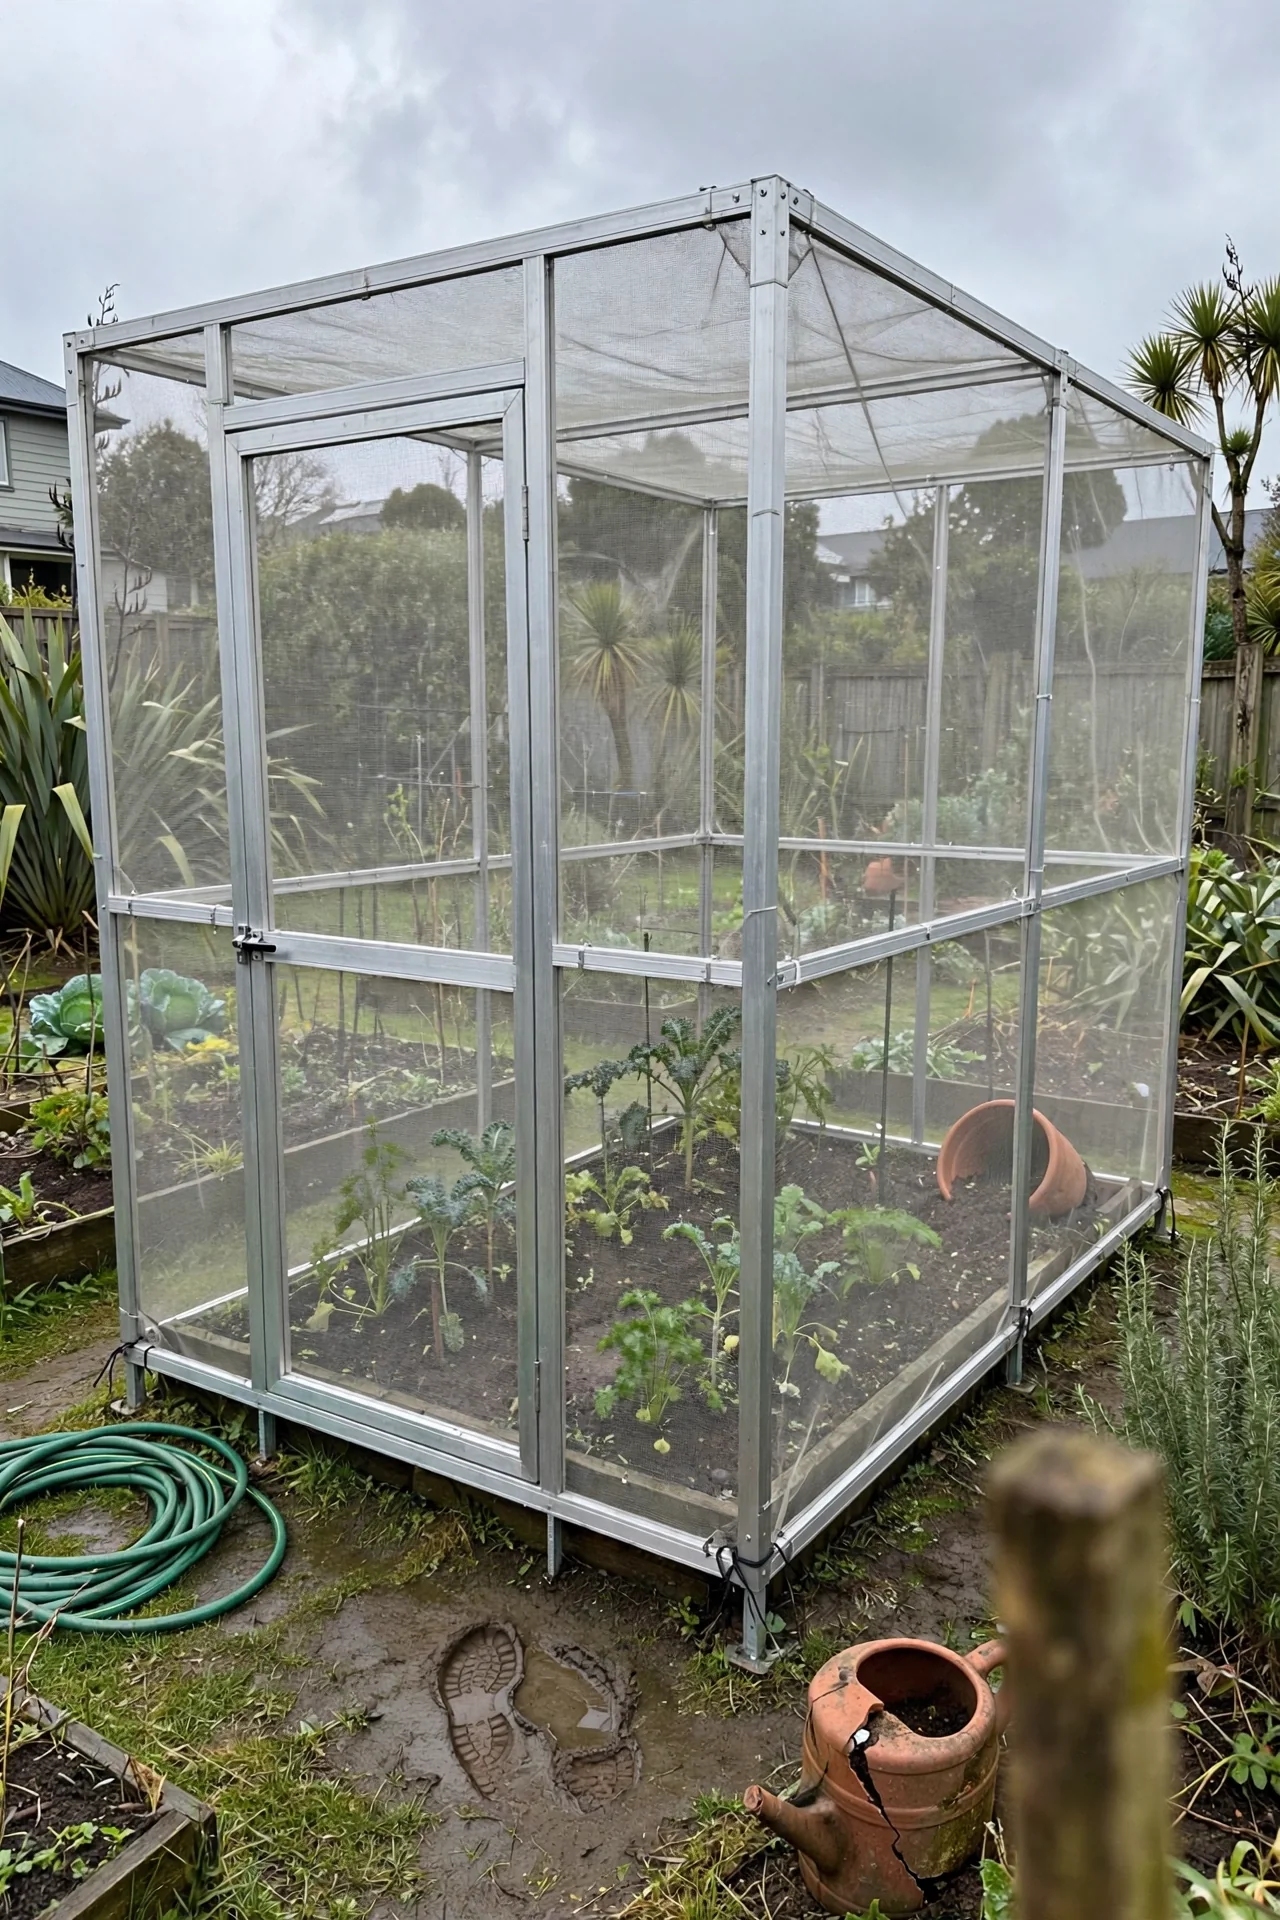
Best for: Branch 3 (Full Structure, Permanent Installation)
When netting must stay up for years rather than weeks, material choice is the whole decision. UV-stabilized knotted polyethylene (HDPE) resists photodegradation far longer than unstabilized polypropylene. The knotted construction means that if one strand breaks, the tear stops at the knot rather than running the length of the panel. Industry sources indicate lifetimes of seven to ten years for UV-stabilized HDPE versus three to five years for standard polypropylene in full-sun exposure. The tradeoff is weight: knotted HDPE is heavier and requires a stronger frame. Choose black or dark green mesh. Light-colored or transparent netting is harder for birds to see and increases collision risk.
6. Knotless Fine Pollinator Mesh
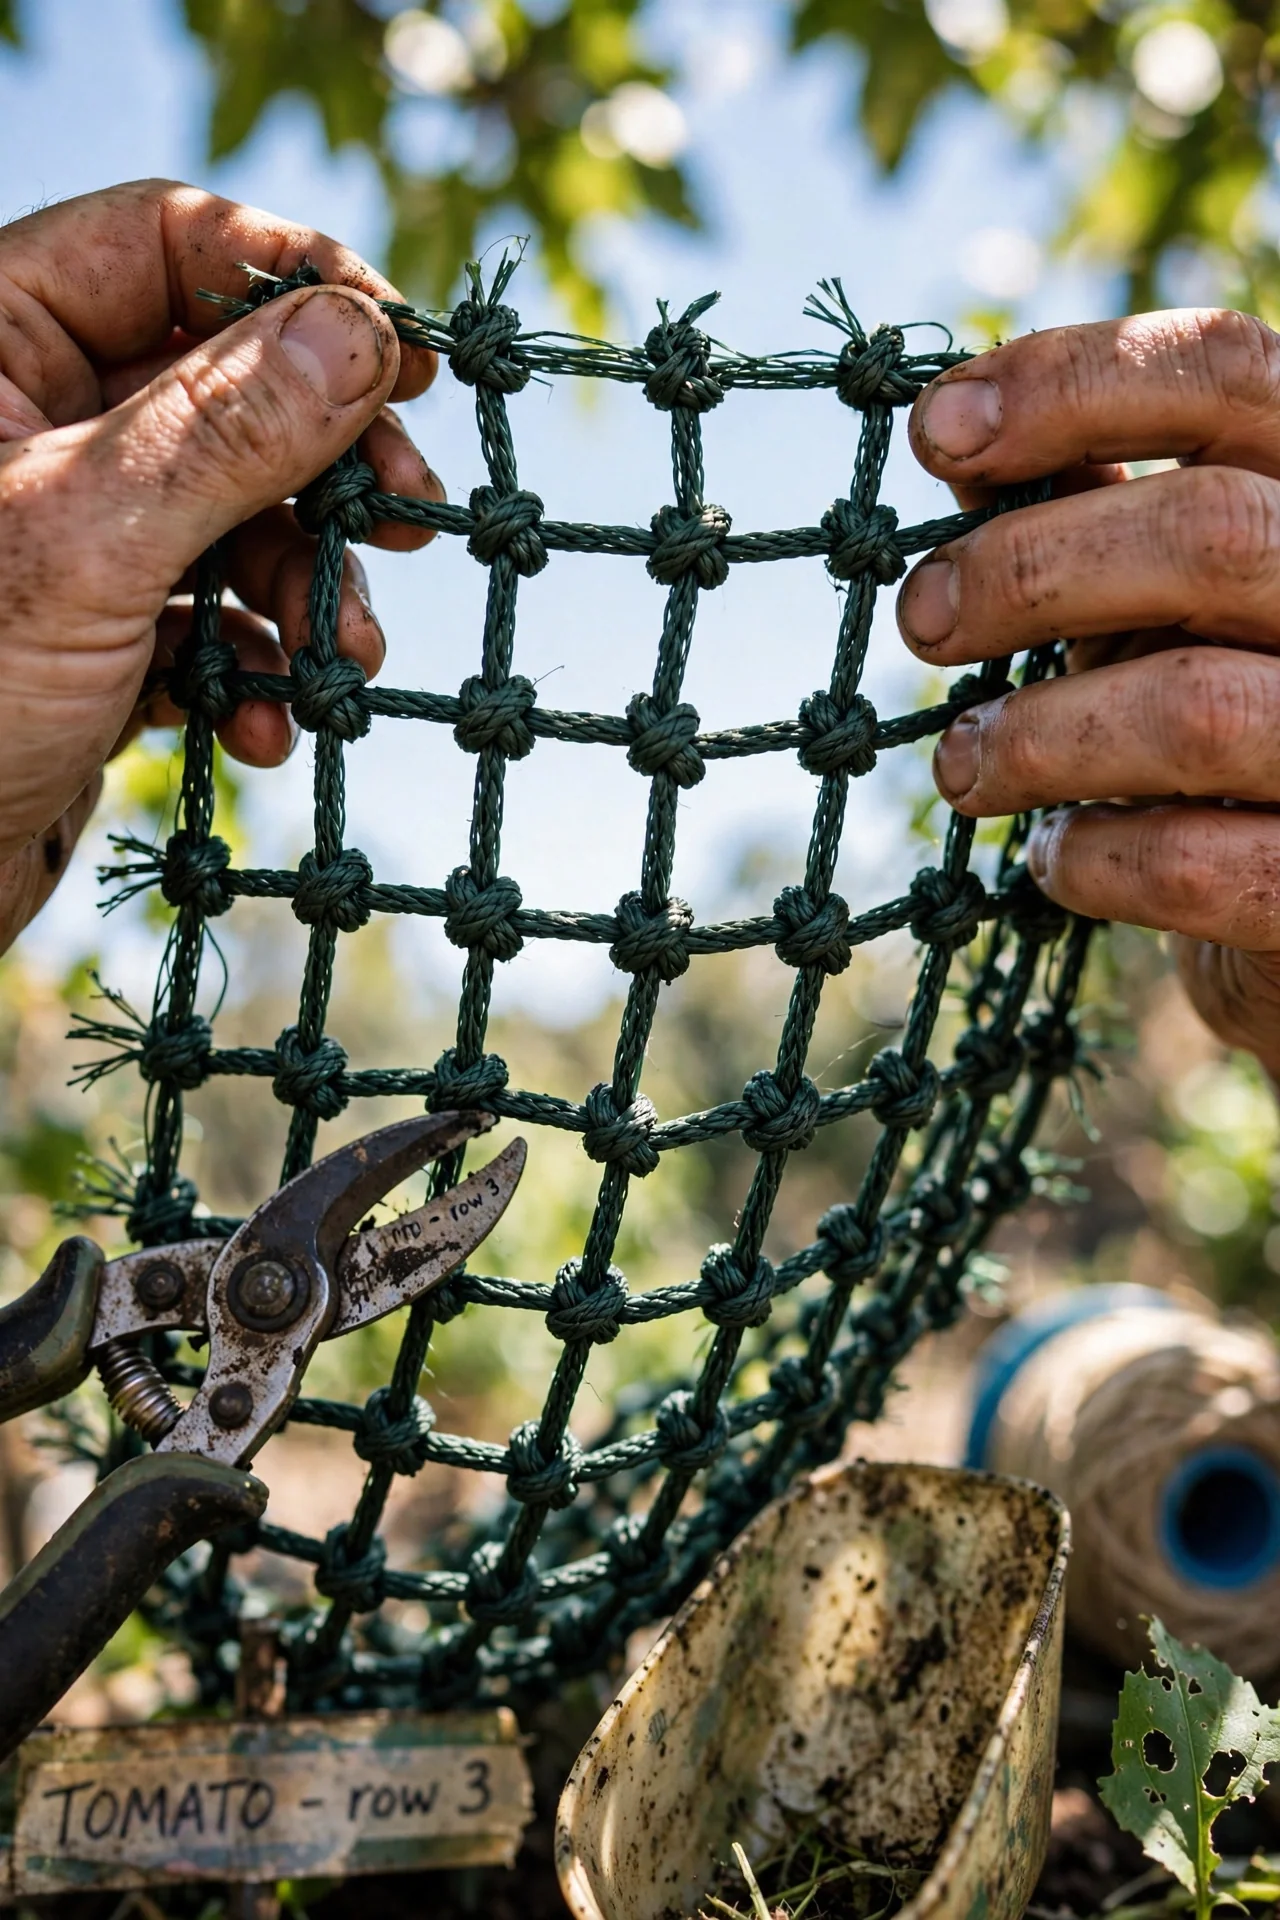
Best for: Branch 1 (Minimal Structure, Seasonal Use)
Knotless extruded mesh with openings between 15 mm and 20 mm solves the core conflict of bird netting: excluding birds while admitting bees. The smooth, flat profile means pollinators pass through without snagging wings, and the absence of knots eliminates the entanglement points that trap small birds. This mesh is lighter than knotted netting and easier to drape. The constraint is strength. Knotless mesh tears more readily than knotted alternatives and is not suitable for sites with squirrel or raccoon pressure. Use it on hoop frames for flowering crops like strawberries, squash, and cucumbers. Remove or lift the netting once fruit has fully set if pollinator access is no longer needed. For managing insect pests that arrive once netting is removed, our guide to using horticultural oil for seasonal pest suppression covers a compatible follow-up treatment.
7. Modular Tube-and-Joint Frame System
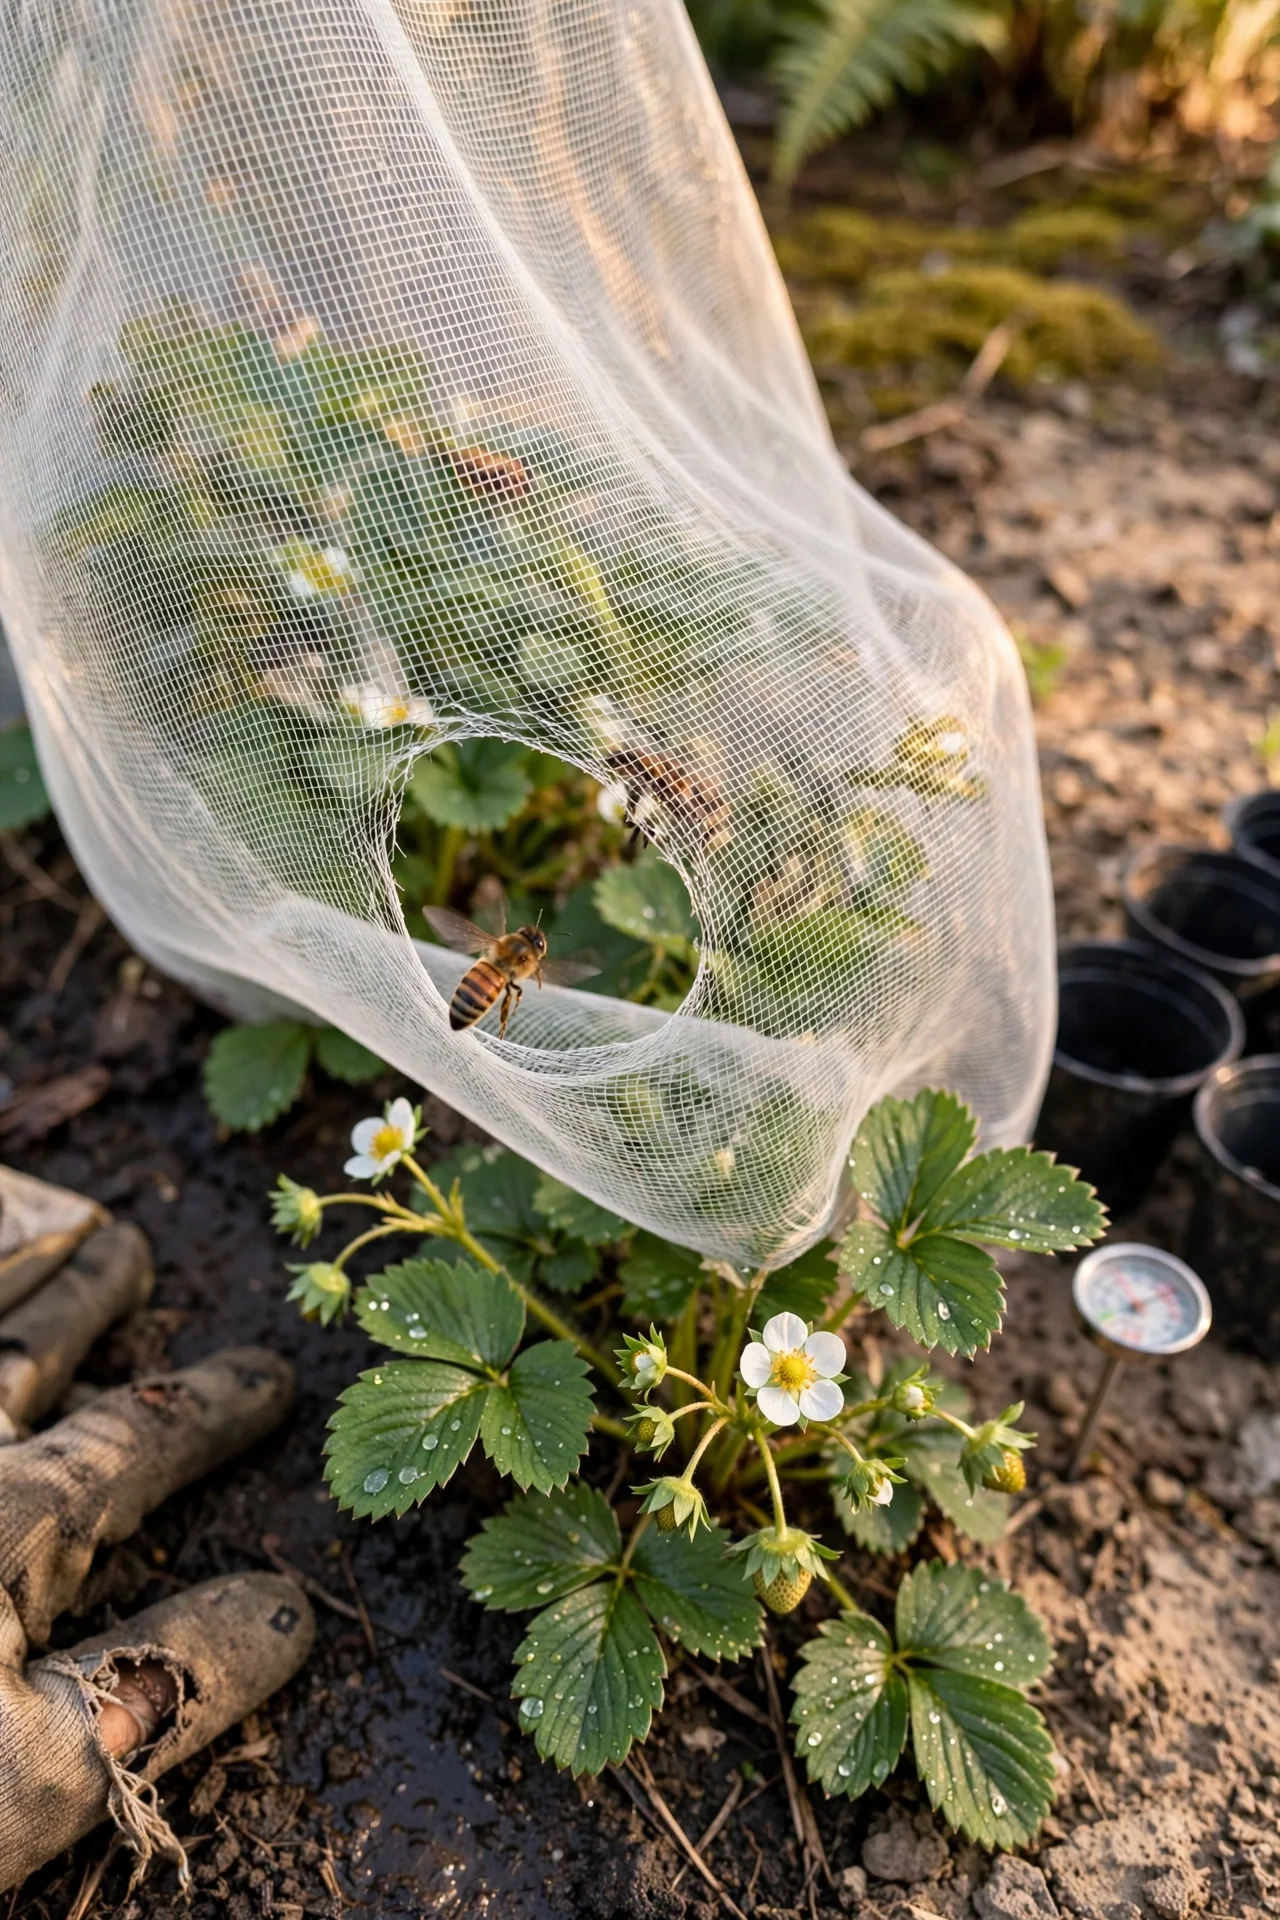
Best for: Branch 2 (Moderate Structure, Recurring Annual Use)
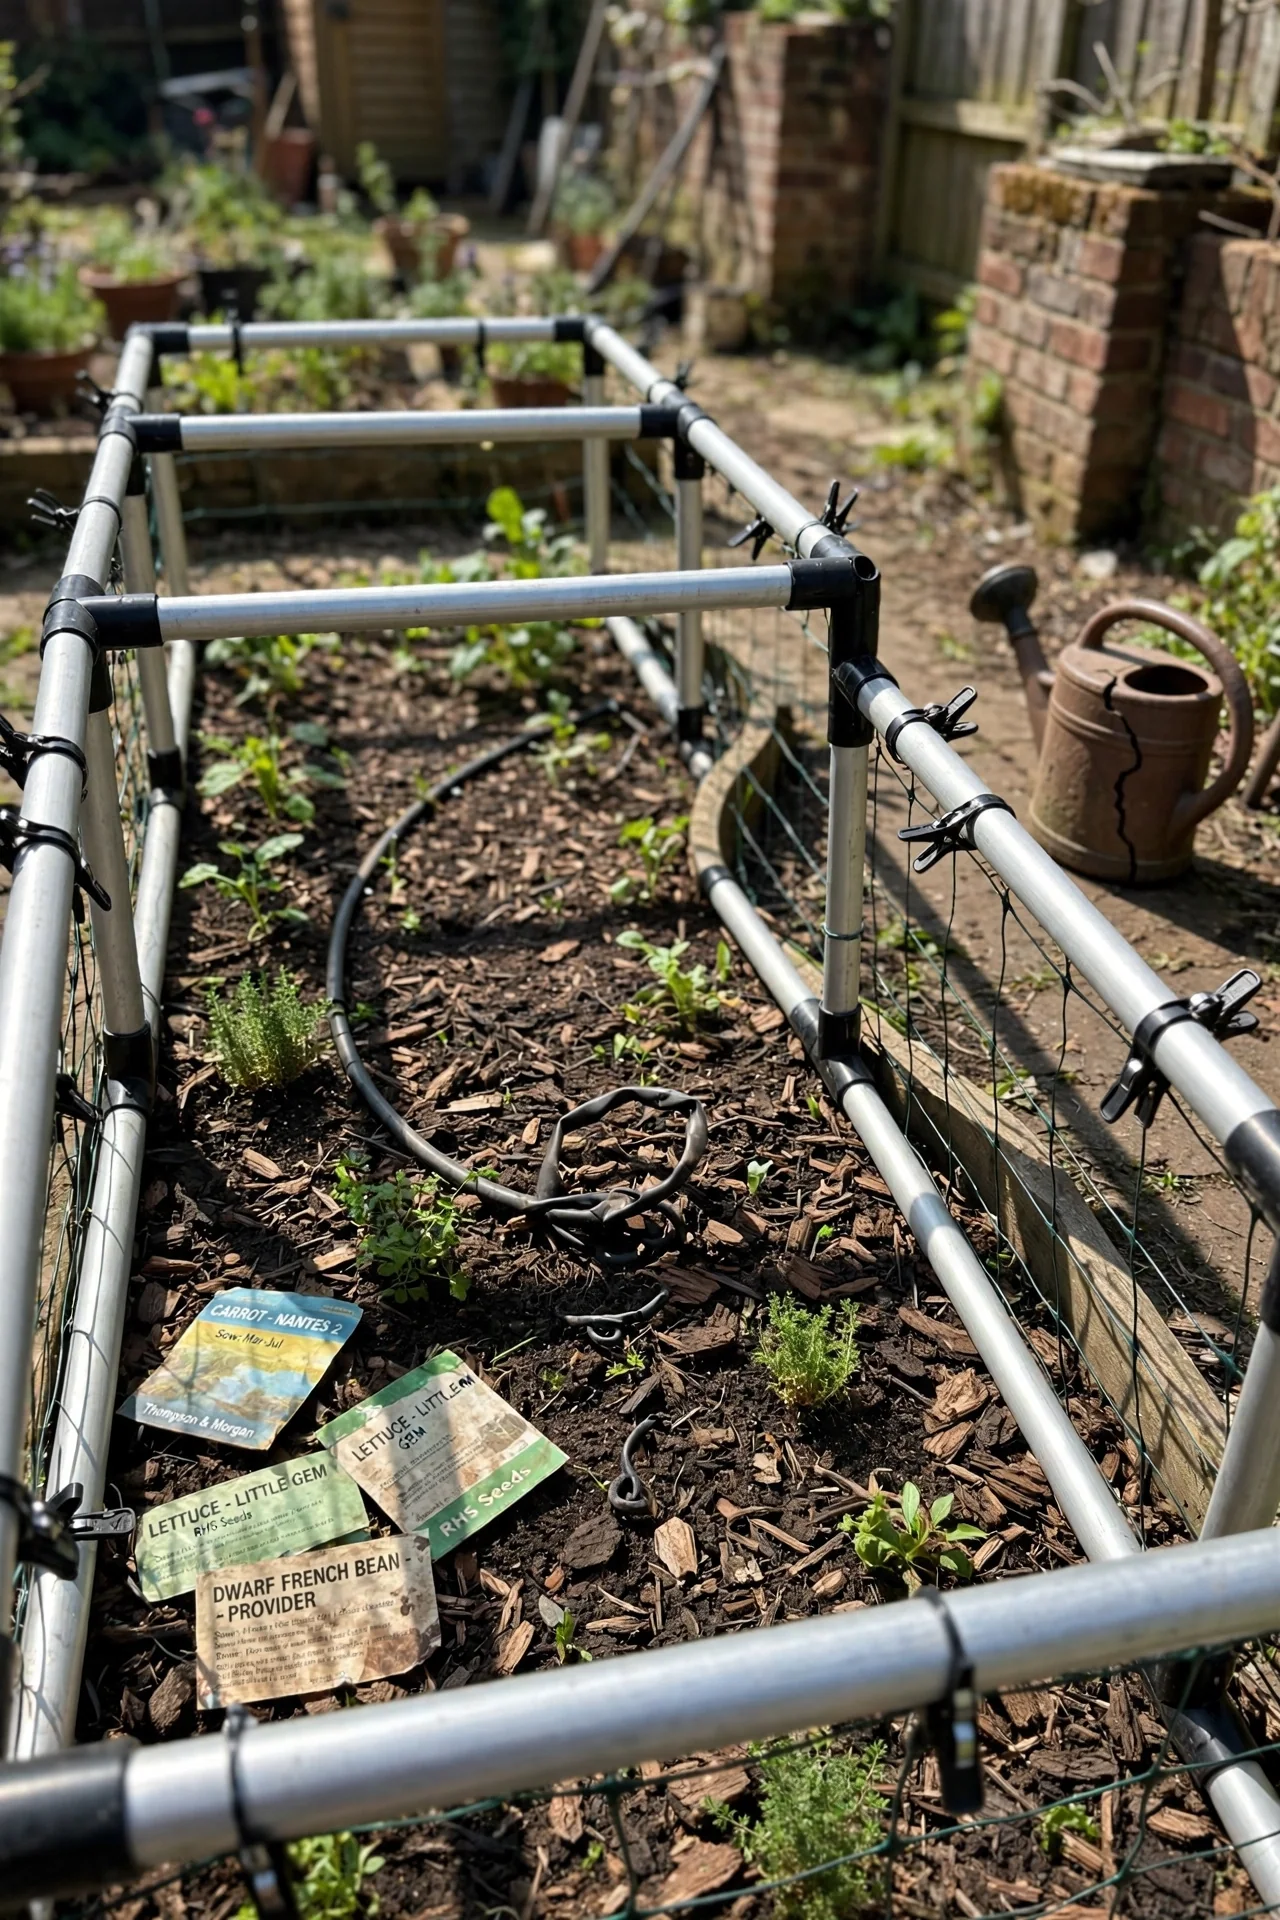
What it is: A connectable frame system using aluminum or heavy-gauge plastic tubes joined by rubber or plastic connector balls, elbows, and tees. The modular design lets you build frames in any dimension using a standardized set of components. Netting is attached with purpose-made clips that slide along the tubes, allowing the mesh to be tensioned evenly.
Who it is for: Gardeners with irregularly shaped beds, gardens that expand each season, or anyone who wants a frame system they can reconfigure rather than replace. This is the middle ground between disposable PVC hoops and a permanent walk-in structure.
The edge case that justifies this system: Gardens that change layout annually. If you rotate crops and your protected area shifts from one bed to another each season, modular frames move with you. The connectors are the weak point: rubber joints degrade in UV after three to five years and must be replaced. Budget for replacement connectors when you buy the initial kit. The 10-minute workflow: mark bed corners, insert ground stakes, assemble frame dry on the ground, lift into place, drape netting, attach clips, tension, peg base. Upgrade option: add a second layer of insect mesh underneath the bird netting for combined protection. For an integrated approach to pest management that pairs with physical barriers, see our article on companion planting strategies for natural pest reduction.
8. Cable-Tensioned Perimeter Netting
Best for: Branch 3 (Full Structure, Permanent Installation)
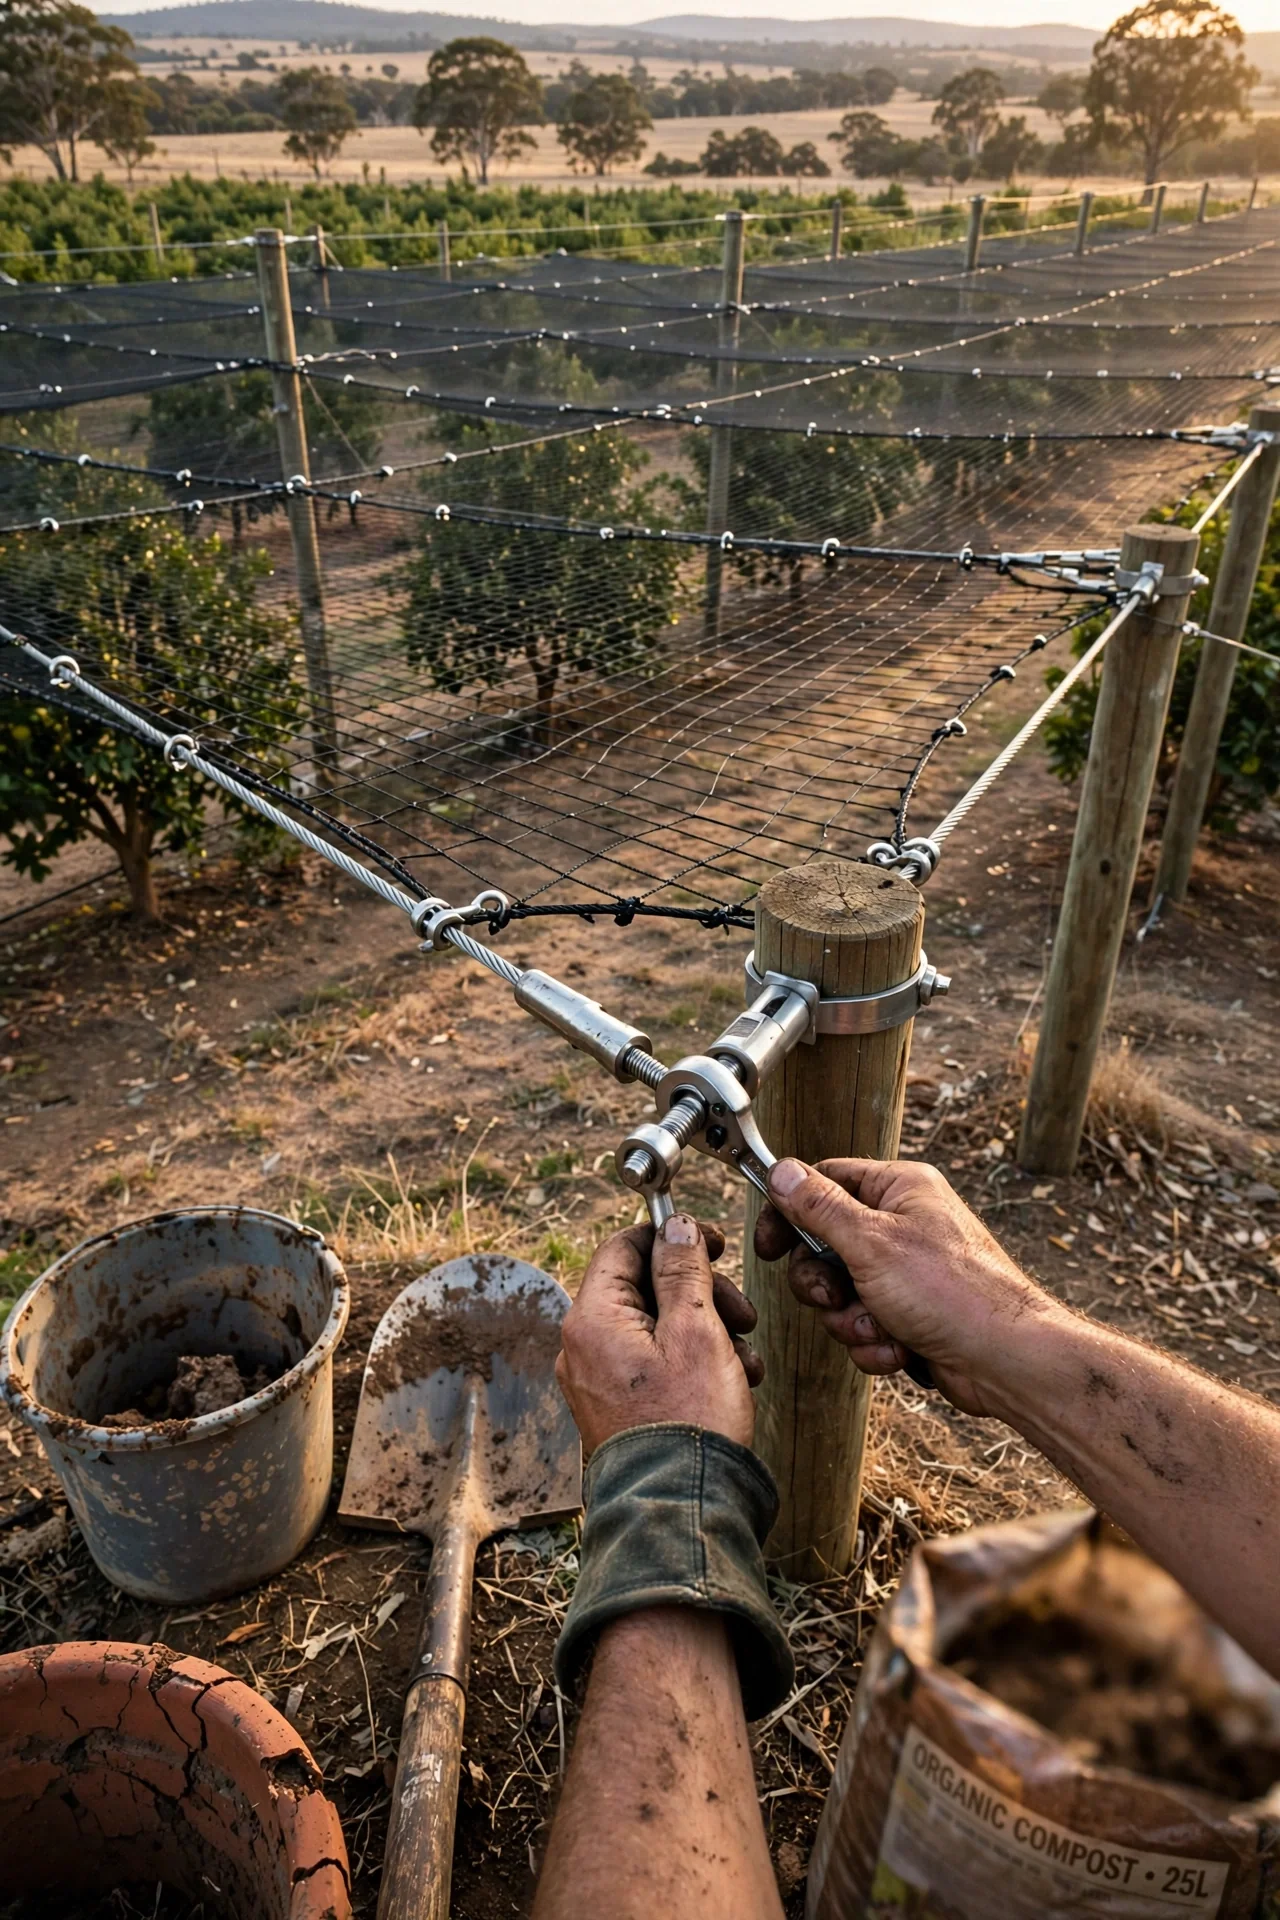
A high-tension system originally developed for commercial orchards. Galvanized steel or stainless steel cables are run between anchored end posts along the perimeter and across the top of the protected area. Netting is attached to the cables with hog rings at intervals of 12 to 18 inches, creating a taut, drum-like surface. This keeps netting completely away from tree canopies and eliminates the entanglement risk of draping netting over branches. The system requires corner posts set in concrete and turnbuckles for tension adjustment as cables stretch seasonally. Inspection frequency: at minimum once weekly during growing season to check for loose hog rings, cable sag, or wildlife caught at perimeter gaps. This is the highest-effort option on the list and is not appropriate for garden plots under 400 square feet.
9. Individual Fruit Protection Bags
Best for: Branch 1 (Minimal Structure, Seasonal Use)
Small drawstring bags made from fine nylon or polyester mesh, slipped over individual fruit clusters or entire branches and cinched closed. Each bag protects a defined unit (a bunch of grapes, a cluster of apples, a single tomato truss) without covering the whole plant. This is the most targeted approach in the list.
The key advantage over full-plant netting: bags eliminate the pollination conflict entirely because flowers outside the bags remain accessible to bees. Apply bags after petal drop when fruit has set but before it begins to color and attract birds. The constraint: this method becomes impractical beyond about a dozen fruit clusters. Labor scales linearly with fruit count, and bagging a mature apple tree with 200 fruiting spurs is not realistic. Use this method for small trees, select high-value branches, or container-grown fruit where the total fruit count is manageable. For addressing insect pests that may already be present on bagged fruit, our article on Japanese beetle control methods for fruit trees and ornamentals covers post-bagging management.
Starter Stack (What to Choose First)
Branch 1 Starter Stack: Direct-Drape Plus Pollinator Mesh
Combine Item 1 (Direct-Drape Knotted Netting) for crops that have already set fruit with Item 6 (Knotless Fine Pollinator Mesh) for crops still in flower. Total cost: $15 to $40 USD / £10 to £30 GBP / $20 to $55 CAD / $25 to $65 AUD depending on garden size. Time to deploy both: under 30 minutes. The synergy: drape netting handles the bulk of your protected area cheaply and quickly, while pollinator mesh covers the smaller flowering section that needs insect access.
Branch 2 Starter Stack: Hoop Frame Plus Modular Tubes
Start with Item 2 (PVC Hoop Frame System) for your primary vegetable beds and add Item 7 (Modular Tube-and-Joint Frame System) for fruit bushes or irregularly shaped areas. Total cost: $30 to $80 USD / £25 to £65 GBP / $40 to $110 CAD for a typical 100-square-foot setup. Time: one afternoon for initial build, 30 minutes for seasonal reinstallation. The hoop frame keeps costs low while the modular system handles areas where a standard hoop will not fit. Both use the same netting type, so you can buy one roll and cut to size.
Branch 3 Starter Stack: Walk-In Frame Plus UV-Stabilized Mesh
Combine Item 4 (Walk-In Aluminum Frame Enclosure) as your primary structure with Item 5 (UV-Stabilized Knotted Polyethylene Mesh) as the covering. Total cost: $200 to $600 USD / £150 to £500 GBP / $275 to $800 CAD for a 6 x 8-foot enclosure, excluding optional concrete footings. Time: one weekend for two people. The synergy is straightforward: the frame provides permanent, rigid support, and the UV-stabilized mesh ensures you are not replacing torn netting after two seasons. This pair represents the highest upfront investment but the lowest annual maintenance of any combination on the list.
When This Won’t Work
Failure condition 1: Rodent or squirrel pressure exceeds bird pressure. Bird netting with mesh openings of 10 mm or larger will not stop squirrels, rats, or chipmunks. These animals chew through polyethylene and polypropylene mesh in under a minute. If you find torn holes with irregular edges at ground level or along frame joints, you are dealing with mammals, not birds. The alternative: upgrade to galvanized hardware cloth with 6 mm or 12 mm openings for the lower three feet of any enclosure, or switch to a fully rigid metal structure. Bird netting alone cannot solve a rodent problem.
Failure condition 2: You cannot commit to regular inspection. Any netting system, regardless of quality, requires visual checks. Loose netting traps and kills wildlife. If your garden is at a remote allotment you visit once a week, or if you are absent for weeks during peak growing season, netting poses an unacceptable wildlife hazard. The alternative: switch to non-entanglement exclusion methods such as fruit protection bags applied to individual clusters, or accept partial crop loss and rely on scare devices that require no structural maintenance. For gardeners exploring non-netting approaches, our guide to using diatomaceous earth for broad-spectrum garden pest control covers a different category of protection that does not create entanglement risk.
Choosing the Right Option for Your Situation
Budget Threshold
Under $30 USD / £20 GBP / $40 CAD: your range is limited to Branch 1 items (1, 6, 9). Direct-drape netting and fruit protection bags are the only viable options at this price point. Do not attempt to build a frame with cheap materials; a poorly constructed frame that collapses creates more wildlife risk than no frame at all.
$30 to $150 USD / £20 to £120 GBP: Branch 2 items become available. PVC hoop frames, pop-up cages, and modular tube systems all fall within this band.
Above $150 USD / £120 GBP: Branch 3 permanent structures are within reach, though walk-in enclosures at the upper end of this range will require DIY construction rather than pre-built kits to stay within budget.
Time Threshold
If you have under 2 hours total for the season: choose Branch 1 items only. Direct-drape netting deploys in minutes. Fruit bags take seconds per cluster. Do not attempt any frame system.
If you can dedicate one afternoon for initial build plus 30 minutes per season for reinstallation: Branch 2 is appropriate.
If you can commit a full weekend for construction and 15 minutes weekly for inspection during growing season: Branch 3 is viable.
Technical Constraint: Pollination Timing
The single most overlooked variable in bird netting garden planning is the pollination window. If your crop requires insect pollination and you install fine mesh (under 15 mm) before fruit set, you will block pollinators and reduce fruit production. The rule: for insect-pollinated crops, either use mesh of 17 mm or larger that admits bees, delay netting installation until after petal drop, or lift netting during peak pollinator activity hours (typically 9 AM to 3 PM on warm, dry days). Wind-pollinated crops (corn, most grains) and self-fertile crops (tomatoes, peppers, beans) do not have this constraint.
Yes/No Checklist:
- Can you inspect the netting at least twice weekly during the growing season? If no, do not use netting.
- Will the netting be kept taut on a frame or support structure, with no loose material pooling anywhere? If no, redesign before installing.
- Do you know whether your target crop requires insect pollination, and have you matched your mesh size to that requirement? If no, confirm pollination needs first.
- Is your primary pest pressure from birds rather than squirrels, rats, or raccoons? If no, bird netting alone will not solve your problem.
Expert Q&A
What mesh size allows bees through but stops sparrows?
A mesh opening of 17 mm to 20 mm (roughly 3/4 inch) is the sweet spot. Honeybees and bumblebees pass through openings of this size without difficulty, while sparrows, finches, and most small garden birds are excluded. Below 15 mm, larger bumblebee species may be blocked. Above 25 mm, small birds can squeeze through or become trapped with their heads through the mesh.
Why does my bird netting keep tearing at the edges?
Edge tearing is almost always a tension problem, not a material problem. When netting is secured with staples or nails driven through the mesh itself, each puncture becomes a tear initiation point under wind load. Use dedicated netting clips that grip without piercing, or sandwich the netting edge between two wooden battens and screw through the batten, not the mesh.
Can I leave bird netting up over winter?
Knotless polypropylene netting should be taken down before the first hard freeze. The material becomes brittle below about -10°C (14°F) and shatters under snow load or ice accumulation. UV-stabilized knotted polyethylene can remain up year-round in most climates but should still be checked after heavy snow. Remove any accumulated snow or ice promptly to prevent frame damage.
What color netting is safest for birds?
White or brightly colored netting (orange, red) is more visible to birds in flight and reduces collision risk compared to black, green, or transparent mesh. However, white netting is also more visually intrusive in the garden. The compromise used by many commercial orchards is black netting with a white stripe or contrasting tracer thread woven in at intervals for visibility.
How do I stop birds from eating through the netting?
Birds do not eat through netting. They peck through it when the mesh rests directly on ripe fruit. A gap of at least 4 to 6 inches between netting and fruit surface eliminates this behavior. If birds are still reaching fruit through properly tensioned mesh, your mesh size is too large. For blackbirds and starlings, a maximum opening of 20 mm is effective. For small birds like sparrows, reduce to 15 mm or less.
Conclusion
The single factor that separates successful bird netting garden installations from dangerous failures is tension. Slack netting kills wildlife; taut netting excludes birds cleanly. Before you spend money on mesh, decide whether your garden, your schedule, and your willingness to inspect support the system you have in mind. The number one mistake is buying netting first and figuring out the frame later.
If the commitment required by Branch 2 or Branch 3 feels like more than you can sustain, start with Branch 1: a small roll of knotted netting and a few sturdy pegs. Protect one bed, learn the maintenance rhythm, and expand next season. For gardeners who determine that physical exclusion is not the right fit after reading this guide, our article on using neem oil for organic pest management explores a completely different category of crop protection that may better match your situation.