
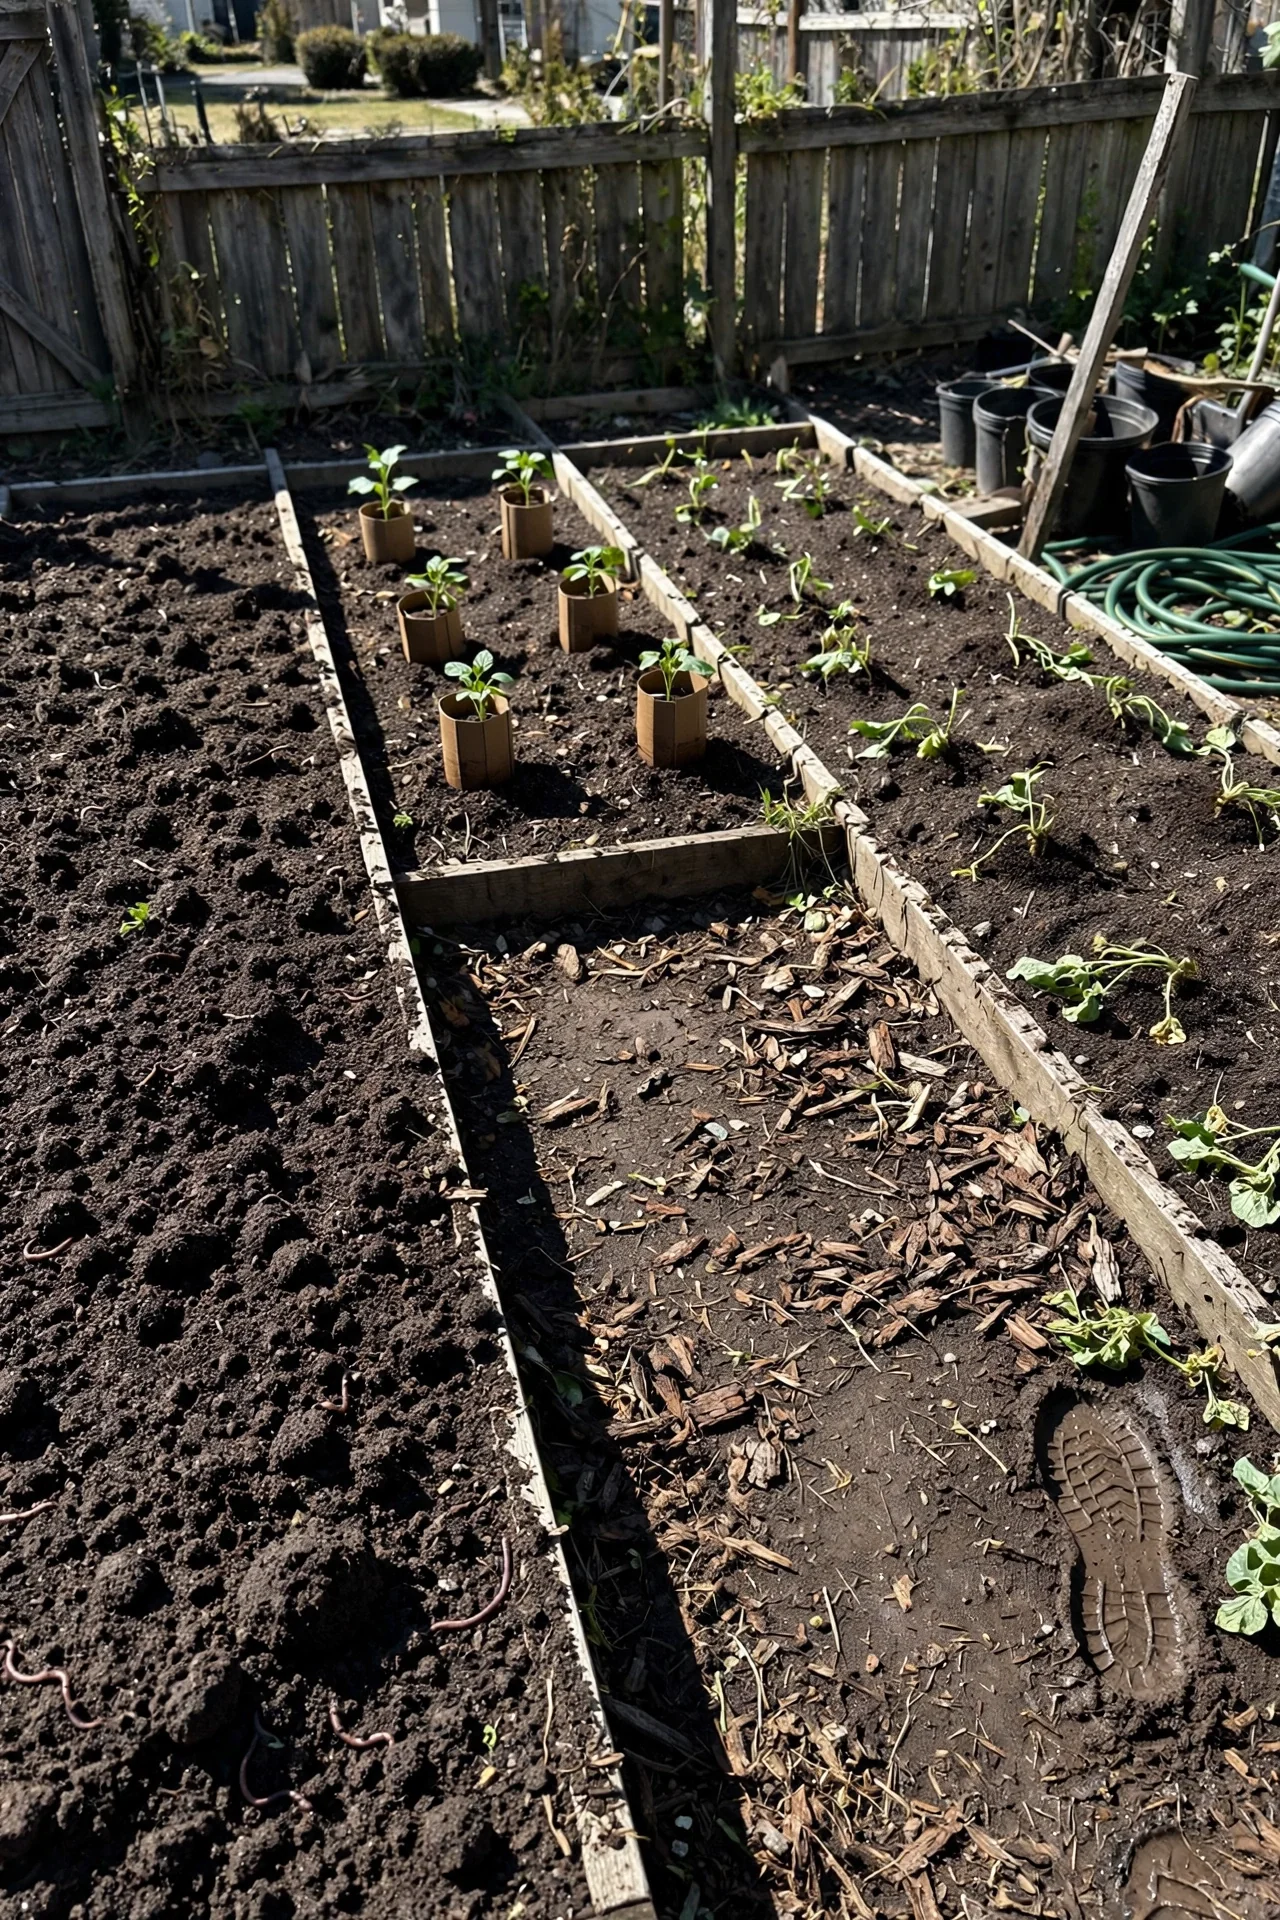
Cutworm prevention advice almost always starts with toilet paper tubes. That is not wrong, but it is incomplete. The real variable that determines whether your seedlings survive is not how quickly you deploy a collar: it is what happened in your soil during the 12 months before you planted. A bed carved from lawn last season faces fundamentally different cutworm pressure than a bed that has grown vegetables for five years. Treating them identically is why so many gardeners lose transplants despite following all the standard advice.
This guide reframes cutworm prevention around three distinct scenarios: breaking new ground, maintaining established beds with occasional losses, and managing chronic recurring infestations. Each scenario demands a different primary tactic. We cover nine methods total, but you will only need two or three that match your actual situation.
We exclude broad-spectrum synthetic insecticide drenches (tebufluthrin, chlorpyrifos) because they disrupt soil food webs and are not labeled for home garden use in the US, UK, Canada, Australia, New Zealand, South Africa, or Germany. We also exclude methods that target adult moths in flight, since cutworm moths are difficult to distinguish from harmless noctuids without a dissecting scope. The focus stays on the larval stage that actually damages plants.
Bottom line: If your garden bed is less than three years old, start with soil disruption before planting; if older and you lose fewer than one plant in ten, use physical barriers; if you lose more than that year after year, deploy an integrated multi-method program that includes biological controls.
The Yield Grid Decision Grid
Choose your branch based on your bed’s history. Each branch includes methods ranked by effort and timing window.
Branch 1: New Bed (first to third year after lawn, pasture, or weed patch)
Undisturbed soil harbors overwintered cutworm larvae and pupae. The priority is disruption before planting. Till or hand-turn soil to a depth of 15 to 20 cm at least 10 to 14 days before setting out transplants, exposing larvae to birds and desiccation. Remove all surface debris and let the bed lie bare. Recommended: Items 1, 6, and 9 below.
Branch 2: Established Bed (3+ years of vegetable production, fewer than 10% of seedlings lost)
Sporadic damage suggests low-to-moderate cutworm presence. A simple physical barrier plus monitoring is usually sufficient. Your soil food web is maturing, so avoid disruptive tillage unless damage escalates. Recommended: Items 2, 5, and 8 below.
Branch 3: Chronic Infestation (repeated losses year after year, regardless of collars)
Heavy recurring damage signals a large egg bank in the soil. No single method will work alone. You need at least two overlapping strategies timed to the larval emergence window. Consider a beneficial insect release to build predator populations that persist across seasons. Recommended: Items 3, 4, and 7 below.
Quick Comparison Table
| Option | Key Mechanism | Best For | Decision Grid Branch | Effort Score (1-5) |
|---|---|---|---|---|
| 1. Pre-planting soil disruption | Exposes larvae and pupae to predation and desiccation | New beds, recently converted turf | Branch 1 | 2 |
| 2. Stem collars | Physical exclusion at soil line | Small plantings, high-value transplants | Branch 2 | 1 |
| 3. Beneficial nematodes | Parasitic nematodes kill larvae in soil | Chronic infestations, large beds | Branch 3 | 3 |
| 4. Bt kurstaki evening spray | Bacterial toxin ingested by feeding larvae | Active infestations on leafy crops | Branch 3 | 4 |
| 5. Diatomaceous earth ring | Desiccant barrier abrades larval cuticle | Dry-climate gardens, supplemental barrier | Branch 2 | 3 |
| 6. Delayed transplanting | Allows stems to thicken beyond larval chewing capacity | New beds, high-risk planting windows | Branch 1 | 1 |
| 7. Pheromone trap monitoring | Detects adult moth flights to time interventions | Chronic infestations, large gardens | Branch 3 | 4 |
| 8. Night hand-picking | Direct removal of feeding larvae | Small gardens, immediate damage response | Branch 2 | 5 |
| 9. Weed-free zone maintenance | Removes egg-laying sites and larval food sources | All beds, foundational practice | Branch 1 | 2 |
1. Pre-Planting Soil Disruption Protocol
Best for: Branch 1 (New Beds)
What: A timed cultivation sequence that exposes cutworm larvae and pupae before transplanting.
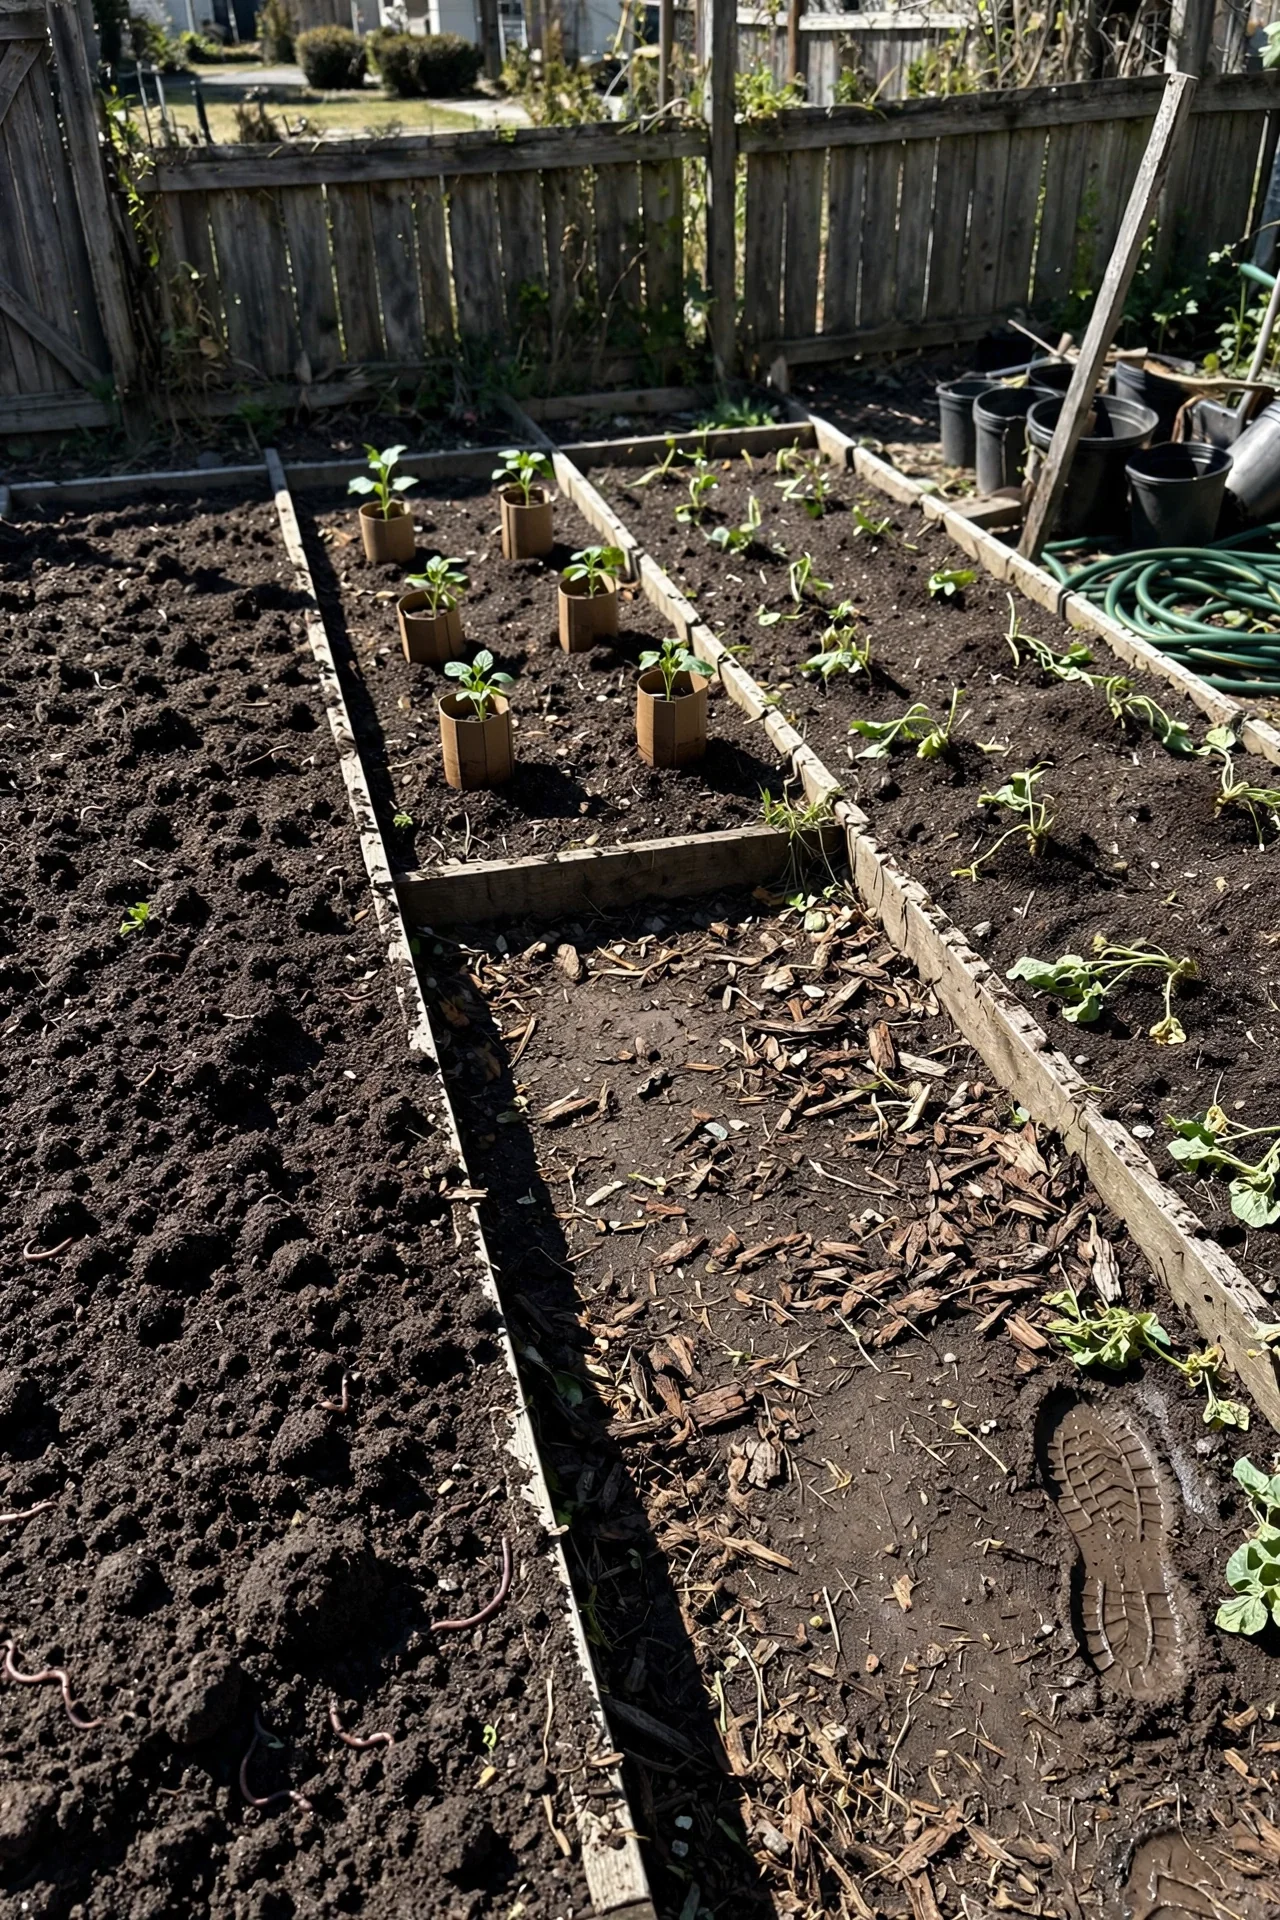
Steps: Begin 14 to 21 days before your intended planting date. Turn the soil to a depth of 15 to 20 cm using a garden fork or mechanical tiller. This breaks pupal chambers and brings larvae to the surface. Remove every visible caterpillar and pupa by hand or let birds do the work over the following 48 hours. After the initial turn, rake the bed flat and leave it bare. Water lightly on day 7 to encourage any remaining eggs to hatch, then cultivate again shallowly (5 cm) on day 10. This second pass targets freshly hatched first-instar larvae, which are the most vulnerable life stage. By planting day, the surface soil should have minimal active larvae.
Constraint: This method is not suitable for no-till gardens or beds with established perennial root systems. It also temporarily disrupts mycorrhizal networks. If you practice no-till, skip to the delayed transplanting method (Item 6) or use stem collars (Item 2) instead.
2. Stem Collars

Best for: Branch 2 (Established Beds)
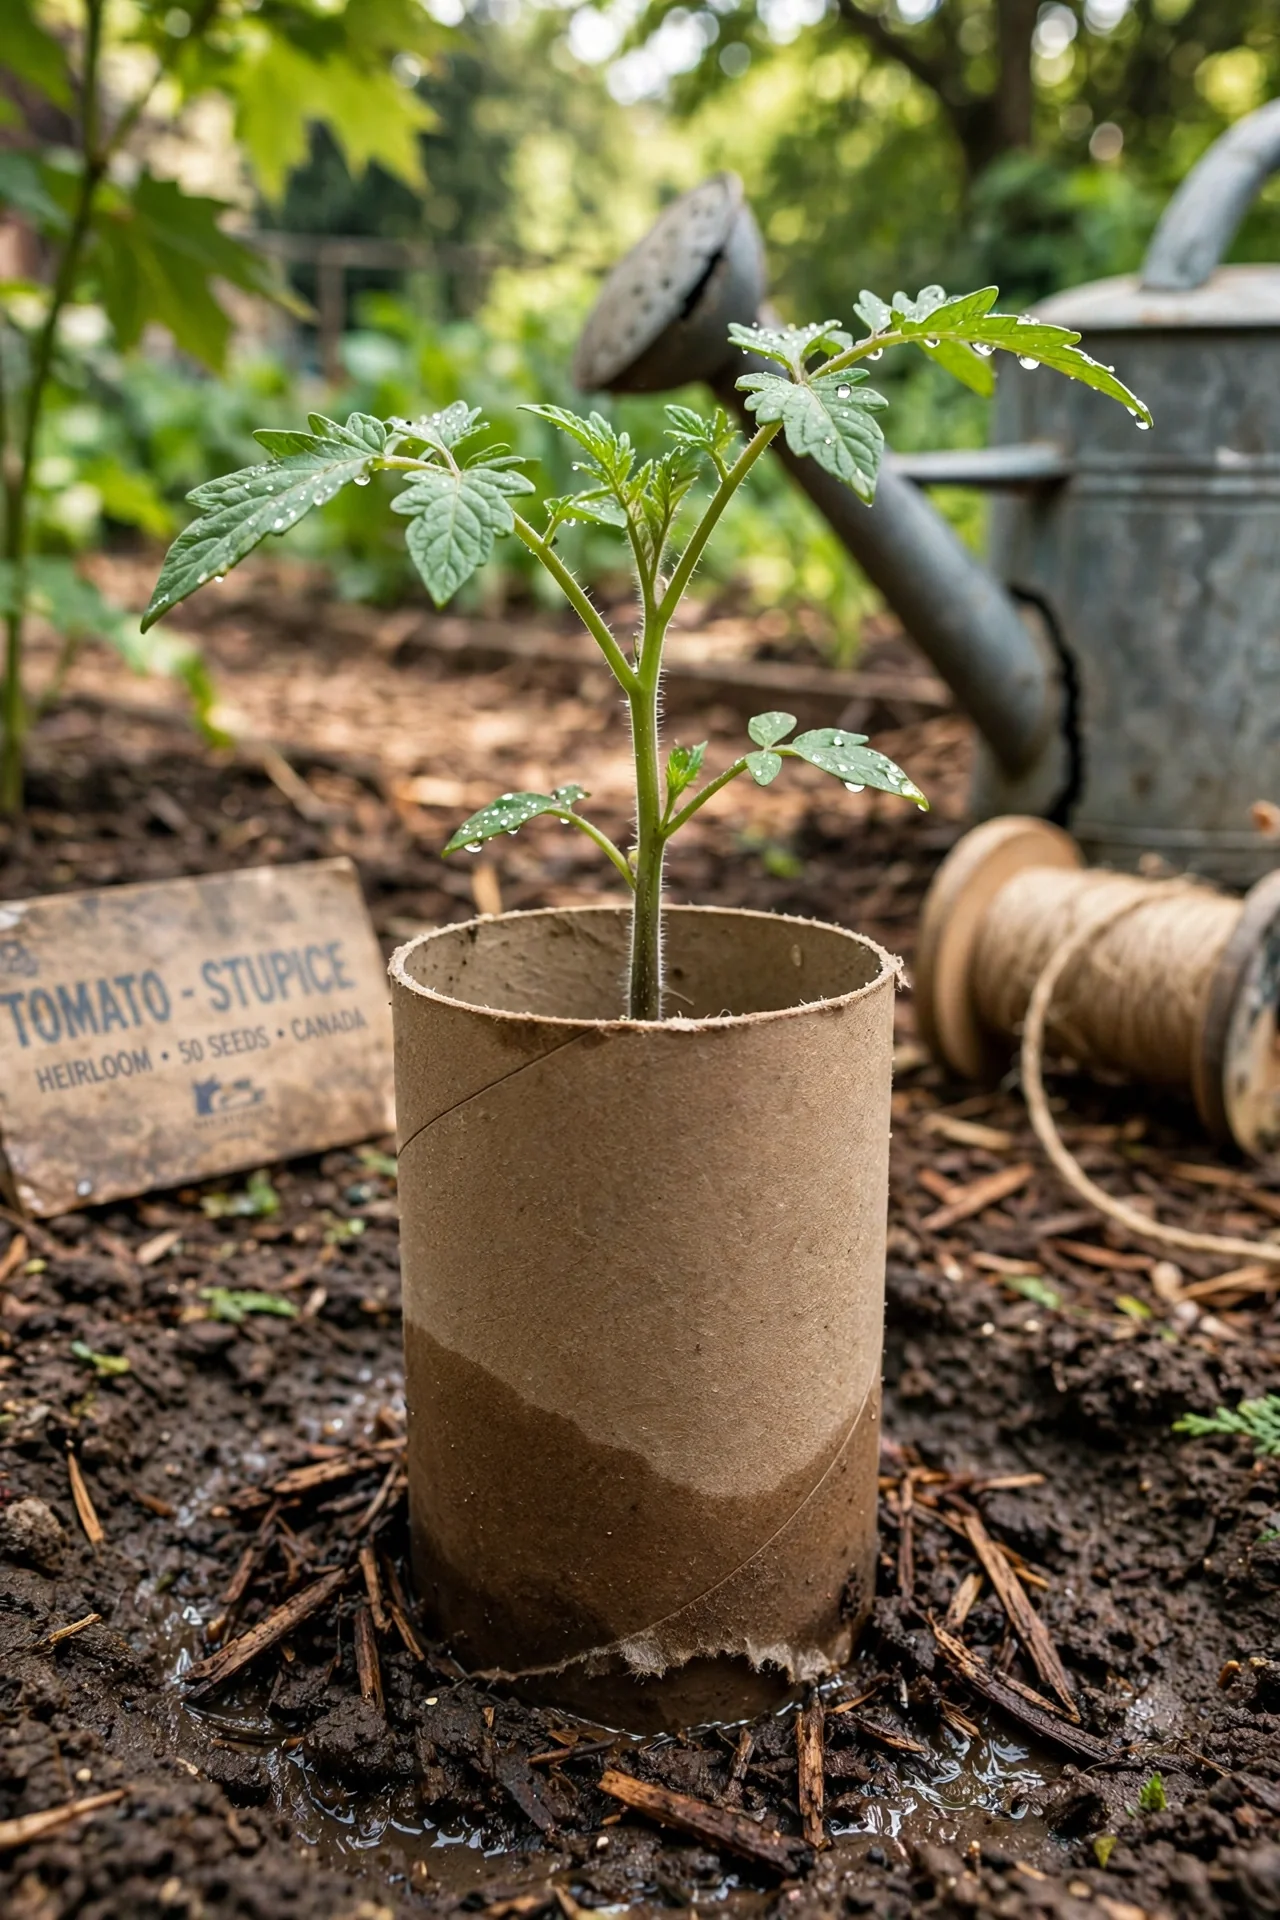
Use vs skip: Use when protecting fewer than 30 transplants in a season; skip if you are planting densely seeded rows like carrots or radishes where collaring each plant is impractical. Cut cardboard tubes (toilet paper or paper towel cores) into 5 to 7 cm sections, slide one over each transplant, and press it 2.5 cm into the soil. The collar must extend at least 2.5 cm above the soil line. Aluminum foil strips work identically and resist irrigation breakdown better than cardboard. Replace cardboard collars after heavy rain.
3. Beneficial Nematode Soil Drench
Best for: Branch 3 (Chronic Infestations)
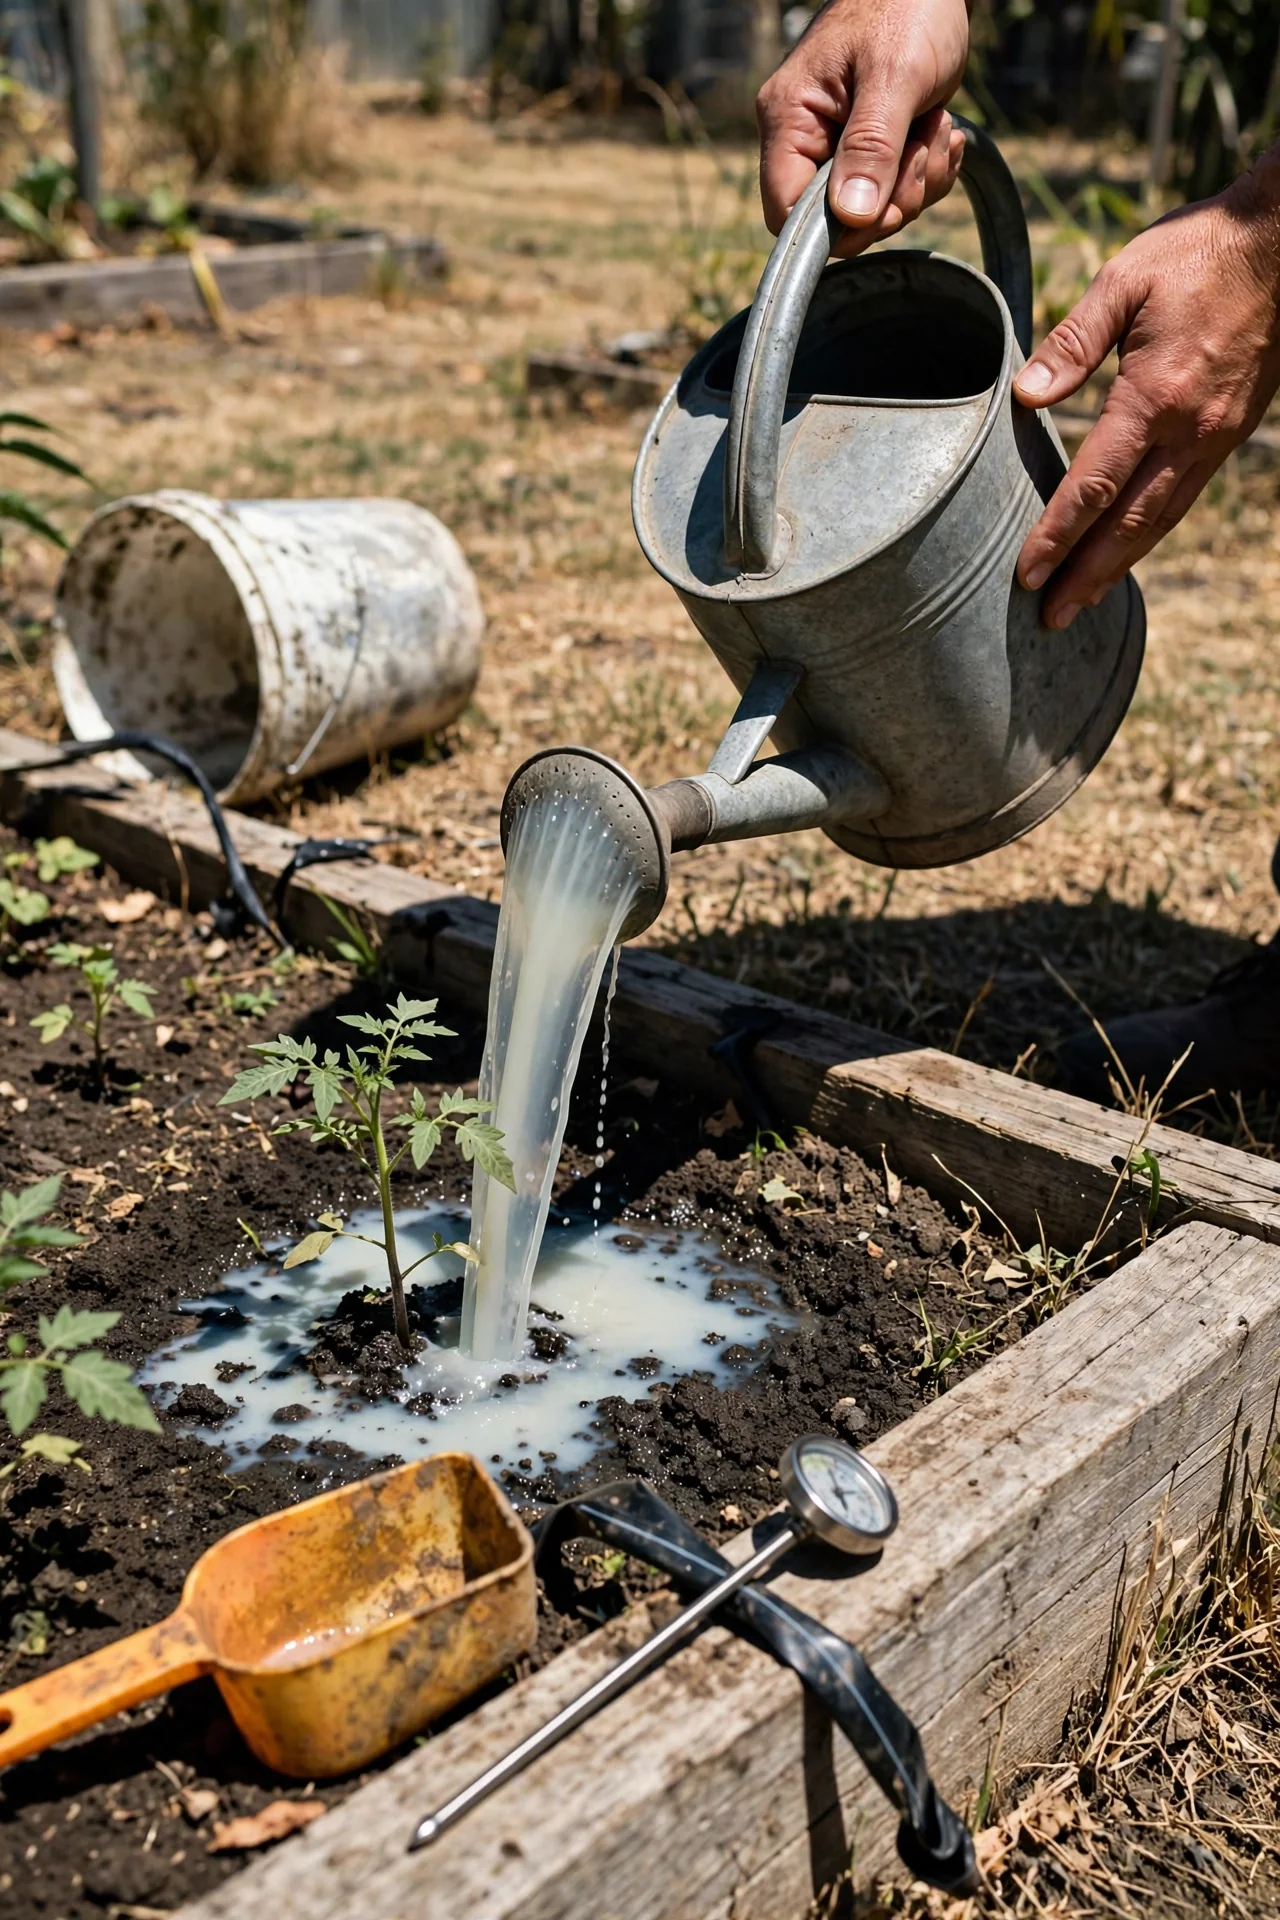
Threshold rule: Apply Steinernema carpocapsae or Heterorhabditis bacteriophora nematodes when soil temperature at 5 cm depth is between 14 degrees C and 30 degrees C. Below 14 degrees C, nematode mobility drops sharply and efficacy collapses. Water the bed thoroughly before application to saturate the top 5 cm; nematodes need a moisture film to move through soil pores. Mix the product according to the label rate (typically 25 million nematodes per 100 square feet) and apply in the evening to avoid UV degradation. A single well-timed application can reduce larval populations, but on chronically infested beds, a second application 14 days later is recommended. Do not apply within 48 hours of a neem oil drench: neem residues can suppress nematode survival.
4. Bt Kurstaki Targeted Evening Spray
Best for: Branch 3 (Chronic Infestations)
What: A bacterial insecticide containing Bacillus thuringiensis subspecies kurstaki (Btk) that targets lepidopteran larvae after ingestion.
Steps: Mix Btk concentrate at the label rate, typically 5 ml per liter of water. Apply using a hand sprayer directed at the base of plants and the surrounding soil surface, not as a broadcast foliar spray. Cutworms feed at the soil line, so coverage there matters more than leaf coverage. Apply between 6 pm and 8 pm, when larvae begin their nightly feeding ascent. Reapply every 5 to 7 days during the peak larval feeding window (typically 7 to 21 days after a significant moth flight) and after any rainfall exceeding 1.5 cm. More on caterpillar-specific bacterial controls at our Bt for caterpillars guide.
Mistake: The most common error is applying Btk during daylight. UV radiation degrades Bt proteins within 24 to 48 hours, so daytime applications waste product by killing the bacteria before larvae become active. Evening application is not a suggestion; it is a biological requirement for efficacy.
5. Diatomaceous Earth Barrier Ring
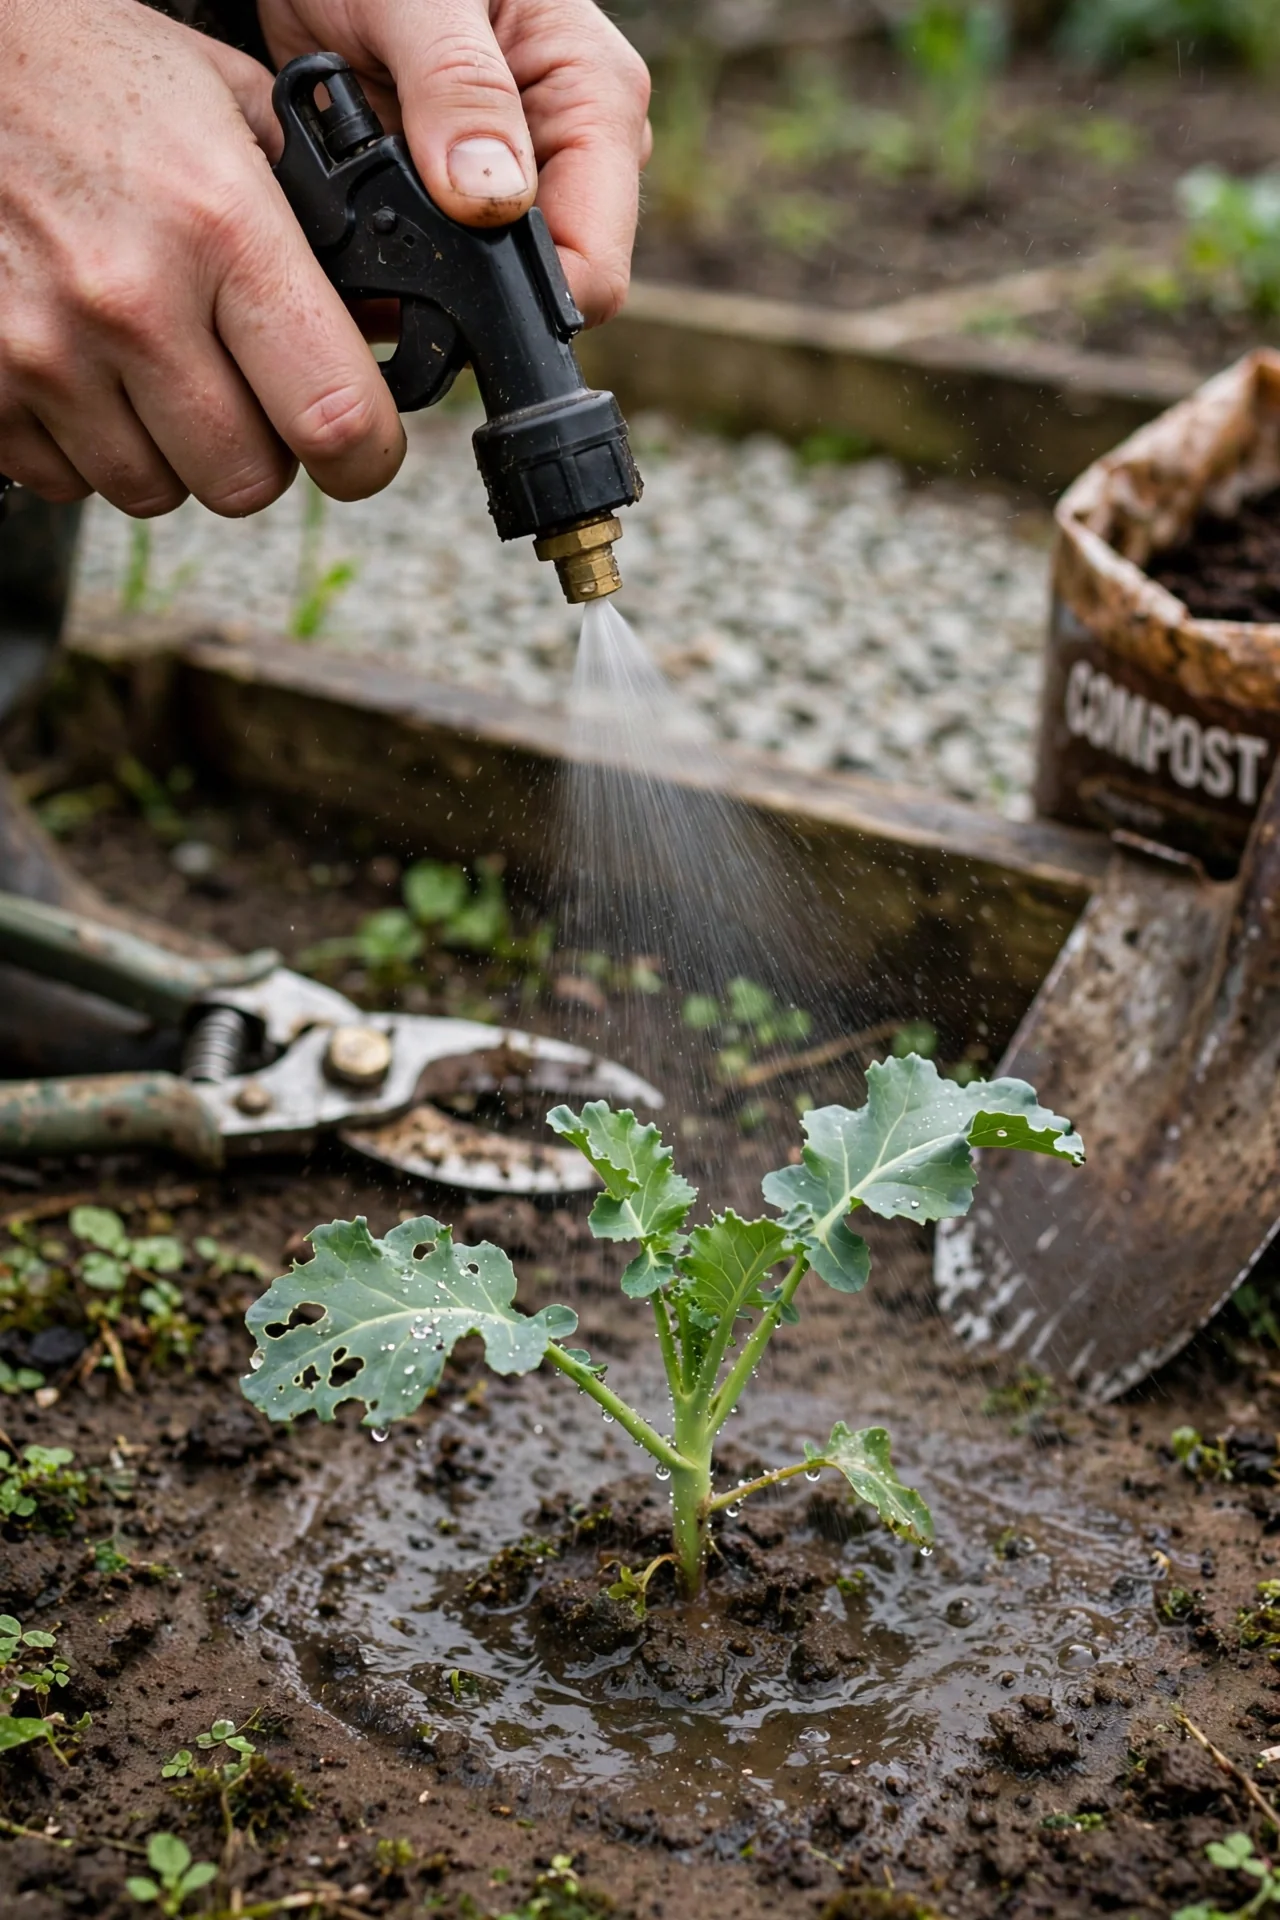
Best for: Branch 2 (Established Beds)
Pros and cons: Pros include low cost, no mixing, and effectiveness in dry conditions. The major con is complete failure when wet: DE loses all abrasive activity once damp, and cutworms can cross a moistened ring unimpeded. Apply food-grade DE in a continuous 5 cm wide ring around each plant, dry. Reapply after every irrigation event or rainfall. In humid climates or during rainy seasons, this method is unreliable as a standalone defense. For more on using DE in garden pest control, see our diatomaceous earth garden guide.
6. Delayed Transplanting for Stem Thickness
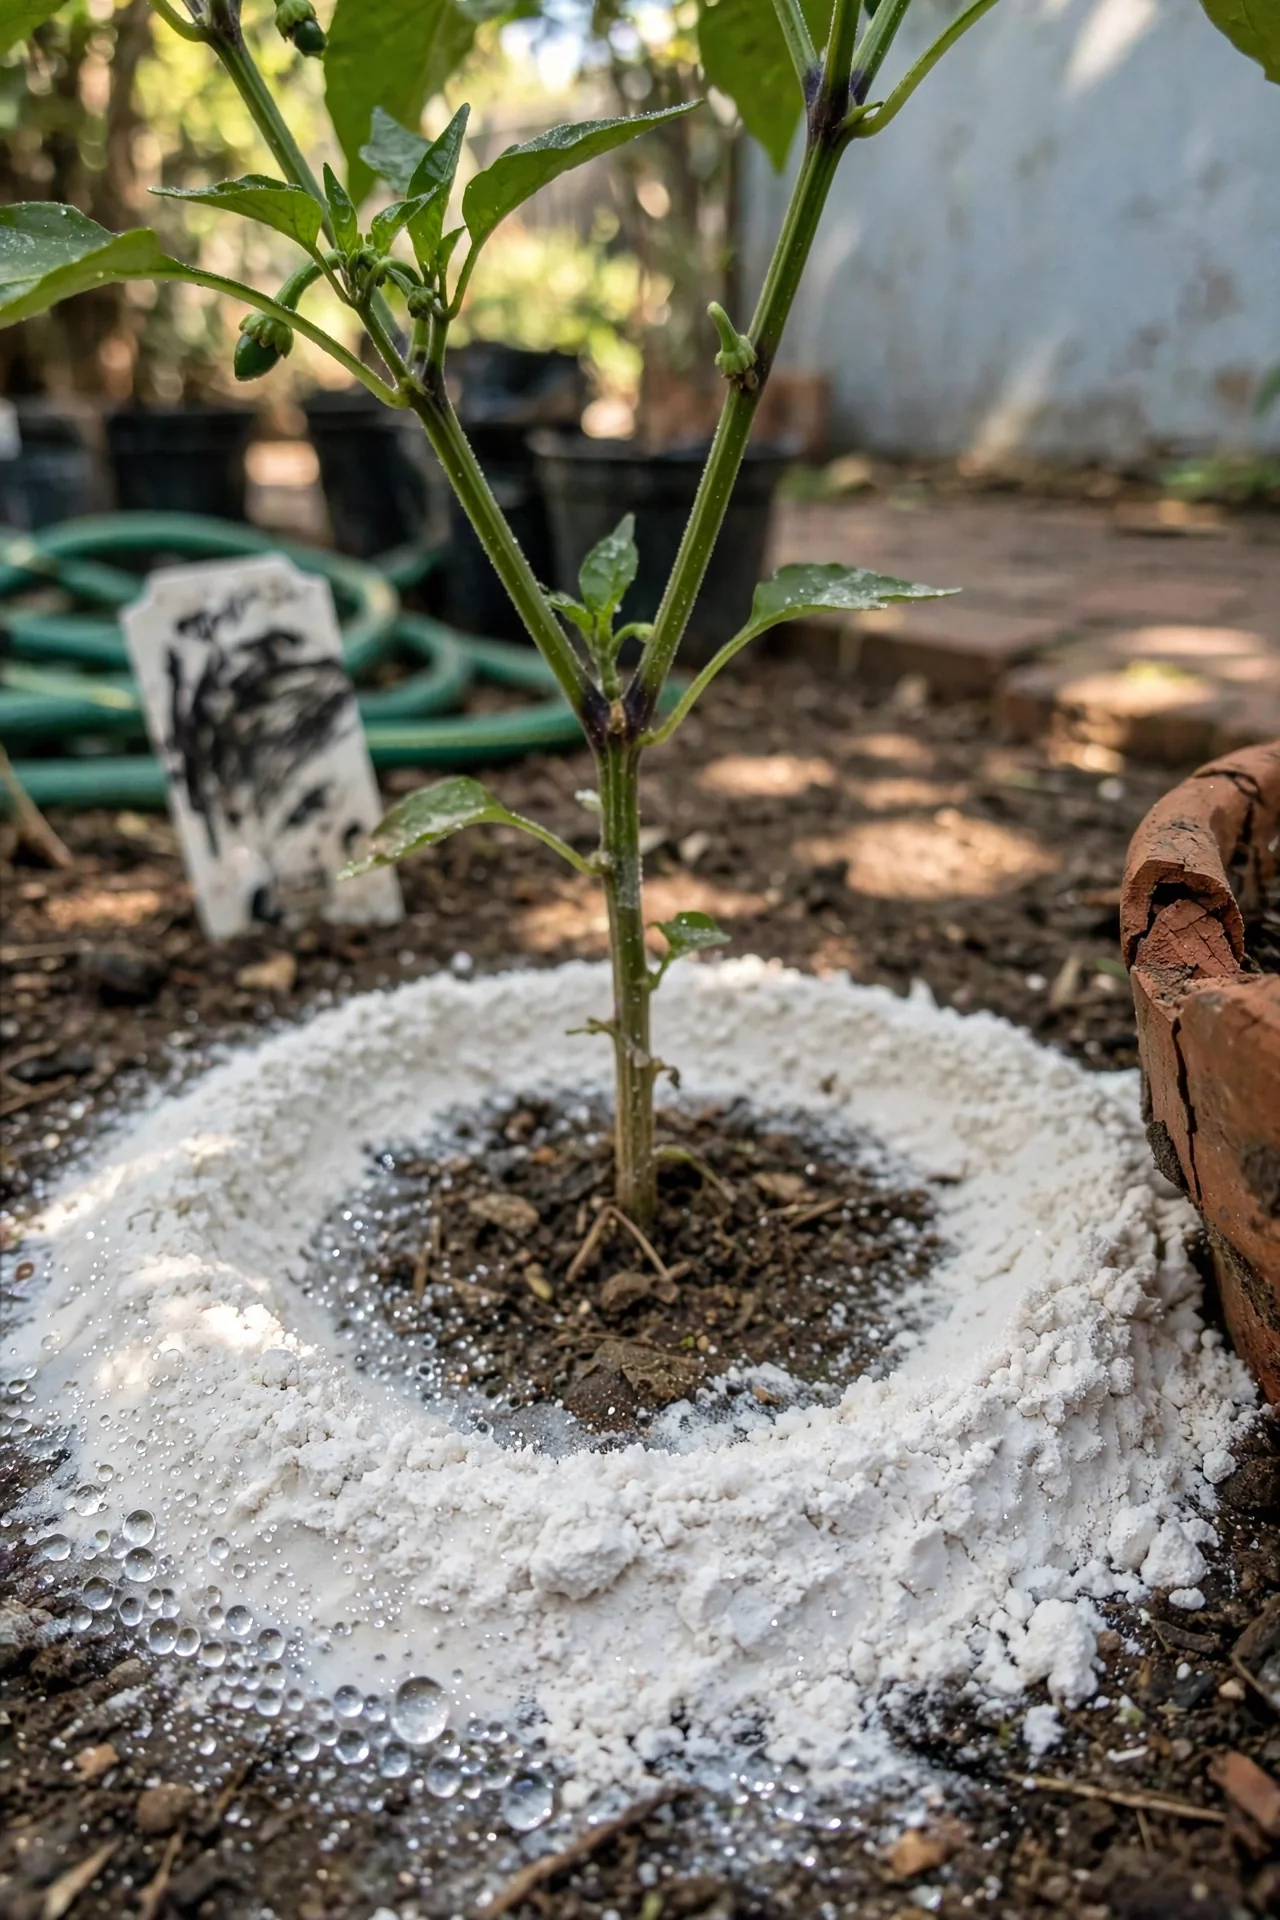
Best for: Branch 1 (New Beds)
Threshold rule: Cutworm larvae can sever stems up to approximately 5 mm in diameter during their fourth to sixth instar stages. Seedlings with stems thinner than 3 mm are at highest risk. If you start seeds indoors, hold transplants until stems reach at least 4 mm diameter at the soil line, typically an extra 7 to 14 days beyond the usual transplanting date. This adjustment is most relevant for tomatoes, peppers, brassicas, and beans. The trade-off is a slightly later harvest, but the alternative is replanting from scratch. If an unexpected warm spell accelerates cutworm emergence while your transplants are still thin-stemmed, deploy temporary collars (Item 2) as a bridge solution.
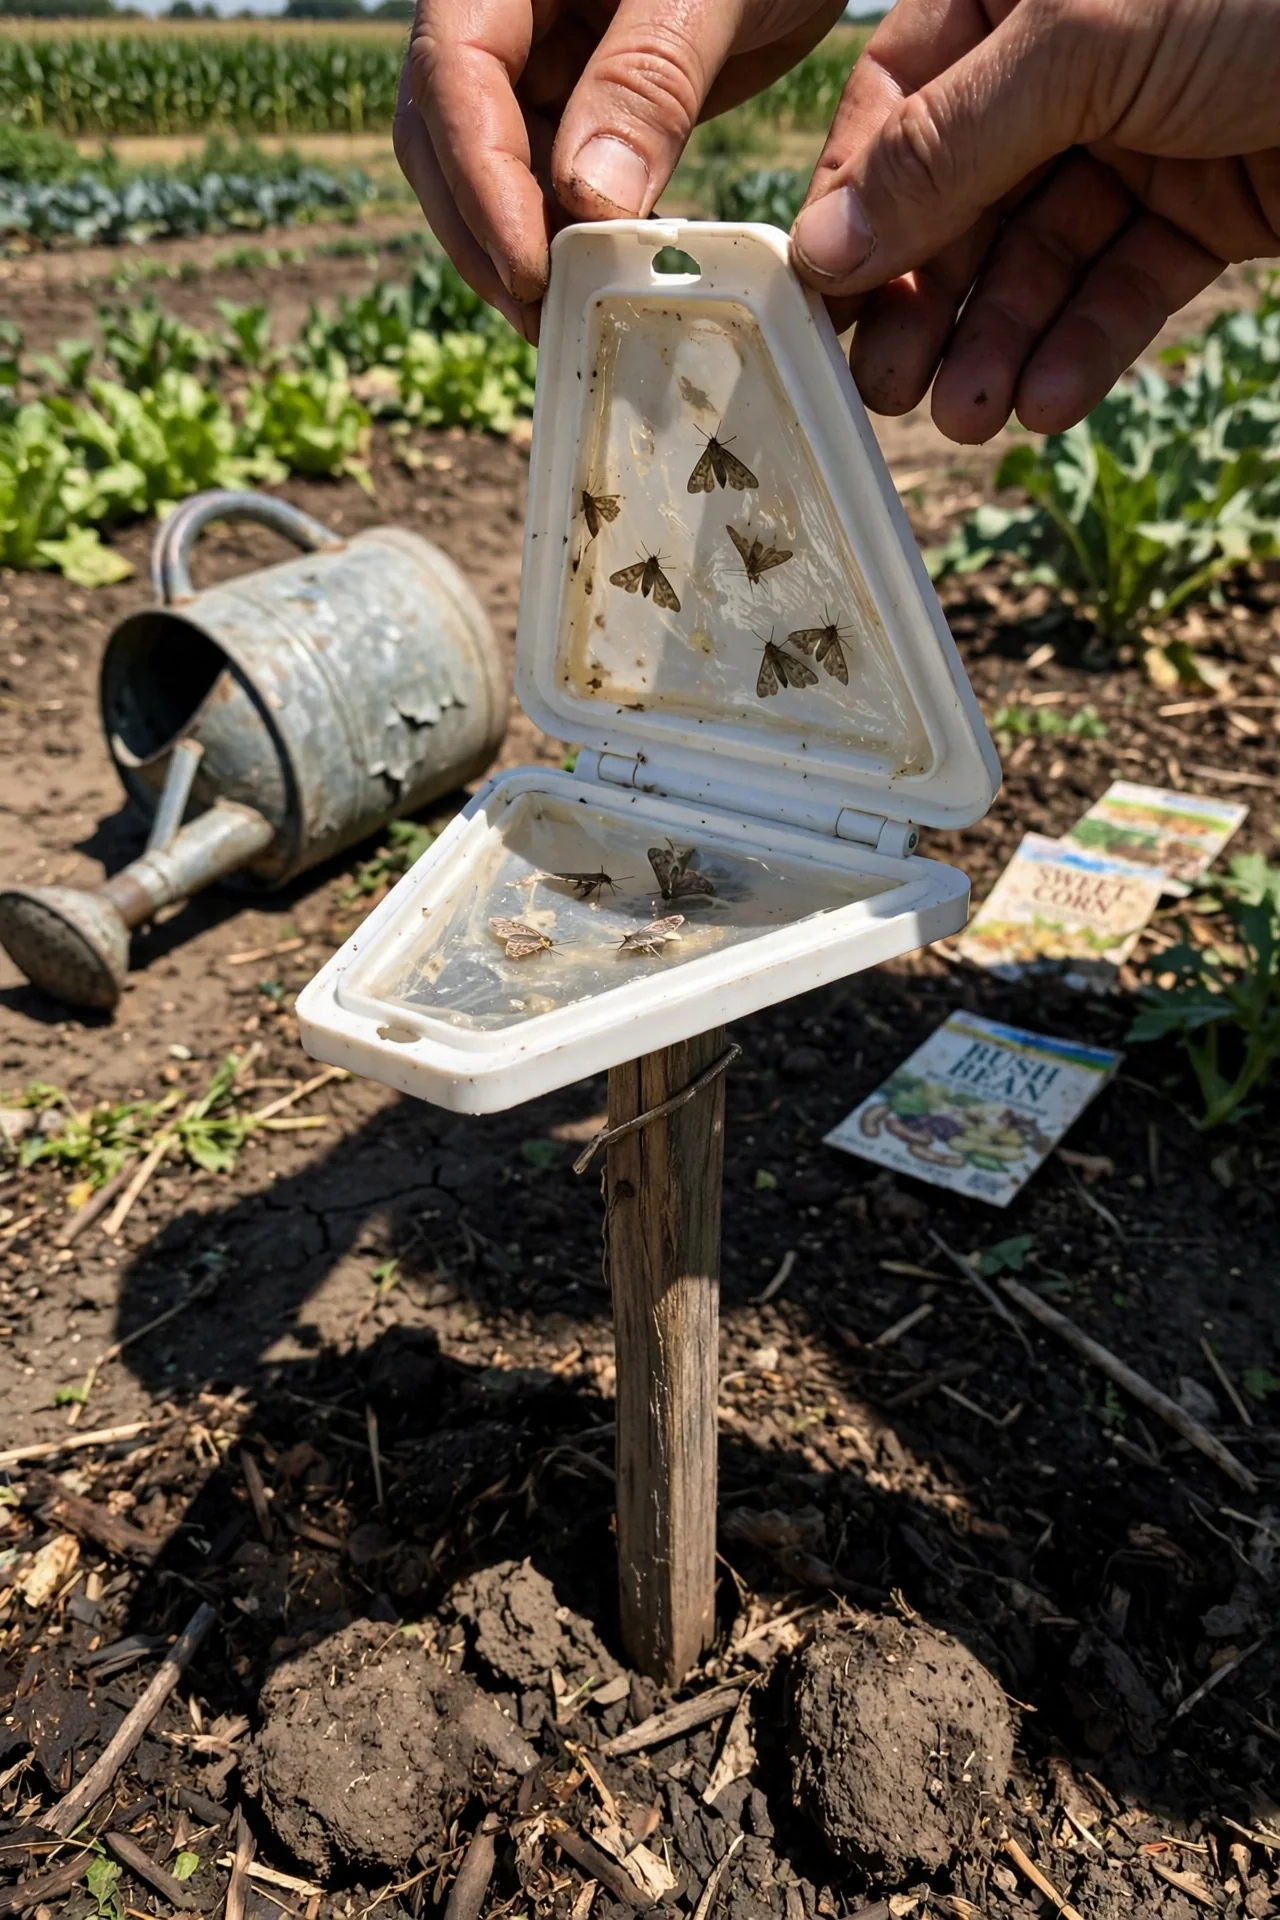
7. Pheromone Trap and Degree-Day Monitoring

Best for: Branch 3 (Chronic Infestations)
What: A scouting system that uses species-specific pheromone lures to detect adult moth flights, then calculates when damaging larvae will appear.
For: Gardeners managing larger plots (over 50 square meters) or those who have lost entire rows of seedlings in previous seasons and need to time interventions precisely.
Steps: Deploy a pheromone trap with an Agrotis ipsilon lure (the most common cutworm species across temperate regions) in early spring, approximately 2 weeks before your average last frost date. Check the trap every 2 to 3 days. Record the date of the first significant catch (more than 5 moths in one night). From that date, begin accumulating degree days using a base temperature of 10 degrees C. Black cutworm eggs hatch and larvae reach the damaging fourth instar at approximately 300 degree days (base 10 degrees C) after the peak moth flight. This is your treatment window. Overlap this with horticultural oil applications on perennial stems nearby where eggs may be laid, or time your Btk application (Item 4) to coincide precisely.
Edge case: Pheromone traps attract moths from up to 2 km away. A high trap count does not always mean your specific garden will have heavy larval pressure; it means moths are in the area and conditions are favorable for egg-laying. Use trap data as a timing tool, not a standalone infestation forecast.
8. Night Patrol Hand-Picking
Best for: Branch 2 (Established Beds)
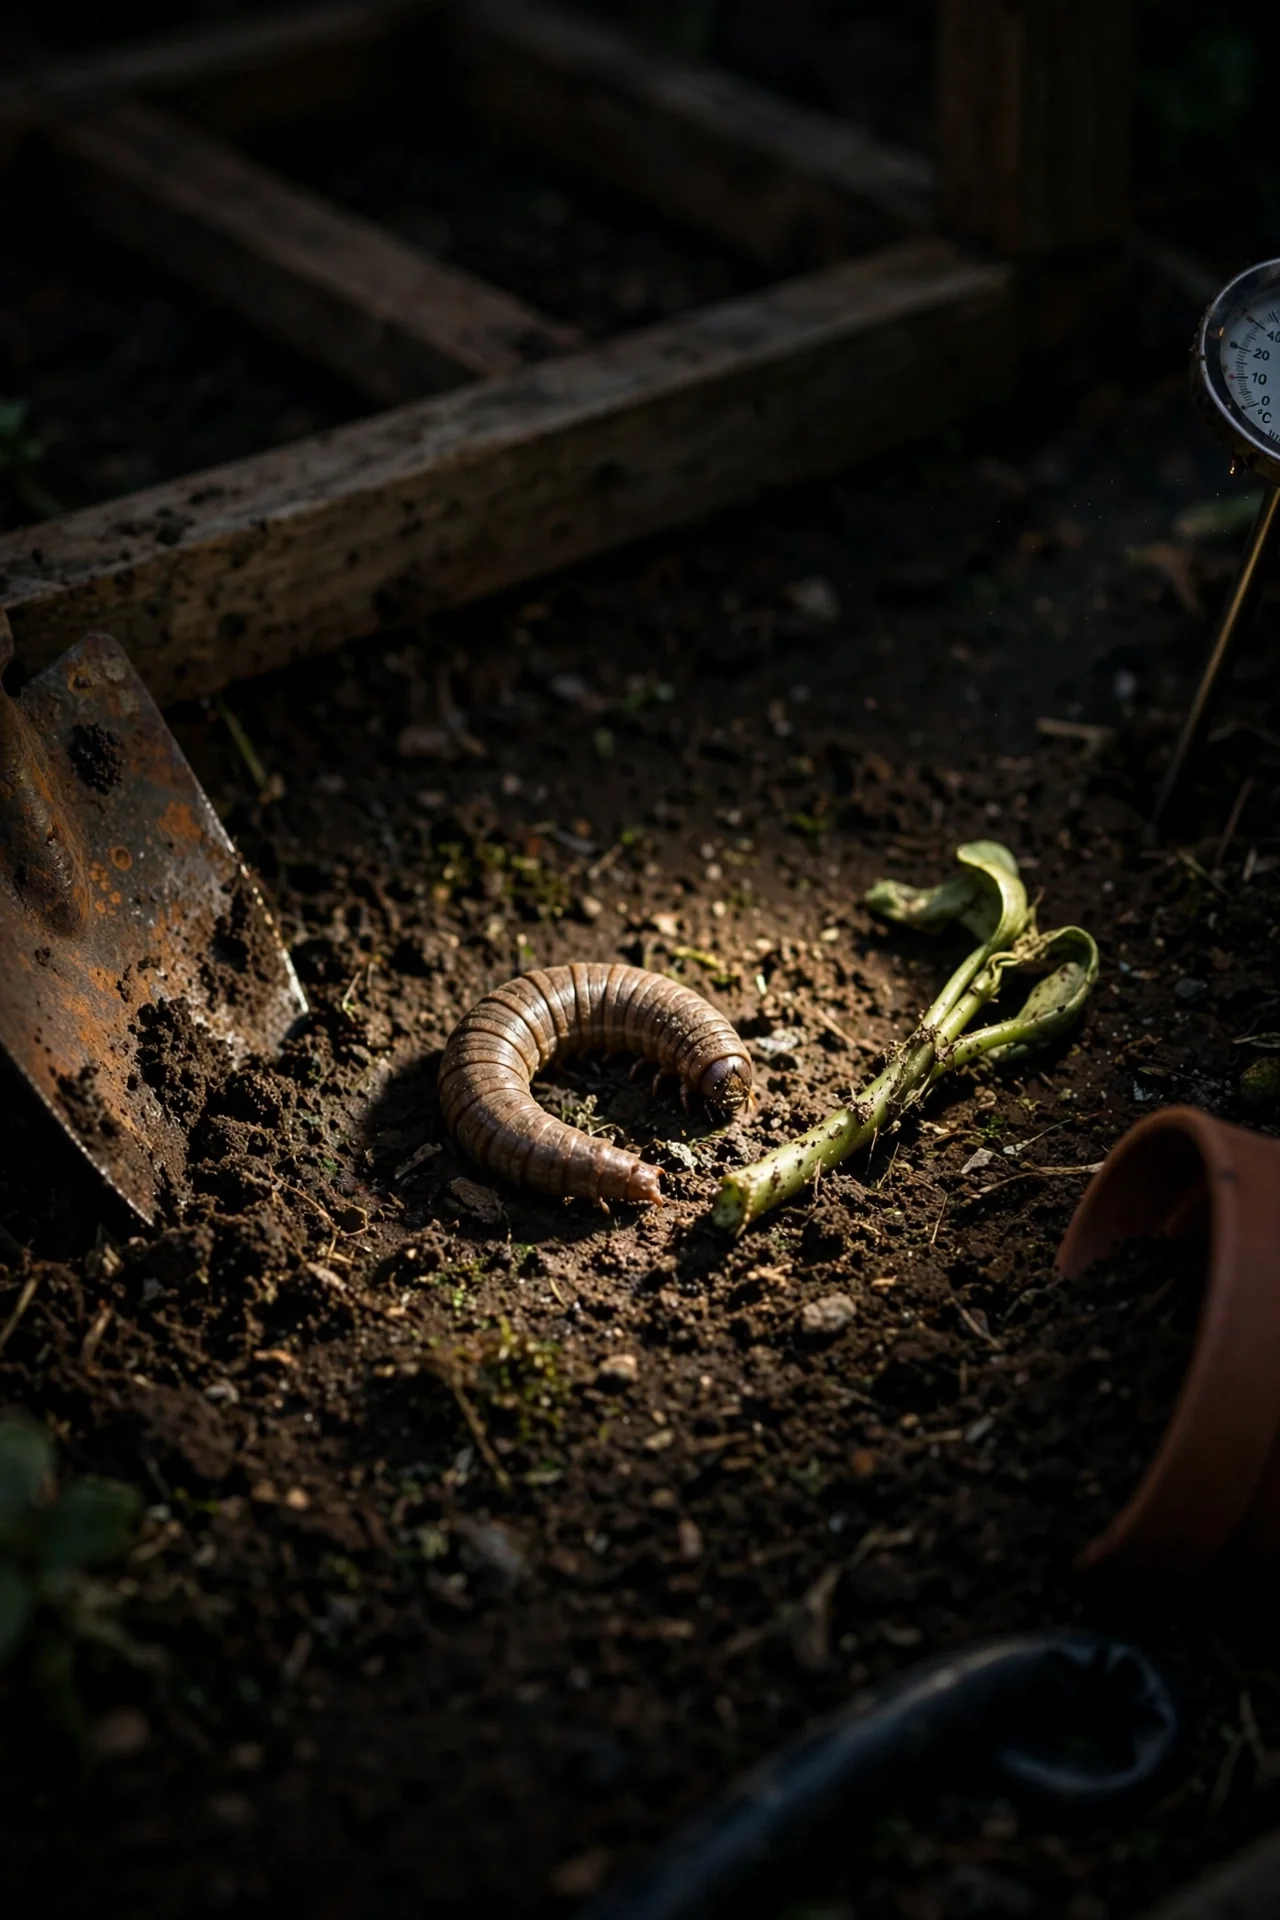
10-minute workflow: Go out 1 to 2 hours after sunset with a headlamp or flashlight. Scan the soil line of every transplant in the affected bed. Cutworms curl into a C-shape when disturbed and are easiest to spot when they are actively feeding, stretched out along a stem. Drop collected larvae into a bucket of soapy water. Repeat nightly for 4 to 7 nights during peak feeding windows. Upgrade option: scatter birdseed or install a small birdbath nearby after the first two nights of hand-picking; birds that learn to associate your garden with easy prey will return and reduce your workload.
9. Weed-Free Zone Maintenance
Best for: Branch 1 (New Beds)
Threshold rule: Maintain a weed-free buffer of at least 60 cm around all vegetable beds during the 4 weeks before and 4 weeks after transplanting. Female cutworm moths preferentially lay eggs on broadleaf weeds, especially lambsquarters, pigweed, and wild mustard. Removing these host plants eliminates the egg-laying substrate that fuels the next generation. Mow or hand-pull weeds in adjacent pathways weekly. Do not compost pulled weeds from within 1 meter of vegetable beds during cutworm season; larvae may be present on root systems. For a deeper strategy on plant partnerships that reduce pest pressure, see our companion planting for pests guide.
Starter Stack (What to Choose First)
Branch 1 Starter: New Bed
Combine Item 1 (pre-planting soil disruption) with Item 2 (stem collars). Do the soil disruption first, 10 to 14 days before planting. On transplanting day, add collars to every seedling you set out. The soil disruption handles larvae already in the ground; the collars handle any that migrate in from adjacent areas. Cost estimate: free to low (cardboard tubes are a household waste product; the tillage is labor, not cash). Time investment: approximately 1 to 2 hours for a 10 square meter bed.
Branch 2 Starter: Established Bed with Occasional Losses
Combine Item 2 (stem collars) with Item 8 (night hand-picking). Place collars at transplanting as a preventive baseline. If you notice any fresh damage, begin hand-picking that same evening. This two-tier approach keeps effort minimal during normal conditions and escalates only when needed. Cost estimate: essentially free. Time investment: 15 minutes to set collars on a typical home garden’s worth of transplants, plus 10 minutes per night of hand-picking during the 1 to 2 weeks when damage appears.
Branch 3 Starter: Chronic Infestation
Combine Item 3 (beneficial nematodes) with Item 4 (Btk evening spray). Apply nematodes once at the beginning of the season when soil temperatures reach 14 degrees C. Follow with Btk sprays timed to evening hours during the 2 to 3 week larval feeding window. This pairing attacks larvae from two directions: nematodes hunt in the soil while Btk kills those feeding above ground. Cost estimate: approximately USD 20 to 40 for nematodes covering 100 square feet, plus USD 10 to 15 for a season’s supply of Btk concentrate. Time investment: 30 minutes for the nematode drench, plus 15 minutes every 5 to 7 days for Btk application during the active window.
When This Won’t Work
Condition one: soil temperatures below 10 degrees C at night. Cutworm larvae become inactive and stop feeding when soil temperatures drop, but they do not die. Prevention methods that rely on ingestion (Bt, nematodes) or activity (hand-picking) will appear to fail because larvae are present but not interacting with your control method. The solution is to wait until a sustained warming trend brings nighttime soil temperatures above 10 degrees C at 5 cm depth, then deploy your chosen method. Collars remain effective regardless of temperature.
Condition two: cutworm species misidentification. Not all soil-dwelling caterpillars are cutworms. Wireworms (click beetle larvae) cause similar stem damage but are unaffected by Bt, nematodes, or collars because they attack below the soil surface. If you find hard-bodied, segmented, orange-brown larvae rather than soft, C-curling caterpillars, you are dealing with wireworms, and the methods in this guide will not work. Rotate to a non-host crop (such as alliums) for one season and consider a targeted insecticidal soap application for surface-active pests while you reset.
Choosing the Right Option for Your Situation
Budget Threshold
If your total pest control budget for the season is under USD 15: use stem collars (Item 2), night hand-picking (Item 8), and pre-planting soil disruption (Item 1). All three cost nothing but time. If your budget exceeds USD 40: add beneficial nematodes (Item 3) and Btk concentrate (Item 4) for a more comprehensive approach on chronic-infestation beds.
Time Threshold
If you have fewer than 2 hours total to dedicate to cutworm prevention across the entire season: rely on stem collars (Item 2) alone, placed once at transplanting. They are a set-and-forget method. If you can commit 30 minutes per week during the 4 to 6 week spring seedling window: add weed-free zone maintenance (Item 9) and evening Btk applications (Item 4) if damage appears.
Technical Constraint: Soil Moisture and Nematode Survival
Beneficial nematodes (Item 3) require soil that stays consistently moist for at least 7 days after application. If your garden soil drains very rapidly (sandy soil, raised beds with high drainage) or if you are in a water-restricted region such as parts of Australia or South Africa, nematode applications may fail because the soil dries too quickly. In this case, substitute Btk sprays (Item 4) and diatomaceous earth rings (Item 5) for the nematode component of any Branch 3 recommendation.
Yes/No Checklist
- Is your garden bed under 3 years old? If yes, use Branch 1. If no, continue.
- Do you lose more than roughly 1 in 10 seedlings to stem cutting each year? If yes, use Branch 3. If no, use Branch 2.
- Will soil temperatures stay above 10 degrees C at night for the next 2 weeks? If no, wait and use collars in the interim.
- Have you confirmed the pest is a soft-bodied caterpillar, not a hard-bodied wireworm? If you cannot confirm, dig up a damaged plant and check before investing in any biological control.
Expert Q&A
At what soil temperature do cutworm larvae begin feeding?
Cutworm larvae become actively feeding when soil temperature at 5 cm depth reaches approximately 10 degrees C. Activity increases sharply between 15 degrees C and 25 degrees C. At sustained temperatures below 10 degrees C, larvae remain alive but cease feeding and stay buried. This is why damage appears suddenly after a warm spell in early spring rather than gradually. Time your prevention to the temperature threshold, not the calendar date.
Can cutworms climb up plant stems above the soil line?
Yes, but only to a limited height. Most cutworm species climb no more than 5 to 8 cm above the soil surface to feed. This is why collars extending 2.5 cm above soil work for most species. However, climbing cutworms (such as the variegated cutworm, Peridroma saucia) can ascend 15 cm or higher to feed on lower leaves and fruit. If you find damage well above the soil line, you may be dealing with a climbing species and will need foliar Bt coverage in addition to soil-level barriers.
How deep do cutworms burrow during the day?
During daylight hours, cutworm larvae typically retreat to a depth of 2 to 8 cm below the soil surface, depending on species and soil moisture. In dry conditions they burrow deeper, up to 12 cm. This is the key constraint on hand-picking efficacy: if the soil is dry and compacted, digging larvae out during the day is far more labor-intensive than simply returning at night when they surface to feed.
Do coffee grounds or crushed eggshells actually deter cutworms?
The evidence is mixed and largely anecdotal. Coffee grounds may provide a mild abrasive barrier when dry, but like diatomaceous earth, they lose effectiveness when wet. Crushed eggshells have not been shown in any controlled study to deter cutworm movement. These materials are not harmful to use as a supplementary measure, but they should not replace a primary method like collars or soil disruption. If you use them, treat them as a bonus layer, not your main defense.
How long does a cutworm generation last in a single growing season?
Most common cutworm species (Agrotis, Peridroma, and Euxoa genera) complete one to three generations per growing season depending on latitude. In USDA zones 6 and warmer, black cutworm (Agrotis ipsilon) typically completes two full generations, with the first larval wave appearing in early spring and a second in mid-to-late summer. In zones 8 and above, three generations are possible. This multi-generation pattern explains why a clean April does not guarantee a clean August; monitor throughout the growing season.
Conclusion
The number one mistake in cutworm prevention is treating every garden bed the same. A first-year bed converted from lawn needs soil disruption; a mature bed with occasional losses needs barriers; a chronically infested bed needs overlapping biological controls timed to degree-day thresholds. Pick your branch from the decision grid and commit fully to a two-method starter stack rather than half-heartedly trying five methods at once.
Next step: identify which branch matches your garden by walking your beds today. Count how many beds are under three years old, how many had cutworm damage last season, and whether you have ever confirmed the pest by digging at dusk. With that inventory in hand, return to the Starter Stack section and assemble your specific two-method plan. For a deeper understanding of how predator insects can sustain your prevention strategy across multiple seasons, visit our beneficial insects guide.