
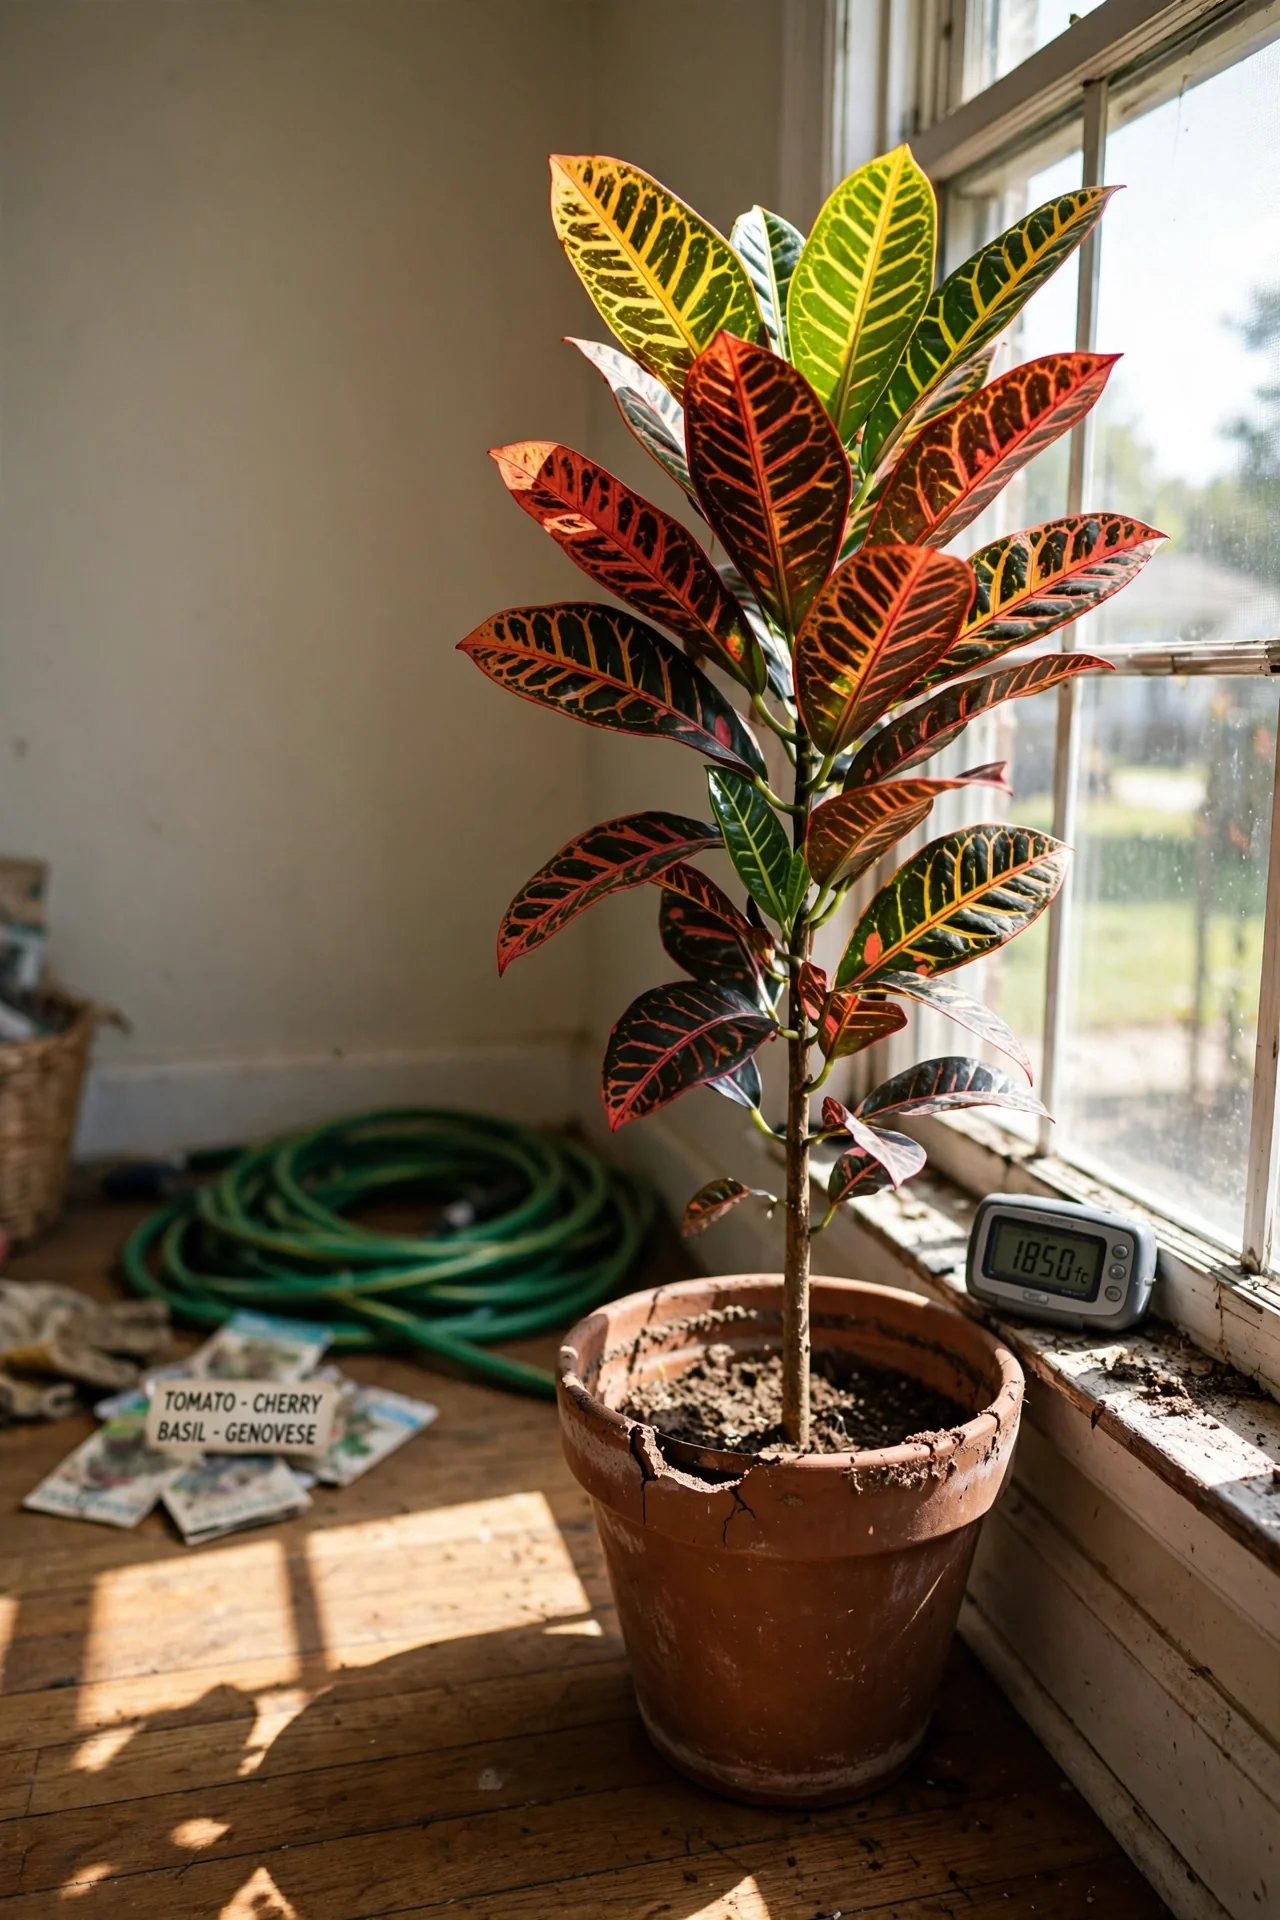
Croton (Codiaeum variegatum) color intensity is not a fixed trait; it is a light meter. Most care guides treat light as one of several equal inputs, but for crotons, light intensity is the control knob that determines whether leaves ignite in orange, red, and yellow or fade to green. Without enough photons, no amount of perfect watering or humidity will preserve the vivid display. This article reframes croton care around a single non-negotiable: light first, every other adjustment second.
Scope covers indoor croton care, focusing on decision points for light, water, soil, humidity, feeding, troubleshooting, and propagation. Excluded are outdoor landscaping uses, pest eradication beyond common indoor species, and rare cultivar-specific demands.
By the end, you will know exactly which light branch fits your space, which care adjustments follow from that branch, and how to stop leaf drop before it starts. You will also get an effort-ranked comparison to match your schedule, so you can act without guessing.
Bottom line: Your croton’s leaf color is a direct report card on light; fix light first, then dial in the rest.
The Yield Grid Decision Grid
Choose your branch based on the average light intensity your croton receives during the brightest part of the day. Each branch points to the specific items that matter most in that scenario.
Branch 1: High Light (4+ hours direct sun or 2000+ foot-candles). Leaves stay intensely colored, growth is fast, and the plant can handle frequent watering and regular feeding. Recommended: Items 1, 4, 7, 10 below.
Branch 2: Bright Indirect Light (1000–2000 foot-candles, no direct sun). Color holds if light is consistent, but water and humidity need more careful balancing. This is where a tropical bathroom plants placement often excels. Recommended: Items 2, 4, 5, 8 below.
Branch 3: Lower Light (500–1000 foot-candles). Survival mode. Leaf color will fade, and the plant will grow slowly. The priority shifts to stress prevention and pest vigilance. Recommended: Items 3, 6, 9, 11 below.
Quick Comparison Table
| Option | Key mechanism | Best for | Decision Grid Branch | Effort Score |
|---|---|---|---|---|
| 1. Light Intensity Positioning | Photosynthetic fuel for pigment production | Color preservation, vigorous growth | Branch 1 | 1 |
| 2. Soil Drainage Configuration | Root zone oxygen balance | Avoiding root rot in moderate light | Branch 2 | 1 |
| 3. Temperature Stability Zones | Metabolic rate and leaf retention | Preventing cold shock leaf drop | Branch 3 | 2 |
| 4. Water Rhythm Calibration | Moisture delivery matched to evaporation rate | Consistent hydration without soggy soil | Branch 1, 2 | 5 |
| 5. Ambient Humidity Tactics | Transpiration rate management | Preventing crispy edges in dry indoor air | Branch 2 | 5 |
| 6. Pruning for Shape and Stress | Apical dominance release, leaf mass reduction | Leggy growth correction, low-light stress relief | Branch 3 | 1 |
| 7. Fertilizer Timing and Strength | Nutrient supply synchronised with light-driven growth | Fueling color intensity in high-light plants | Branch 1 | 3 |
| 8. Repotting Cadence | Root space and soil structure refresh | Preventing root binding, refreshing drainage | Branch 2 | 1 |
| 9. Pest Vigilance Routine | Early detection of mites and mealybugs | Stressed plants in lower light | Branch 3 | 5 |
| 10. Propagation by Stem Cuttings | Clonal reproduction from vigorous growth | Multiplying well-lit, healthy plants | Branch 1 | 3 |
| 11. Toxicity Awareness Placement | Physical barrier to sap and ingestion | Homes with children or pets | Branch 3 | 1 |
1. Light Intensity Positioning
Best for: Branch 1
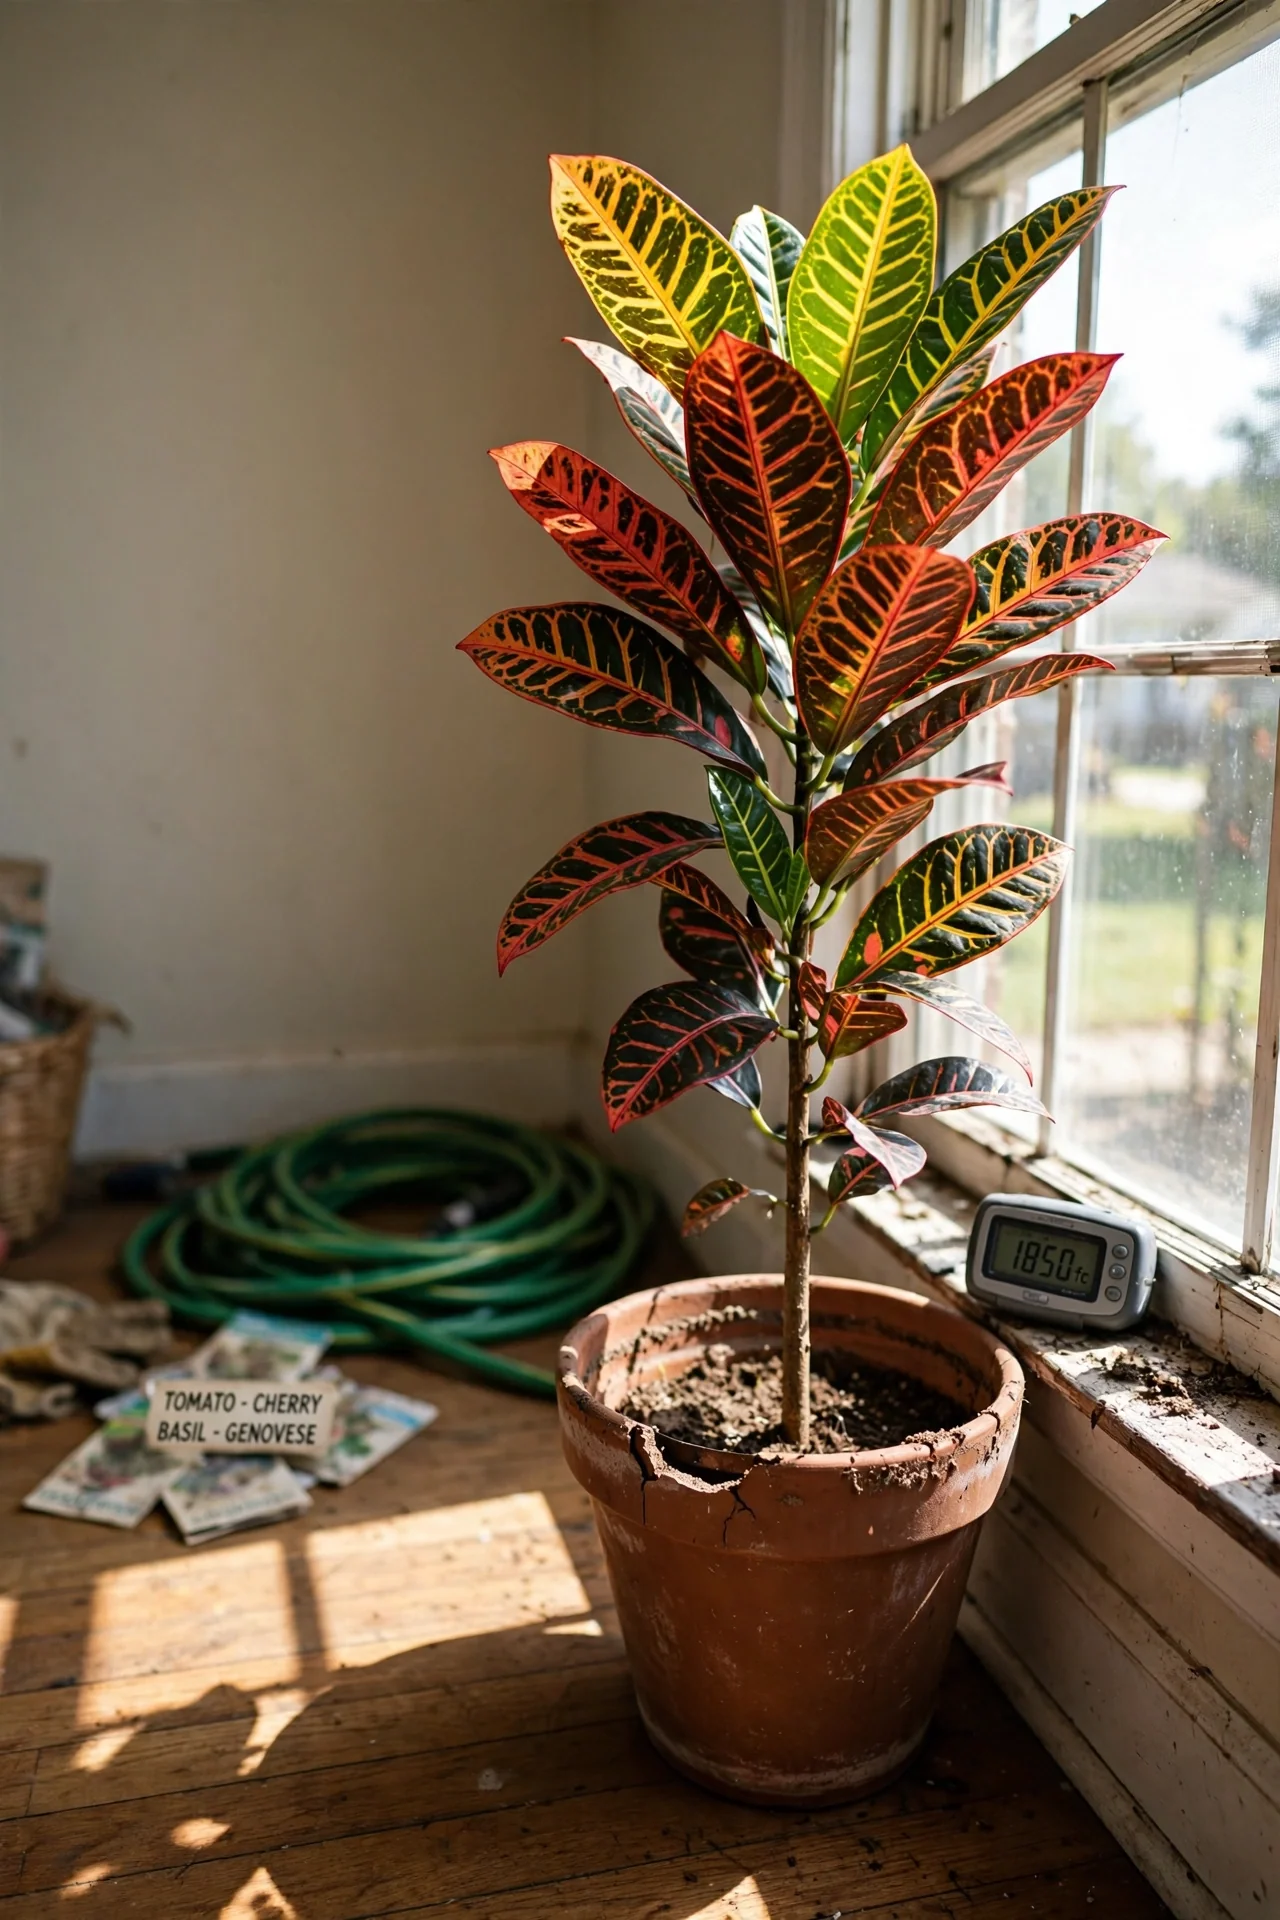
Blueprint. What: Positioning your croton so it receives enough light to drive anthocyanin and carotenoid production, the pigments behind reds, oranges, and yellows. For: Maximizing leaf color and preventing the green washout that signals energy starvation. Steps: Use a light meter or a smartphone light-sensor app to measure foot-candles at leaf height. Aim for a minimum of 2000 fc for at least 4 hours, ideally from an east or west window with direct morning or afternoon sun. Rotate the pot quarterly to prevent lopsided growth. Mistake: Assuming a bright room equals sufficient light; human eyes adjust, but a croton near a north window often receives under 500 fc, which triggers leaf drop. Much like Schefflera care, crotons demand direct beam or very bright indirect light to hold their ornamental value.
2. Soil Drainage Configuration
Best for: Branch 2
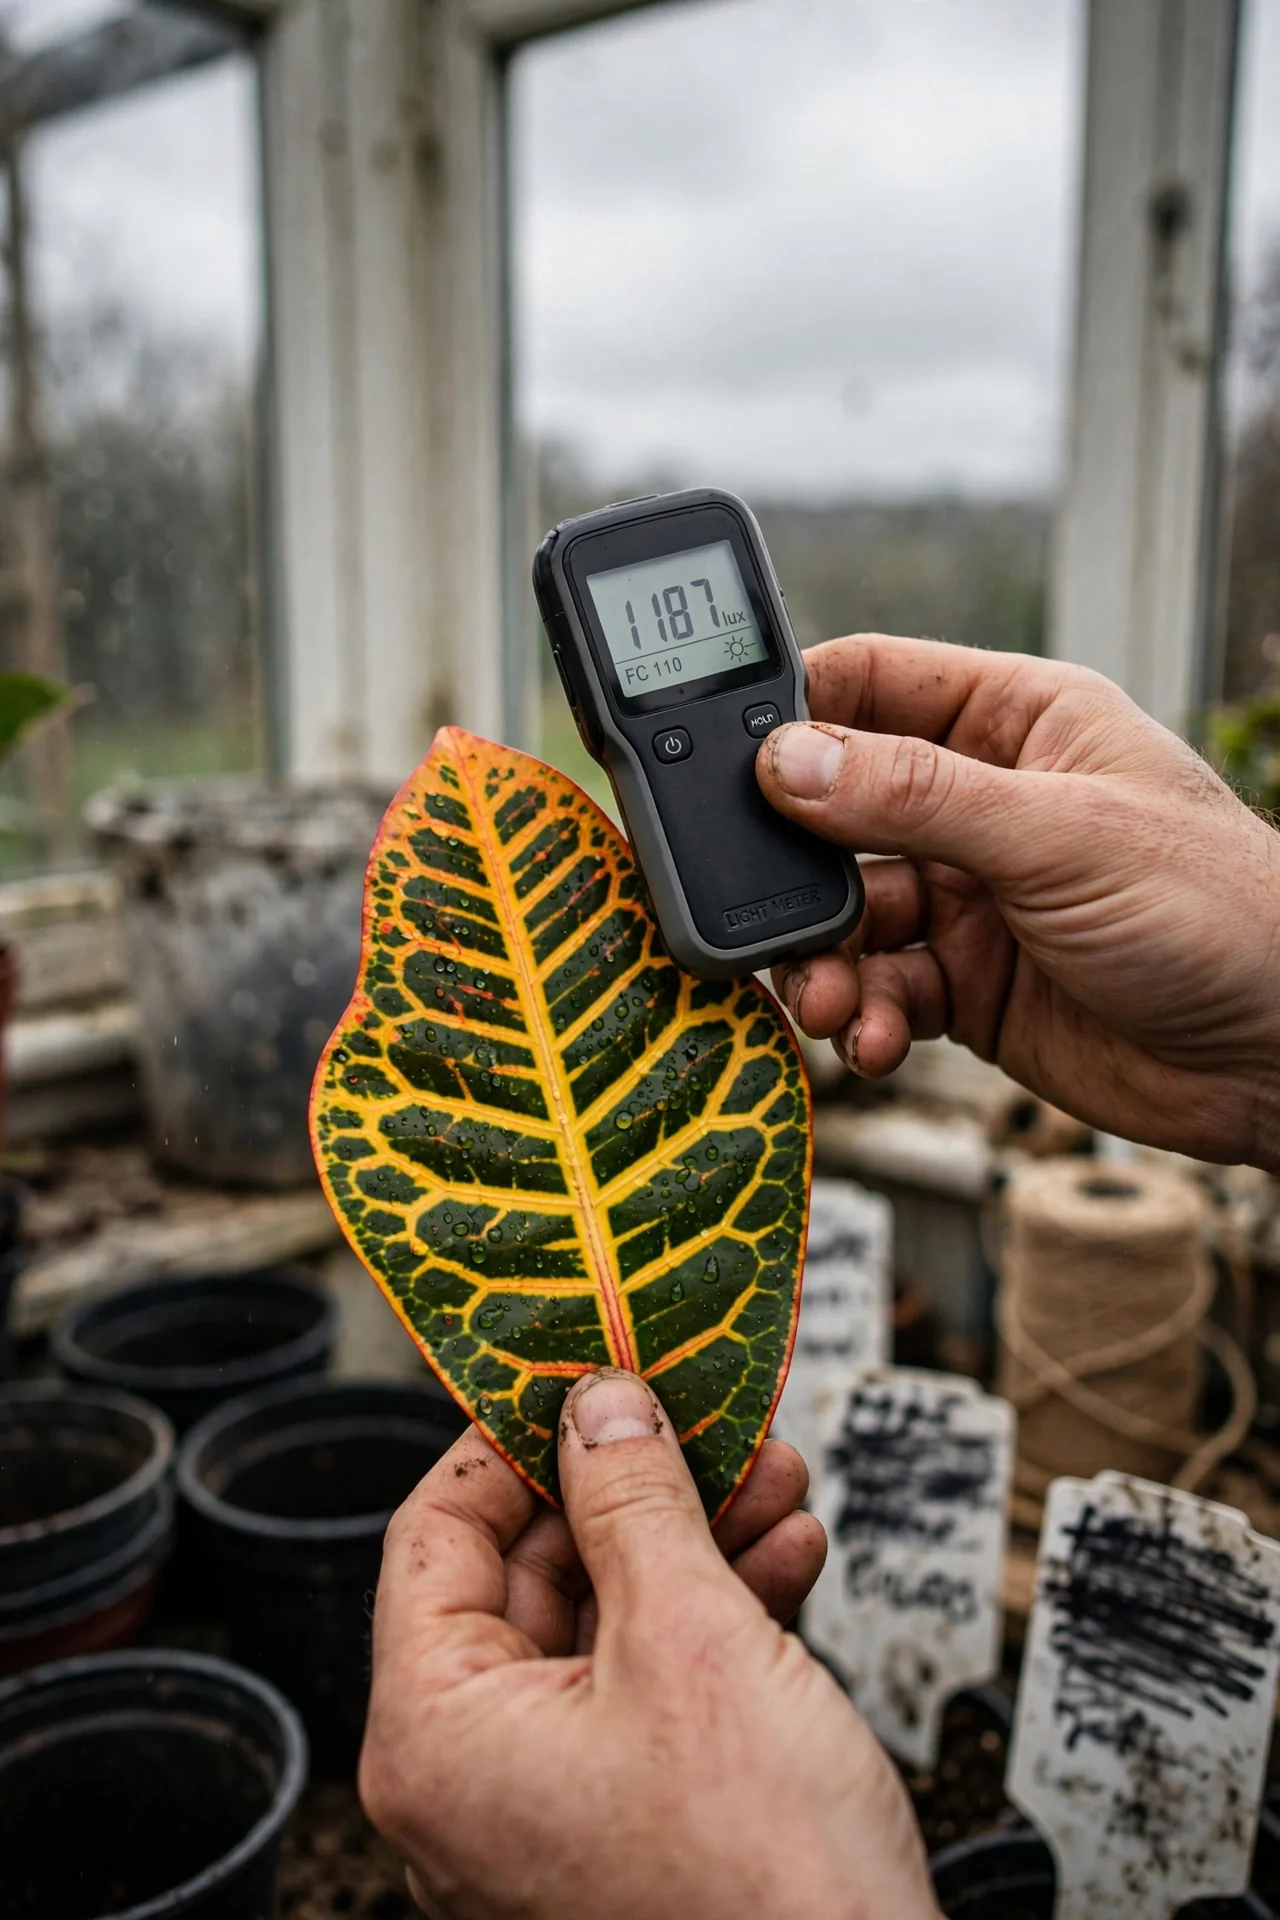
Use vs. skip. Use a mix of two parts peat-free potting soil, one part perlite, and one part orchid bark. This drains fast and keeps roots aerated, essential when light is only moderate and soil dries slower. Skip heavy, 100% peat-based bagged mixes that compact and stay soggy. Edge case: in very dry indoor air, a slightly higher coir content can slow drying without waterlogging, but never sacrifice drainage holes.
3. Temperature Stability Zones
Best for: Branch 3
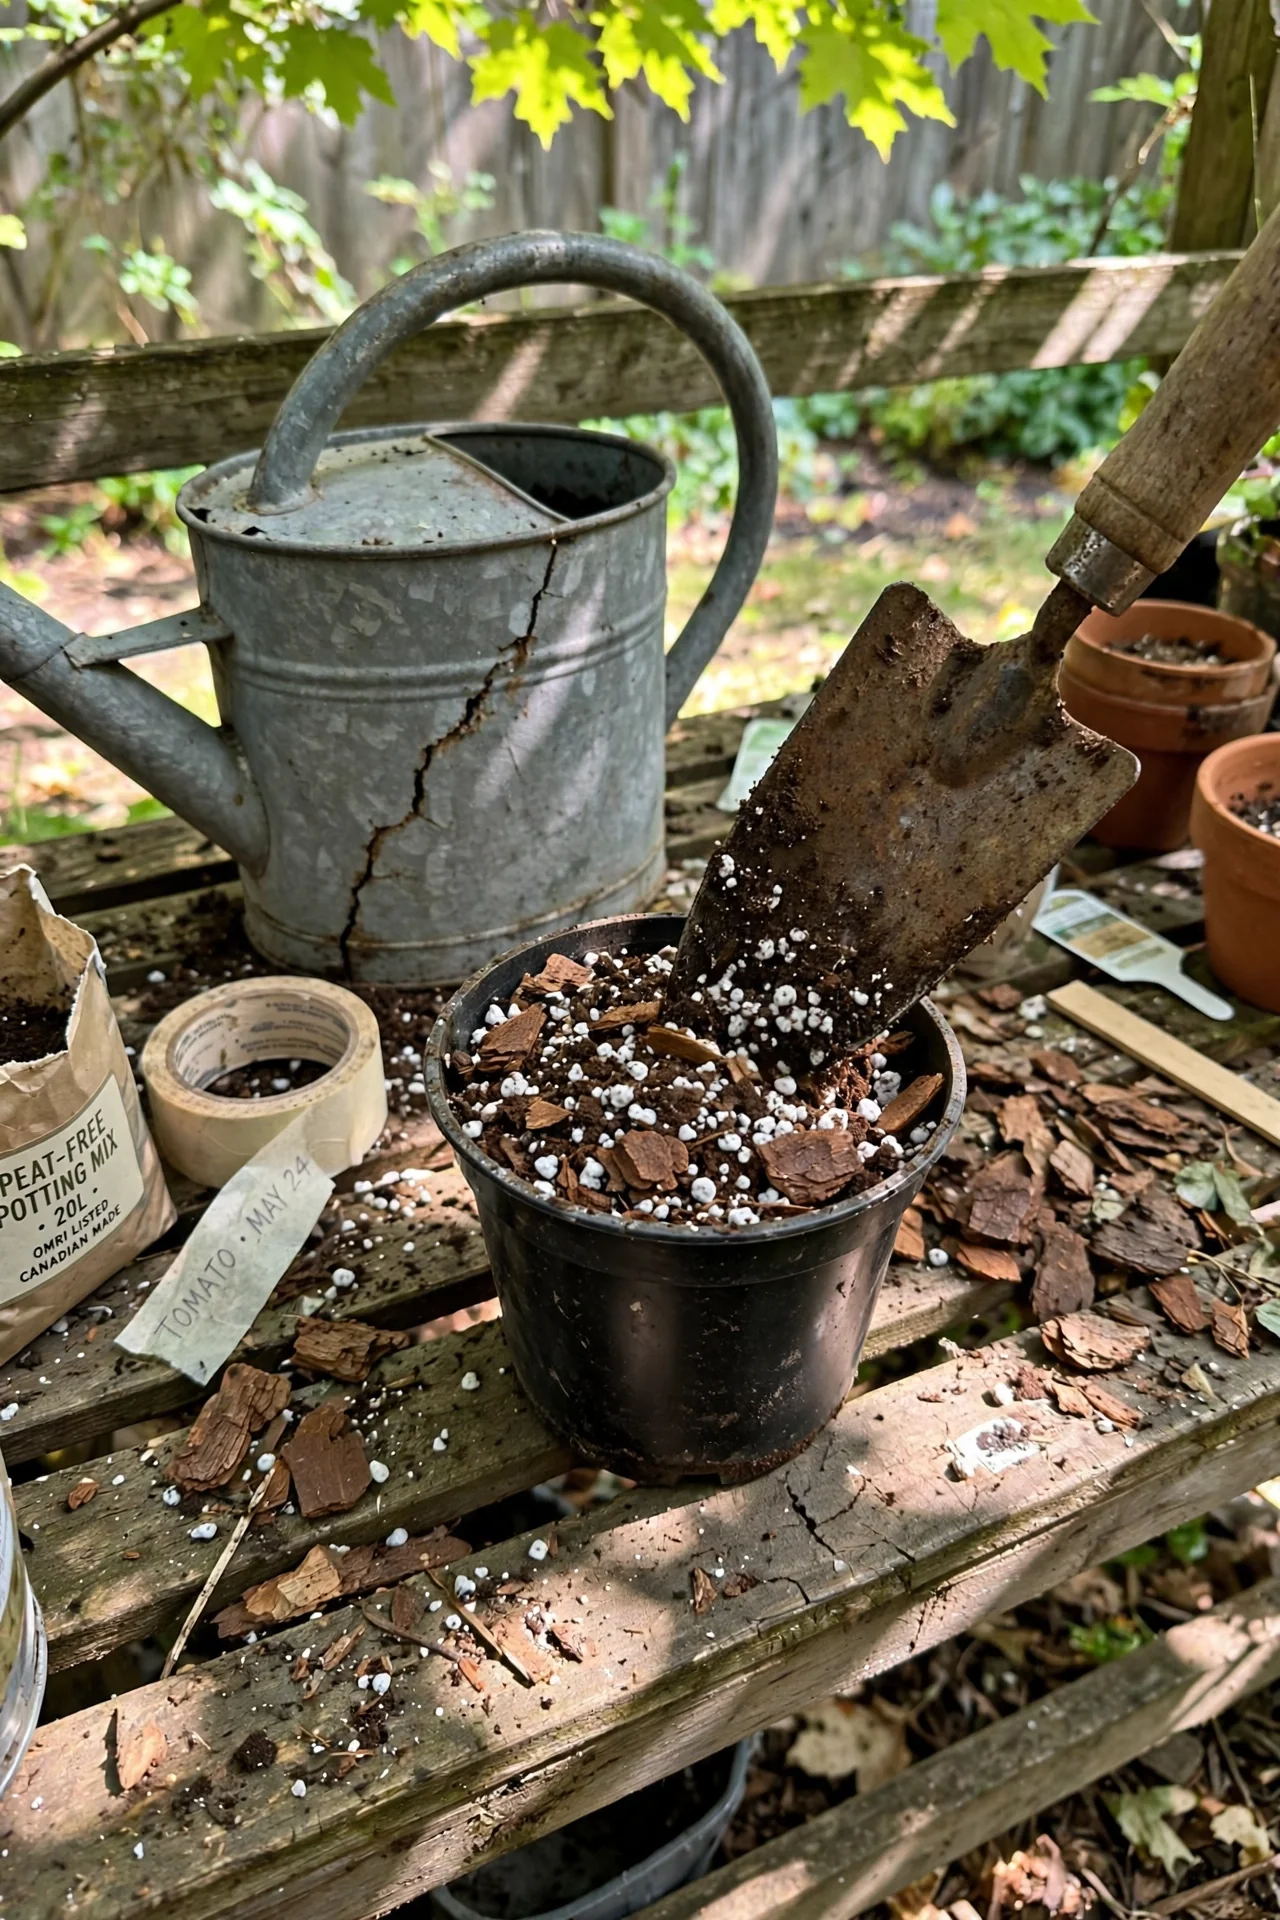
Threshold rule. Keep ambient temperature between 60°F (15°C) and 85°F (29°C). Exposure below 55°F (13°C) for more than a few hours causes leaf drop, often starting with lower leaves. In Branch 3 low-light situations, plants are already stressed; a cold draft from a window at night can push them over the edge. Adjust by moving the pot away from glass in winter or using a small horticultural heat mat set to 70°F (21°C). If leaf drop continues despite correct light, cross-reference dracaena care; both genera are sensitive to sudden temperature dips.
4. Water Rhythm Calibration
Best for: Branch 1, Branch 2
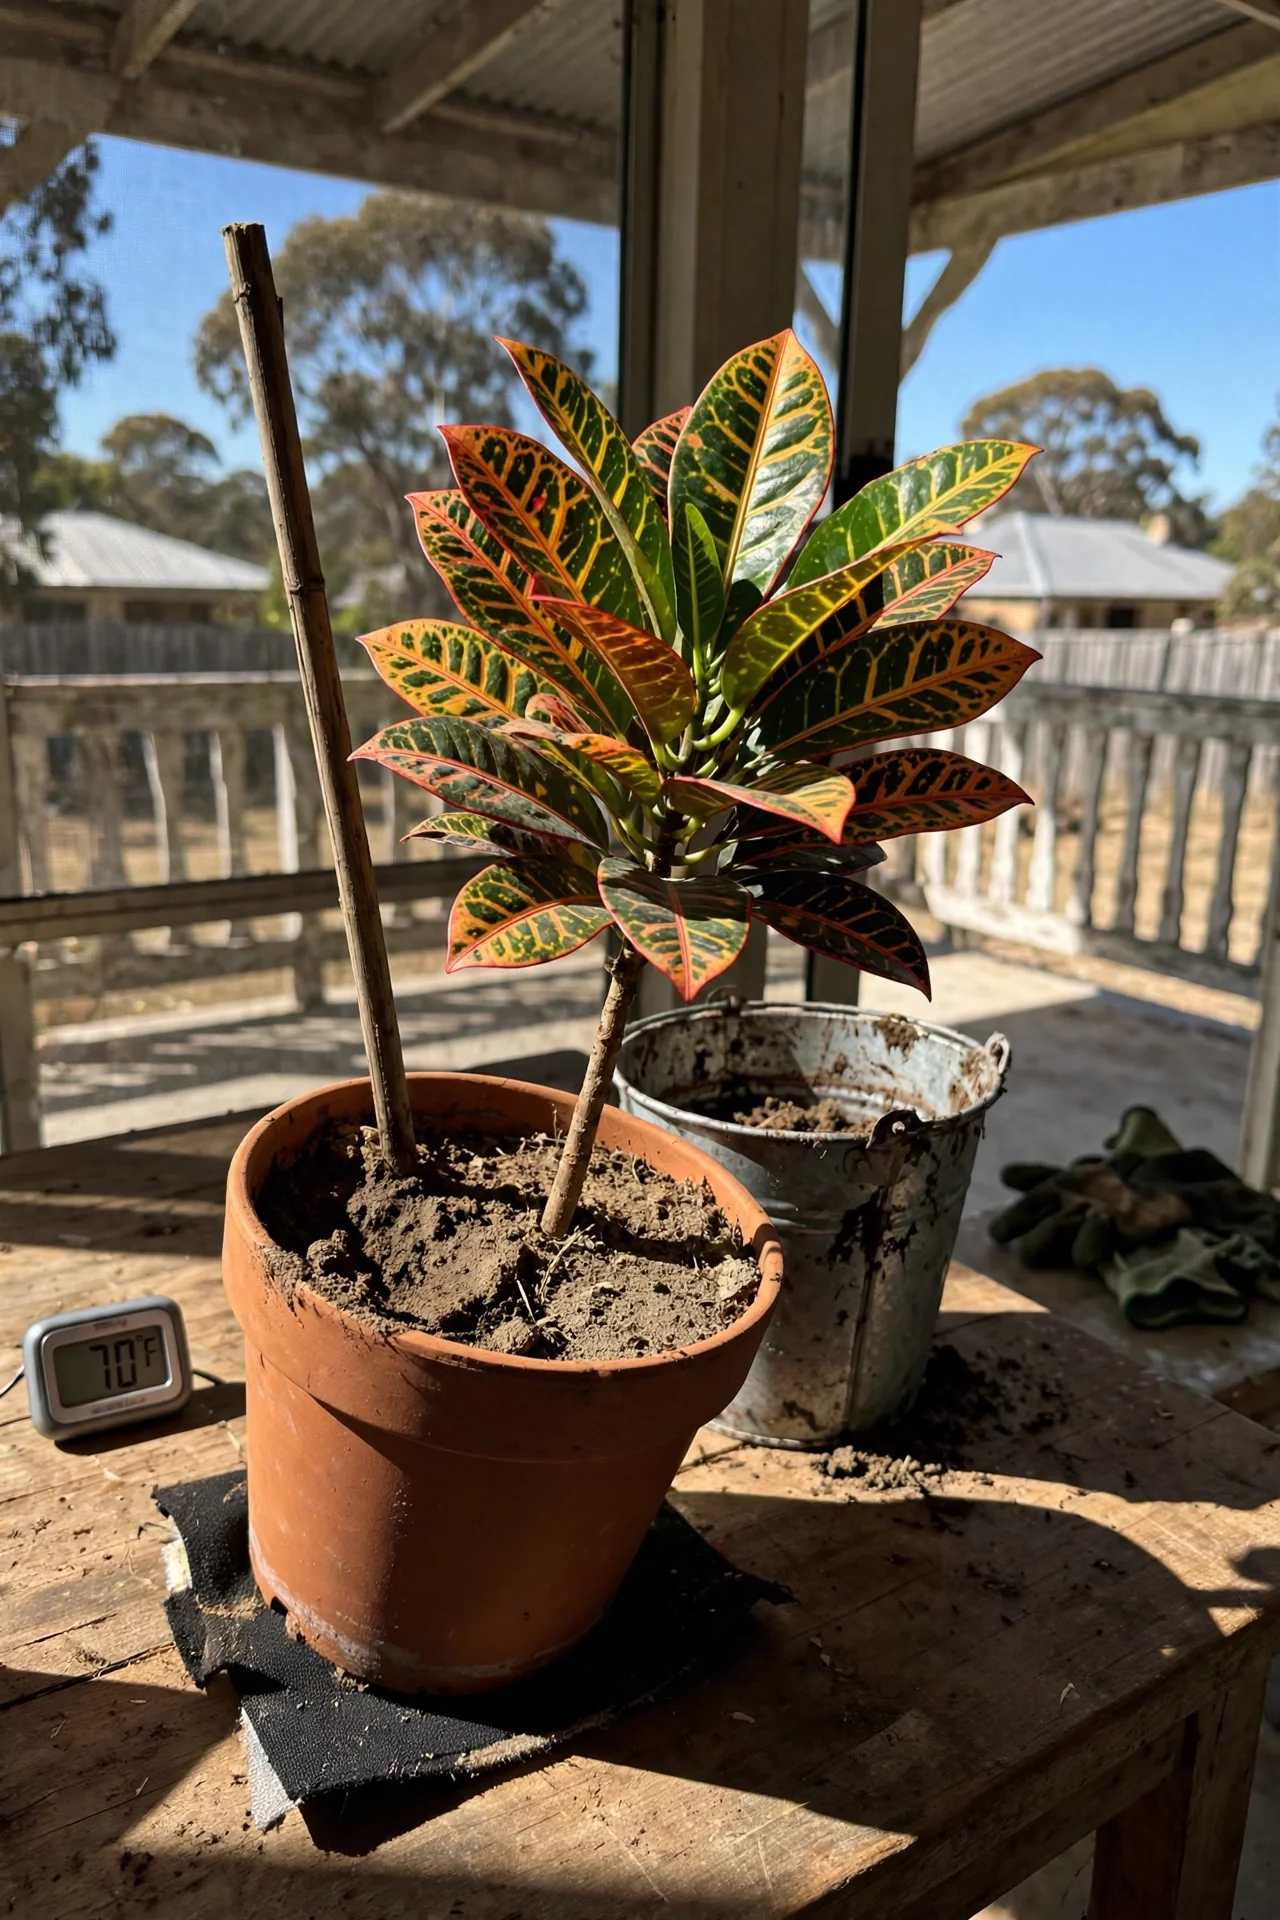
10-minute workflow. Step 1: Every 3–4 days, insert a finger or moisture meter into the top 2 inches of soil. Step 2: Water thoroughly until it flows from the drainage holes only when that zone feels dry. Step 3: Discard any water in the saucer after 20 minutes. Step 4: Adjust frequency seasonally; in high light (Branch 1) you may water every 5 days in summer, while in Branch 2 bright indirect light, 7–10 days is more typical. Upgrade: In Branch 1, a self-watering pot with a wick can buffer evaporation, but only if you monitor the reservoir weekly to avoid anaerobic conditions. Constantly moist soil in lower light invites root rot.
5. Ambient Humidity Tactics
Best for: Branch 2
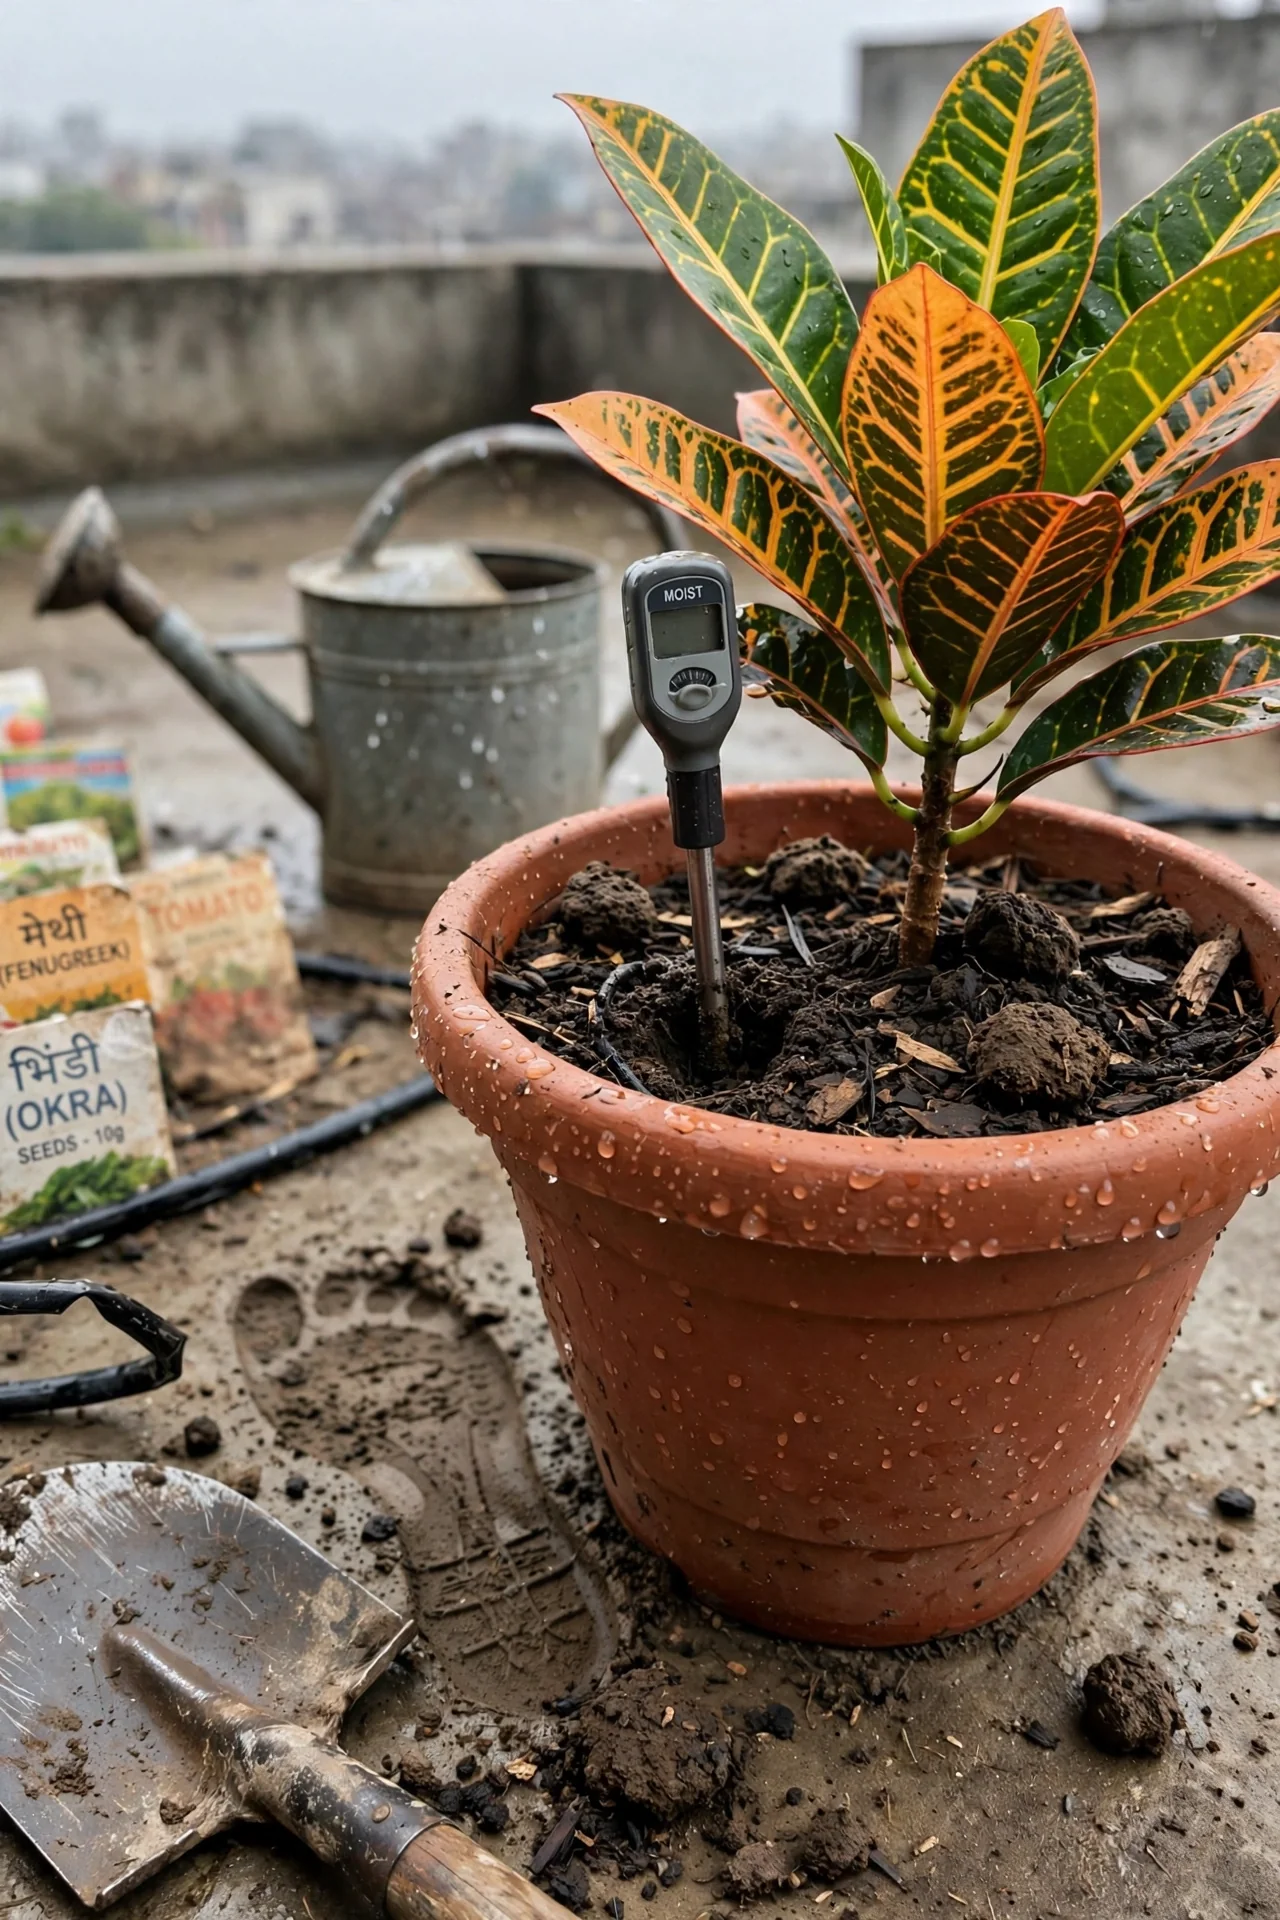
Use vs. skip. Use a room humidifier or a pebble tray with water kept below the pot base when indoor humidity drops below 40%. Skip daily misting; it raises leaf-surface humidity for minutes and can encourage fungal spots on croton’s textured leaves. Edge case: In Branch 2, moderate humidity of 40–50% is often enough, and crotons tolerate average household air if not near a heat vent. For plants that truly demand elevated humidity, see calathea care.
6. Pruning for Shape and Stress
Best for: Branch 3
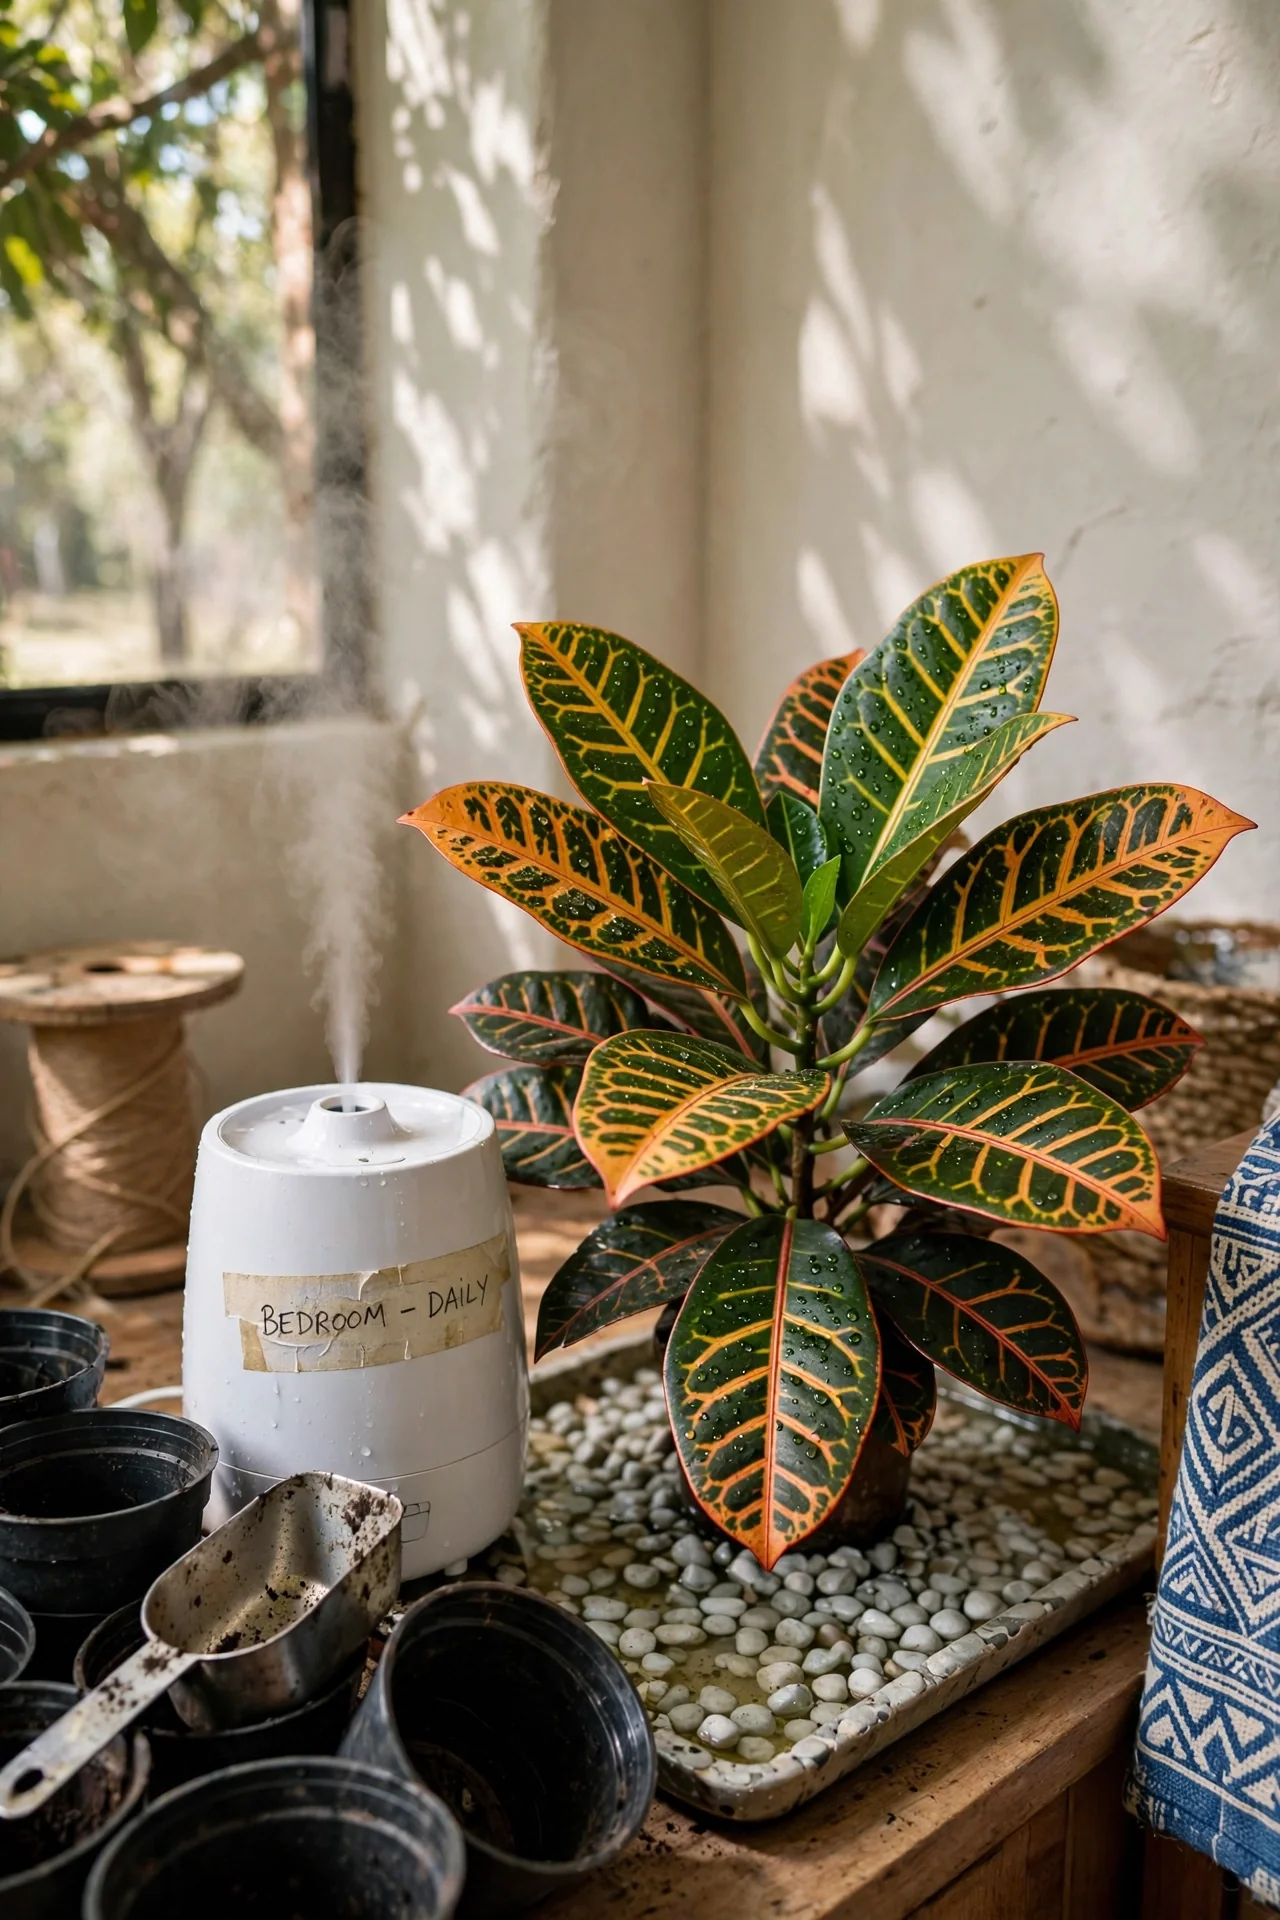
Use vs. skip. Use clean shears in early spring to cut leggy stems back to a leaf node, which forces branching. Skip heavy pruning in autumn and winter when metabolic rate is low; wounds heal slowly and stress can trigger leaf drop. In Branch 3 low light, a light pruning to reduce total leaf area helps the plant match its diminished photosynthetic capacity, but never remove more than 20% of foliage at once.
7. Fertilizer Timing and Strength
Best for: Branch 1
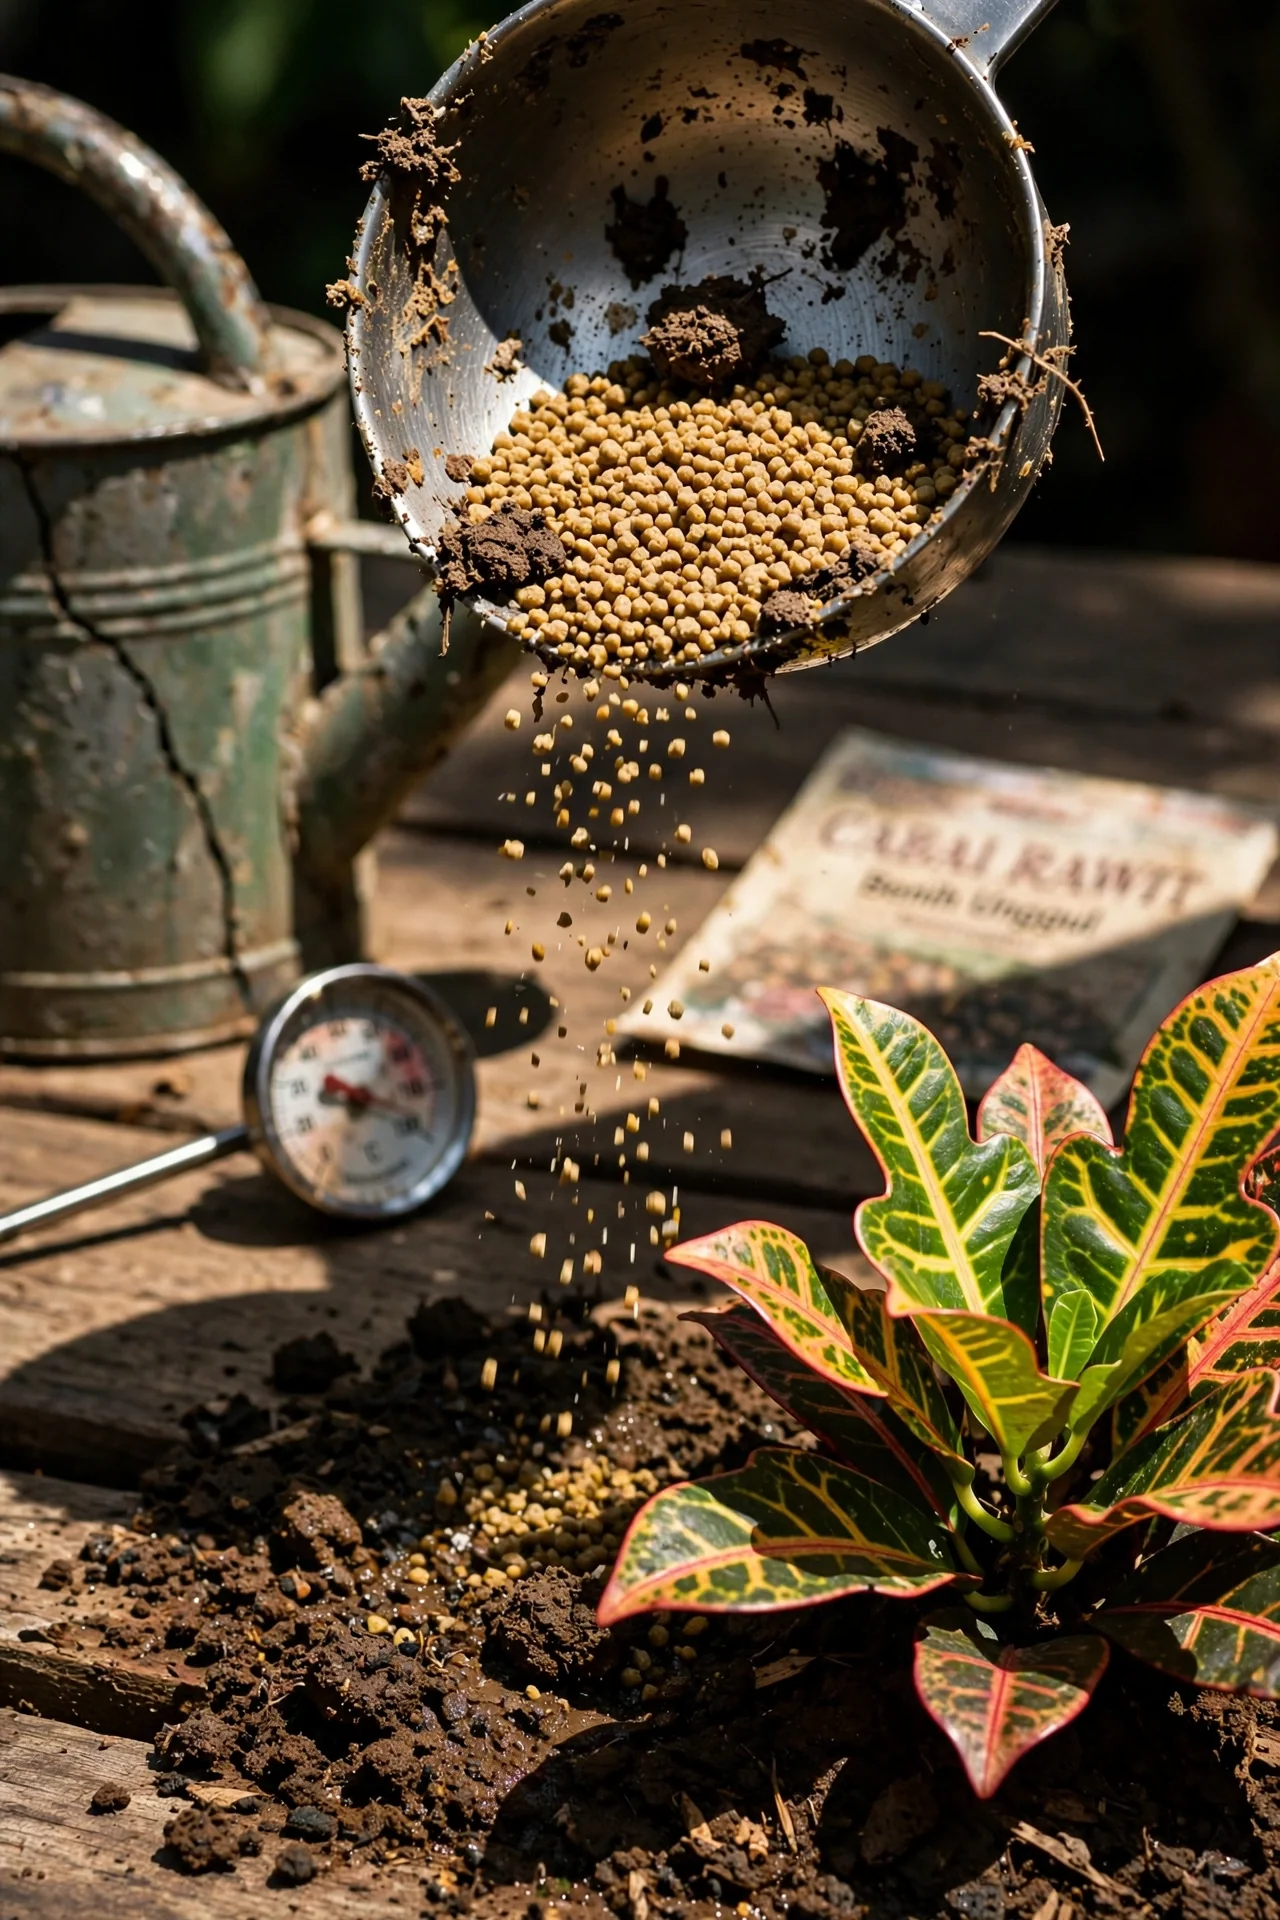
Blueprint. What: A balanced, water-soluble fertilizer with an NPK near 3-1-2 or 10-10-10, diluted to half the label strength. For: Sustaining the rapid leaf production that high light enables; without nutrients, new leaves may emerge small or pale. Steps: Mix at half strength every 4 weeks during active growth (spring through early autumn). Water the soil lightly before applying to avoid root burn. Pause feeding entirely from November through February. Mistake: Fertilizing a croton in low light (Branch 3) leads to salt accumulation and leaf margin burn. Similar to alocasia care, croton is a heavy feeder only when light drives demand.
8. Repotting Cadence
Best for: Branch 2
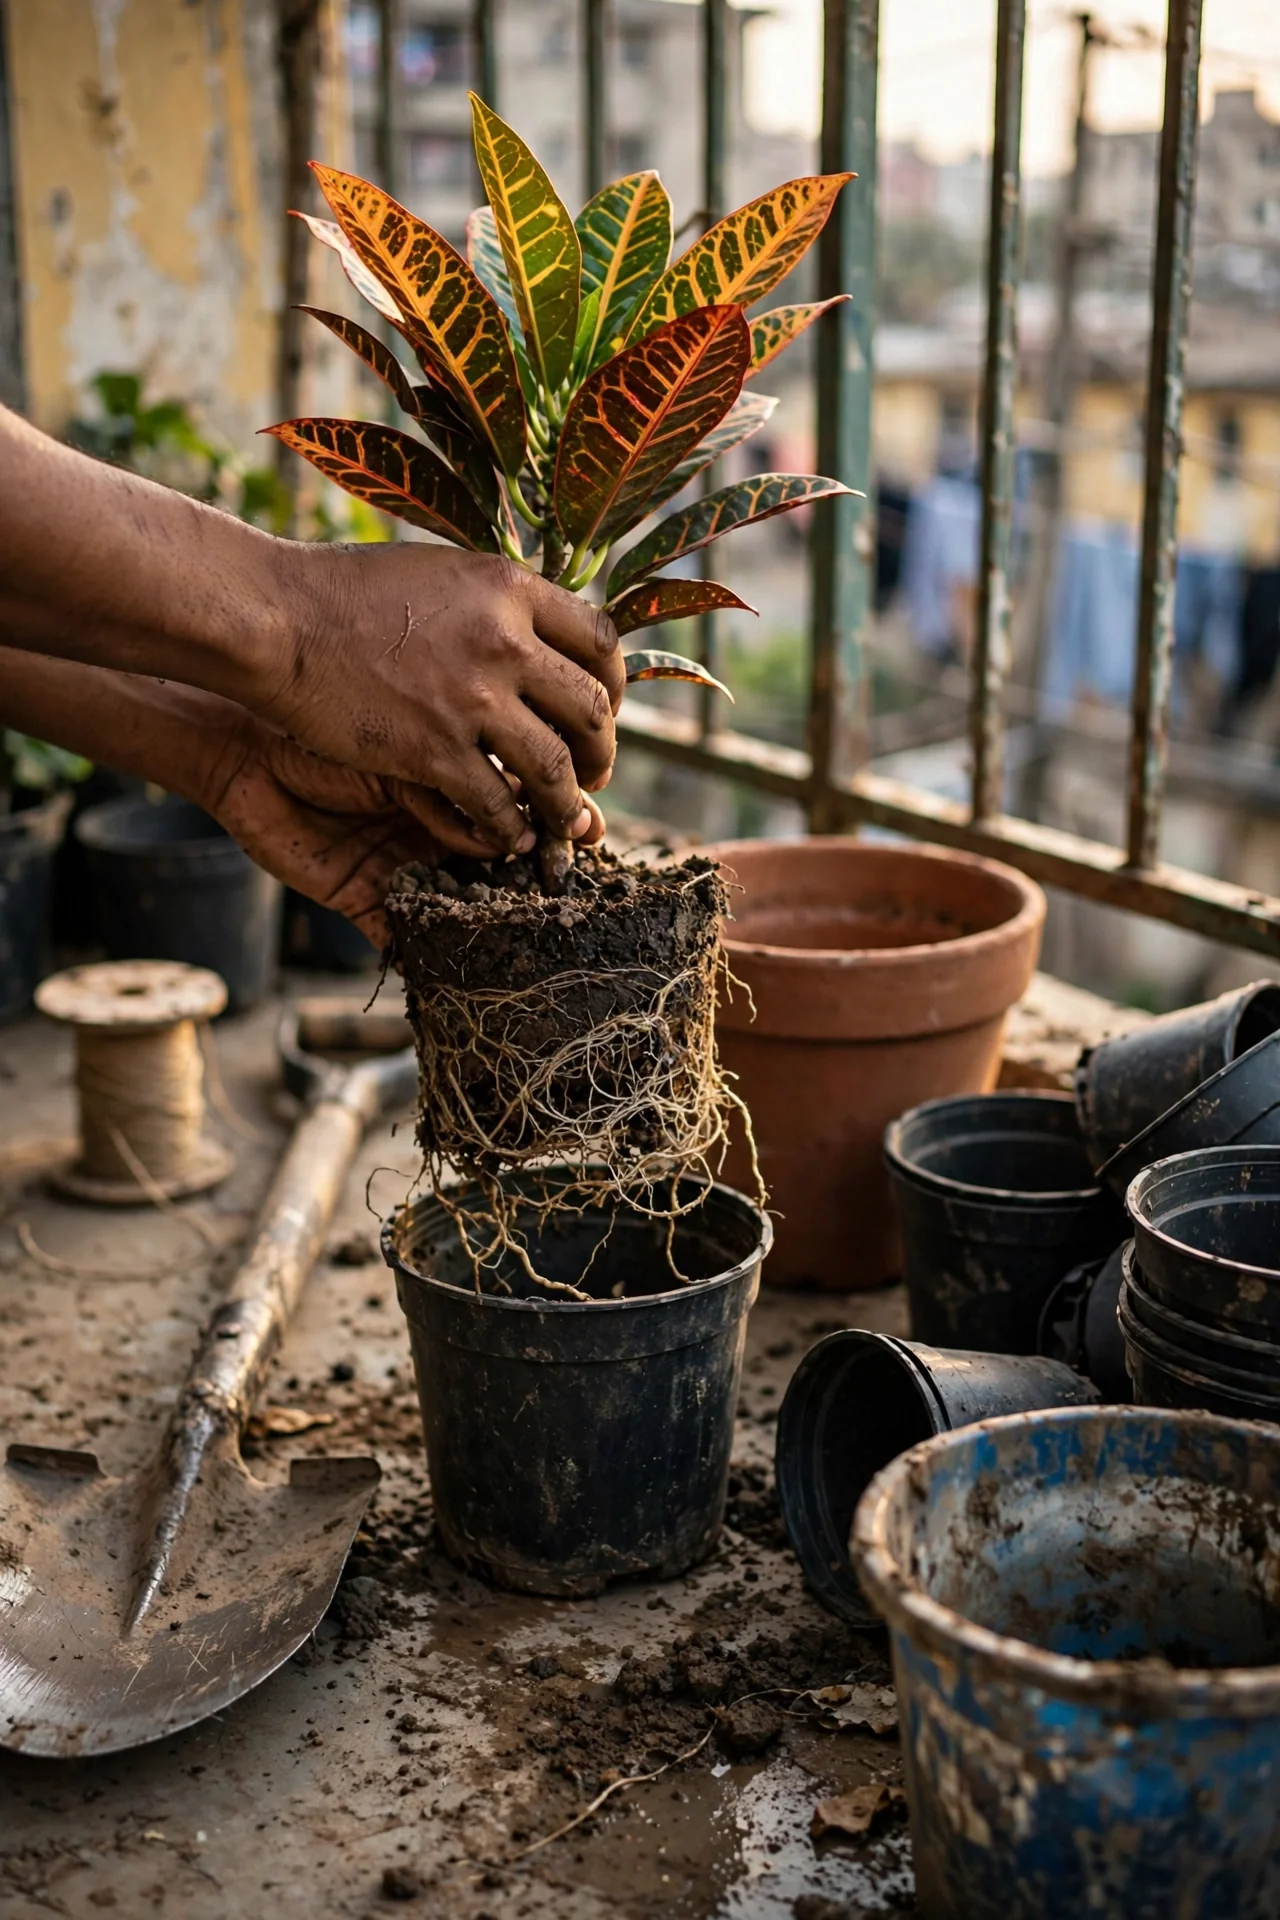
Threshold rule. Repot when roots coil visibly at the drainage holes or the soil surface crusts with mineral deposits, roughly every 2 years. Move up to a container only 1–2 inches wider. An oversized pot holds excess moisture, which in Branch 2 moderate light becomes a root-rot risk. Always repot in late spring; winter repotting can stall recovery.
9. Pest Vigilance Routine
Best for: Branch 3
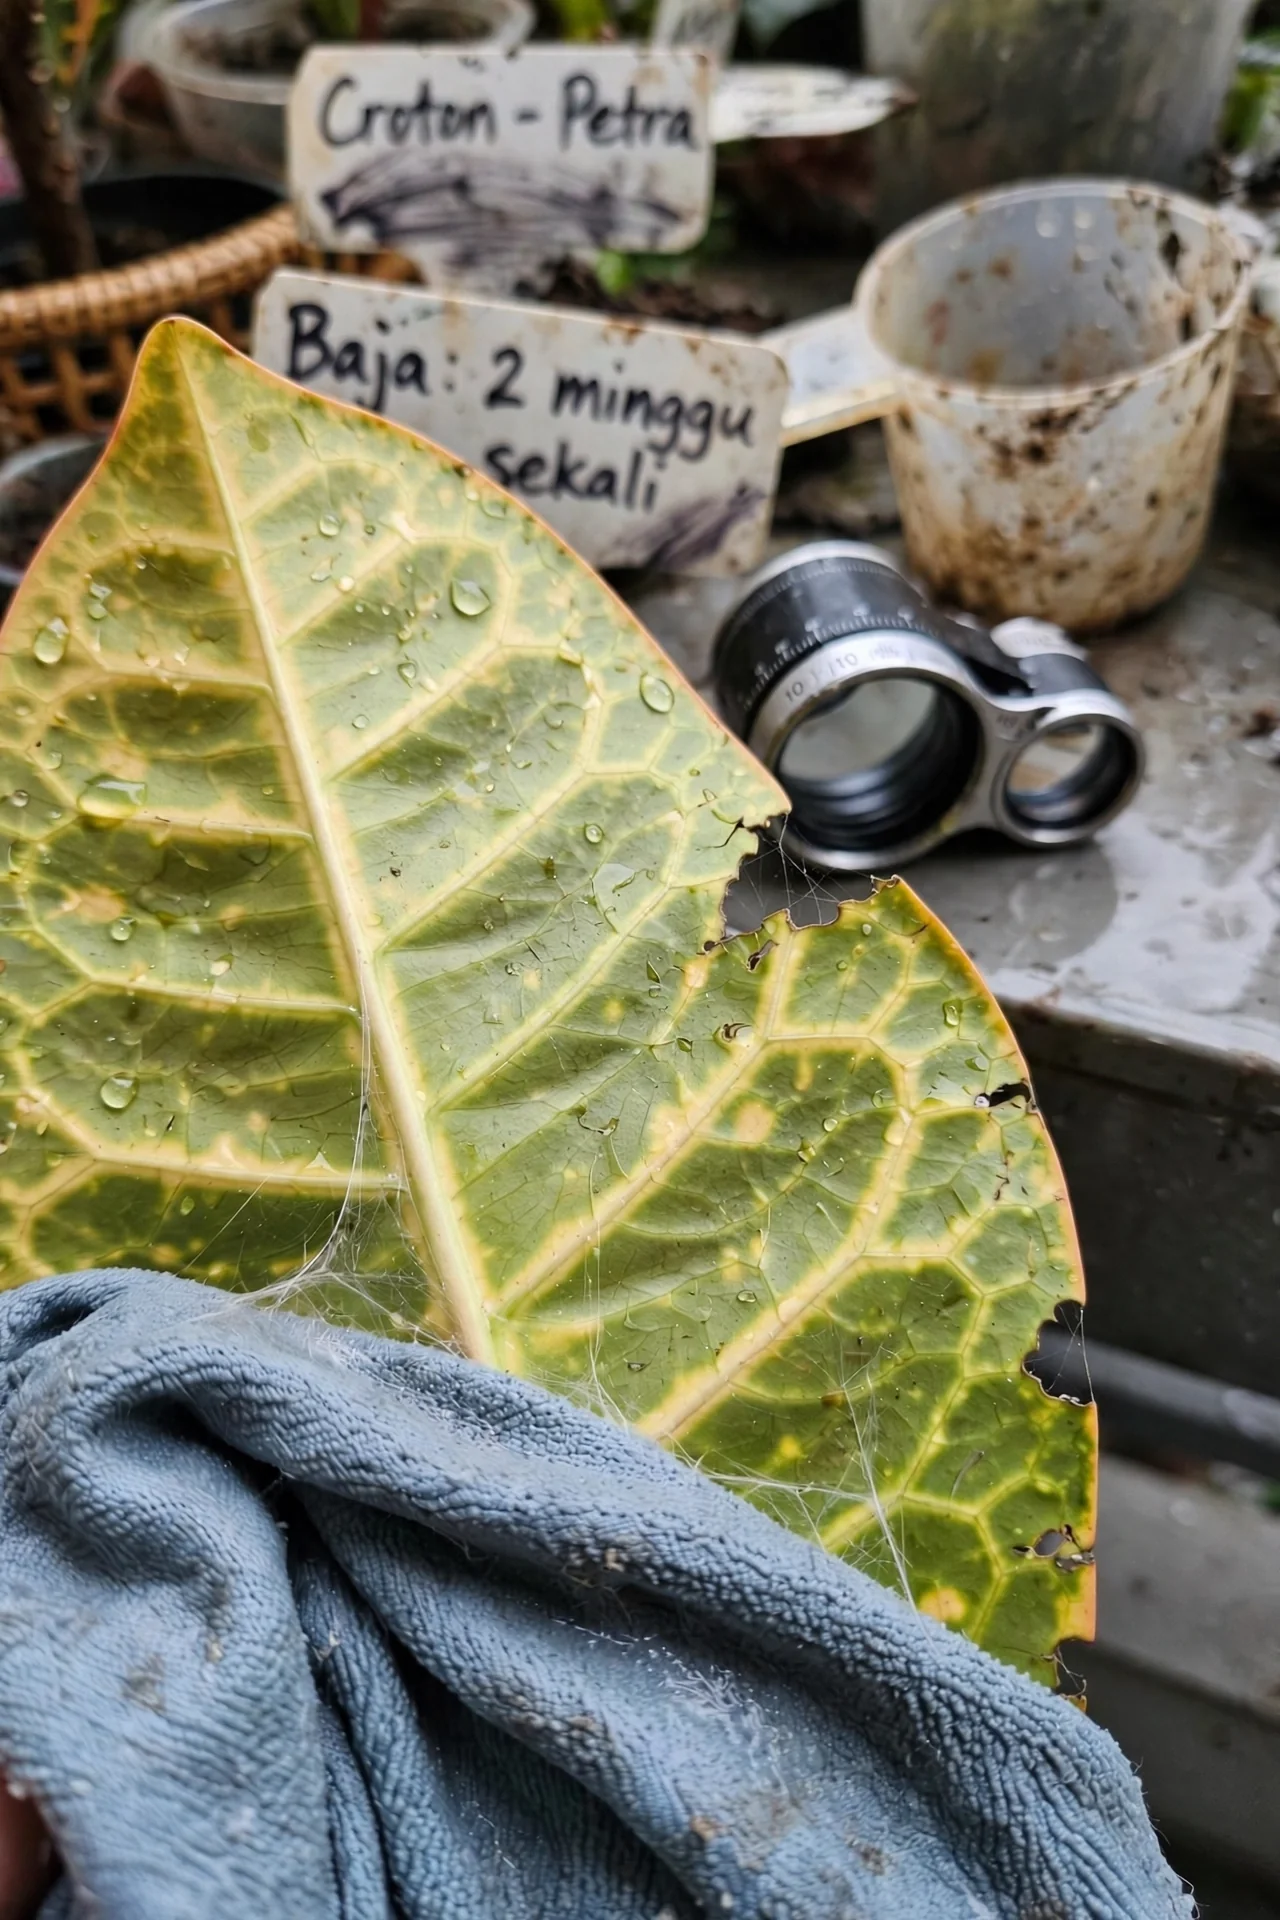
10-minute workflow. Once a week, inspect the undersides of leaves and stem junctions for spider mite webbing, mealybug cotton, or brown scale bumps. Use a damp microfiber cloth to wipe each leaf; this also removes dust that blocks light. If pests are found, isolate the plant and apply insecticidal soap according to the label. Upgrade: keep a 10x loupe in your plant toolkit to catch mites before webbing appears. This routine mirrors the prevention steps in aglaonema care.
10. Propagation by Stem Cuttings
Best for: Branch 1
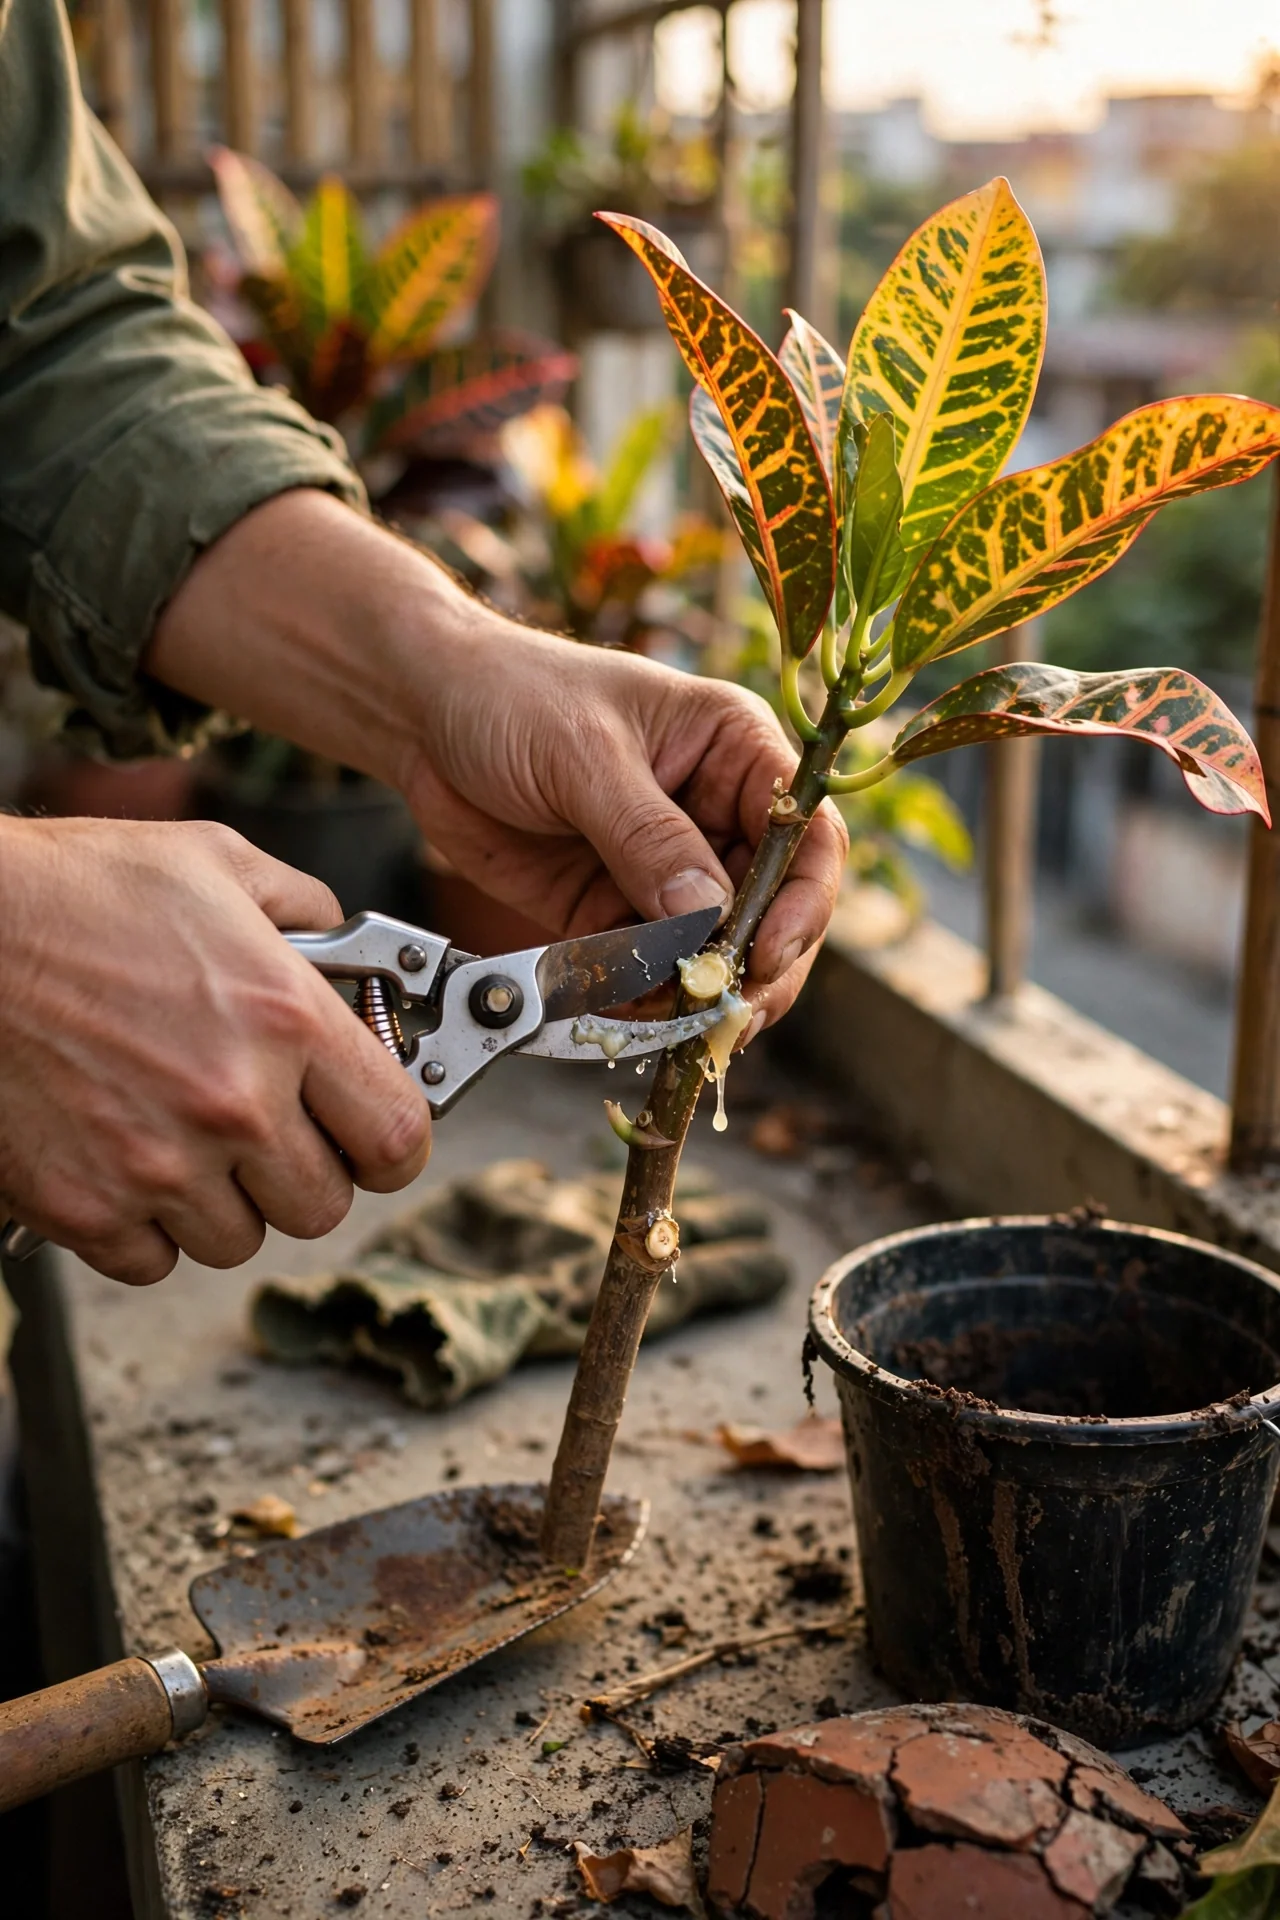
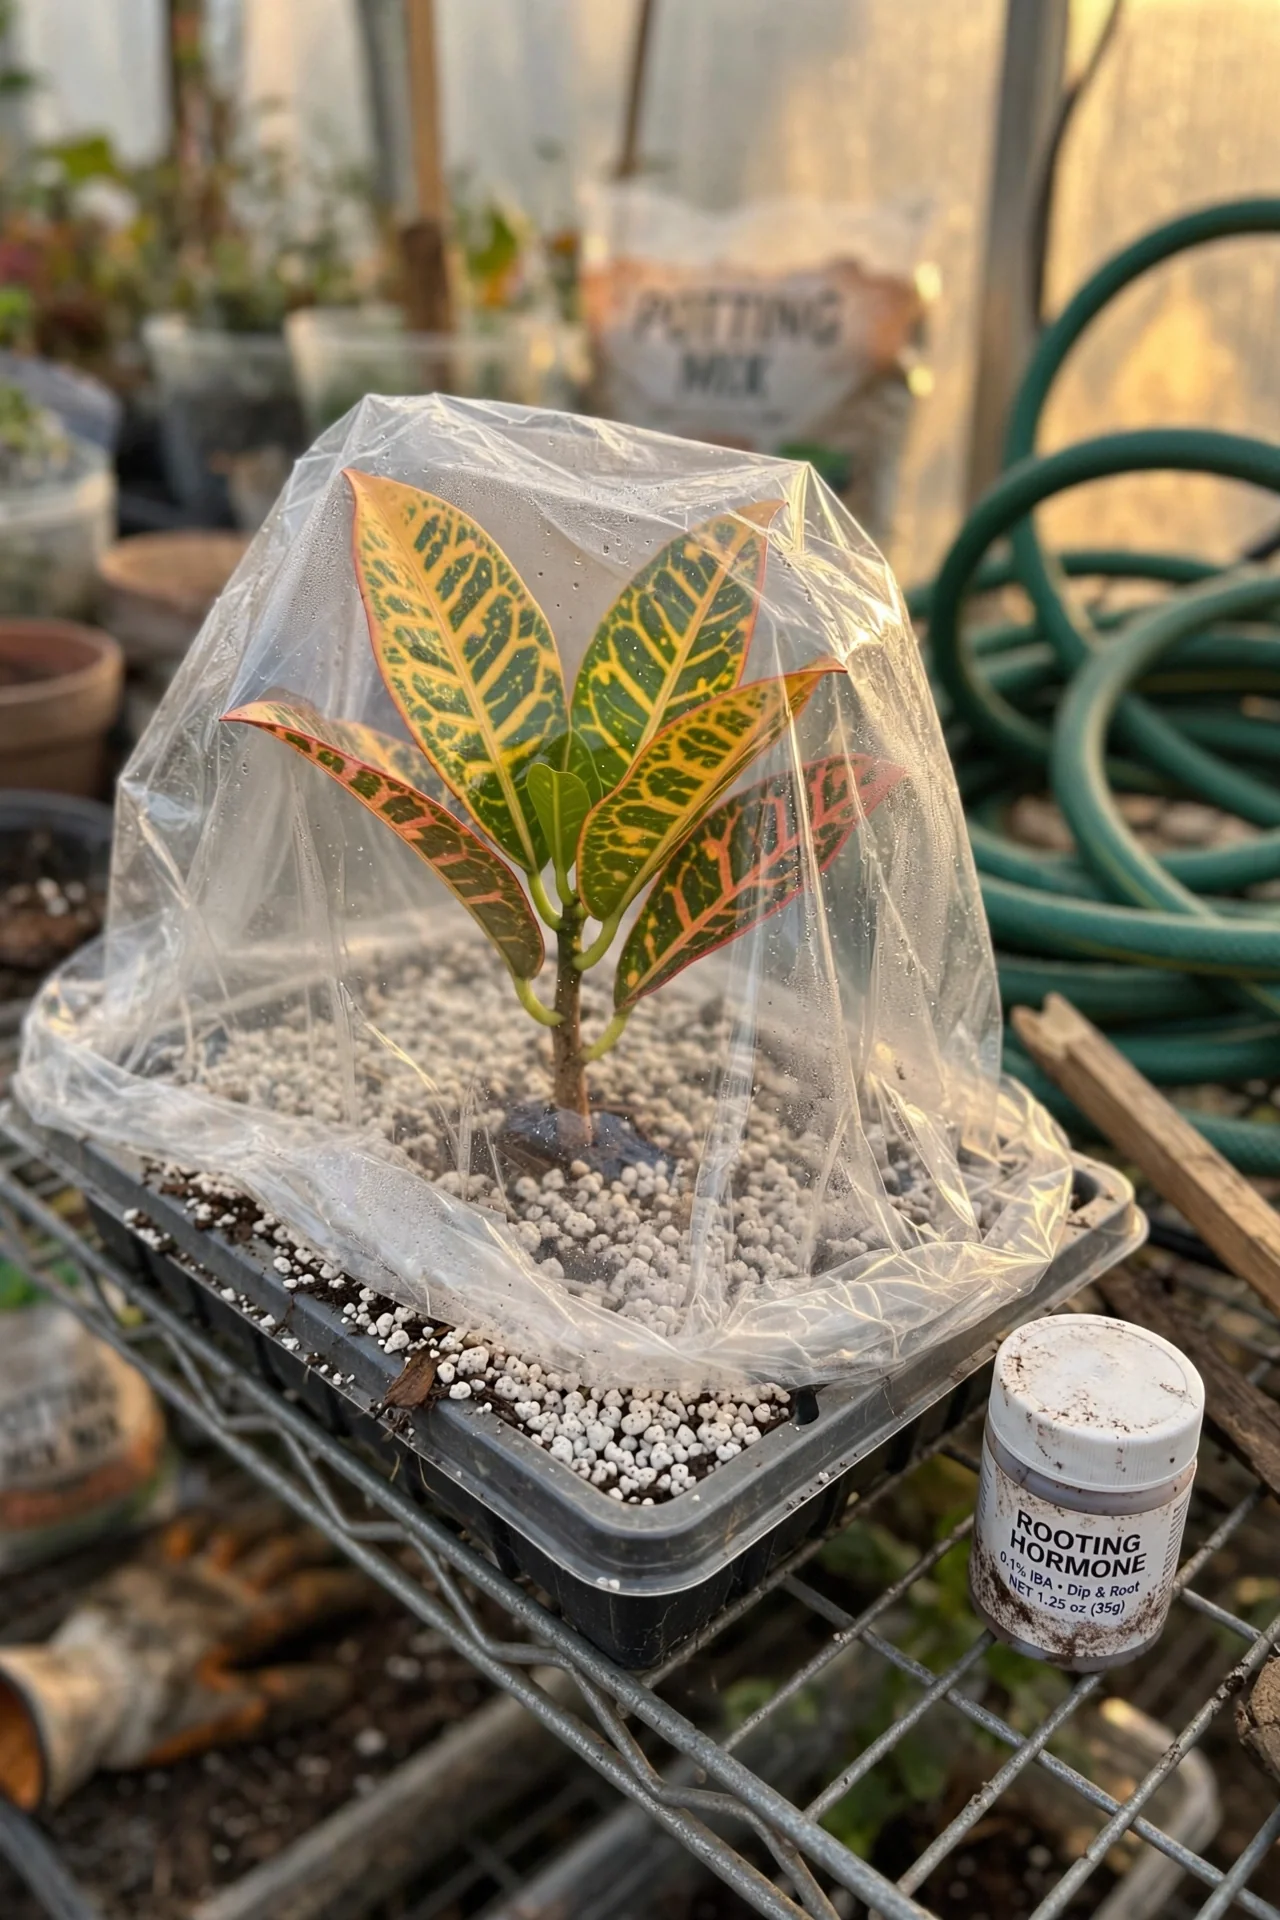
Blueprint. What: Vegetative propagation using 4–6 inch stem tip cuttings. For: Creating exact clones of a well-colored parent plant, or rescuing a stretched stem. Steps: Cut just below a node with a sterile blade, remove the lowest leaves, and dip the cut end in rooting hormone powder. Insert into a moist 50/50 perlite and peat-free mix. Enclose the pot in a clear plastic bag to keep humidity above 80% and place in bright indirect light (Branch 2 intensity) until roots form in 4–6 weeks. Mistake: Letting the cutting wilt by leaving it uncovered; croton leaves lose water fast without roots.
11. Toxicity Awareness Placement
Best for: Branch 3
Use vs. skip. Use elevated plant stands or hanging baskets to keep croton out of reach of toddlers and pets; the milky sap can cause mouth irritation and gastrointestinal upset if ingested. Skip worrying about airborne toxins; the risk is contact or ingestion only. Edge case: In Branch 3 lower light areas, a tall plant stand near an east window can satisfy safety needs while capturing the limited light available.
Starter Stack (What to Choose First)
Branch 1 High Light Foundation
Begin with Light Intensity Positioning (Item 1) and Fertilizer Timing (Item 7). Measure your brightest spot, then supplement with a full-spectrum LED grow light if needed. Pair that with half-strength monthly feeding during the growing season. Synergy: abundant light creates the metabolic demand that makes fertilizer useful rather than harmful. Estimated cost: light meter app (free) or hardware meter ($15–30), grow bulb ($20–50). Time: monthly feeding, initial setup once.
Branch 2 Bright Indirect Balance
Start with Water Rhythm Calibration (Item 4) and Ambient Humidity Tactics (Item 5). Use a moisture meter to dial in a consistent watering schedule and place a room humidifier nearby set to 45%. Synergy: steady root moisture and stable air humidity prevent the leaf-edge browning that drives owners to overcorrect. Estimated cost: moisture meter ($8–15), humidifier ($30–60). Time: weekly checks, humidifier refill every 1–2 days.
Branch 3 Low Light Survival
Focus on Temperature Stability Zones (Item 3) and Pest Vigilance Routine (Item 9). Move the plant away from cold drafts, maintain a minimum 65°F (18°C), and inspect leaves weekly. Synergy: a stable, warm microclimate reduces stress while regular scouting catches pests before populations explode on a weakened plant. Estimated cost: digital thermometer ($10), optional heat mat ($20). Time: 5 minutes per week.
When This Won’t Work
First measurable failure condition: the available light consistently measures below 500 foot-candles even at midday, and you cannot supplement with a grow light. In this scenario, leaf color will not return, and older leaves will shed faster than new ones can form. The alternative is to move the croton outdoors to a shaded patio in summer or relocate it permanently to a brighter room. A plant stuck in this zone will slowly decline, and no amount of attentive watering can reverse it.
Second failure condition: chronic overwatering in low light leads to persistent soggy soil and root rot. Signs include soft, brown leaf spots and a foul smell from the drainage holes. If roots are mushy, unpot immediately, trim away rotted sections, and repot in a fast-draining mix. Then, cut watering frequency in half and verify light levels. Leaf drop from light stress can mimic symptoms in dracaena yellow leaves, but root rot demands a physical rescue, not just an environmental tweak.
Choosing the Right Option for Your Situation
Budget threshold
If your budget for extra gear is under $30, prioritize Branch 2 items. A moisture meter and a pebble tray or small humidifier get you 80% of the way. Skip expensive self-watering systems; a simple pot with drainage works.
Time threshold
If you can dedicate no more than 10 minutes a week, choose Branch 2 and adopt the water rhythm from Item 4 along with a weekly leaf wipe (Item 9). This combination covers hydration and pest monitoring without daily tasks.
Technical constraint
If your home lacks any window delivering over 1000 fc, Branch 1 will fail without a dedicated full-spectrum grow light on a timer. Factor in the cost and the aesthetic of a light stand before committing.
Yes/No checklist:
1. Do I have a spot that provides 1000+ fc? If yes, choose Branch 1 or 2. If no, Branch 3 or a grow light.
2. Can I check soil moisture at least once a week? If no, consider a self-watering system but only in high light.
3. Is my indoor humidity consistently below 30%? If yes, add a humidifier.
4. Are children or pets present? If yes, plan an elevated placement from the start.
Expert Q&A
Why are my croton’s new leaves completely green?
Green leaves signal insufficient light for pigment synthesis. Move the plant to a spot with direct morning sun or increase artificial light to at least 2000 fc. Color often intensifies on mature leaves after a few weeks of corrected exposure.
Can I keep a croton in water instead of soil?
Crotons can root in water temporarily, but long-term hydroponic growth rarely succeeds because their woody stems rot without oxygen. Transfer rooted cuttings to a well-draining potting mix once roots reach 2 inches.
Does misting really help humidity for crotons?
Misting raises leaf-surface humidity for less than 10 minutes and does not meaningfully alter transpiration rates. A room humidifier or a pebble tray beneath the pot provides a more sustained effect without the risk of leaf fungus.
Why do leaves drop right after I bring a new croton home?
Acclimation shock from changes in light, temperature, and humidity triggers leaf abscission. Keep conditions stable, avoid repotting for 2–3 weeks, and place the plant in a spot that matches its eventual light branch from day one.
How do I make a leggy croton bushy again?
Prune the stem tips in early spring, cutting just above a leaf node. This forces lateral buds to break. Simultaneously, increase light to Branch 1 levels; without more energy, the plant cannot support multiple new shoots.
Conclusion
The master variable in croton care is light intensity; every watering rhythm, feeding schedule, and humidity tactic must align with the foot-candle budget of your space. The number one mistake is fixing watering and misting while the plant sits in a light-starved corner, which only prolongs decline.
Check your brightest window with a meter today. If you can deliver high light, also consider bird of paradise indoor care to expand your collection of light-hungry tropicals.