
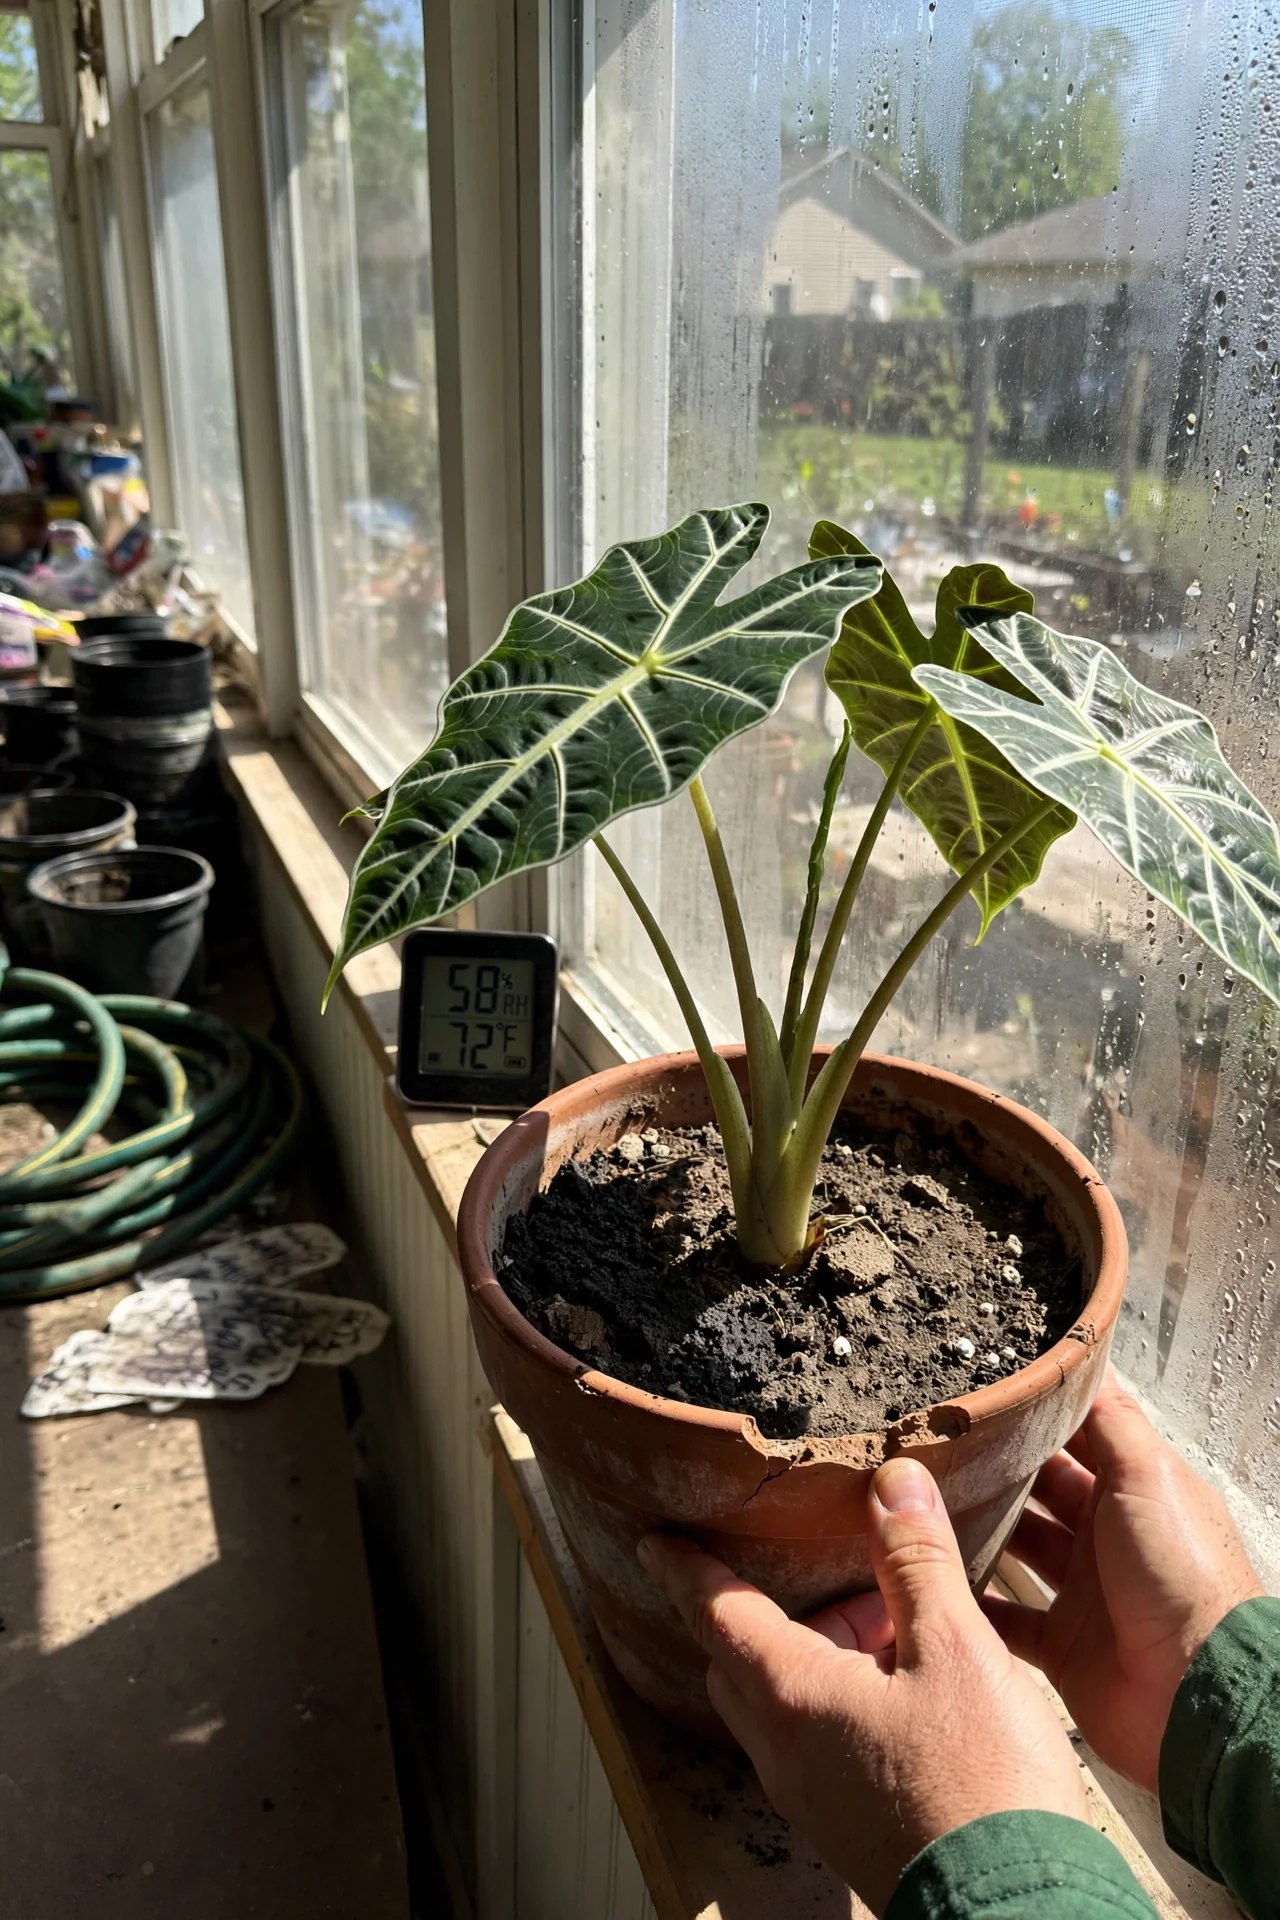
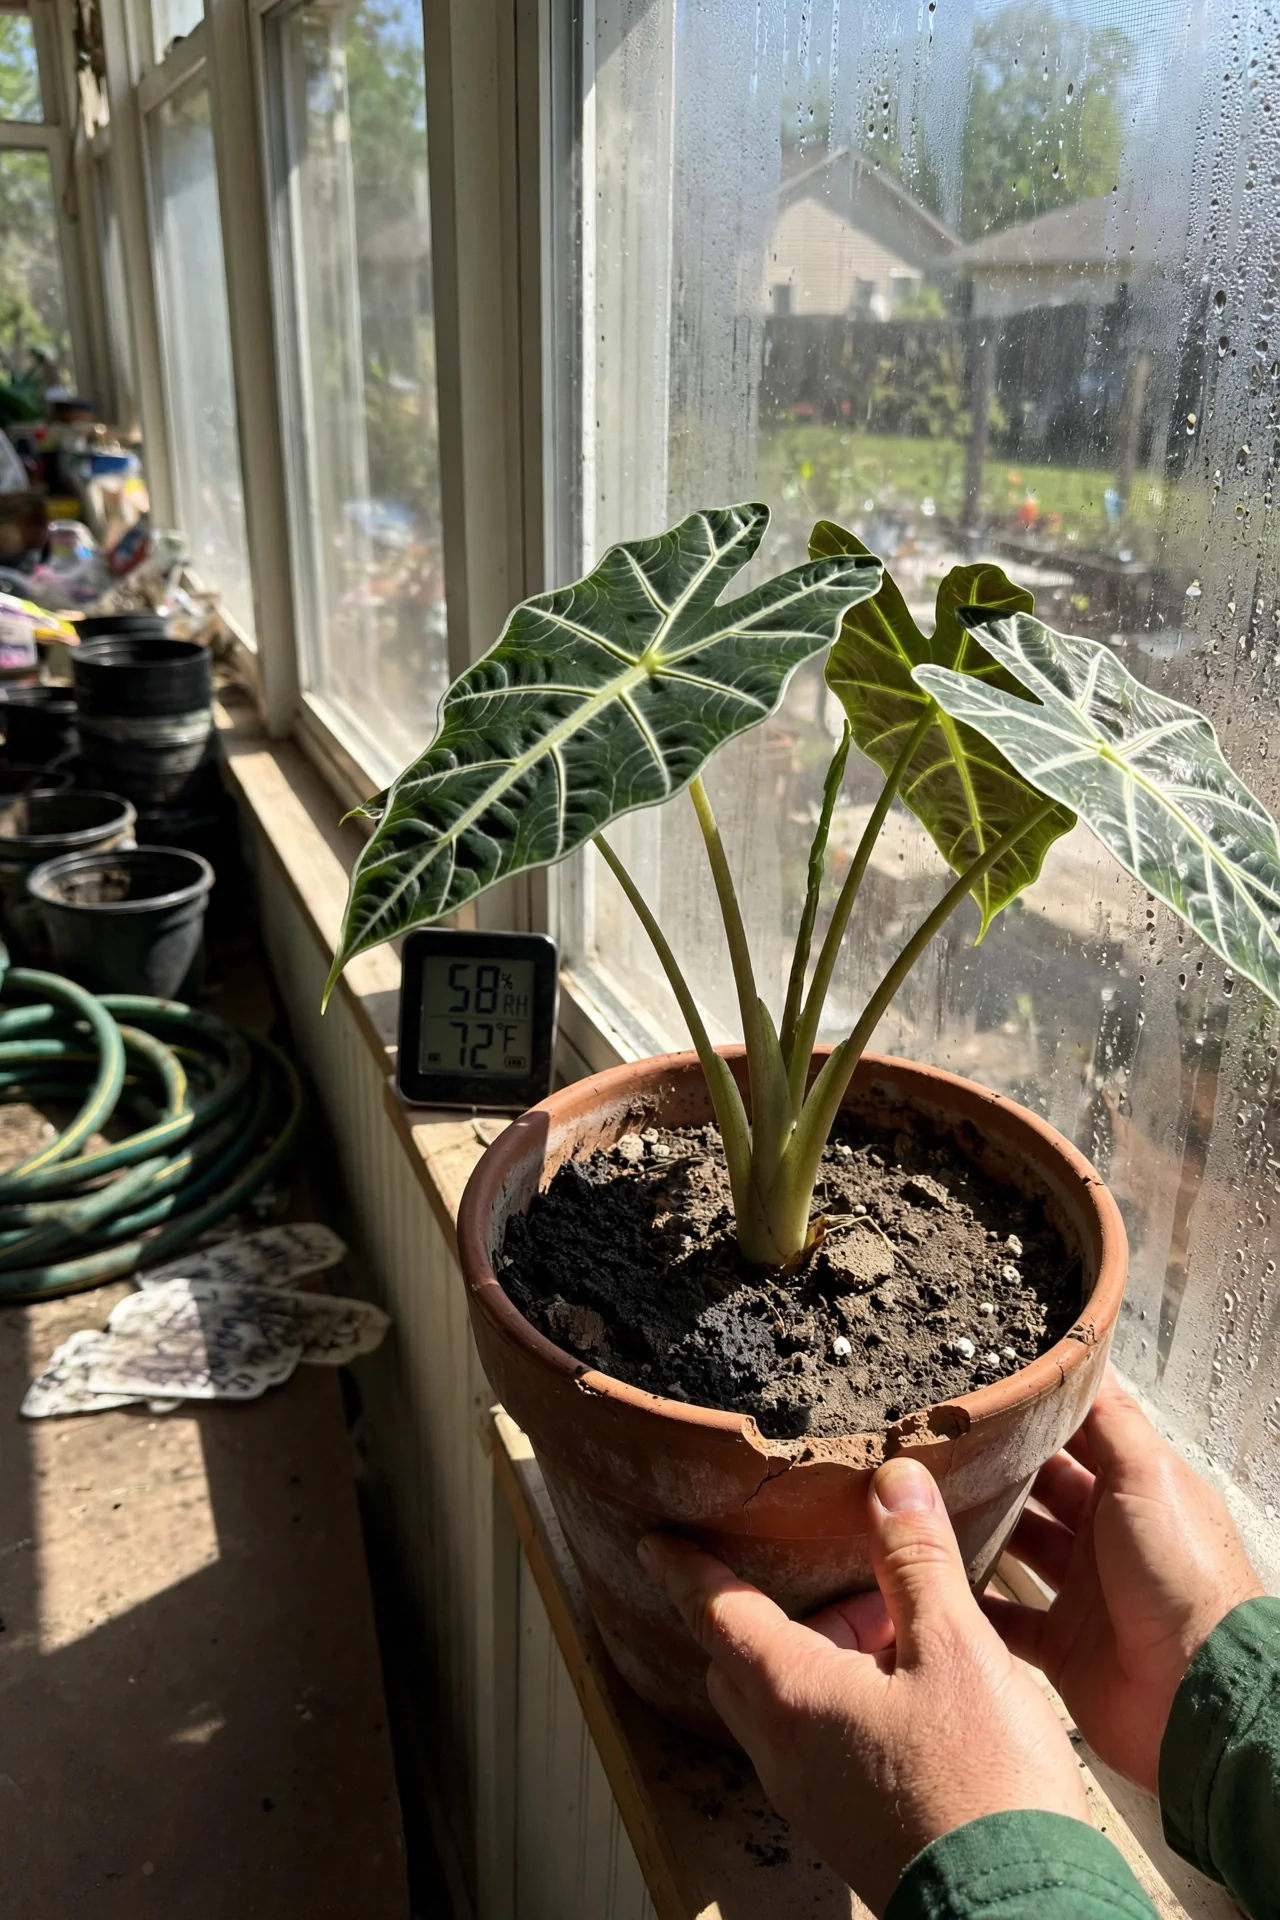
Most alocasia care instructions read like a prescription for a steamy greenhouse. This one starts inside your actual living room. The plant does not care what the care sheet says, it responds only to the conditions you can actually provide. The gap between those two is where alocasias get a reputation for being difficult.
We cover indoor essentials: soil structure, watering rhythm, light levels, humidity support, feeding, dormancy handling, and repotting timing. You will not find outdoor cultivation advice, deep pest management protocols, or tissue-culture propagation here.
By the end you will know which care interventions earn their keep and which you can skip, based on measurable thresholds you can check with a hygrometer, a light meter, or just your hand. No guesswork, no generic checklist.
Bottom line: Match your care stack to your home’s light and humidity reality, not to a plant influencer’s greenhouse.
The Yield Grid Decision Grid
Pick the branch that matches your space right now. Each branch ends with recommended items from the list below.
Branch 1: Bright, Humid Home. Your alocasia gets more than 4 hours of bright indirect light daily. Hold your hand 12 inches from the window: a sharp, defined shadow means light is high. A digital hygrometer consistently reads above 50. You can check soil moisture every 2 or 3 days and don’t mind a quick daily task. Recommended: Items 1, 4, 6 below.
Branch 2: Moderate Light, Average Indoor Air. The plant sits in a spot with 2 to 4 hours of filtered light. A soft shadow appears on the wall. Hygrometer readings hover between 35 and 50. You water weekly and want a routine that stays under 10 minutes per session. Recommended: Items 2, 3, 5, 8 below.
Branch 3: Low Light or Dry Air. The only available corner gets dappled light or light so dim you see hardly any shadow. The hygrometer stays below 35, or you travel often and need a low-maintenance approach. Some alocasias will enter dormancy here, and that is part of the plan. Recommended: Items 3, 7, 9 below.
For help choosing an alocasia variety that fits your conditions, see our guide to alocasia varieties.
Quick Comparison Table
| Option | Key mechanism | Best for | Decision Grid Branch | Effort Score |
|---|---|---|---|---|
| Humidifier | Raises ambient humidity around the leaf surface | Homes with dry air or forced-air heating | Branch 1, 2 | 4 |
| Pebble Tray | Local evaporation directly beneath the foliage | Small spaces, budget setups | Branch 2 | 2 |
| Light Meter | Quantifies foot-candles at leaf level | Any spot where light quality is uncertain | Branch 2, 3 | 1 |
| DIY Aroid Mix | Fast drainage and air pockets prevent root rot | Heavy-watering habits or dense nursery soil | Branch 1 | 2 |
| Self-Watering Pot | Wicking action delivers steady moisture | Busy owners, forgetful waterers | Branch 2 | 2 |
| Liquid Fertilizer Schedule | Supplies nutrients during active leaf push | Plants in bright light producing new growth | Branch 1 | 2 |
| Dormancy Plan | Adjusts water and warmth when the plant signals rest | Cool or low-light winter conditions | Branch 3 | 2 |
| Leaf Wipe Routine | Clears dust and allows full light absorption | Any indoor environment | Branch 2, 3 | 3 |
| Repotting Timing | Prevents circling roots and compaction | Vigorous plants in warm, bright spots | Branch 1, 3 | 1 |
1. Humidifier (Blueprint)
Best for: Branch 1 and Branch 2
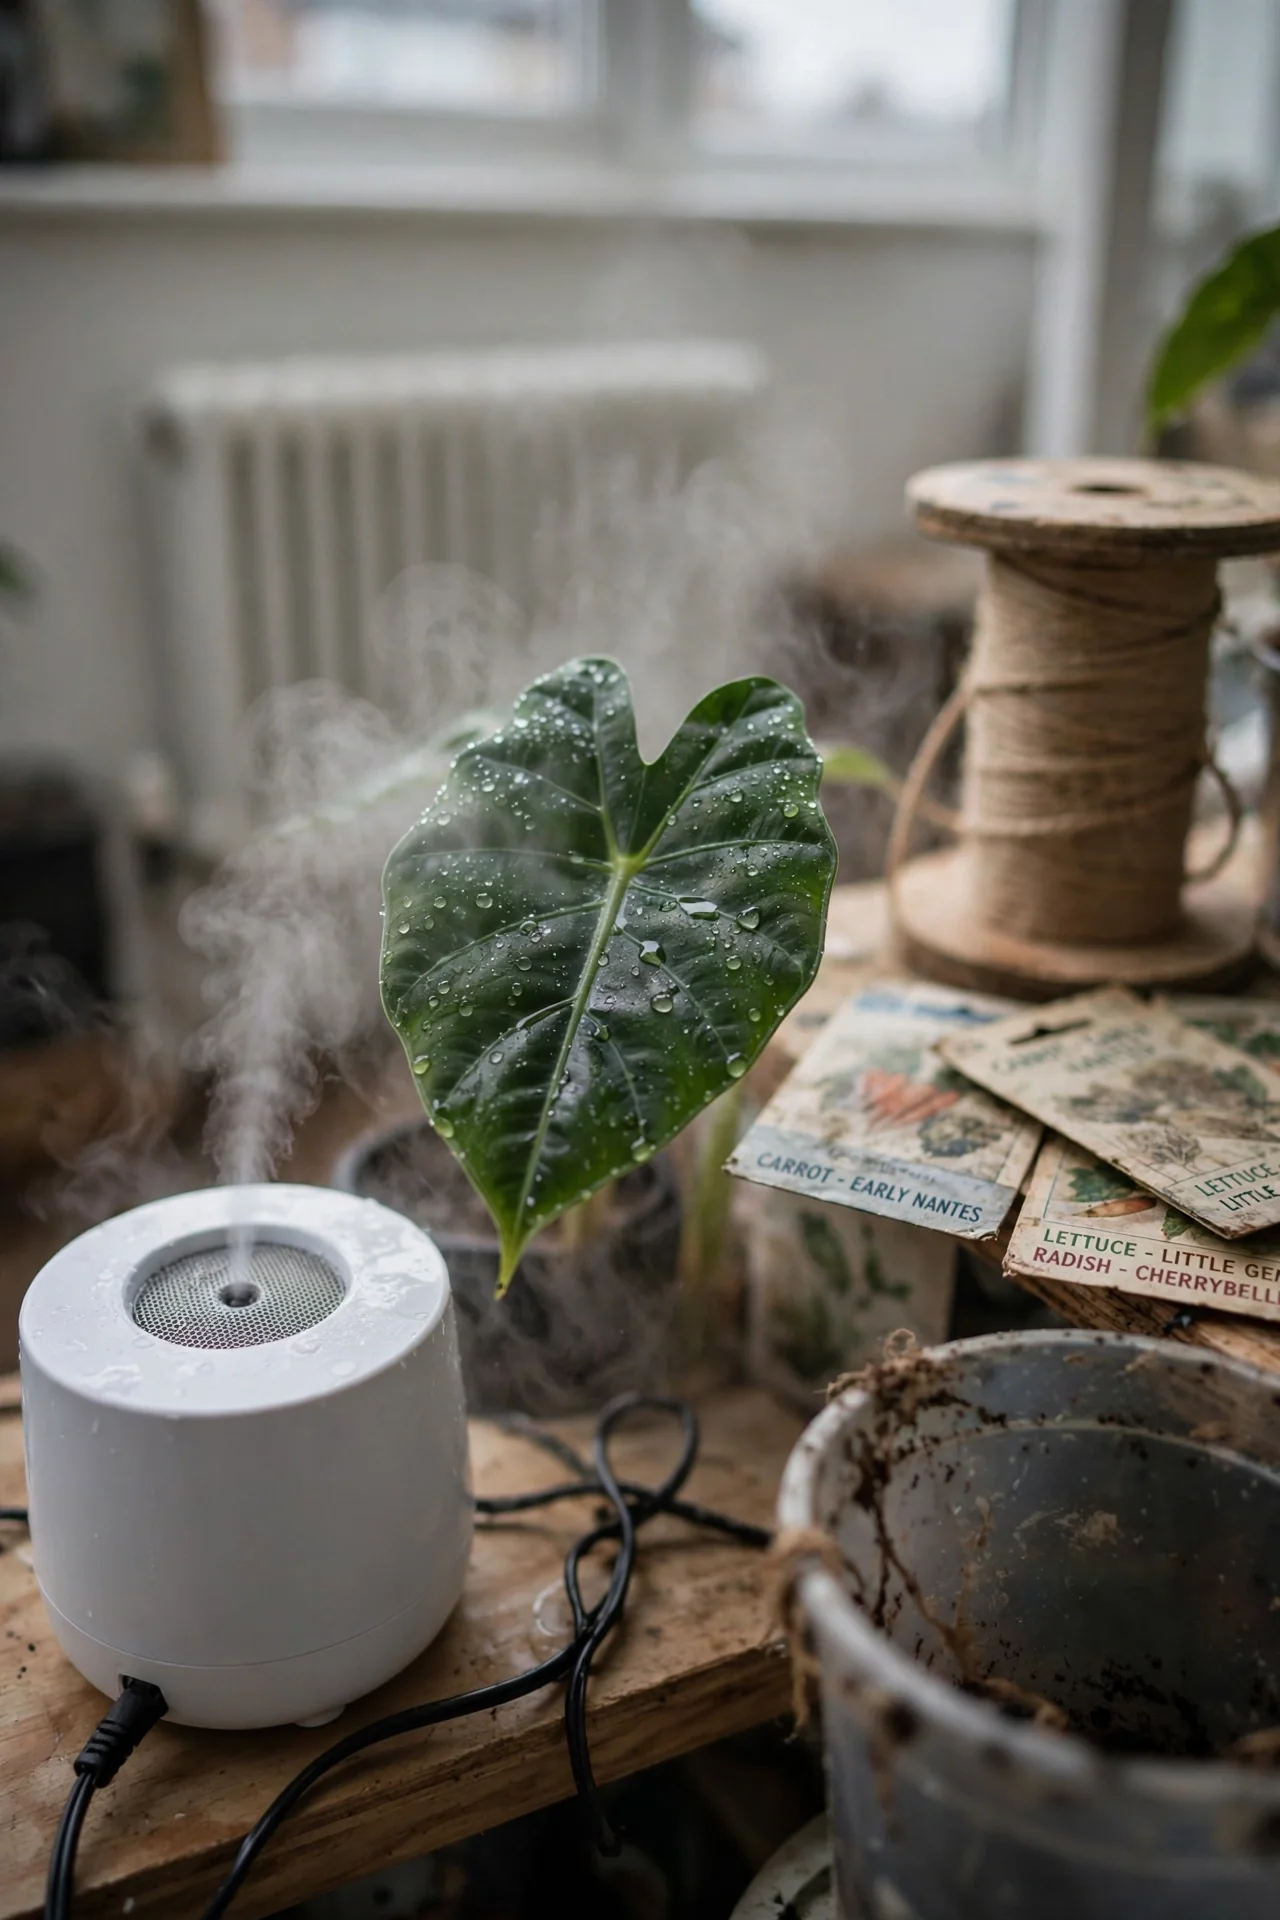
What: An ultrasonic or evaporative humidifier placed within 3 feet of your alocasia. For whom: Homes where forced-air heating or air conditioning drops the ambient moisture well below 50 on a hygrometer, especially during winter. Steps: Fill the tank with distilled or demineralized water to avoid white dust on leaves. Run it during daylight hours when stomata are open. Set the output so that a hygrometer 12 inches from the plant reads above 50. The single biggest mistake is placing the humidifier too far away: humidity drops sharply with distance in open rooms. If you grow calathea alongside alocasia, a humidifier benefits both; see our calathea care guide for humidity threshold details.
2. Pebble Tray (Use vs Skip)
Best for: Branch 2
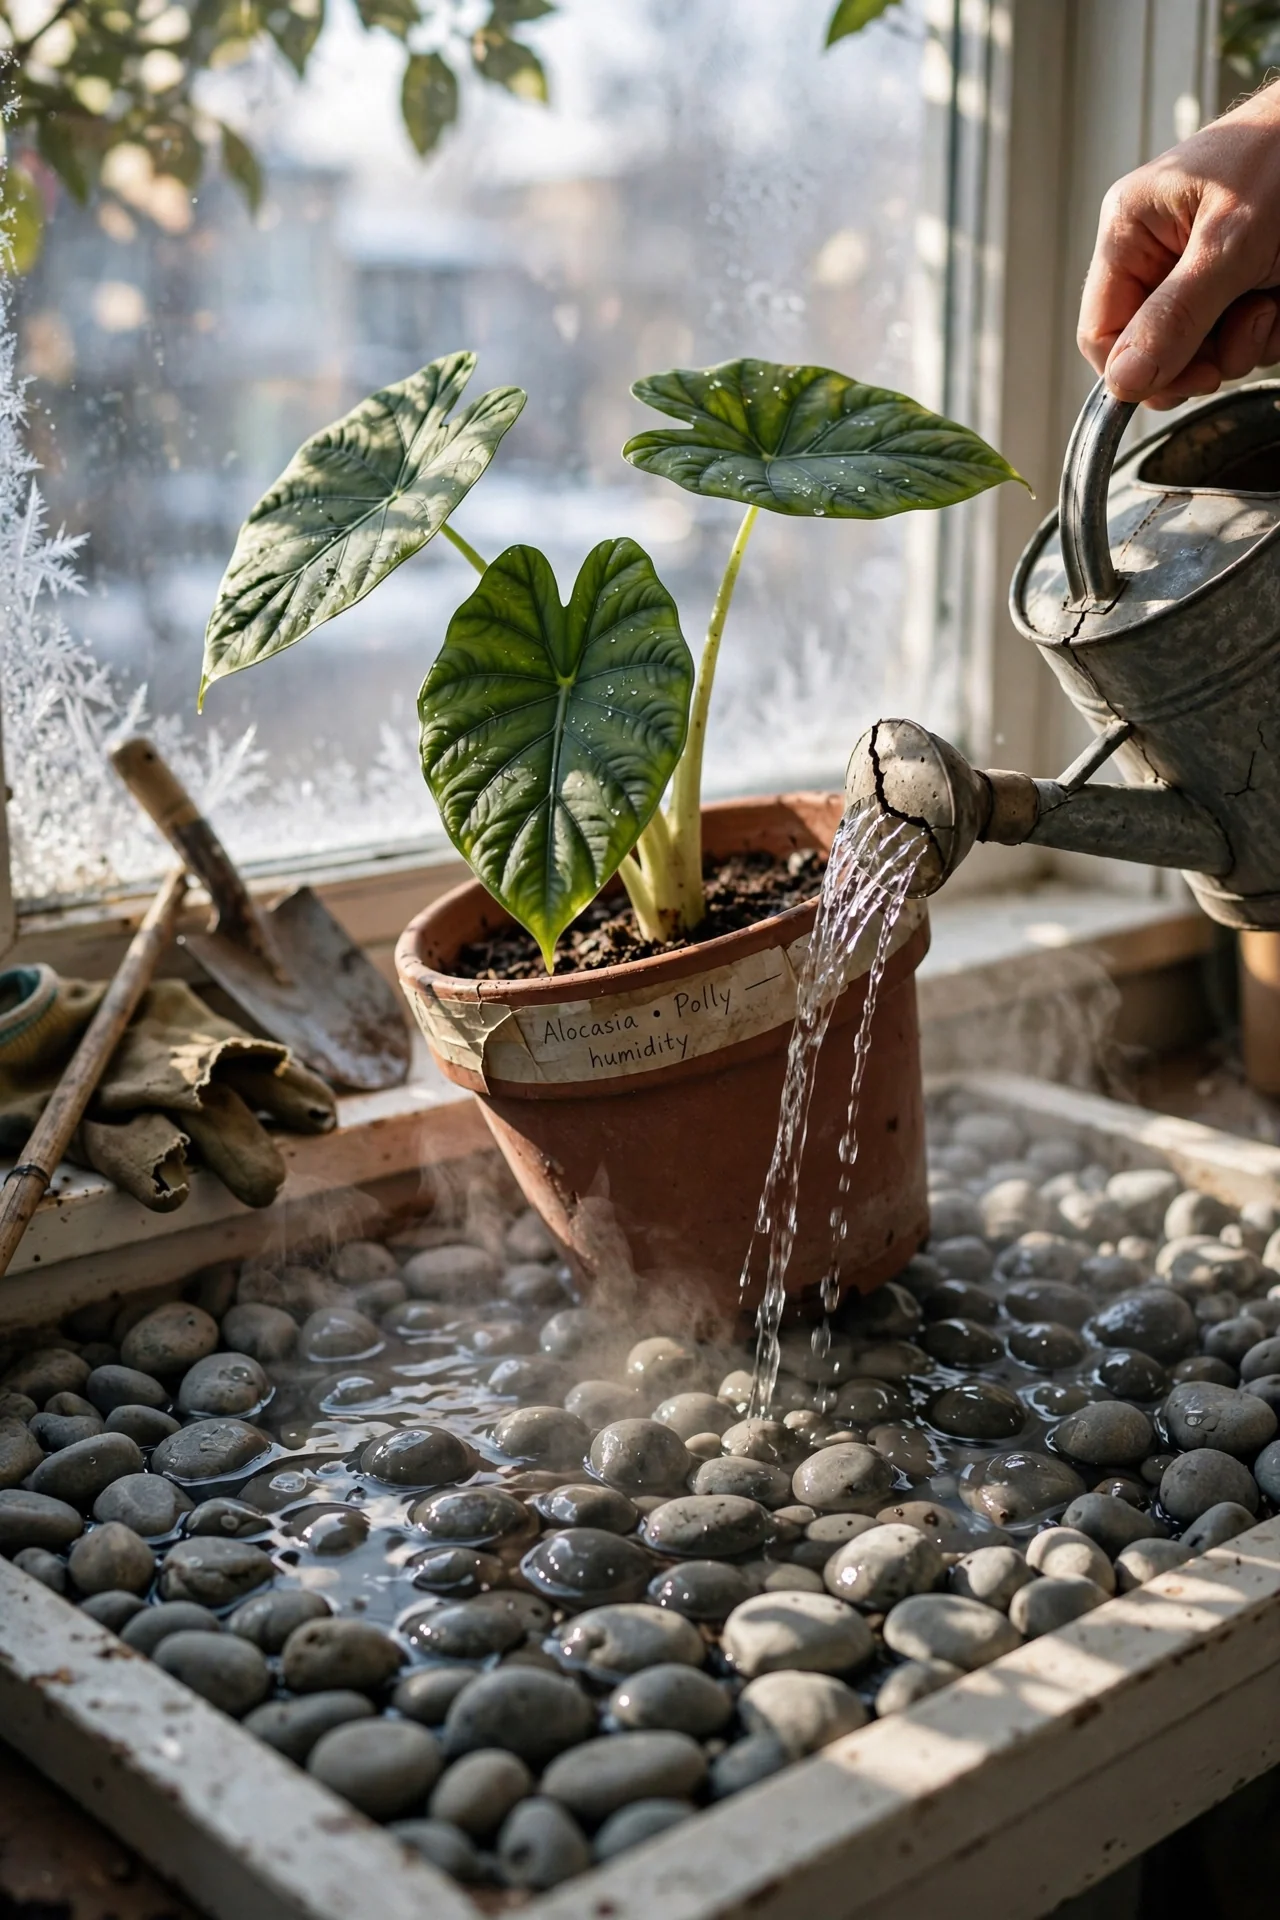
Use if your room humidity sits between 35 and 50 and you want a low-cost moisture boost directly under the foliage. A wide tray filled with pebbles and water placed beneath the pot adds localized evaporation. Skip this if your ambient humidity already stays above 50 or if you have floor vents that blow dry air across the tray, cancelling the effect. Edge case: In very arid climates the tray dries out within hours, making it an impractical daily chore. For a plant with similar humidity needs, see maranta care.
3. Light Meter (Threshold Rule)
Best for: Branch 2 and Branch 3
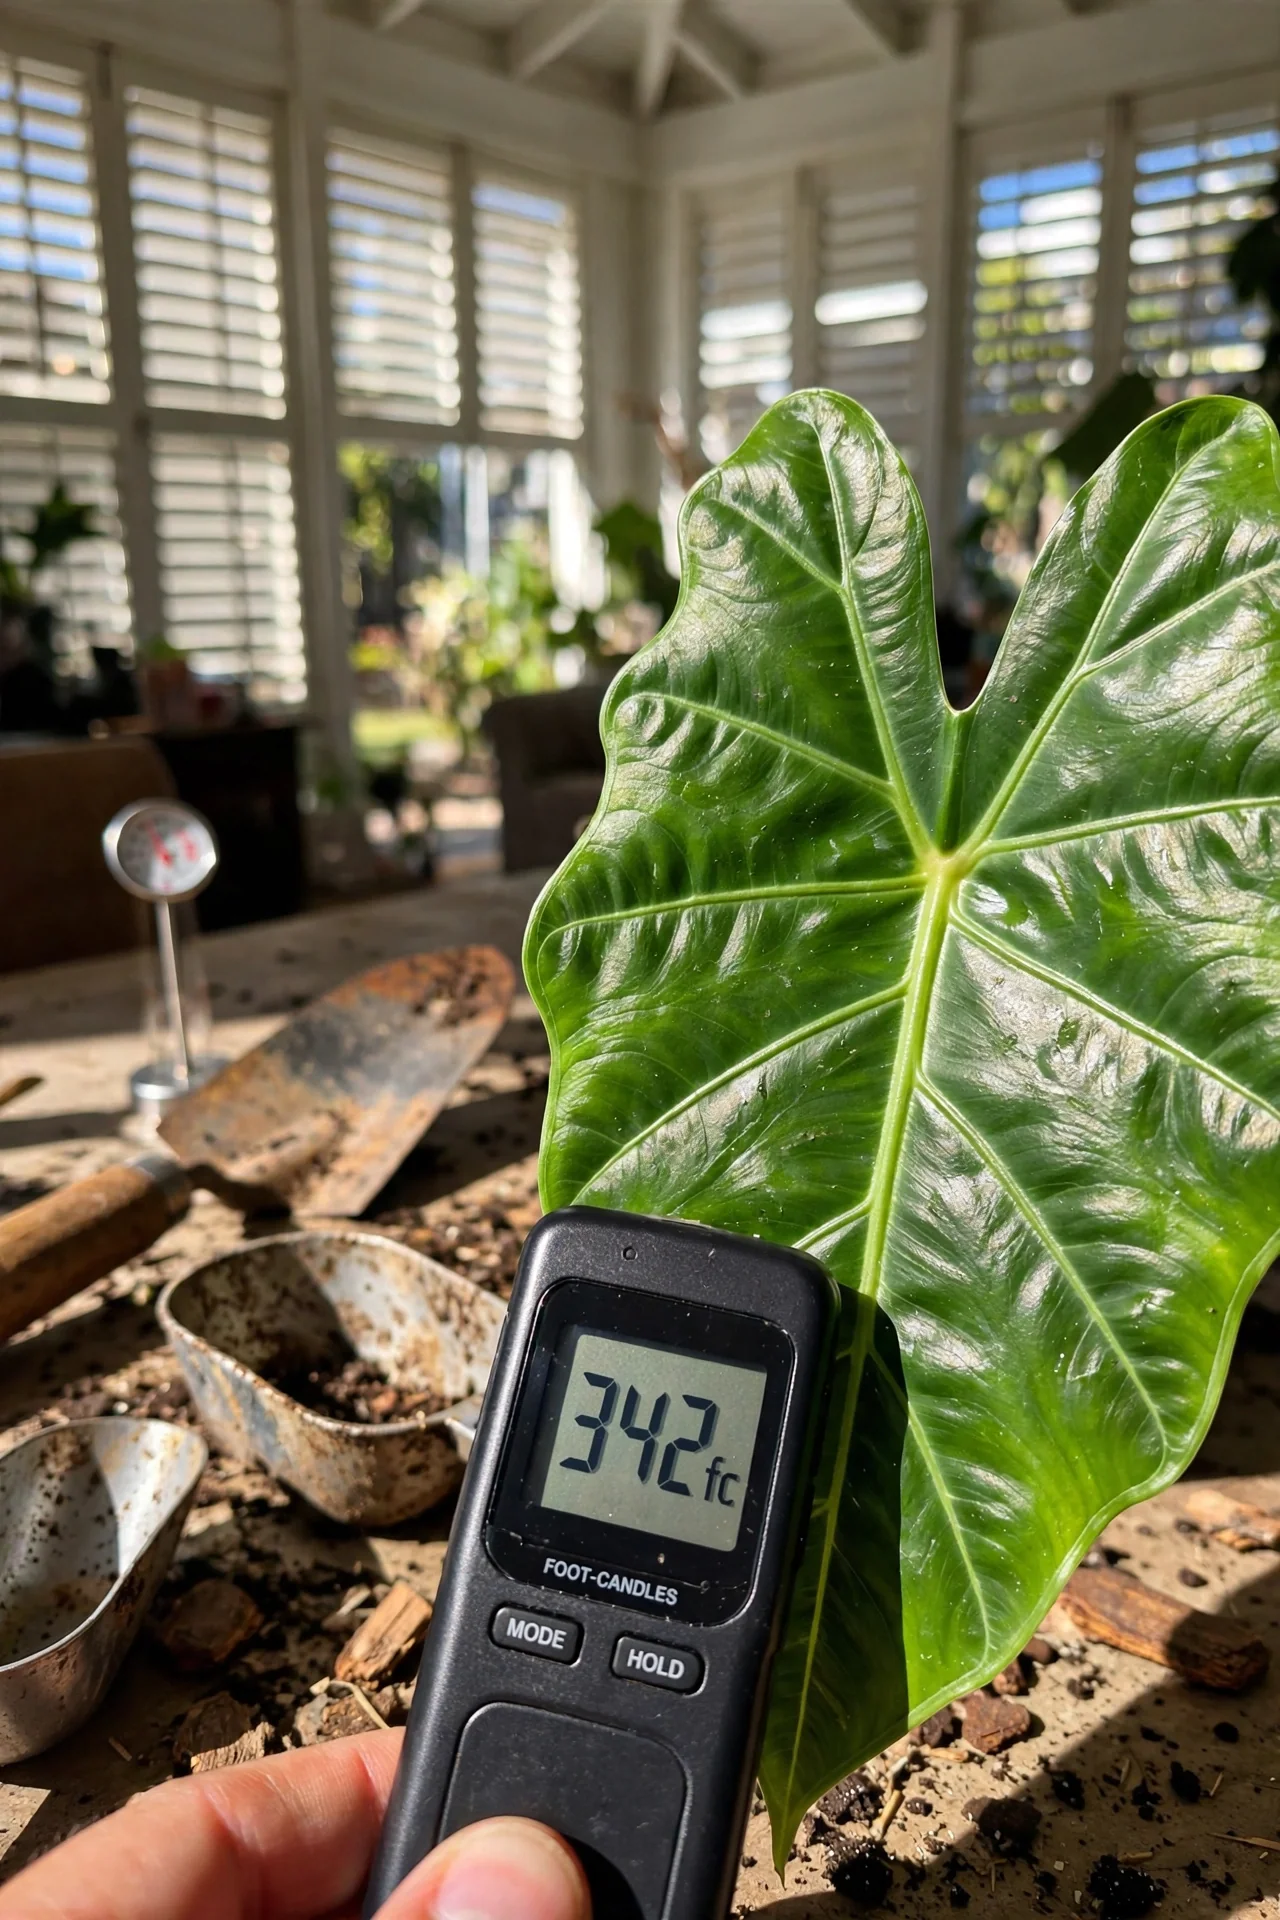
Alocasias photosynthesize reliably when they receive at least 200 foot-candles for a minimum of 6 hours a day. Below 100 foot-candles, new leaves may emerge smaller, and the plant often drops older leaves to conserve energy. Use a handheld light meter or a smartphone app calibrated to foot-candles. Measure at leaf height at midday. If the reading falls short, move the plant closer to an east or north window, or add a full-spectrum LED bulb set 12–18 inches above. If you also grow low-light tolerant foliage, our aglaonema care page explains light thresholds that are much more forgiving.
4. DIY Aroid Mix (10-Minute Workflow)
Best for: Branch 1
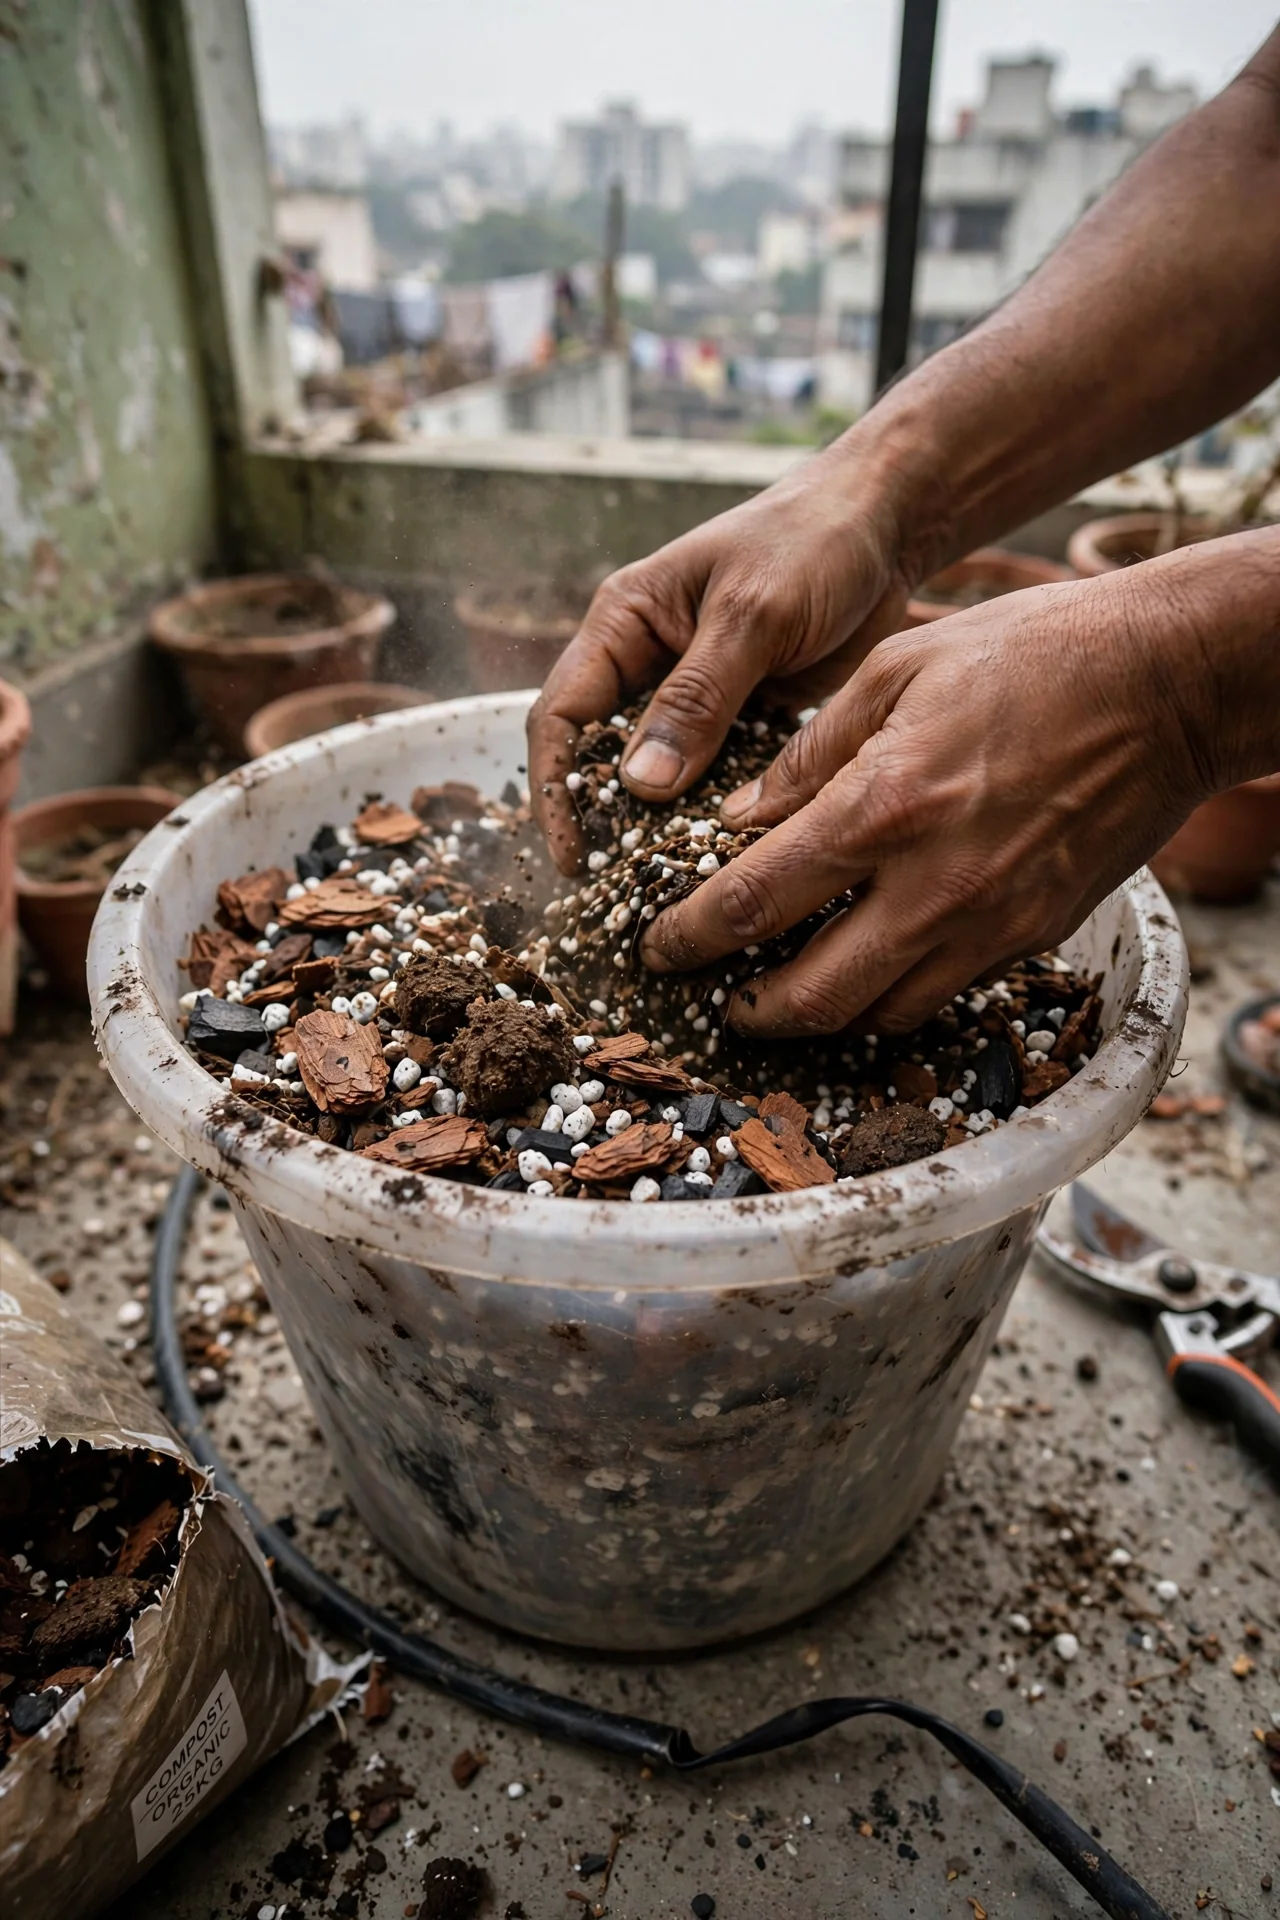
In 10 minutes you can make a mix that drains fast enough to prevent the root suffocation that kills most indoor alocasias. Combine equal parts orchid bark (medium grade), perlite, and a peat-based potting mix in a bucket. Add a handful of horticultural charcoal if you have it; this upgrade absorbs excess salts and keeps the mix sweet. The edge case: If you use self-watering pots, increase the bark portion to four parts to avoid wicking too much moisture. After mixing, repot your alocasia and water thoroughly until water runs clear from the drainage holes. For another aroid that benefits from this blend, see dieffenbachia care.
5. Self-Watering Pot (Blueprint)
Best for: Branch 2
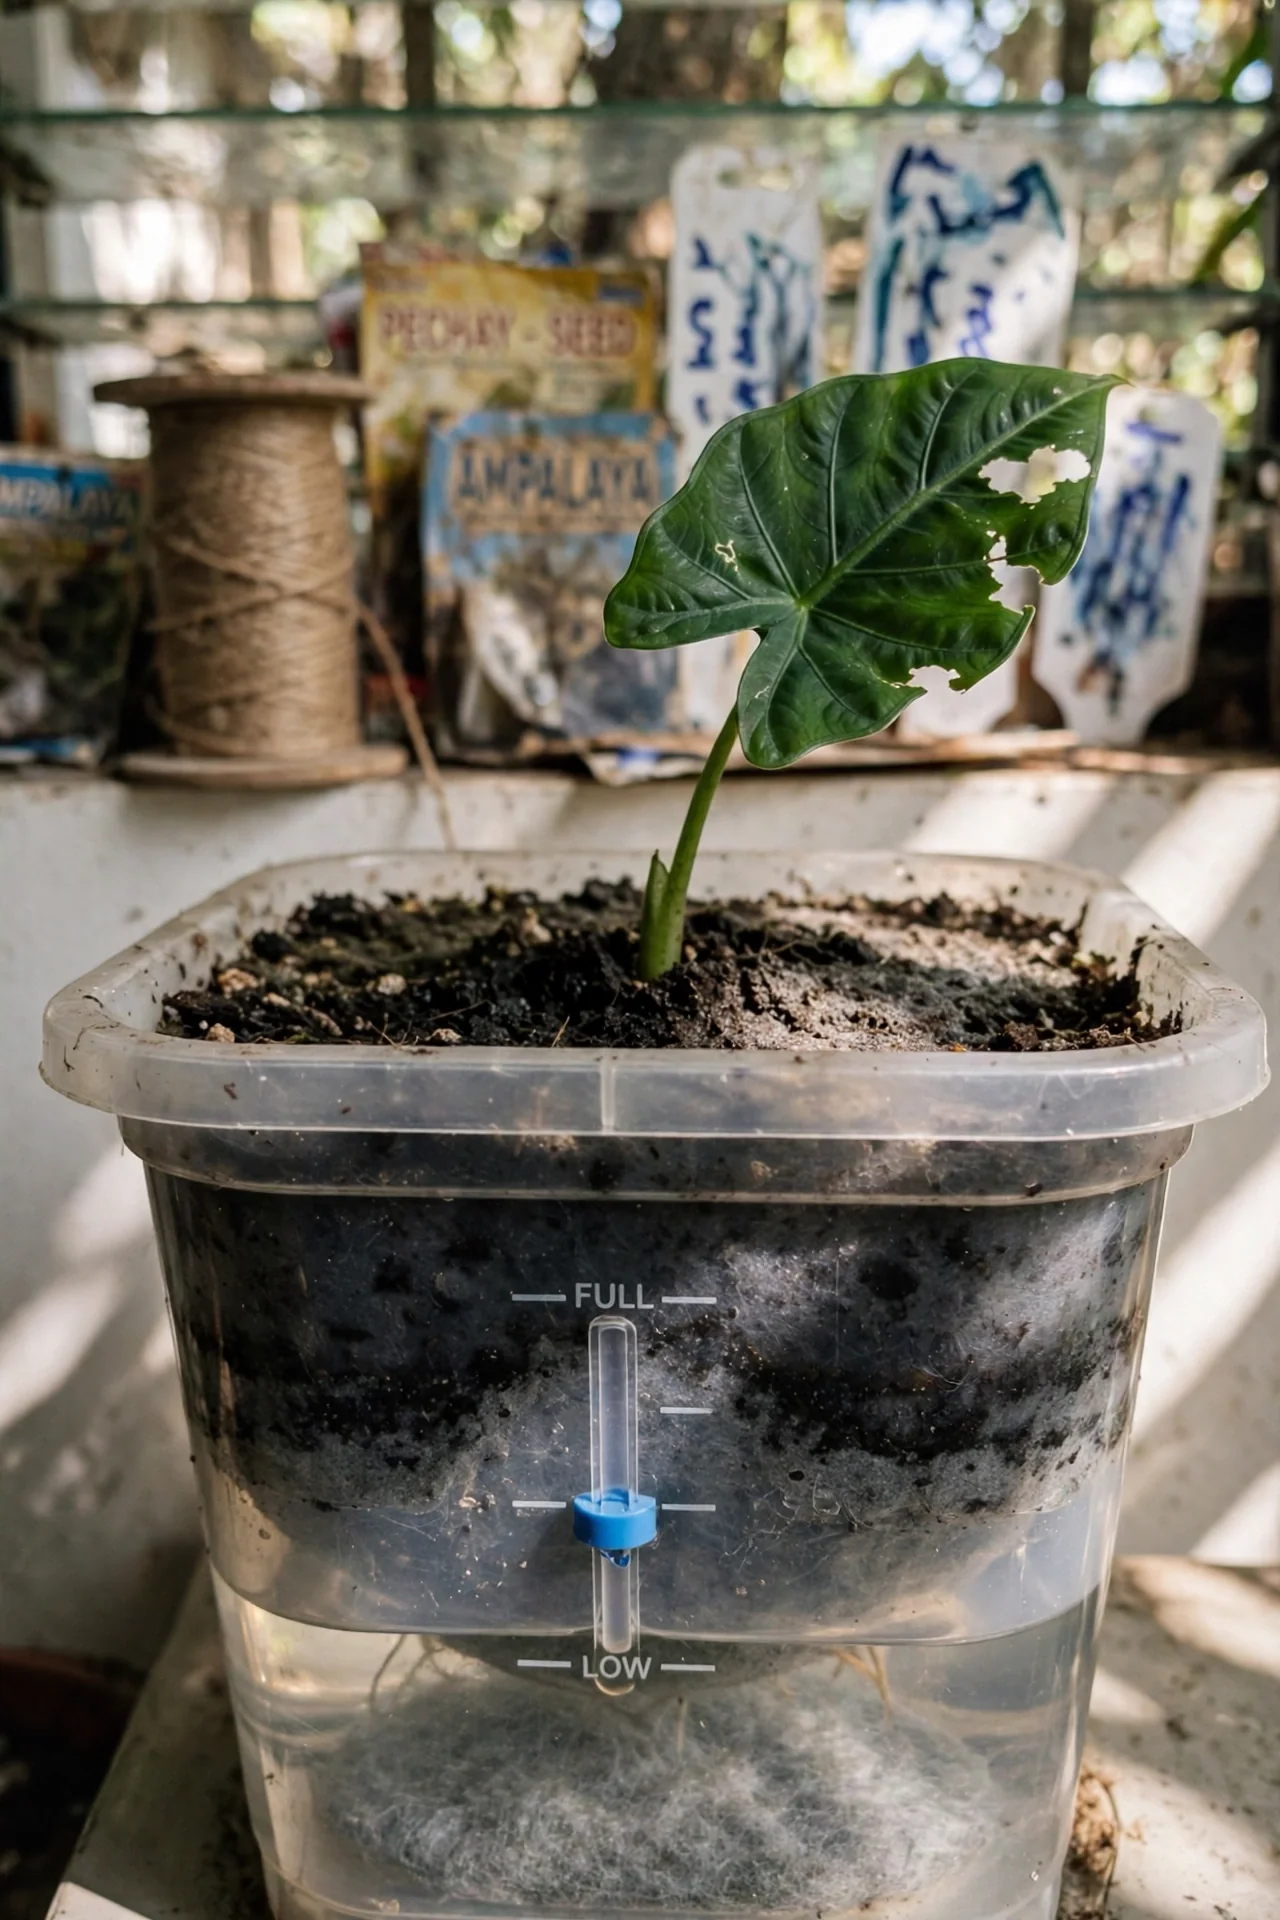
What: A pot with a water reservoir and a wick or capillary mat that draws moisture upward. For whom: People who water inconsistently or travel for 4–7 days at a time. Steps: Fill the reservoir with room-temperature water, wait until the moisture indicator shows “full,” then let the plant drink at its own pace. The oversight to avoid: using standard dense potting soil that stays sodden, leading to root rot. For aroid species that respond well to this system, read our philodendron care guide.
6. Liquid Fertilizer Schedule (Use vs Skip)
Best for: Branch 1
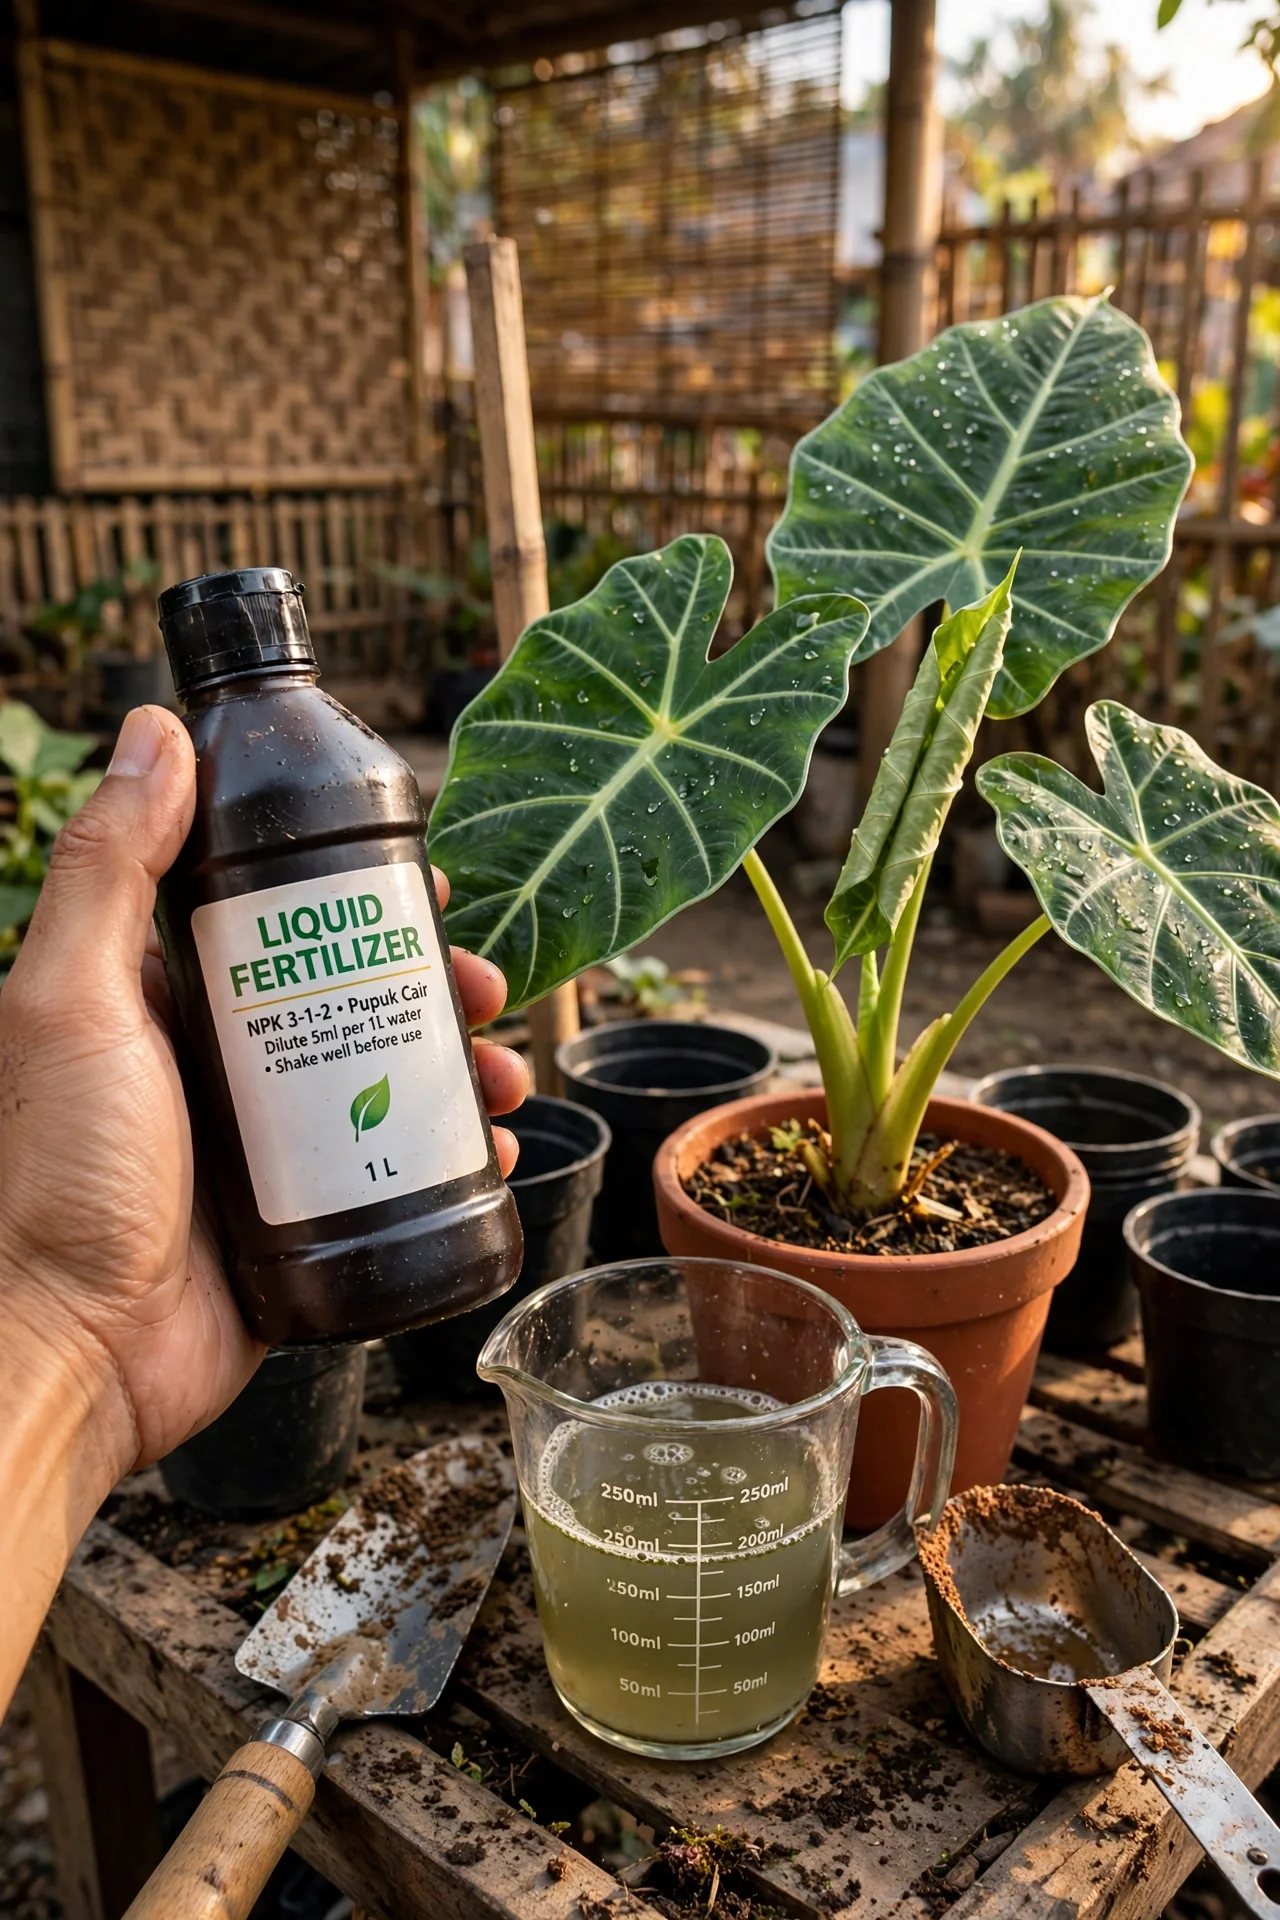
Use a balanced liquid fertilizer with an N-P-K ratio such as 10-10-10 or 20-20-20, diluted to half the label strength. Apply once a month while the plant is pushing new leaves, typically from spring through early fall. Skip feeding entirely if the plant has entered dormancy or if your potting mix already contains slow-release prills, because double-dosing burns fine roots. Edge case: In very high light, some growers increase frequency to every two weeks, but only if the plant shows no tip burn. For a plant with a similar feeding rhythm, see monstera care.
7. Dormancy Plan (Threshold Rule)
Best for: Branch 3
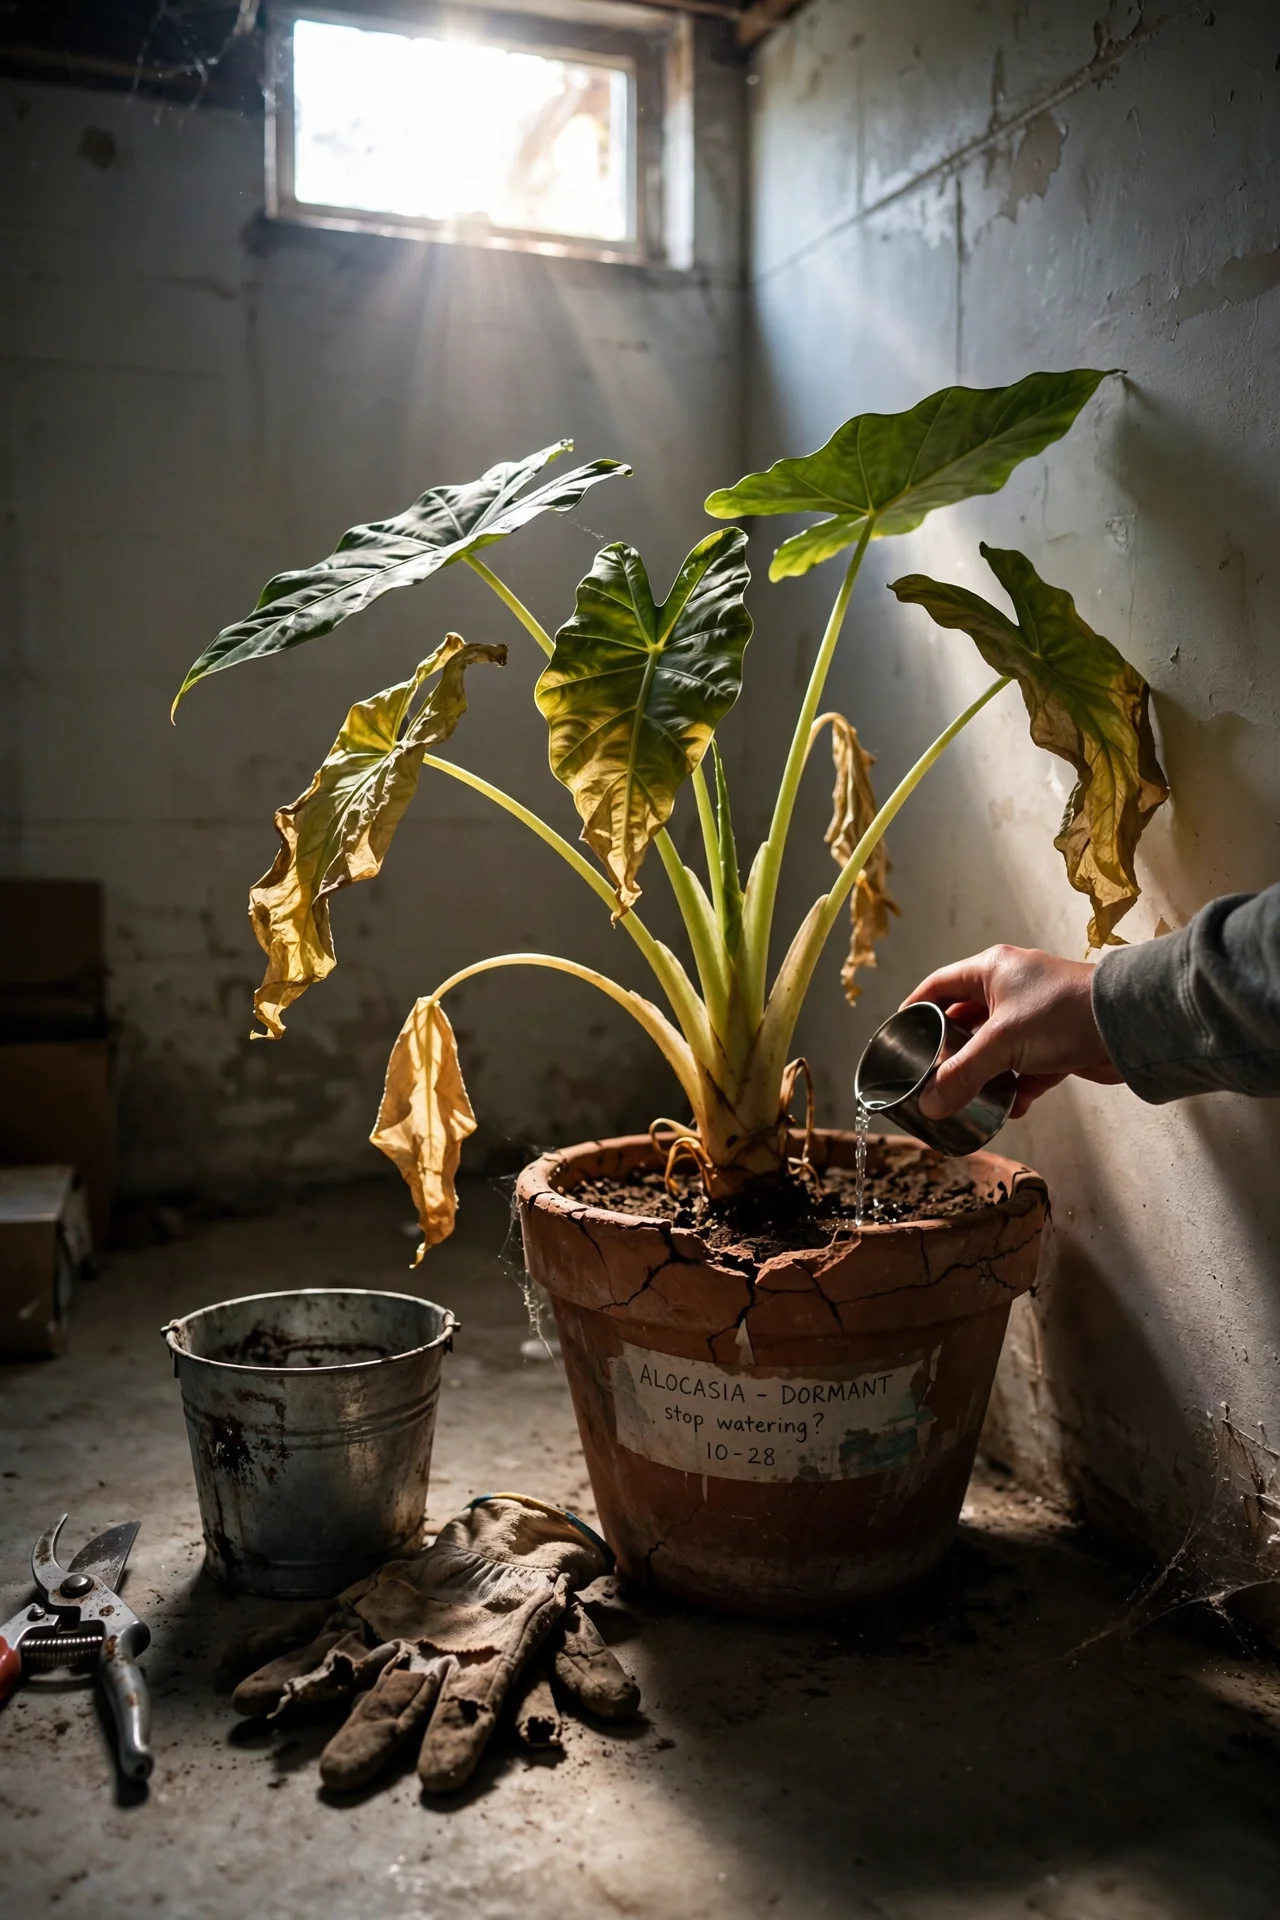
The two triggers that send many alocasias into dormancy are consistent temperatures below 60 degrees Fahrenheit and day lengths that drop under 10 hours. Once you observe leaf yellowing, slowed growth, or sudden leaf drop, reduce watering to just enough to keep the soil from going bone dry, and move the pot to a spot that stays above 65 degrees if possible. Do not fertilize during this rest phase. The adjustment most people miss: even a dormant corm needs a sip of water every 10–14 days to stay viable underground. If the corm firms up again in spring, resume warmth and water gradually.
8. Leaf Wipe Routine (10-Minute Workflow)
Best for: Branch 2 and Branch 3
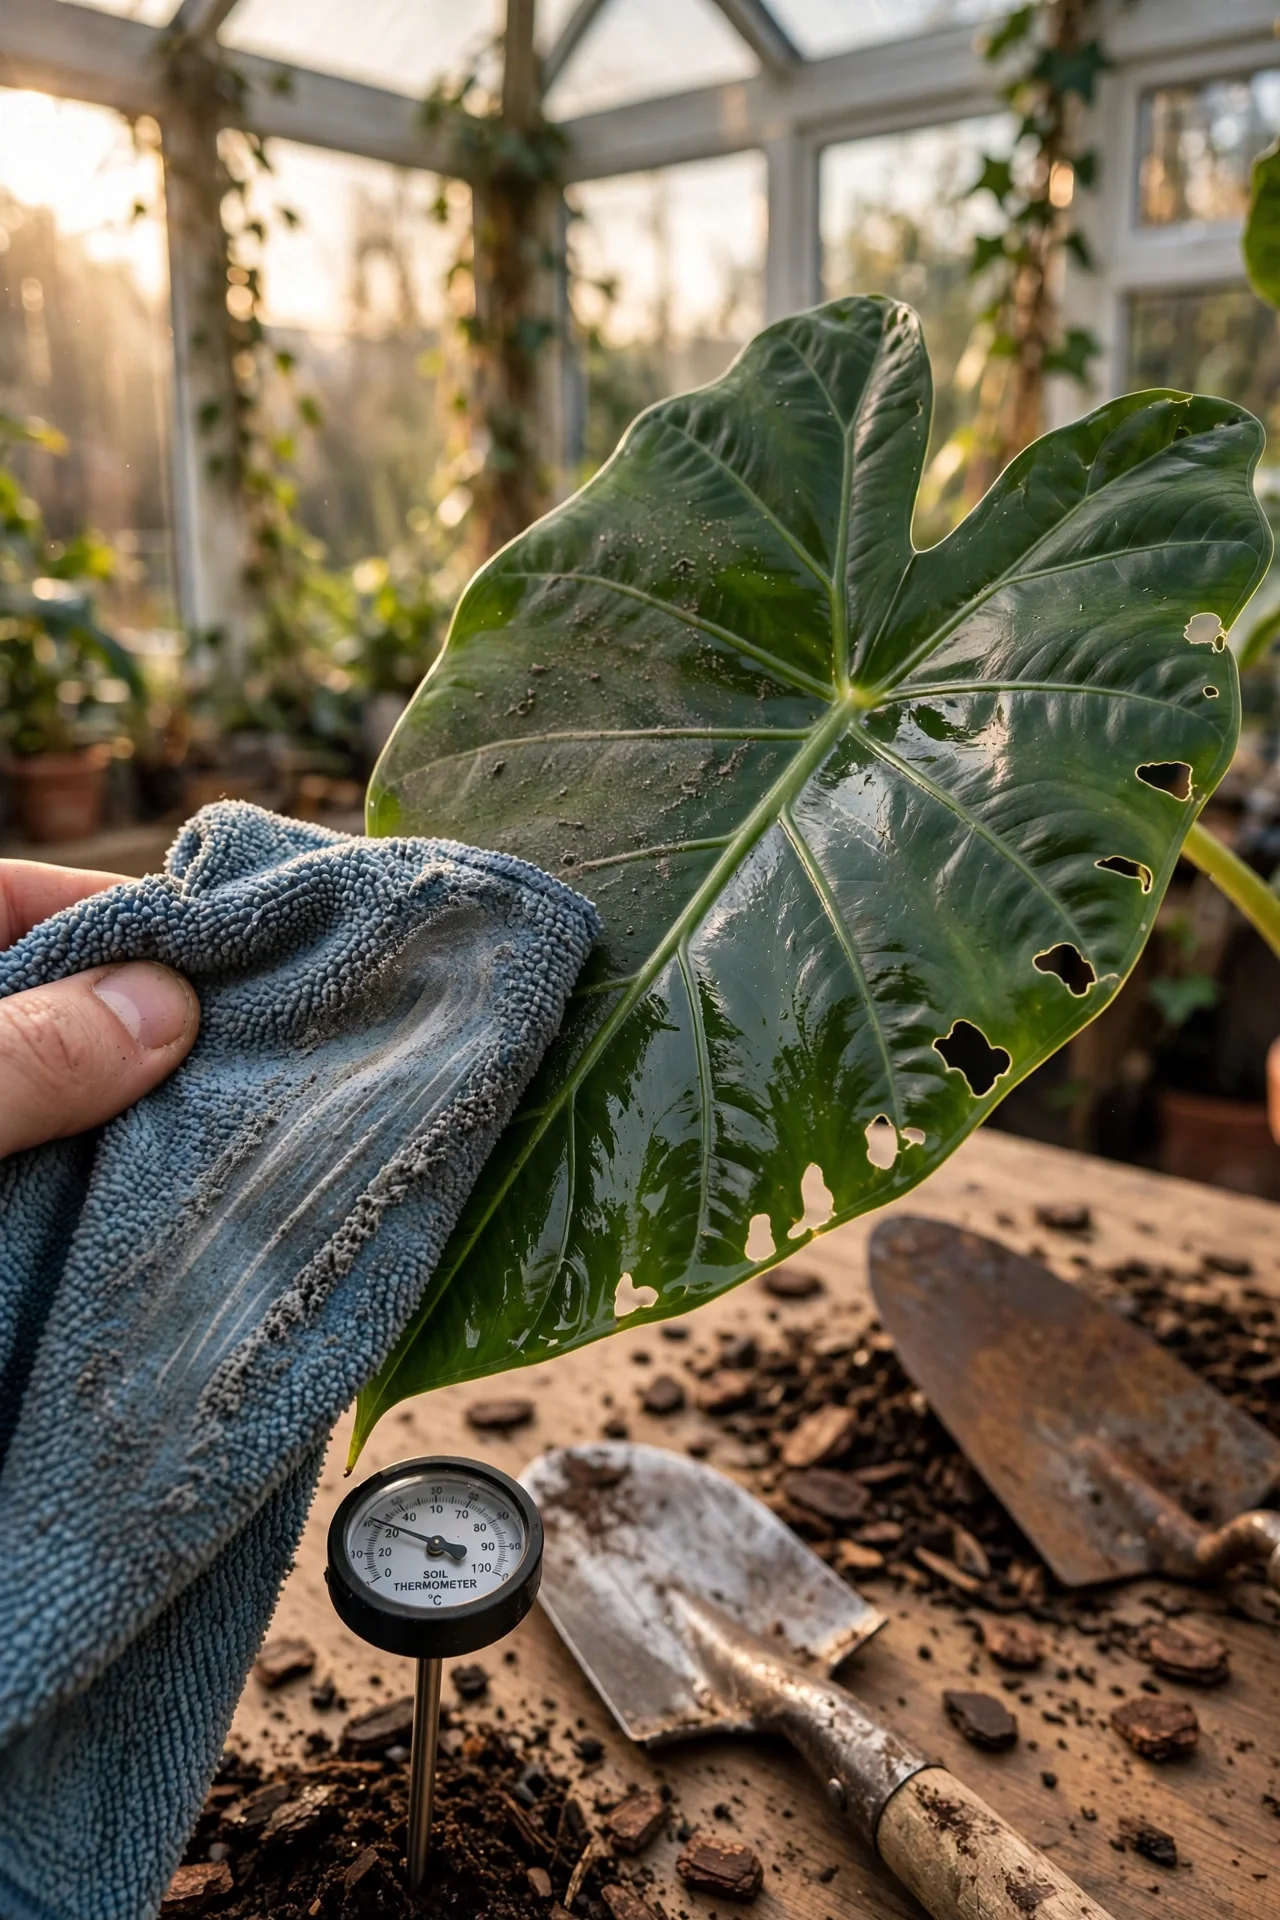
Dust buildup on the large, waxy leaves cuts down light absorption fast. Once a week, dampen a soft microfiber cloth with lukewarm water and gently wipe both the top and underside of each leaf. This takes less than 5 minutes for a plant with 5 or 6 leaves. The upgrade: add one drop of insecticidal soap to the water if you spot early signs of spider mites. Avoid leaf shine products; they can clog stomata.
9. Repotting Timing (Blueprint)
Best for: Branch 1 and Branch 3
What: Moving the plant to a container one size larger when roots fill the existing pot. For whom: Plants in bright, warm spots that push new growth quickly, or plants exiting dormancy that need fresh mix. Steps: Check the drainage holes. If white roots are circling or poking through, it is time. Repot in early spring using the aroid mix from item 4. The common mistake is repotting on a calendar schedule before roots have filled the pot, which leaves too much damp soil around the root ball and encourages rot.
Starter Stack (What to Choose First)
Bright, Humid Home (Branch 1)
Start with a humidifier (Item 1) and a liquid fertilizer schedule (Item 6). The humidifier keeps leaf margins from crisping while the diluted monthly feed supports the rapid leaf turnover that high light triggers. Together these two interventions cost roughly $40–$90 upfront and demand daily tank refills plus a monthly feeding.
Moderate Light, Average Indoor Air (Branch 2)
Begin with a pebble tray (Item 2) and a self-watering pot (Item 5). The tray adds a ring of moisture at the base, and the self-watering pot removes the guesswork from weekly watering. Expect to spend $25–$70 and invest about 5 minutes per week on refills.
Low Light or Dry Air (Branch 3)
Choose a light meter (Item 3) and a dormancy plan (Item 7). The meter confirms whether your spot can sustain a growing alocasia at all, and the dormancy plan gives you a clear protocol when the plant decides to rest. The meter costs $15–$30; the dormancy plan costs nothing but attention.
When This Won’t Work
First failure condition: chronic overwatering despite good intentions. If you water every time the surface feels dry but the lower half of the pot stays saturated, roots suffocate and rot sets in. The plant will drop leaves faster than it can grow them. In that case, switch to a fast-draining aroid mix and use a wooden dowel to check moisture deep in the pot before adding any water.
Second failure condition: sustained humidity below 30 with no supplemental moisture strategy. Without intervention, alocasia leaves develop brown, papery edges, and new growth emerges deformed or not at all. If running a humidifier is not feasible, consider swapping in a more forgiving tropical. Dracaena care outlines a plant that tolerates dry air far better.
Choosing the Right Option for Your Situation
Budget Threshold
If you want to spend under $30 total, prioritize a pebble tray and a light meter. Skip the humidifier and self-watering pot. The free adjustments, like moving the plant closer to a window and wiping leaves, cost nothing.
Time Threshold
If you have less than 10 minutes a week for plant care, choose options with effort scores of 1 or 2 from the table. A self-watering pot plus a dormancy plan will cover most of the year.
Technical Constraint: The Light Ceiling
No amount of humidity or fertilizer can compensate for inadequate light. If your light meter reads below 100 foot-candles at midday even after moving the plant to the brightest spot you have, expect the plant to survive but not thrive. Add a grow light or accept that this species will act as a seasonal foliage accent rather than a permanent statement plant.
Quick Yes/No Checklist:
Does the spot get bright indirect light for at least 4 hours?
Can you keep the hygrometer reading above 50 during the heating season?
Are you able to check the soil at least twice a week during active growth?
Do you accept the possibility of seasonal leaf drop?
If you answered mostly yes, Branch 1 or 2 fits. Mostly no points to Branch 3.
Expert Q&A
Why do alocasia leaves turn yellow even when I water consistently?
Yellowing often points to a light deficit, not a water problem. When light drops below 150 foot-candels, the plant cannibalizes older leaves for mobile nutrients. Check light first, then verify that water drains freely and that temperatures stay above 60 degrees. Cold drafts can mimic overwatering symptoms.
Can I use tap water in my humidifier?
Ultrasonic humidifiers with hard tap water create fine white dust that settles on leaves and clogs stomata. Use distilled, demineralized, or reverse-osmosis water. Evaporative humidifiers are more forgiving, but mineral buildup on the wick still shortens its life.
How do I revive an alocasia that dropped all its leaves?
Stop watering deeply. Check the corm: if it is firm, place the pot in a warm spot (70 degrees Fahrenheit or above) and give only small sips every 10 days. New growth can take 4 to 8 weeks to emerge. Do not fertilize until you see the first unfurling leaf.
Is it normal for an alocasia to have only 3 leaves at a time?
Yes, many juvenile and medium-sized alocasias maintain 3 to 5 leaves simultaneously. As the plant matures and receives strong light, leaf count can increase. If a new leaf always comes as an old one dies, your plant is in a replacement cycle, which often signals a light or nutrient ceiling.
What is the difference between alocasia and colocasia care indoors?
Colocasias typically want even wetter soil and can handle more direct sun indoors, while alocasias demand sharper drainage and higher ambient humidity. Colocasias also tend to go dormant more abruptly. Treating an alocasia like a colocasia usually leads to root rot from excessive moisture.
Conclusion
The line between a thriving alocasia and a dropping one is drawn by the light your window actually delivers and the humidity your home holds, not by how many care tips you memorize. The number one mistake is buying a plant for its foliage drama without measuring those two numbers first.
If your conditions lean toward Branch 2 or 3, start small and let the plant tell you what needs upgrading. For another tropical that rewards similar attention to humidity and drainage, see our anthurium care guide.