
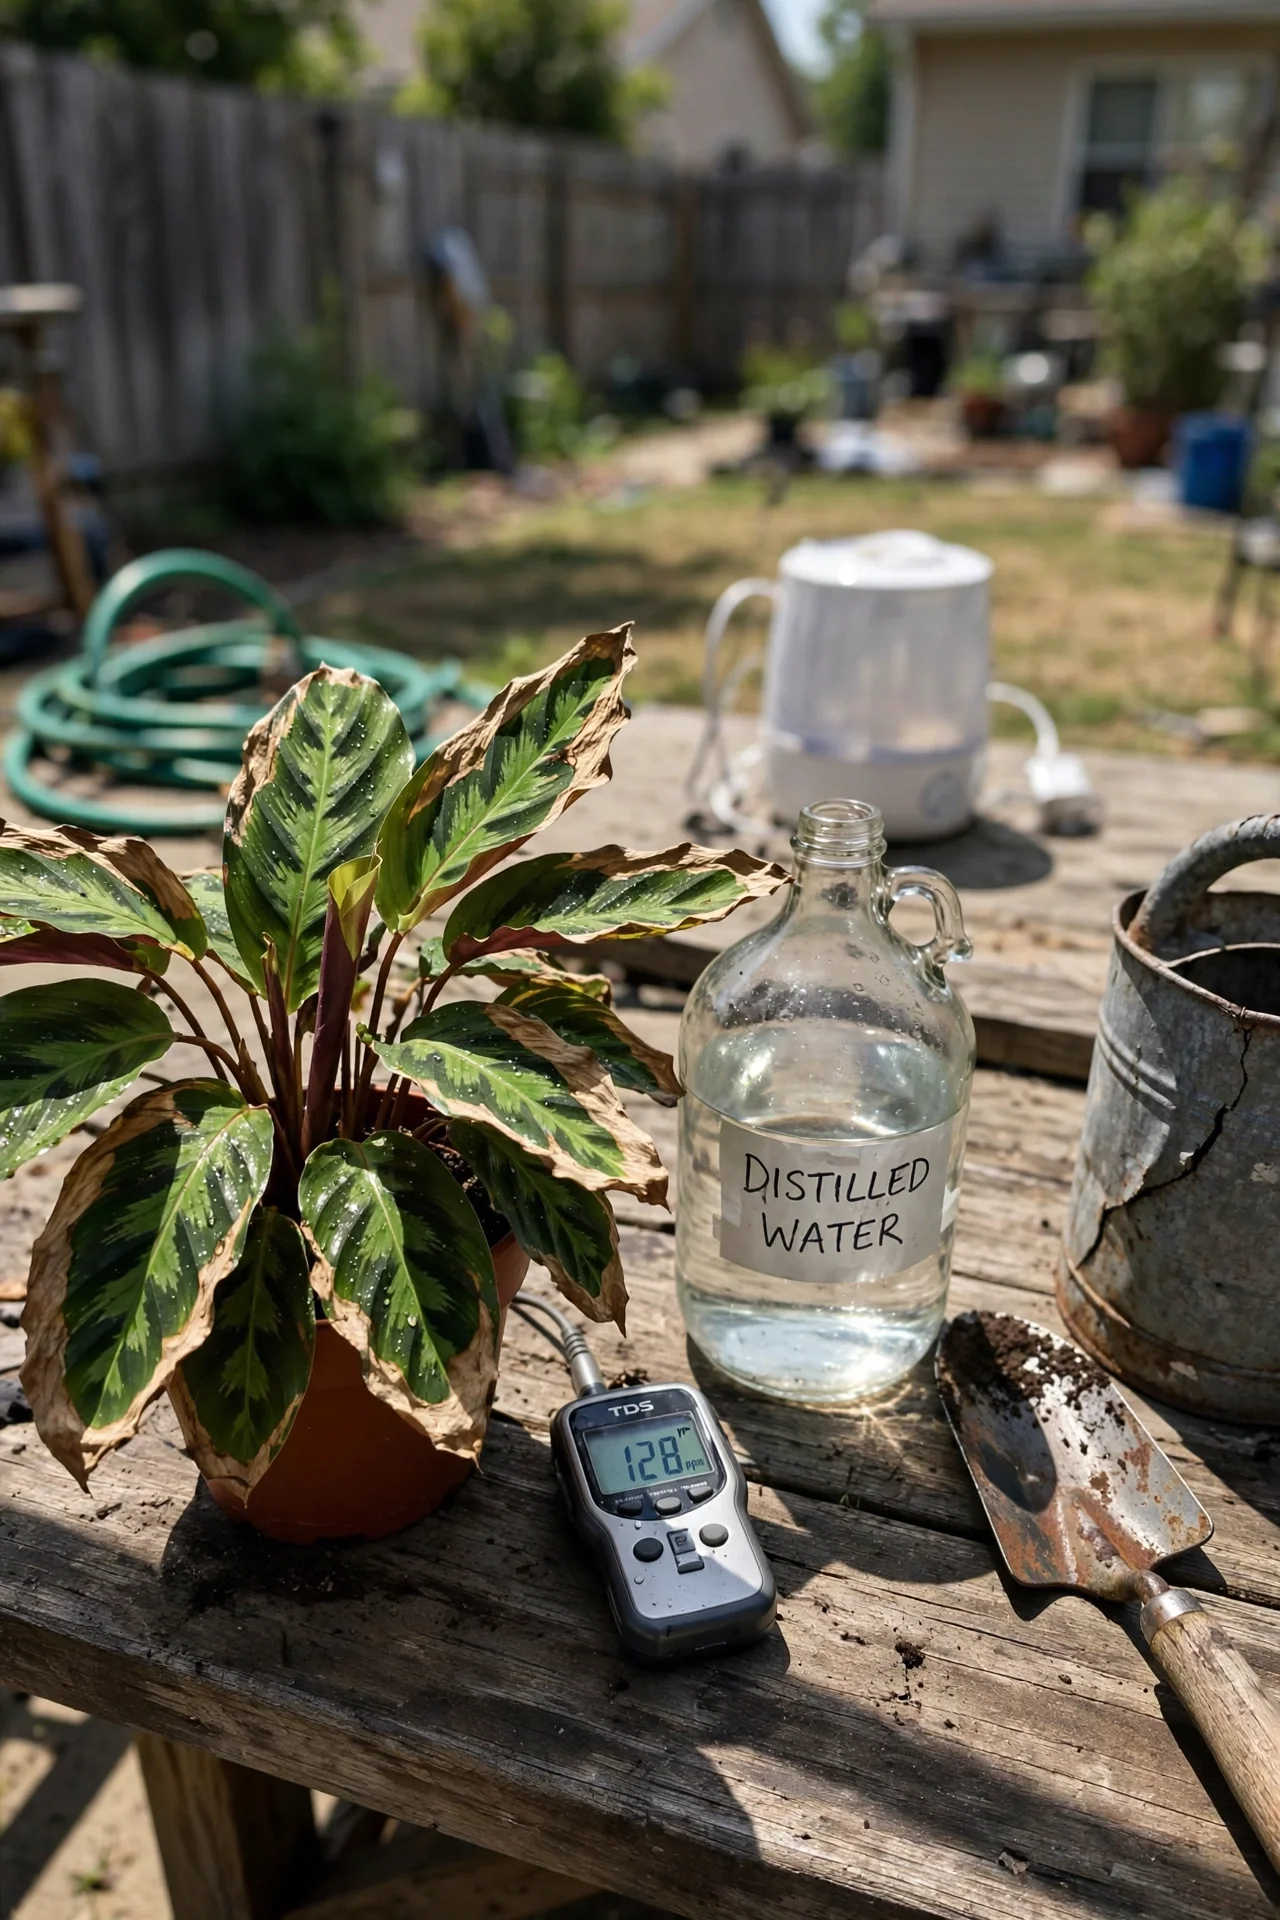
The first thing most guides tell you is to mist your calathea or set a pebble tray. But if your leaves still brown at the edges, the real culprit is often what’s in your watering can. Calatheas are far more sensitive to dissolved minerals and water treatment chemicals than they are to typical household humidity levels.
This guide shifts the focus from chasing humidity numbers to first fixing water quality and root-zone consistency. We cover specific, measurable adjustments you can make to your water source, humidity support, and watering habits. What’s excluded: general repotting basics, pest management, and propagation methods.
By the time you finish, you will know exactly which of three root-cause branches matches your situation and which combination of the ten options below will stop leaf crisping without unnecessary gear.
Bottom line: Test your tap water with a cheap TDS meter; if it reads above 150 ppm, switch to rainwater or distilled water before buying another humidifier.
The Yield Grid Decision Grid
Choose your primary trouble spot. Each branch leads to a set of options tailored to that specific cause.
Branch 1: Your tap water TDS exceeds 150 ppm, or your utility uses chloramine. Leaf edges brown even when soil moisture is perfect. White crust forms on the soil surface. Recommended: Items 1, 2, 3 below.
Branch 2: Your room’s relative humidity stays below 50% for most of the day. You measure this with a digital hygrometer, and leaves crisp despite careful watering. Recommended: Items 4, 5, 6 below.
Branch 3: You’ve lost a calathea to root rot or see drooping leaves even when soil feels damp. Overwatering or inconsistent moisture is the pattern. Recommended: Items 7, 8, 9, 10 below.
If you’re unsure whether you own a calathea or a maranta, our maranta vs calathea comparison clears up the confusion.
Quick Comparison Table
| Option | Key mechanism | Best for | Decision Grid Branch | Effort Score |
|---|---|---|---|---|
| 1. Distilled or Rainwater Switch | Removes dissolved solids and treatment chemicals | Hard tap water, crusty soil | Branch 1 | 2 |
| 2. Faucet-Mount Chlorine Filter | Activated carbon reduces chlorine and some chloramine | Soft chlorinated water | Branch 1 | 1 |
| 3. Peat Moss Water Conditioning | Lowers pH and exchanges calcium for hydrogen | Moderately hard water, high pH | Branch 1 | 3 |
| 4. Evaporative Humidifier with Treated Water | Raises ambient humidity via cool mist | Dry indoor air below 50% RH | Branch 2 | 4 |
| 5. Humidity Dome for Crispy Leaves | Traps transpiration moisture around a single plant | Reviving one struggling calathea | Branch 2 | 2 |
| 6. Grouping Plants for Microclimate | Collective transpiration increases local humidity | Multiple tropical plants in one area | Branch 2 | 1 |
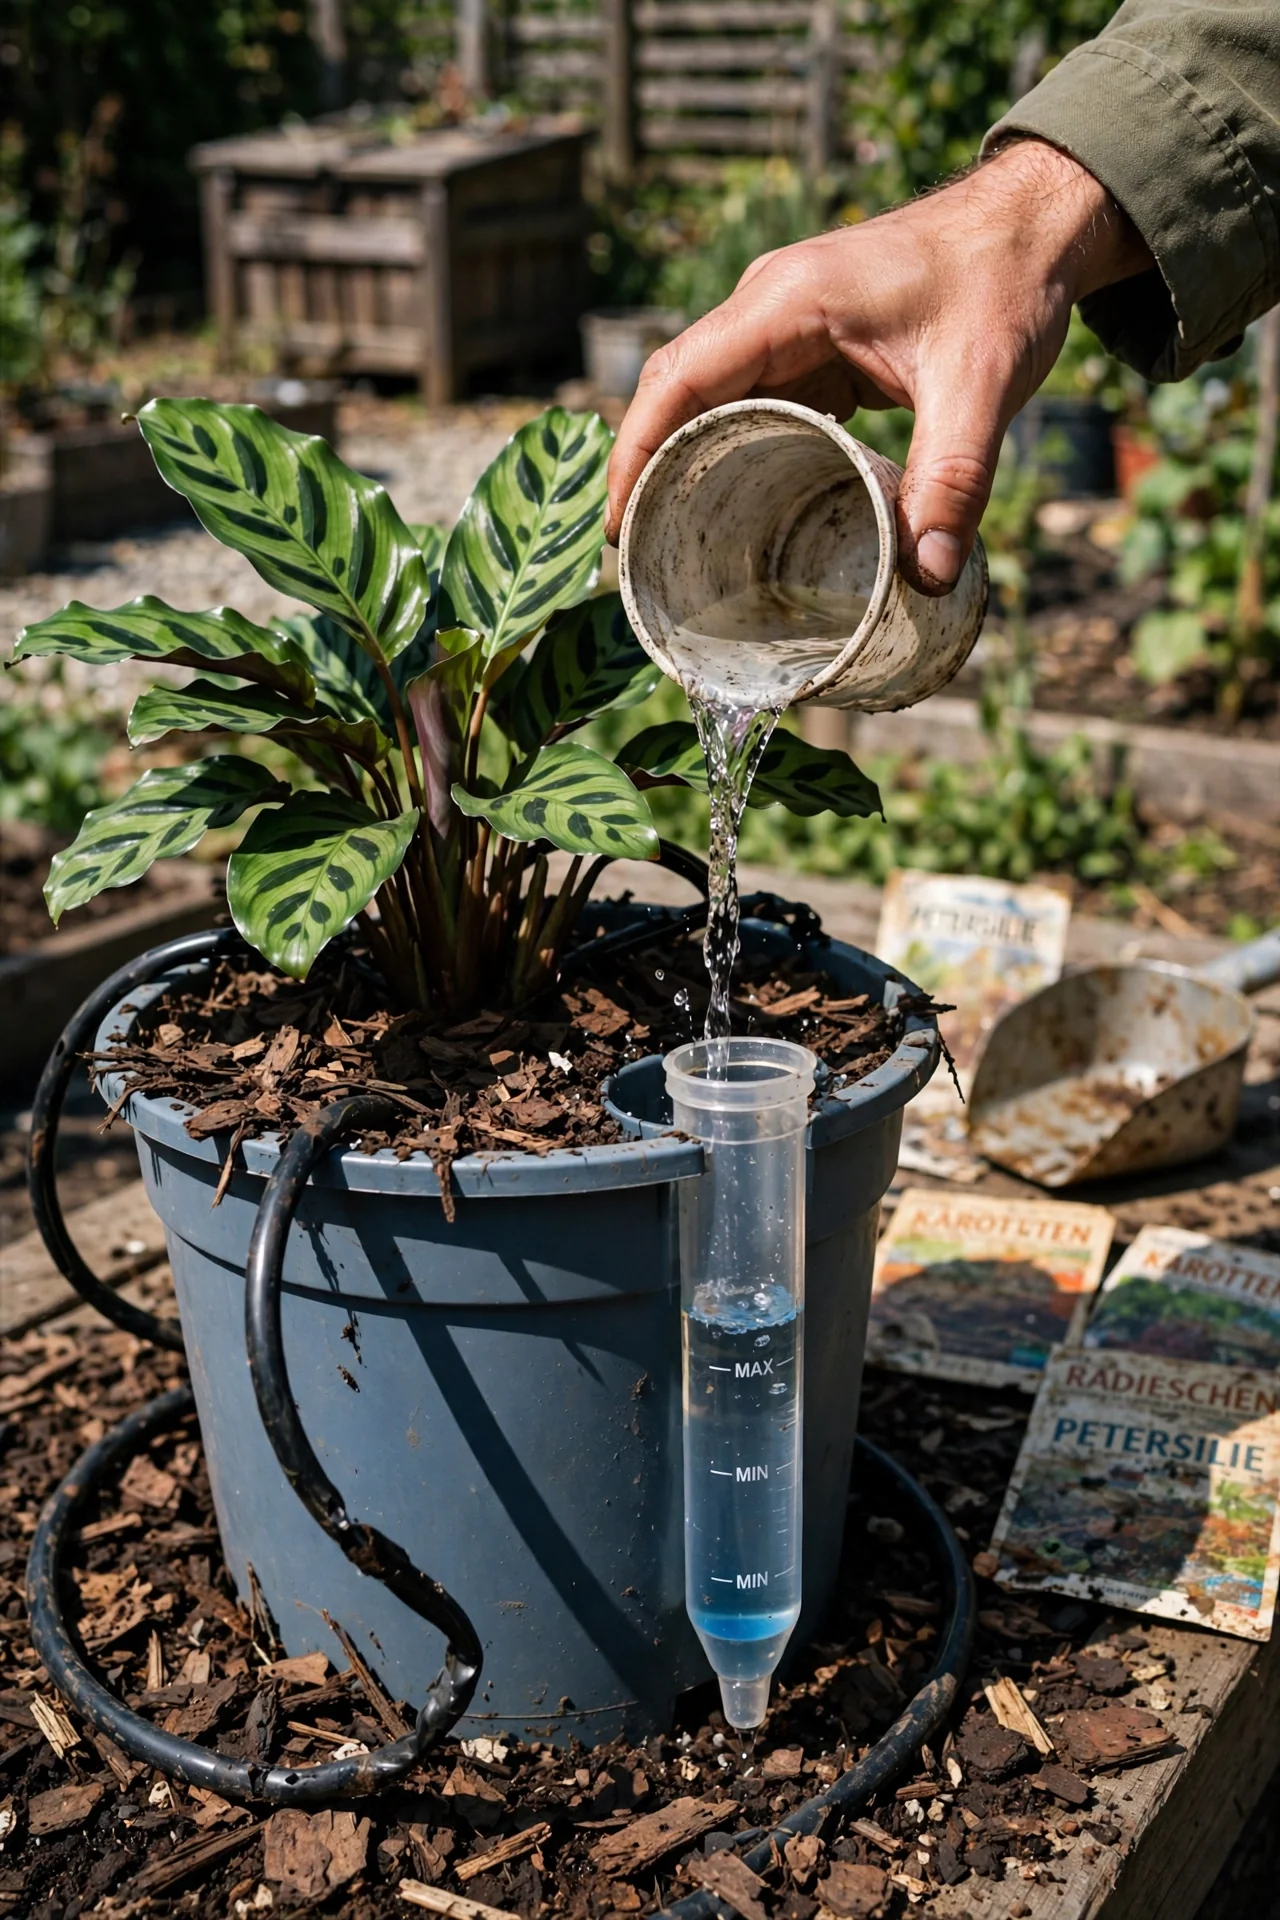
| 7. Self-Watering Pot with Rainwater Reservoir | Consistent moisture via wicking, mineral-safe with rainwater | Overwaterers who want steady hydration | Branch 3 | 3 |
| 8. Moisture Meter Protocol | Removes guesswork from watering timing | Inconsistent watering habits | Branch 3 | 2 |
| 9. LECA Semi-Hydro Conversion | Inert clay medium, eliminates soil compaction and rot | Chronic overwaterers, root rot history | Branch 3 | 4 |
| 10. Custom Soil Mix for Drainage | Added perlite and bark prevent waterlogged roots | Heavy-handed watering with dense soil | Branch 3 | 3 |
1. Distilled or Rainwater Switch
Best for: Branch 1
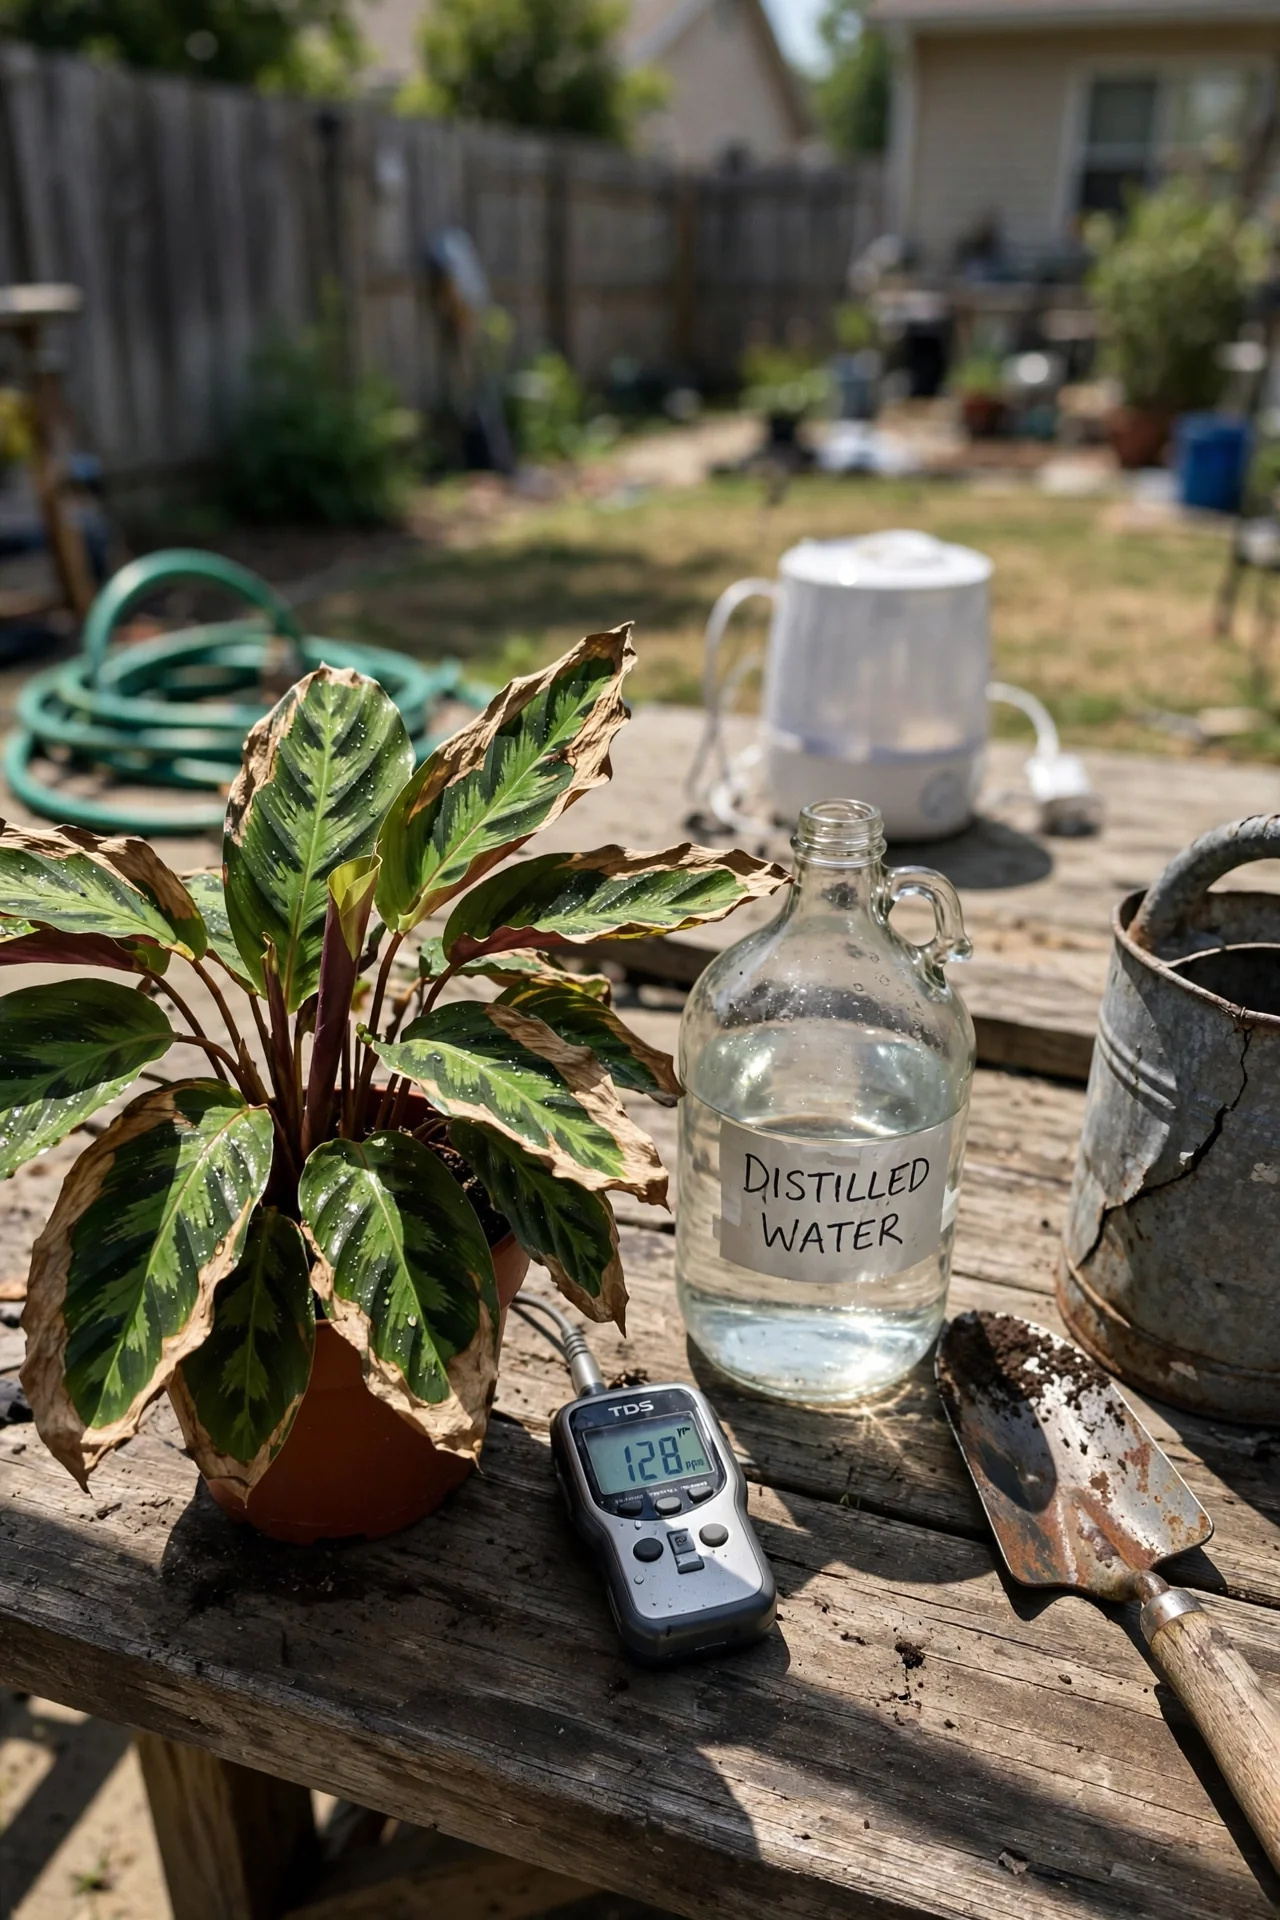
What it is: A permanent switch from tap water to mineral-free water. Use distilled, reverse osmosis, or clean rainwater.
Who it’s for: Growers whose tap water TDS exceeds 150 ppm, who see white crust on the soil surface, or whose calathea develops crisp brown edges despite perfect humidity.
Steps: 1. Test tap water with a TDS meter. 2. Source distilled water from grocery refill stations or collect rainwater in a covered container. 3. Water as usual; do not let the pot sit in runoff, but occasional top-watering with this water reduces salt accumulation.
Common mistake: Using water from a sodium-based softener. Softened water replaces calcium with sodium, which damages roots faster than hard tap water. Stick to distilled, RO, or rain.
Many sensitive houseplants, including the peace lily, respond to this exact fix.
2. Faucet-Mount Chlorine Filter
Best for: Branch 1
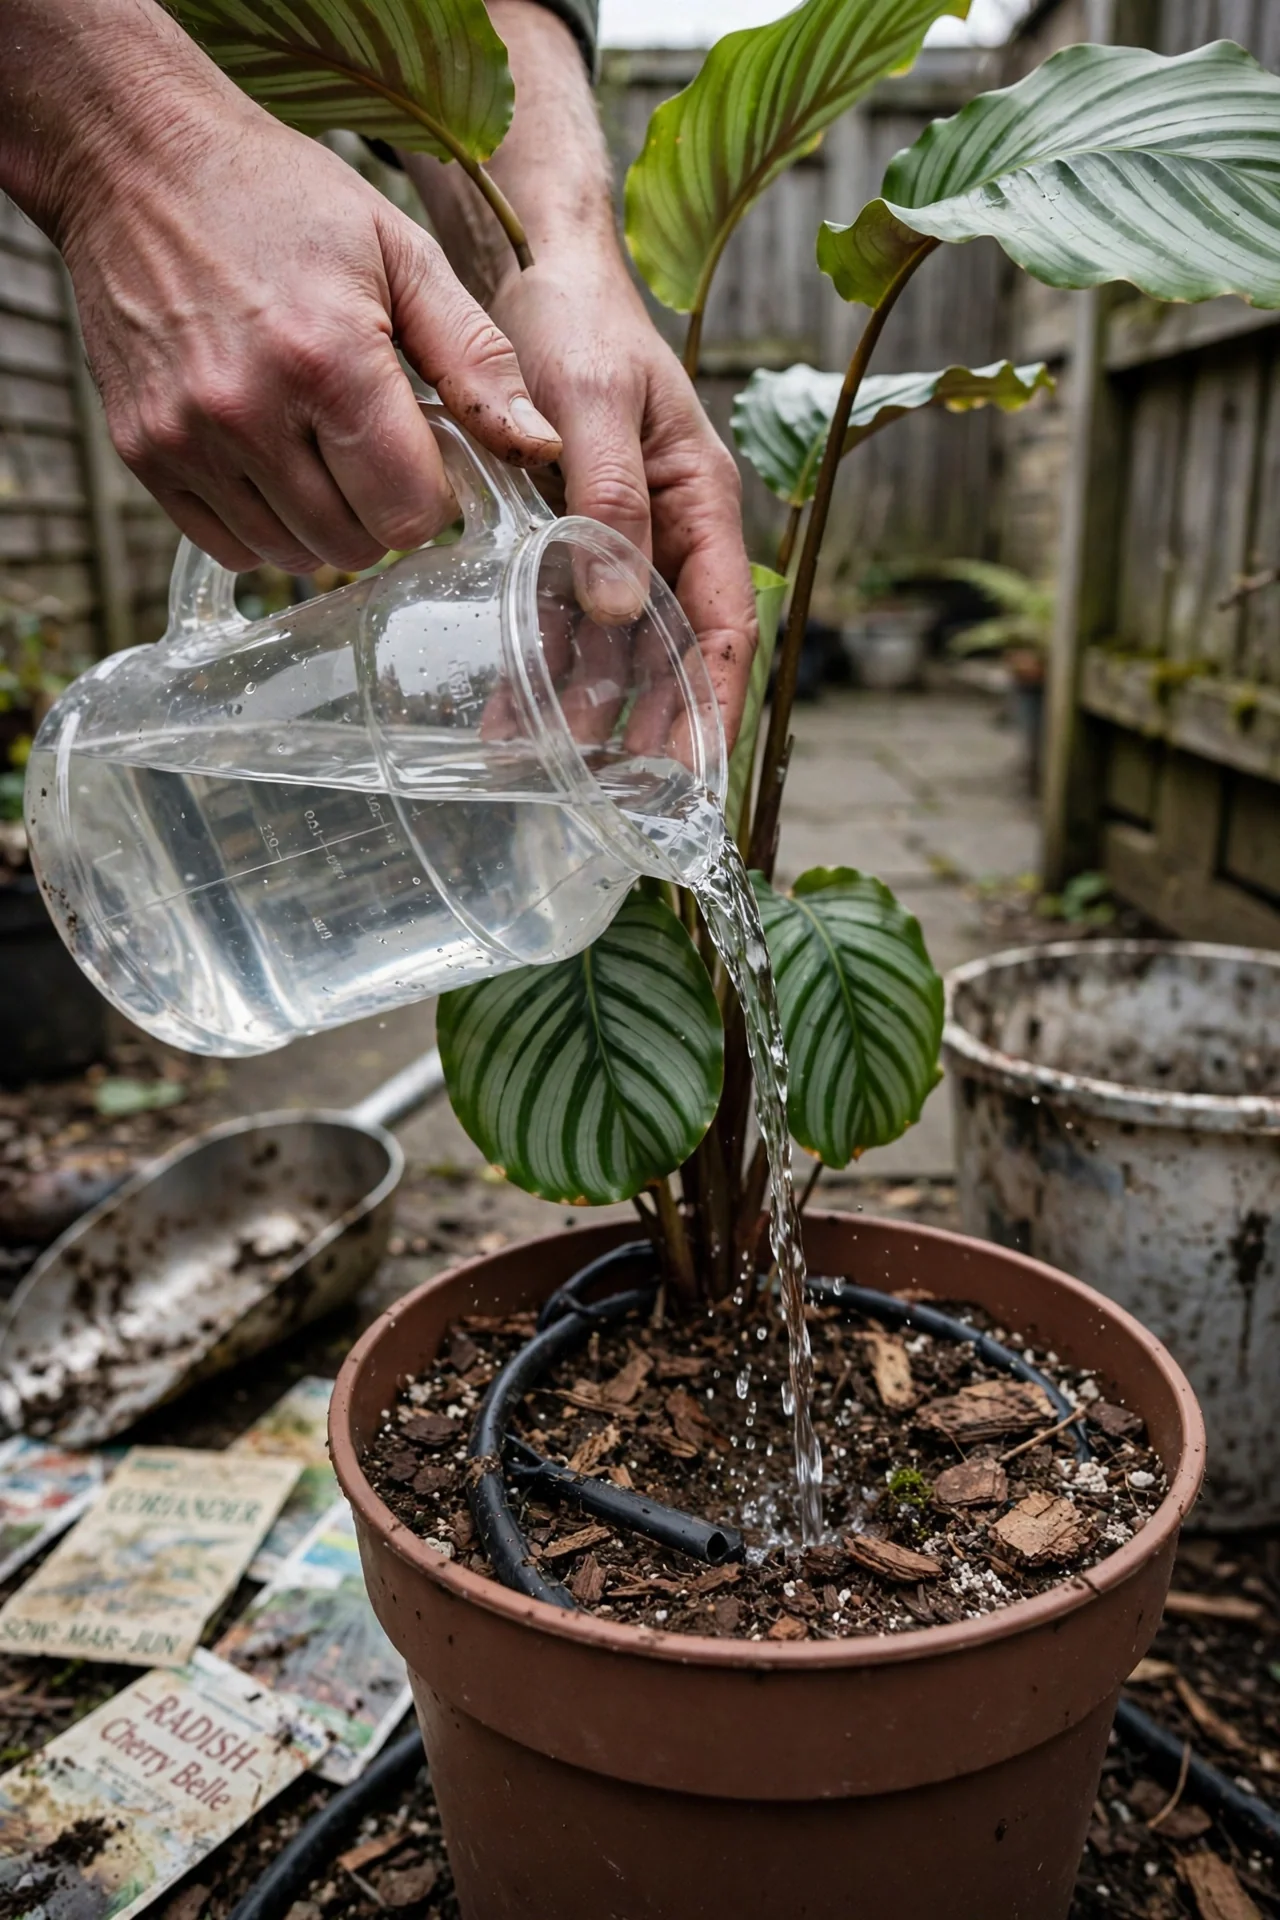
Use if: your tap water is soft but chlorinated, and you want a single installation that reduces leaf tip burn. Pros: removes free chlorine and some chloramine, installs in minutes, cartridge lasts months. Cons: does not lower dissolved mineral content; TDS remains unchanged. Skip if: your water is hard or has high fluoride, because leaf edge burn will persist. Best paired with distilled water for sensitive collections.
3. Peat Moss Water Conditioning
Best for: Branch 1
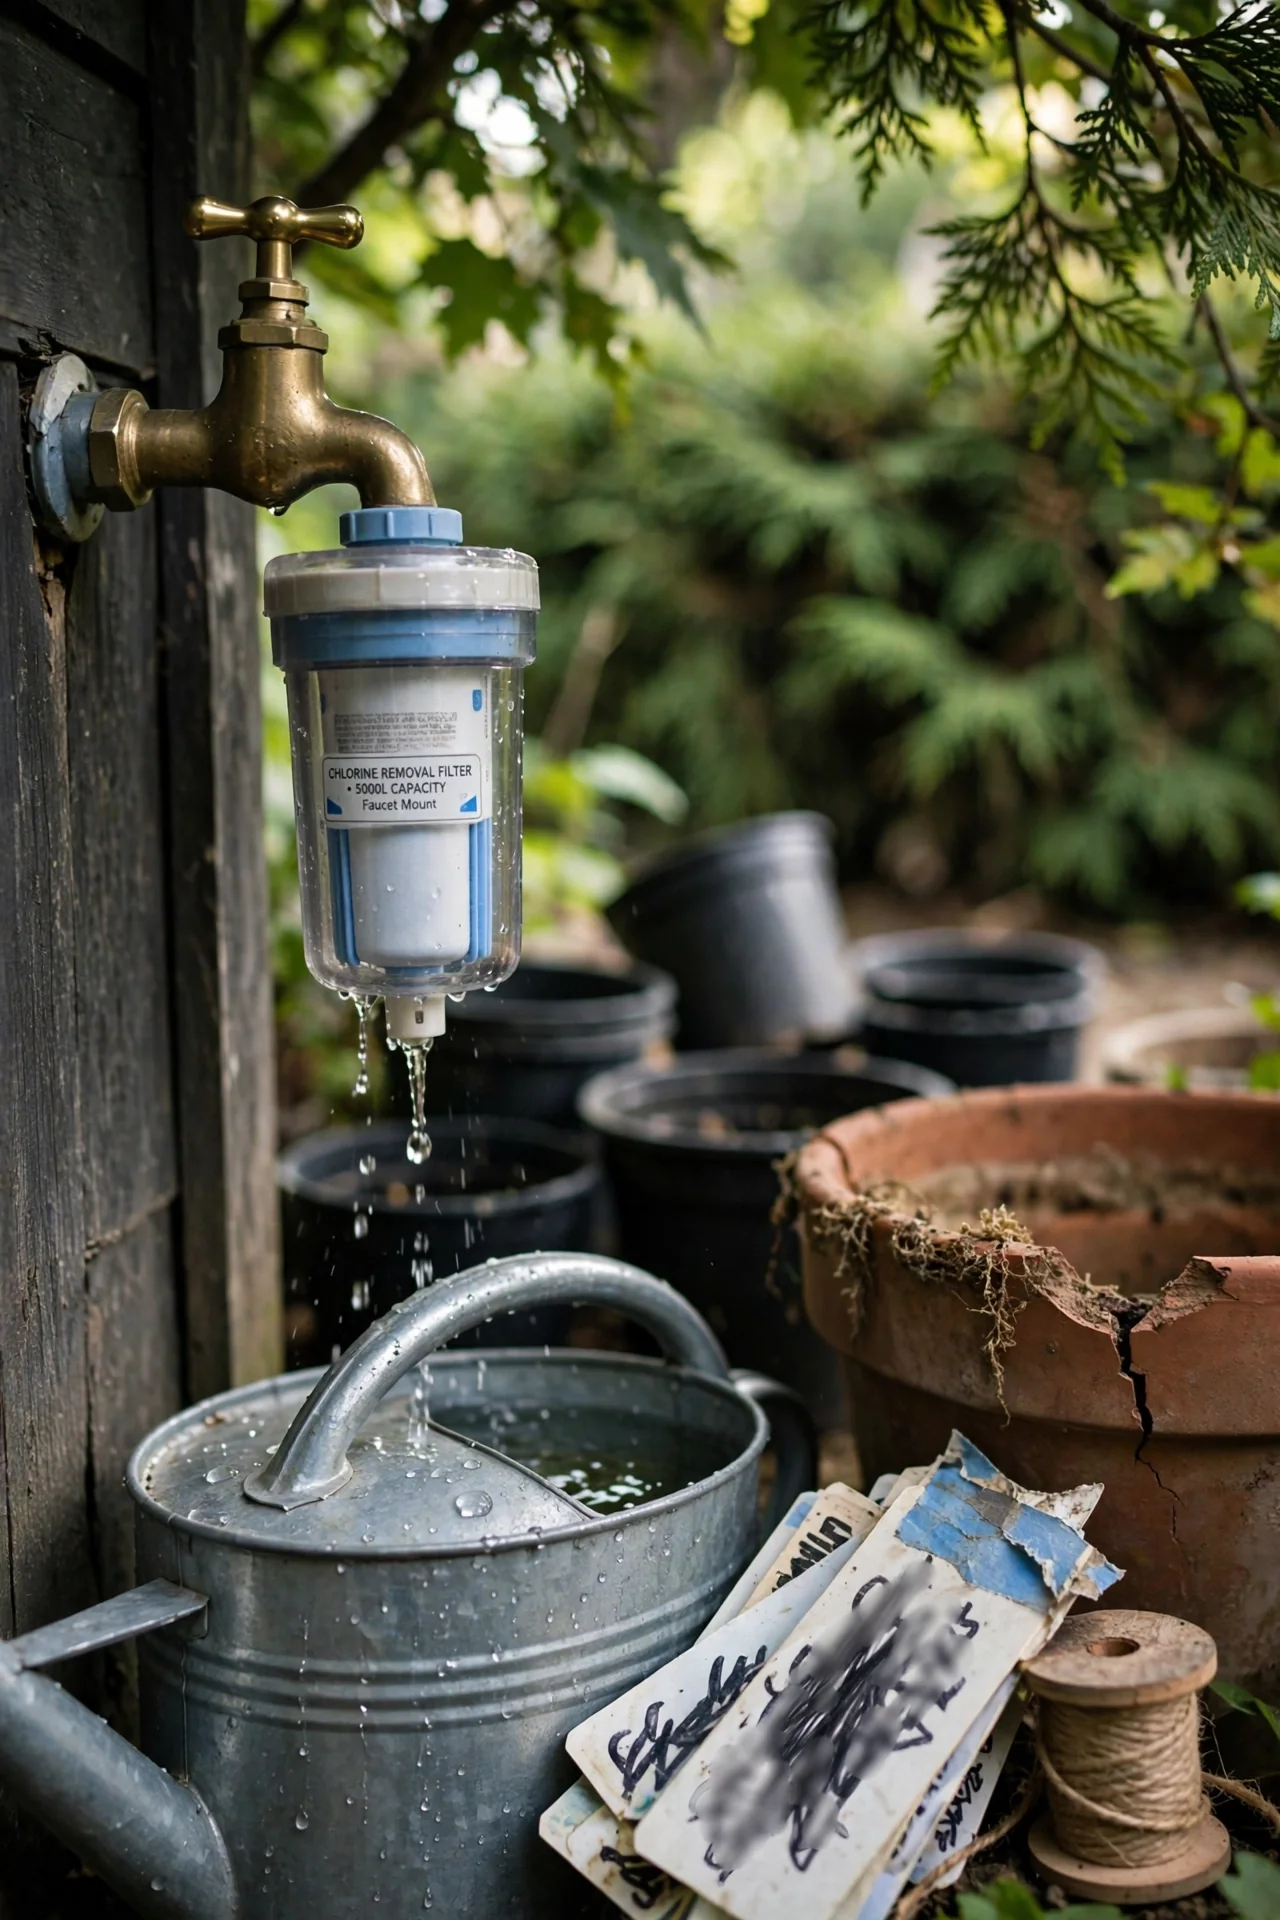
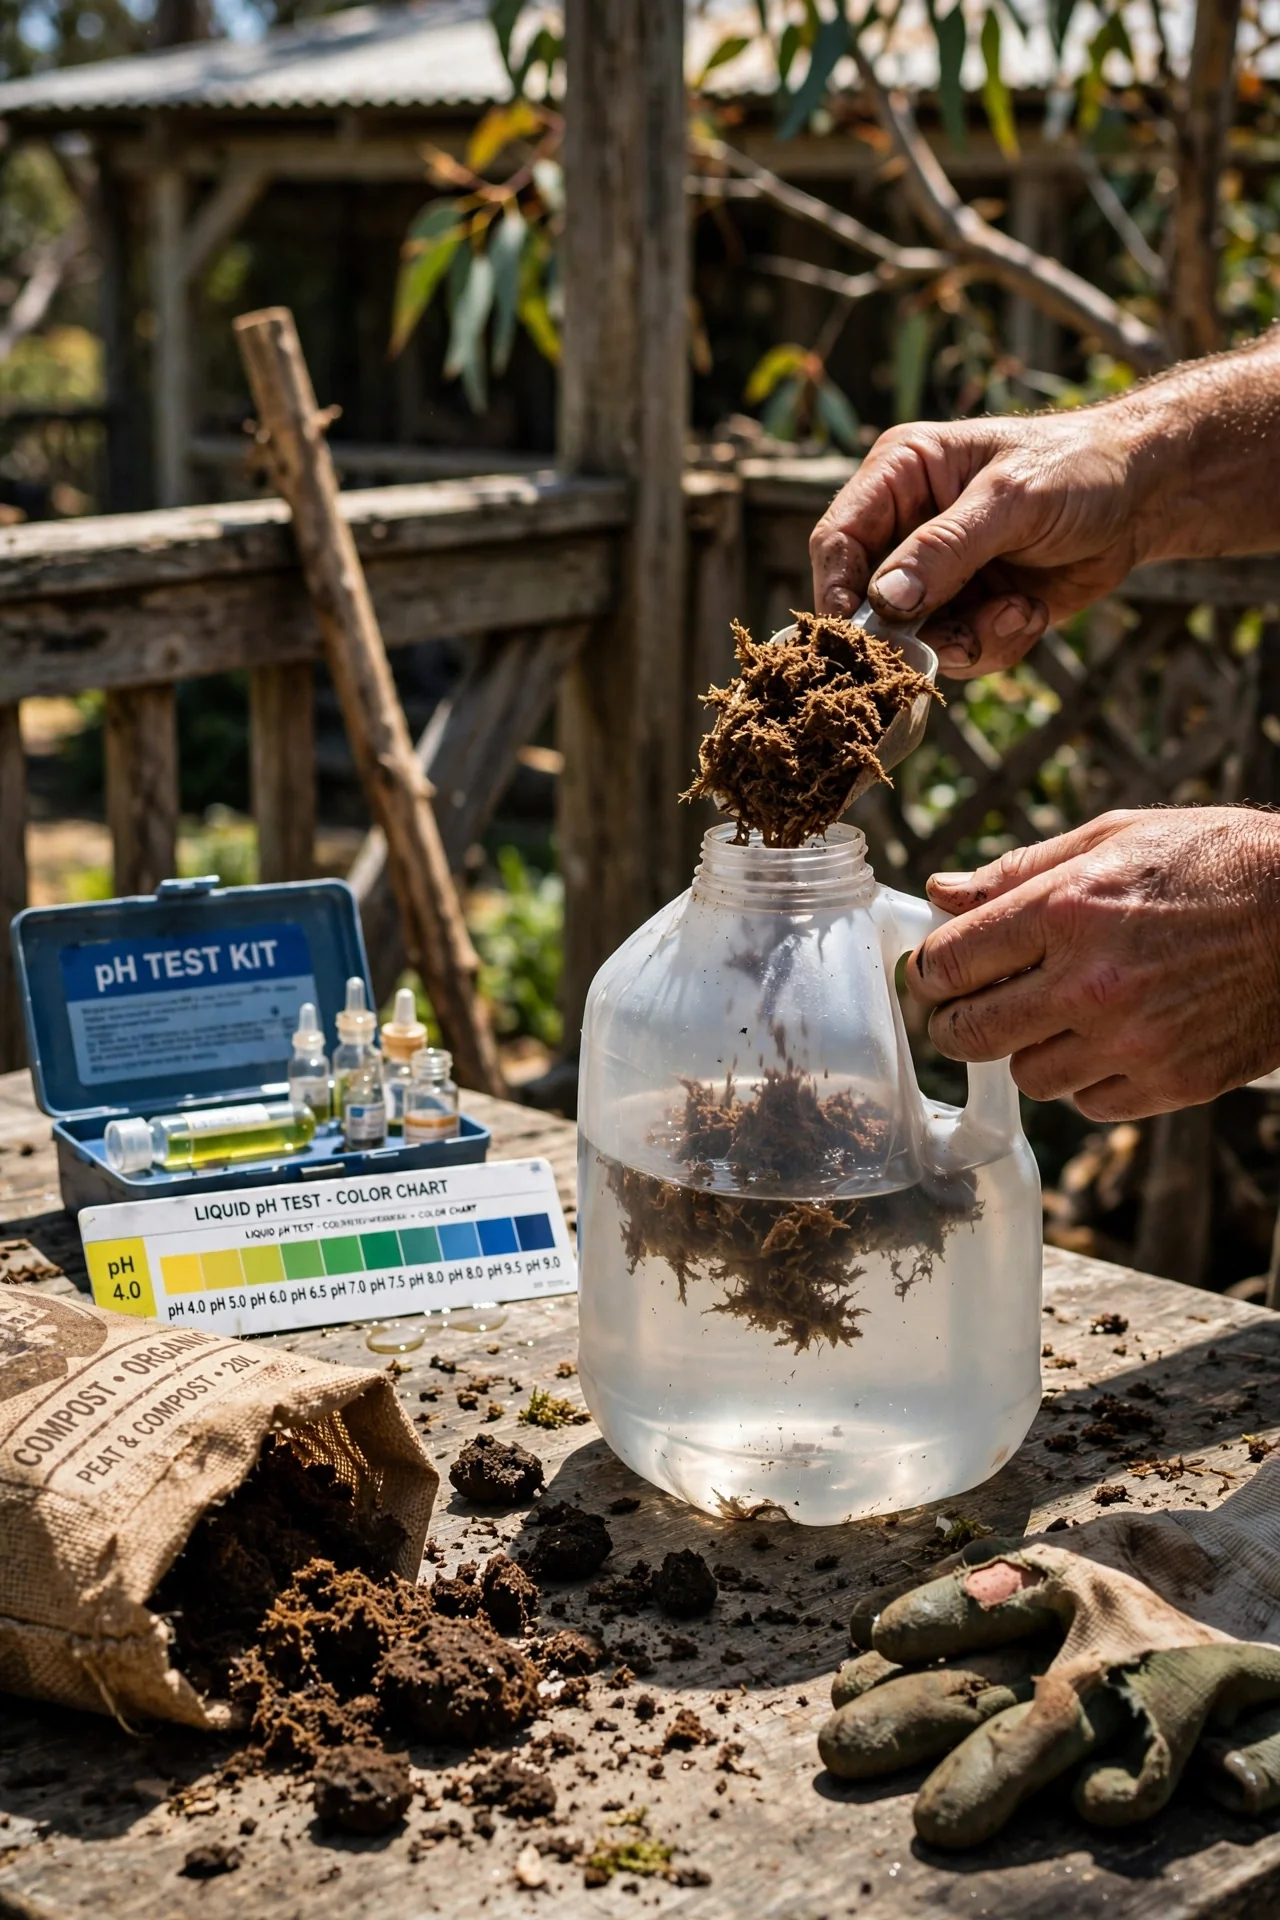
Threshold rule: Use when tap water TDS is between 150 and 300 ppm and pH is above 7.5. Soak 1 cup of sphagnum peat moss in 1 gallon of water for 24 hours. The pH drops to 5.5–6.0 as peat releases humic acids and exchanges calcium and magnesium ions. Adjustment: test the resulting pH with a liquid kit. If it falls below 5.5, mix the conditioned water with untreated tap water in a 1:1 ratio to land near 6.0. Discard peat after two batches; it loses exchange capacity. Not effective for removing fluoride or chloramine.
4. Evaporative Humidifier with Treated Water
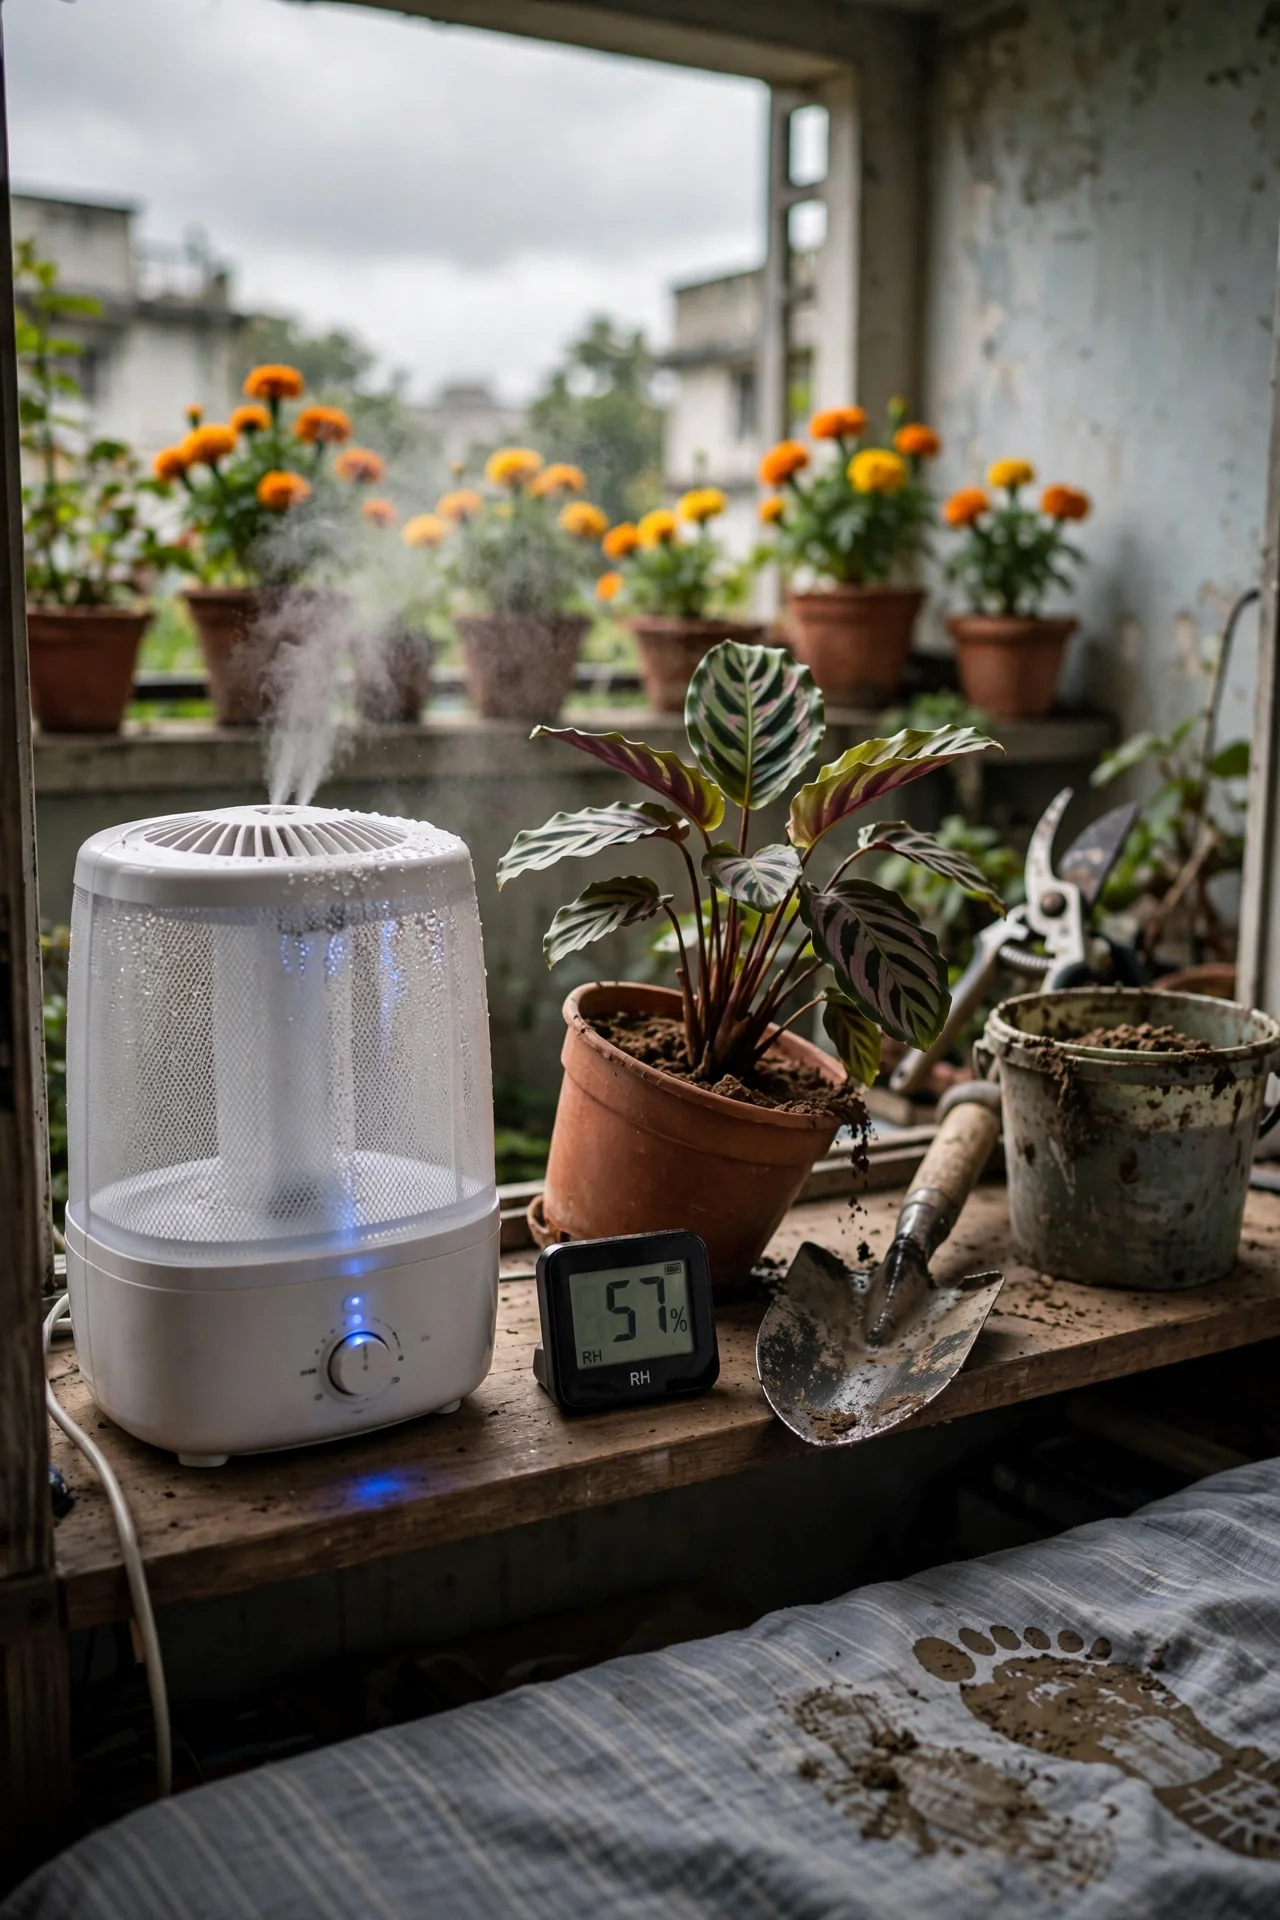
Best for: Branch 2
10-minute weekly workflow: Fill the tank with distilled or reverse osmosis water to avoid white mineral dust. Place the humidifier 2–3 feet from the calathea, not directly blowing mist onto leaves. Aim for a steady reading of 55–65% relative humidity on a nearby hygrometer. Once a week, empty the tank and wipe all surfaces with undiluted white vinegar to prevent mold and bacterial biofilm. Upgrade option: use a humidistat-controlled model that switches off when the target humidity is reached, saving water and preventing over-humidification. Calathea’s close relative, the maranta, thrives under the same humidified conditions.
5. Humidity Dome for Crispy Leaves
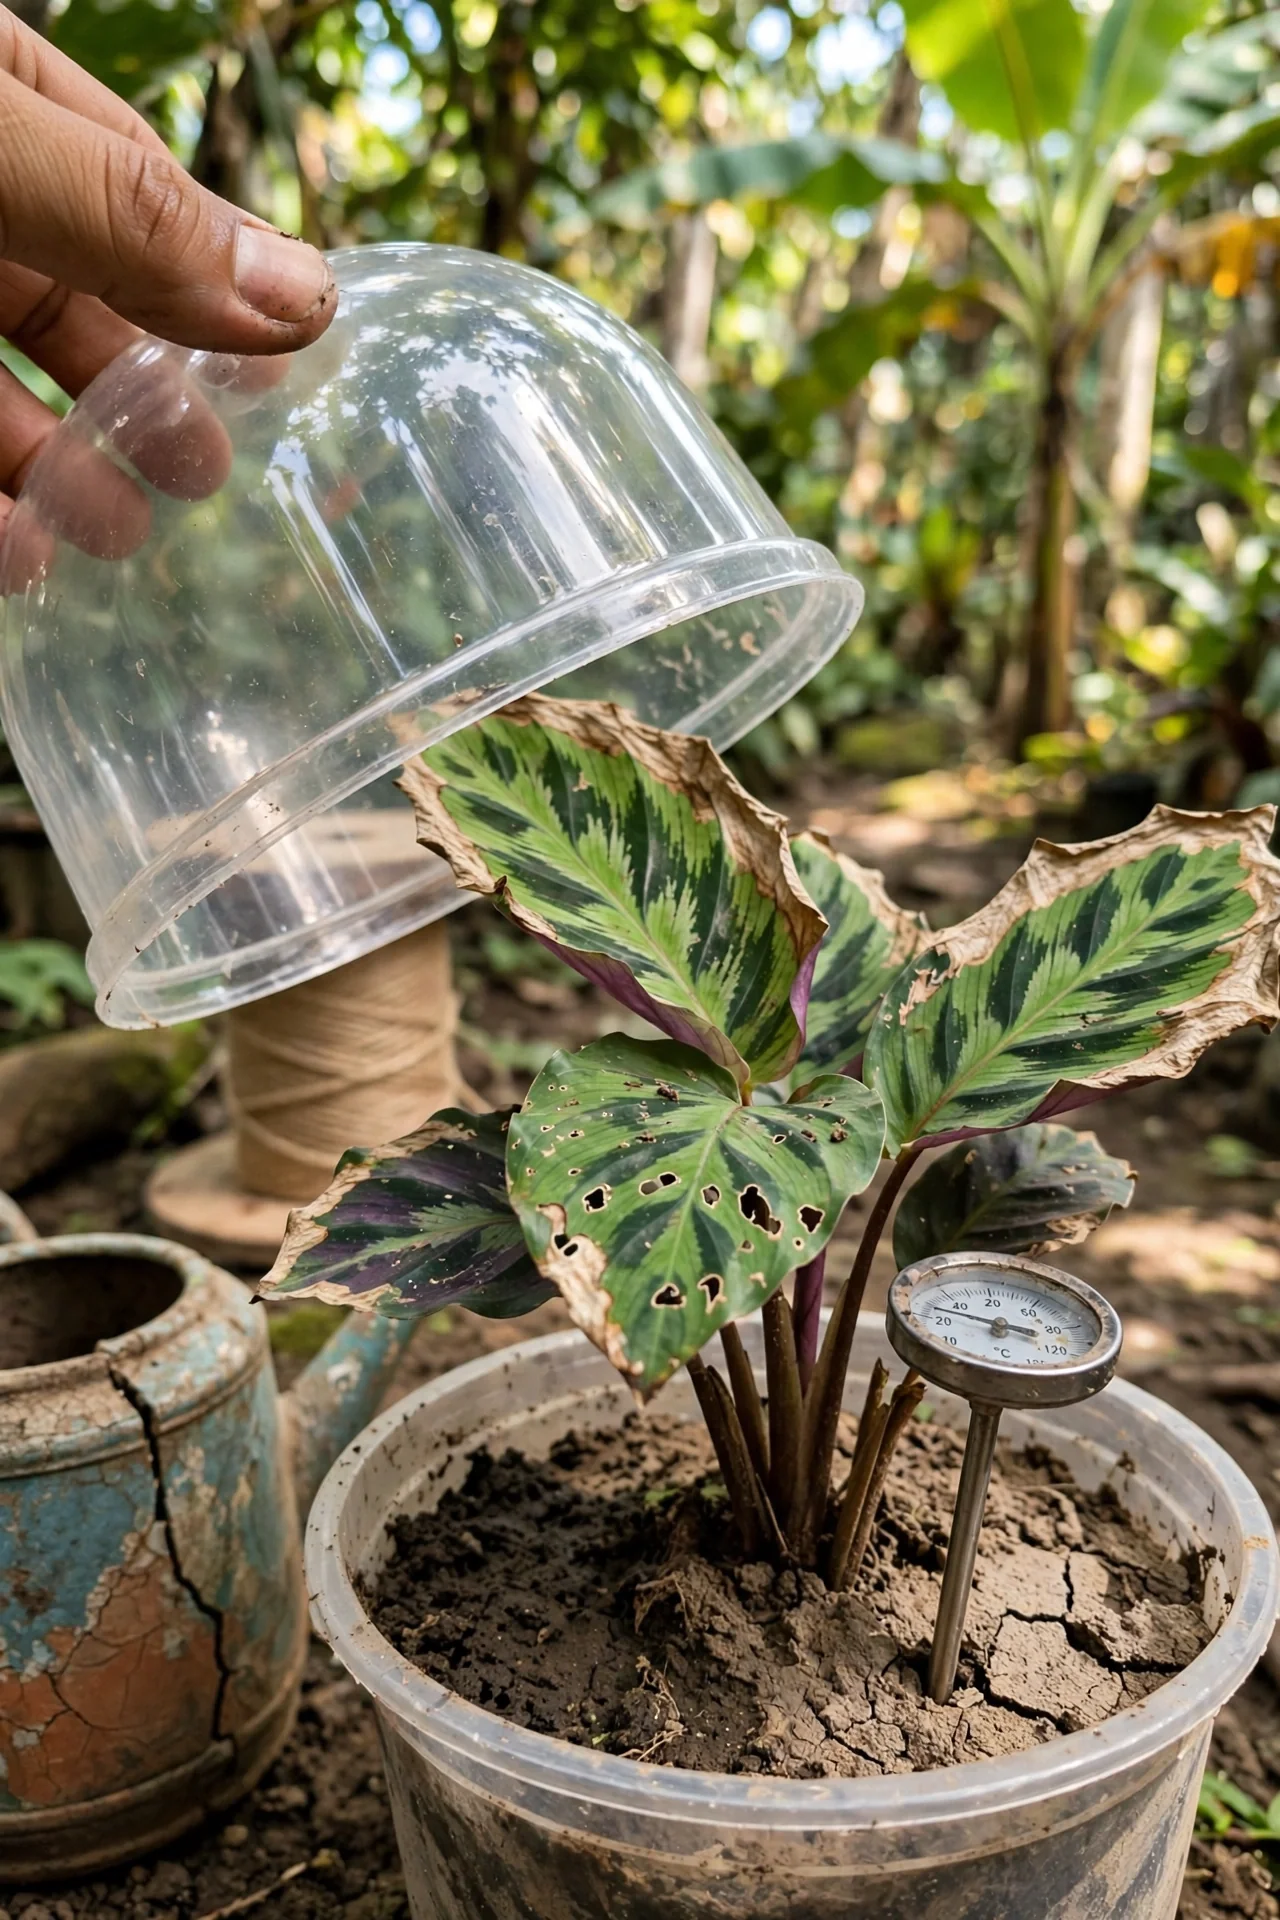
Best for: Branch 2
What it is: A clear plastic dome or cloche placed over a single potted calathea to trap transpiration moisture. Who it’s for: reviving a plant that already has significant edge browning. Steps: water the plant lightly, cover loosely, and ventilate by lifting the dome for 15 minutes daily. Mistake: sealing it completely without air exchange, which invites botrytis and leaf rot. Remove the dome entirely once new growth shows healthy, uncrisped edges.
6. Grouping Plants for Microclimate
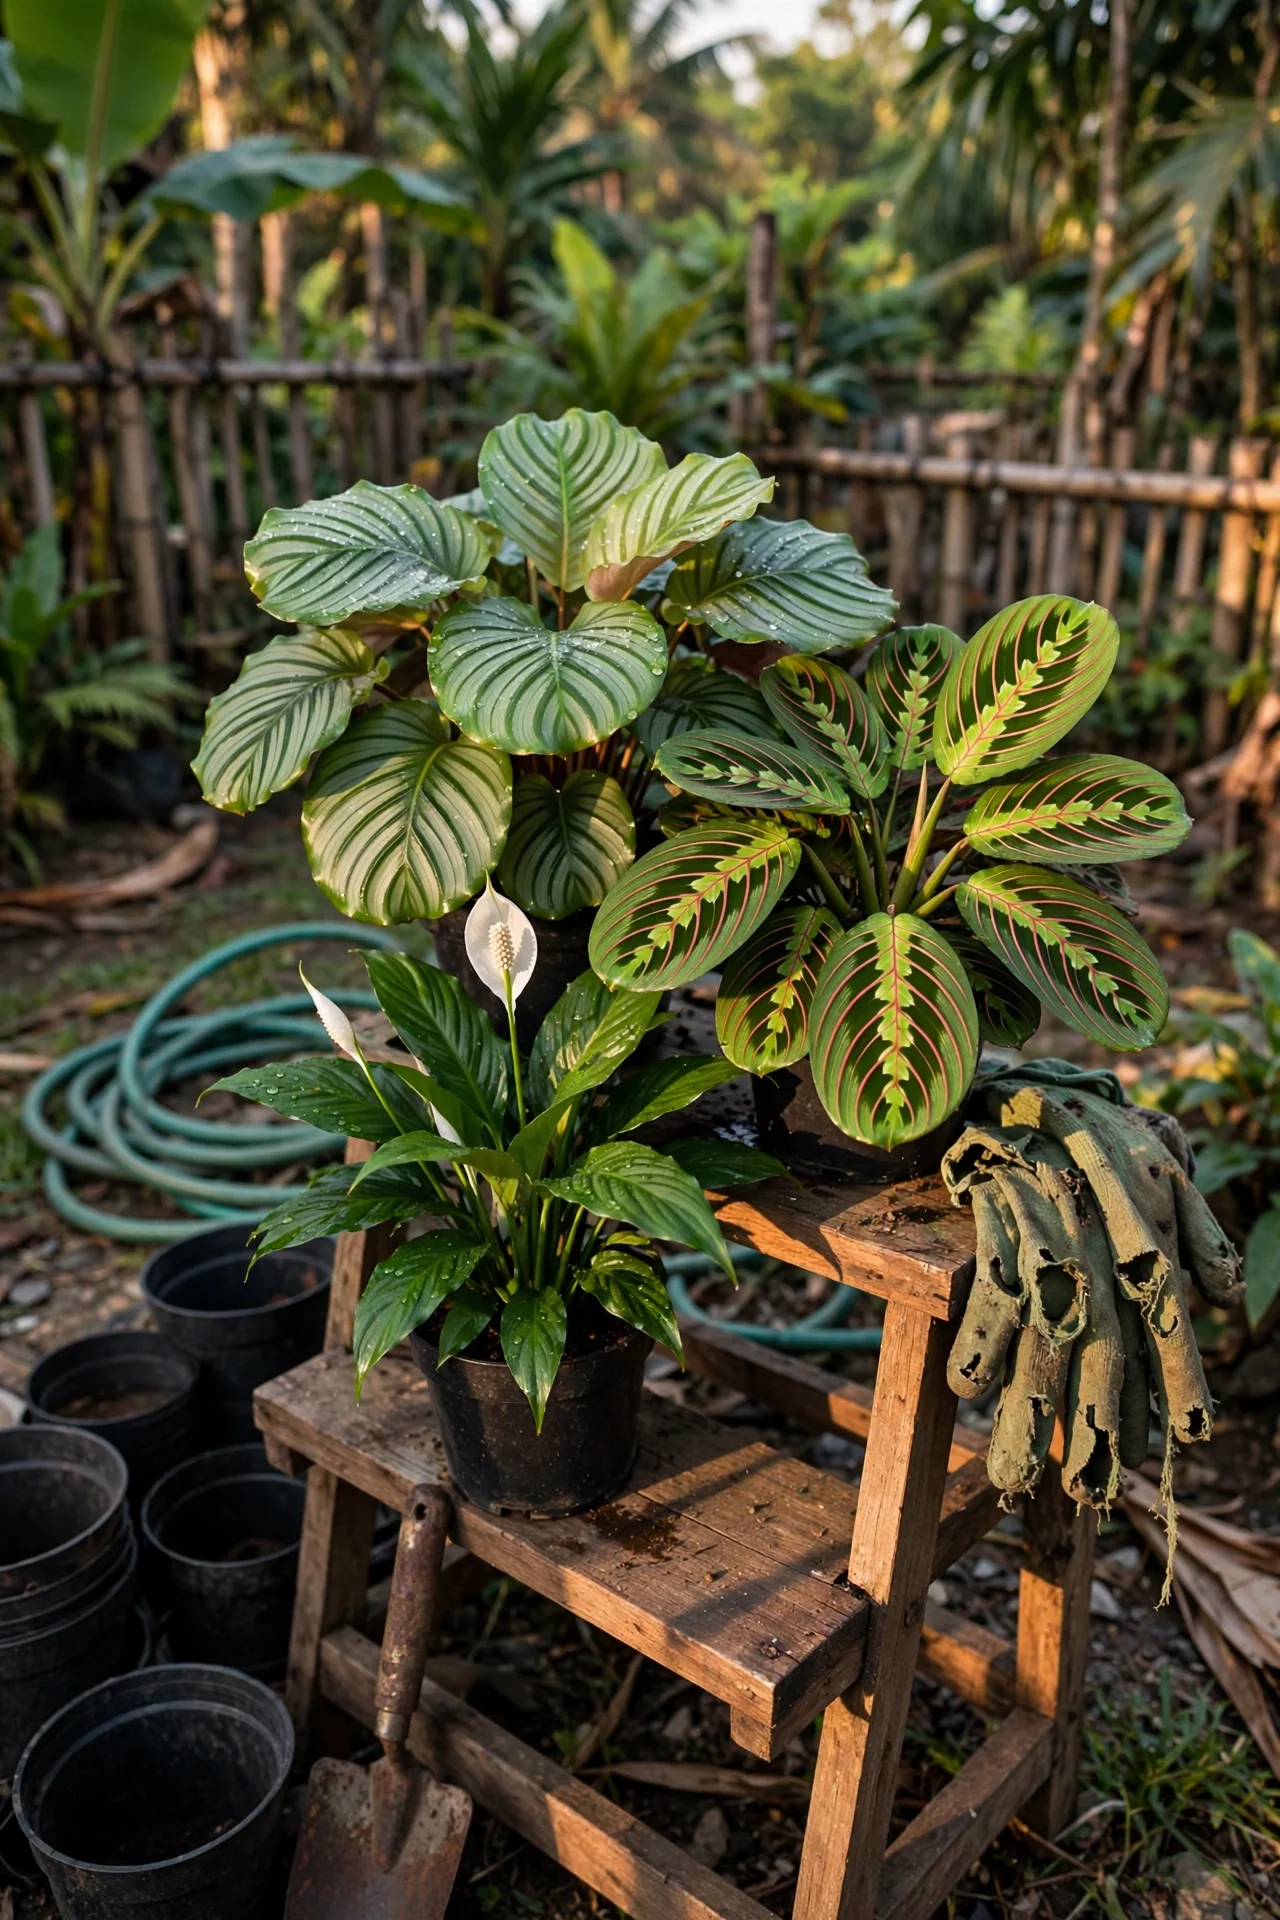
Best for: Branch 2
Use if: you already own several tropical foliage plants and want a zero-cost humidity boost. Pros: collective transpiration can raise local humidity by a noticeable margin; no electricity needed. Cons: increased risk of pests spreading quickly among tightly packed plants, and it requires enough horizontal space. Skip if: your other plants are succulents or cacti that prefer dry air, because the microclimate won’t form. This technique works best when at least three broad-leaf plants sit within 6 inches of each other.
7. Self-Watering Pot with Rainwater Reservoir
Best for: Branch 3
Threshold rule: Choose a reservoir that holds enough water for 7–14 days based on your pot size. Fill only with rainwater or distilled water; tap water evaporates and concentrates salts in the reservoir, eventually wicking them into the root zone. The soil must contain at least 30% perlite to ensure fast wicking without waterlogging. Adjustment: if leaves still wilt between refills, increase perlite content or move to a larger reservoir. An anthurium benefits from the same consistent moisture without wet feet, making this a shared solution across your collection.
8. Moisture Meter Protocol
Best for: Branch 3
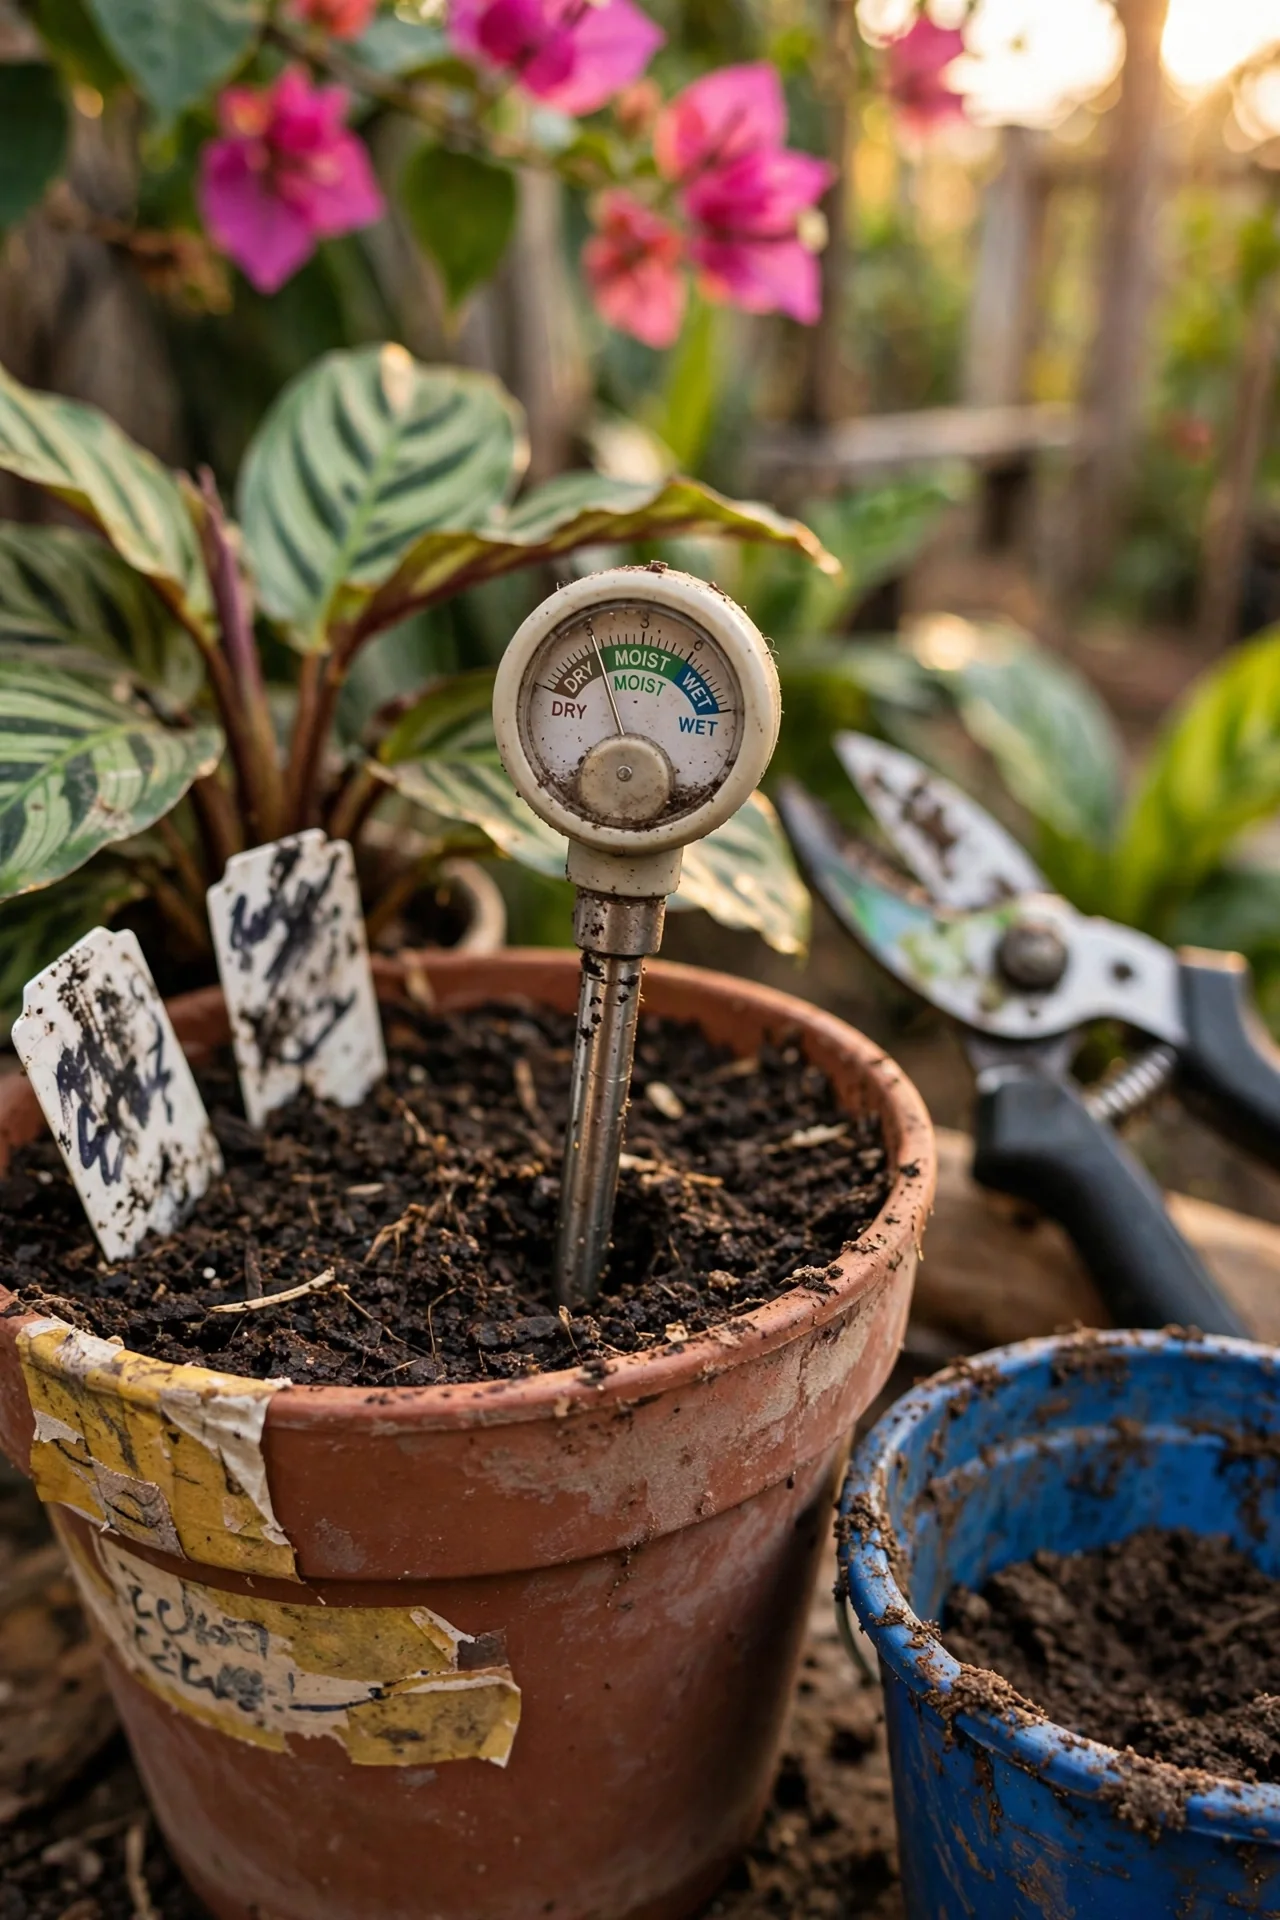
10-minute habit: Insert the probe halfway between the stem and the pot’s edge, taking care not to damage the root ball. Read the scale; water when the meter shows 3–4 on a 1-to-10 dry-to-wet range. After watering, note how many days pass before the reading returns to 3–4, then set a flexible reminder. Upgrade: a dual-prong meter that also reads soil pH helps you spot pH drift before it causes nutrient lockout. No more guesswork, just a simple reading before each watering session.
9. LECA Semi-Hydro Conversion
Best for: Branch 3
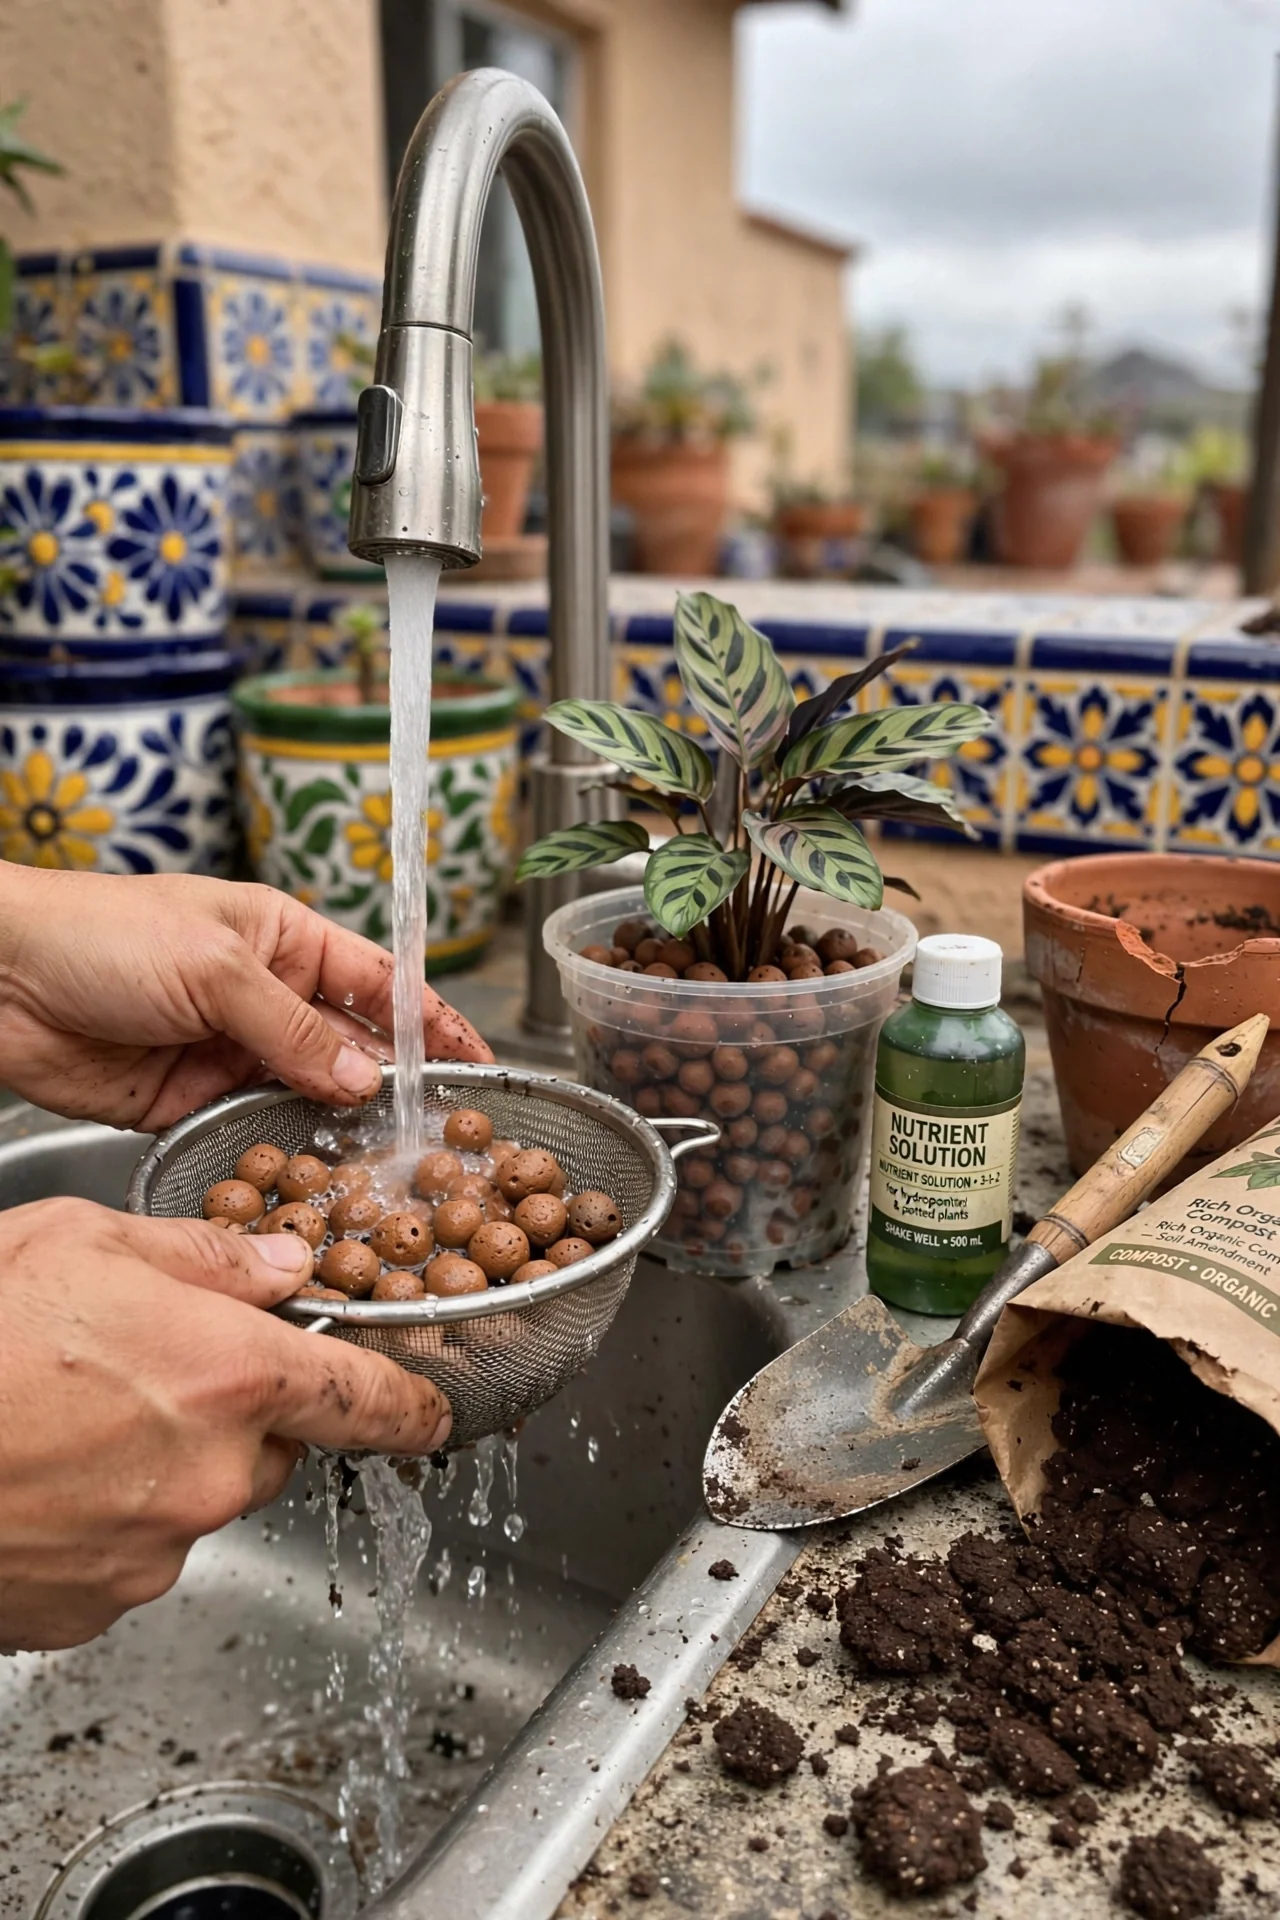
What it is: Growing calathea in lightweight expanded clay aggregate instead of soil, with a nutrient solution reservoir at the bottom. Who it’s for: chronic overwaterers or anyone who has lost a calathea to root rot. Steps: rinse LECA until water runs clear, remove all soil from roots, pot the plant in a net pot inside a cache pot, and fill the reservoir with a weak, pH-adjusted nutrient solution (pH 6.0). Common mistake: using tap water for the nutrient solution, which causes salt crusts on the clay pellets. Always mix with distilled or RO water.
10. Custom Soil Mix for Drainage
Best for: Branch 3
Use if: your calathea sits in standard peat-based potting mix that stays soggy for days after watering. Pros: a tailored blend of 2 parts peat moss, 1 part perlite, and 1 part fine orchid bark creates air pockets that prevent root suffocation. Cons: requires mixing and storing ingredients, and you may need to water slightly more often. Skip if: your plant is already in a well-draining commercial aroid mix. If you’ve grown caladium indoors, you know a chunky mix prevents tuber rot; calathea roots respond to the same principle.
Starter Stack (What to Choose First)
Branch 1: Water Quality First
Combine the Distilled or Rainwater Switch (Item 1) with a Faucet-Mount Chlorine Filter (Item 2). The filter handles chlorine and some chloramine at the tap, while distilled water eliminates the dissolved solids that cause edge burn. Budget: $25–$40 upfront for the filter, $10–$20 monthly for distilled water depending on collection size. Time: 10 minutes per week to refill jugs.
Branch 2: Humidity That Actually Works
Pair an Evaporative Humidifier with Treated Water (Item 4) and Grouping Plants for Microclimate (Item 6). The humidifier sets the baseline; group placement traps the extra moisture around leaves without extra electricity. Budget: $40–$80 for a medium-sized humidifier, $5 monthly for distilled water. Time: 10 minutes weekly for cleaning and refilling.
Branch 3: Overwatering Rescue
Start with a Self-Watering Pot with Rainwater Reservoir (Item 7) and a Moisture Meter Protocol (Item 8). The pot provides steady moisture, and the meter teaches you the new wet-dry rhythm without guesswork. Budget: $20–$50 for pot and meter combined. Time: 5–10 minutes per week to check the meter and top up the reservoir.
When This Won’t Work
Condition 1: Your water contains high fluoride or boron and you cannot source distilled water. Even the best faucet filter or peat conditioning does not remove fluoride. Calatheas are fluoride-sensitive, and leaf tip burn will continue. The alternative is to accept the limitation and select a plant with similar visual appeal but higher tolerance, such as a cast iron plant or a well-established aglaonema.
Condition 2: Ambient humidity stays below 30% even with a humidifier running continuously. In very dry climates or drafty, heated rooms, a single humidifier may not raise the air moisture enough. At that point, a small greenhouse cabinet or a dedicated bathroom plant setup with natural steam becomes the practical fix. Setting up a dedicated high-humidity space such as a bathroom plant collection can bypass ambient dryness, as outlined in our tropical bathroom plants guide.
Choosing the Right Option for Your Situation
Budget Threshold
If you want to spend under $30 total, start with the Distilled or Rainwater Switch (Item 1) and Grouping Plants for Microclimate (Item 6). This combination costs almost nothing beyond the water itself and makes an immediate difference.
Time Threshold
If you can commit less than 15 minutes per week, choose the Self-Watering Pot with Rainwater Reservoir (Item 7) and Moisture Meter Protocol (Item 8). Both reduce hands-on watering to a quick check and a monthly deep-clean.
Technical Constraint: High pH Tap Water
When your tap water pH stays above 8.0 even after running through a filter, you must actively lower it. Peat Moss Water Conditioning (Item 3) is the most accessible method, but you need to test pH weekly. Skip it only if you are willing to use pH-down solutions designed for hydroponics.
Quick Yes/No Checklist: Is tap TDS >150 ppm? Yes → switch to distilled/rainwater. Is room humidity below 50%? Yes → add humidifier. Have you overwatered before? Yes → use self-watering pot. Are leaves still browning after fixing water? Yes → check roots and for pests.
Expert Q&A
Can I use aquarium water for my calathea?
Yes, if it comes from a freshwater tank treated with a dechlorinator and no salt. It provides a gentle nitrogen boost from fish waste. Avoid water from saltwater tanks or any tank recently medicated. Use it within 24 hours of a water change for best results.
Why do new leaves unfurl with brown tips even when I use distilled water?
Mechanical damage during unfurling is the likely cause when humidity is too low at the exact moment the leaf emerges. Temporarily mist just the emerging leaf once daily, or place a clear plastic cup over the new shoot to trap moisture until it fully opens.
Is leaf curling at night normal for calathea?
Yes. Calatheas exhibit nyctinasty, raising their leaves upward at night. Persistent curling during the daytime, however, signals thirst, excessive light, or heat stress. If leaves stay curled all day, check soil moisture and move the plant away from direct sun.
How do I tell if brown spots are fungal or from water quality?
Fungal spots often show yellow halos and spread irregularly across the leaf blade. Water-quality browning is dry, crispy, and concentrated on the very tips and edges. A magnifying glass helps: fungal lesions may have tiny black fruiting bodies.
Can I bottom-water with distilled water to prevent mineral buildup?
Yes, bottom-watering with distilled water allows capillary action to hydrate roots without splashing the foliage. However, you should still top-water with distilled water once a month to flush any accumulated salts from the soil. Without a periodic flush, minerals from old tap water can linger.
Conclusion
The real turning point in calathea care is recognizing that water quality, not just air moisture, drives crisp leaf edges. The number one mistake is buying a humidifier while ignoring the TDS reading on your tap. Fix the water first, then address humidity and watering consistency in that order.
If calathea care still feels like a battle after these adjustments, a aglaonema offers similar bold foliage with far less demand. Take the quick checklist above, make one change this week, and watch for undamaged new growth.