Chives deliver consistent flavor in containers when the pot setup directly counters their shallow roots and preference for even moisture without sogginess.
Most guides list generic pot sizes and soil tips. This article reframes the choice around measurable conditions: how often you water, your local humidity patterns, and space constraints that affect mobility or airflow around clumps.
It focuses on nine container options proven effective for chives (Allium schoenoprasum). Coverage excludes seed starting from scratch, in-ground planting, and non-container methods.
You finish with clear rules to select one setup that prevents root crowding or weak regrowth in your exact situation.
Match container material and size to your watering frequency and available space to keep leaves tender and productive for seasons without extra effort.
The Yield Grid Decision Grid
Branch 1: You water every 1 to 2 days or your climate keeps soil moist longer than 48 hours after watering (humid summers or sheltered spots). Fast-draining materials reduce the risk of waterlogged roots in dense clumps.
Recommended: Items 1, 4, and 7 below. For a full overview of which herbs pair well in containers overall, see best herbs for containers.
Branch 2: You check soil once a week or less and prefer minimal daily intervention (dry climates or busy schedules). Systems that hold moisture evenly cut down on stress during hot spells.
Recommended: Items 2, 5, and 8.
Branch 3: Pots must stay under 20 pounds when full or need seasonal relocation indoors (balconies, apartments, or cold winters). Lightweight and movable designs simplify transport without disturbing roots.
Recommended: Items 3, 6, and 9.
Quick Comparison Table
| Option | Key mechanism | Best for | Decision Grid Branch | Effort Score |
|---|---|---|---|---|
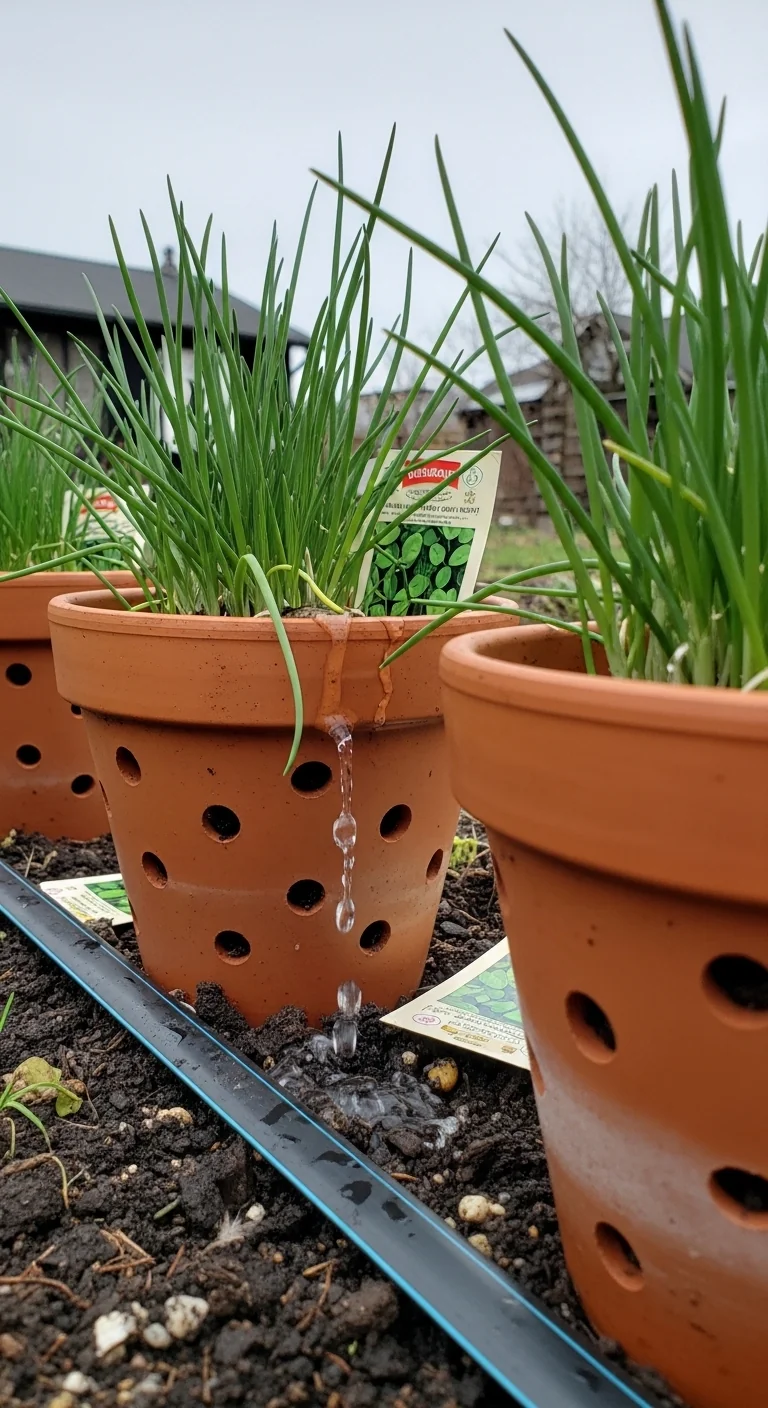
| Terracotta Pots for Optimal Drainage | Porous walls allow airflow to shallow roots | Humid or attentive watering routines | Branch 1 | 2 |
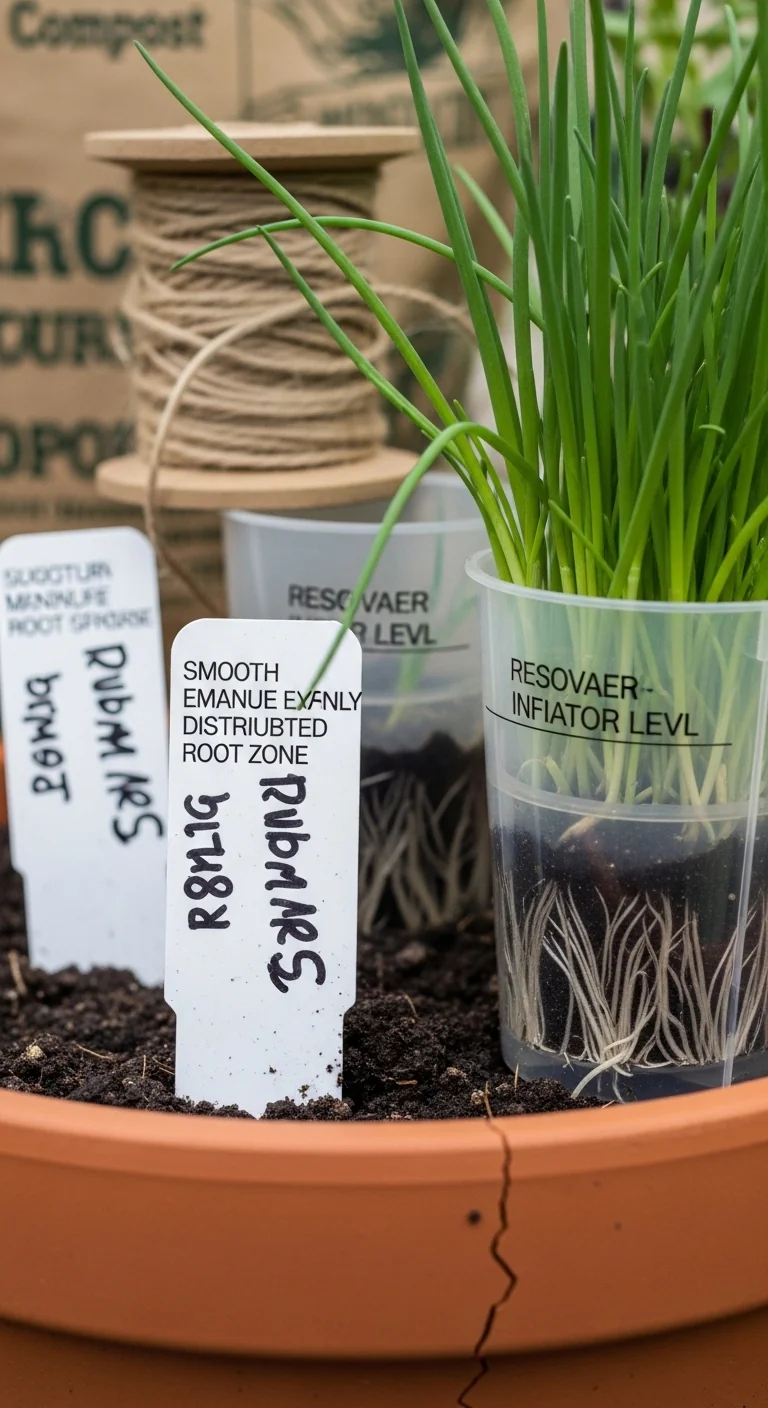
| Self-Watering Herb Planters | Reservoir maintains even moisture at root level | Hands-off schedules in variable weather | Branch 2 | 1 |
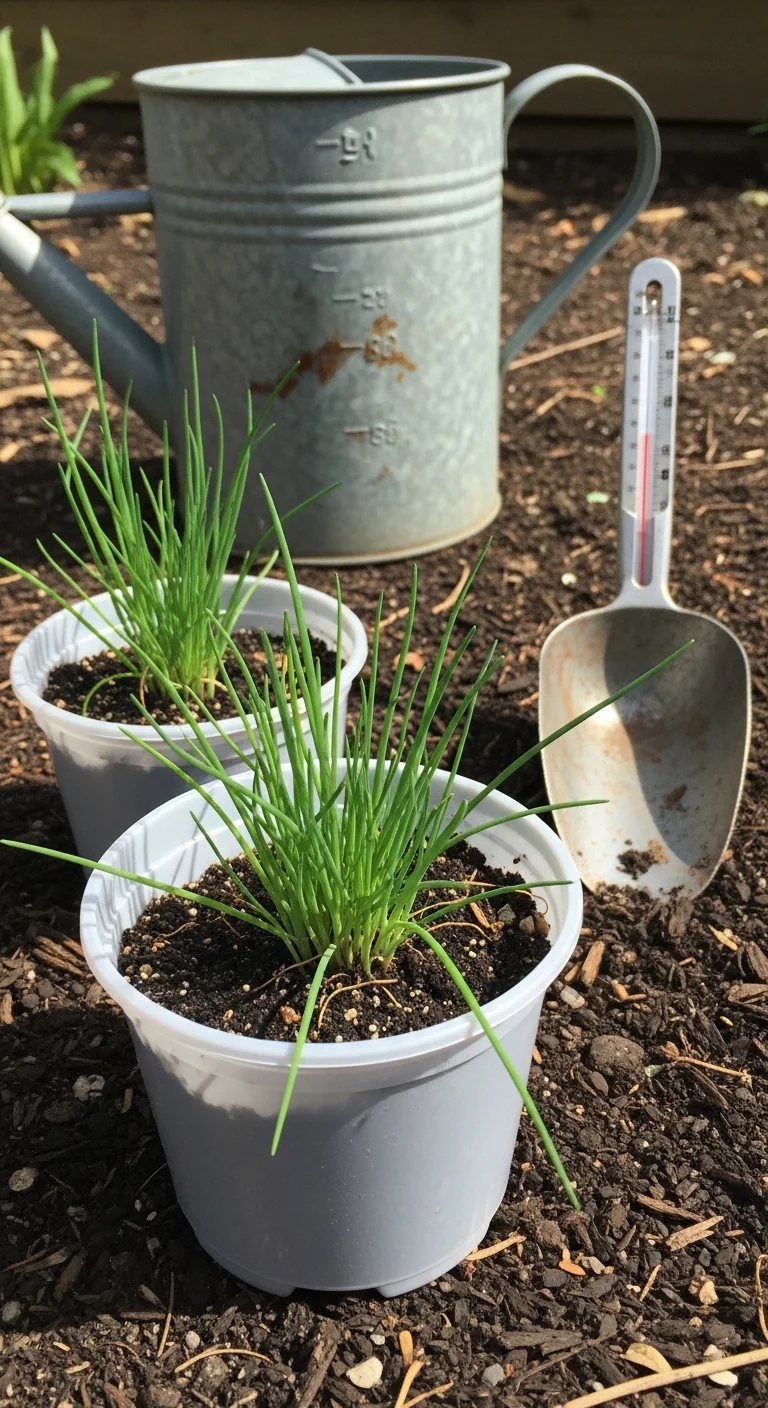
| Lightweight Plastic Pots | Non-porous material retains heat and reduces weight | Frequent relocation or small spaces | Branch 3 | 2 |
| Fabric Grow Bags | Air pruning creates finer, healthier root systems | Outdoor full sun with good drainage needs | Branch 1 | 3 |
| Balcony Window Boxes | Long, narrow profile fits railings or ledges | Limited footprint with steady light | Branch 2 | 2 |
| Indoor Ceramic Pots | Glazed surface limits evaporation indoors | Low-light apartments needing easy cleanup | Branch 3 | 3 |
| Large Clump Division Containers | Extra volume supports division every few years | Long-term outdoor clumps | Branch 1 | 1 |
| Metal Pails Repurposed | Thick walls provide stability against wind | Exposed spots requiring durability | Branch 2 | 2 |
| Elevated Planter Boxes | Raised legs improve airflow underneath | Patios or decks with poor ground drainage | Branch 3 | 2 |
Terracotta Pots for Optimal Drainage

Best for: Branch 1
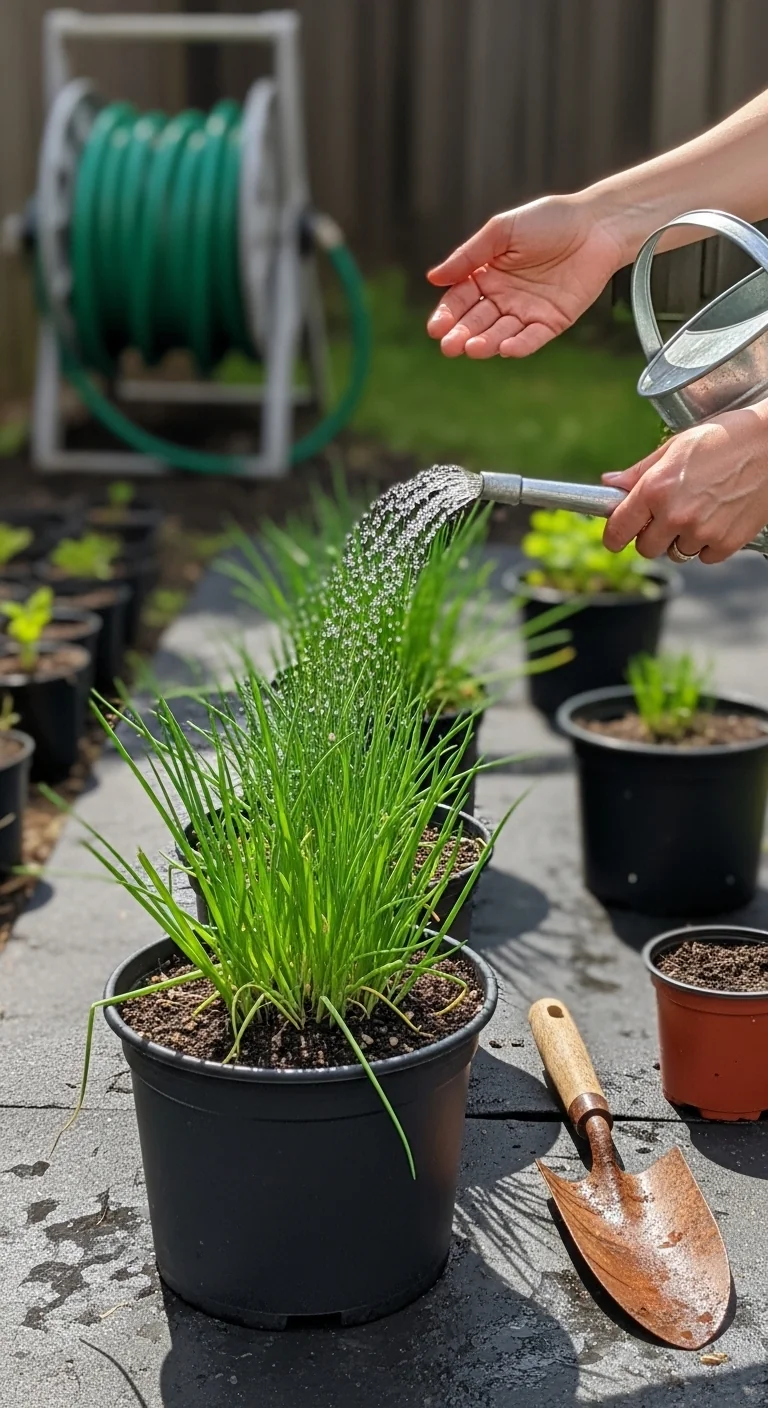
Terracotta pots suit chives because their porous walls let excess moisture evaporate, matching the plant’s need for well-drained conditions around shallow roots. Use one 8- to 12-inch deep pot per clump to allow natural airflow that keeps leaves tender instead of woody.
Blueprint: Select a pot with multiple bottom holes. Fill one-third with the recommended soil mix for herbs to create a stable base. Plant a nursery clump at the same depth it grew previously, spacing roots 6 inches apart if multiple. Water thoroughly once after planting, then follow your normal 1- to 2-day schedule. Top-dress with 1 inch of gravel to further reduce surface compaction.
Common mistake: skipping the gravel layer in high humidity, which can trap moisture against the base and slow regrowth. Pair this setup with the right soil mix for herbs to lock in results from day one. Expect steady leaf production through the growing season when drainage stays consistent.
Self-Watering Herb Planters
Best for: Branch 2
Self-watering herb planters keep soil moisture even without daily checks, which fits chives that dislike dry-outs yet hate standing water. The built-in reservoir supplies roots steadily for up to 7 days.
Use versus skip: Choose these when your schedule leaves gaps longer than 3 days between checks. Skip if you already water daily, as the reservoir can stay too wet and encourage softer growth. Edge case: in very hot dry spells above 85 F, top up the reservoir every 5 days instead of waiting for the indicator. See details in self-watering herb planters.
Lightweight Plastic Pots
Best for: Branch 3
Lightweight plastic pots reduce total weight to under 15 pounds when filled and watered, making them practical for balconies or seasonal moves indoors. The non-porous walls hold moisture longer than terracotta, which helps chives in wind-exposed spots.
Threshold rule: Opt for these when pot weight must stay below 20 pounds or when you relocate containers more than twice per year. Measure your space first: 8-inch diameter works for one clump, 12-inch for two. Adjust watering down by half a day in cooler months when evaporation slows. This keeps roots active without the heavy lifting of ceramic or concrete.
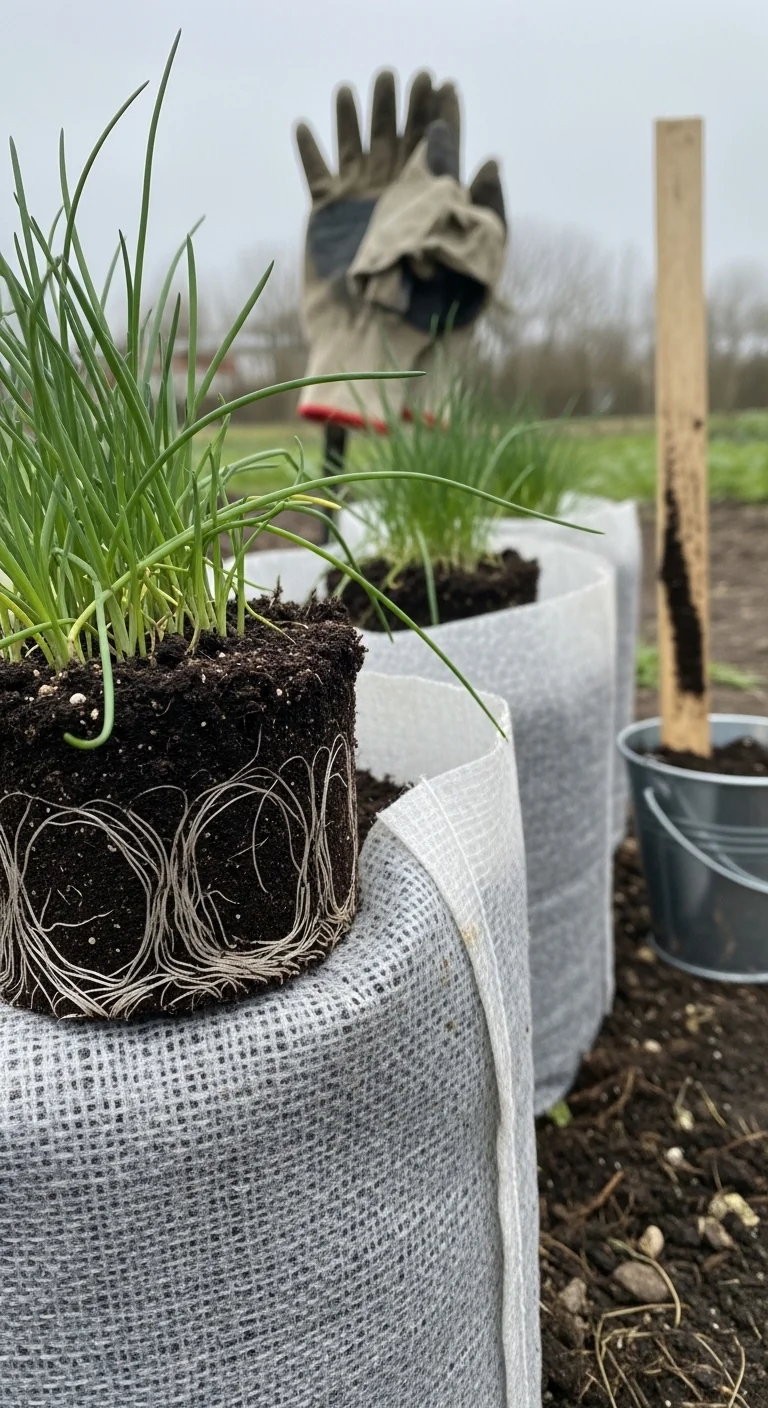
Fabric Grow Bags
Best for: Branch 1
Fabric grow bags promote air pruning on chives roots, creating a denser, finer system that supports faster regrowth after cutting. The breathable sides prevent circling roots common in solid pots and improve oxygen flow in full sun.
10-minute workflow: Choose a 5- or 10-gallon bag with handles. Place it on a saucer tray. Fill with soil mix for herbs to within 2 inches of the top. Insert one clump per bag, firm soil gently, and water until it drains freely. Check weekly for the first month, then shift to your normal schedule. Upgrade option: line the top inch with coarse sand to cut surface evaporation in hot afternoons. Total setup takes under 10 minutes and yields stronger clumps for division later.
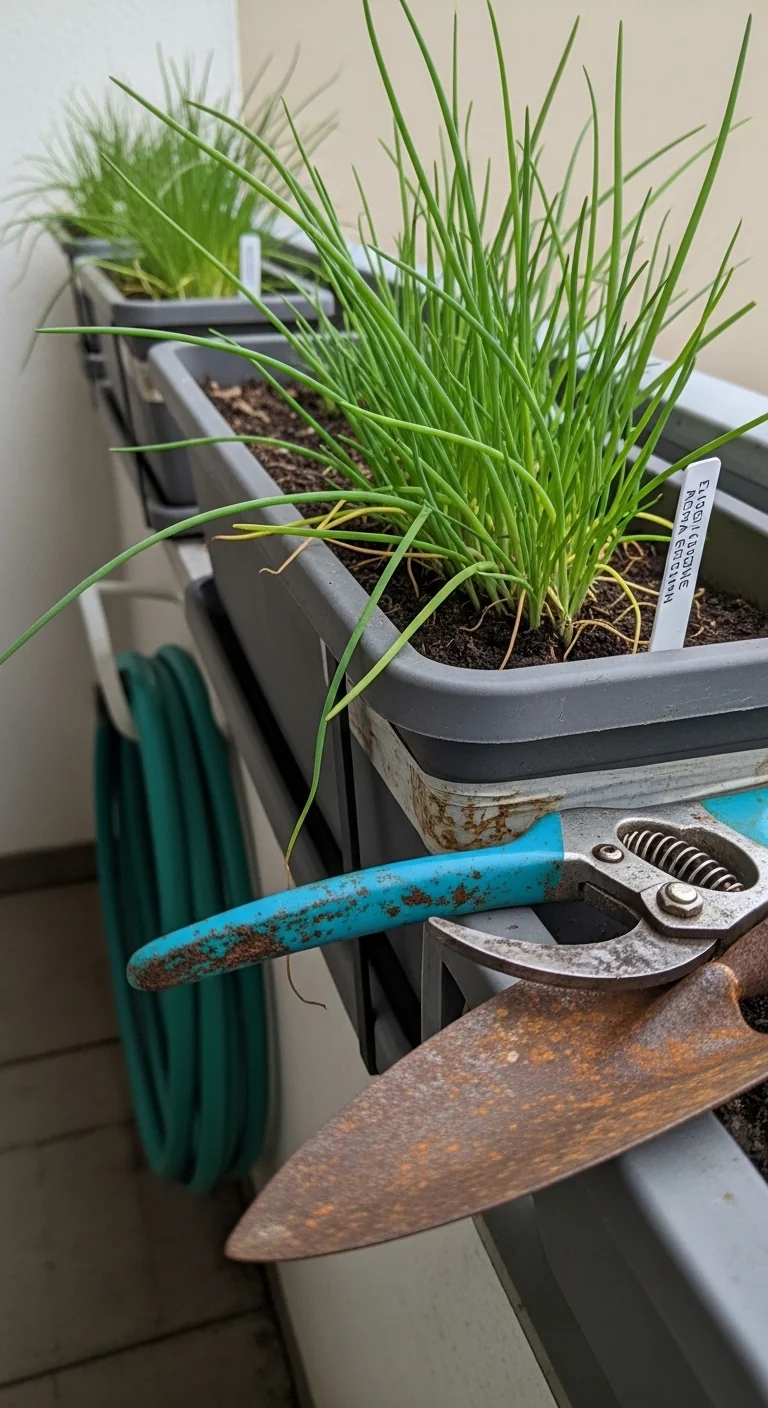
Balcony Window Boxes
Best for: Branch 2
Balcony window boxes give chives a long, narrow footprint that fits railings without taking floor space, while the extra length lets clumps spread naturally. They hold enough soil volume to buffer short dry spells.
Use versus skip: Select these for spaces 2 feet wide or less where light hits evenly. Skip if your balcony faces full north shade, as boxes dry out faster than round pots in wind. Edge case: secure boxes with brackets if gusts exceed 20 mph to avoid tipping that damages shallow roots. See more ideas in balcony herb garden.
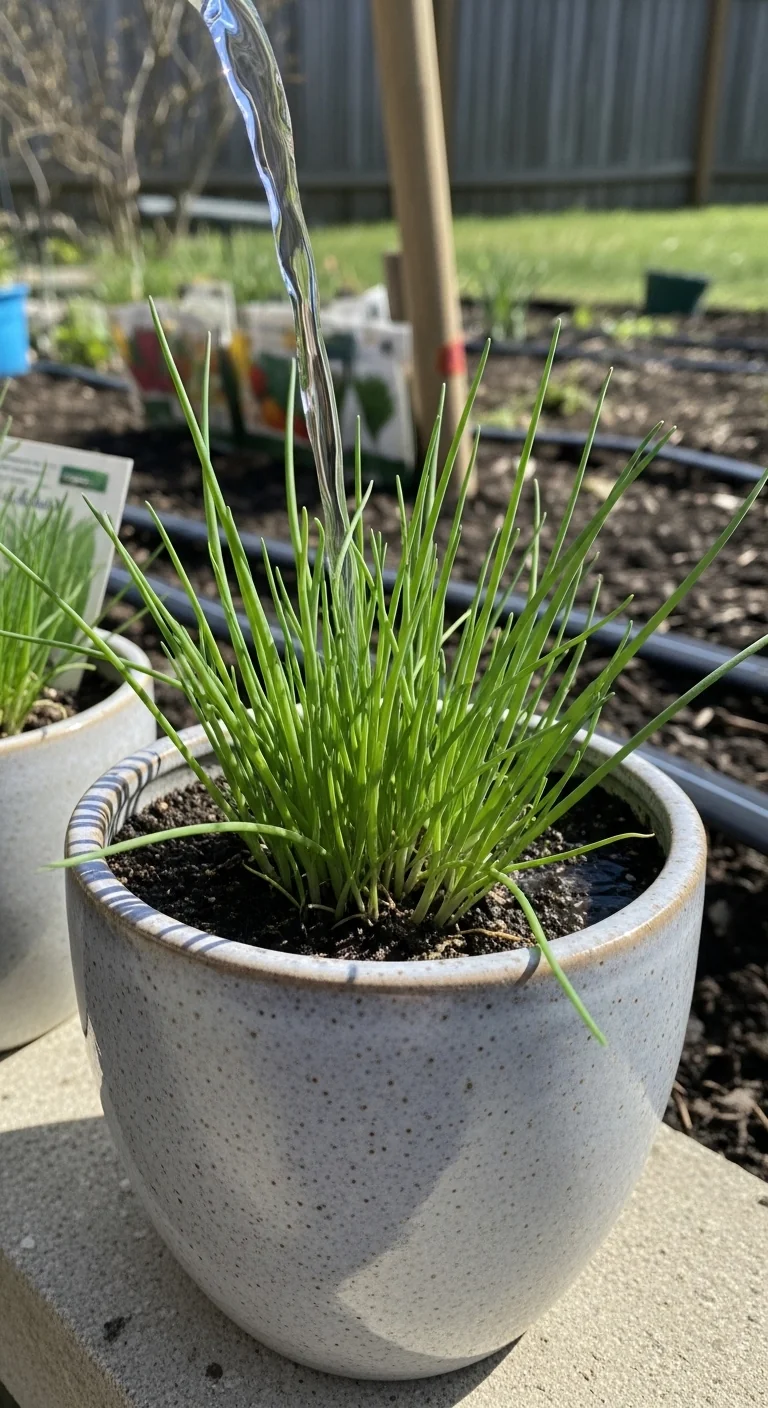
Indoor Ceramic Pots
Best for: Branch 3
Indoor ceramic pots limit evaporation through their glazed finish, which maintains steadier moisture for chives kept away from direct outdoor sun. Their weight stays manageable for shelf or windowsill moves.
Use versus skip: Choose glazed ceramic when cleanup matters and you need a decorative option that fits apartment decor. Skip if your indoor light drops below 4 hours daily without support, as ceramic holds moisture too long in low light and can lead to slower growth. Combine with a saucer that catches overflow to protect floors.
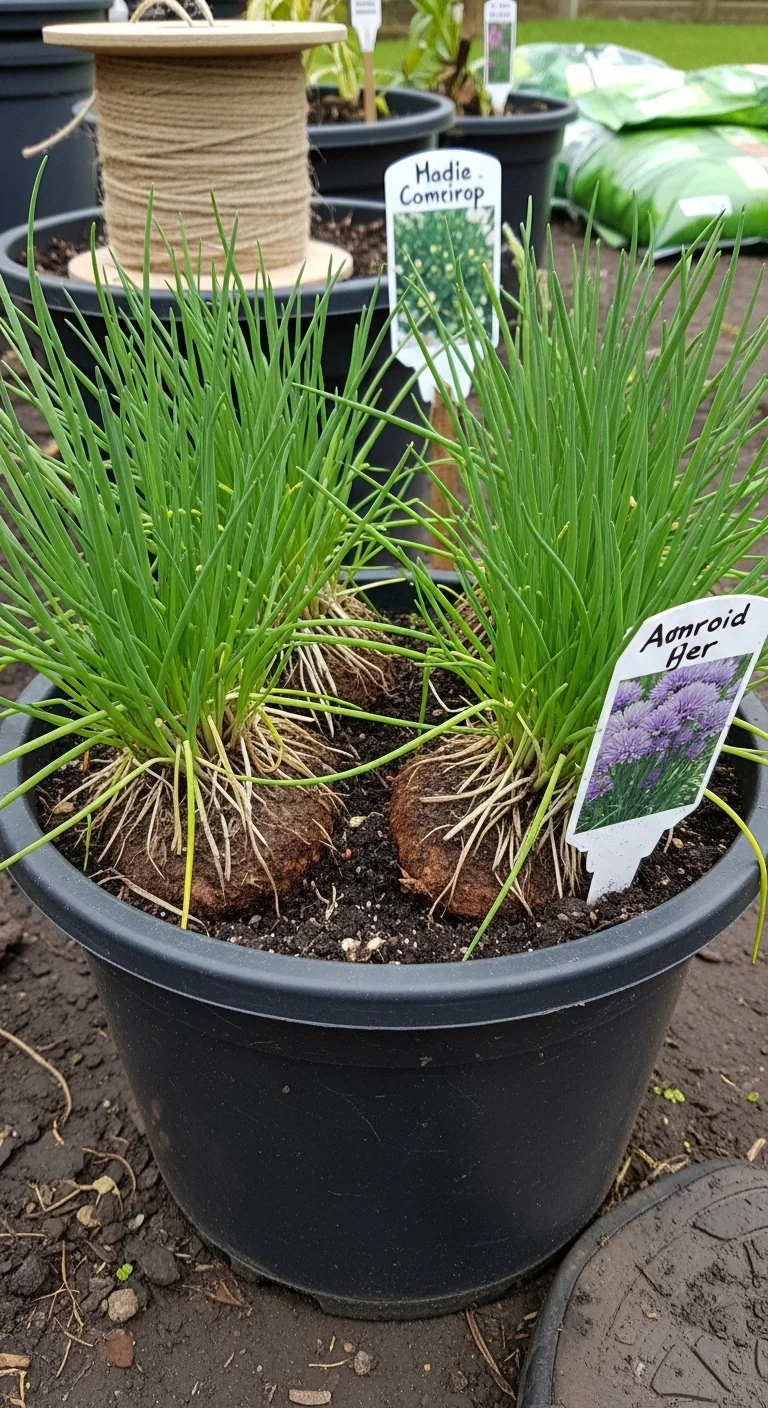
Large Clump Division Containers
Best for: Branch 1
Large clump division containers provide 12- to 18-inch depth and width so established chives can expand before you divide them every 3 to 4 years. The extra volume keeps the center from becoming woody faster than in cramped pots.
Threshold rule: Use these when you plan to keep the same plants for 3-plus seasons and want to harvest larger handfuls at once. Divide in early spring when new shoots reach 4 inches: lift the clump, separate into sections with at least 6 bulbs each, and replant immediately in fresh soil. This timing aligns with natural growth cycles and extends productivity without guesswork. Chives appear on perennial herbs lists as ideal for this long-term approach.
Metal Pails Repurposed
Best for: Branch 2
Metal pails repurposed as containers offer thick walls that resist wind and temperature swings, keeping soil temperature stable for chives in exposed outdoor spots. Drill drainage holes before use to avoid any buildup.
Use versus skip: Pick food-grade or clean pails when durability matters more than looks and your area sees strong breezes. Skip if rust appears after one season, as it can alter soil pH over time. Edge case: paint the outside white to reflect heat if summer highs stay above 90 F for weeks.
Elevated Planter Boxes
Best for: Branch 3
Elevated planter boxes raise chives 12 to 18 inches off the ground, improving airflow underneath and reducing soil splash in rainy periods. The legs make weeding or checking drainage simple without bending.
Threshold rule: Choose elevated designs when ground-level drainage stays poor or when you want easier access for frequent light harvesting. Ensure legs are level so water flows out evenly. This setup works especially well on patios where soil compaction is an issue below.
Starter Stack (What to Choose First)
For Branch 1 (Attentive Outdoor or Humid Conditions)
Start with Terracotta Pots for Optimal Drainage plus Fabric Grow Bags. The combination gives superior airflow and root health that supports steady cutting every 2 to 3 weeks. Initial cost range: 20 to 40 dollars. Setup time: 15 to 25 minutes total.
For Branch 2 (Hands-Off or Dry Conditions)
Start with Self-Watering Herb Planters plus Balcony Window Boxes. The reservoir pairs with extra soil volume to buffer dry spells, keeping leaves productive with checks once weekly. Initial cost range: 25 to 45 dollars. Setup time: 10 to 20 minutes.
For Branch 3 (Mobility or Indoor Focus)
Start with Lightweight Plastic Pots plus Indoor Ceramic Pots. Both stay easy to shift seasonally and clean quickly, suiting apartments or winter moves. Initial cost range: 15 to 35 dollars. Setup time: under 15 minutes.
When This Won’t Work
Containers without drainage holes cause roots to sit in water for more than 48 hours after heavy rain or overwatering, leading to rot that kills the clump within 2 to 3 weeks. The fix is to drill holes immediately or switch to fabric grow bags that cannot hold standing water.
Indoor setups with less than 4 hours of bright light daily without support stop producing usable leaves by mid-winter. Move pots to a south-facing window or add supplemental lighting to maintain growth through shorter days.
Choosing the Right Option for Your Situation
Budget Threshold
If each pot costs under 25 dollars, prioritize plastic or repurposed metal pails. These deliver full function without premium materials while still meeting drainage and weight needs for chives.
Time Threshold
If weekly care must stay under 10 minutes, select self-watering planters or elevated boxes. Both reduce daily checks to occasional reservoir top-ups or quick drainage verification.
Technical Constraint
If soil pH tests outside 6.0 to 7.0, adjust with the soil mix for herbs before planting. Chives slow noticeably below or above this narrow window regardless of pot type.
Quick Yes/No Checklist
Do you water every 1-2 days? Yes: choose Branch 1 options.
Do you prefer weekly checks? Yes: choose Branch 2 options.
Do pots need to move easily? Yes: choose Branch 3 options.
All answers align with one branch? Proceed to that starter stack.
Expert Q&A
How do common chives differ from garlic chives when grown in the same container size?
Common chives produce round, hollow leaves with mild onion flavor and pink flowers, while garlic chives have flat leaves and white flowers with a distinct garlic note. Both grow well in identical 8- to 12-inch pots, but garlic chives tolerate slightly more shade and stay productive longer into fall.
What temperature drop triggers dormancy in potted chives?
Potted chives enter dormancy when night temperatures stay below 25 F for more than a week. Growth slows earlier but resumes in spring once soil warms above 50 F. Bring containers indoors before hard freezes if you want winter harvests.
Can you successfully combine chives with companion herbs in one pot?
Yes, chives pair well with parsley or basil in a 12-inch or larger pot when spaced 6 inches apart. The onion scent deters some pests, but keep the total clump size small so chives do not get crowded out by faster growers.
How often should you divide chives kept in containers versus in ground?
Divide container chives every 3 to 4 years in early spring, the same interval as in-ground plants. The smaller soil volume in pots simply makes the center woody slightly sooner, so check for reduced leaf thickness as the signal.
What light intensity minimum keeps potted chives productive through winter?
Potted chives need at least 4 to 6 hours of direct or strong indirect light daily to stay productive indoors. Below that threshold, leaves grow thin and pale until spring returns.
Conclusion
The right container for chives comes down to matching drainage and weight to your watering habit and space limits. The number one mistake is ignoring division timing, which turns productive clumps woody after three seasons regardless of pot quality.
Take the next step by reviewing basic techniques that apply across all these setups. Start here: herb gardening for beginners.
Lead Data Architect
Umer Hayiat
Founder & Lead Data Architect at TheYieldGrid. I bridge the gap between complex agronomic data and practical growing, transforming verified agricultural science into accessible, mathematically precise tools and guides for serious growers.
View all tools & guides by Umer Hayiat →