
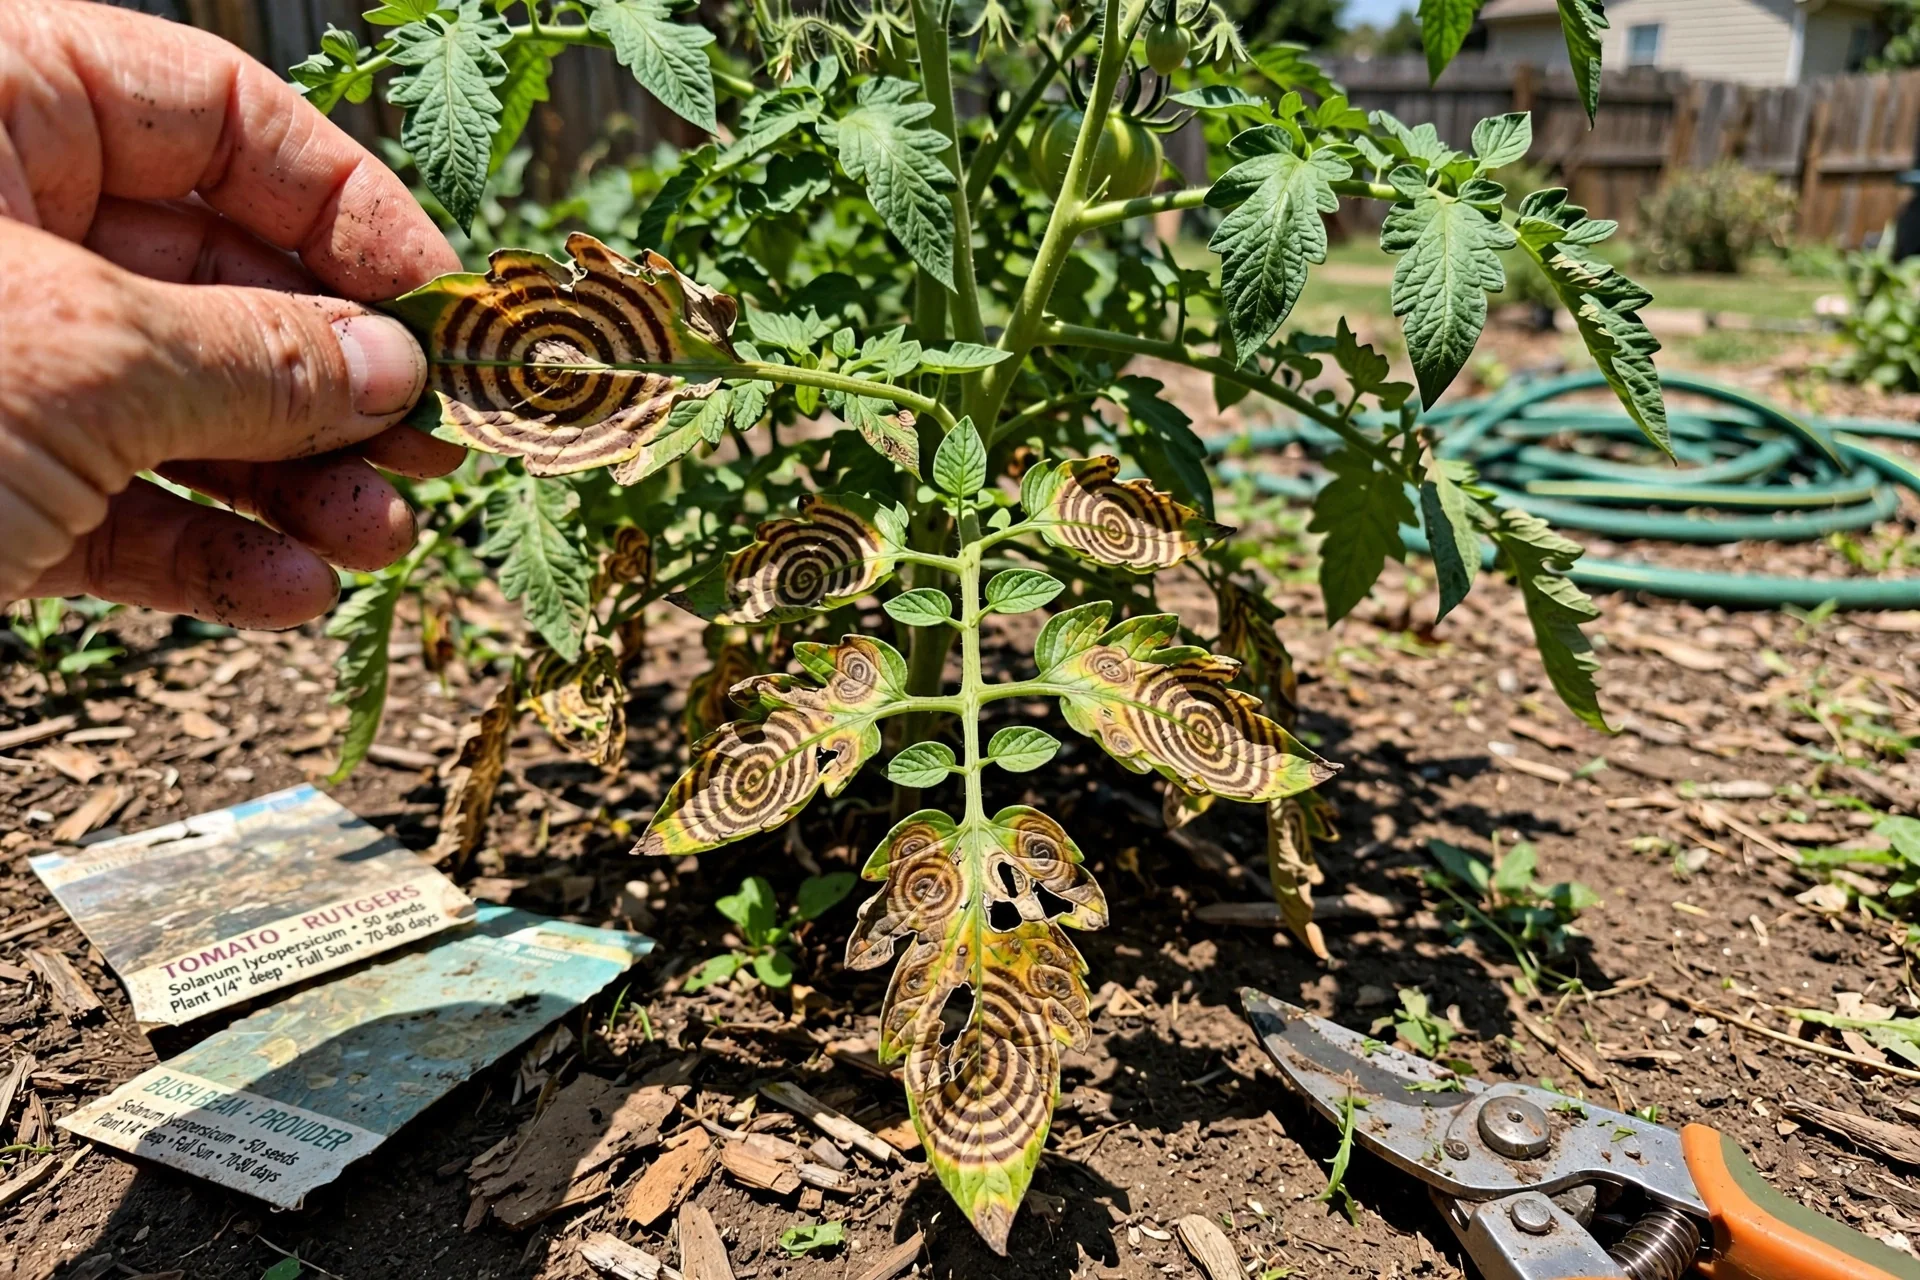
Most advice on blight on tomatoes treats all leaf spots as equal. The consequence is that gardeners spray copper for late blight when they actually have early blight, or they prune leaves and wait while Phytophthora infestans destroys the plant in days. The more useful approach is to identify which pathogen you are dealing with first, then choose a control that targets its specific biology.
This guide covers the three main tomato blights: early blight (Alternaria solani), late blight (Phytophthora infestans), and Septoria leaf spot (Septoria lycopersici). It does not cover southern blight (Sclerotium rolfsii), bacterial spot, or bacterial speck, which require different management. It also excludes post-harvest storage rots.
By the end of this article, you will be able to distinguish early blight from late blight using timing and lesion appearance, select a fungicide class that matches the pathogen, and decide whether to treat, remove, or reset your soil for the following season.
Bottom line: Early blight can be managed through the season with cultural controls and targeted sprays; late blight requires immediate removal of infected plants if lesions appear on stems or fruit.
The Yield Grid Decision Grid
Match your situation to one of the three branches below. Each branch leads to a specific set of control methods listed later in this article.
Branch 1: Early Blight or Septoria (Slow Spread)
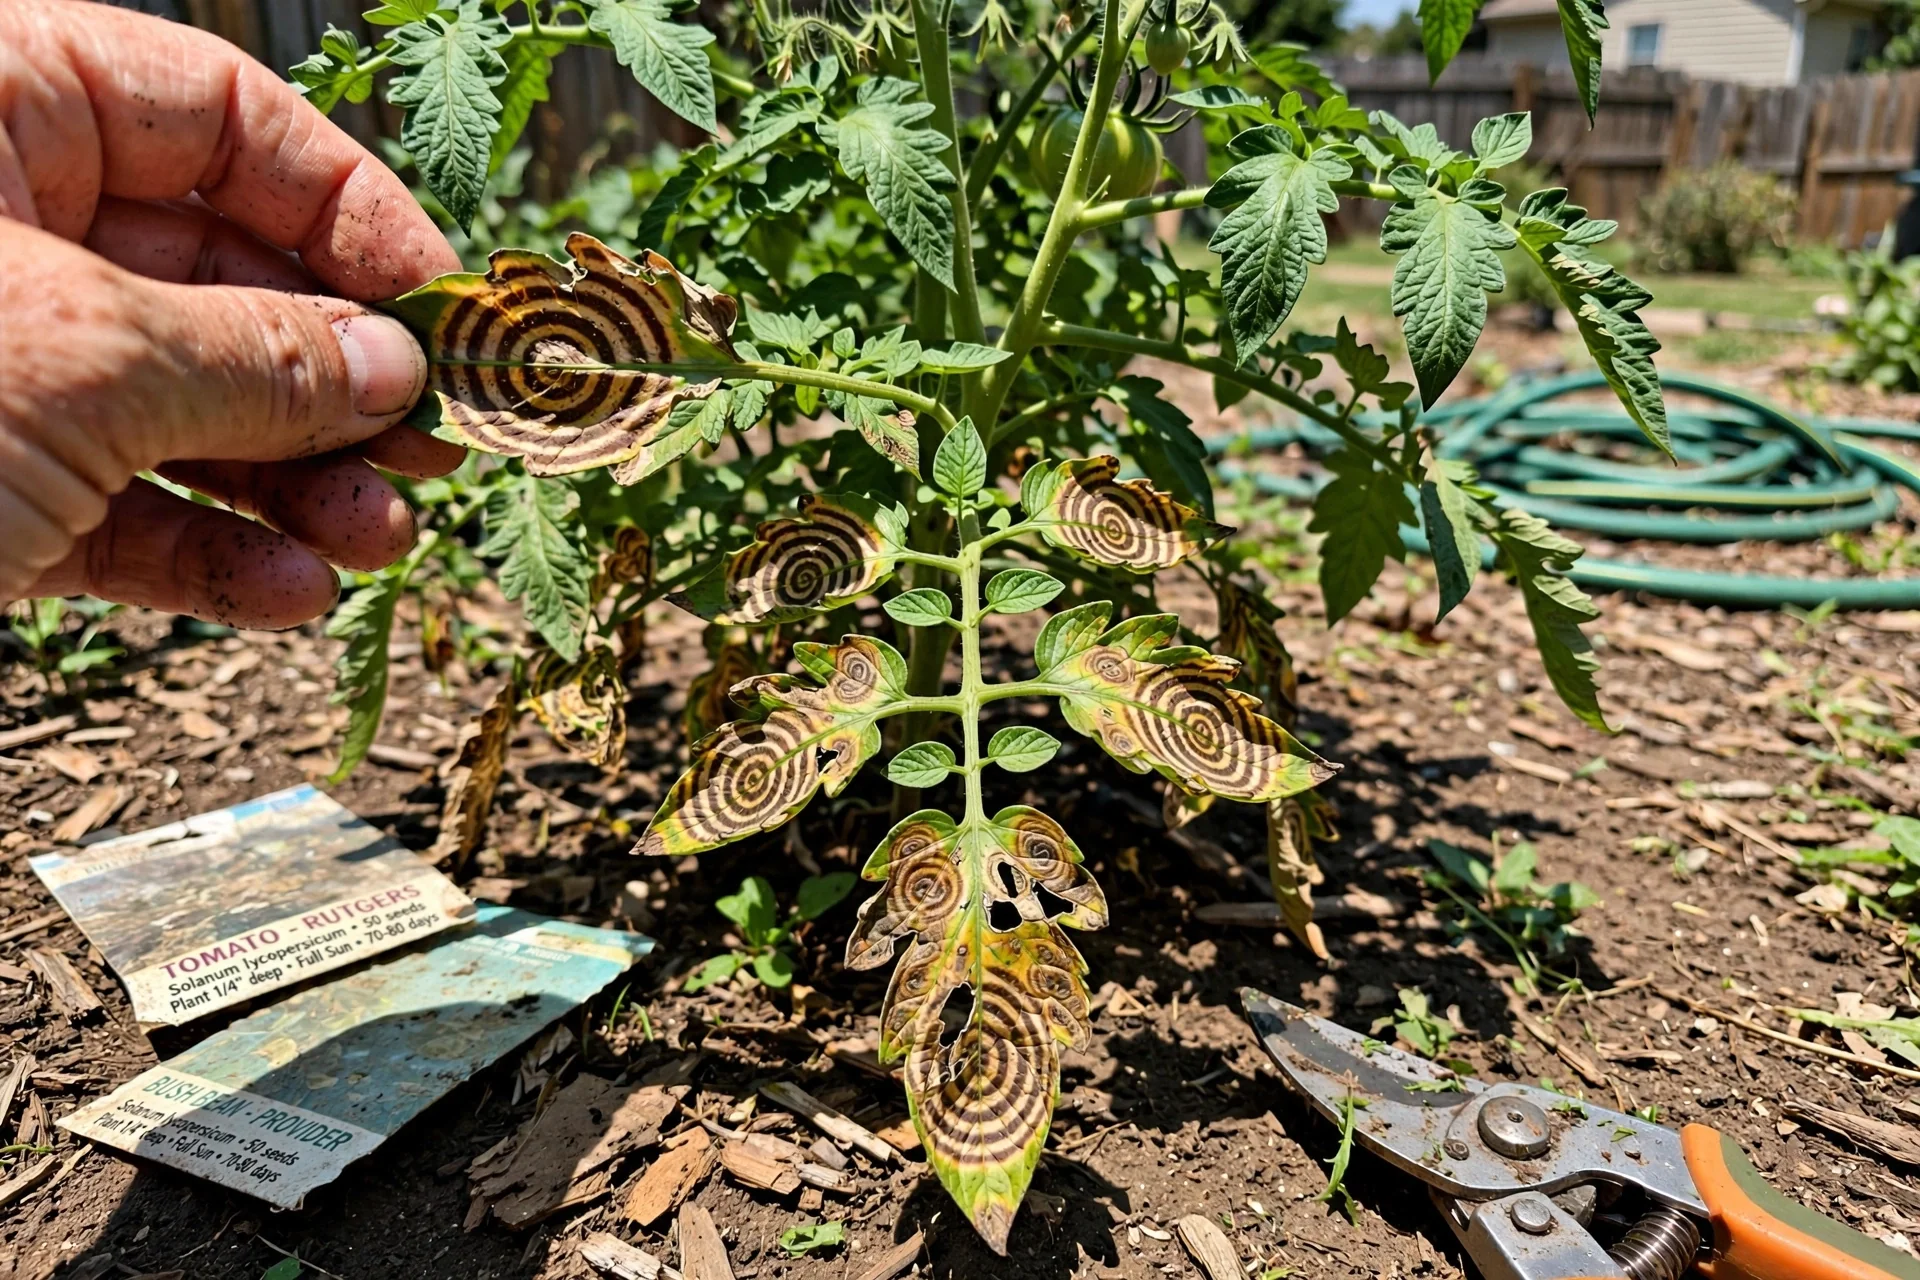
You see dark brown spots with concentric rings on lower leaves first, progressing upward over weeks. Septoria spots are smaller with tan centers. Both favor temperatures of 20 to 25°C (68 to 77°F) with leaf wetness lasting at least 8 hours. The plant continues producing fruit even with moderate infection.
Recommended: Items 1, 2, 3, 4, 7 below.
Branch 2: Late Blight, Early Stage (First Water-Soaked Spots)
You notice pale green, water-soaked patches at leaf tips or edges, with white fuzzy growth on the underside during humid mornings. Temperatures have been 15 to 24°C (60 to 75°F) with relative humidity above 85% for consecutive days. Spots enlarge within hours, not days.
Recommended: Items 5, 6, 8 below.
Branch 3: Established Infection or Rapid Collapse
Leaves have browned completely within 14 days of first symptoms. Fruit shows dark, firm, greasy-looking lesions. A distinct decay odor is present. Stems have brown lesions that may girdle the plant. The pathogen is now systemic or the inoculum load is too high for curative treatment.
Recommended: Items 9, 10, 11, 12 below.
For a deeper look at how plant partnerships reduce disease pressure, see our guide on companion planting for pest and disease management.
Quick Comparison Table
| Option | Key Mechanism | Best For | Branch | Effort Score |
|---|---|---|---|---|
| Resistant Varieties | Genetic resistance to specific pathogen races | All gardens, pre-planting decision | 1, 2 | 1 |
| Proper Spacing | Increased airflow reduces leaf wetness duration | Humid climates, dense plantings | 1, 2 | 1 |
| Mulching | Physical barrier blocks soil-borne spore splash | Early blight, Septoria prevention | 1 | 2 |
| Copper Fungicide | Contact action prevents spore germination on leaf surface | Early blight, early-stage late blight | 1, 2 | 4 |
| Chlorothalonil | Multi-site contact fungicide, no resistance development | Early blight, Septoria leaf spot | 1 | 4 |
| Bordeaux Mixture | Copper-lime barrier with strong rain-fast adhesion | Late blight prevention in wet seasons | 2 | 4 |
| Baking Soda Spray | Alkaline leaf surface pH disrupts spore development | Early blight suppression, low-pressure seasons | 1 | 5 |
| Neem Oil | Antifungal compounds reduce sporulation and mycelial growth | Early blight, mild late blight pressure | 1, 2 | 5 |
| Infected Tissue Removal | Physical removal of inoculum source from the plant | Established infection, salvage mode | 3 | 3 |
| Soil Solarization | Heat inactivation of soil-borne pathogen structures | Post-season soil reset in hot climates | 3 | 2 |
| Biofungicides | Beneficial microbes outcompete or antagonize pathogens | Soil-borne inoculum reduction, organic systems | 3 | 3 |
| Crop Rotation & Sanitation | Breaks pathogen life cycle by removing host plants | Long-term prevention, all gardens | 1, 2, 3 | 2 |
1. Plant Blight-Resistant Tomato Varieties
Best for: Branch 1 and Branch 2
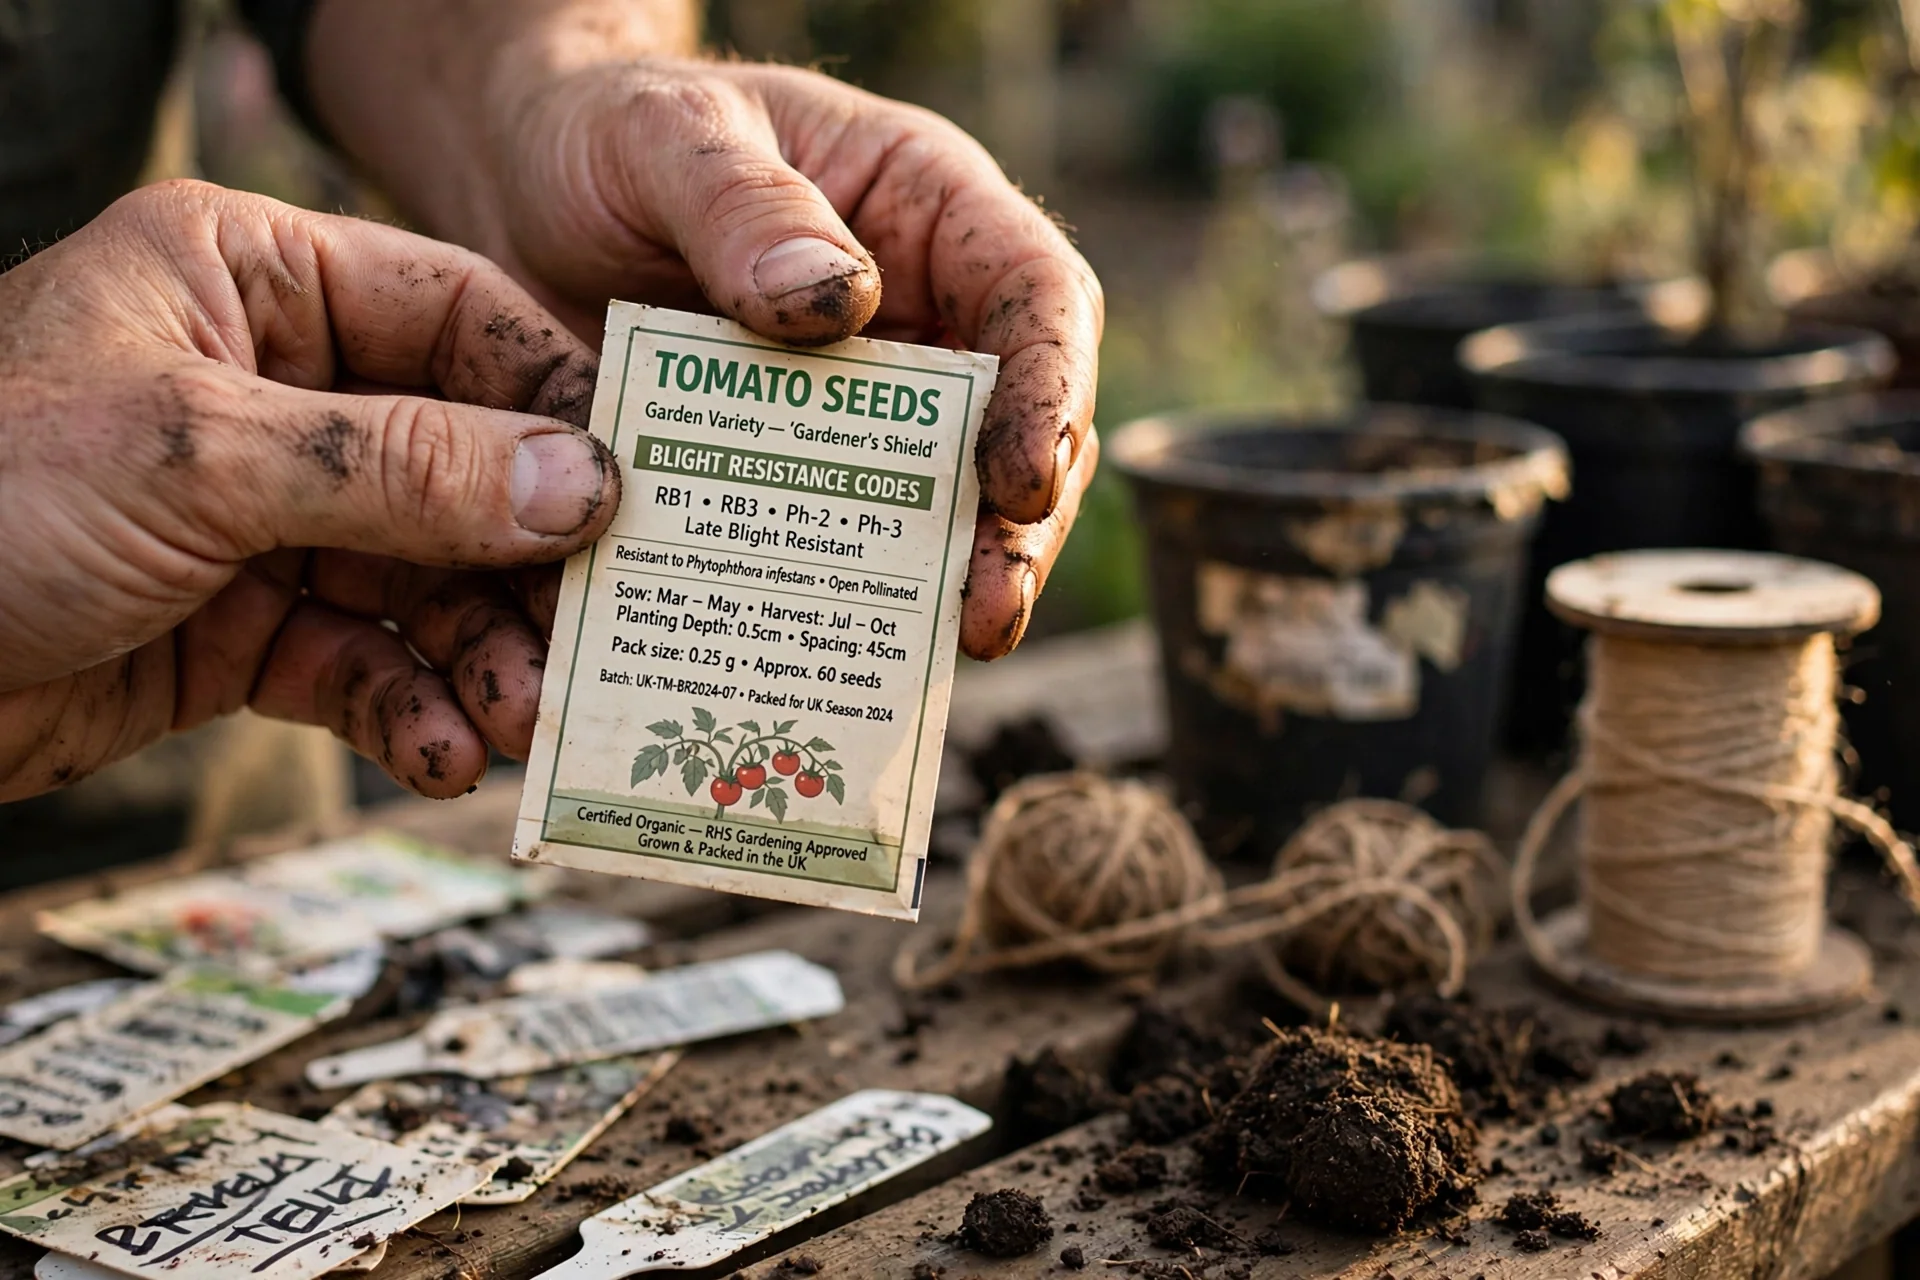
What it is: Tomato cultivars bred with specific resistance genes (notably Ph2 and Ph3 for late blight, and EB for early blight). These are not immune; they slow disease progression enough that the plant can produce a usable crop before succumbing.
How to choose: For late blight resistance, look for Defiant, Iron Lady, Mountain Magic, Jasper, or Matt’s Wild Cherry. For early blight tolerance, Mountain Supreme, Plum Dandy, and Verona carry the EB designation. A critical constraint: resistance is race-specific. New pathogen strains can overcome single-gene resistance, so rotate varieties every 3 to 4 years even among resistant types.
Mistake to avoid: Assuming “disease-resistant” on a seed packet covers all blights. Most labels refer to specific races. Read the fine print for which pathogens are listed. If only Fusarium and Verticillium resistance are noted, the variety is unlikely to have meaningful blight resistance.
Edge case: Open-pollinated resistant varieties like Lemon Drop and Matt’s Wild Cherry show variable resistance depending on local pathogen populations. Hybrid resistant varieties (F1) deliver more consistent protection because they combine multiple resistance genes from distinct parent lines.
2. Space Plants to Maximize Airflow
Best for: Branch 1 and Branch 2
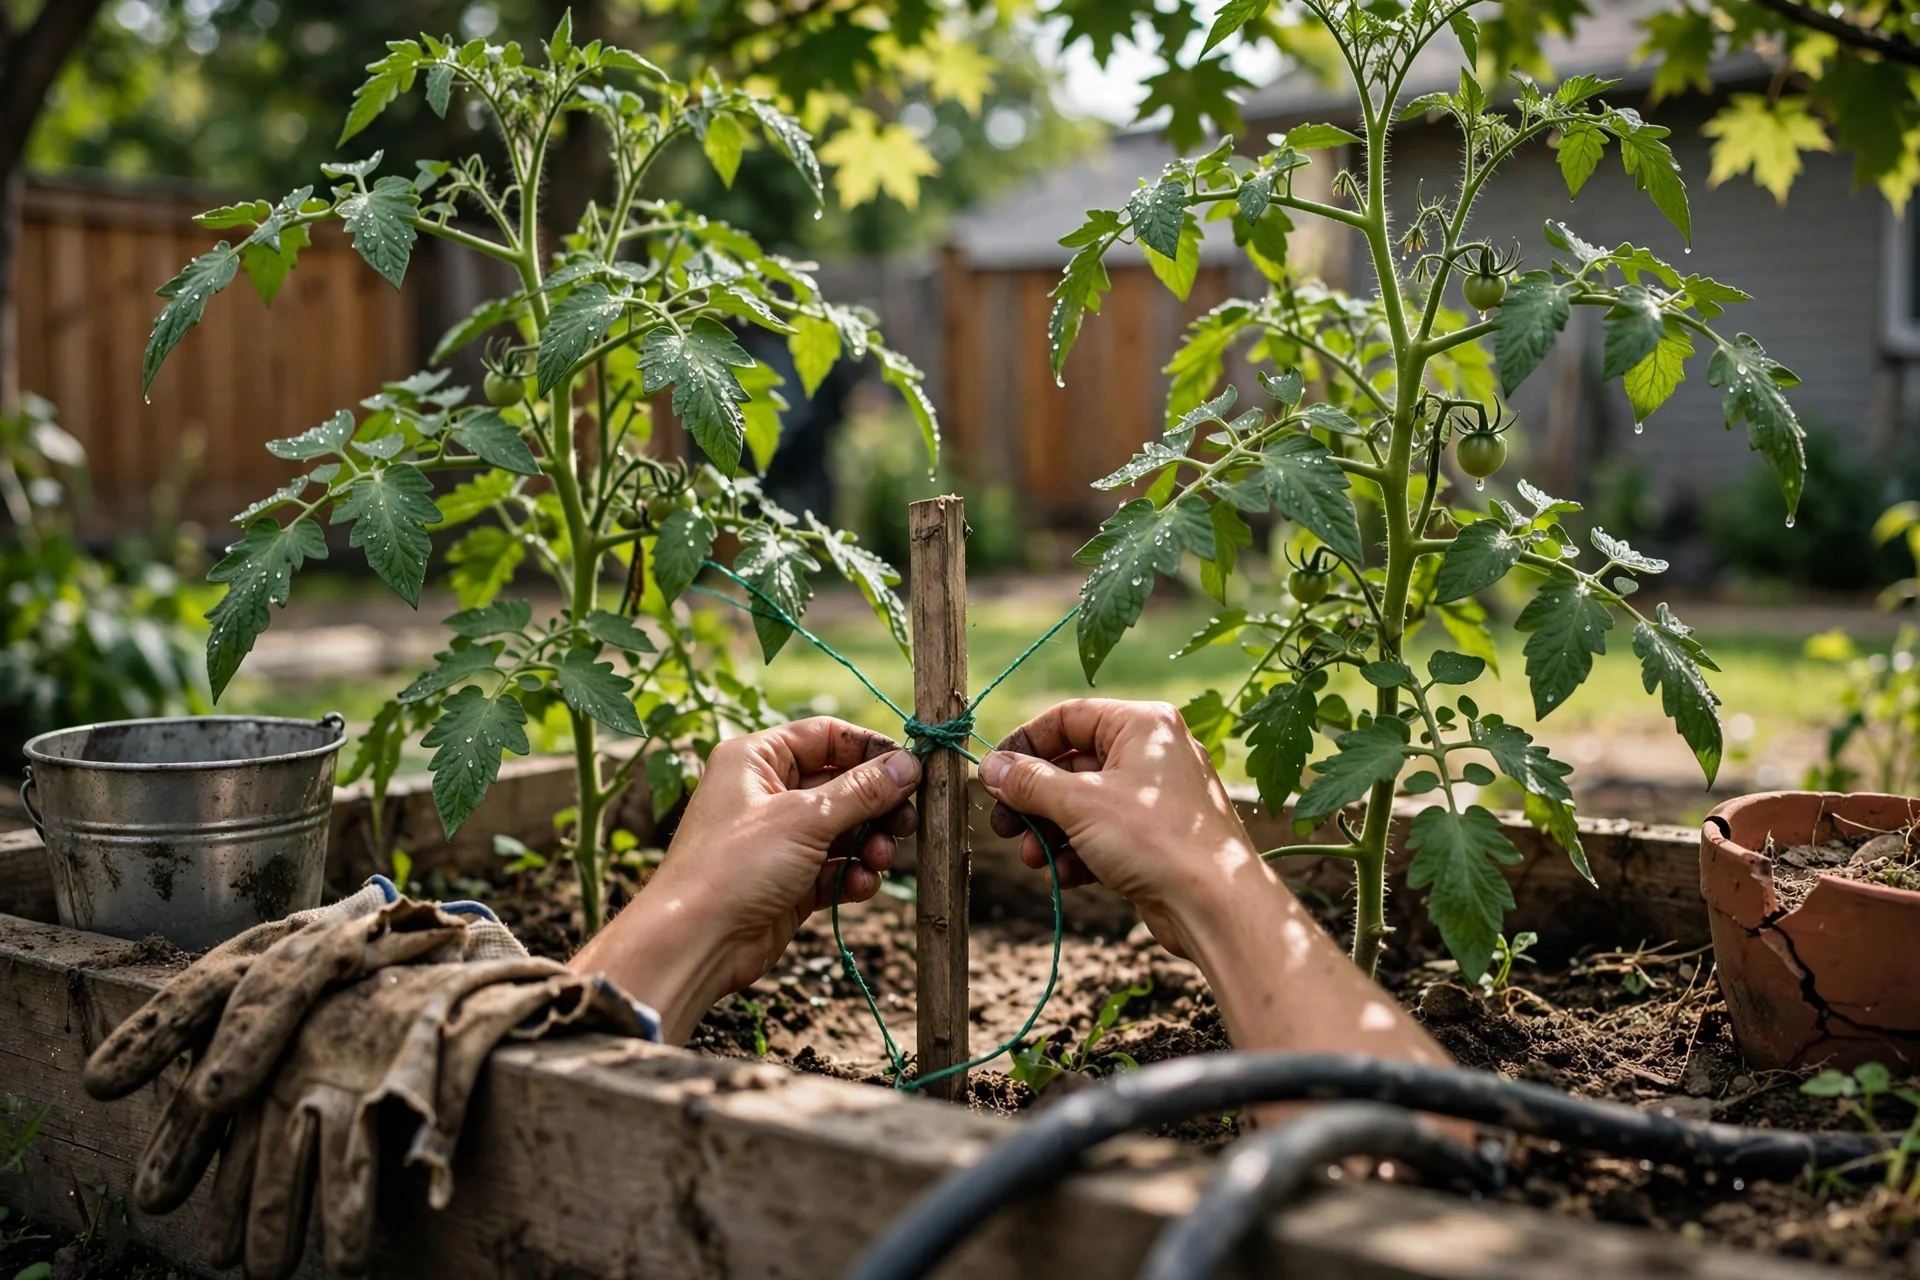
Threshold rule: Space indeterminate tomato plants a minimum of 90 cm (3 ft) apart within rows, with 120 cm (4 ft) between rows. Determinate bush types can be set at 60 cm (2 ft) apart. The controlling variable is that leaves must dry within 4 to 6 hours after morning dew or rain. Closer spacing keeps relative humidity inside the canopy elevated beyond that drying window, directly enabling spore germination.
Adjustment: In coastal or high-humidity regions (Pacific Northwest, UK, Atlantic Canada), increase spacing by an additional 30 cm (1 ft) beyond these minimums.
3. Apply Mulch to Block Soil-Borne Spores
Best for: Branch 1
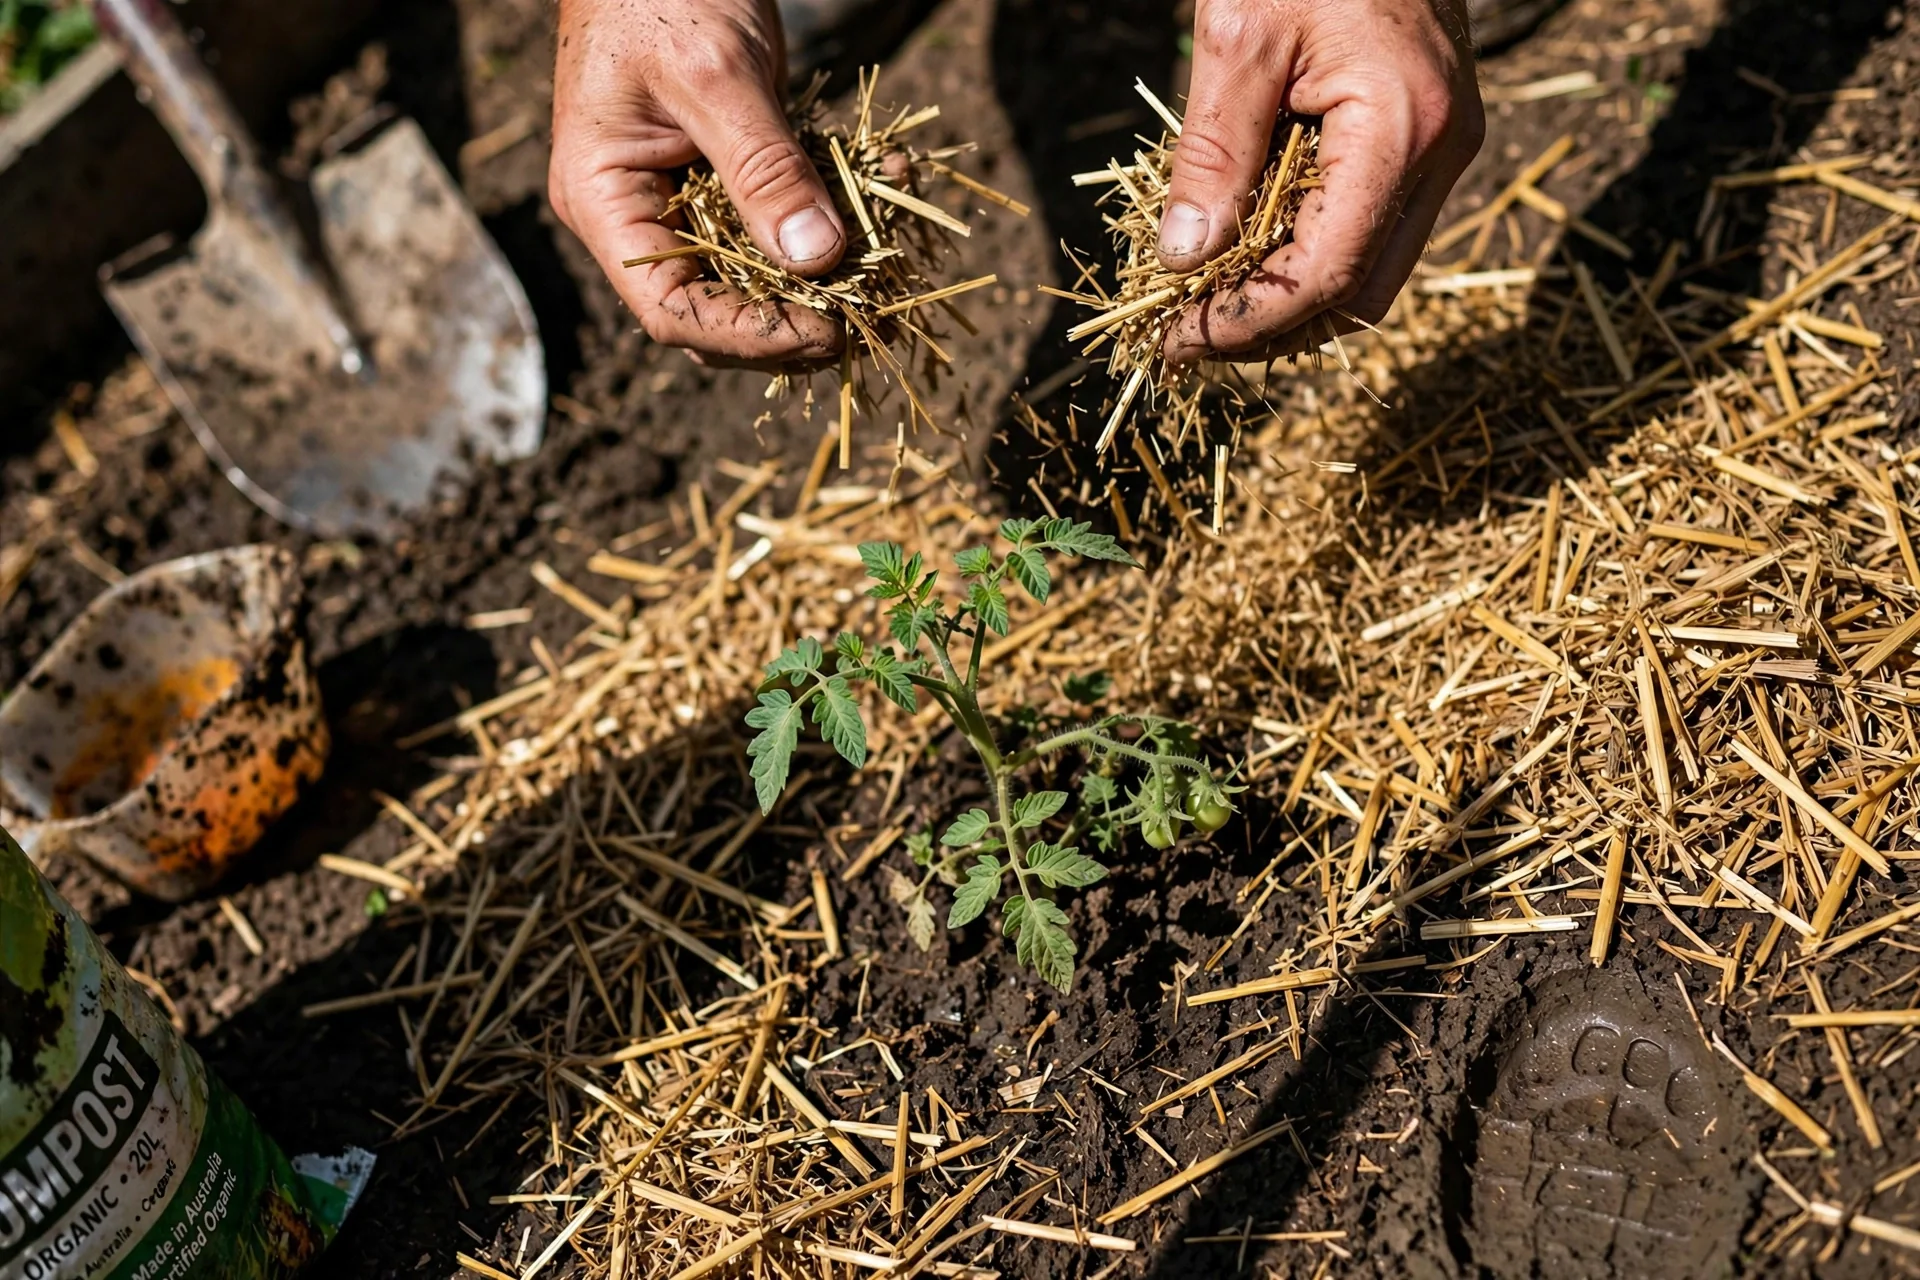
Mechanism: Early blight and Septoria spores overwinter in infected plant debris on the soil surface. Raindrop impact or overhead watering splashes these spores onto lower leaves. A 5 to 8 cm (2 to 3 inch) layer of straw, shredded leaves, or dry grass clippings acts as a physical barrier that interrupts this splash pathway.
Timing: Apply mulch in early summer once soil has warmed to at least 18°C (65°F). Applying too early keeps soil cool and delays root development. Paper or cardboard under the mulch layer provides additional splash protection and degrades by season end, adding organic matter.
Constraint: Plastic mulch warms soil faster but requires drip irrigation underneath. Without drip lines, water pools on the plastic surface, creating standing moisture that favors pathogen growth at the plant crown.
4. Apply Copper-Based Fungicide Sprays
Best for: Branch 1 and Branch 2
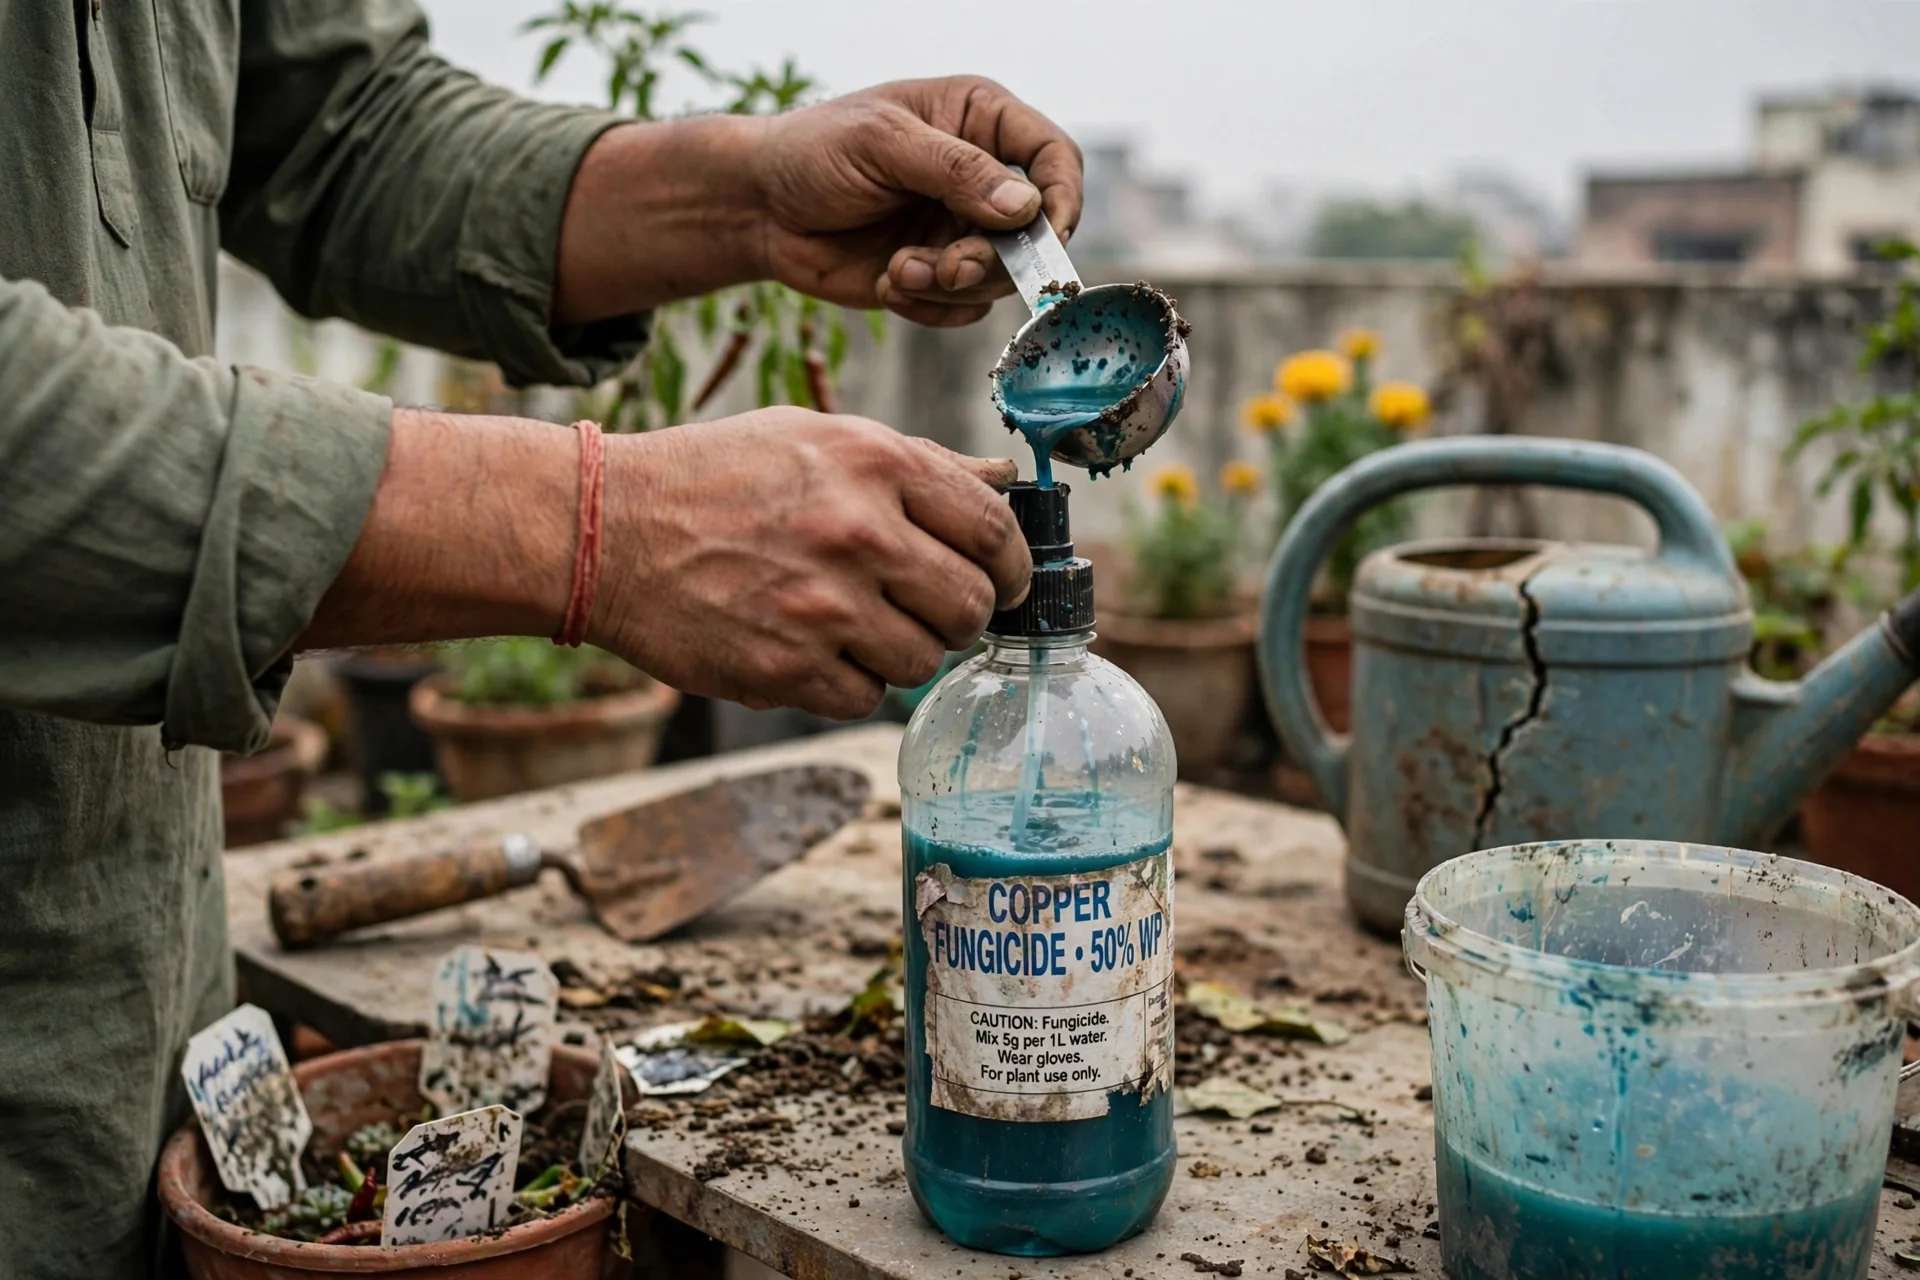
What it does: Copper ions disrupt enzyme systems in fungal and bacterial cells on contact, preventing spore germination. Copper is a protectant only; it cannot cure established infections inside plant tissue. Application must occur before infection or within the first 24 hours after a known wetting event.
Application rate: Copper hydroxide 77% WP is applied at 2.0 kg per hectare with 200 L of water for tomato crops, scaled down for home use to approximately 5 to 7 grams per liter of water, sprayed to the point of runoff on both leaf surfaces. Repeat every 7 to 10 days during disease-prone periods.
Edge case: Copper accumulates in soil over repeated seasons and is toxic to earthworms at high concentrations. In gardens where copper has been used for more than 3 consecutive years, switch to a non-copper alternative like chlorothalonil or a biofungicide for one season. For more details on copper fungicide selection and use, see our complete copper fungicide guide.
5. Use Chlorothalonil for Early Blight and Septoria
Best for: Branch 1
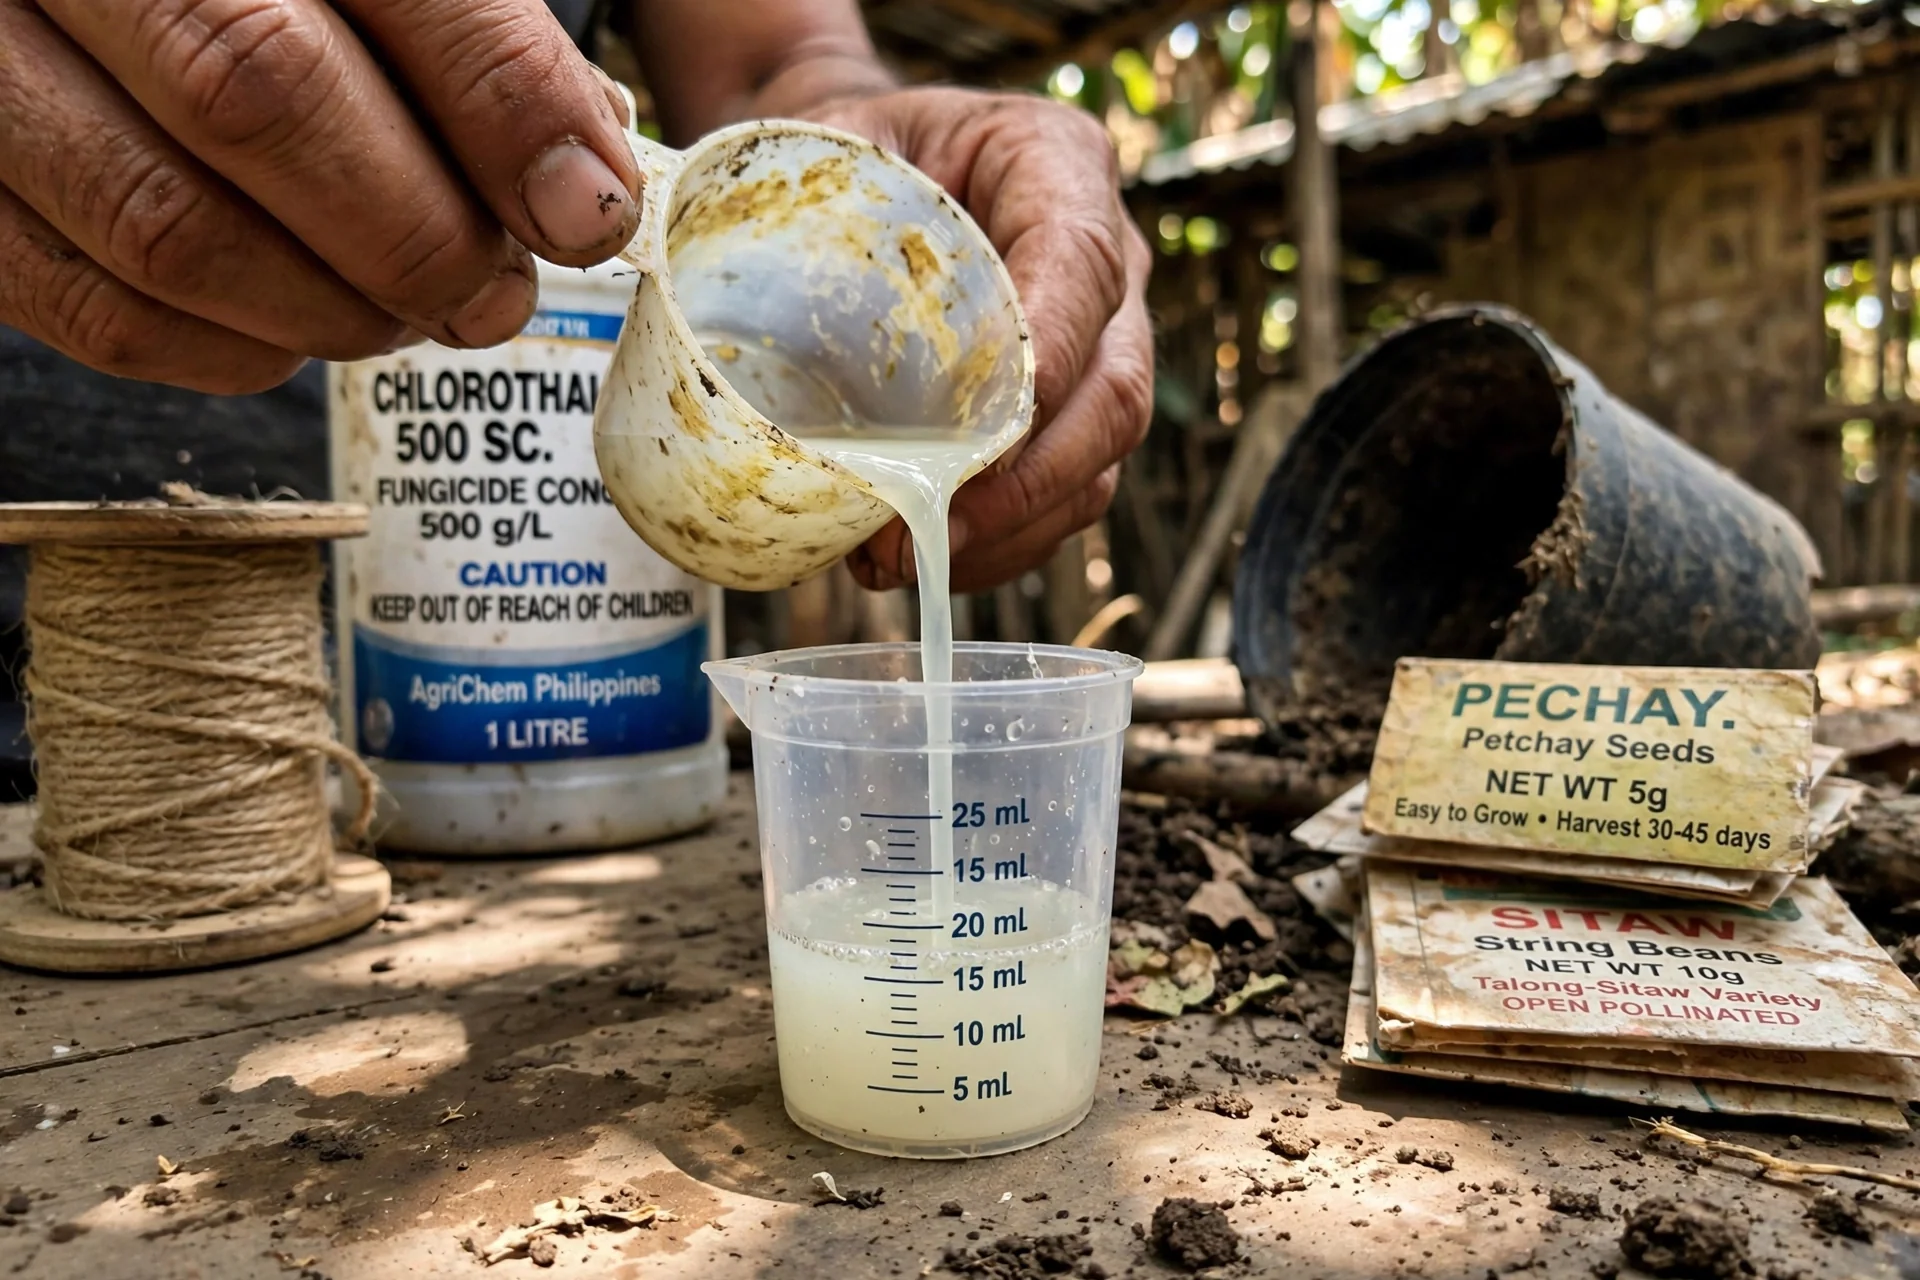
Threshold rule: Chlorothalonil is a multi-site contact fungicide, meaning it attacks fungal cells at several metabolic points simultaneously, making resistance development extremely unlikely. Apply at 0.2% concentration (approximately 2 grams per liter of water) at 7-day intervals when early blight symptoms first appear on lower leaves. Shorten to 7-day intervals during warm, wet periods and extend to 14-day intervals during dry spells.
Constraint: Chlorothalonil is not registered for home garden use in the UK. Gardeners in the UK and EU should use mancozeb-based products where permitted, or rely on copper-based alternatives. Always verify current local registration status before purchase.
6. Mix and Apply Bordeaux Mixture for Late Blight Windows
Best for: Branch 2
What it is: A tank-mixed combination of copper sulfate and hydrated lime that forms a gelatinous copper-lime film on leaf surfaces. The lime neutralizes the copper’s acidity, reducing phytotoxicity risk on young tomato foliage while improving rain-fastness compared to copper alone.
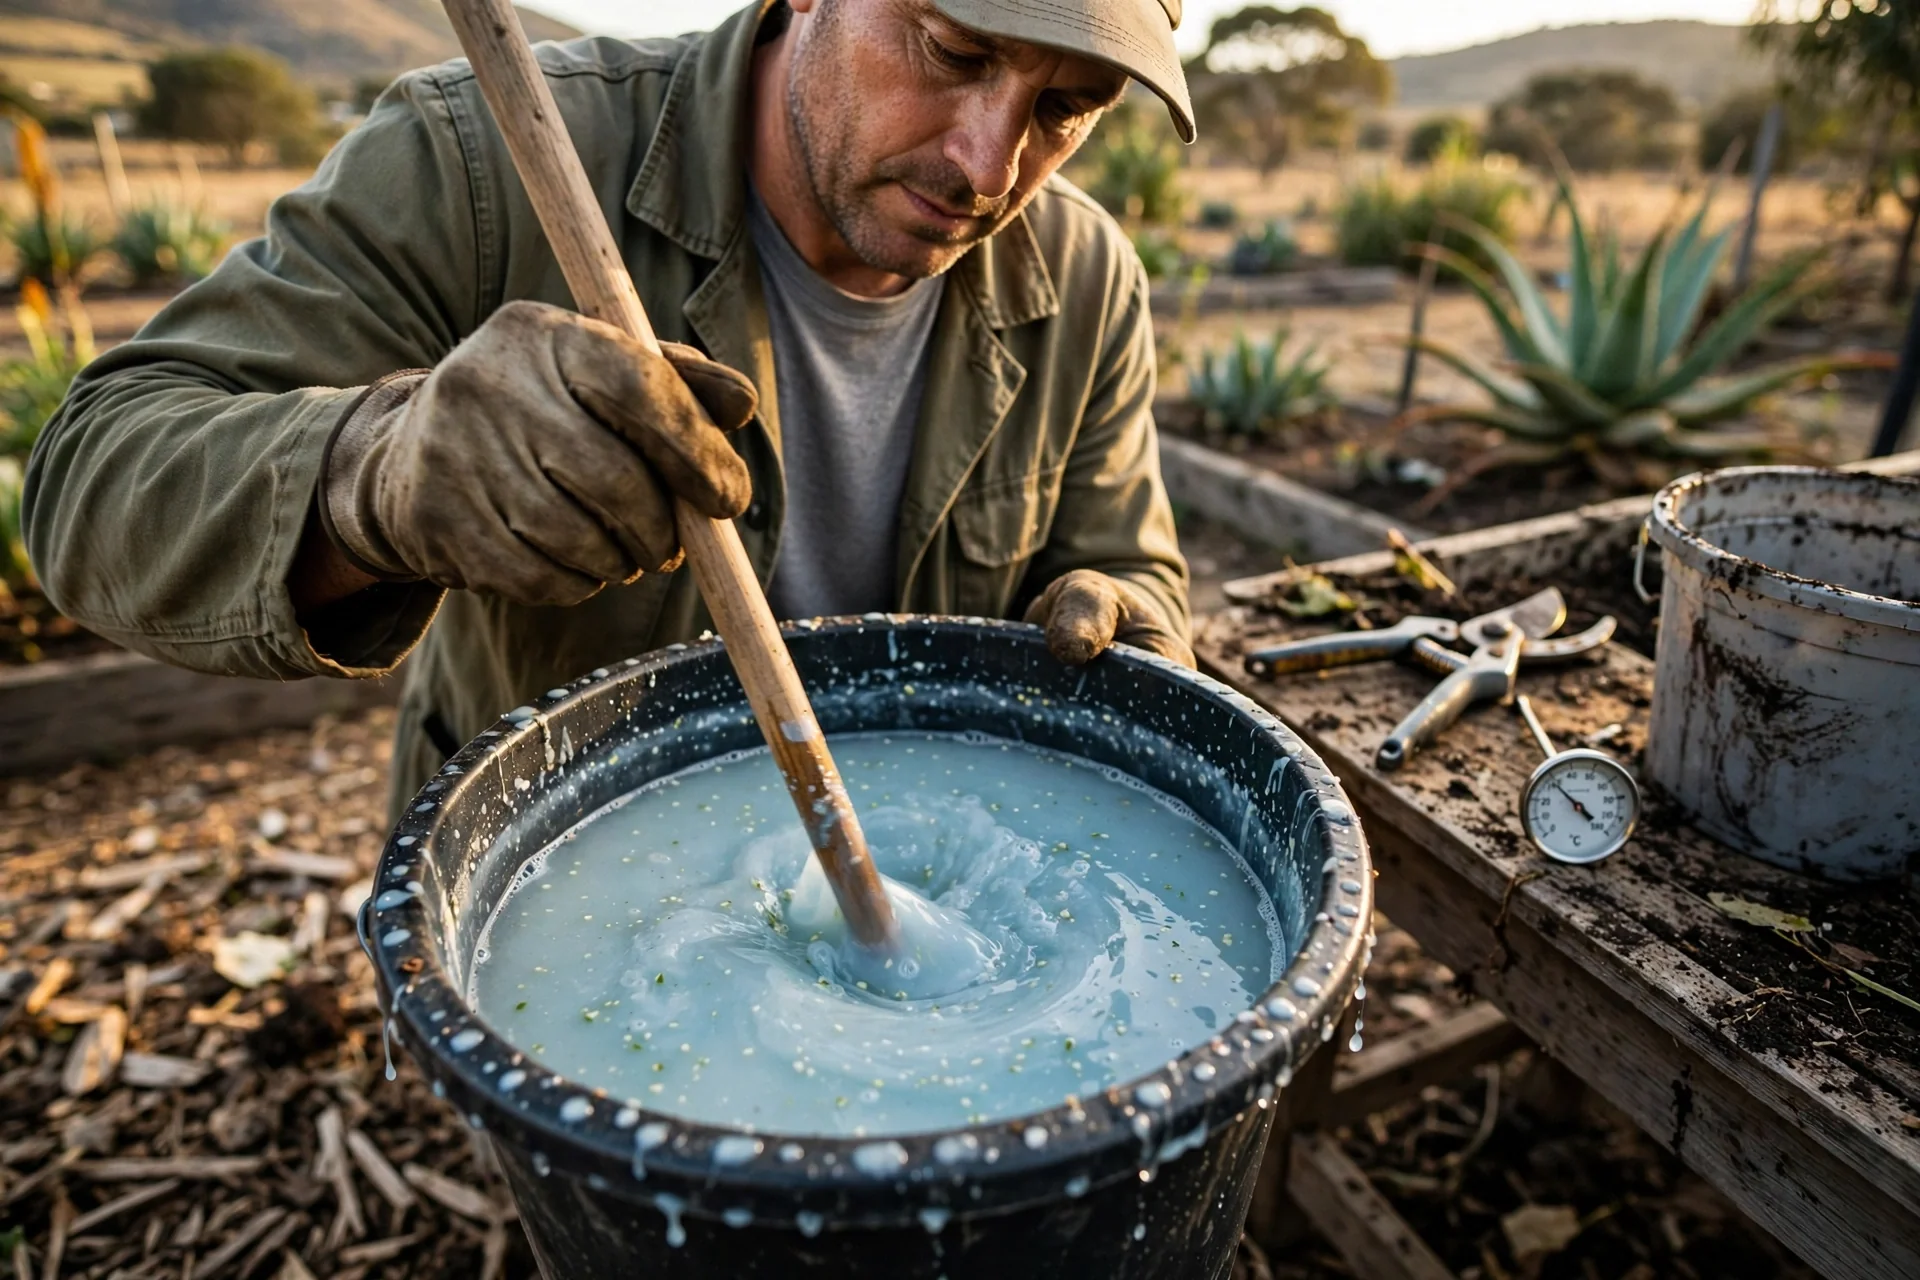
Mixing ratio: For a 1% Bordeaux mixture, use a 1:1:100 ratio: 1 part copper sulfate, 1 part hydrated lime, 100 parts water. For a manageable 4-liter (1 gallon) batch, dissolve approximately 15 grams (1 tablespoon) of copper sulfate in half the water, slake the same amount of hydrated lime in the other half, then combine while stirring. Use within the same day; the mixture degrades and loses efficacy if stored.
When to use: Apply when BlightSpy or local extension services forecast a Hutton Criteria period (48 hours with temperatures above 10°C and relative humidity above 90%). Spray every 10 to 15 days while conditions persist. For another protectant fungicide option that works differently, read our sulfur spray guide.
7. Deploy Baking Soda Spray as a Preventative Barrier
Best for: Branch 1
Mechanism: Sodium bicarbonate raises leaf surface pH to alkaline levels that inhibit spore germination of Alternaria solani (early blight) and Septoria lycopersici. It is not effective against Phytophthora infestans (late blight), whose spores tolerate a wider pH range.
The Cornell Formula: Mix 1 tablespoon of baking soda, 1 tablespoon of lightweight horticultural oil, and a few drops of liquid soap (as an emulsifier) in 4 liters (1 gallon) of water. The oil improves adherence to the leaf surface. Shake thoroughly before each use. Apply preventatively at 7-day intervals, and reapply after any rainfall exceeding 6 mm (0.25 inch).
Constraint: Baking soda contains sodium, which accumulates in soil with repeated applications and can degrade soil structure over a full season. Do not exceed 1 tablespoon per gallon. If leaves show marginal browning or cupping, discontinue and flush the soil with water. For more on horticultural oil as a carrier, see our horticultural oil guide.
8. Apply Neem Oil for Dual Action
Best for: Branch 1 and Branch 2
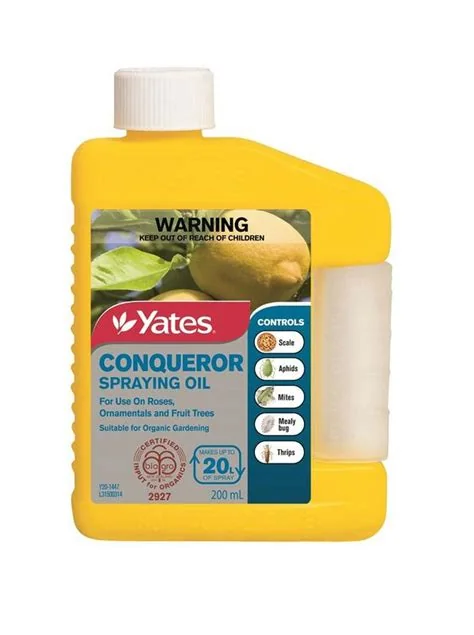
Neem oil (azadirachtin) provides both antifungal activity against early blight pathogens and some suppression of Phytophthora infestans sporulation. Mix at 5 ml per liter of water with an emulsifier. Spray every 7 days during disease pressure. Constraint: neem oil photodegrades in direct sunlight; apply in late afternoon to extend residual activity. Efficacy is significantly lower than copper or chlorothalonil in high-pressure seasons. For more on neem applications, read our neem oil guide.
9. Remove Infected Leaves and Plant Debris
Best for: Branch 3
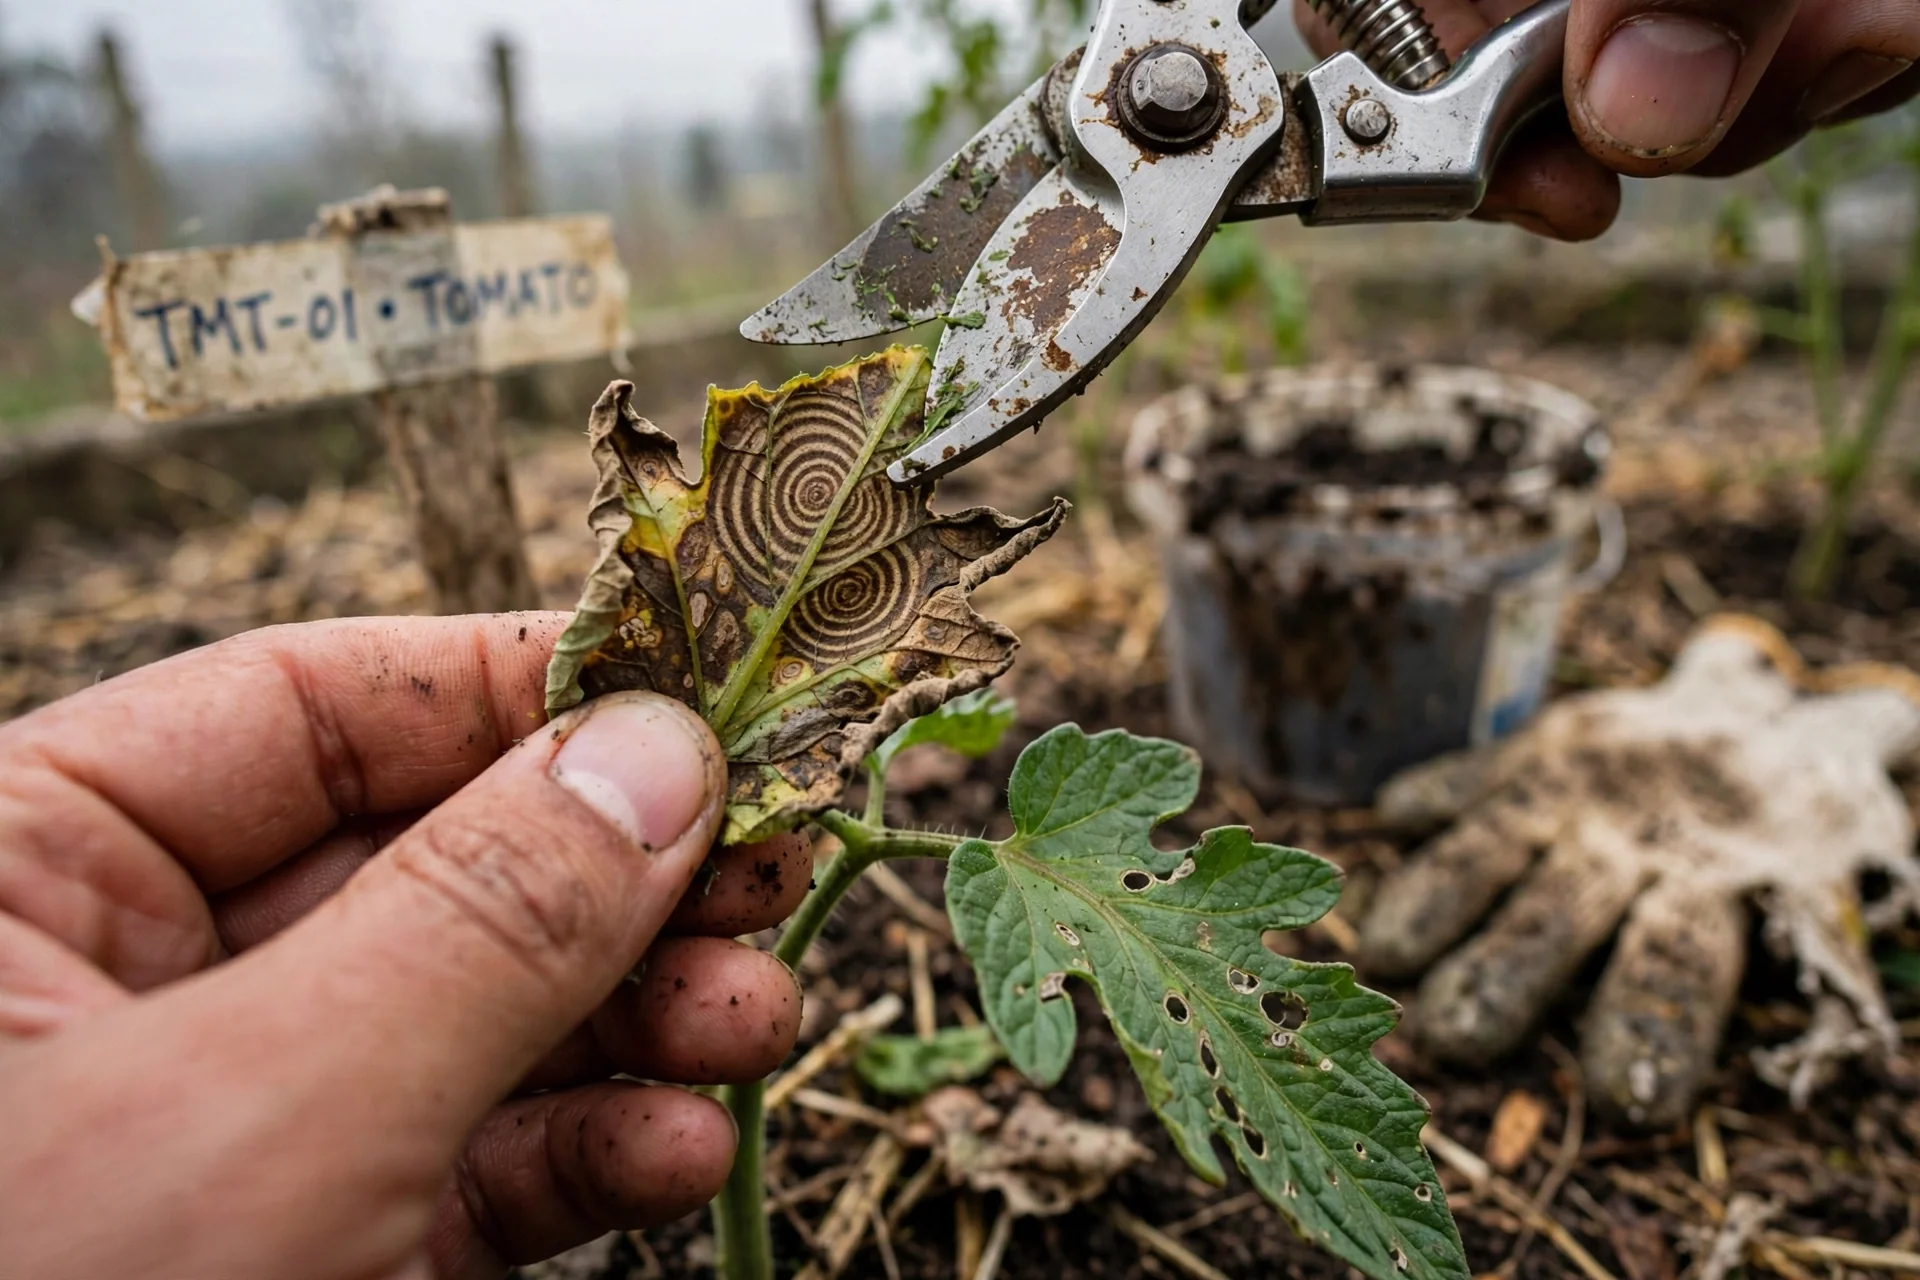
10-minute workflow: Scout plants every 3 days during warm, humid weather. Remove any leaf showing brown lesions on the lower third of the plant by cutting the petiole close to the main stem using disinfected pruners. Disinfect blades between cuts with a 1:9 bleach-to-water solution or 70% isopropyl alcohol. Do not remove more than 20 to 25% of the plant’s total leaf area in a single session; exceeding this reduces fruit development by limiting photosynthetic capacity.
Upgrade path: If lower-leaf removal fails to slow progression and lesions appear on the middle canopy within 5 days, the pathogen load is too high for sanitation alone. Combine with a fungicide from items 4, 5, or 6 immediately.
10. Solarize Soil to Eliminate Pathogen Residue
Best for: Branch 3
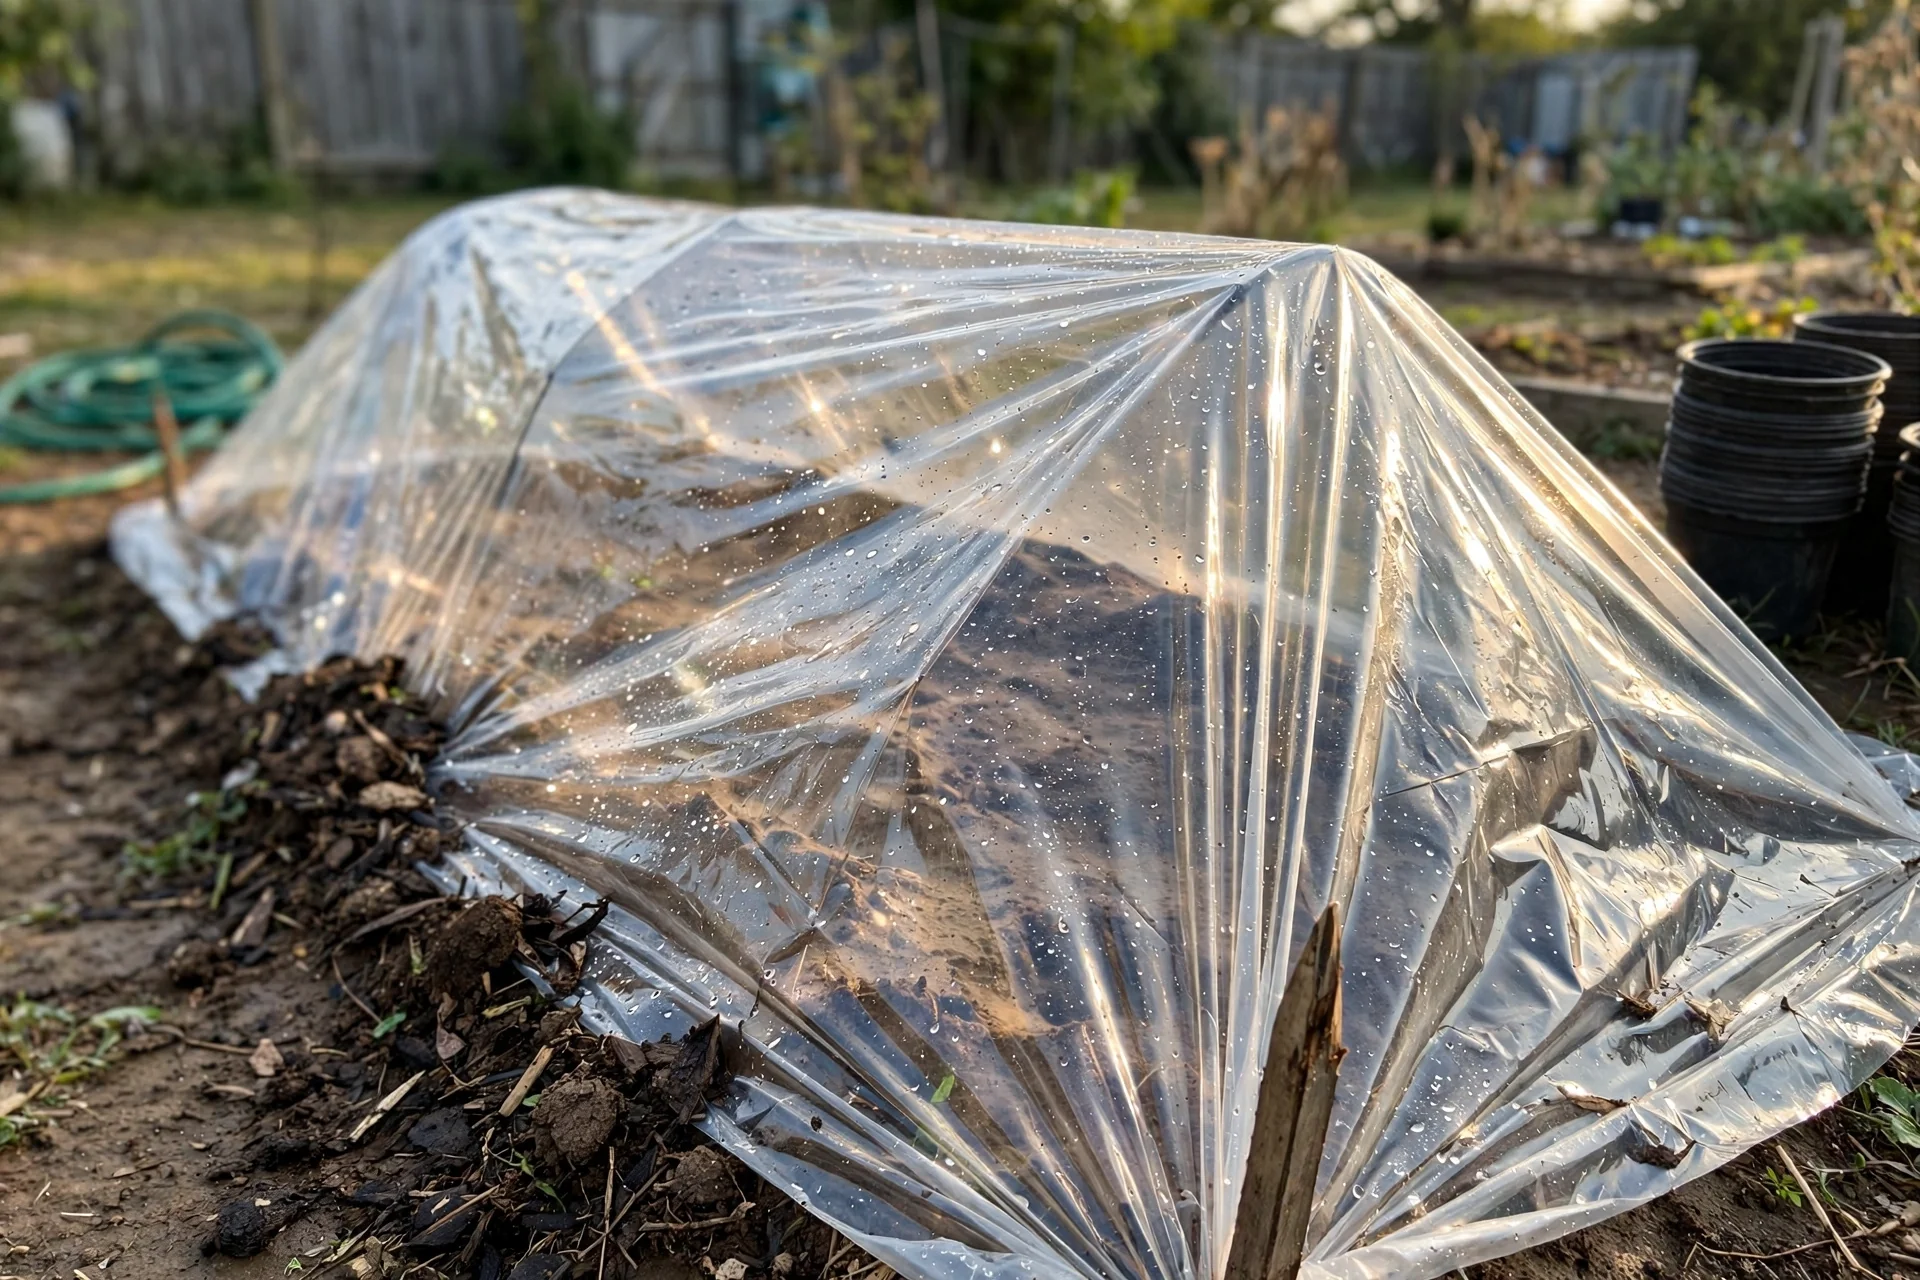
What it does: Soil solarization traps solar radiation under clear polyethylene sheeting to raise soil temperatures to levels lethal to fungal pathogens, including Alternaria solani sclerotia and Phytophthora infestans oospores. It is a post-season treatment performed after infected plants have been removed.
How to execute: Remove all plant debris. Till or turn the soil to a depth of 15 cm (6 inches) and moisten it thoroughly; wet soil conducts heat more efficiently than dry soil. Lay clear UV-stabilized polyethylene (0.025 to 0.05 mm thickness) directly on the soil surface, burying the edges to seal in heat. Leave in place for 40 to 55 days during the hottest part of summer, when daily maximum air temperatures consistently exceed 30°C (86°F).
Constraint: Solarization is ineffective in regions where summer daytime highs stay below 28°C (82°F), such as the UK, Ireland, Pacific Northwest, and coastal Atlantic Canada. In these locations, replace the soil in raised beds or container gardens instead, or shift entirely to Branch 1 resistant varieties for the following season.
11. Introduce Biofungicides for Soil-Borne Inoculum
Best for: Branch 3
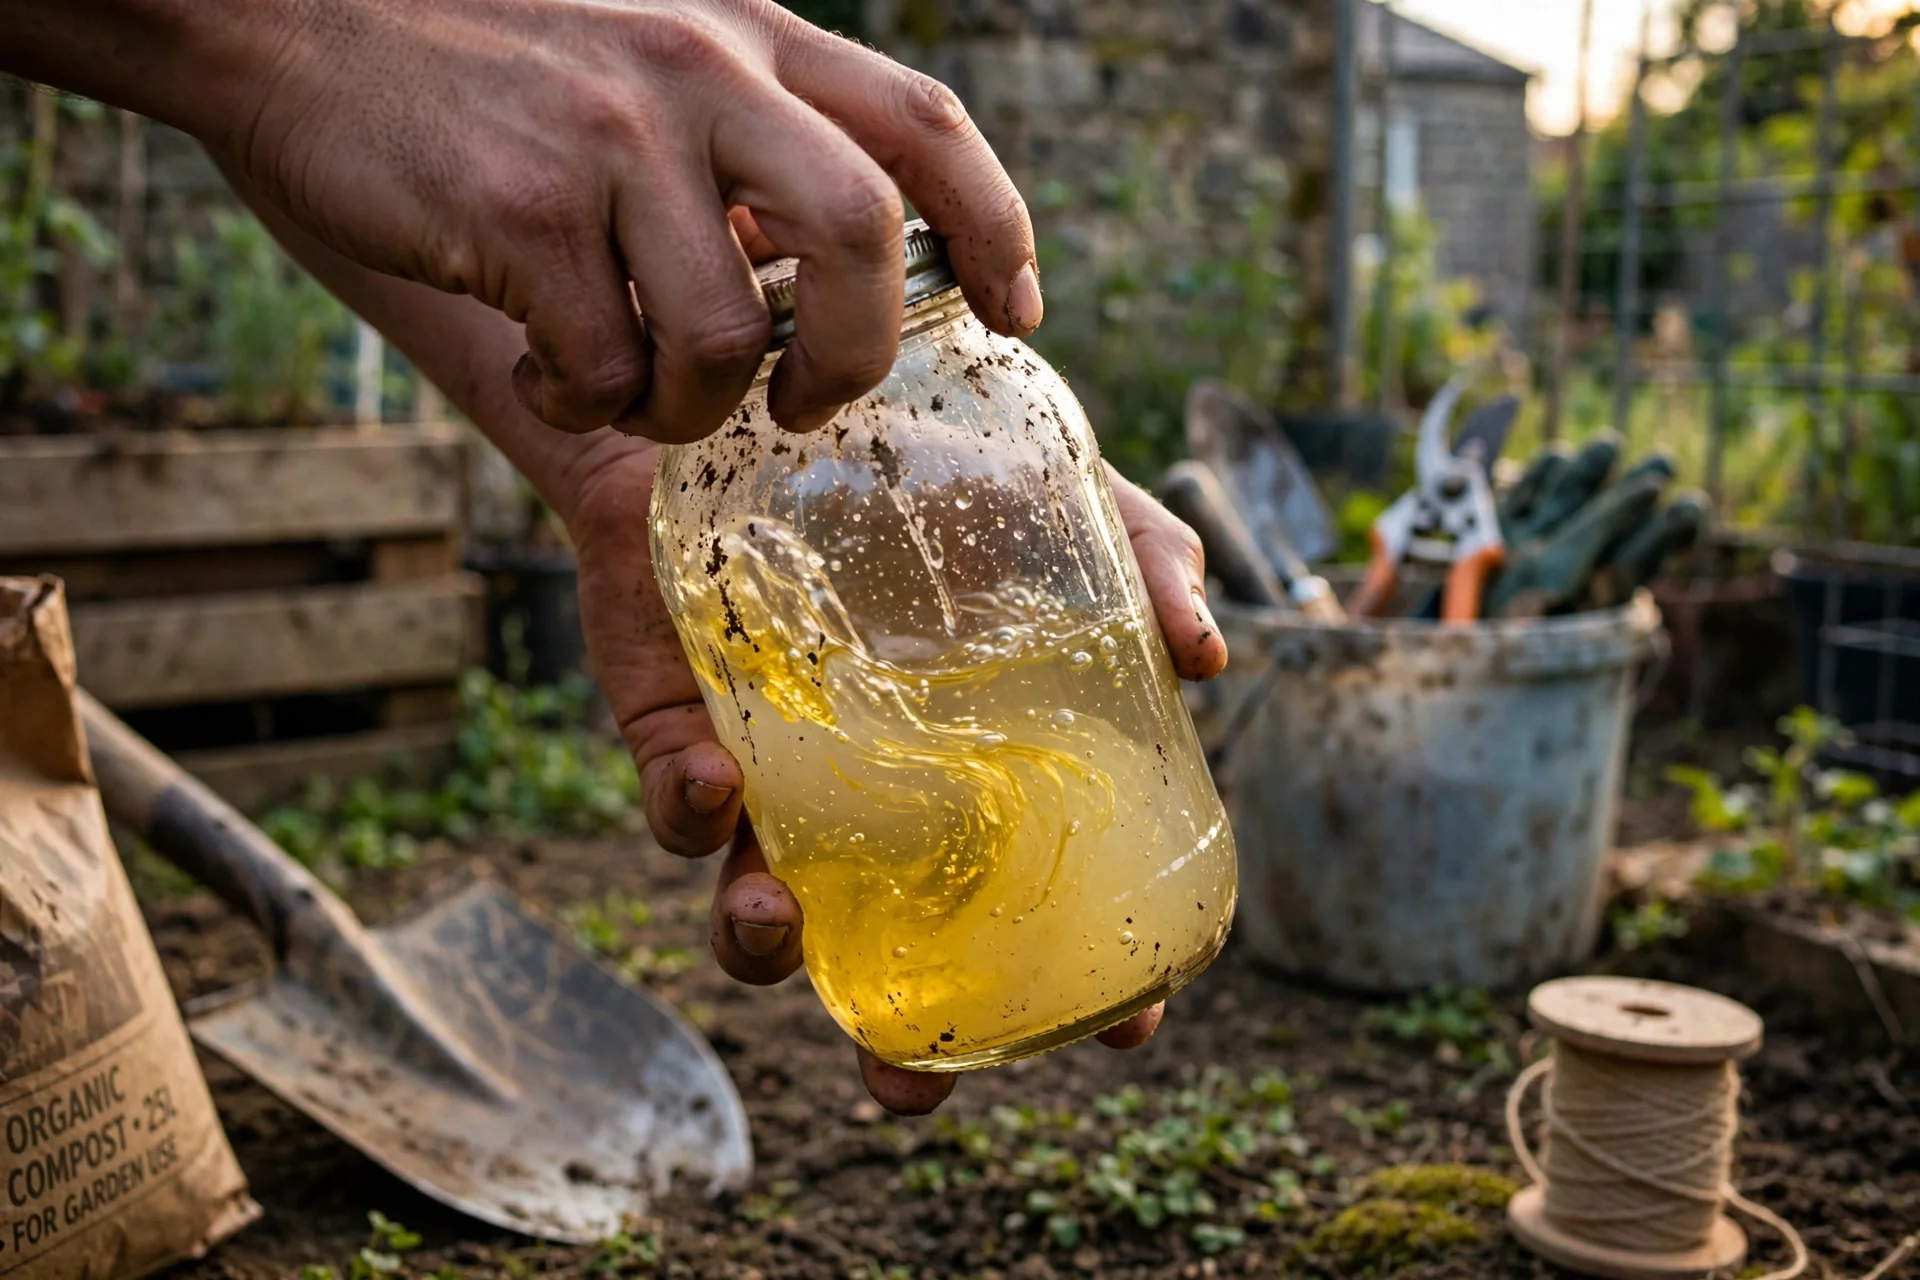
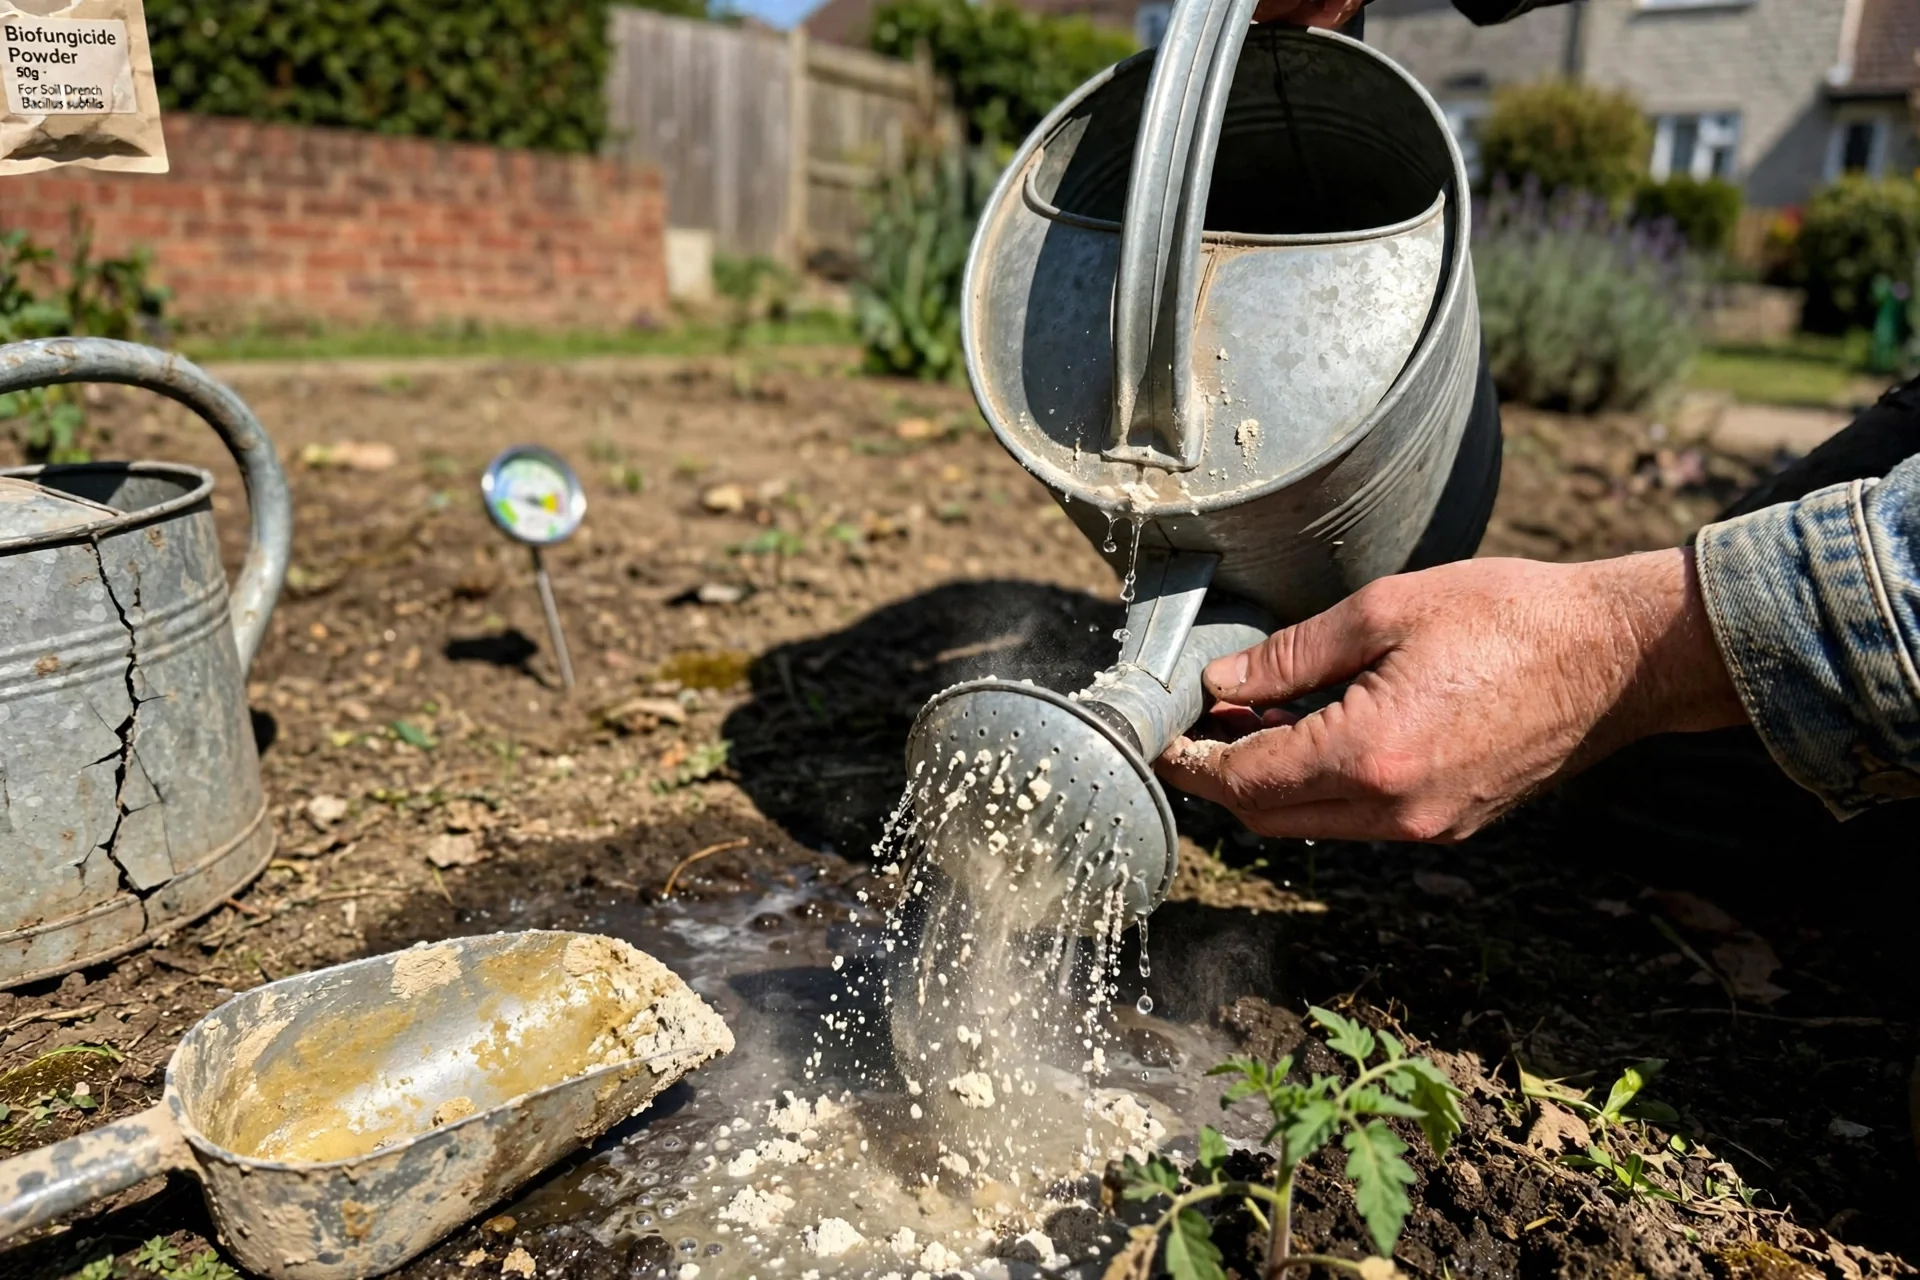
Biofungicides containing Trichoderma harzianum or Bacillus subtilis colonize the root zone and soil surface, competing with and parasitizing blight pathogens. Apply Trichoderma species at 10 grams per liter as a soil drench at transplanting, with a follow-up application 15 days later. Bacillus subtilis is applied as a foliar spray at 5 grams per liter every 15 days. Both work best when introduced before disease onset; they have limited curative activity against established foliar infections. Learn about beneficial organisms in our beneficial insects guide.
12. Practice Crop Rotation and Fall Sanitation
Best for: Branch 1, Branch 2, and Branch 3
Rule: Do not plant tomatoes, potatoes, peppers, or eggplant in the same soil for at least 3 years after a blight outbreak. The pathogens survive on solanaceous crop residue and in soil as resting structures. Rotate with grasses (corn, sweet corn), legumes (beans, peas), or alliums (onions, garlic), none of which serve as hosts.
Fall cleanup checklist: Remove all tomato plant material including fallen leaves, stems, and fruit within 7 days of the final harvest. Do not compost infected material unless your pile consistently reaches 55°C (131°F) for at least 3 consecutive days; most home compost bins do not achieve this. Bag and dispose of infected material through municipal waste collection. Disinfect stakes, cages, and tools with a 1:9 bleach solution before storing for winter.
Starter Stack (What to Choose First)
Branch 1 Starter: Early Blight Prevention Core
Combine Item 1 (Resistant Varieties) with Item 3 (Mulching). Together, a resistant variety reduces the pathogen’s ability to establish, while mulch blocks the splash pathway that delivers spores to lower leaves. Total cost: seed packets with EB or LB resistance run $4 to $7 USD; a bale of straw covers approximately 15 to 20 plants and costs $8 to $15 USD. Time investment: under 2 hours at planting.
Branch 2 Starter: Late Blight Early Response Duo
Pair Item 6 (Bordeaux Mixture) with Item 2 (Proper Spacing). Bordeaux mixture creates the protectant barrier late blight requires before infection; wide spacing reduces the humidity microclimate that drives sporulation. Cost: copper sulfate and hydrated lime total approximately $15 to $25 USD for a season’s supply. Time: mixing and spraying takes 30 minutes per application, repeated every 10 to 14 days during high-risk windows.
Branch 3 Starter: Salvage and Reset Combination
Use Item 9 (Infected Tissue Removal) immediately, followed by Item 12 (Crop Rotation & Sanitation) at season end. Removing infected leaves buys time for remaining fruit to ripen; rotation prevents the same pathogen from dominating the following year. Cost: a bottle of isopropyl alcohol for tool disinfection costs under $5 USD. Time: 15 minutes of scouting and pruning every 3 days, plus 1 to 2 hours for end-of-season cleanup.
When This Won’t Work
Failure condition 1: Late blight has reached the stem or fruit. Once Phytophthora infestans lesions appear on the main stem or fruit surface, the pathogen has entered vascular tissue and no contact fungicide can reverse it. Remove the entire plant immediately, bag it, and do not compost it. The alternative action is to harvest any unblemished green fruit, wash it with a 10% bleach solution, and ripen it indoors. Monitor ripening fruit daily; infected tomatoes will rot within 48 to 72 hours of picking if spores were already present.
Failure condition 2: Soil pathogen load is too high for in-ground treatment. In raised beds or small gardens where rotation is impossible and blight has recurred for 3 or more consecutive seasons, cultural controls and fungicides alone are unlikely to break the cycle. The recommended alternative is to replace the top 30 to 60 cm (12 to 24 inches) of soil, or switch entirely to container gardening with fresh potting mix for tomato crops for the next 2 to 3 years. For guidance on managing other fungal diseases that may coexist with blight, see our powdery mildew control guide.
Choosing the Right Option for Your Situation
Budget Threshold
If your total tomato growing budget is under $25 USD per season: prioritize Items 1, 2, 3, and 12. These require no recurring purchases beyond seeds and mulch material. Baking soda spray (Item 7) adds less than $2 USD to the season cost. Skip copper fungicides and chlorothalonil, which require repeated purchases across the season.
Time Threshold
If you can spend less than 30 minutes per week on blight management: build your strategy around Items 1, 2, 3, and 12, which are set-and-forget or once-per-season actions. Avoid Items 4, 5, 6, 7, and 8, all of which require weekly mixing, spraying, and weather monitoring during the growing season.
Technical Constraint: Water Source
If your only water source is overhead sprinklers, you face an elevated blight risk regardless of other controls. The workaround: water between 5:00 AM and 9:00 AM so foliage dries by mid-morning. Alternatively, install a simple drip irrigation system using a timer and soaker hose, which delivers water to the soil without wetting leaves. This single change can reduce leaf wetness duration below the 4 to 6 hour threshold required for spore germination.
Quick Decision Checklist:
- Do you see concentric rings on lower leaves first? Yes = Branch 1 (early blight). No rings, water-soaked patches at leaf edges? Yes = Branch 2 (late blight).
- Are lesions on stems or fruit? Yes = Branch 3 (salvage mode).
- Can you commit to weekly spraying? No = Choose Items 1, 2, 3, 12 only.
- Has blight occurred in this soil for 3 or more consecutive years? Yes = Replace soil or switch to containers.
Expert Q&A
Can I eat tomatoes from a plant with blight?
Fruit without visible lesions is safe to eat. Cut away any brown or discolored areas before consuming. However, fruit from late blight infected plants may carry spores that cause rot within 48 to 72 hours of harvest, even if the fruit looked clean when picked. Use or process these tomatoes immediately; do not store them alongside healthy fruit.
Does blight stay in the soil over winter?
Early blight (Alternaria solani) survives winter on infected plant debris in the soil. Late blight (Phytophthora infestans) requires living host tissue to overwinter in most regions, surviving primarily in infected potato tubers left in the ground. New oospore-forming strains can persist in soil without a host, though this is currently more common in Europe than North America.
What is the difference between early blight and Septoria leaf spot?
Early blight produces larger brown lesions with distinct concentric rings, primarily on older leaves. Septoria leaf spot creates smaller, numerous spots with grayish-tan centers and dark margins. Septoria rarely infects fruit, while early blight can cause sunken lesions on the stem end of tomatoes. Both favor warm, wet conditions and are managed with the same cultural practices.
Why did my resistant variety still get blight?
Resistance genes are race-specific. If a new pathogen strain emerges in your region, the resistance may be partially or fully overcome. Additionally, “resistant” does not mean “immune”; under prolonged favorable conditions for the pathogen, even resistant varieties will show some symptoms, though typically later and less severely than susceptible types.
Can I use hydrogen peroxide instead of fungicides?
Hydrogen peroxide (3% solution diluted at 80 ml per liter of water) can oxidize fungal spores on leaf surfaces on contact, but it provides zero residual protection. It may be useful as a spot treatment on visible lesions, but it cannot replace preventative fungicides. Repeated use can also damage leaf cuticles, increasing susceptibility to future infection.
Conclusion
The single most consequential decision with blight on tomatoes is identifying which pathogen you face before choosing a response. Early blight rewards persistence; late blight punishes hesitation. The most common mistake is treating all brown leaf spots with the same spray schedule, which wastes product when early blight is the target and loses the crop when late blight is misdiagnosed.
Your next step depends on timing. If you are planning next season’s garden, start with Item 1 (resistant varieties) and Item 12 (rotation planning). If you have active symptoms right now, use the Decision Grid above to route yourself to the correct branch, then act today: late blight does not wait. For managing other common garden diseases, see our diatomaceous earth garden guide.