
Beginners do not fail at composting because it is difficult. They fail because they adopt a method that fits someone else’s yard, someone else’s calendar, and someone else’s tolerance for maintenance. The question is not “how do I compost.” It is “which method will I actually sustain given the space I have, the time I will genuinely commit, and the weather I live with.”
This guide covers 10 composting approaches, from hands-off cold piles that take a year to finish to sealed indoor fermenters that process scraps in weeks. What it excludes: industrial windrow systems, municipal collection programs, and methods requiring livestock manure in quantities most suburban lots cannot accommodate.
By the end, you will know exactly which branch of the Decision Grid matches your situation, how much effort each method demands, and which common mistake is most likely to derail your first season.
Bottom line: Pick the method that matches your actual available time, not your aspirational gardening self.
The Yield Grid Decision Grid
Answer two questions: Where will you compost, and how often will you realistically tend it? The answers sort you into one of three branches below.
Branch 1: Outdoor, Low-Touch. You have a yard or garden bed and want to add scraps without weekly turning. Your pile will finish slowly (6 to 18 months) but the workload is minimal: add material, cover browns, walk away. Recommended: Items 2, 5, 6, 8 below.
Branch 2: Outdoor, Active Management. You will turn the pile at least once a week, monitor moisture like a damp sponge, and track internal temperature. In return, finished compost arrives in 3 to 8 weeks during warm months. Recommended: Items 1, 4, 7, 9 below.
Branch 3: Indoor or No Yard. You live in an apartment, have no outdoor access, or face freezing winters that halt outdoor decomposition. Your composting happens in a bin under the sink, on a balcony, or in a sealed bucket. Recommended: Items 3, 10 below.
Still unsure whether compost or mulch is the right tool for your soil goals? See our comparison of compost versus mulch to clarify which amendment your garden actually needs first.
Quick Comparison Table
| Option | Key Mechanism | Best For | Decision Grid Branch | Effort Score (1-5) |
|---|---|---|---|---|
| Hot Composting | Thermophilic bacteria; 55-65°C (131-149°F) core temperature for 3+ days | Gardeners who want finished compost in under 8 weeks | Branch 2 | 5 |
| Cold Composting | Ambient microbial and fungal decomposition at outdoor temperature | Patient gardeners with yard space and minimal time | Branch 1 | 1 |
| Bokashi Composting | Anaerobic fermentation using inoculated bran (Effective Microorganisms) | Apartment dwellers; those wanting to process meat and dairy | Branch 3 | 2 |
| Vermicomposting | Red wiggler worms (Eisenia fetida) ingest and excrete castings | Indoor composters; small-space gardeners wanting premium castings | Branch 2 | 3 |
| Compost Tumblers | Enclosed rotating drum accelerates aeration without pitchfork turning | Suburban lots where neatness matters and manual turning is undesirable | Branch 1 | 2 |
| Sheet Mulching | Layered organic matter decomposes in place on garden beds | Gardeners converting lawn to planting beds without digging | Branch 1 | 1 |
| Winter Composting | Insulated or oversized piles retain microbial heat below freezing | Cold-climate gardeners in USDA zones 3-6 or equivalent | Branch 2 | 3 |
| Trench Composting | Buried kitchen scraps decompose anaerobically 30-45 cm (12-18 in) deep | Gardeners who want zero above-ground footprint | Branch 1 | 1 |
| Compost Tea | Aerated water extracts soluble nutrients and microbes from finished compost | Gardeners wanting a liquid soil drench or foliar feed | Branch 2 | 3 |
| Kitchen Scrap Prep | Collection, chopping, and storage system that feeds any compost method | Every beginner; the upstream habit that determines downstream success | Branch 3 | 1 |
1. Hot Composting: The Fast-Track Method
Best for: Branch 2 (Outdoor, Active Management)
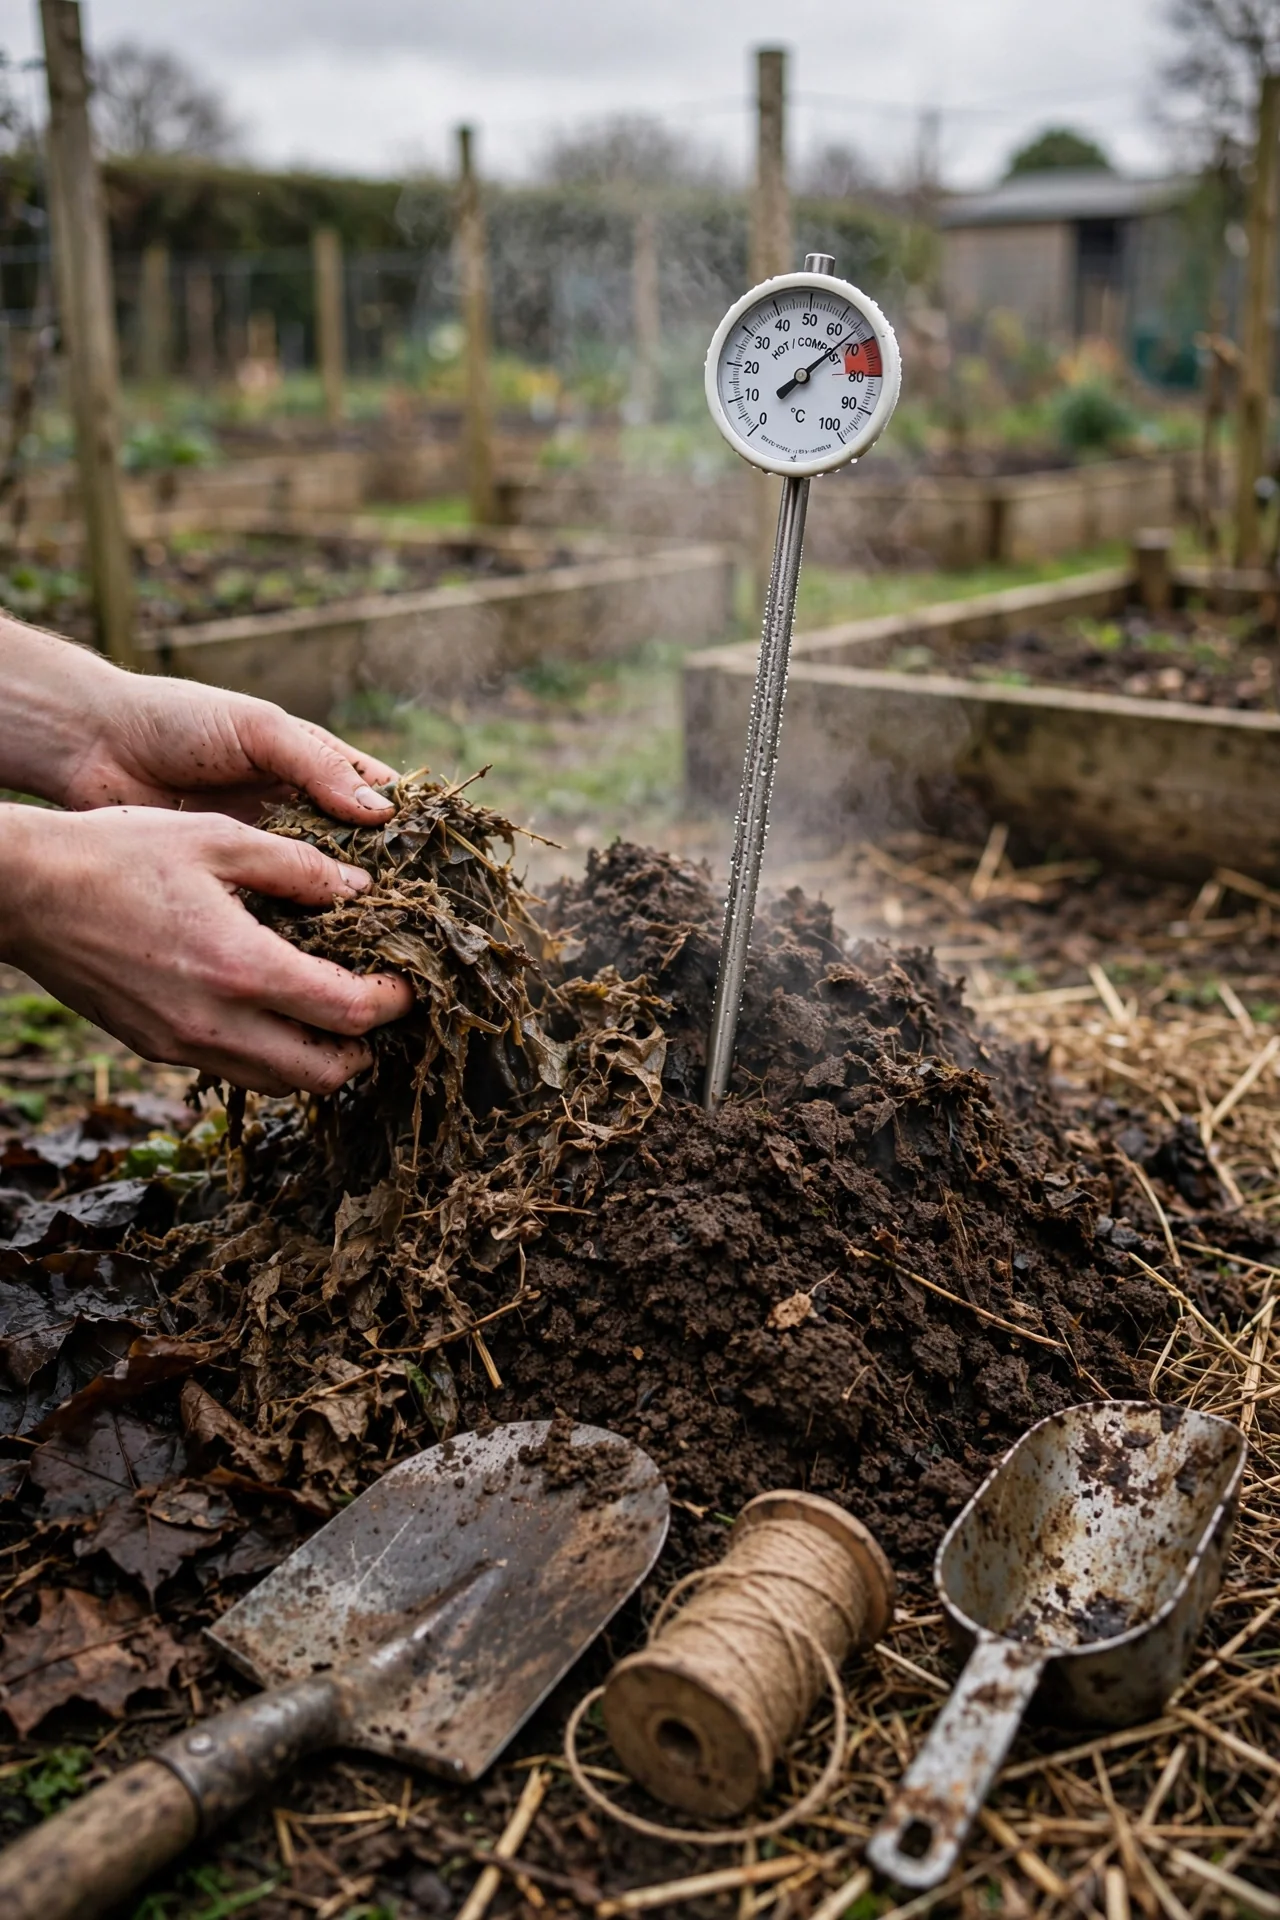
Hot composting is the only method that reliably kills weed seeds and plant pathogens without chemical treatment. It depends on one measurable condition: the pile core must sustain 55-65°C (131-149°F) for at least three consecutive days. Below that threshold, weed seeds survive and the pile is simply a well-aerated cold compost.
What you need: A minimum pile volume of 1 cubic meter ( roughly 3 ft x 3 ft x 3 ft). Smaller piles cannot generate enough insulation to hold heat. You also need a compost thermometer with a probe at least 50 cm (20 in) long to reach the core.
Steps: (1) Stockpile enough browns and greens to fill the entire volume in one session; batch-building is non-negotiable. (2) Shred or chip all material to roughly 2-5 cm (1-2 in) pieces; surface area controls microbial access. (3) Layer browns and greens at a 3:1 ratio by volume, moistening each layer to the feel of a wrung-out sponge. (4) Insert the thermometer into the core within 24 hours. If temperature has not reached 49°C (120°F) within 48 hours, the pile is either too dry, too low in nitrogen, or too small. (5) Turn the pile whenever the core temperature drops 5-8°C below its peak, typically every 2-4 days during the first two weeks.
Common mistake: Adding material gradually after the pile is built. This cools the core and defeats the batch process. Collect scraps in a separate holding bin while the active pile finishes. For detailed protocols, see our complete hot composting method guide.
2. Cold Composting: The Low-Effort Path
Best for: Branch 1 (Outdoor, Low-Touch)
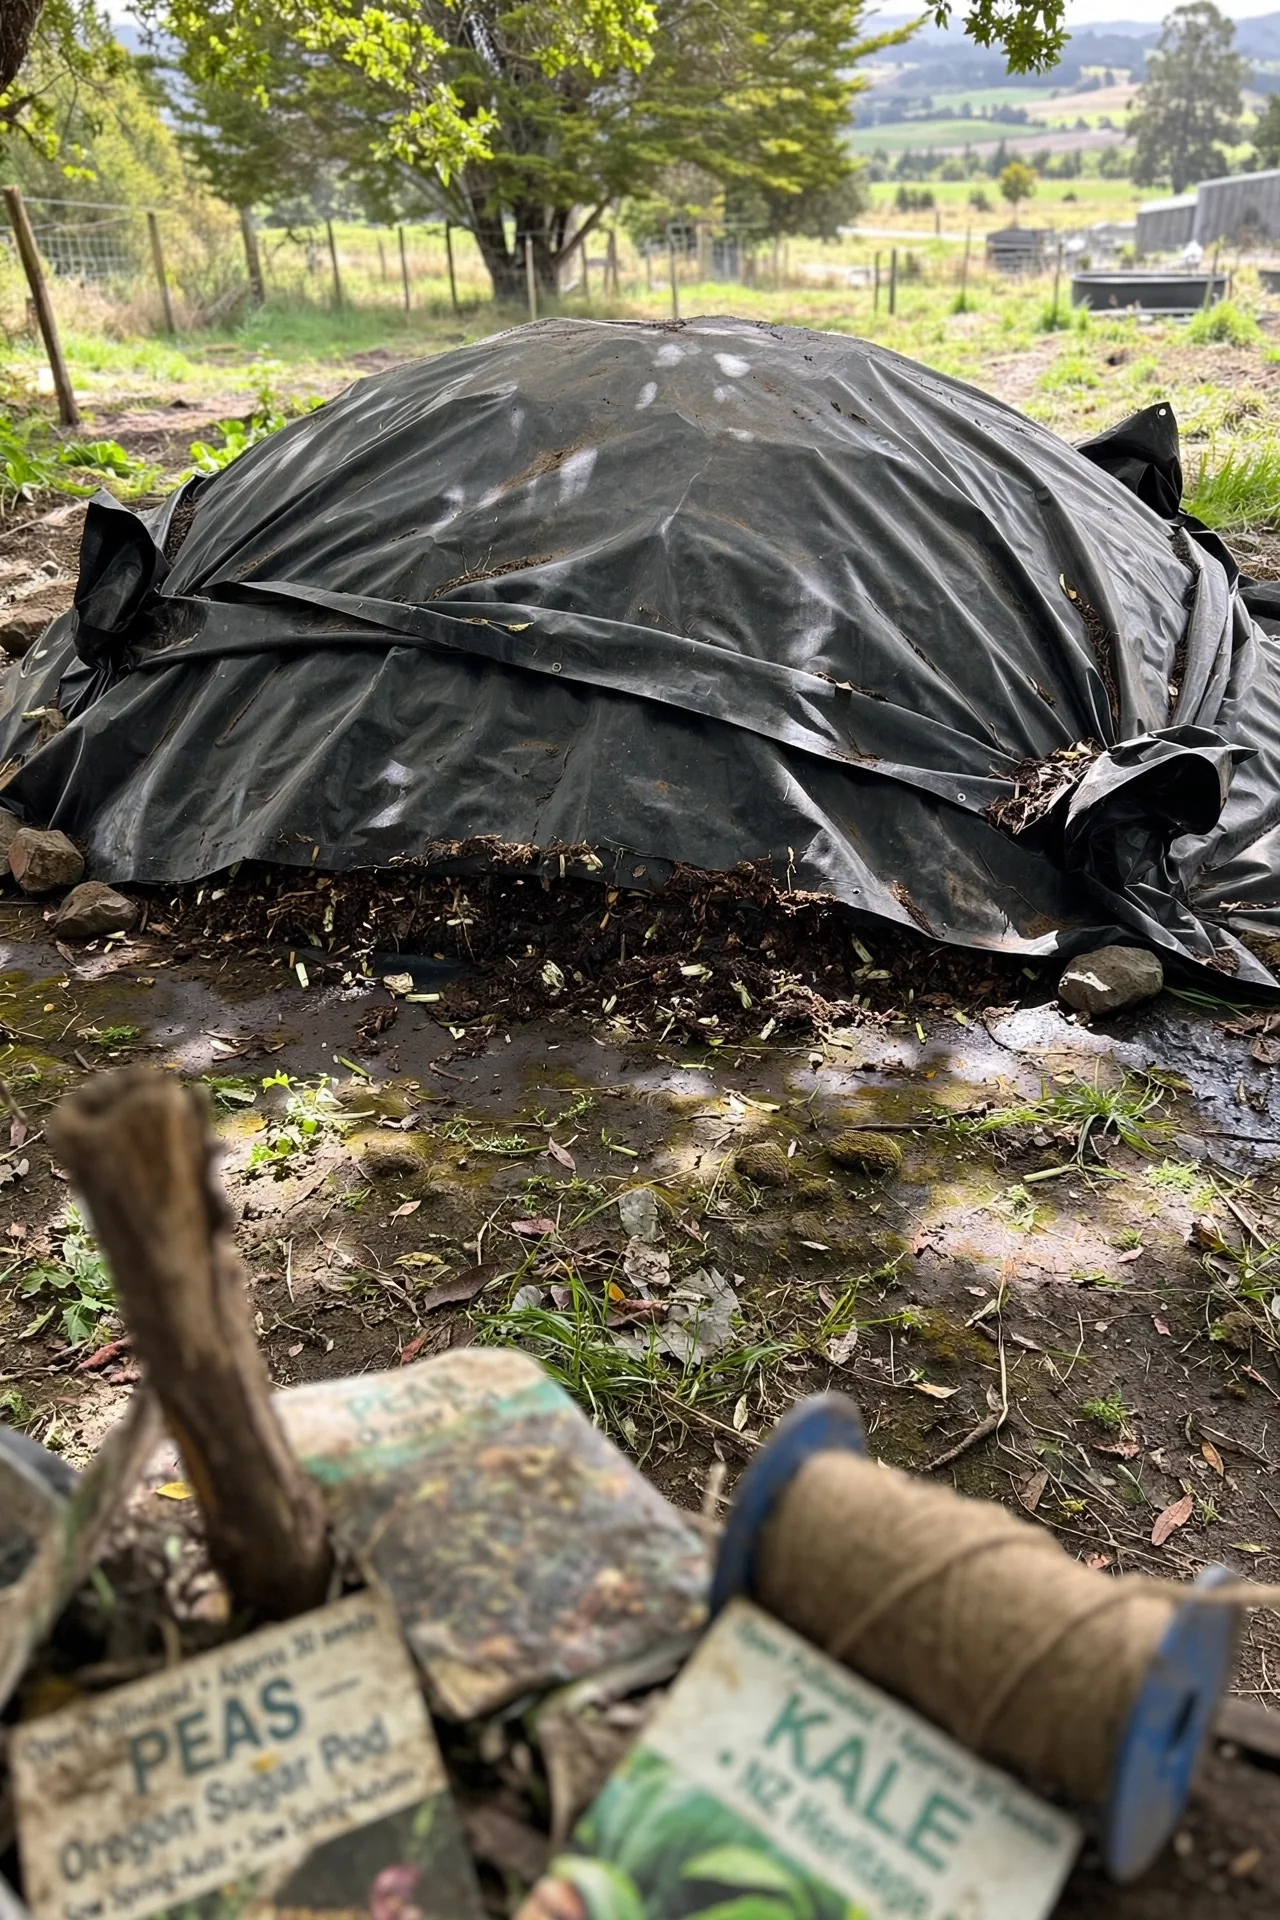
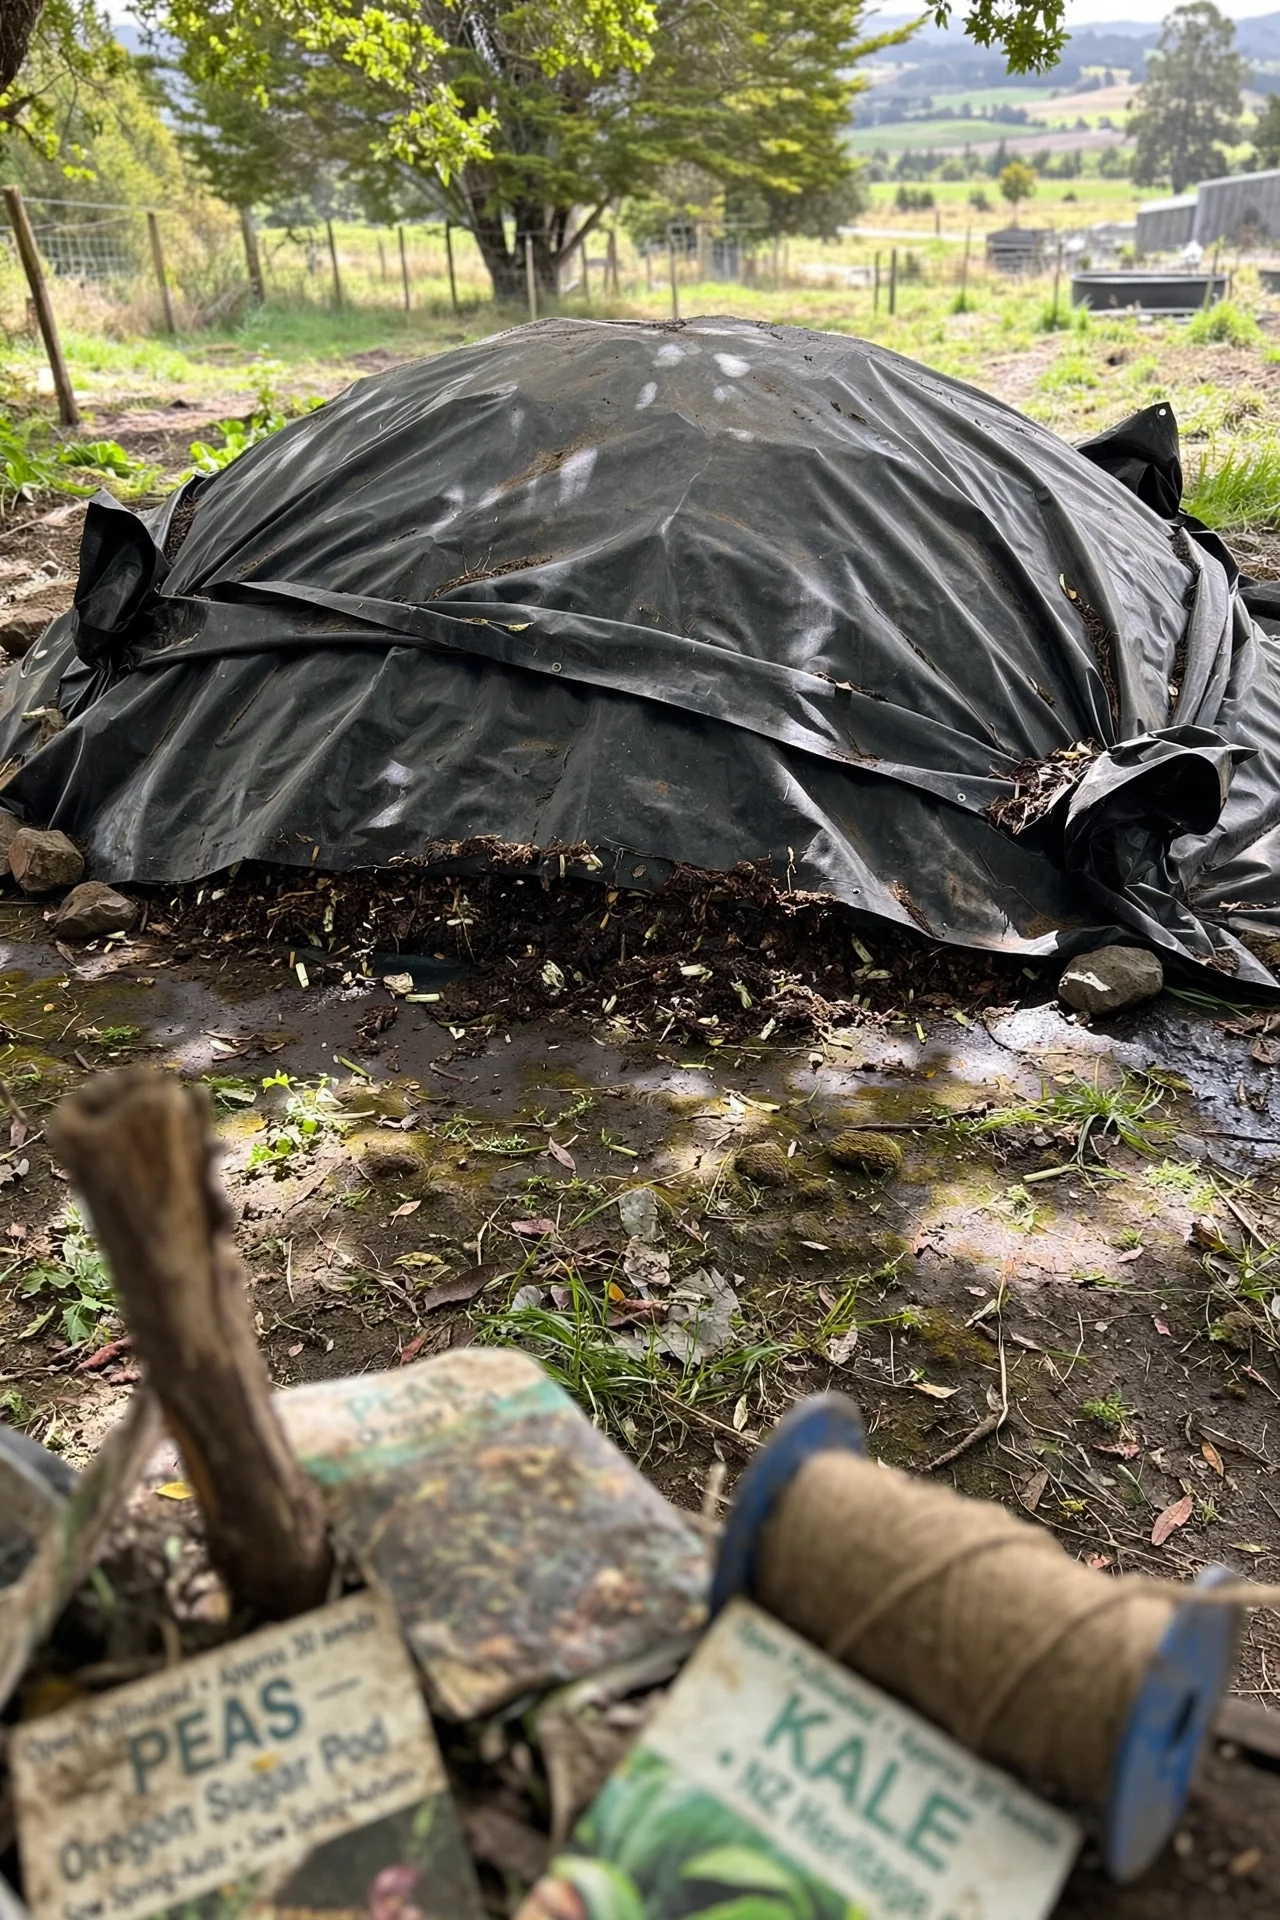
Cold composting is straightforward: pile organic matter in a bin or heap, add material as it becomes available, and wait 12 to 18 months. There is no turning requirement and no temperature monitoring. The trade-off is time and volume: a cold pile shrinks slowly, and weed seeds or pathogens that entered with garden waste will survive intact. Avoid adding weeds that have set seed. A cold pile works best with a 2:1 to 3:1 brown-to-green ratio by volume to prevent odor, but precision matters less here than in hot composting. See our cold composting overview for bin placement and sizing guidance.
3. Bokashi Composting: The Indoor Fermenter
Best for: Branch 3 (Indoor or No Yard)
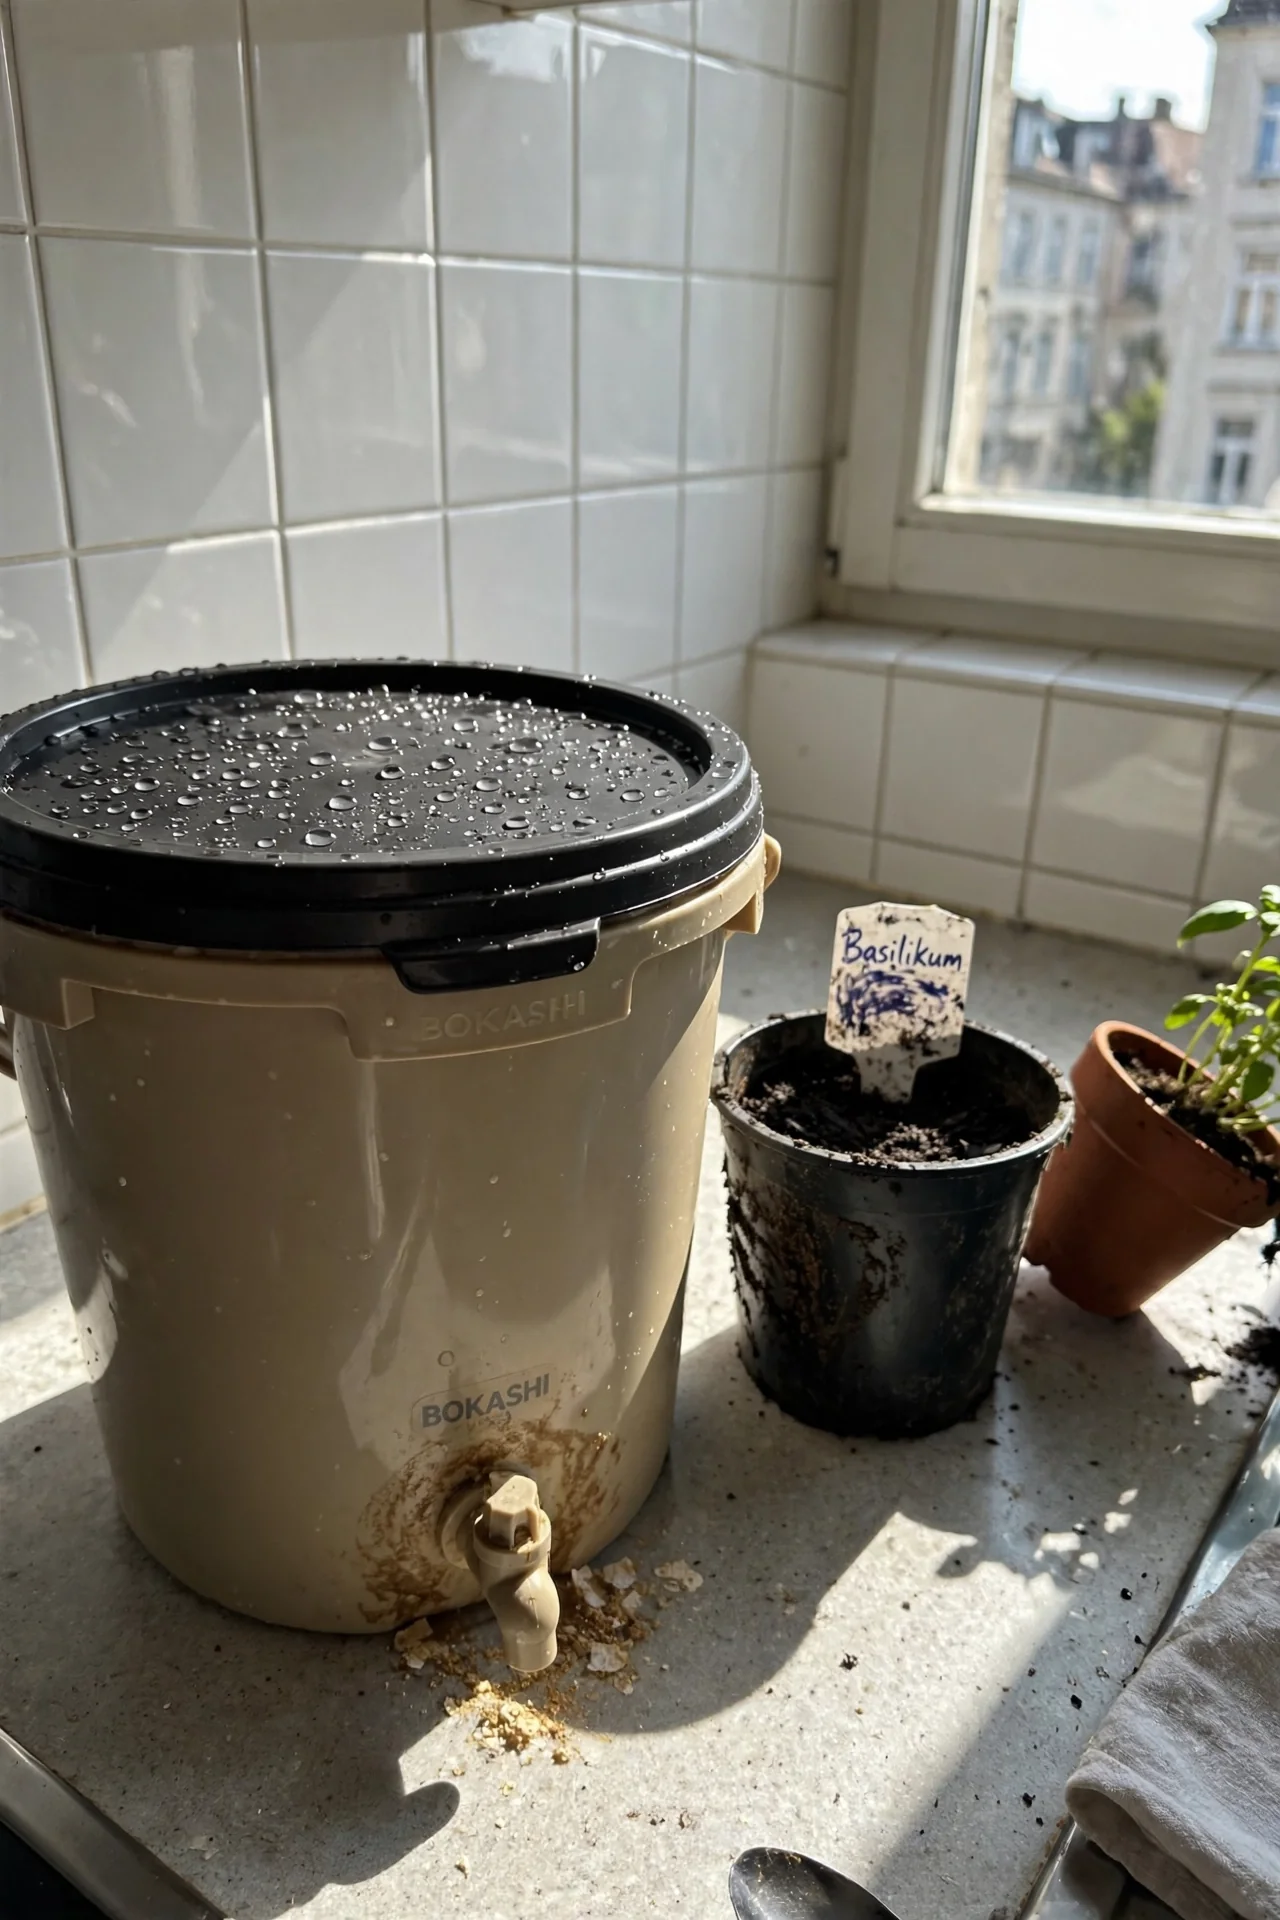
Bokashi is not true composting. It is anaerobic fermentation driven by Effective Microorganisms (primarily Lactobacillus bacteria) inoculated onto wheat bran or a similar carrier. The process pickles food waste inside a sealed bucket, producing a pre-compost material that must be buried in soil or added to an outdoor pile to finish decomposing.
Use Bokashi if: You need to process meat, dairy, and cooked food (all typically excluded from outdoor piles). You have zero outdoor space but can bury the fermented output in a community garden, friend’s yard, or large planter. The bucket occupies roughly 30 x 30 cm (1 sq ft) of floor space.
Skip Bokashi if: You lack a location to bury the fermented material. The acidic, pickled output is not finished compost and will damage plant roots if applied directly. You must budget for ongoing bran purchases (roughly $10-$15 USD per month for a household of two).
Edge case: In freezing climates where outdoor piles are dormant, many gardeners use Bokashi as a winter holding system, then bury the fermented contents in spring. Learn more in our Bokashi composting guide.
4. Vermicomposting: Let Worms Do the Work
Best for: Branch 2 (Outdoor, Active Management)
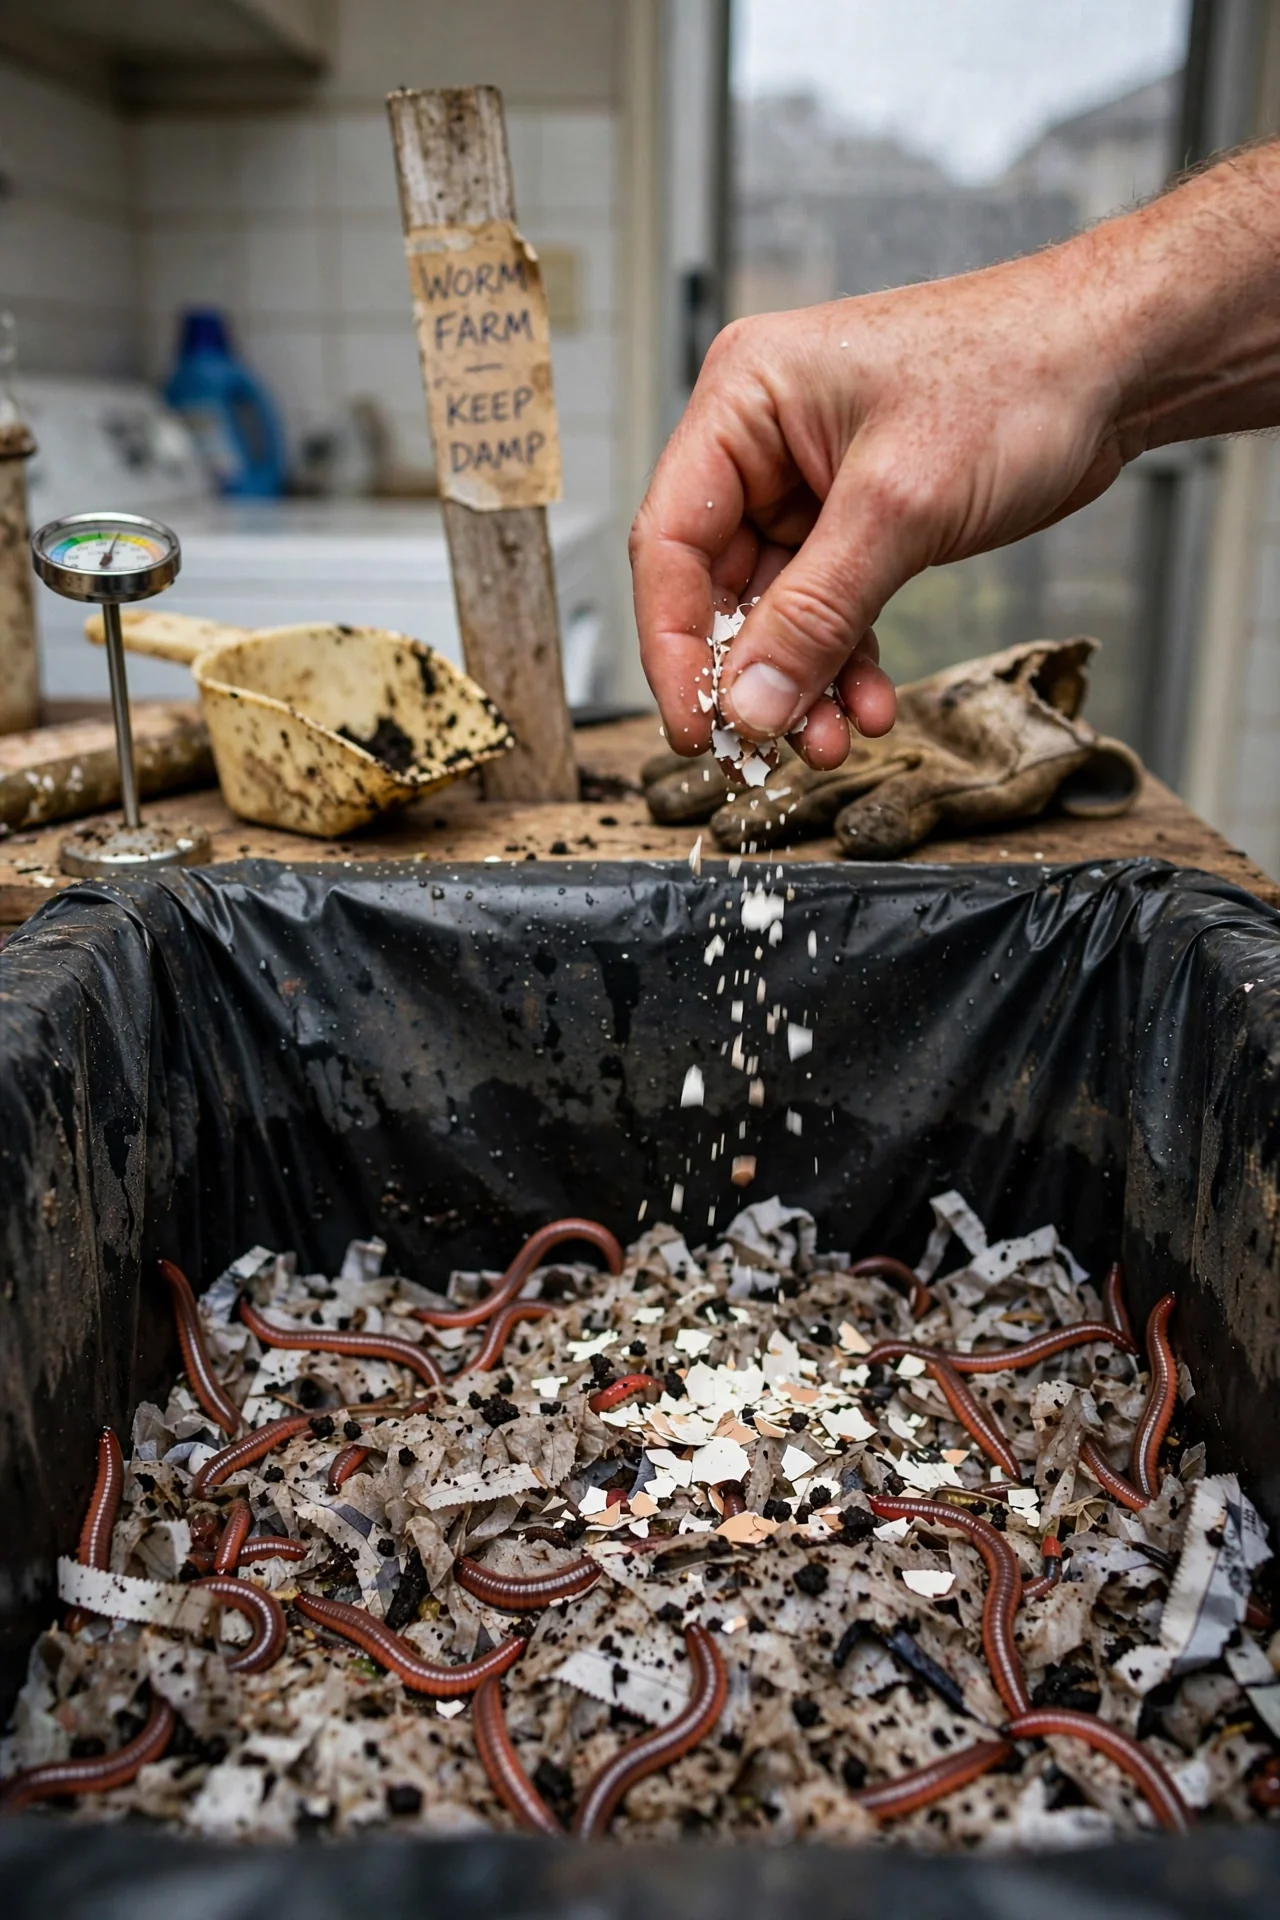
Vermicomposting uses red wiggler worms (Eisenia fetida) to convert kitchen scraps into castings, a nutrient-dense soil amendment with a texture finer than conventional compost. The worms process roughly their own body weight in food per day under optimal conditions, which means a pound of worms handles about 3-4 pounds of scraps per week.
Setup essentials: A ventilated bin at least 20-25 cm (8-10 in) deep with drainage holes. Bedding material: shredded newspaper, coconut coir, or leaf mold, moistened to roughly the consistency of a damp sponge. Temperature range: 15-25°C (59-77°F). Below 10°C (50°F), feeding slows sharply. Above 30°C (86°F), worms die. This makes vermicomposting an indoor or garage activity for most of the US, UK, and Canada during winter.
What worms will not eat well: Citrus peels, onion skins, and large quantities of brassica scraps (broccoli stems, cabbage cores) which release sulfur compounds during decomposition. Chop all additions into pieces under 2 cm (0.75 in). Avoid overfeeding: uneaten food sours the bedding and produces ammonia. For worm species selection and bin setup details, see our guide to the best composting worms.
5. Compost Tumblers: Contained Convenience
Best for: Branch 1 (Outdoor, Low-Touch)
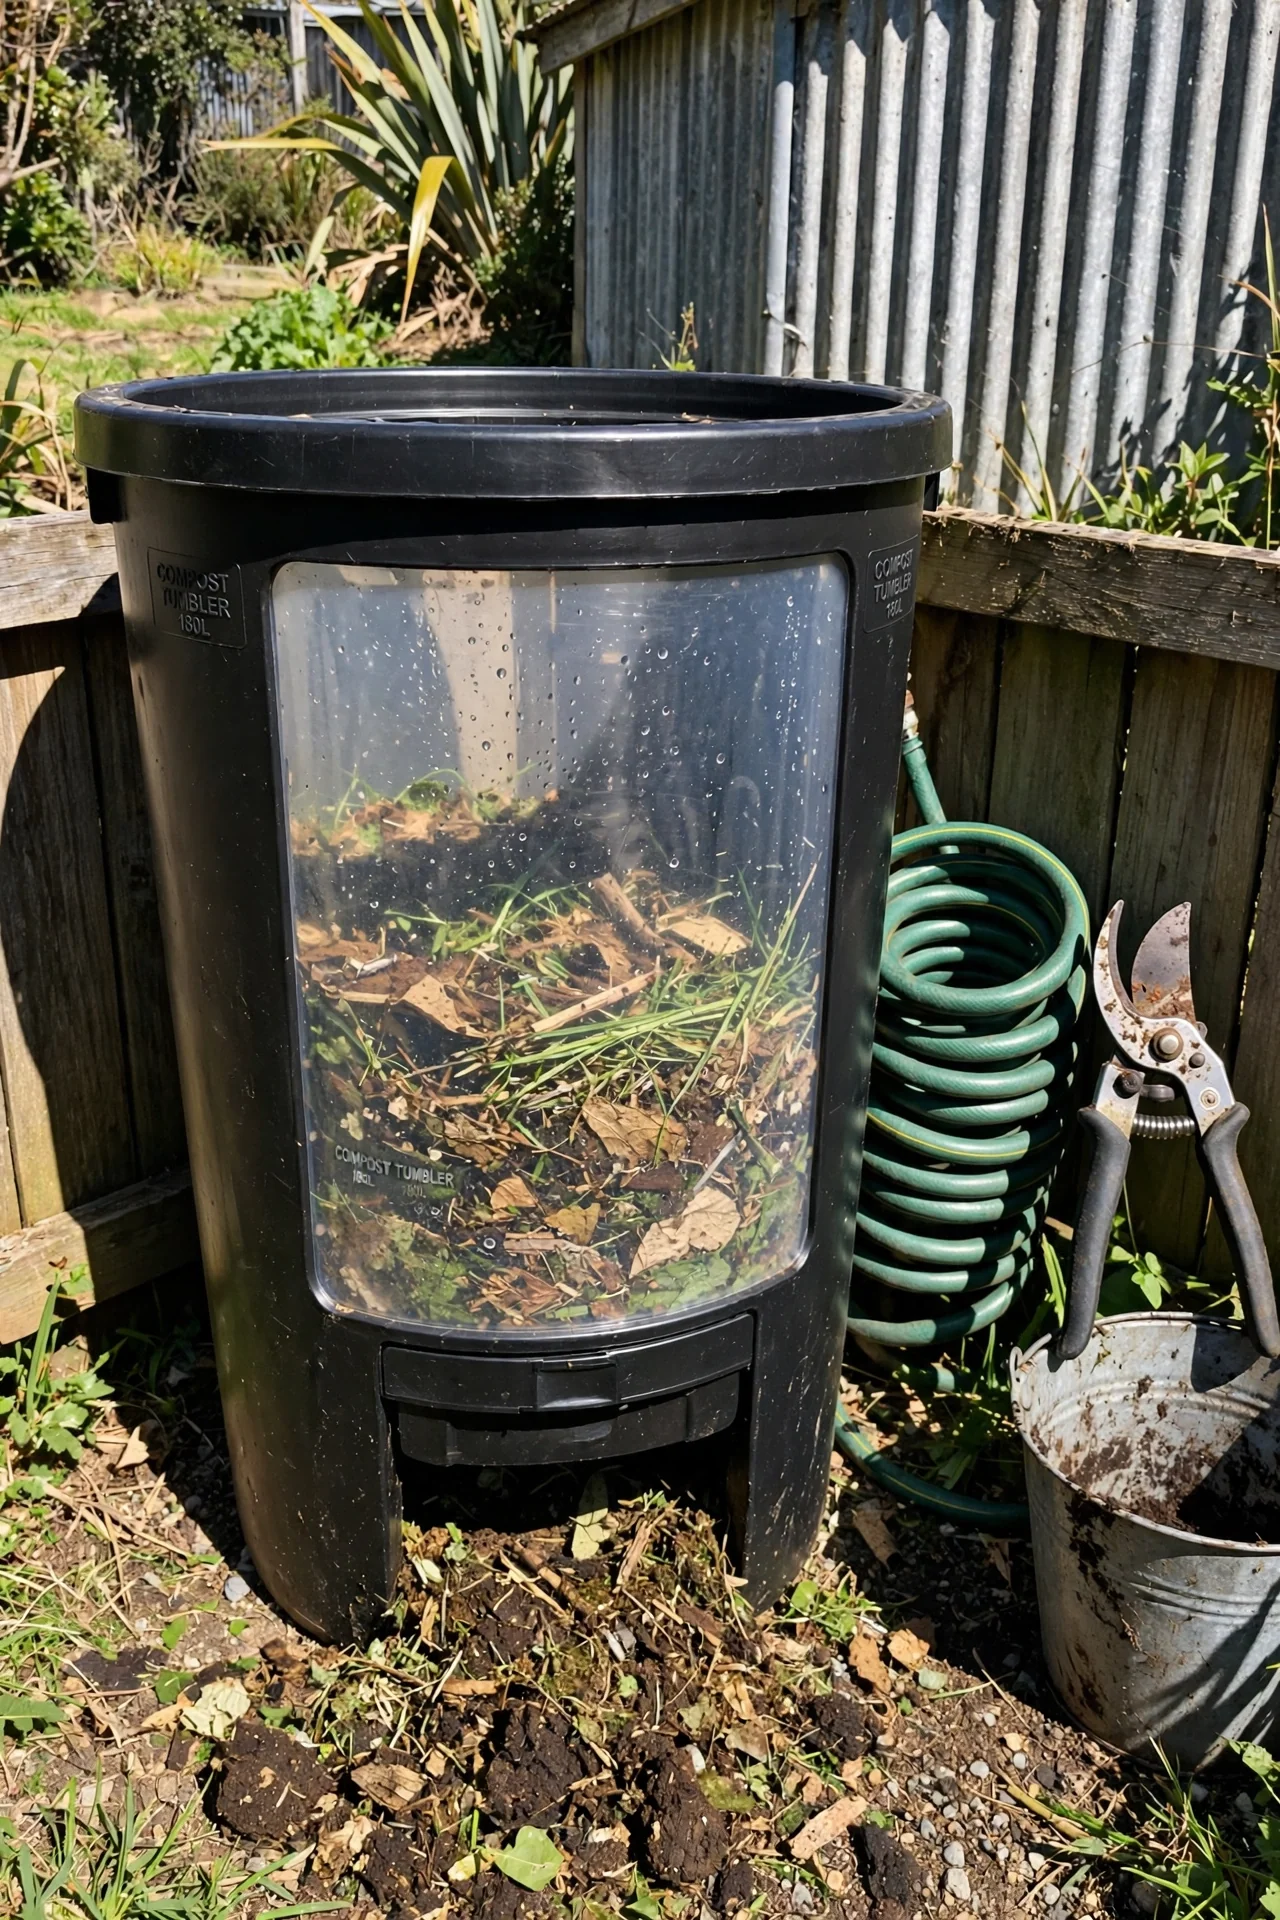
A tumbler is a sealed rotating drum mounted on a stand. Spinning the drum several times per week aerates the contents without a pitchfork and keeps pests out. The trade-off is volume: most consumer tumblers hold 140-220 liters (37-58 gallons), which is roughly one-third of the minimum hot-compost pile size. This means tumblers rarely sustain true thermophilic temperatures unless placed in full sun and filled in one batch. Expect finished compost in 8-16 weeks during warm months, slower in cool weather. Avoid filling beyond 75% capacity; a drum that is too full cannot tumble effectively.
6. Small-Space Composting Systems
Best for: Branch 3 (Indoor or No Yard)
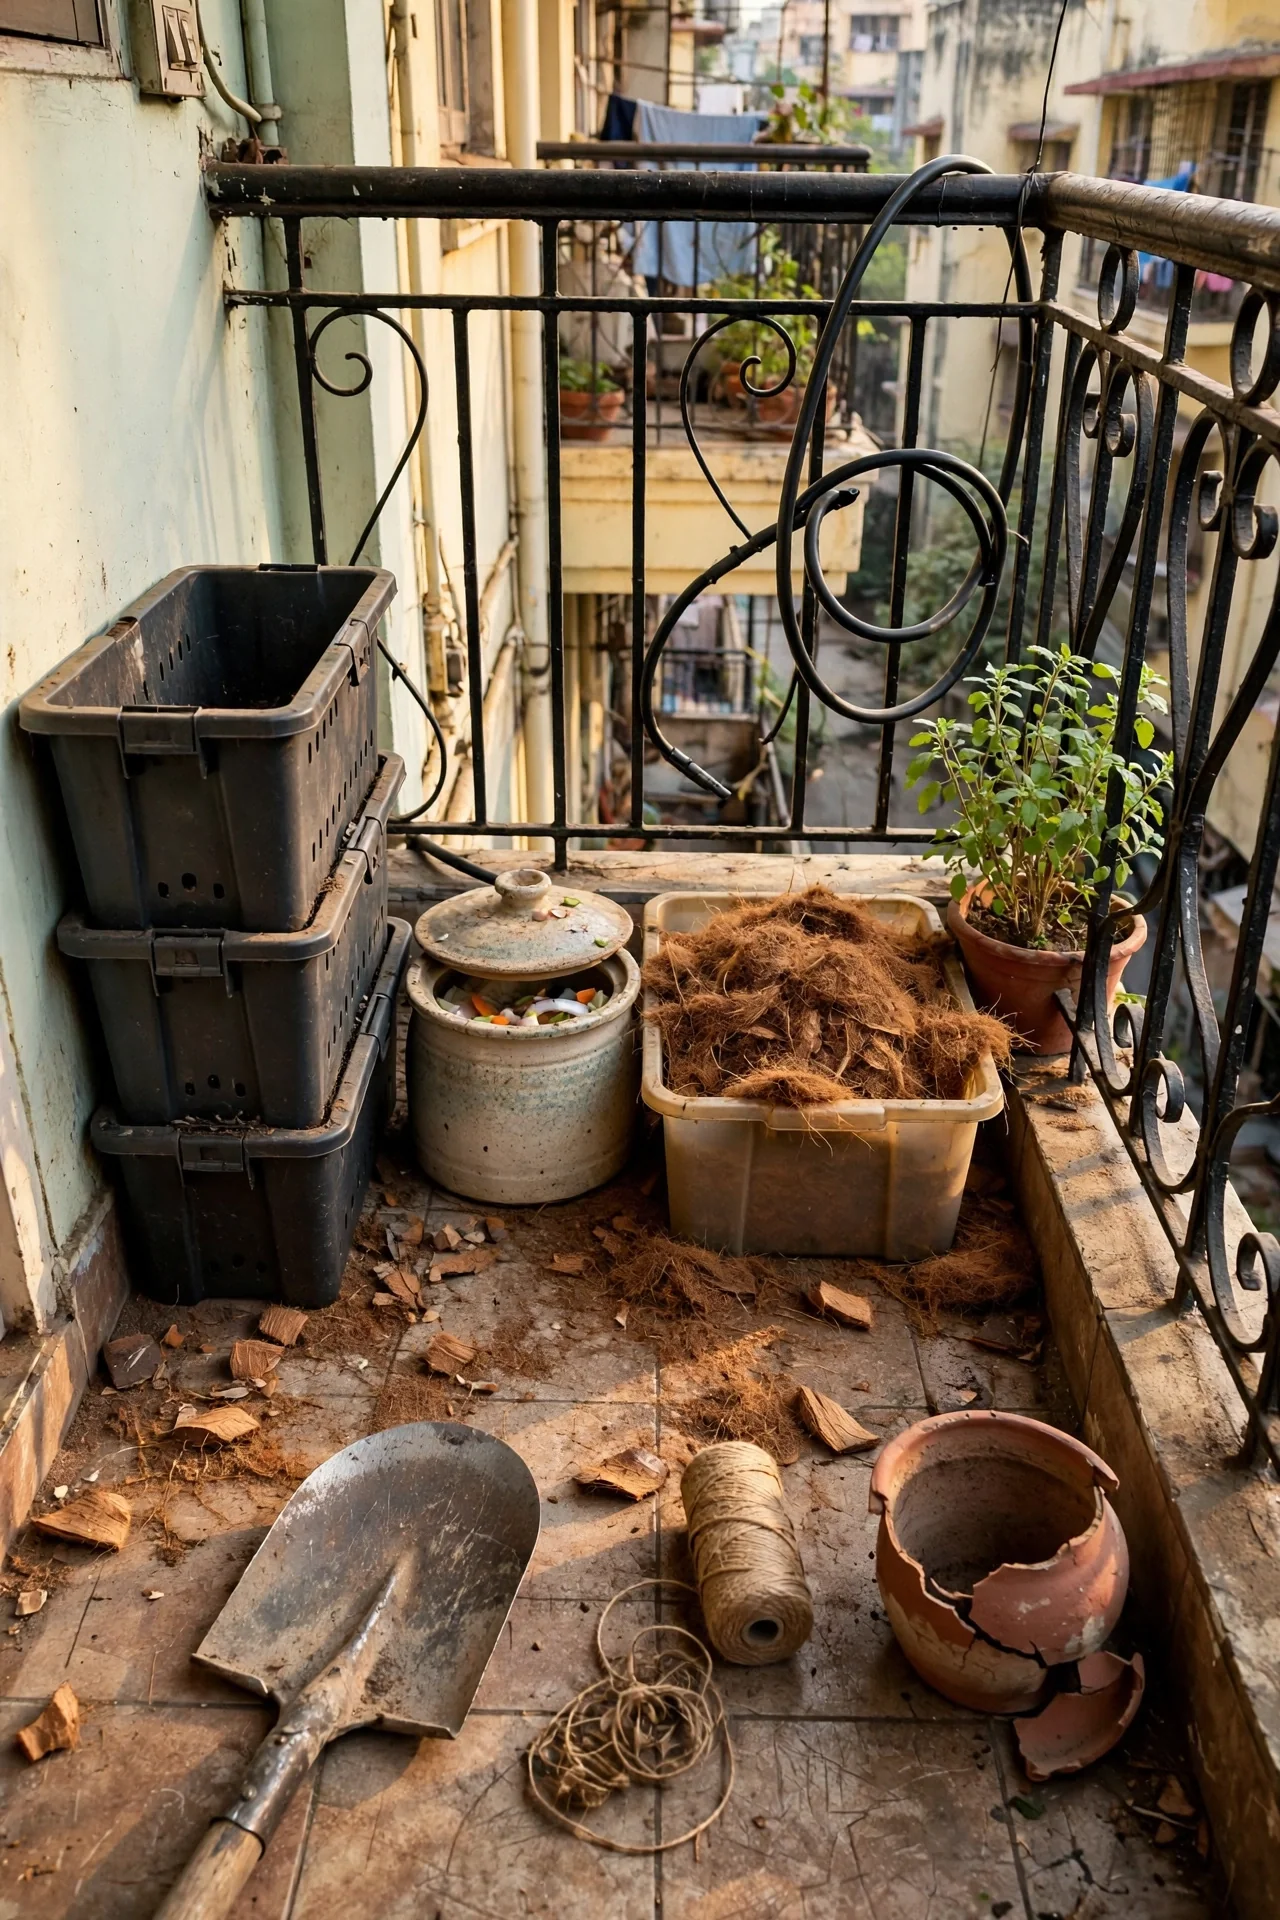
Composting without a yard is possible, but it narrows your options to three categories: worm bins, Bokashi buckets, and electric countertop composters. Electric units dehydrate and grind scraps into a dry powder within hours. That powder is not compost; it is dehydrated food waste that still requires soil incorporation to finish breaking down. These units cost $300-$500 USD and consume electricity, making them the highest-cost entry point.
Apartment decision rule: If you have houseplants or balcony containers that need soil amendment, choose vermicomposting. If you produce significant meat and dairy waste, choose Bokashi. If you simply want to reduce landfill contributions and have a community garden or friend’s yard for burial, either works. Check local regulations: some cities (including Toronto, San Francisco, and several German municipalities) mandate organic waste separation and provide collection bins, which may reduce the incentive to compost independently. For more spatial strategies, see our small-space composting guide.
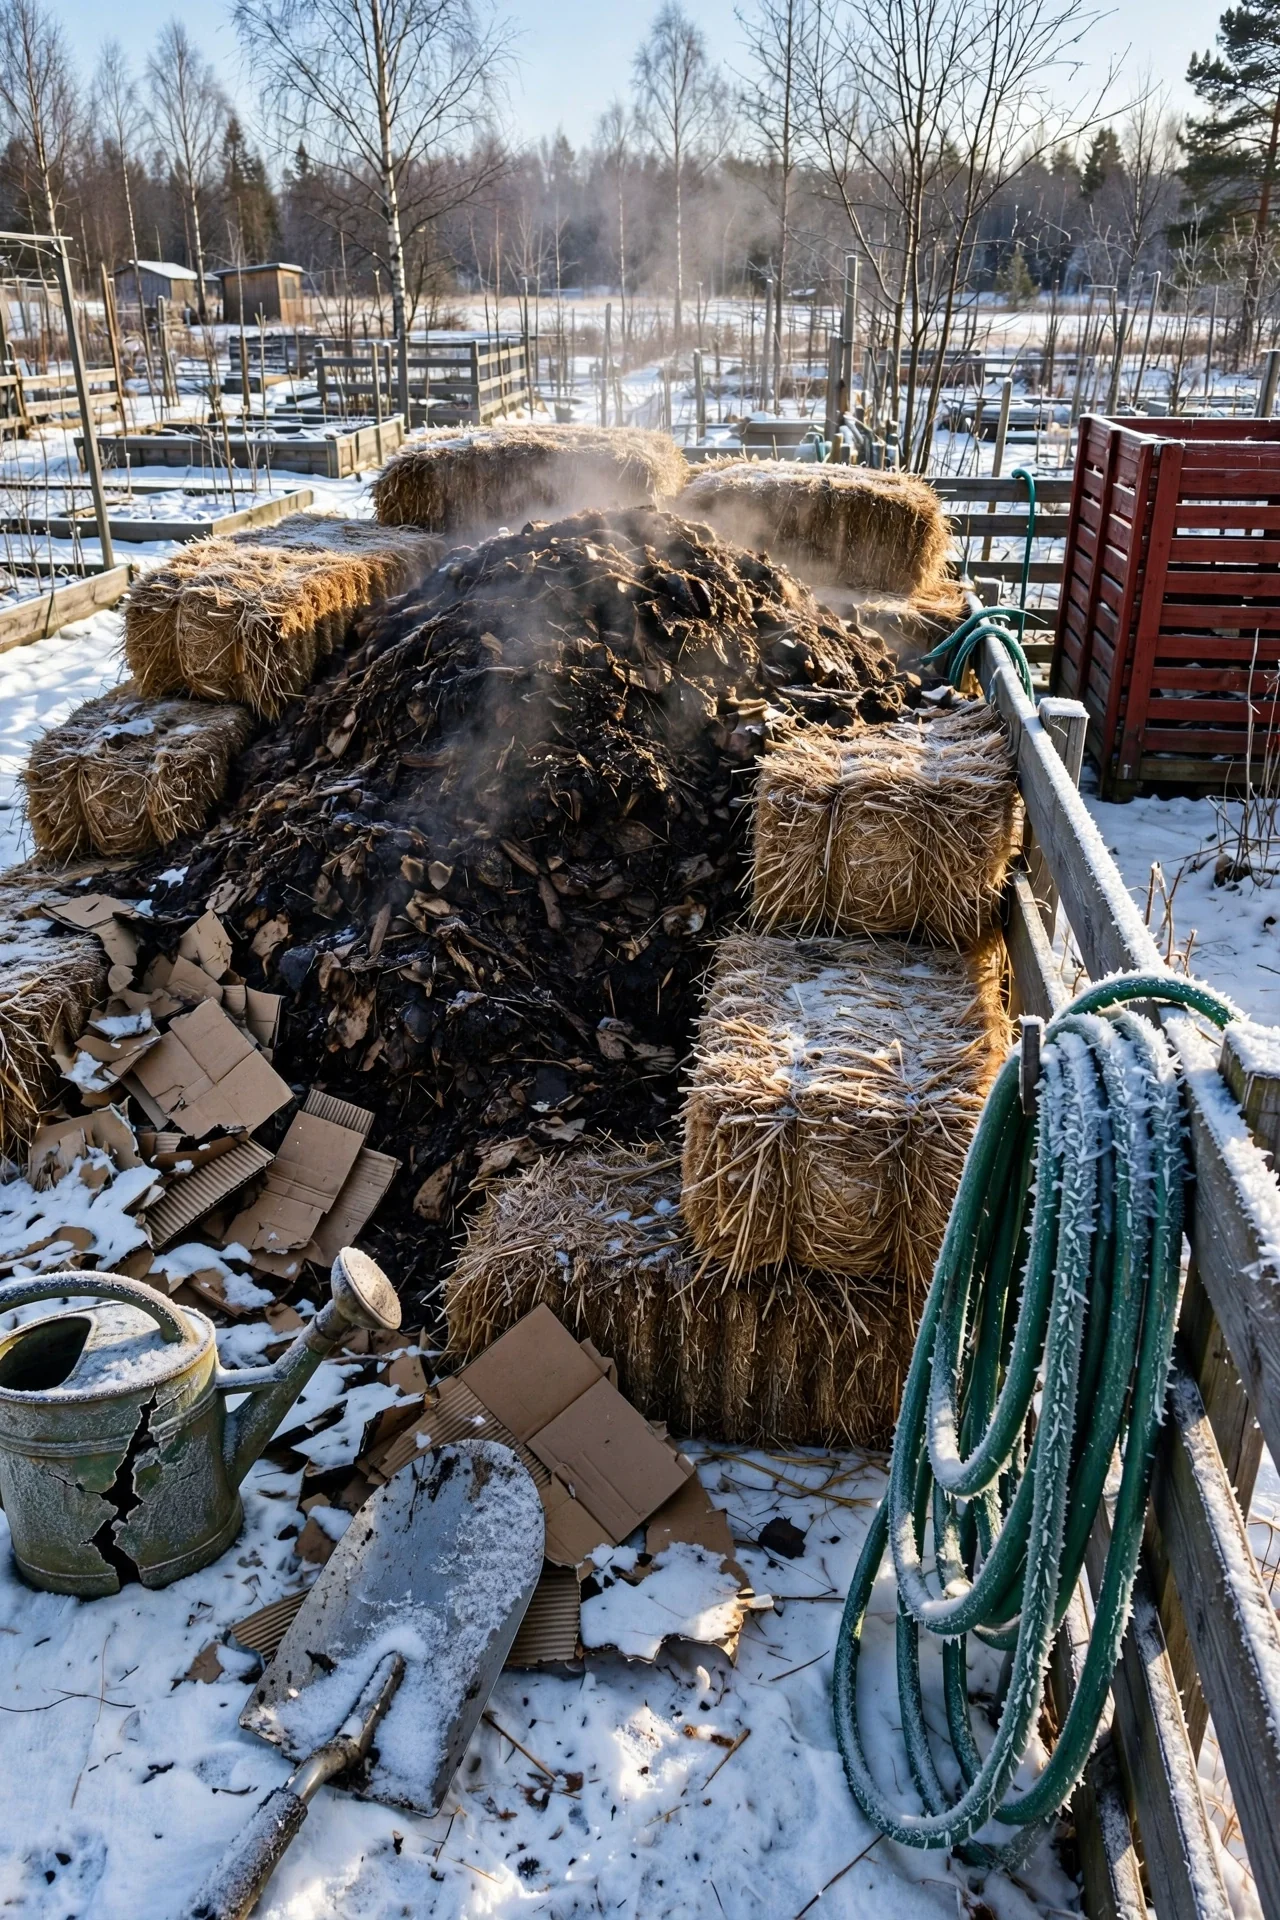
7. Winter Composting: Cold-Climate Tactics
Best for: Branch 2 (Outdoor, Active Management)
Outdoor composting does not stop in winter, but the microbial engine slows to a crawl below 4°C (40°F). The strategy depends on your climate zone. In regions where the ground freezes (USDA zones 3-6, much of Canada, the UK Midlands northward, and central-northern Europe), three adjustments keep decomposition active.
Oversize the pile: A minimum of 1.2 cubic meters (4 ft x 4 ft x 4 ft) provides enough internal insulation to maintain a thawed core. Standard 1-cubic-meter piles freeze solid in sustained -10°C (14°F) weather.
Insulate the exterior: Wrap bins with straw bales, rigid foam board, or layers of cardboard. Cover the top with a tarp to shed rain and snow while leaving the sides breathable. Avoid fully sealing the pile; anaerobic conditions develop rapidly in wrapped, unturned piles.
Stop turning: From the first hard freeze through late winter, do not turn the pile. Each turn releases the pocket of heat the microbes have generated. Resume turning when daytime temperatures consistently exceed 7°C (45°F).
Indoor alternative: Many cold-climate composters run an outdoor pile for yard waste and a small Bokashi or worm bin indoors for kitchen scraps during the frozen months. For additional cold-weather strategies, see our winter composting guide.
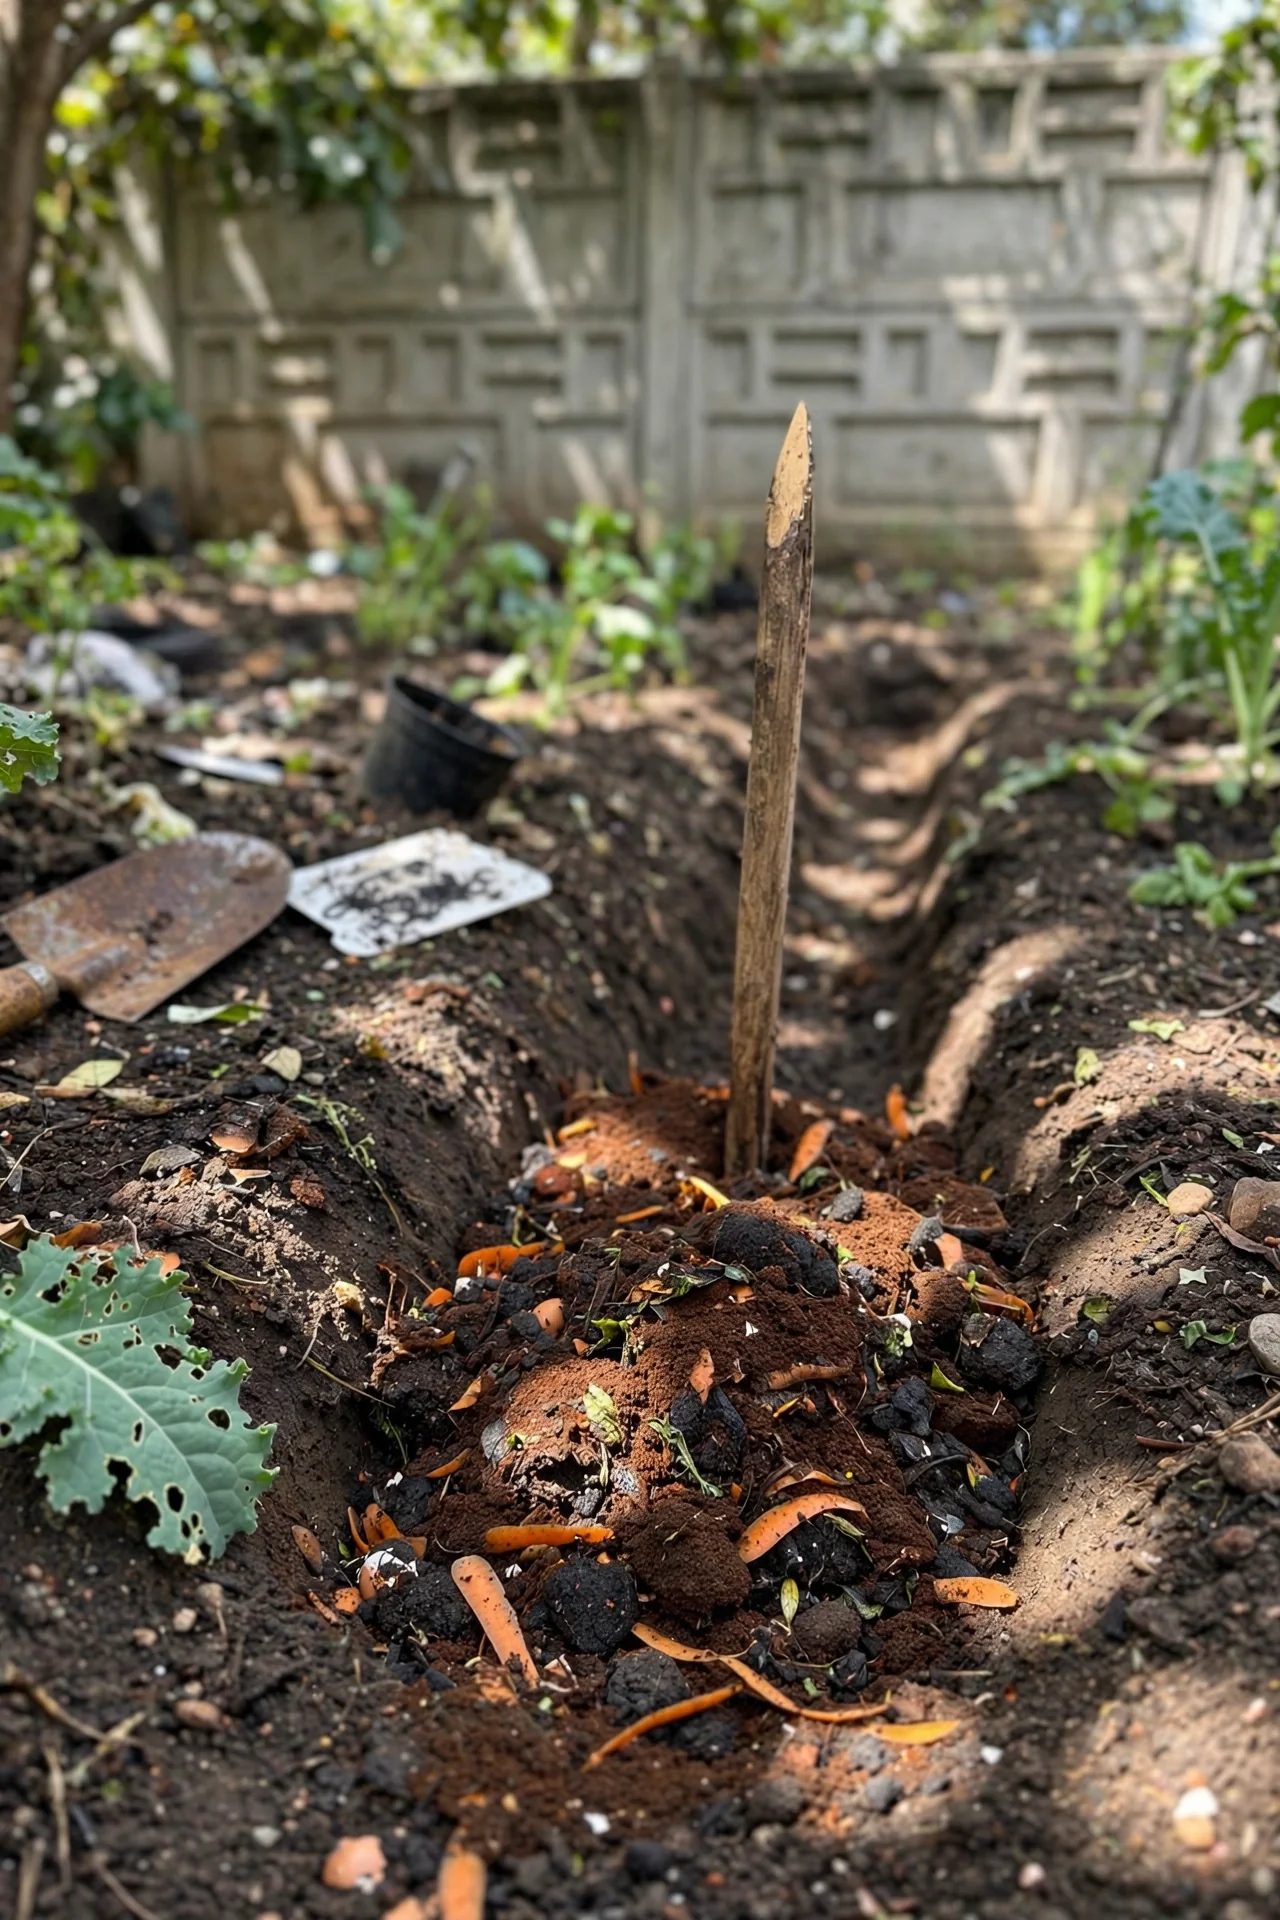
8. Trench Composting: The Underground Option
Best for: Branch 1 (Outdoor, Low-Touch)
Trench composting eliminates every above-ground composting concern: no bin, no turning, no odor, no visible pile. Dig a hole or trench 30-45 cm (12-18 in) deep in a garden bed, add kitchen scraps, and backfill with soil. Decomposition proceeds anaerobically over 2-6 months depending on soil temperature. The constraint is spatial: you need enough garden bed area to rotate trenches seasonally, since the buried zone should not be replanted until decomposition finishes. This method works poorly in heavy clay soils where water pools in the trench, creating a putrefying rather than decomposing environment.
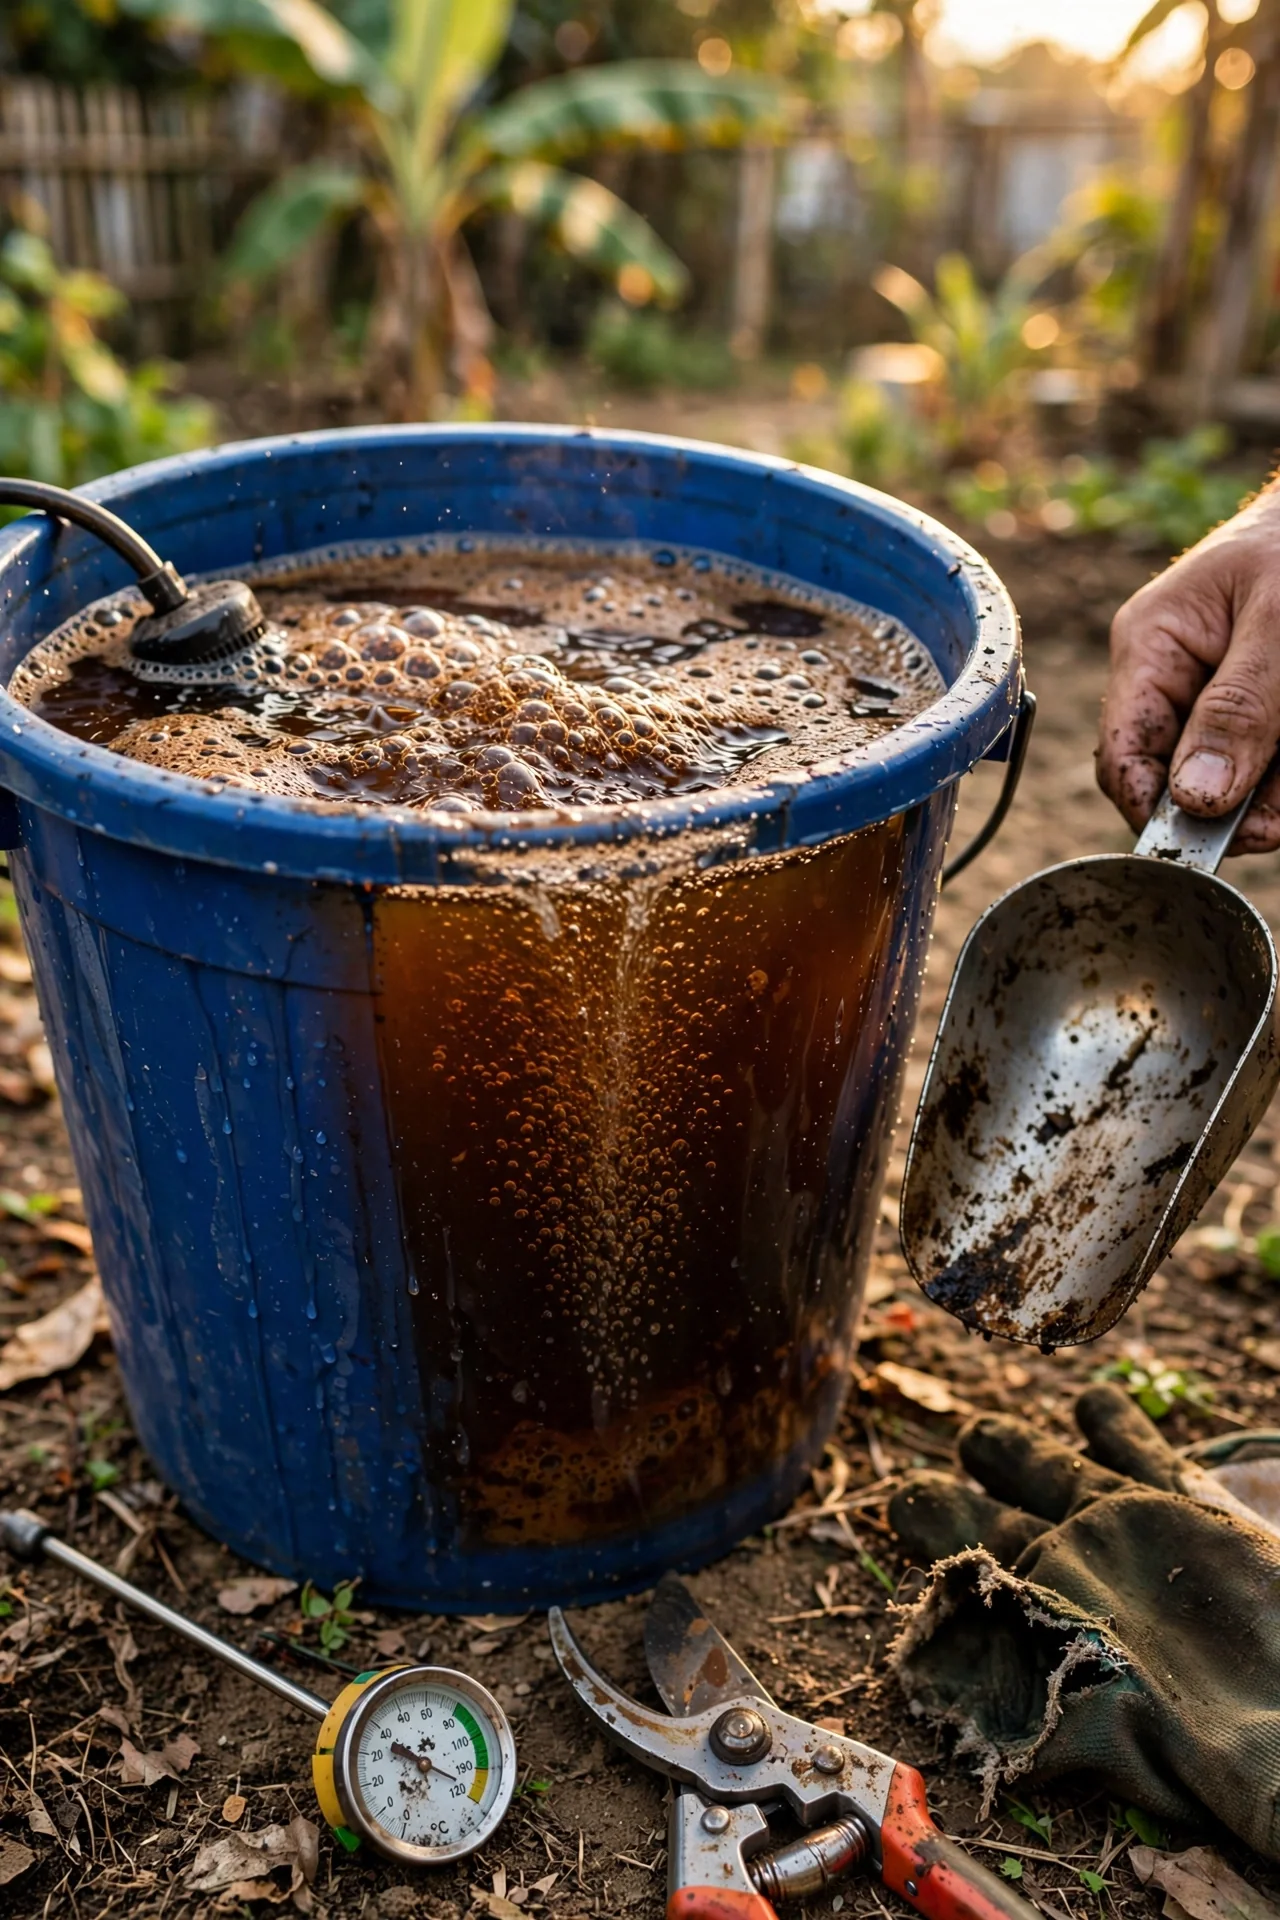
9. Compost Tea: Brewed Soil Boost
Best for: Branch 2 (Outdoor, Active Management)
Compost tea is a liquid extract made by steeping finished compost in aerated, dechlorinated water for 24-36 hours. The aeration multiplies beneficial aerobic bacteria and fungi, producing a solution applied as a soil drench or foliar spray. Compost tea is not a fertilizer in the NPK sense; it is a microbial inoculant that supports the soil food web.
The threshold that matters: Dilution ratio. For foliar application, use 1 part tea to 10 parts dechlorinated water; stronger concentrations risk leaf burn. For root drenching, a 1:5 ratio is safe for established plants. Chlorinated tap water kills the very microbes you are trying to multiply. Let tap water sit uncovered for 24 hours before brewing, or use rainwater.
Constraint: Compost tea must be used within 4-6 hours of finishing the brew. After that window, dissolved oxygen depletes and the aerobic microbial population crashes. This makes tea impractical unless you can time application on the same day you brew. Use our compost tea dilution calculator to determine exact water volumes for your batch size.
10. Kitchen Scrap Prep: The Feedstock Foundation
Best for: Branch 3 (Indoor or No Yard)
Every composting method, from a backyard hot pile to a countertop Bokashi bucket, depends on consistent, properly prepared feedstock. Beginners often overlook this upstream step and wonder why their pile fails to perform. The issue is rarely the composting method; it is what went into the collection container.
Collection system: Keep a dedicated countertop bin with a tight-fitting lid and a carbon filter in the lid to neutralize odors. Empty it every 2-3 days in warm weather, every 4-5 days in cool weather. A bin that sits full for a week breeds fruit flies and begins anaerobic breakdown before the scraps ever reach the outdoor pile.
Chopping rule: Reduce all scraps to pieces no larger than 5 cm (2 in) in any dimension. A whole apple core takes months to break down; a chopped one takes days. This rule applies regardless of which composting method the scraps feed. For woody stems (broccoli, cauliflower cores), crush with a hammer or cut lengthwise to expose the interior.
Storage for batch methods: If you are building a hot compost pile that requires all material at once, store chopped scraps in a sealed bucket or freezer bag in the freezer. Freezing ruptures cell walls and accelerates breakdown once the material thaws in the pile. For a complete guide to handling kitchen inputs, see our article on how to compost kitchen scraps.
Starter Stack (What to Choose First)
Branch 1 Starter: The Set-and-Forget Stack
Start with Cold Composting (Item 2) as your primary method and add Sheet Mulching (Item 6) for any area you plan to convert into a planting bed. The cold pile handles ongoing kitchen and garden waste; the sheet mulch kills existing turf and builds soil simultaneously. Combined time investment: roughly 15 minutes per week for adding material and covering exposed greens with browns. Combined cost: $0-$80 USD if you use a repurposed pallet bin or purchase a basic stationary bin.
Branch 2 Starter: The Active Gardener Stack
Start with Hot Composting (Item 1) and add Compost Tea (Item 9) once you have finished compost to brew from. The hot pile produces bulk compost in under two months during warm weather; the tea extends that compost by delivering a microbial boost across a larger garden area. Combined time investment: 30-60 minutes per week for turning, monitoring temperature, and brewing tea. Combined startup cost: $30-$60 USD for a compost thermometer and an aquarium pump for aeration, plus bin materials.
Branch 3 Starter: The Indoor Stack
Start with Kitchen Scrap Prep (Item 10) and Bokashi Composting (Item 3). Master the collection habit first (the countertop bin, the chopping routine, the emptying schedule). Add the Bokashi bucket once that rhythm is established. The Bokashi output buries directly into planters or gets donated to a community garden. Combined time investment: 10 minutes every 2-3 days. Combined startup cost: $50-$100 USD for a Bokashi bucket kit and initial bran supply.
When This Won’t Work
Failure condition 1: You live where the ground freezes for more than 4 months per year and you have no indoor space for a bin. Outdoor piles in sustained sub-freezing temperatures become inert storage, not active compost. If you lack an unheated garage, basement, or balcony for a worm bin or Bokashi bucket, your composting window shrinks to 5-6 months annually. The alternative action: locate a community composting drop-off site. Many municipalities in Canada, the northern US, and Scandinavia operate year-round collection programs that centralize organic waste processing. Search “[your city] community compost drop-off” to find the nearest option.
Failure condition 2: Your household generates mainly cooked food, meat, and dairy scraps. Standard outdoor composting excludes these materials because they attract rodents, produce odor, and require temperatures above 55°C (131°F) sustained over multiple days to neutralize pathogens. A cold pile or tumbler receiving these inputs will become a pest magnet. The alternative: Bokashi fermentation handles all food types indiscriminately. If Bokashi is unavailable, freeze meat and dairy scraps and dispose of them in municipal waste; adding them to an outdoor pile causes more problems than the compost is worth. For a full list of prohibited materials, see our guide on what not to compost.
Choosing the Right Option for Your Situation
Budget Threshold
Composting can cost nothing. A shovel, a patch of earth, and a pile of leaves are sufficient. If your budget is under $30 USD, choose Cold Composting (Item 2) or Trench Composting (Item 8). At $50-$100 USD, you can add a Bokashi starter kit or worm bin. Above $150 USD, compost tumblers and electric countertop units become available, but they do not produce better compost; they trade money for convenience. The most common budget error is buying an expensive bin before establishing the habit of collecting and processing scraps consistently.
Time Threshold
Be honest about weekly availability. If you have fewer than 15 minutes per week, restrict yourself to Branch 1 methods: Cold Composting, Sheet Mulching, Trench Composting, or Tumblers. These tolerate neglect. Branch 2 methods (Hot Composting, Vermicomposting, Compost Tea) require a minimum of 30 minutes weekly and are unforgiving of skipped sessions. A hot pile turned late has already gone anaerobic; a worm bin fed irregularly develops sour bedding and mite infestations.
Technical Constraint: Feedstock Volume
A household of two produces roughly 2-4 kg (4-9 lbs) of compostable kitchen scraps per week. A household of four or more produces 5-9 kg (11-20 lbs). Small systems (Bokashi buckets, worm bins) cap out around 2-3 kg per week. Exceeding that cap forces you to discard scraps elsewhere or add a second bin. If your household produces more than 4 kg of scraps weekly, you need either an outdoor pile or two indoor bins running in parallel. Ignore this volume constraint and you will consistently overflow your system within the first month.
Quick Check: Do you have at least 1 square meter (10 sq ft) of outdoor space? (Yes/No)
Quick Check: Can you commit at least 30 minutes per week to compost maintenance? (Yes/No)
Quick Check: Does your household produce more than 4 kg (9 lbs) of food scraps weekly? (Yes/No)
Quick Check: Does your region experience more than 4 months of ground-freezing temperatures annually? (Yes/No)
Expert Q&A
Can I start composting in winter, or should I wait until spring?
You can start in winter, but adjust expectations. An outdoor pile built in freezing weather will not begin decomposing until ambient temperatures rise above 4°C (40°F). Build the pile anyway: stockpile browns (leaves, cardboard) and add kitchen scraps throughout winter. The pile activates naturally in spring. For immediate results during winter, use an indoor Bokashi bucket or worm bin.
Why does my compost smell like ammonia or rotten eggs?
Ammonia odor signals excess nitrogen (too many greens relative to browns). Mix in dry leaves, shredded cardboard, or sawdust at roughly twice the volume of the smelly material. A rotten-egg smell indicates anaerobic conditions caused by excess moisture or compaction. Turn the pile to introduce oxygen, add dry browns, and check that drainage holes are not blocked.
Do I need to add compost starter or activator products?
No. Finished compost, garden soil, or a shovel of active leaf litter contains all the microorganisms needed to inoculate a new pile. Commercial activators add nothing that a handful of soil does not provide for free. The one exception is Bokashi bran, which is genuinely required because the specific Effective Microorganisms are not present in ordinary soil at functional concentrations.
How do I know when compost is actually finished and safe to use?
Finished compost is dark brown to black, crumbly, and smells earthy like a forest floor. You should not be able to identify the original ingredients. The pile core temperature should match ambient air temperature (it has stopped self-heating). Perform a bag test: seal a handful of moist compost in a plastic bag for 48 hours. If it smells sour or ammonia-like when opened, it needs more time.
Can I compost if I rent and might move within a year?
Yes, but choose portable methods. A worm bin, Bokashi bucket, or countertop collection system moves with you. Avoid building permanent bins, large outdoor piles, or trench composting in rental-property garden beds. If you use a tumbler, confirm it can be disassembled or lifted into a vehicle. Many renters also use community garden compost drop-offs as a no-infrastructure alternative.
Conclusion
The method that works is the one you will maintain through a busy week, a cold snap, and a holiday where nobody tends the bin. The number one mistake beginners make is choosing a high-effort method (hot composting, vermicomposting) when their schedule only supports a low-touch approach (cold pile, trench, or tumbler). Match method to real capacity, not aspiration.
Once you have finished compost, the next decision is how to deploy it. For guidance on blending your homemade compost into a growing medium, see our seed starting soil mix guide.