
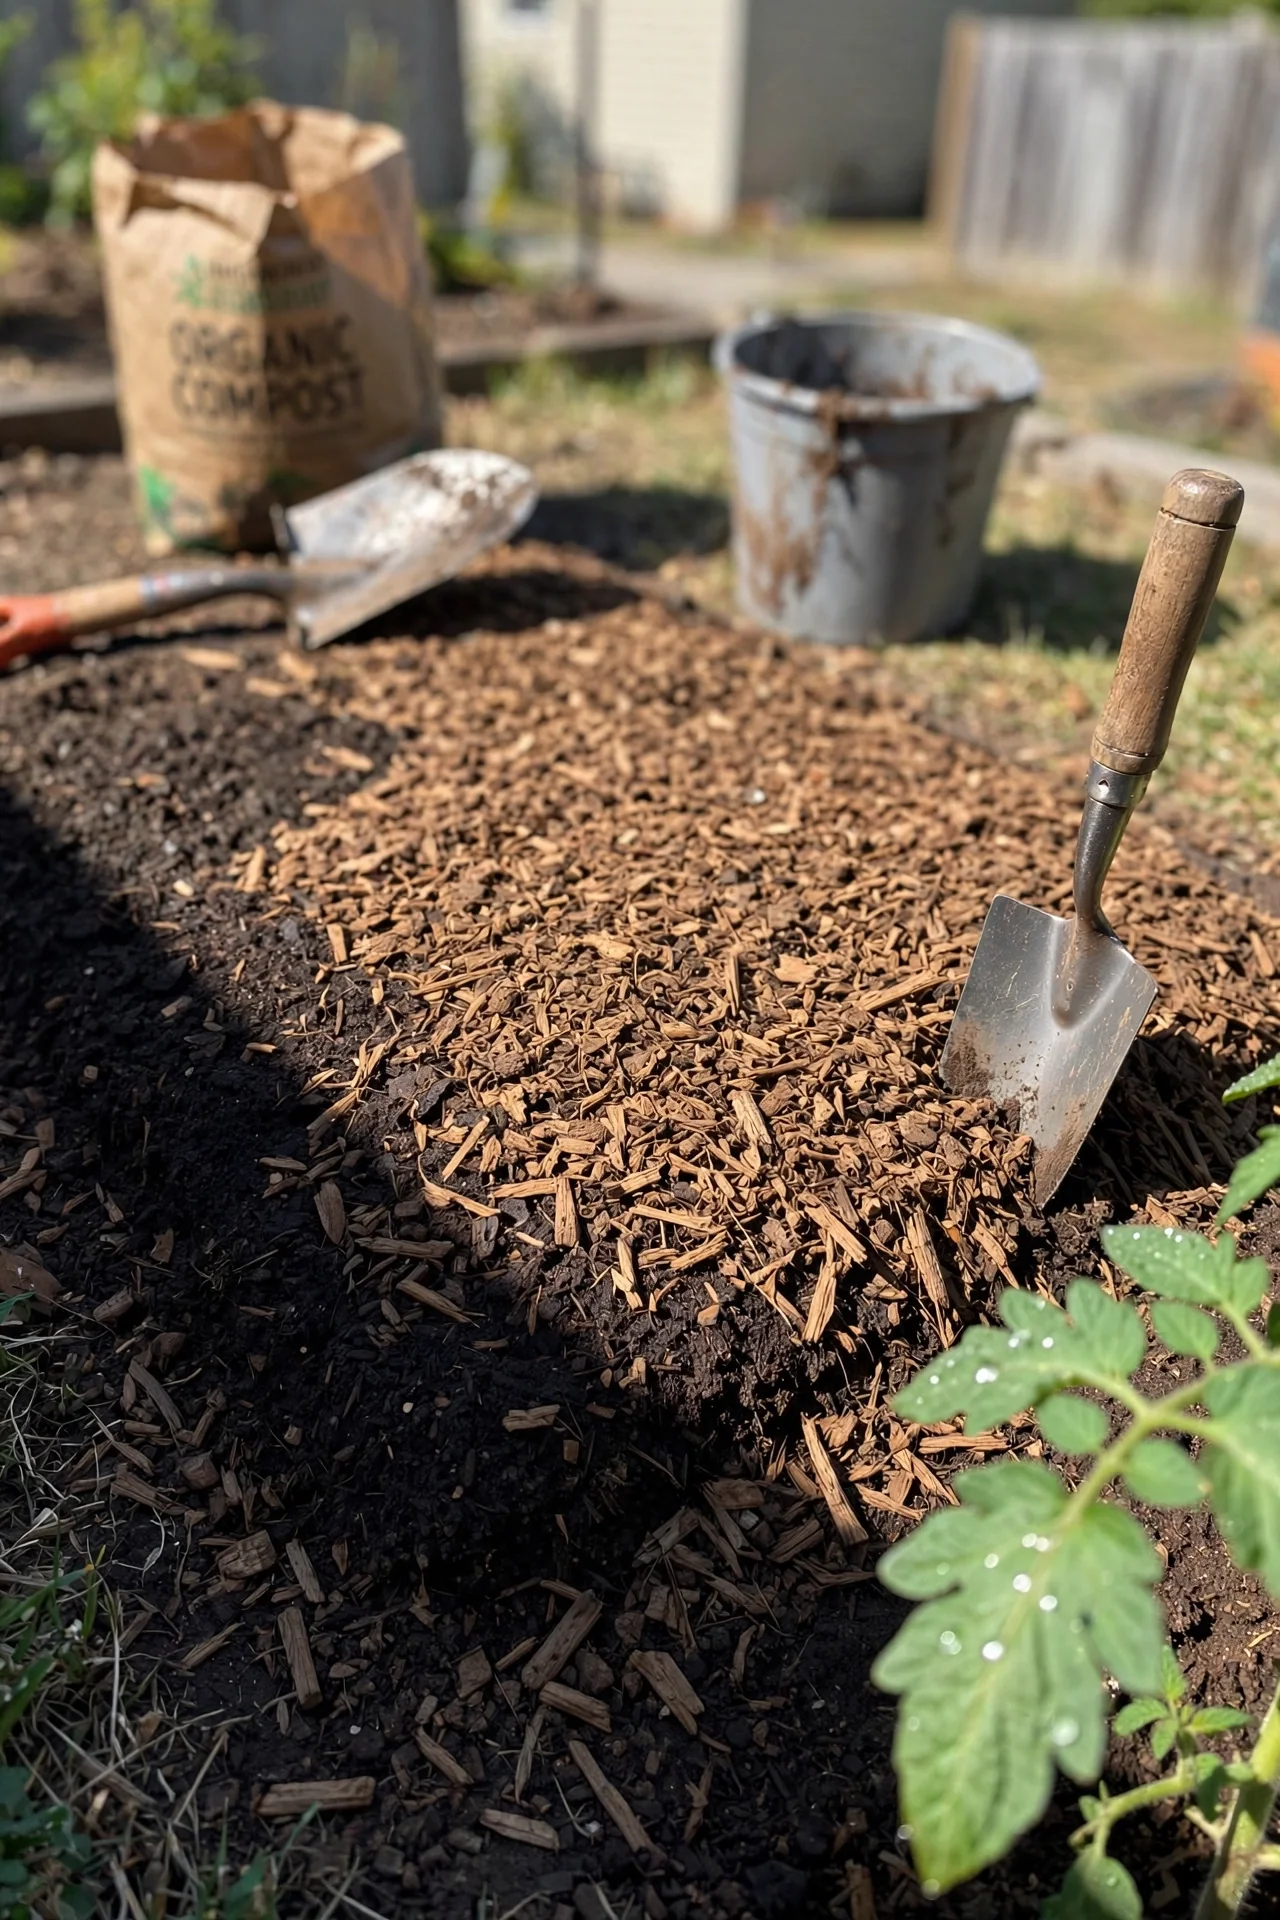
Most garden comparisons frame compost and mulch as competing products. That framing misses the point. Compost is a soil amendment that feeds the underground ecosystem. Mulch is a protective layer that shields the soil surface from erosion, weeds, and moisture loss. The real decision is not which one to use, it is which one goes down first and how thick each layer should be. Applying them in the wrong sequence, or skipping one entirely, can starve roots of oxygen, tie up nitrogen, or leave soil exposed to crusting.
This guide covers only organic materials that are practical for home growers and community gardens in regions with distinct growing seasons: the United States, United Kingdom, Canada, Australia, India, South Africa, New Zealand, and the Philippines. Inorganic mulches such as gravel or rubber are excluded. The options below assume you can source standard materials (finished compost, straw, wood chips, etc.) and are willing to use a simple soil test for pH and organic matter status.
You will leave with a concrete layering sequence for your own beds, a decision grid that ties each choice to a measurable soil condition, and a starter stack of two items per branch that work together. Every recommendation is linked to a rule-based effort score so you can match your available time.
Bottom line: Place compost directly on soil as the feeder layer, then cover it with coarse organic mulch as the protector layer.
The Yield Grid Decision Grid
Use a home soil test kit or send a sample to your extension lab. Decide which branch fits your current soil reality.
Branch 1: Soil needs feeding. Your soil test shows organic matter below 3% (by weight) or the pH is below 6.0 for most vegetables. Nutrient availability is poor and soil structure collapses when dry. You need to incorporate mature compost into the root zone before mulching. Recommended: Items 1, 3, and 7 below.
Branch 2: Soil is adequate, but the surface needs protection. Weed pressure is visible, water runs off bare soil, or you grow plants that benefit from moderated root temperatures (day/night swings over 15°F). Your soil organic matter is above 3% and pH is in range. You need a coarse, slow-to-decompose mulch layer applied at the correct depth. Recommended: Items 4, 5, and 6 below.
Branch 3: You want both enrichment and low-maintenance suppression. You are building a new bed or rehabilitating tired soil and want a one-time sequence that feeds microbes while blocking weeds. You will layer mature compost, cover it with a weed-suppressing barrier, and possibly add a living mulch. Recommended: Items 8, 9, and 10 below.
If you are new to home composting, start with composting for beginners to understand what finished compost looks and smells like before you apply it.
Quick Comparison Table
| Option | Key Mechanism | Best For | Decision Grid Branch | Effort Score (1 to 5) |
|---|---|---|---|---|
| Finished compost amendment | Adds humus, nutrients, and microbial life; improves aggregate stability | Poor, compacted, or low-OM soil before planting | Branch 1 | 2 |
| Homemade kitchen-scrap compost | Recycles household waste into a nutrient-diverse soil builder | Small-space gardeners who can manage a bin or tumbler | Branch 1 | 4 |
| Bulk municipal or commercial compost | Provides large-volume organic matter quickly; uniform texture | Large beds, new garden installations, or one-time soil remediation | Branch 1 | 2 |
| Shredded bark mulch | Forms a dense, moisture-retaining mat that resists wind and foot traffic | Perennial beds, shrub borders, and high-traffic garden paths | Branch 2 | 1 |
| Arborist wood chips | Coarse texture creates air gaps that insulate soil and slowly feed fungi | Tree rings, woodland gardens, and long-term soil building under shrubs | Branch 2 | 1 |
| Straw mulch | Lightweight, high-carbon blanket that reflects heat and blocks weed light | Vegetable beds in hot-summer regions; temporary winter protection | Branch 2 | 2 |
| Leaf mold | Fungal-dominated, spongy material that holds 300 to 500 percent of its weight in water | Moisture-retentive amendment for sandy or fast-draining soil | Branch 1 | 2 |
| Sheet mulching (lasagna method) | Layers cardboard, compost, and coarse organic matter to smother existing vegetation | Converting lawn or weedy patch into a planting bed without tillage | Branch 3 | 3 |
| Living mulch (cover crop) | Living plants protect and feed the soil through root exudates and nitrogen fixation | Resting beds between crop cycles; orchards and vineyards | Branch 3 | 3 |
| Compost tea application | Liquid extract delivers soluble nutrients and microbes directly to leaf and root surfaces | Boosting microbial activity in sandy or recently fumigated soil; foliar feeding | Branch 3 | 4 |
1. Finished Compost Amendment: The Feeder Layer
Best for: Branch 1 (soil needs feeding)
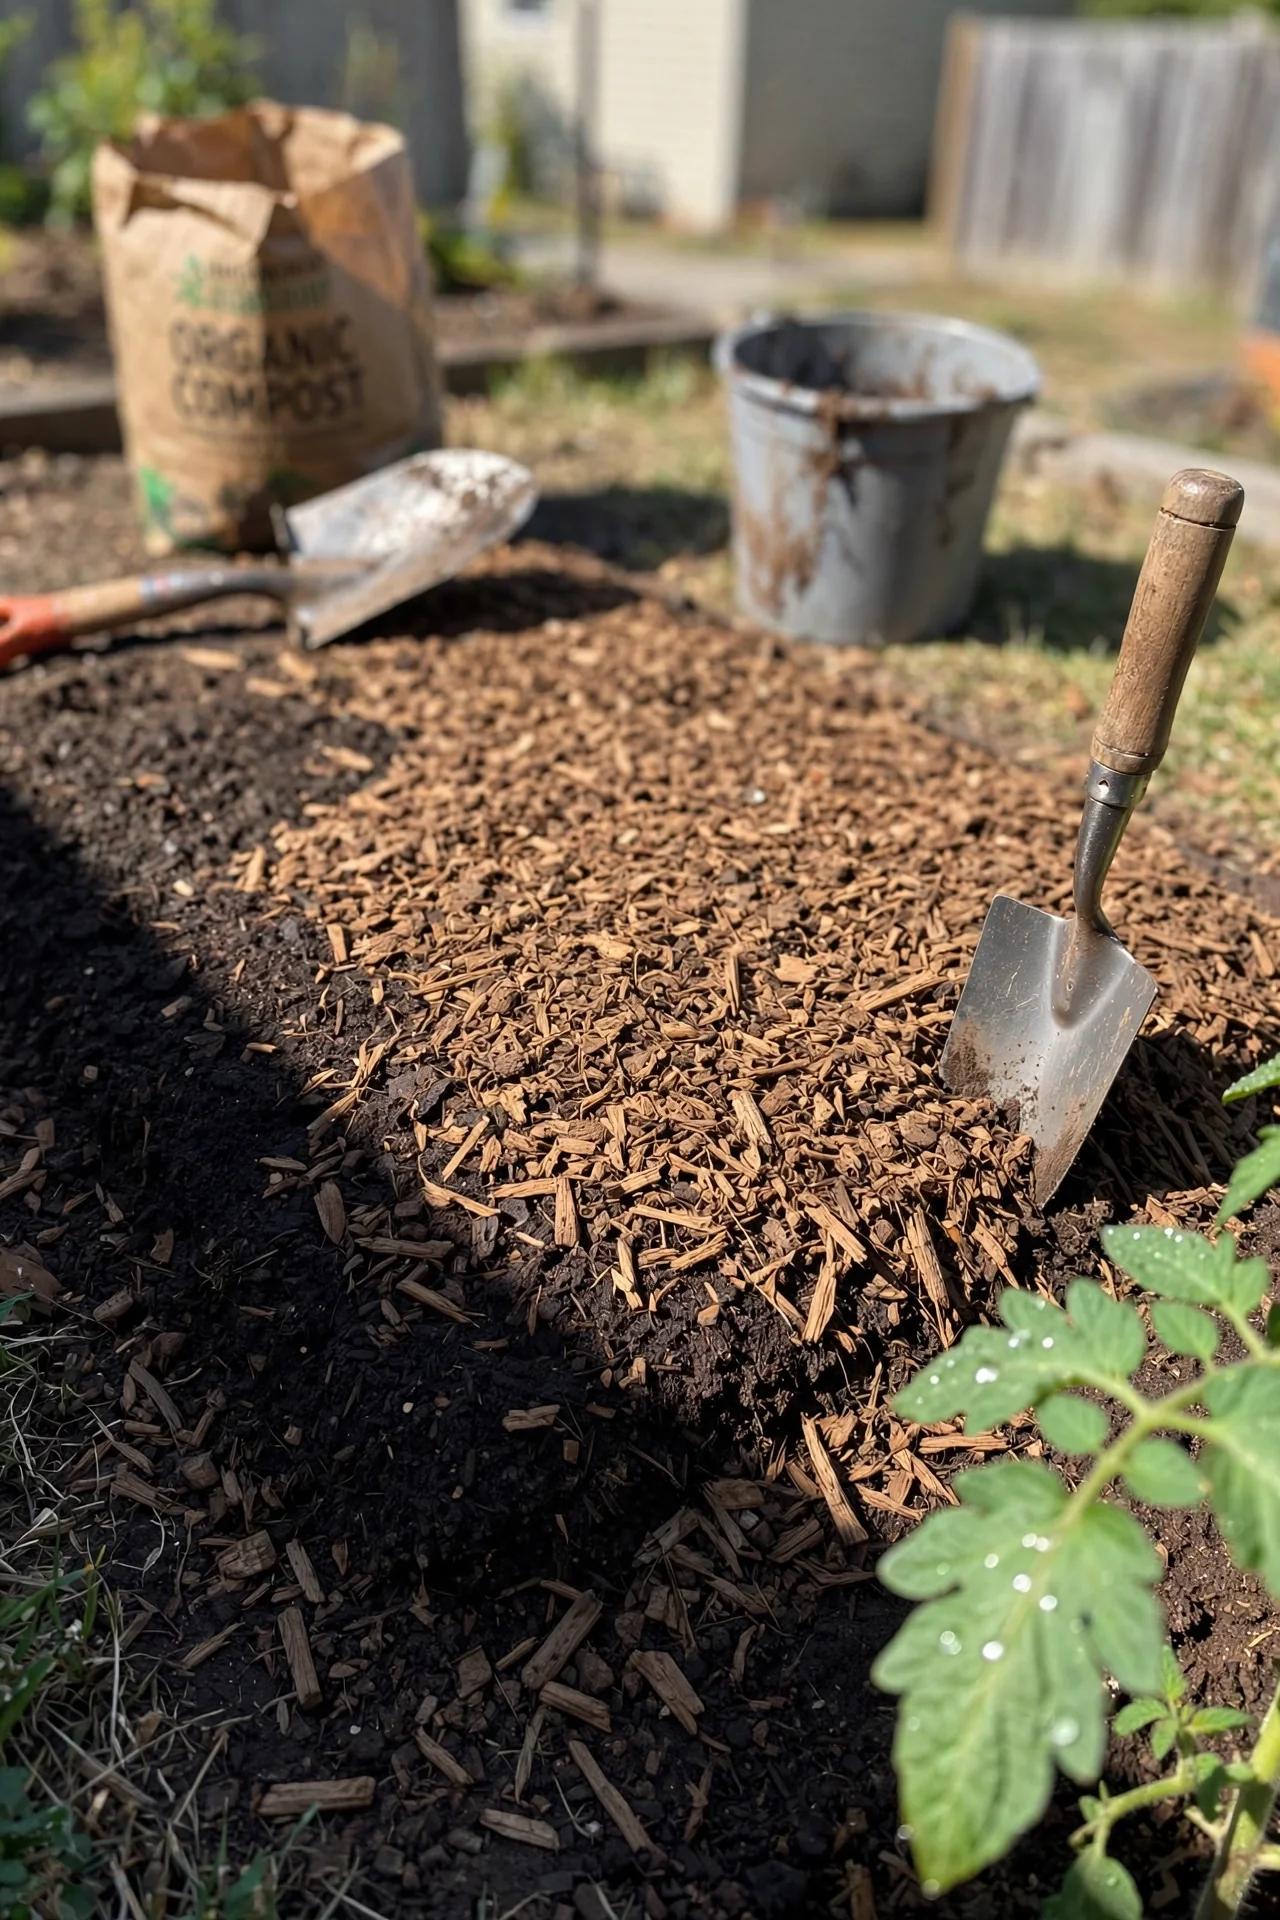
What it is: Mature, dark, crumbly compost that has fully decomposed and smells like forest earth. Apply it as a 1-inch layer scratched into the top 4 to 6 inches of soil before planting, or as a 0.5-inch side-dress around established perennials in early spring. Incorporating compost rather than leaving it on the surface prevents crusting and allows roots to access nutrients immediately.
Threshold rule: If your soil organic matter is below 3% (by weight, via a lab test), adding 1 inch of finished compost per 100 square feet raises the organic matter in the top 6 inches by roughly 0.1 percentage points per year under consistent application. Soils testing above 5% organic matter can skip this step and go straight to mulch.
Common mistake: Applying unfinished compost. If the material still smells sour, warms up in a pile, or contains recognizable food scraps, it will rob nitrogen from your soil as it finishes decomposing. Use only mature compost that has cooled and stabilized. For a guide on what to avoid putting in your bin, see this list of materials that should never enter a compost pile.
2. Homemade Compost from Kitchen Scraps
Best for: Branch 1, small-space gardeners
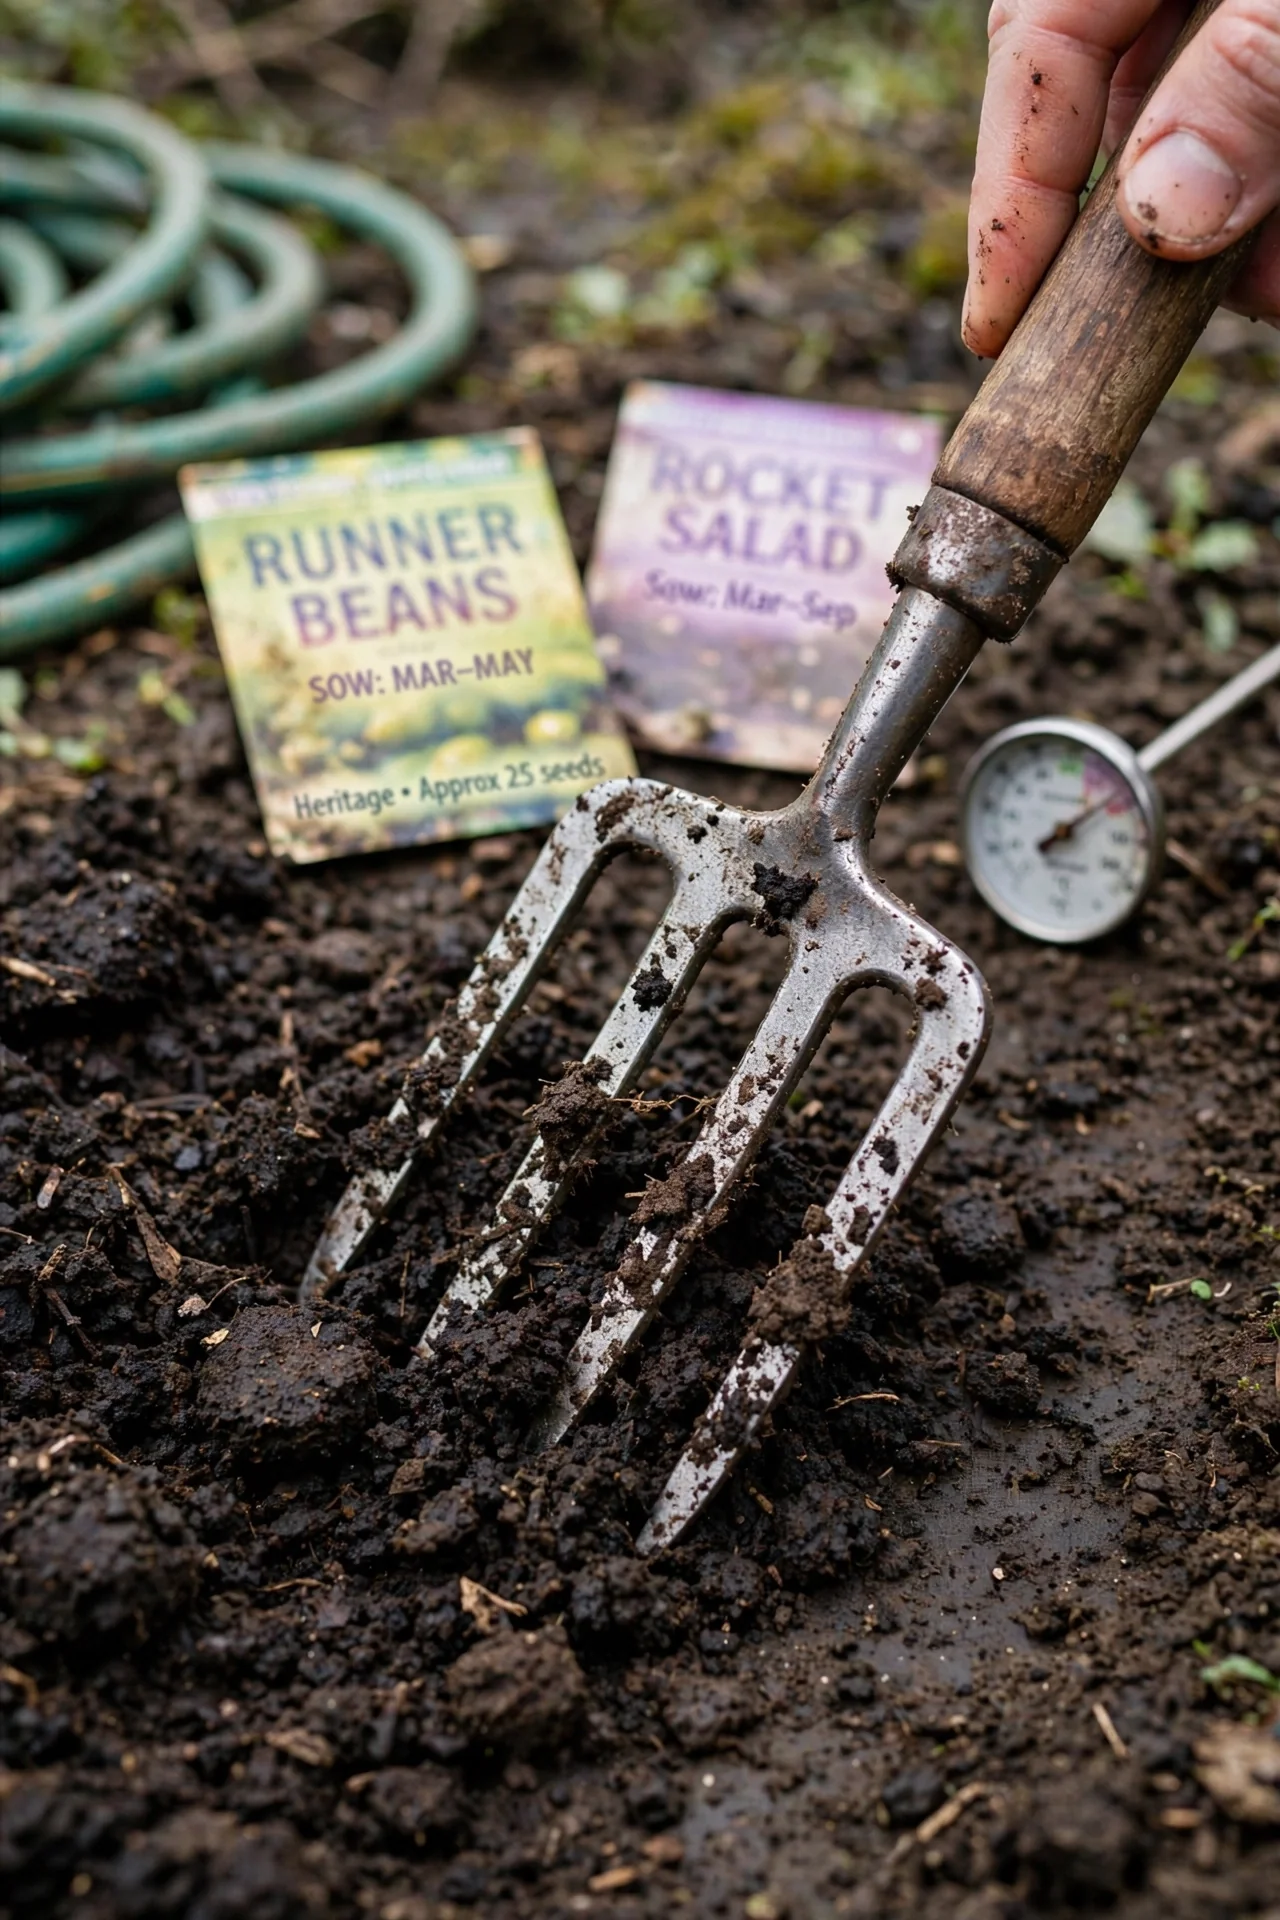
Turning kitchen waste into finished compost closes the loop on household organics. The trade-off is time: a well-managed aerobic bin takes 3 to 6 warm-season months to produce stable compost. Weekly turning and moisture monitoring are required, though a tumbler reduces effort. Finished product varies in texture; sift it through 0.5-inch mesh before application. If bin space is tight, these compost bin setups fit patios and apartment balconies without sacrificing output.
3. Bulk Municipal or Commercial Compost
Best for: Branch 1, large-area remediation
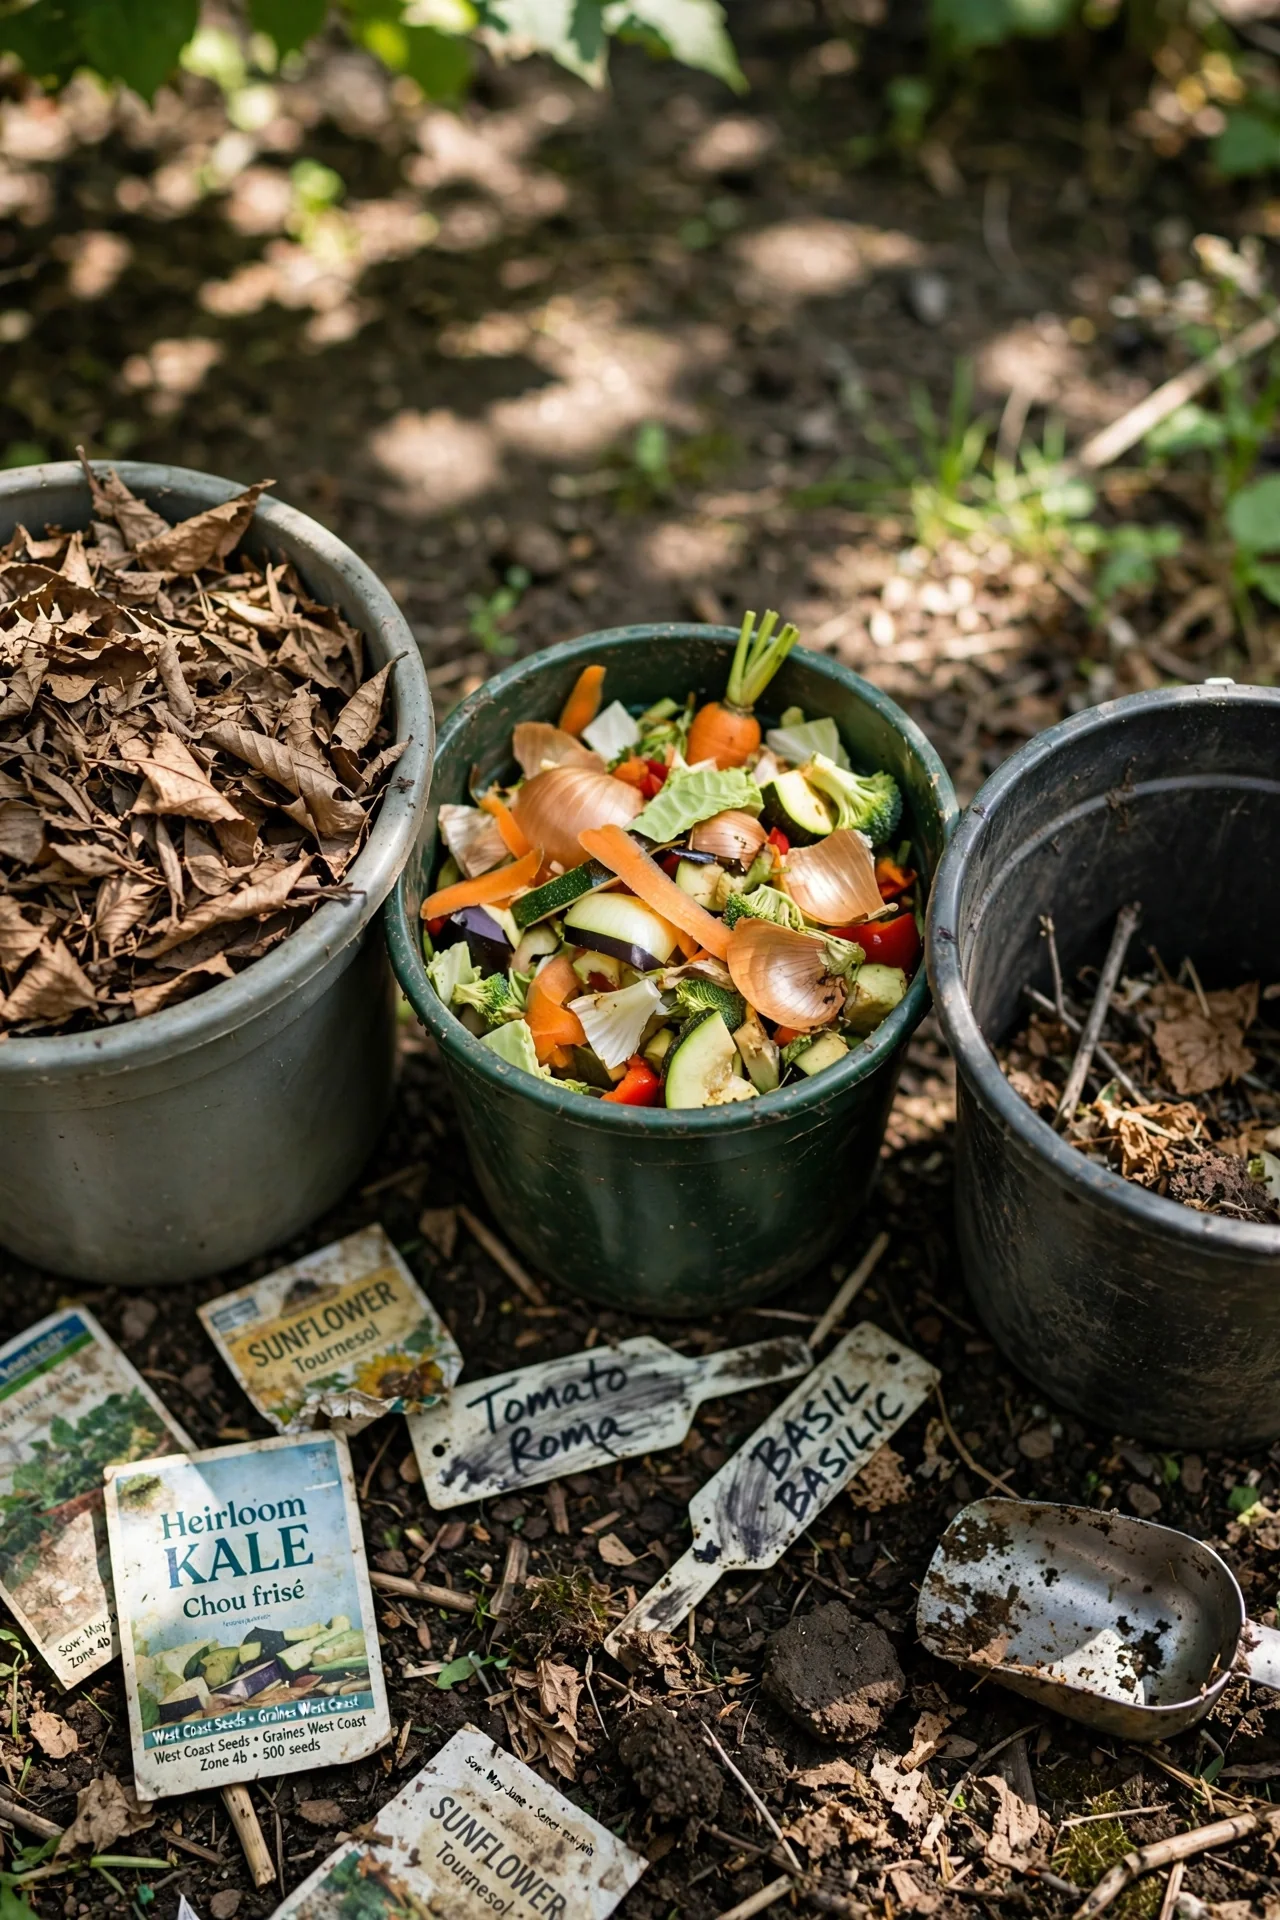
Buying compost by the cubic yard is cost-effective when you need to amend 50 square feet or more in a single season. Ask the supplier for a recent lab analysis; reputable sources in the US and Canada provide data on pH, soluble salts, and organic matter content. If the compost is still warm upon delivery, spread it out and let it cure for two more weeks before incorporating. Avoid compost made from biosolids unless it carries a Class A exceptional quality designation.
Edge case: In regions with heavy monsoon rains, such as parts of India and the Philippines, bulk compost applied as a top-dress alone can wash away. Always cover it with a coarse mulch like wood chips or coconut coir matting to prevent nutrient loss during downpours.
4. Shredded Bark Mulch: The Workhorse Protector
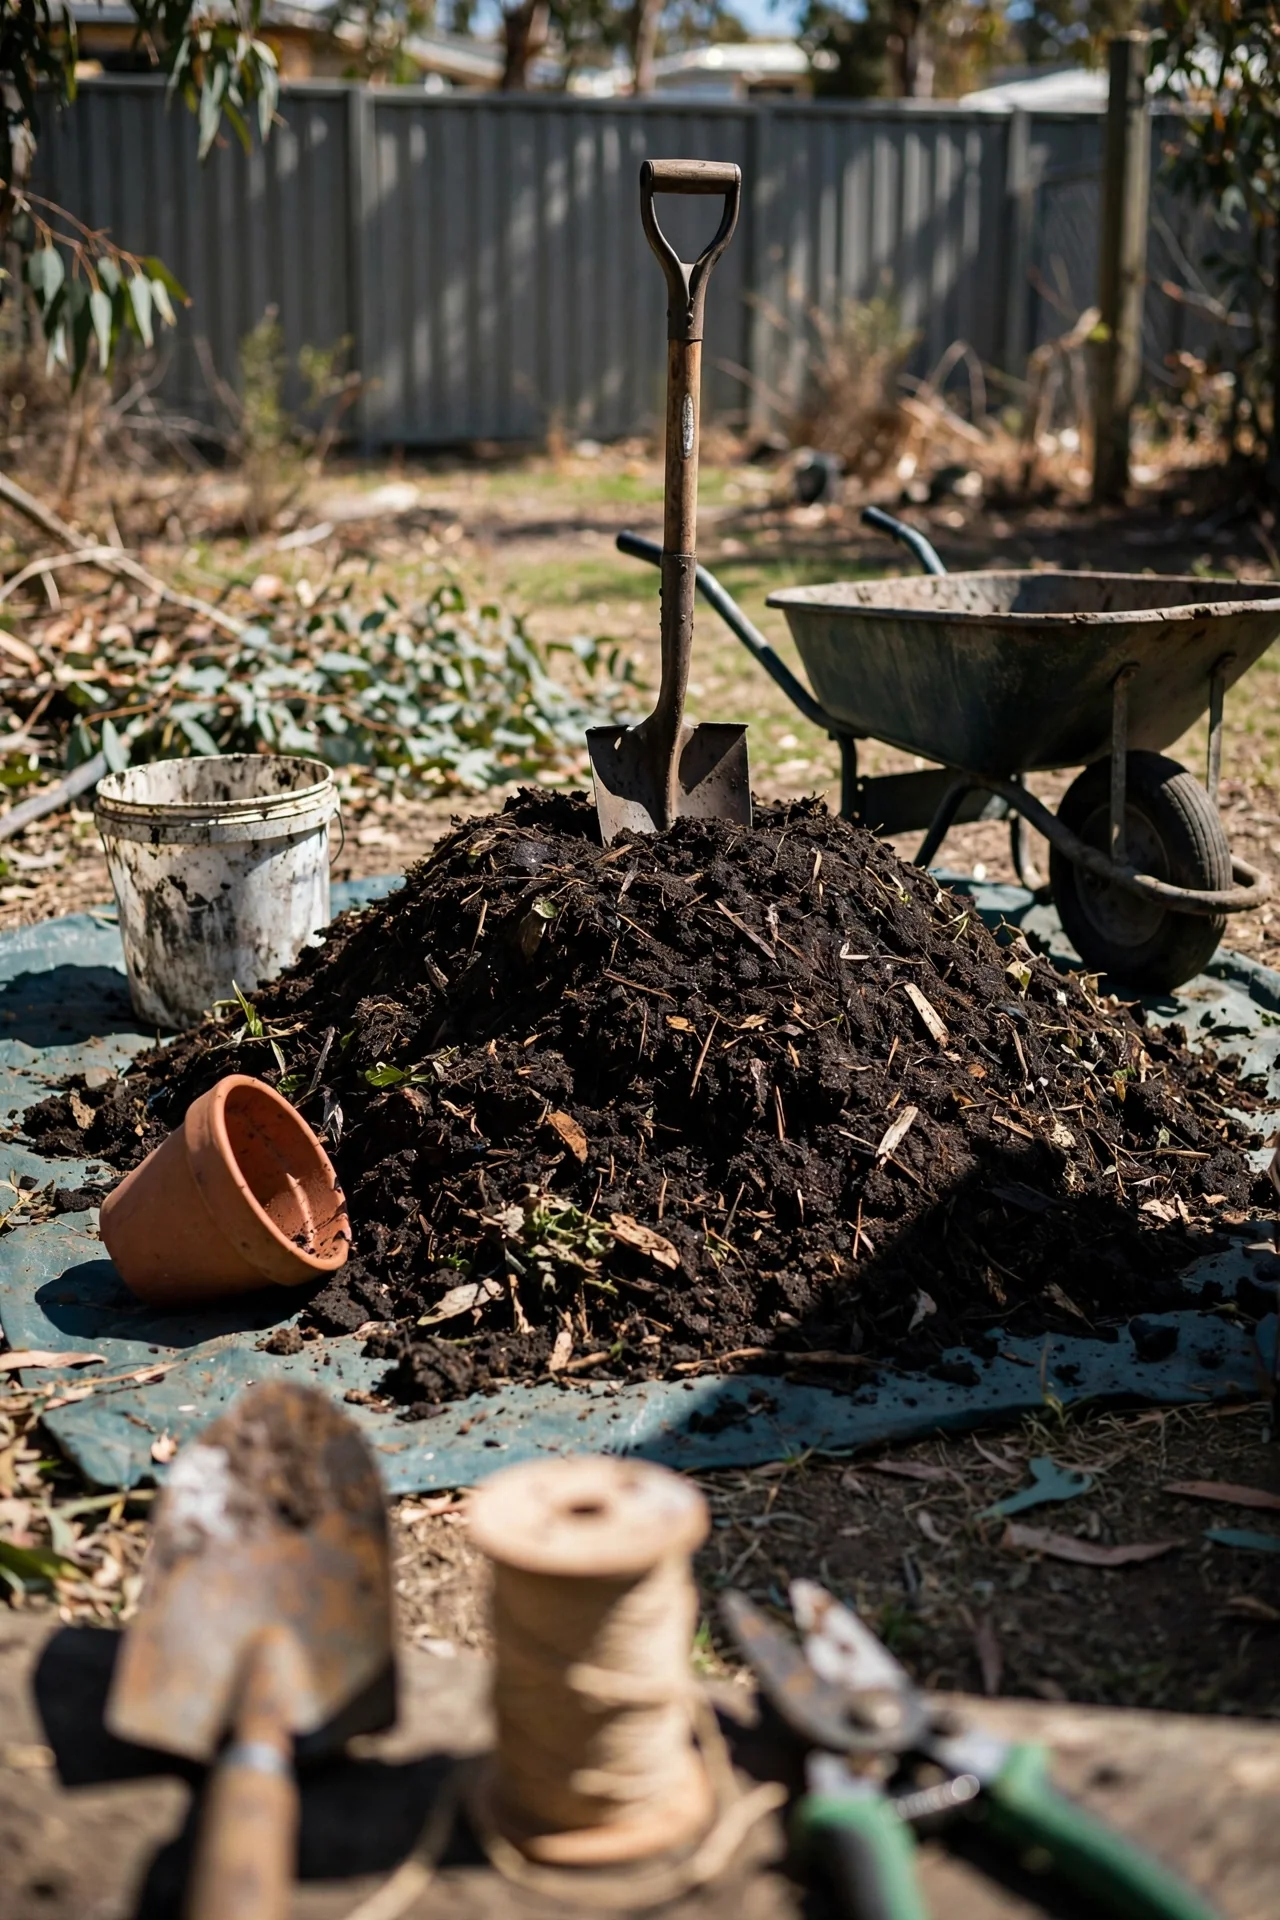
Best for: Branch 2 (surface needs protection)
What it is: Shredded hardwood or softwood bark, typically aged and screened to a uniform 1- to 3-inch particle size. It locks together better than nuggets and stays in place on gentle slopes. Apply a 3-inch layer on perennial beds, leaving a 3-inch gap around woody stems to prevent collar rot. A single application in early spring can suppress weeds for a full growing season because the matted fibers block light from reaching dormant weed seeds.
Nitrogen tie-up alert: Fresh, unaged bark can temporarily immobilize soil nitrogen as microbes break it down. If you see pale green leaves on plants mulched with fresh bark, spoon a light top-dress of finished compost under the bark layer, not on top. For a deeper understanding of soil carbon dynamics, biochar can alter how carbon behaves in your garden soil.
5. Arborist Wood Chips: Fungal Food
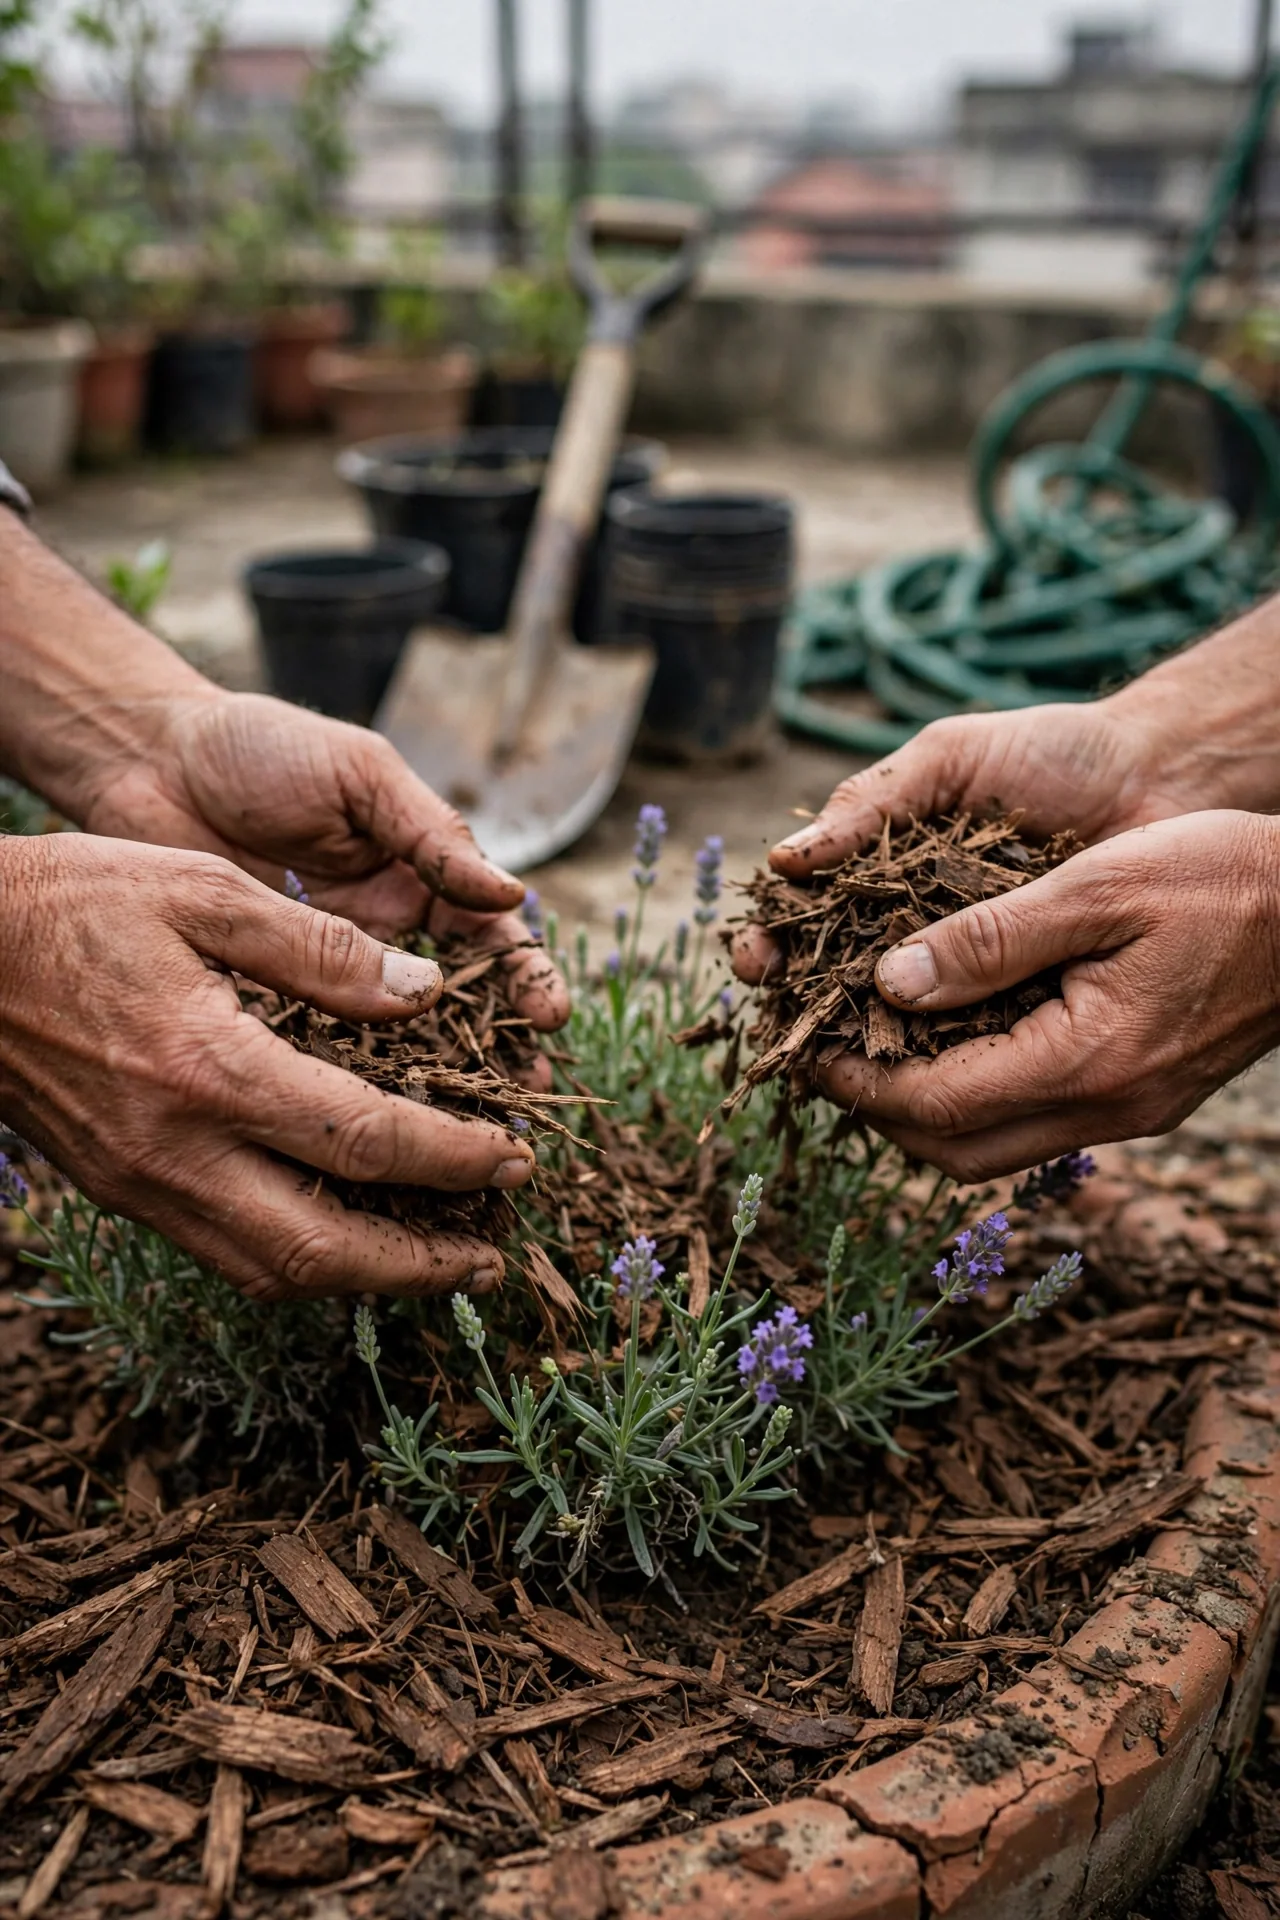
Best for: Branch 2, tree and shrub understories
Wood chips from tree services contain bark, cambium, and heartwood in mixed particle sizes. Their high lignin content feeds fungi rather than bacteria, steering soil biology toward the decomposition pathways found in forests. Apply chips 4 to 6 inches deep in perennial borders and leave them undisturbed for two to three years. Avoid tilling them into annual beds: the resulting nitrogen drawdown can stunt vegetable growth. Learn how hugelkultur beds use buried wood debris to replicate this effect below ground.
6. Straw Mulch: Lightweight Heat Blocker
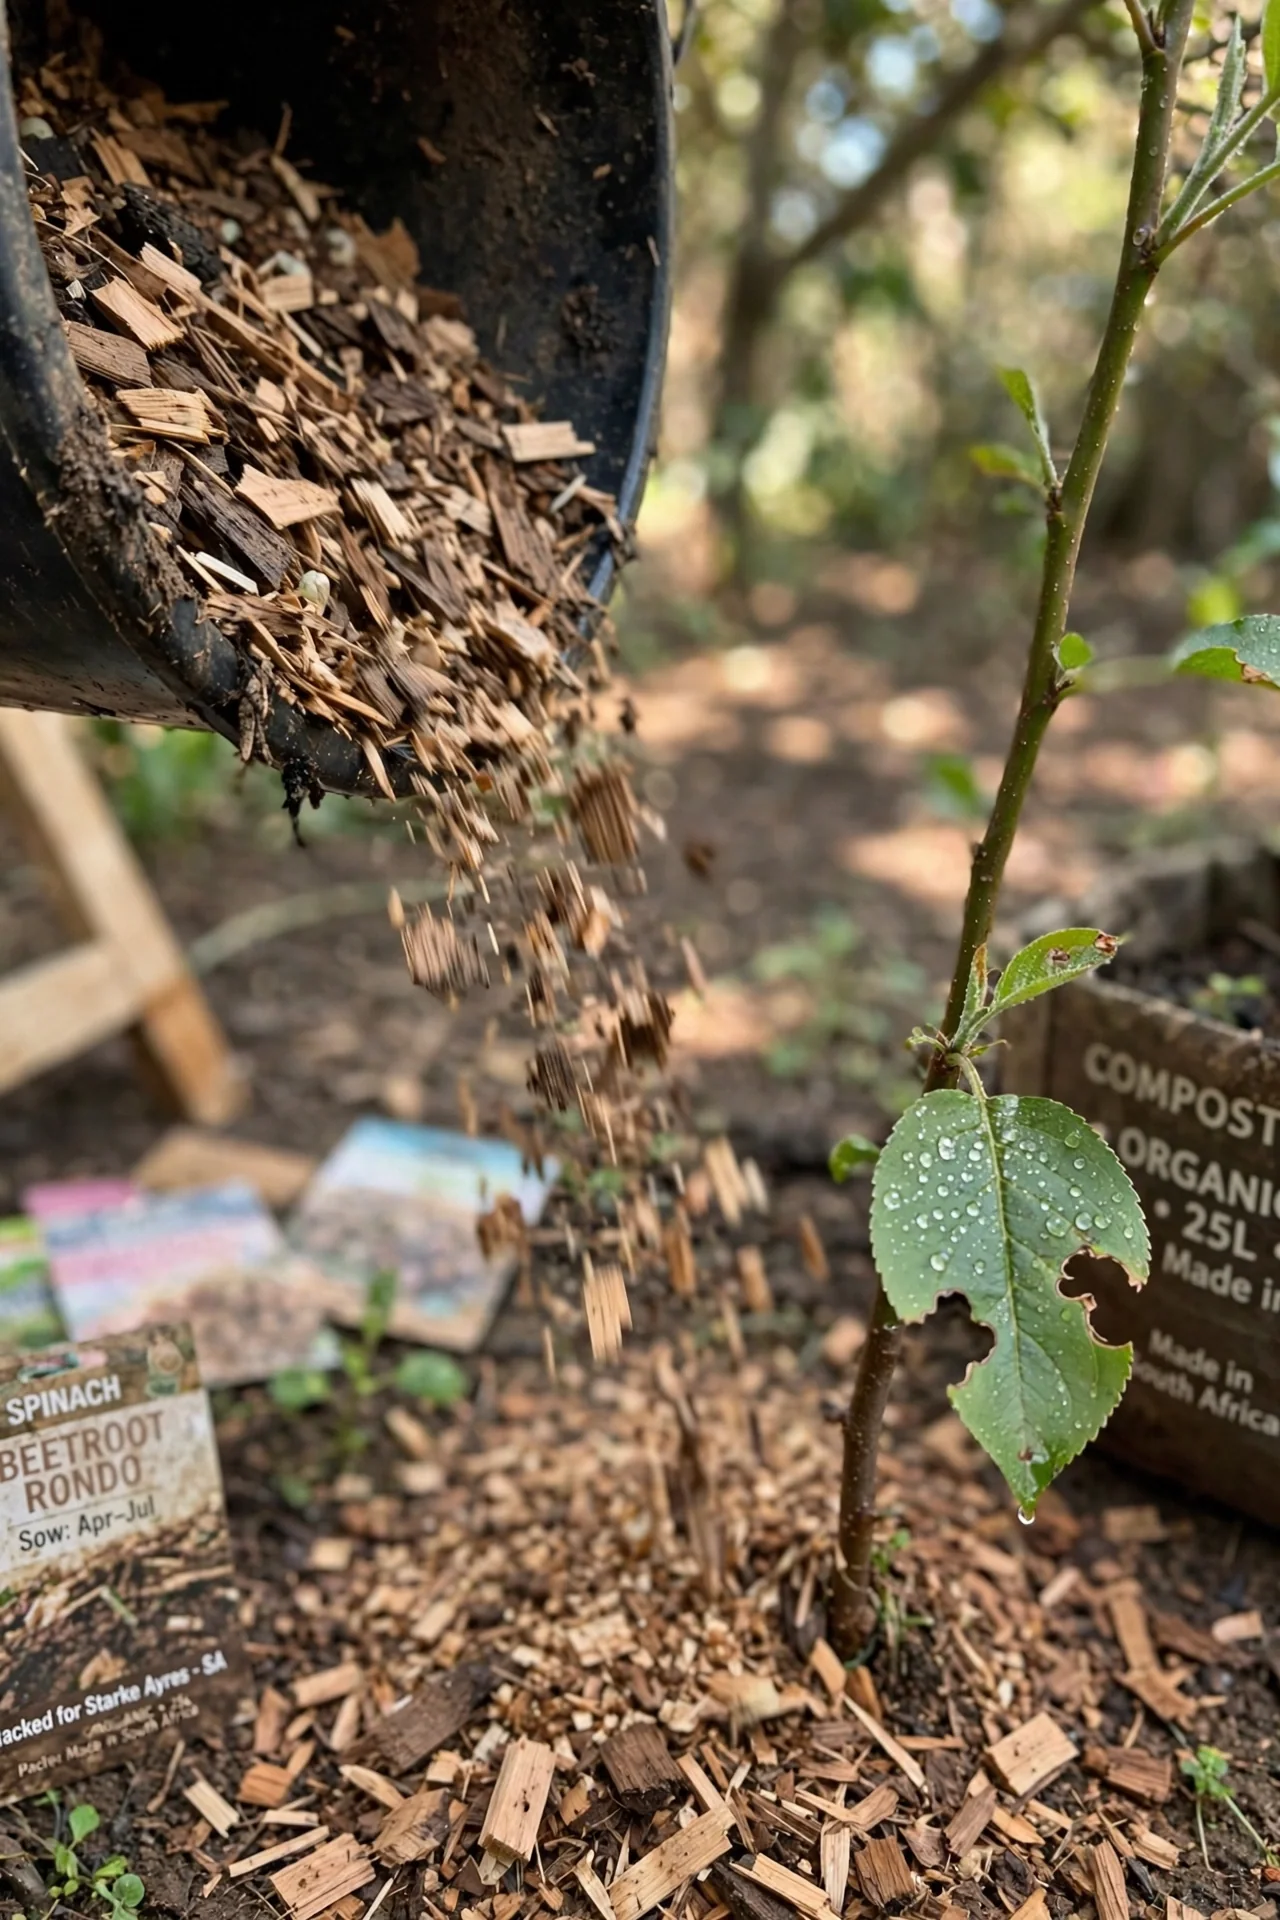
Best for: Branch 2, hot-climate vegetable beds
Weed-seed-free straw (wheat, oat, or barley) forms a reflective blanket that can lower mid-day soil temperature by 5 to 10°F compared to bare soil. Spread it 4 inches thick after the soil has warmed above 60°F in spring; applying it too early traps cold and delays root growth. Straw breaks down in a single season, adding modest organic matter by fall. In windy sites such as the Canterbury Plains of New Zealand or the Highveld of South Africa, anchor straw with jute netting or a light topping of finished compost to prevent it from blowing away.
7. Leaf Mold: The Sponge That Holds Water
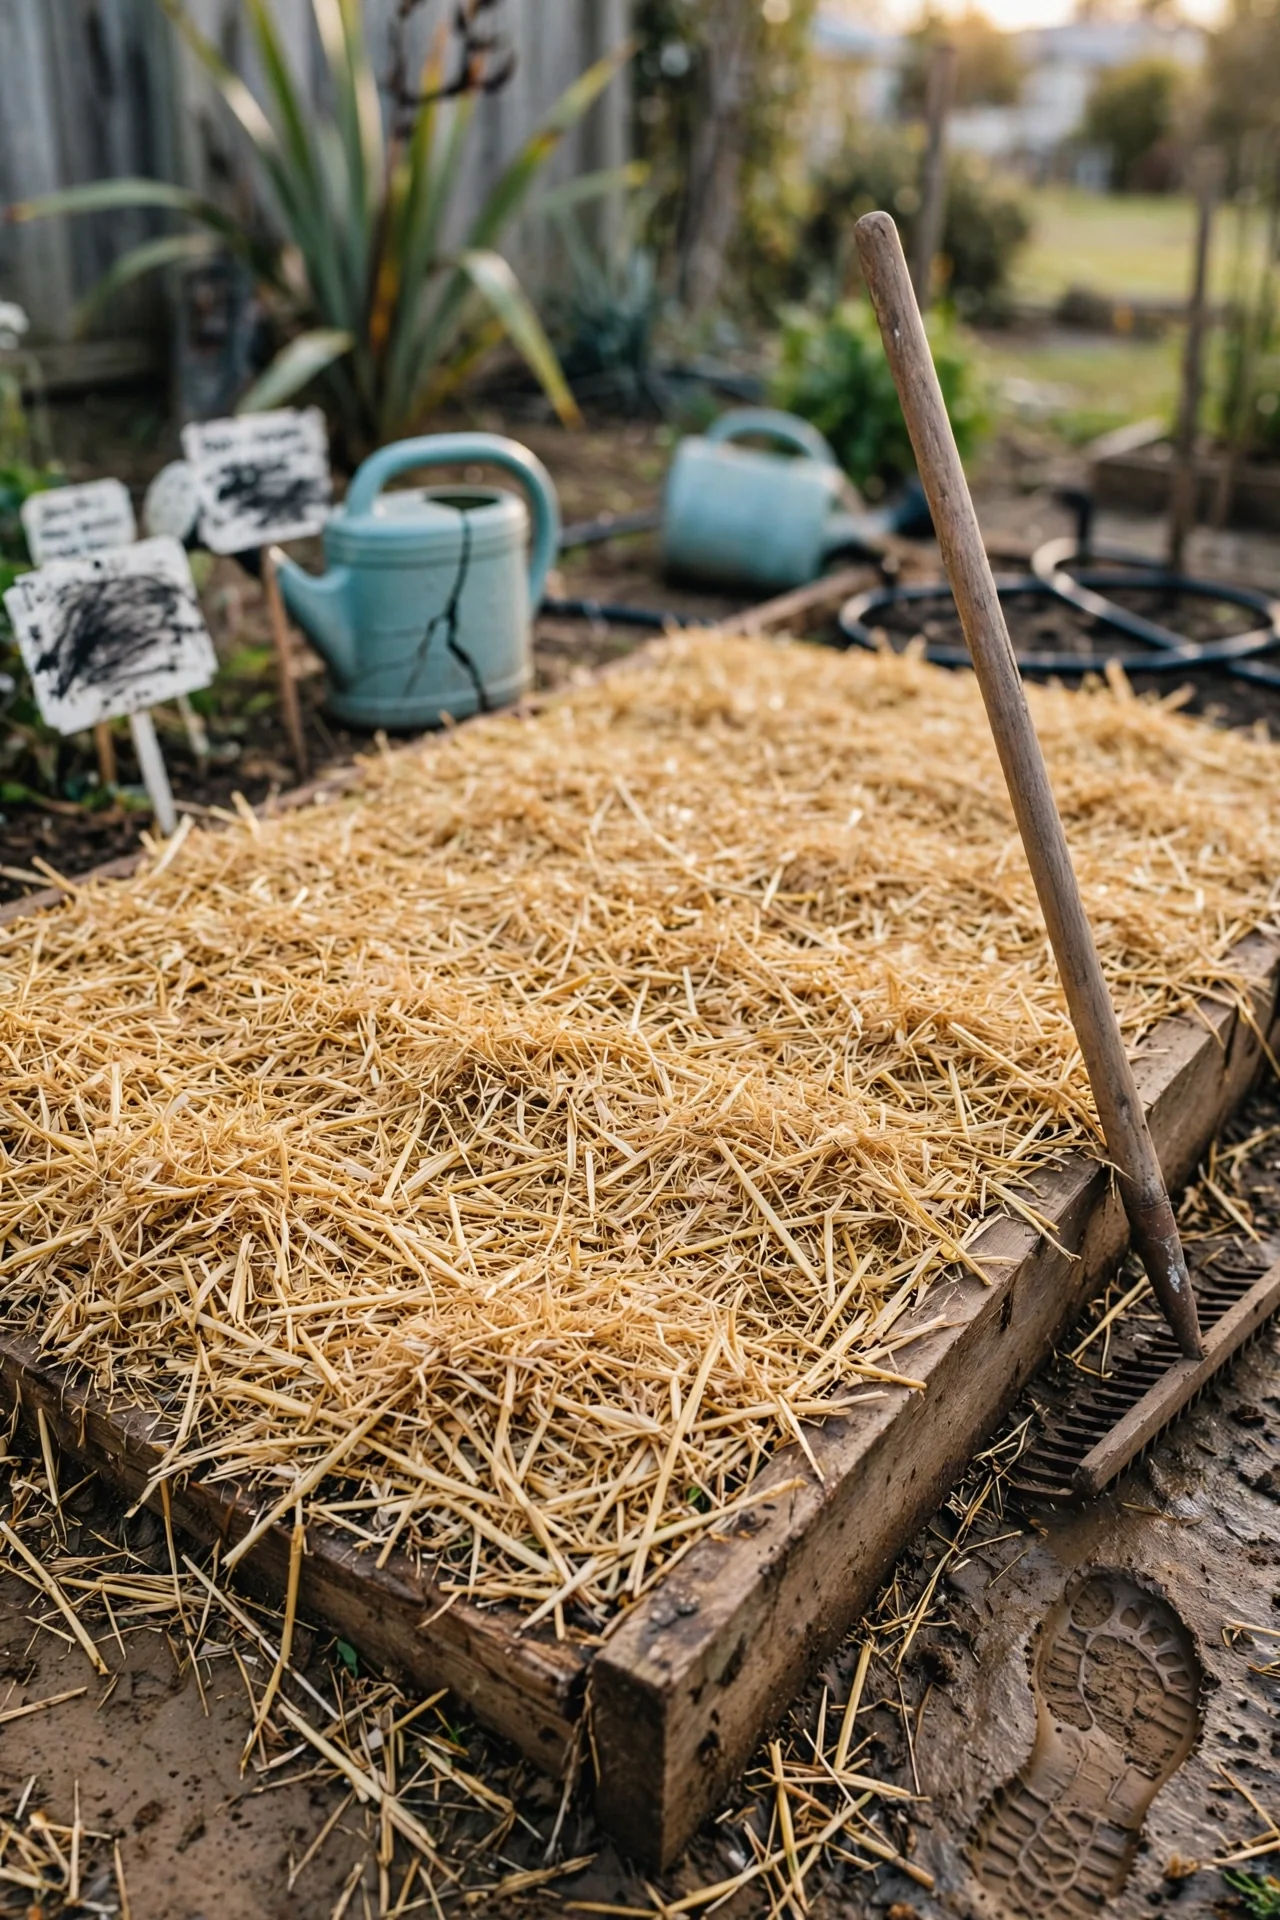
Best for: Branch 1, sandy or moisture-stressed soils
Leaf mold is simply partially decomposed leaves aged for one to two years until they turn dark brown, crumbly, and fungal-sweet. Unlike compost, it contains little nitrogen and is not a fertilizer. Its superpower is water retention: researchers at Cornell University have noted that leaf mold can hold 300 to 500 percent of its weight in water (source: Cornell Waste Management Institute factsheet on leaf composting). Incorporate a 2-inch layer into the top 6 inches of sandy garden soil, or use it as a 1-inch top-dress under bark mulch to create a moisture bridge.
Constraint: Leaf mold from walnut, eucalyptus, or camphor trees may contain allelopathic compounds. Stick with maple, oak, or beech leaves. For a complete guide, see how to make and use leaf mold in garden soil.
8. Sheet Mulching: The No-Till Bed Starter
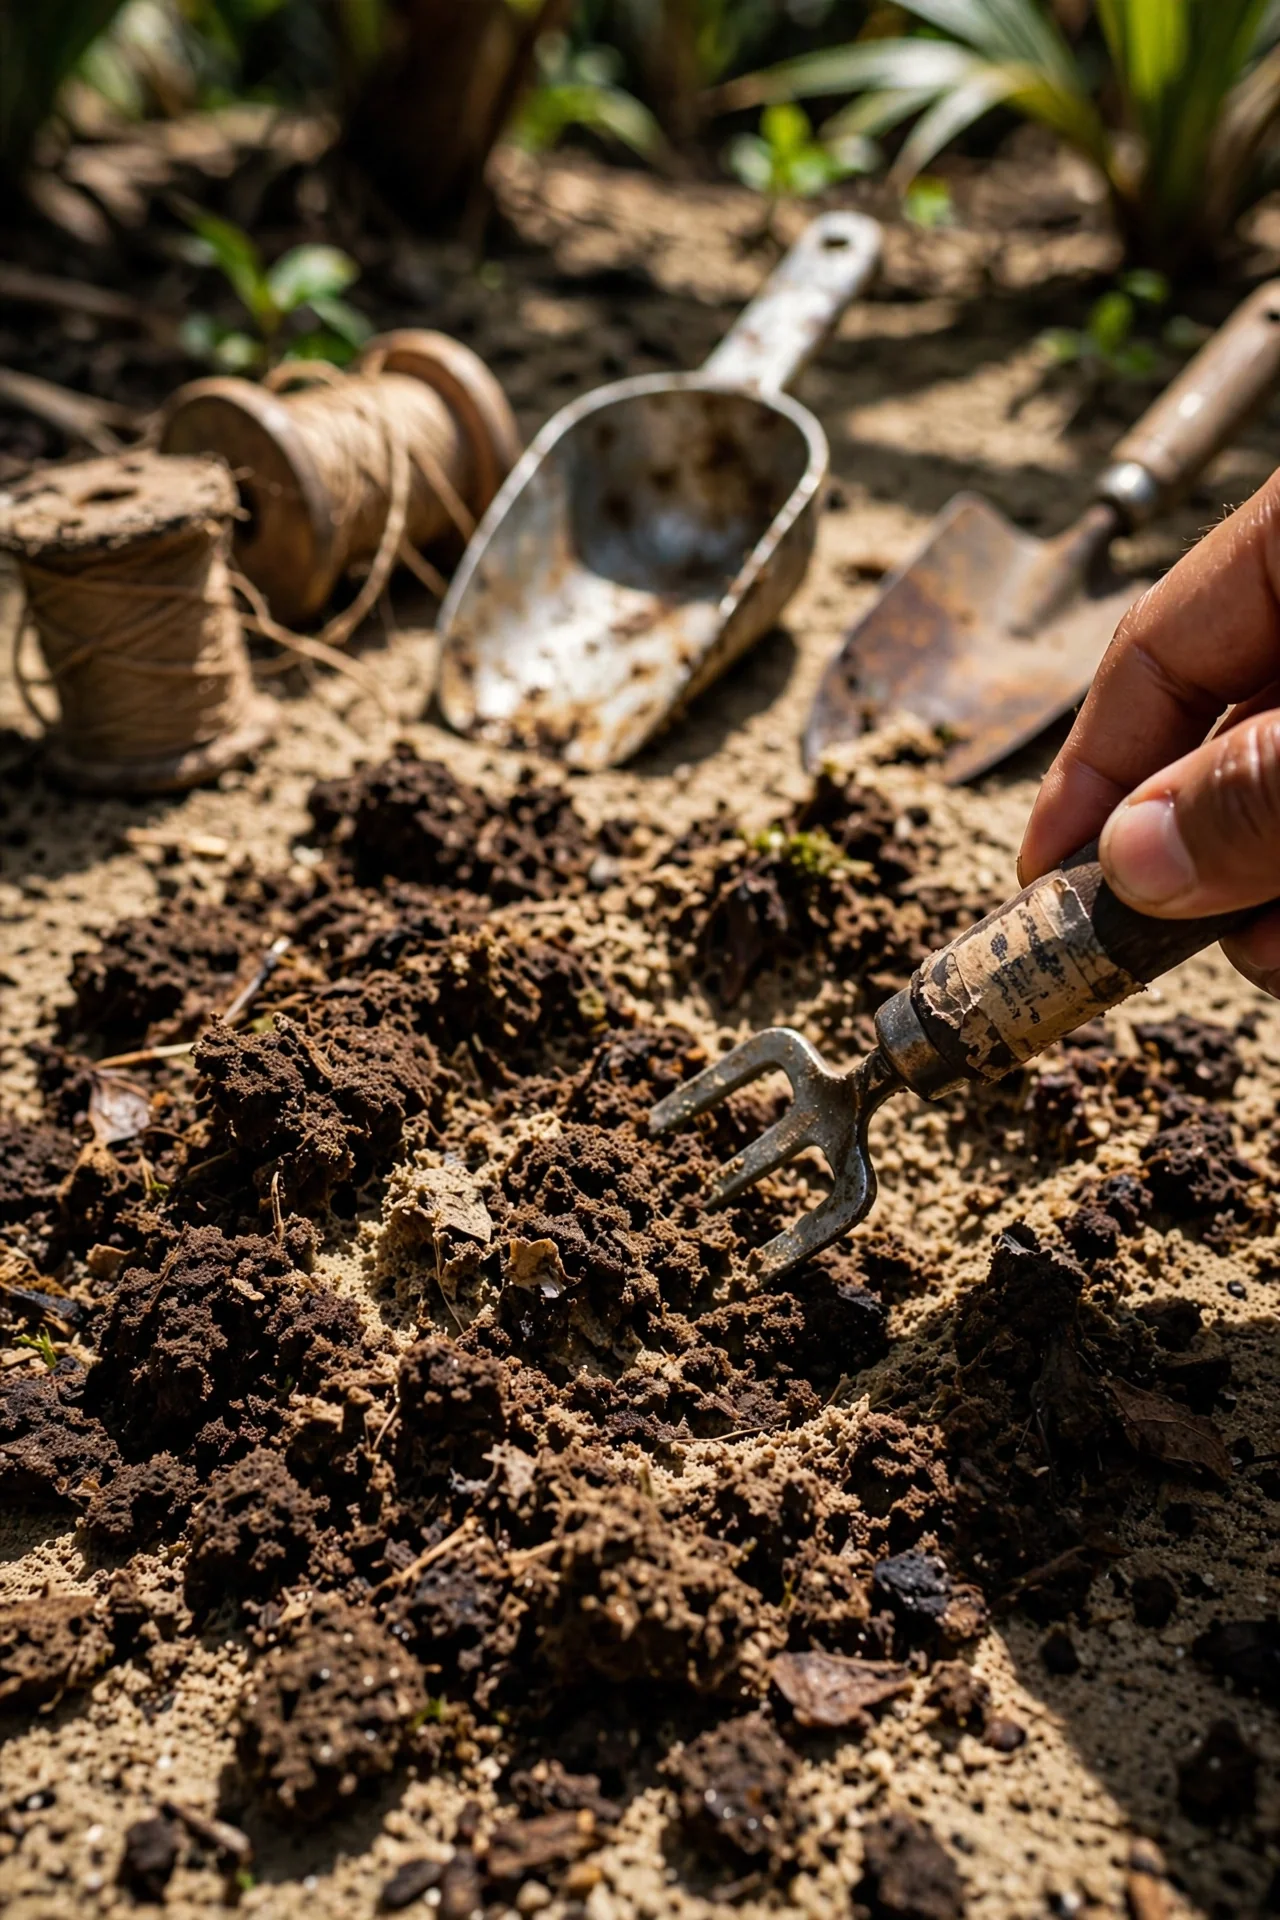
Best for: Branch 3 (enrichment plus suppression)
10-minute workflow: Mow existing vegetation as short as possible. Water the area thoroughly. Lay a single layer of plain cardboard (remove tape and labels), overlapping edges by 6 inches to block light. On top of the cardboard, spread 2 inches of mature compost. Then add 4 inches of coarse mulch (wood chips, straw, or a mix). Water again. Plant transplants by cutting through the cardboard; do not till. The cardboard smothers weeds, the compost feeds roots, and the top mulch layer protects everything. Full decomposition takes one growing season in warm climates. See our step-by-step sheet mulching guide for timing adjustments by climate zone.
9. Living Mulch: Plants That Guard the Soil
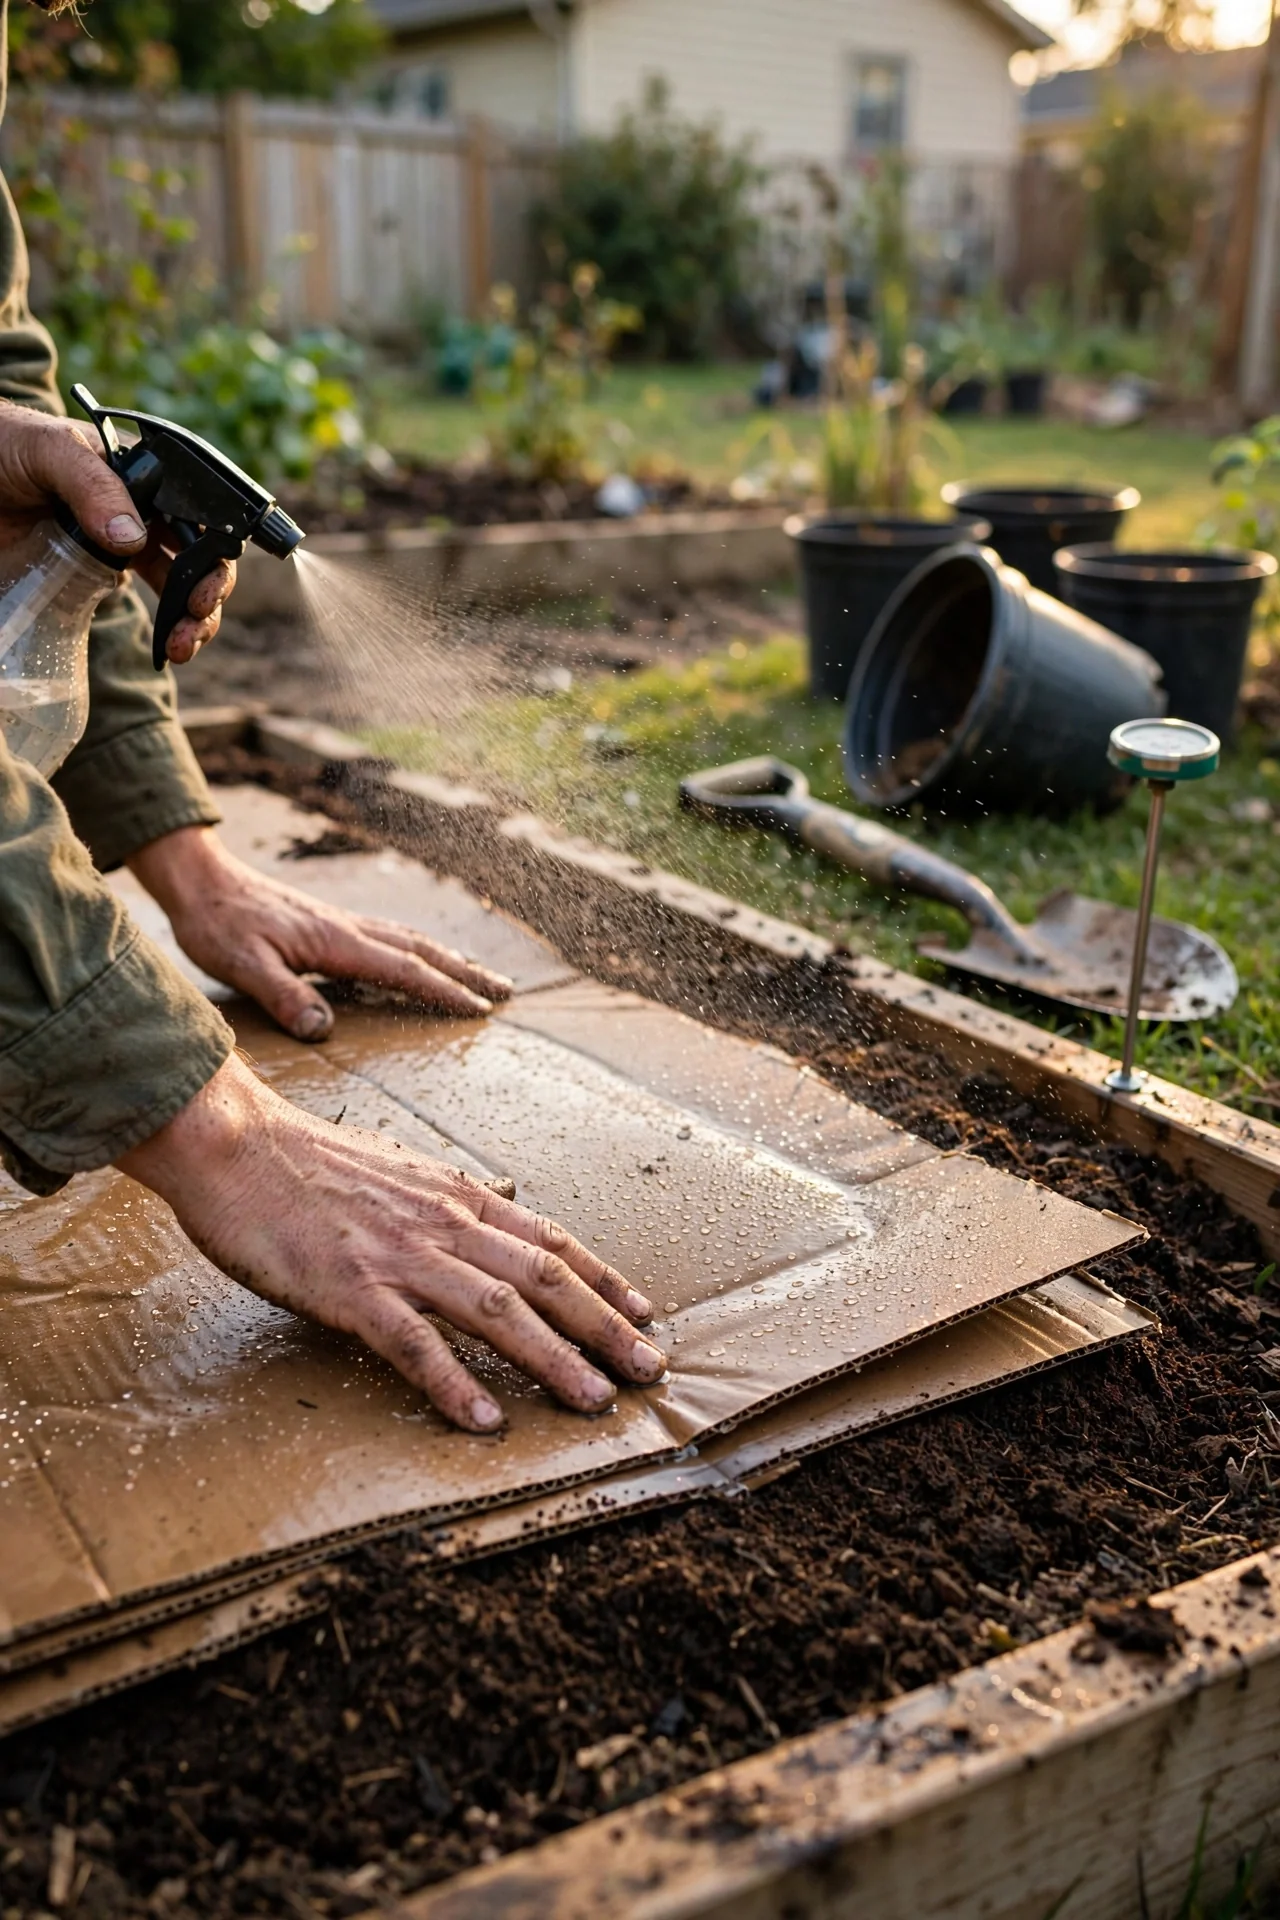
Best for: Branch 3, resting crop beds and orchard floors
Living mulches are low-growing cover crops such as white clover, annual ryegrass, or buckwheat seeded directly into empty beds. They suppress weeds through competition, fix nitrogen (in the case of legumes), and feed soil microbes through root exudates. Terminate them by mowing or crimping when they reach flowering stage; leave the residue in place as a green manure.
Edge case: In dryland gardens of Australia and South Africa, living mulches can compete with crops for water. If rainfall is below 20 inches per year, use a terminated cover crop as a dead mulch instead of maintaining a living stand.
10. Compost Tea: Liquid Microbial Boost
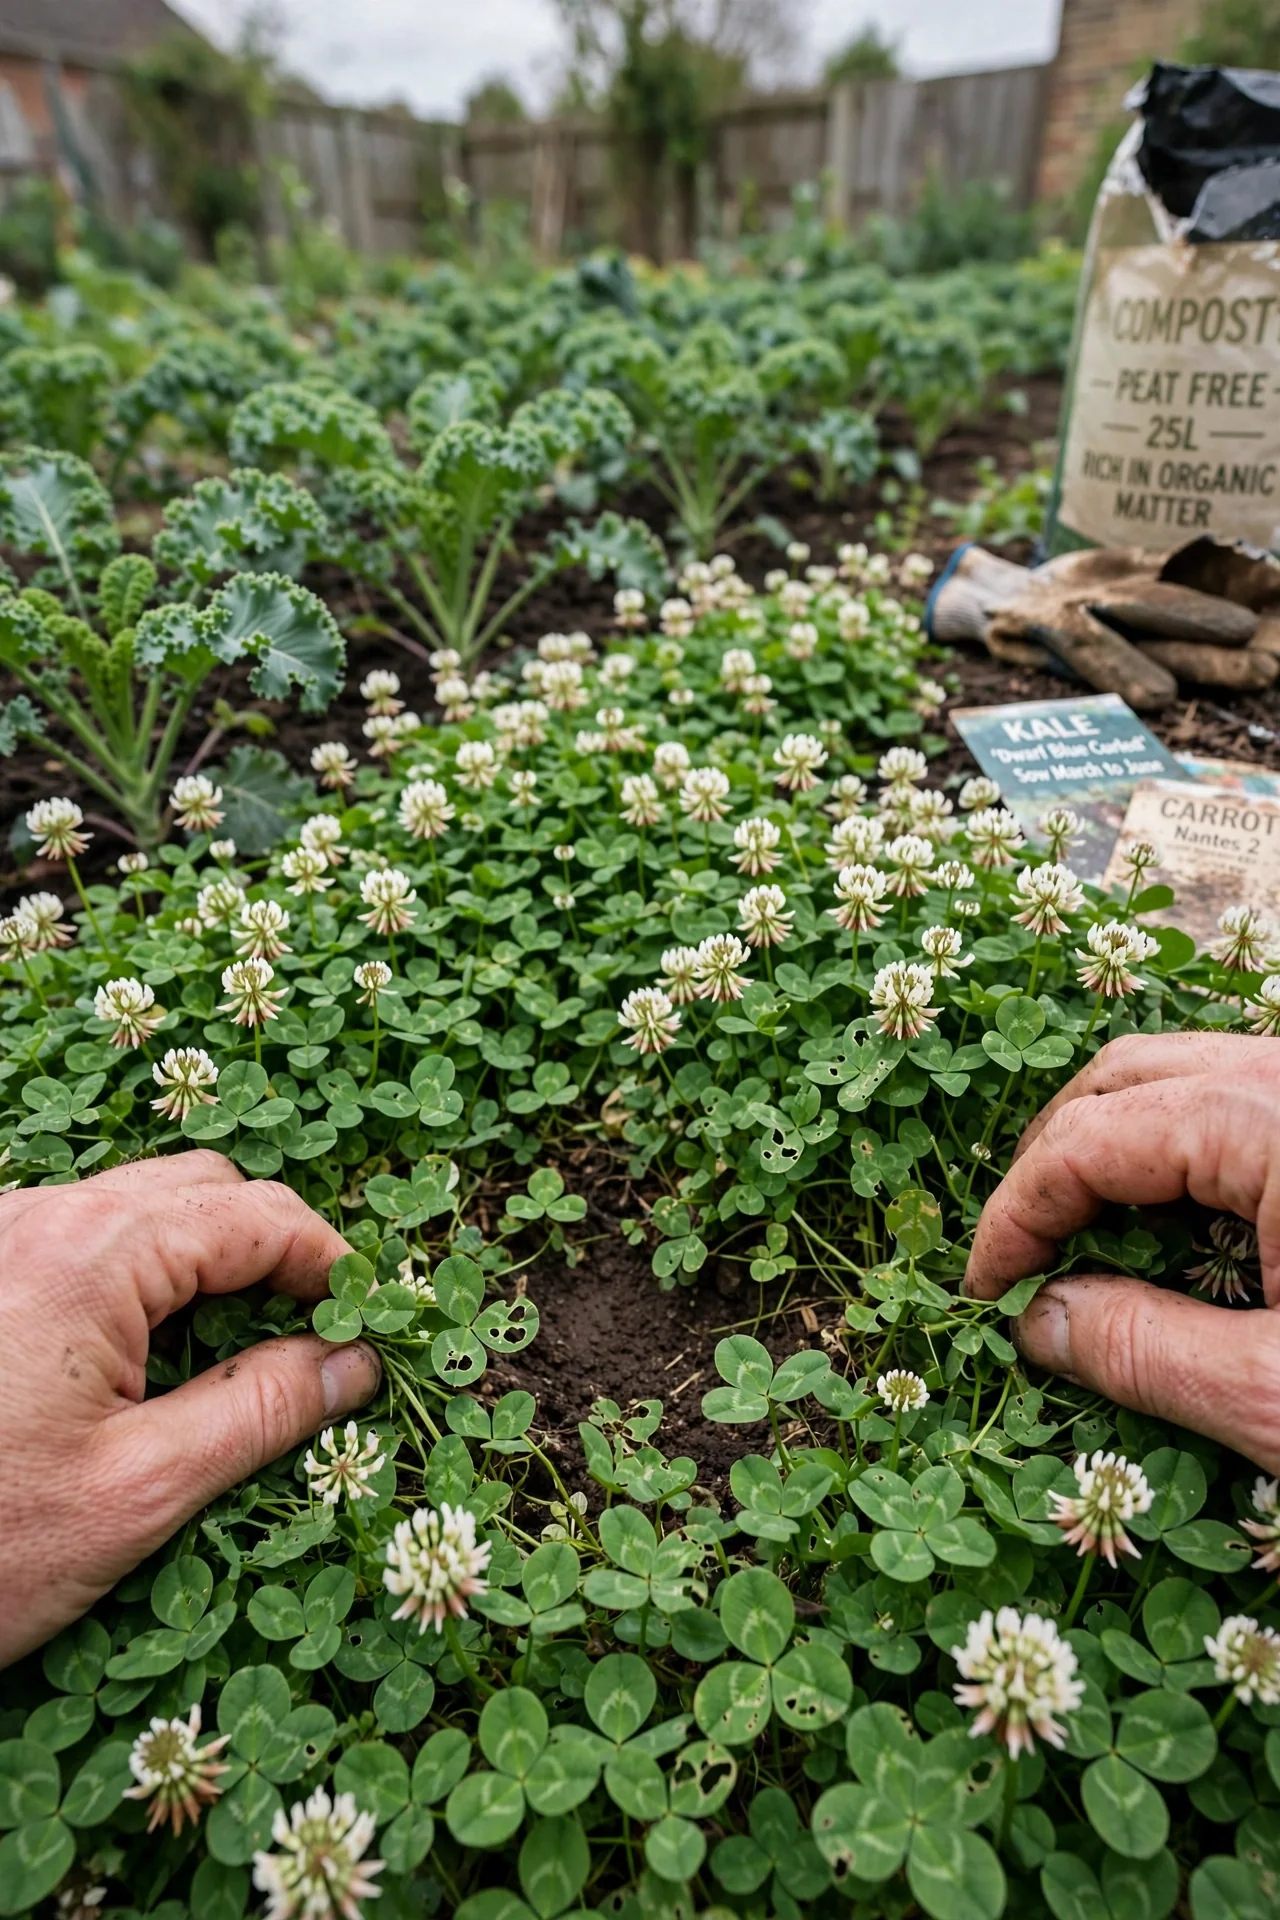
Best for: Branch 3, depleted or fumigated soil
What it is: A water-based extraction of finished compost, aerated for 24 to 36 hours with a food source (typically unsulfured molasses) to multiply beneficial bacteria and fungi. Apply as a soil drench within 4 hours of finishing the brew to avoid anaerobic spoilage. Compost tea is not a fertilizer replacement; its value lies in delivering a surge of microbial life to soil that has been sterilized, compacted, or heavily tilled.
Threshold rule: Water temperature matters. Aerate and brew between 65°F and 85°F. Below 55°F, microbial reproduction stalls. Above 95°F, you risk killing beneficial species. If your water source is chlorinated, let it sit uncovered for 24 hours to off-gas before brewing. For a deeper look at brewing methods, visit our compost tea guide.
Starter Stack: What to Choose First
For Branch 1: Soil That Needs Feeding
Pair finished compost amendment (Item 1) with leaf mold (Item 7). The compost delivers nutrients and structure; the leaf mold locks in moisture that sandy soils lose within a day. Apply an all-in cost estimate of $25 to $60 for materials to cover 100 square feet, depending on whether you source bagged or bulk compost. Time estimate: one 2-hour session.
For Branch 2: Soil That Needs Surface Protection
Pair shredded bark mulch (Item 4) with straw mulch (Item 6). Use bark on perennial beds for season-long coverage. Use straw on vegetable beds where you will replant within months. Together they cover distinct zones without conflict. Material cost for 100 square feet ranges from $15 to $40. Time: one morning.
For Branch 3: Enrichment With Low Maintenance
Pair sheet mulching (Item 8) with a living mulch follow-up (Item 9). Sheet mulch first to kill weeds and establish a fertile bed. Once crops are established, interplant clover as a living understory. This sequence builds soil from two directions: the buried compost feeds roots, while the living mulch feeds microbes through the season. Budget $30 to $70 for 100 square feet including cardboard, compost, mulch, and cover crop seed. Time: one weekend for setup, then 30 minutes per week to monitor cover crop growth.
When This Won’t Work
Failure condition 1: Extremely sandy soil with less than 1% organic matter and no clay fraction. In these soils, water and nutrients drain so quickly that even a compost-and-mulch layer cannot hold them long enough for roots to access. The alternative is to incorporate 10 to 15% clay-based soil amendment (by volume) alongside compost before mulching. Without a mineral base to hold cation exchange sites, organic matter washes through in a single rainy season.
Failure condition 2: Persistent perennial weeds such as bindweed, quackgrass, or nutsedge. These weeds regenerate from rhizome fragments and can push through cardboard or 4 inches of mulch. The alternative is solarization: cover the area with clear plastic for 6 to 8 weeks during the hottest part of the year, which can raise soil temperatures high enough to kill rhizomes in the top 4 inches. Sheet mulch only after solarization has ended.
Before you amend, review what materials should never go into a compost pile to avoid introducing persistent herbicide residues or pathogens into your garden.
Choosing the Right Option for Your Situation
Budget Threshold
If your budget is under $30 for 100 square feet, prioritize bulk municipal compost (Item 3) for the feeder layer and free arborist wood chips (Item 5) for the protector layer. Both can often be sourced at no cost through municipal programs or tree service drops. Avoid bagged products, which multiply cost per cubic foot by four to six times.
Time Threshold
If you can dedicate only one morning per season, choose a single coarse mulch application (Item 4 or Item 5) at the recommended depth. You will not amend the soil this season, but you will suppress weeds and retain moisture. Compost incorporation requires at least a second session; save it for fall when garden workflow slows.
Technical Constraint: Soil pH Below 5.5
Compost is not a reliable pH adjuster. If your soil tests below 5.5, add agricultural lime at the rate specified by your lab report and incorporate it two weeks before applying compost. Mulch can go on top immediately after liming. Skipping lime and relying on compost alone will keep pH too low for nutrient availability, even in organic systems.
Yes/No Checklist
- Do I have a soil test result showing organic matter and pH? Yes / No
- Is my soil organic matter below 3%? Yes / No (if Yes, choose Branch 1)
- Is weed pressure high or soil surface bare and crusted? Yes / No (if Yes, choose Branch 2)
- Do I need both enrichment and season-long weed control in a single sequence? Yes / No (if Yes, choose Branch 3)
Expert Q&A
Can I use unfinished compost as a mulch layer?
Using unfinished compost as mulch is risky. Microbes will continue decomposing it and can pull nitrogen from the soil surface, starving shallow-rooted plants. If you must use it, apply no more than 1 inch, cover it with a coarse carbon mulch, and avoid planting into it for at least 4 weeks.
Does mulch type affect soil pH over time?
Pine bark and pine needles can slightly lower surface soil pH after several years of repeated application, but the effect is slow and generally confined to the top inch. Most hardwood mulches have a neutral effect. If pH monitoring is critical, test the top 2 inches of soil annually.
What is the minimum depth for compost to suppress weeds?
Compost alone is a poor weed suppressant. Weed seeds can germinate in fine-textured compost. To suppress weeds with compost, a minimum depth of 3 inches of coarse, unfinished compost is needed, combined with a 2-inch bark or straw cap. Without the cap layer, expect weed breakthrough within 3 to 4 weeks.
Can I mulch and compost around the same tree in the same year?
Yes, but keep both materials away from the trunk. Apply a 1-inch ring of finished compost starting 6 inches from the trunk and extending to the drip line. Then cover with 3 inches of wood chips, keeping the chips 3 inches from the trunk. This sequence feeds roots and protects soil without promoting collar rot.
How do monsoon climates change the compost-first rule?
In high-rainfall zones (annual precipitation above 80 inches), put mulch down first as a sacrificial erosion barrier. Wait for the heaviest rains to pass, then pull back the mulch, apply compost to the soil surface, and replace the mulch. This prevents compost from washing away before it can infiltrate.
Conclusion
The number one mistake gardeners make is applying compost on top of an existing mulch layer, where it dries out and never reaches the soil. The sequence that works in every climate is compost first, mulch second. This order feeds the roots, protects the surface, and creates a self-regulating microbial cycle that reduces your workload over time.
If you are working with a balcony, patio, or shared space, our small-space composting guide shows you how to produce enough compost for a few containers without a full bin setup. Start there, then layer.