
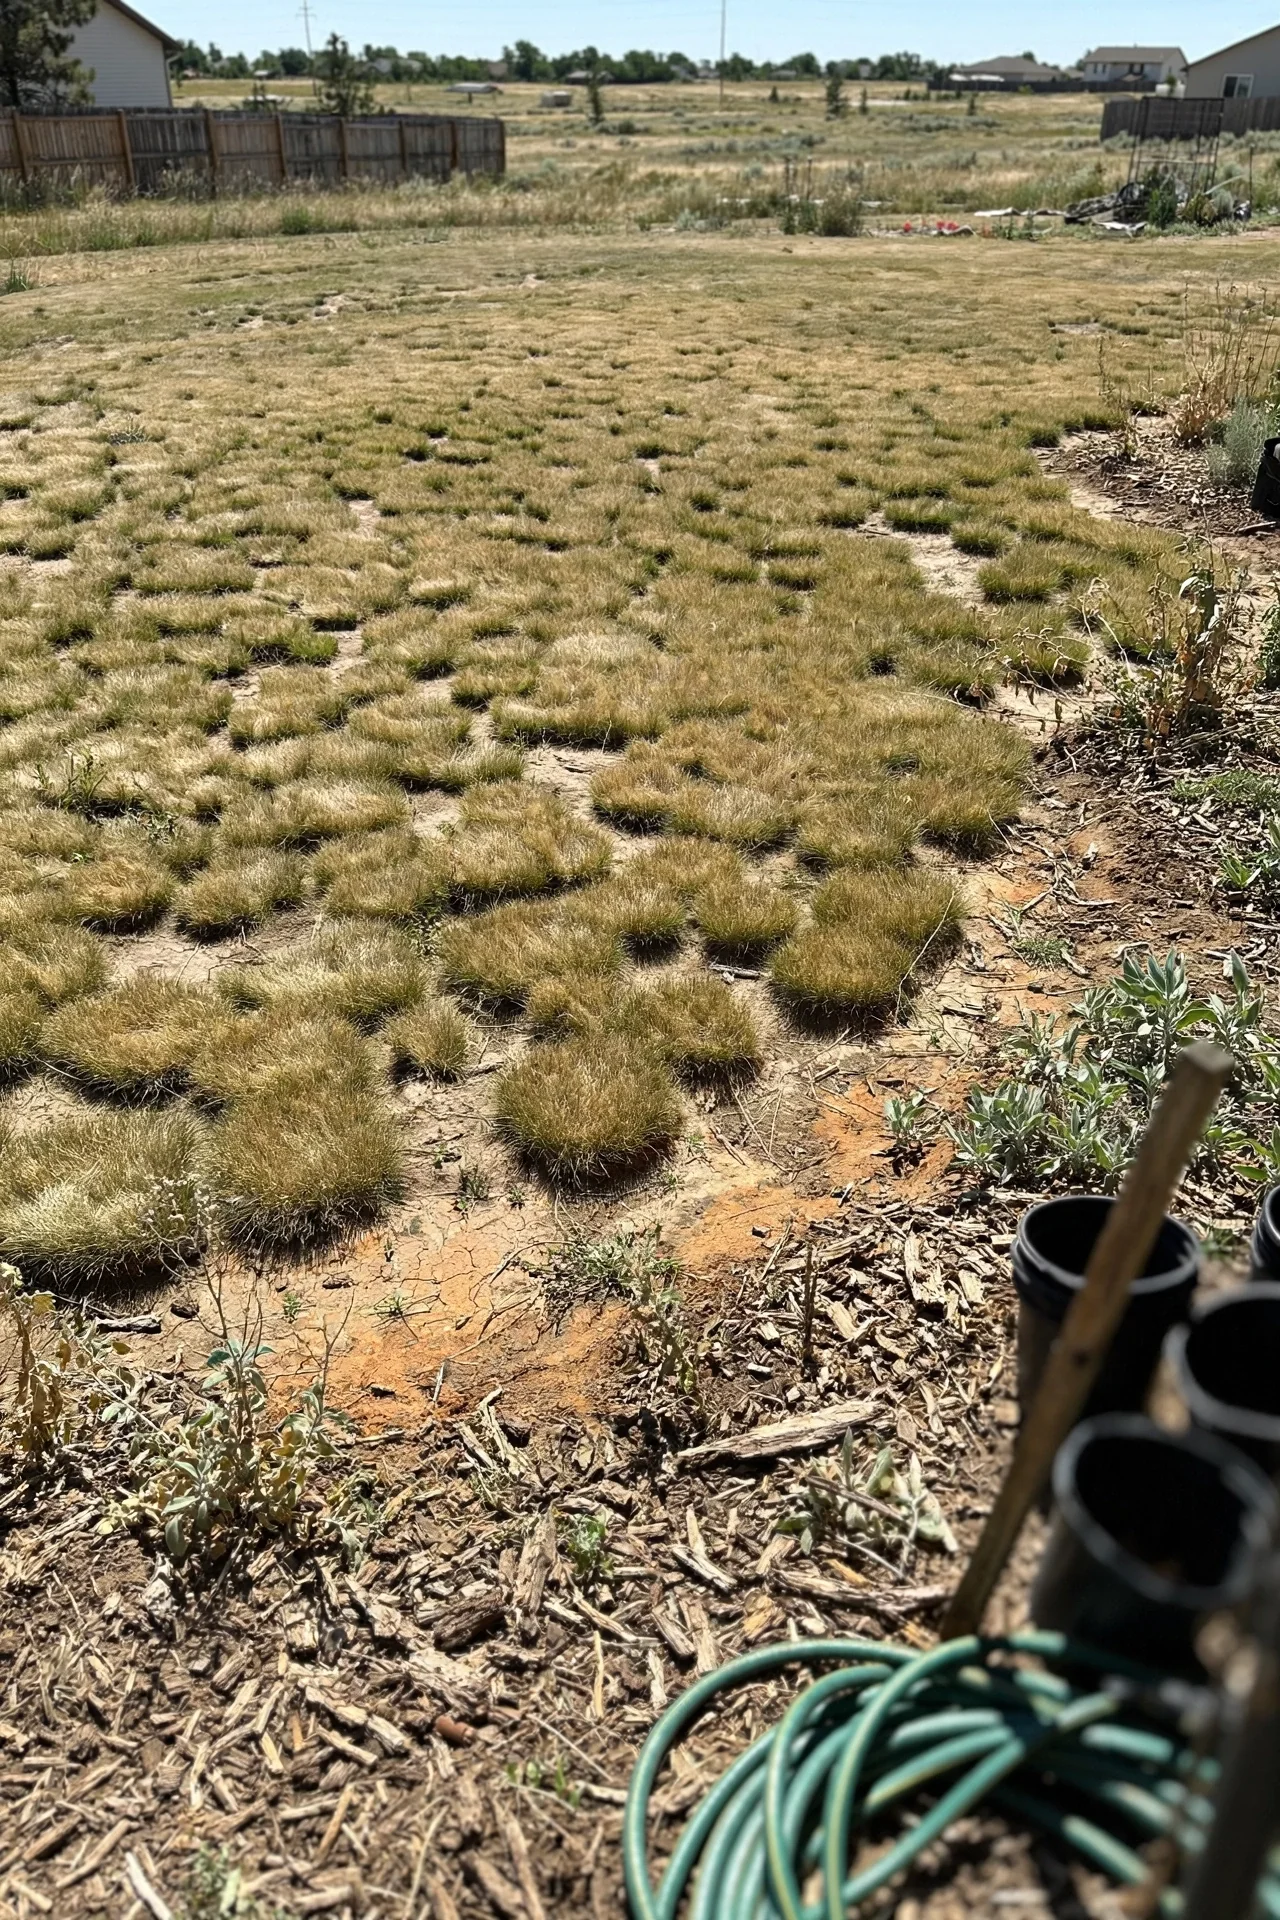
Buffalo grass doesn’t succeed because you water less. It succeeds because the site matches the species. The single most common failure mode is not establishment technique or maintenance neglect: it is planting a shortgrass prairie native in shade, sand, or soggy low spots and expecting it to perform like a conventional lawn. This guide reframes buffalo grass as a conditions-dependent choice rather than a universal low-input shortcut.
This article covers buffalograss (Bouteloua dactyloides) for residential lawn use across North America (USDA zones 4 to 8), the UK (hardy to zone 8 equivalents), Canada (prairie provinces and southern Ontario), Australia, South Africa, Mexico, and New Zealand. The scope excludes pasture applications, rangeland restoration, and ornamental meadow plantings. You will find no invented outcome figures here: every threshold, rate, and temperature window is drawn from extension research and regional turfgrass programs.
By the end, you will know which establishment method fits your patience window, what soil conditions disqualify buffalo grass outright, how to read a screwdriver test for watering depth, and why mowing height is the single largest lever over weed pressure. You will also see exactly which buffalo grass approach aligns with your time commitment, using an Effort Score model consistently across every option.
Bottom line: If your site gets fewer than 6 hours of direct sun or drains poorly, stop reading about buffalo grass care and pivot to a shade-tolerant alternative; otherwise, use the Decision Grid below to find your branch.
The Yield Grid Decision Grid
Branch 1: The Prairie Minimalist (Effort Score 1–2). Your site has full sun (8+ hours), clay or loam soil, annual rainfall below 30 inches, and you accept a 6-to-7-month green season. You want the lowest possible input load. Recommended: Items 1, 3, 4, 6, 10 below.
Branch 2: The Managed Native Lawn (Effort Score 3). Your site has full sun (6–8 hours), you are willing to water and fertilize lightly during summer, and you want faster fill-in and a tighter, greener turf surface. Recommended: Items 2, 5, 7, 8, 9, 11 below.
Branch 3: The Reality Check (Effort Score 4–5 or Disqualify). Your site has partial shade, sandy soil deeper than 2 feet, heavy foot traffic, or annual rainfall exceeding 40 inches. Buffalo grass will struggle regardless of effort. Recommended: Items 3, 6, 10 below, plus serious consideration of alternatives.
For a broader comparison of low-input lawn types including microclover and no-mow mixes, see our low-maintenance lawn ideas guide.
Quick Comparison Table
| Option | Key Mechanism | Best For | Decision Grid Branch | Effort Score |
|---|---|---|---|---|
| Seed establishment | Burrs or dehulled seed into prepared bare soil | Large areas, patient gardeners, lowest cost | Branch 1 | 3 |
| Sod establishment | Pre-grown vegetative mat, instant coverage | Small areas, erosion control, immediate use | Branch 2 | 2 |
| Plug establishment | Small live plants on 6–24 inch centers | Medium areas, budget between seed and sod | Branch 1 or 3 | 4 |
| Soil testing and amendment | pH adjustment and drainage verification before planting | All branches; required for Branch 3 borderline sites | Branch 1, 2, 3 | 2 |
| Mowing height strategy | Cutting height determines weed suppression and root depth | All established lawns | Branch 1, 2 | 1 |
| Deep watering protocol | Infrequent soaking to 4–6 inch depth | Established lawns in drought-prone regions | Branch 1 | 2 |
| Timed nitrogen application | 1 lb N per 1,000 sq ft in June, repeat in late July | Lawns where green color and density are priorities | Branch 2 | 3 |
| Spring green-up management | Mowing off dormant brown foliage before new growth emerges | All lawns; timing varies by latitude | Branch 2 | 2 |
| Selective herbicide use | Bromoxynil and MCPA formulations safe for buffalo grass | Lawns with broadleaf weed pressure | Branch 2 | 3 |
| Winter dormancy acceptance | Allowing natural brown-down from first frost to late spring | All buffalo grass lawns; non-negotiable | Branch 1, 3 | 1 |
| Thatch monitoring and aeration | Power-raking when thatch exceeds 3/4 inch; core aeration in late spring | Older lawns, compacted soils, high-traffic edges | Branch 2 | 3 |
1. Seed Establishment: The Patience-Tested Prairie Method
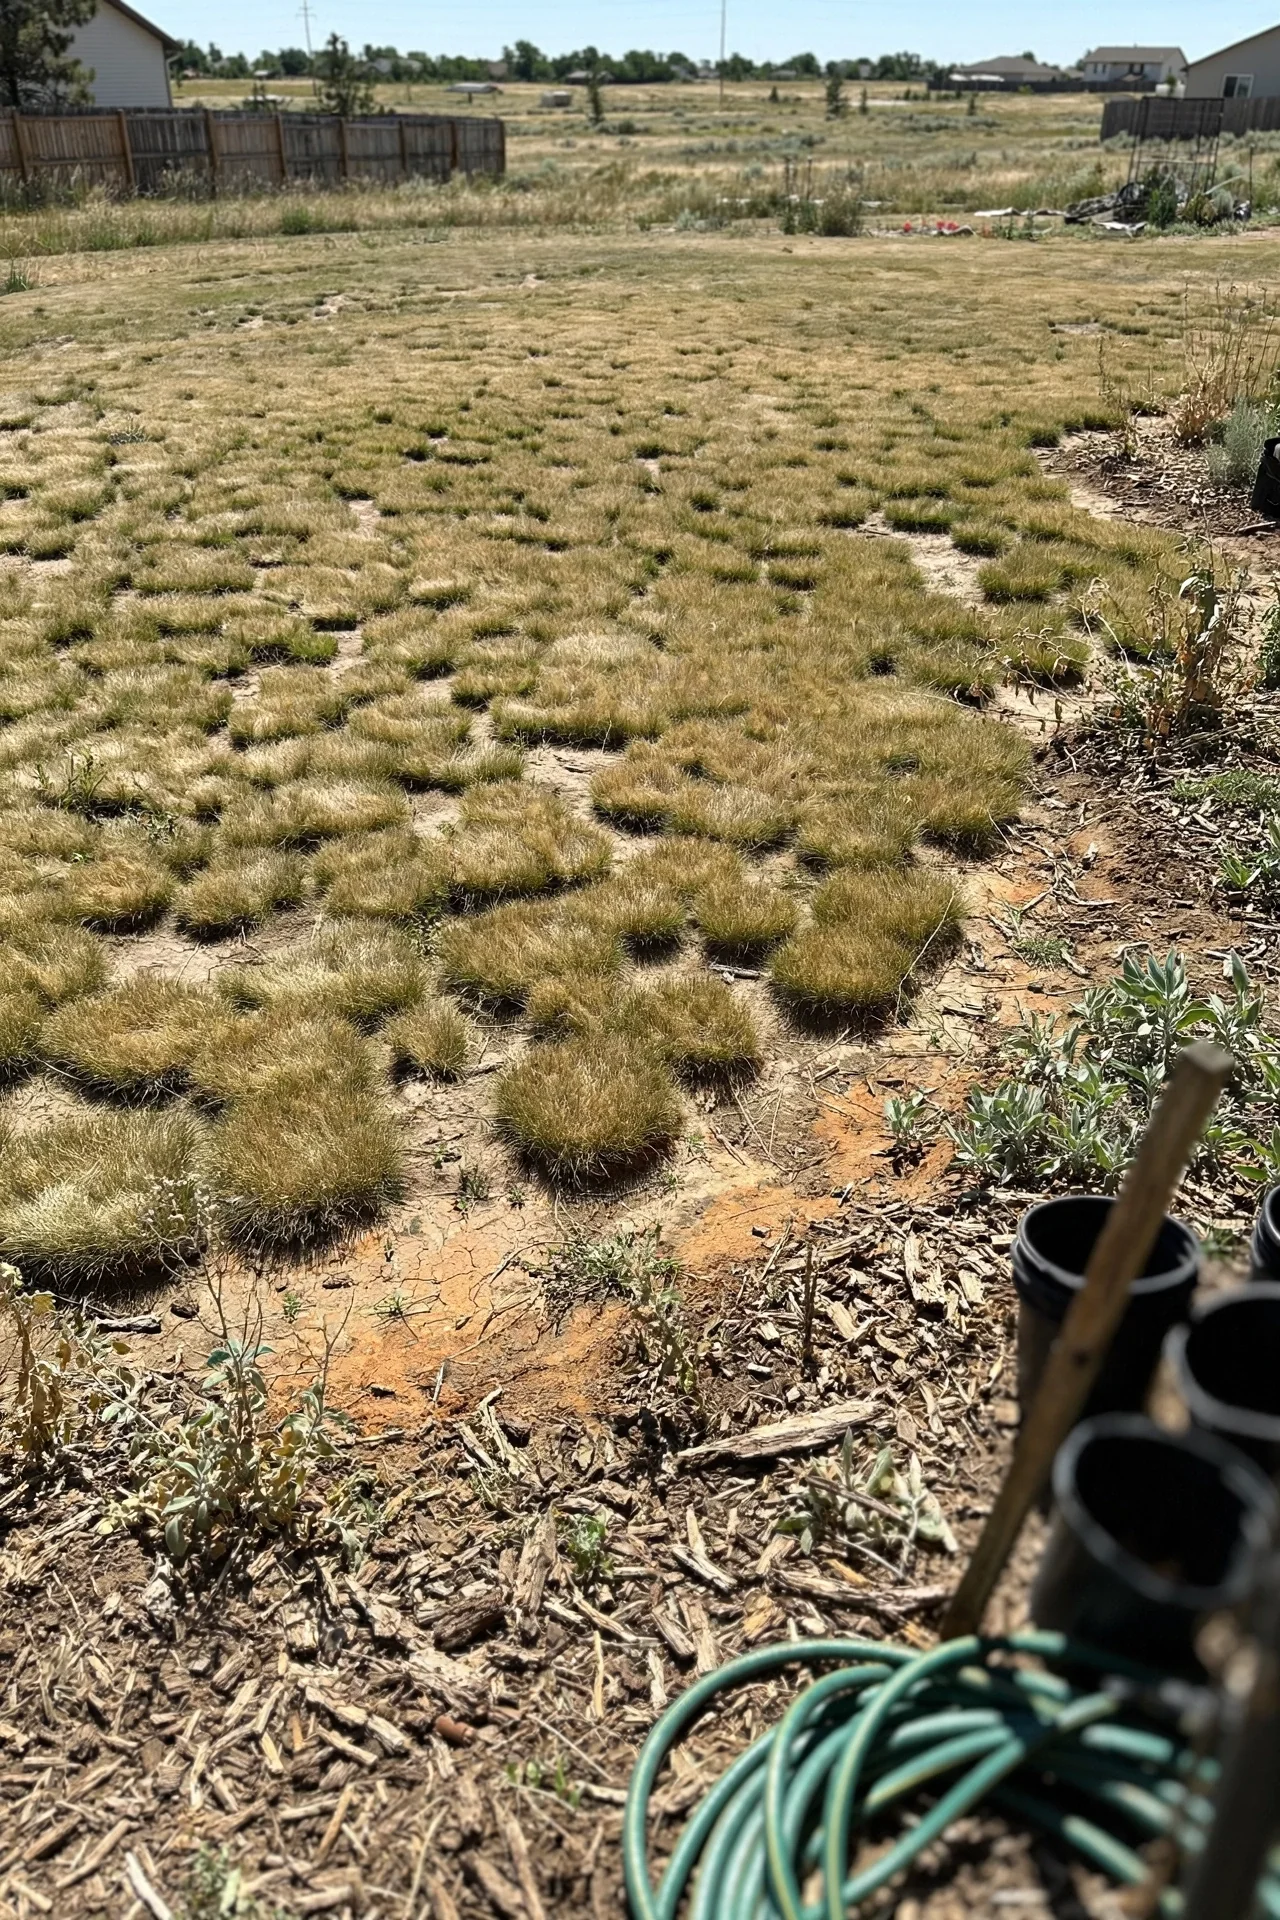
Best for: Branch 1 (Prairie Minimalist) where time is abundant and upfront cost must be kept low.
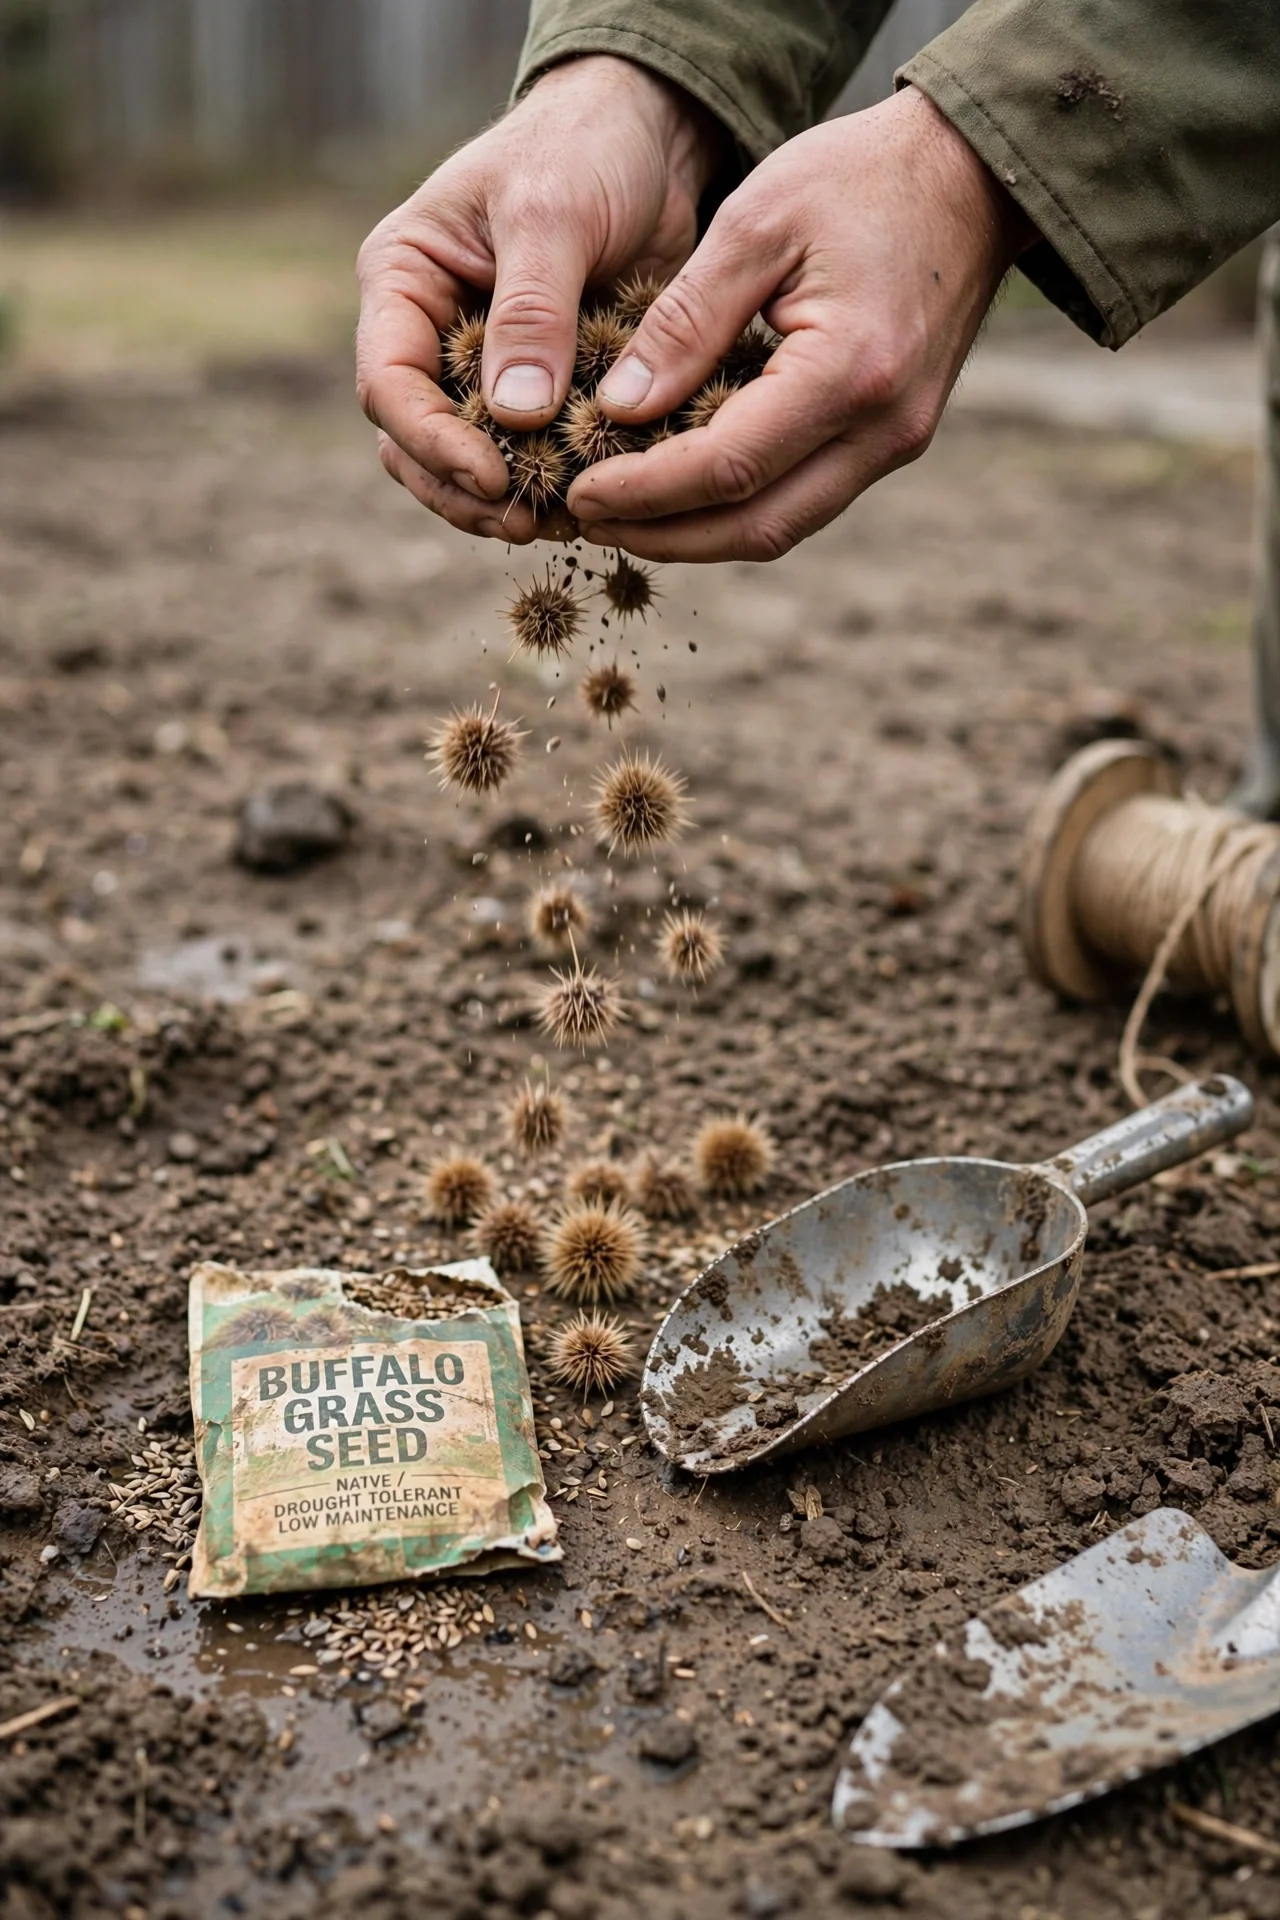
What: Direct seeding of untreated burrs or potassium-nitrate-primed seed onto a fully cleared, weed-free seedbed. This is not an overseed-into-existing-turf method; buffalo grass seedlings cannot compete with established vegetation during their slow juvenile phase.
Steps: (1) Kill existing vegetation with a non-selective herbicide, then till to 3 inches and irrigate to flush weed seeds. (2) Wait 10–14 days and remove any weed seedlings that emerge. (3) Sow burrs at 2–4 lbs per 1,000 sq ft when soil temperature reaches a consistent 60°F (typically late May through mid-July, depending on latitude). (4) Cover seeds no more than 1/2 inch deep, roll for soil contact, and apply straw mulch at one bale per 1,000 sq ft. (5) Water lightly every day for the first 2–3 weeks; reduce to every other day as seedlings appear. Expect germination in 10–30 days depending on soil warmth.
Constraint to respect: Seeded buffalo grass does not form a dense stand in year one. Extension research shows that June or July plantings can reach full coverage in 9–13 weeks under warm conditions, but August plantings may achieve less than one-quarter coverage before dormancy. Plan for a full two growing seasons before the turf fills in completely. If you cannot tolerate a patchy look during the establishment window, choose sod or plugs instead.
Common mistake: Applying pre-emergent herbicide the same spring you seed. Pre-emergents block grass seed germination as effectively as they block weed seeds. Wait until the buffalo grass is fully established (typically year two) before using pre-emergents for weed control. For more on timing weed prevention around seeding, see our guide to grass seed for overseeding.
2. Sod Installation: Instant Coverage, Higher Investment
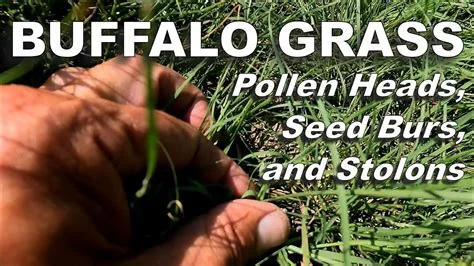
Best for: Branch 2 (Managed Native Lawn) where immediate use and erosion control justify the higher upfront cost.
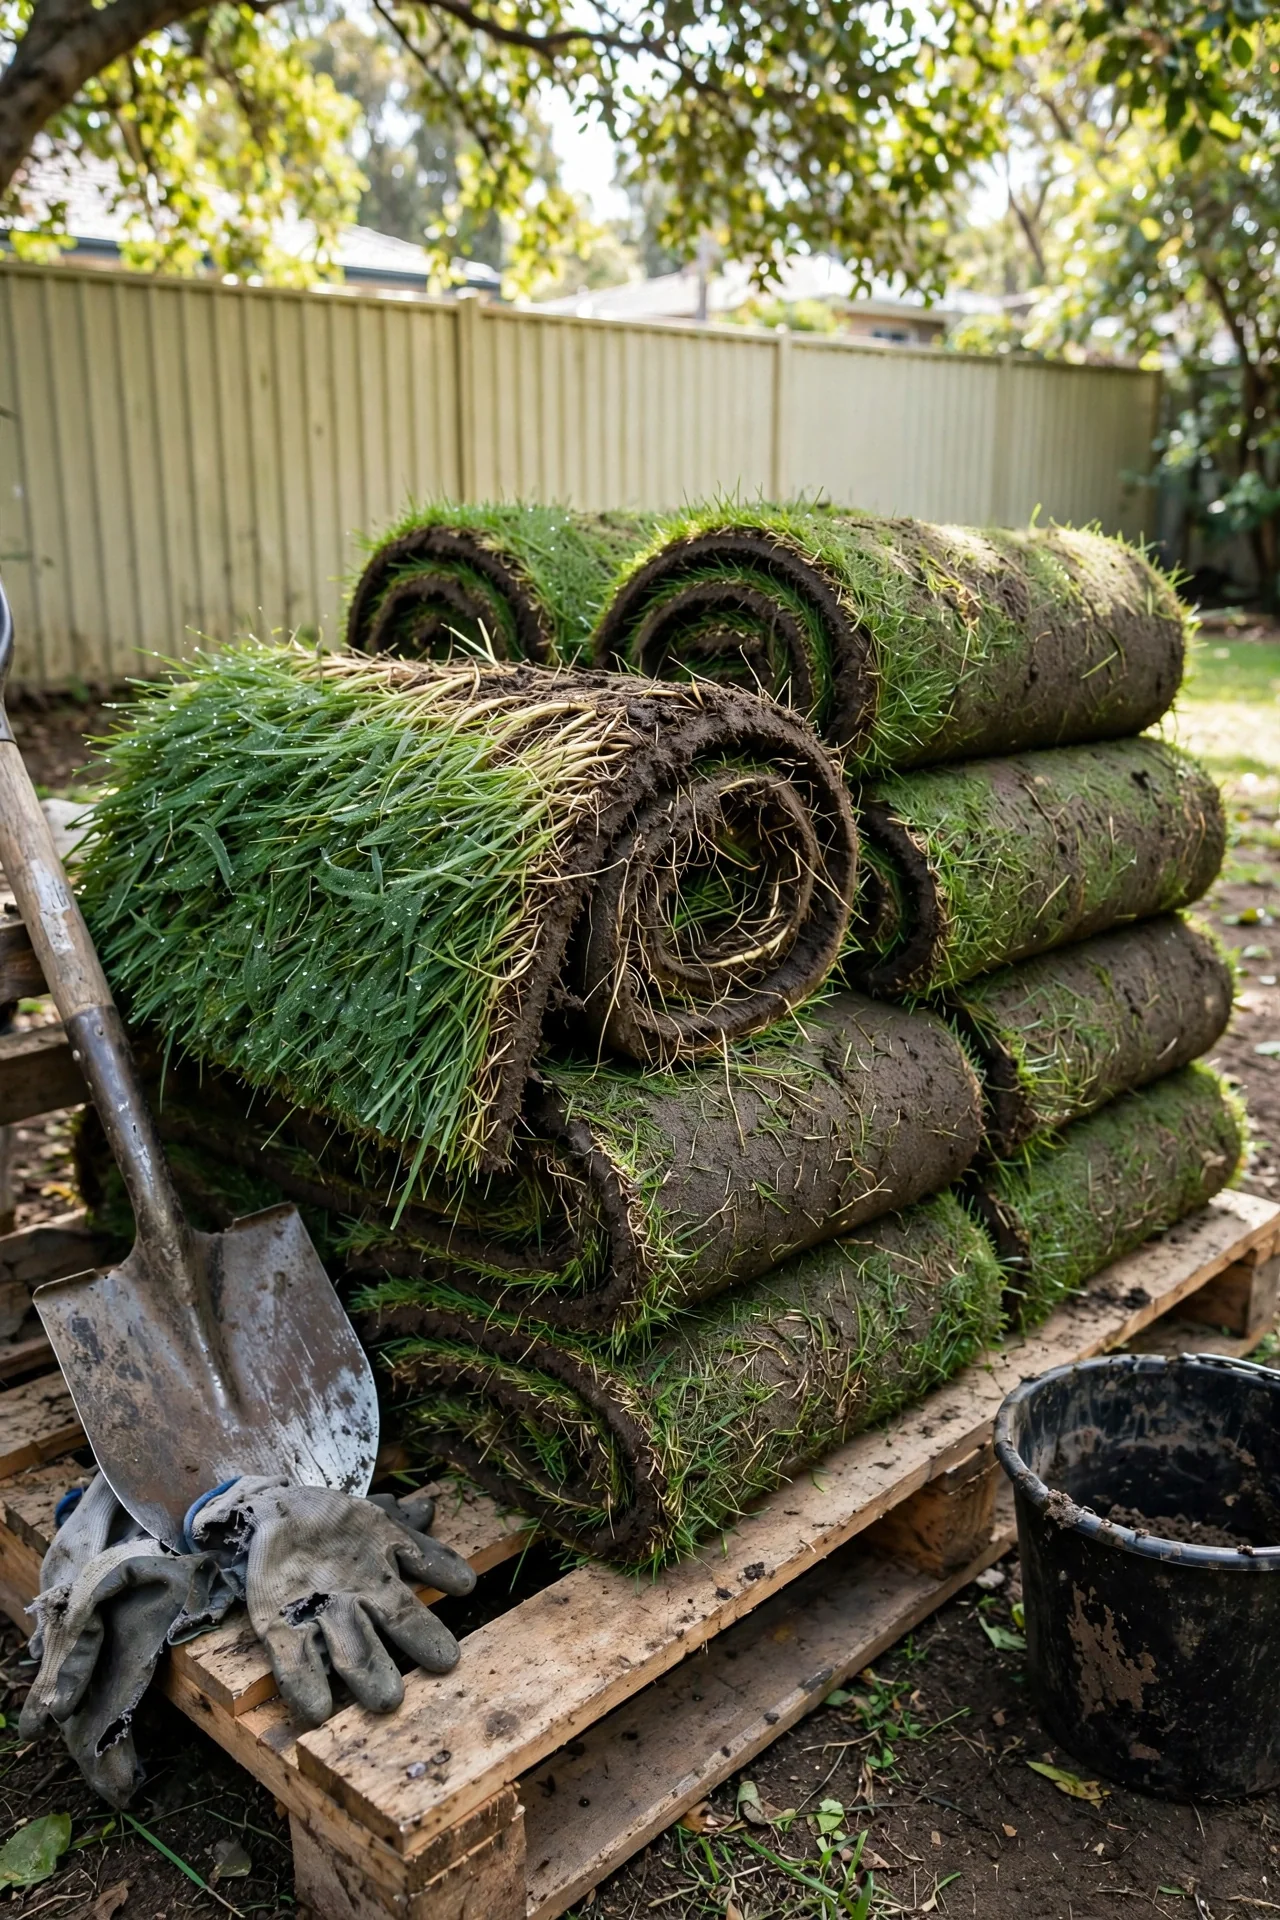
Sod provides an instant buffalo grass canopy, eliminating the weed-infested establishment gap that plagues seeded lawns. Plant sod from late May through early September, with soil moist but not saturated before installation. Stagger end seams like brickwork and roll or tamp for full soil contact. Water daily for the first 7–10 days, then transition to the deep-infrequent schedule within 3–4 weeks. The primary constraint is cost: sod runs higher per square foot than seed, and vegetative-only varieties like Prestige or UC Verde must be sourced as sod or plugs since they produce no viable seed. For a fuller breakdown of cost and timing tradeoffs, see our sod vs seed comparison.
3. Plug Planting: The Middle-Ground Establishment
Best for: Branch 1 (Prairie Minimalist) or Branch 3 (Reality Check) where budget falls between seed and sod and the gardener can commit to daily irrigation during the first 2–3 weeks.
Plugs sit between seed and sod on both cost and speed. Use plugs at least 2 inches in diameter, planted 2.5 inches deep, on 6-inch to 24-inch centers depending on how quickly you want full coverage. The governing rule: without daily supplemental irrigation for a minimum of 14 days, buffalo grass plugs will not survive the transplant window. After roots establish, spacing determines fill time. Plugs on 12-inch centers typically knit together within one full growing season; 24-inch spacing may require two seasons.
The edge case few guides mention: if you cannot commit to daily watering during establishment, plugs become the most expensive way to fail. Sod is actually more forgiving of occasional missed irrigations because the root mass arrives intact. Reserve plugs for situations where you can be present and consistent for the first month.
4. Soil Testing and Amendment: The Qualifying Gate
Best for: Branch 1 and Branch 2; mandatory for any Branch 3 site where you are trying to decide whether buffalo grass is even viable.
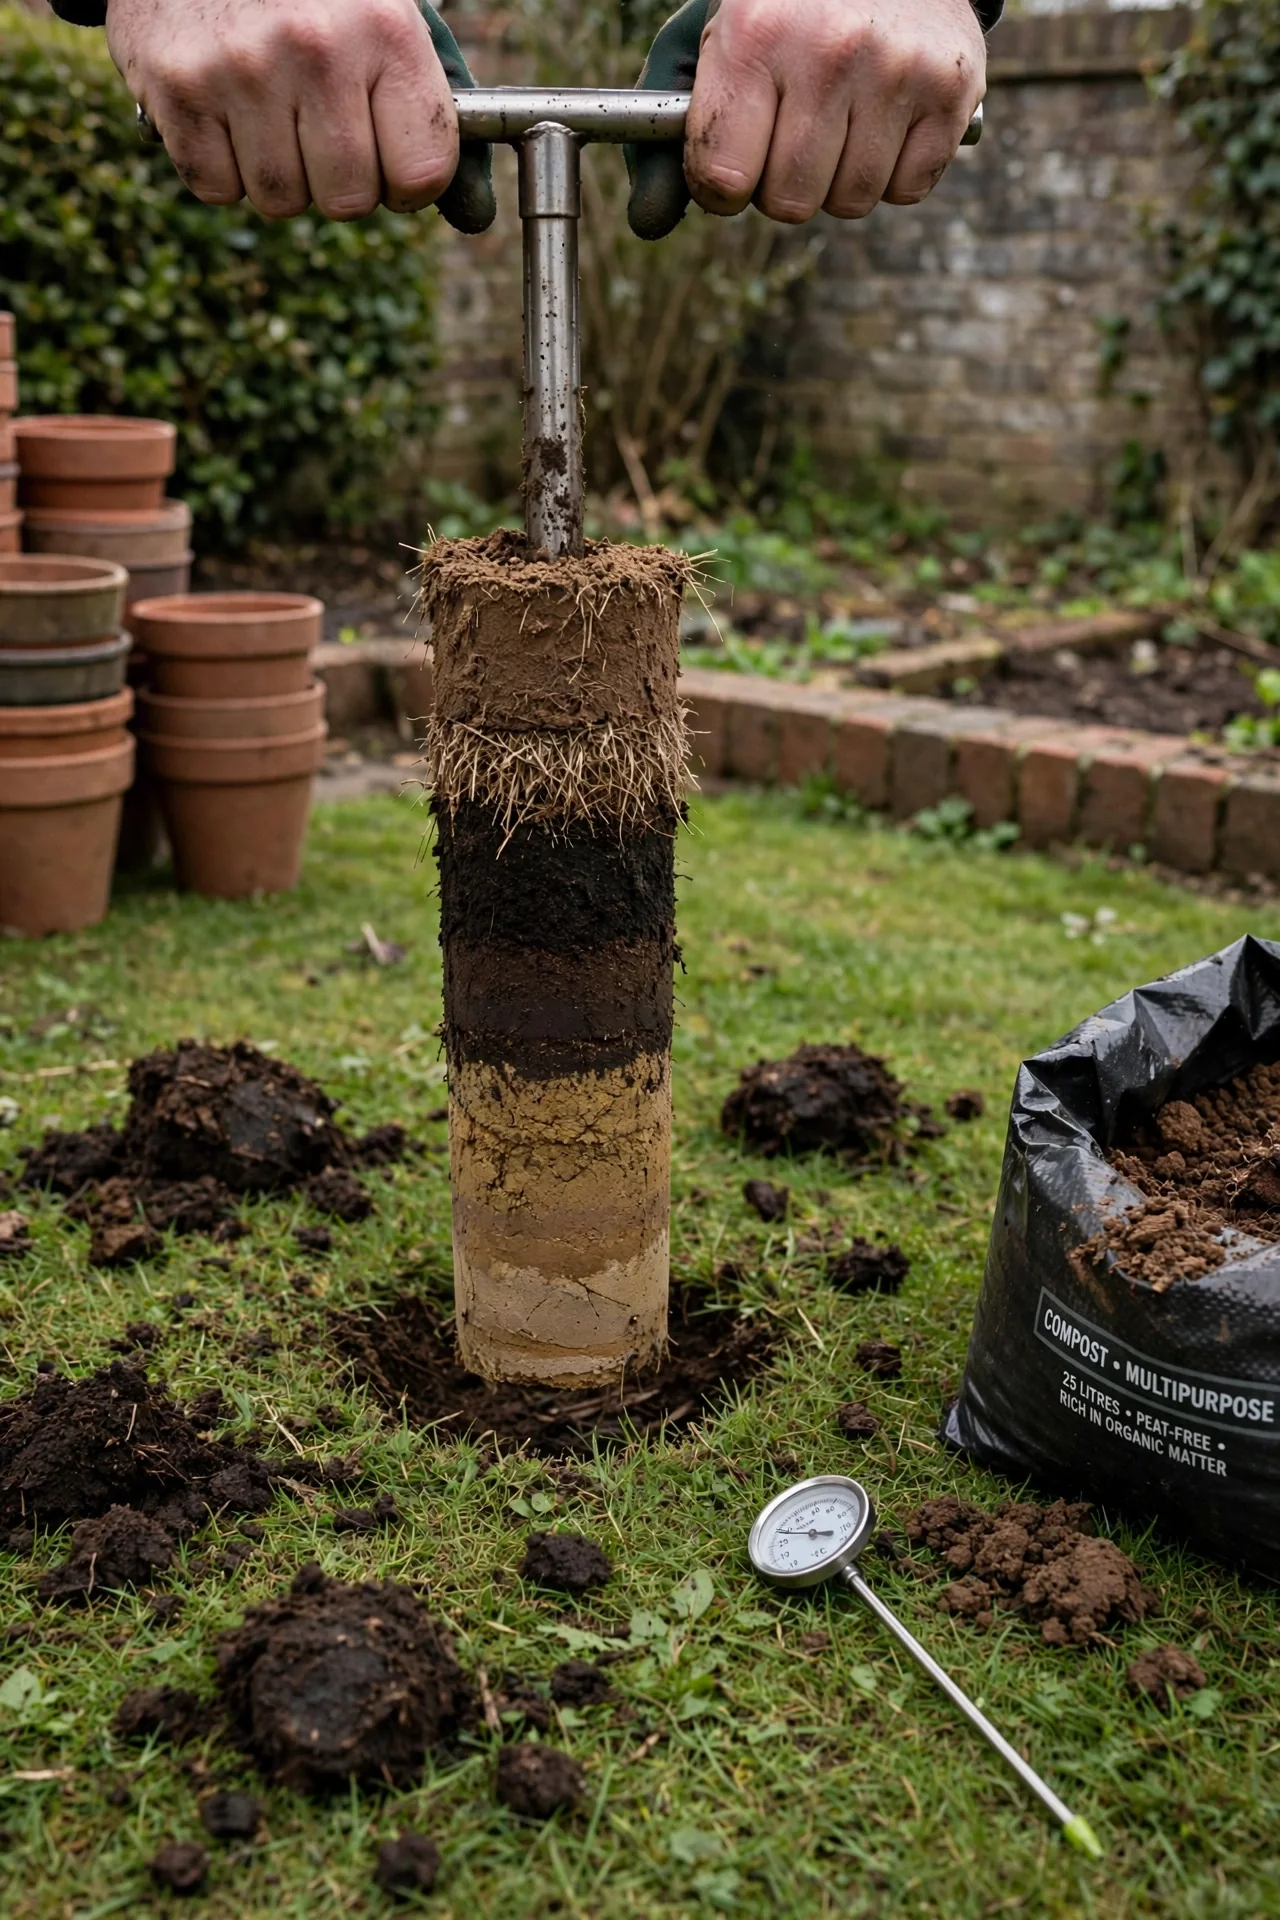
What: A pre-planting soil assessment measuring pH, drainage, and texture. Buffalo grass thrives in pH 6.5–8.0, adapts to moderately alkaline soils that would stress other turf species, and performs best in clay or loam textures. It struggles in sand deeper than 2 feet unless underlain by a heavier clay subsoil.
Steps: (1) Collect 8–10 soil cores from the planting area at a 4-inch depth, mix them in a clean bucket, and submit a composite sample to a university extension lab (not a hardware store kit). (2) While waiting for results, perform a drainage test: dig a 12-inch hole, fill it with water, let it drain, refill, and measure the drop. Soils that drain less than 1 inch per hour are too slow for buffalo grass. (3) Measure daily sun exposure with a solar path tracker or simple observation; flag any area receiving fewer than 6 hours of direct light.
The actionable threshold: If pH falls below 6.0 or drainage is persistently slow, buffalo grass is the wrong choice regardless of how much you amend. Do not attempt to force it. If pH is between 6.5 and 8.0 and drainage is adequate, proceed with confidence.
Mistake to avoid: Skipping the soil test and discovering a pH problem after the grass is installed. Buffalo grass tolerates poor fertility but does not tolerate acidic conditions below 6.0. For a complete walkthrough of the testing process, see our soil test guide for lawns.
5. Mowing Height Rules: The Single Largest Weed-Control Lever
Best for: Branch 1 and Branch 2; applies to every established buffalo grass lawn.
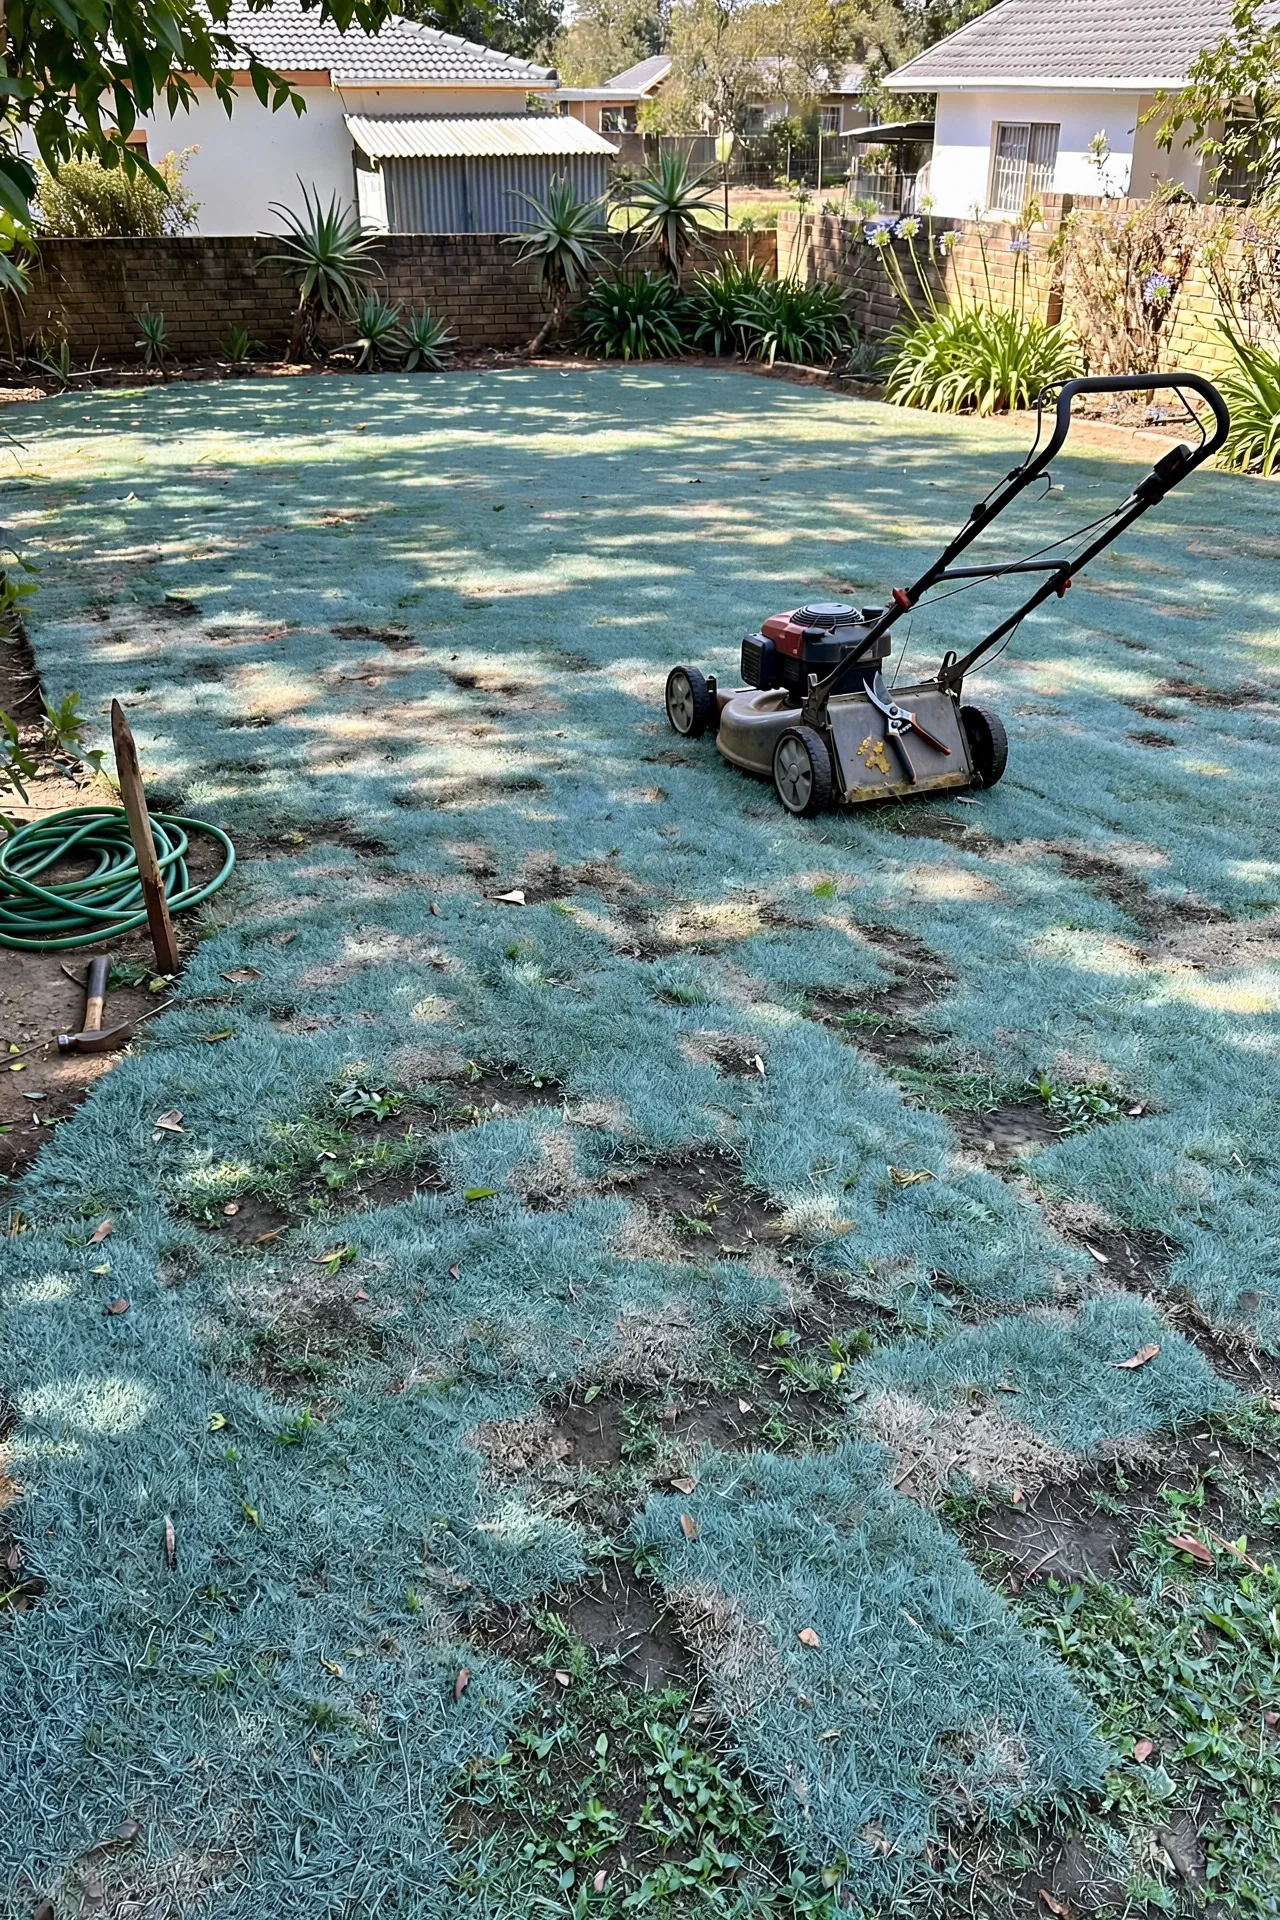
Buffalo grass mowing height is not a preference question. It is a functional setting that determines whether bermudagrass and other invaders can establish. Research from Texas extension programs recommends 3–4 inches for buffalo grass, partly because taller buffalo grass shades out bermudagrass stolons, the most aggressive warm-season invader. Cutting below 2 inches scalps the stolons and opens the canopy. Mow every 10–20 days during active growth; reduce to once monthly or stop entirely as the grass slows in late summer. For a complete species-by-species cutting height reference, see our best mowing height guide.
6. Deep Watering Protocol: Infrequent Soaking Over Daily Sprinkling
Best for: Branch 1 (Prairie Minimalist) where water conservation is the priority and the lawn is fully established (year two or later).
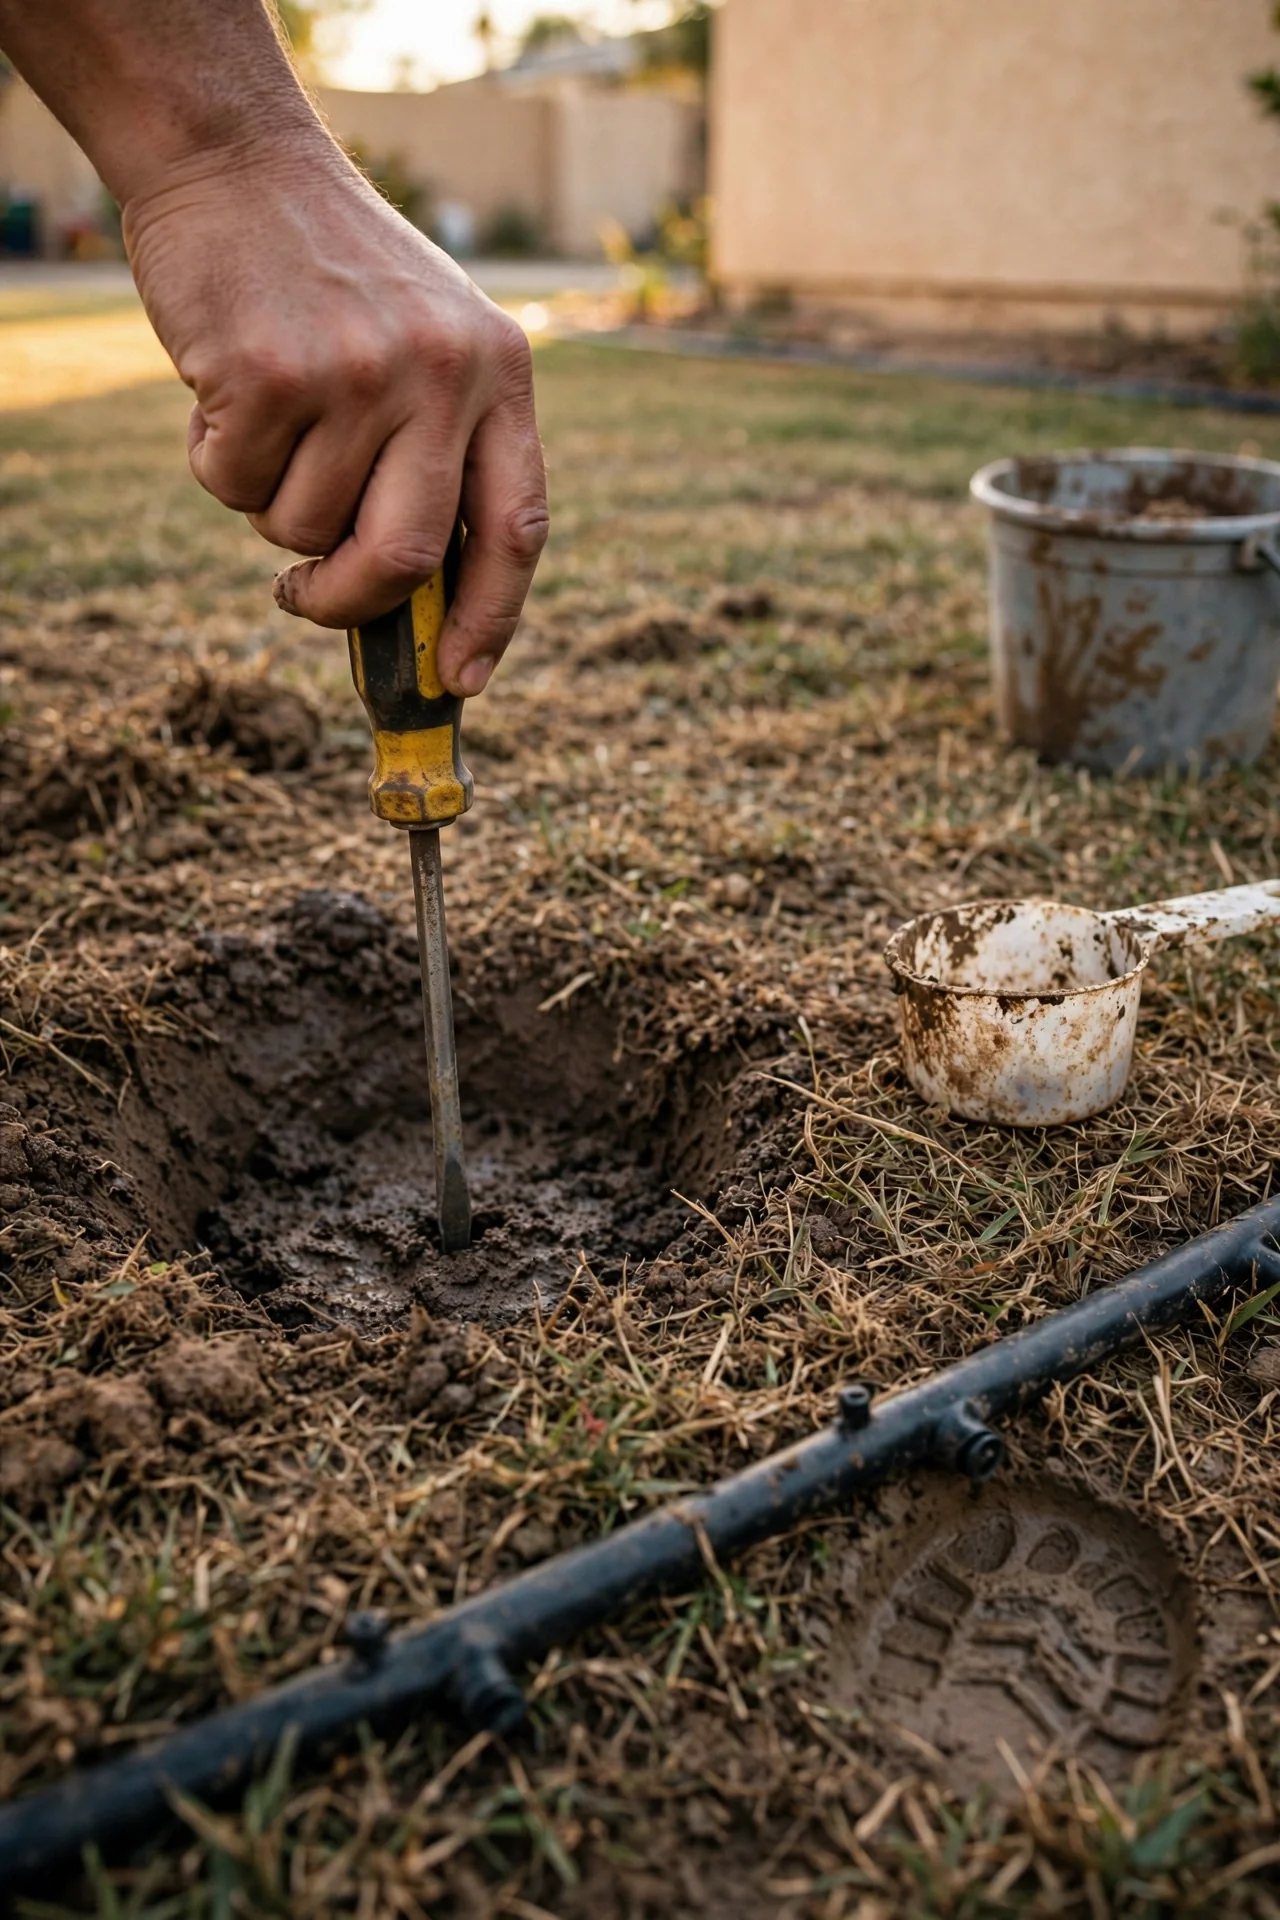
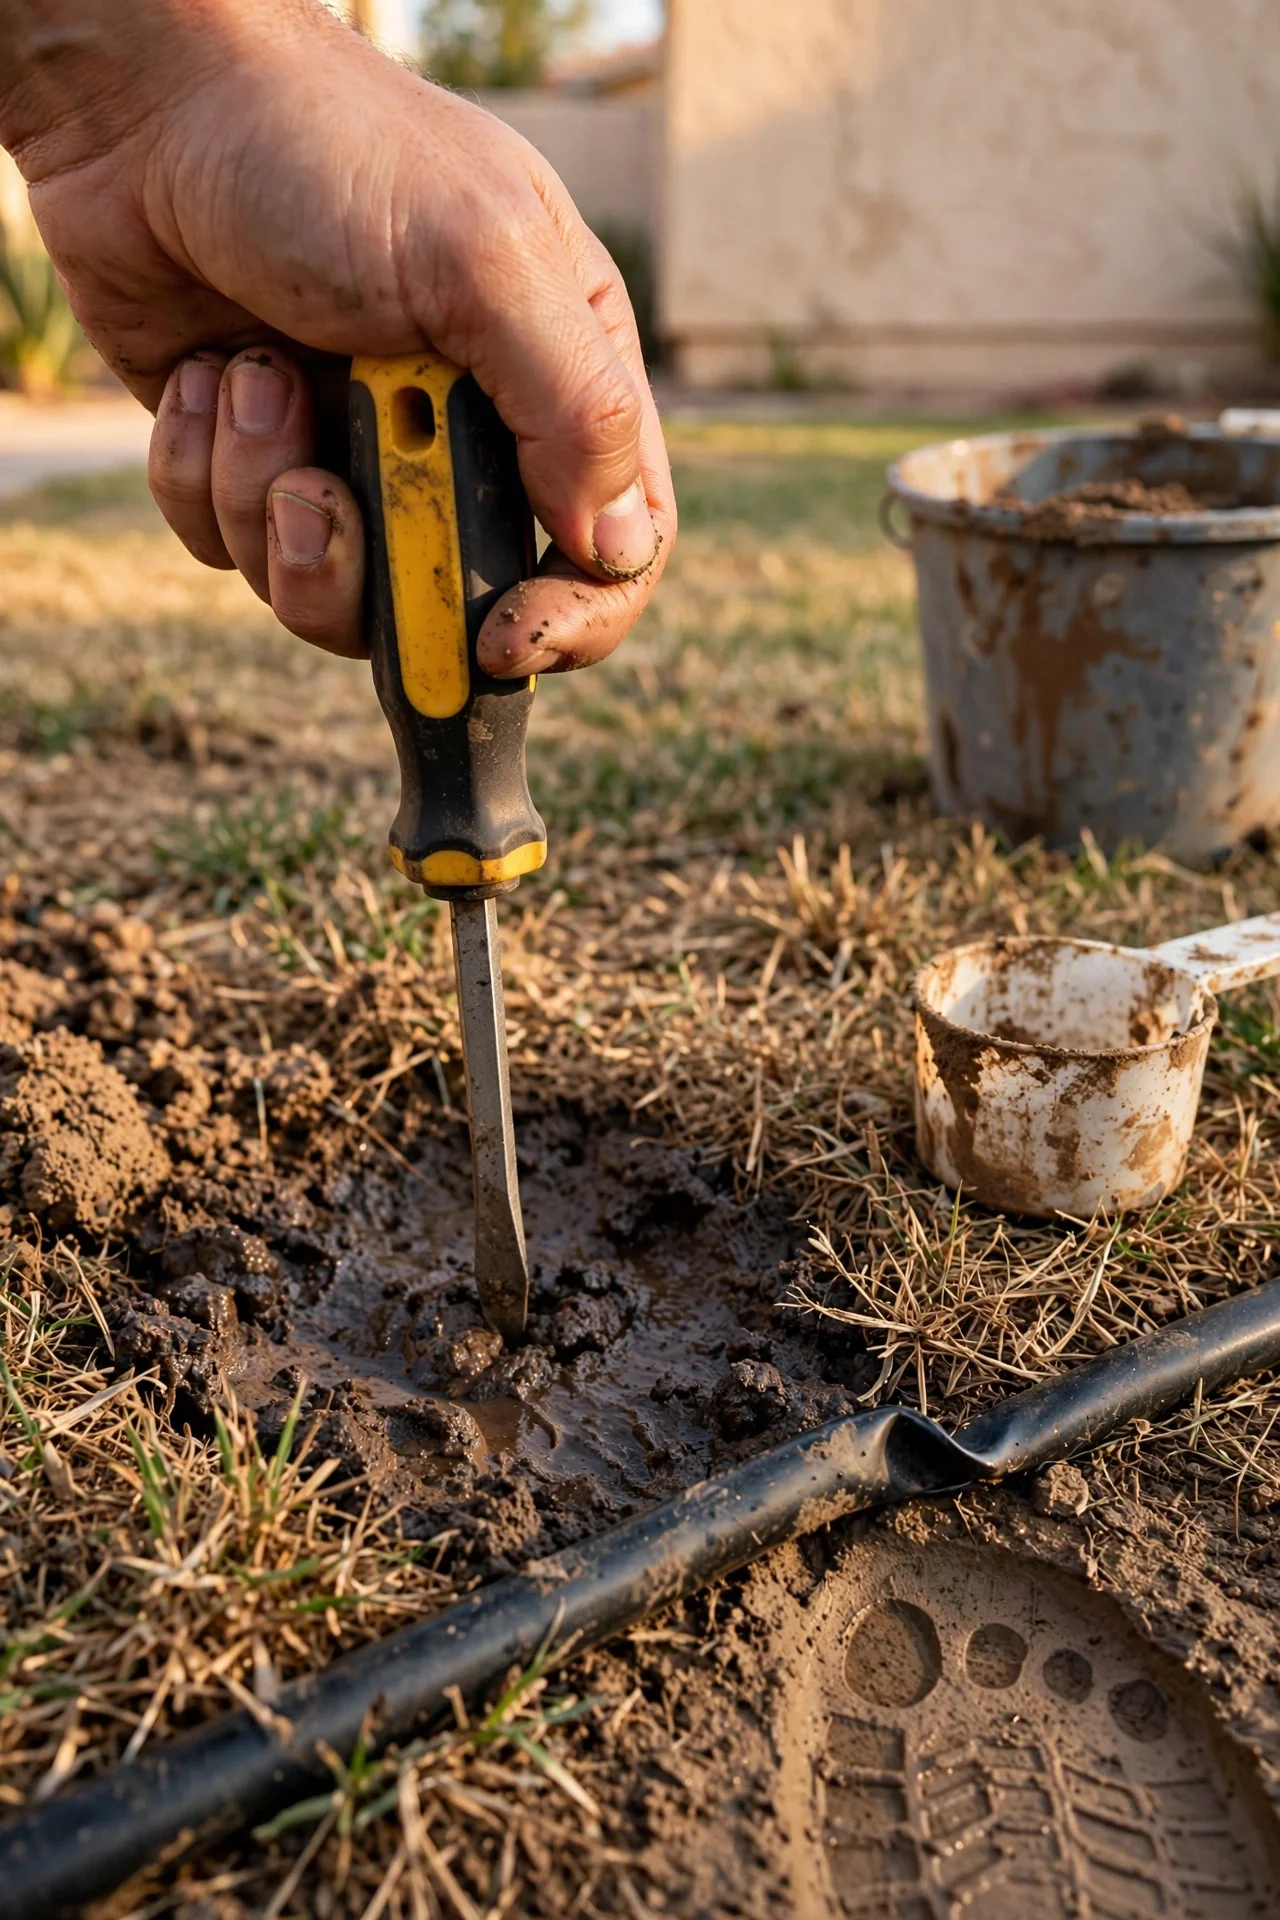
The single number that matters: water to a depth of 4–6 inches, verified with a screwdriver probe. Short, frequent sprinkling trains roots to stay shallow, making the lawn dependent on constant irrigation. Deep, infrequent watering pushes roots to follow moisture downward. Established buffalo grass on clay soil can survive on as little as 1 inch of water per month during summer; sandy soils require more frequent, lighter applications to avoid losing water past the root zone.
The adjustment rule: if the screwdriver stops at 2 inches and the soil feels dry, you are under-watering. If it sinks past 8 inches with no resistance, you are over-watering and wasting water while inviting weed competition. During extended drought, buffalo grass will enter dormancy and turn straw-colored; this is survival, not death. Watering to break dormancy repeatedly stresses the plant more than letting it rest.
For a broader discussion of lawn irrigation methods and scheduling, see our complete watering guide.
7. Timed Nitrogen Application: Feeding Without Overfeeding
Best for: Branch 2 (Managed Native Lawn) where color and density matter more than absolute minimal input.
What: A lean, precisely timed nitrogen program using 1–2 lbs of actual nitrogen per 1,000 sq ft per year, split into one or two summer applications. Buffalo grass evolved on low-fertility prairie soils; excess nitrogen invites weed invasion and thatch accumulation.
Schedule: Apply 1 lb nitrogen per 1,000 sq ft in early June when the grass is actively growing. If a second application is desired, apply another 1 lb in late July. Never fertilize after August 15: late nitrogen pushes tender growth that increases winterkill risk. Use a fertilizer with an N-P-K ratio of 3-1-2 or 4-1-2, with at least one-third of the nitrogen in slow-release form.
The mechanism constraint: Fertilizer must be watered in immediately after application to avoid leaf burn. Do not apply to drought-stressed or dormant grass; the roots cannot take up nutrients when the plant is not actively growing. If you miss the July window, skip it rather than fertilizing in September.
Common error: Applying the same fertilizer rate used on Kentucky bluegrass or tall fescue. Those cool-season grasses typically need 3–4 lbs nitrogen per 1,000 sq ft annually. Applying that rate to buffalo grass produces a surge of top growth that weakens the plant and opens the door to bermudagrass invasion. For a full warm-season fertilizer calendar, see our lawn fertilizer schedule.
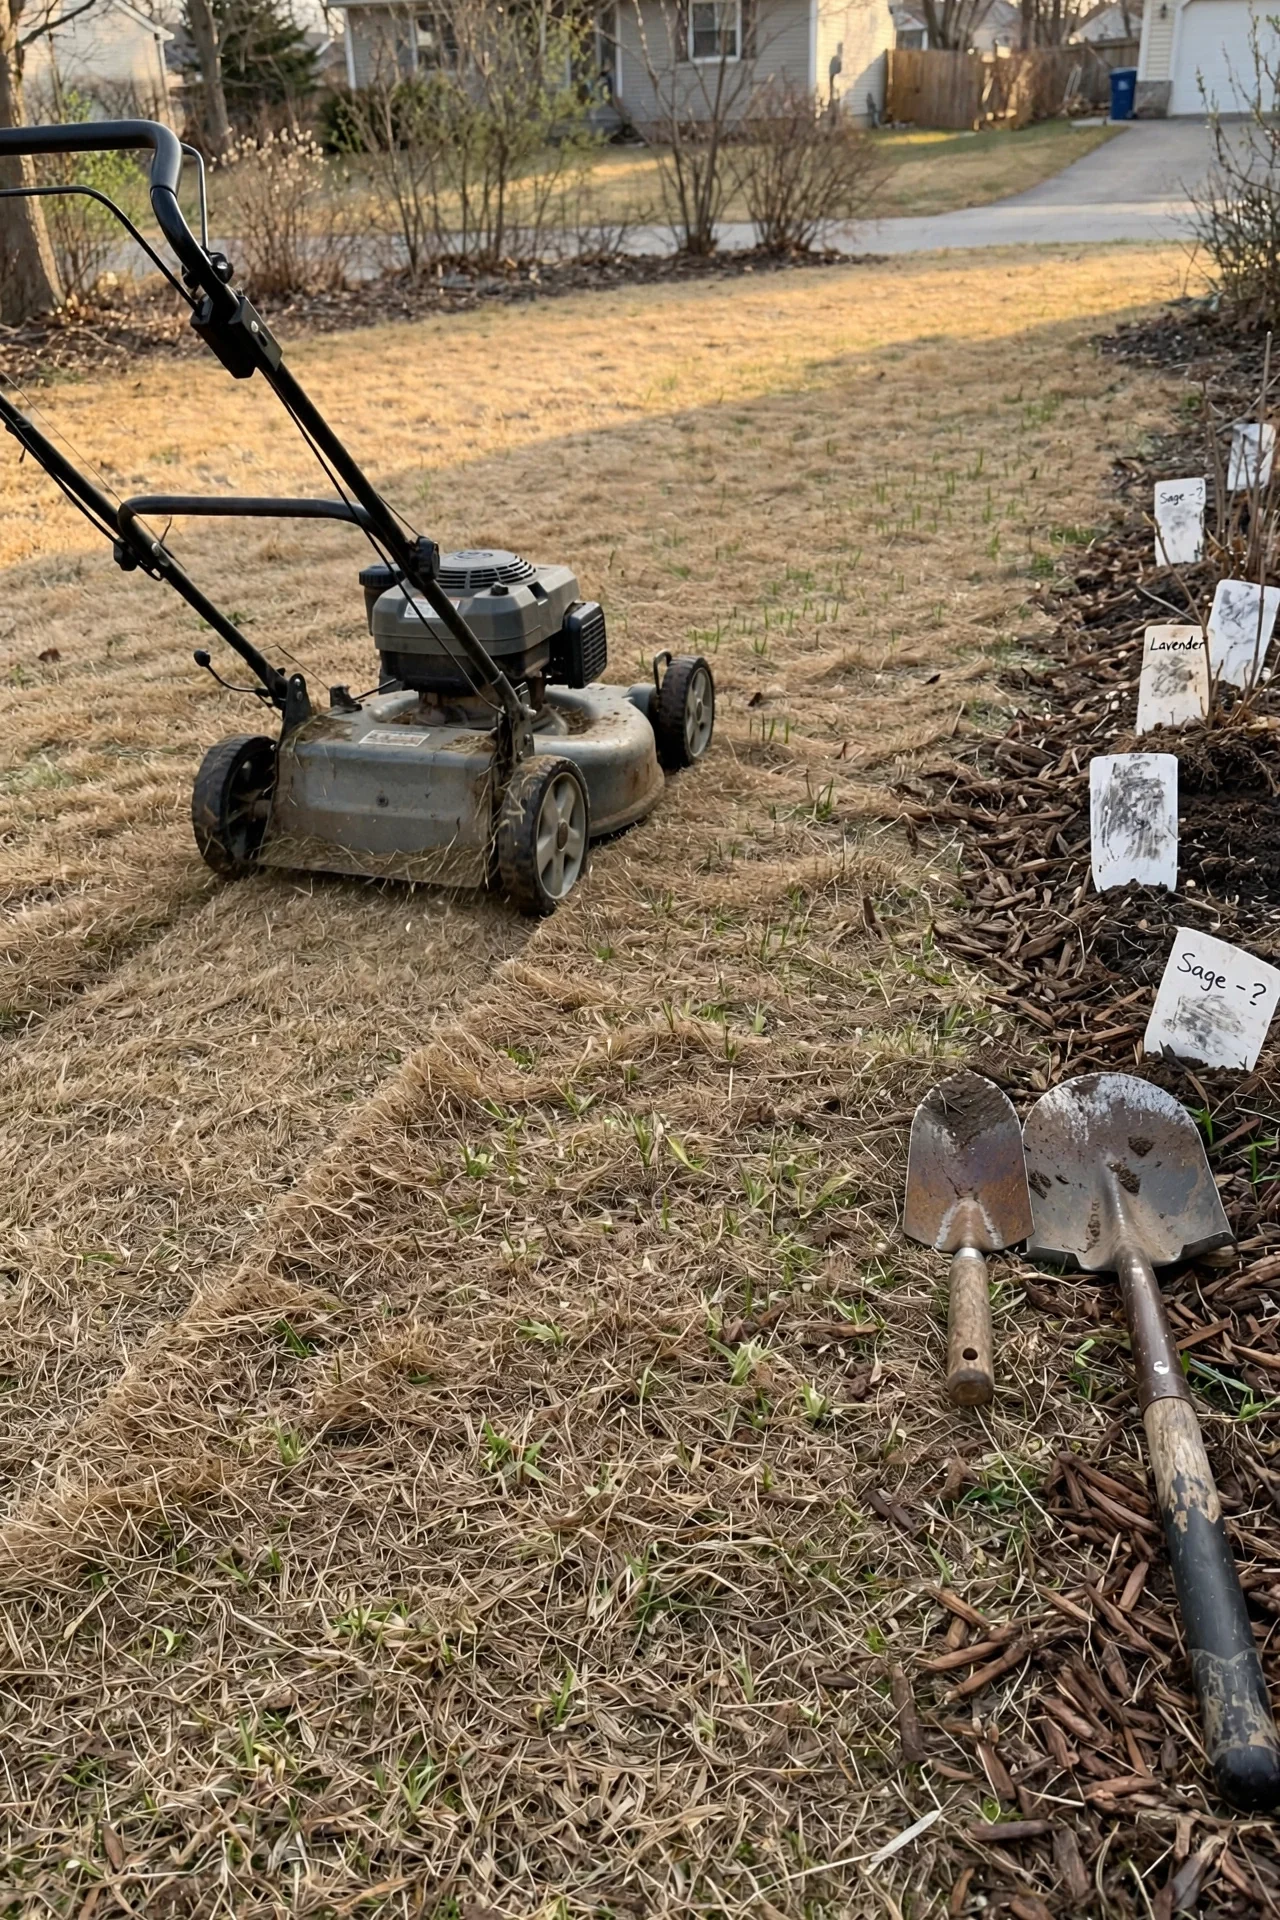
8. Spring Green-Up Timing: Mowing Dormant Foliage Before Growth Resumes
Best for: Branch 2 (Managed Native Lawn) where an earlier, tidier green-up is desired.
Buffalo grass greens up later than almost every other lawn grass: typically mid-to-late May in zone 5, and not until soil temperatures consistently exceed 55°F at a 2-inch depth. The one spring intervention that accelerates green-up without fertilizer is mowing off the dormant brown foliage before new green shoots emerge. Set the mower at 3–4 inches and remove the dead canopy in late winter or very early spring, before the first green tips appear. This exposes the soil surface to sunlight and warms the root zone faster. Do not scalp: cutting into the crown at this stage sets the plant back by weeks.
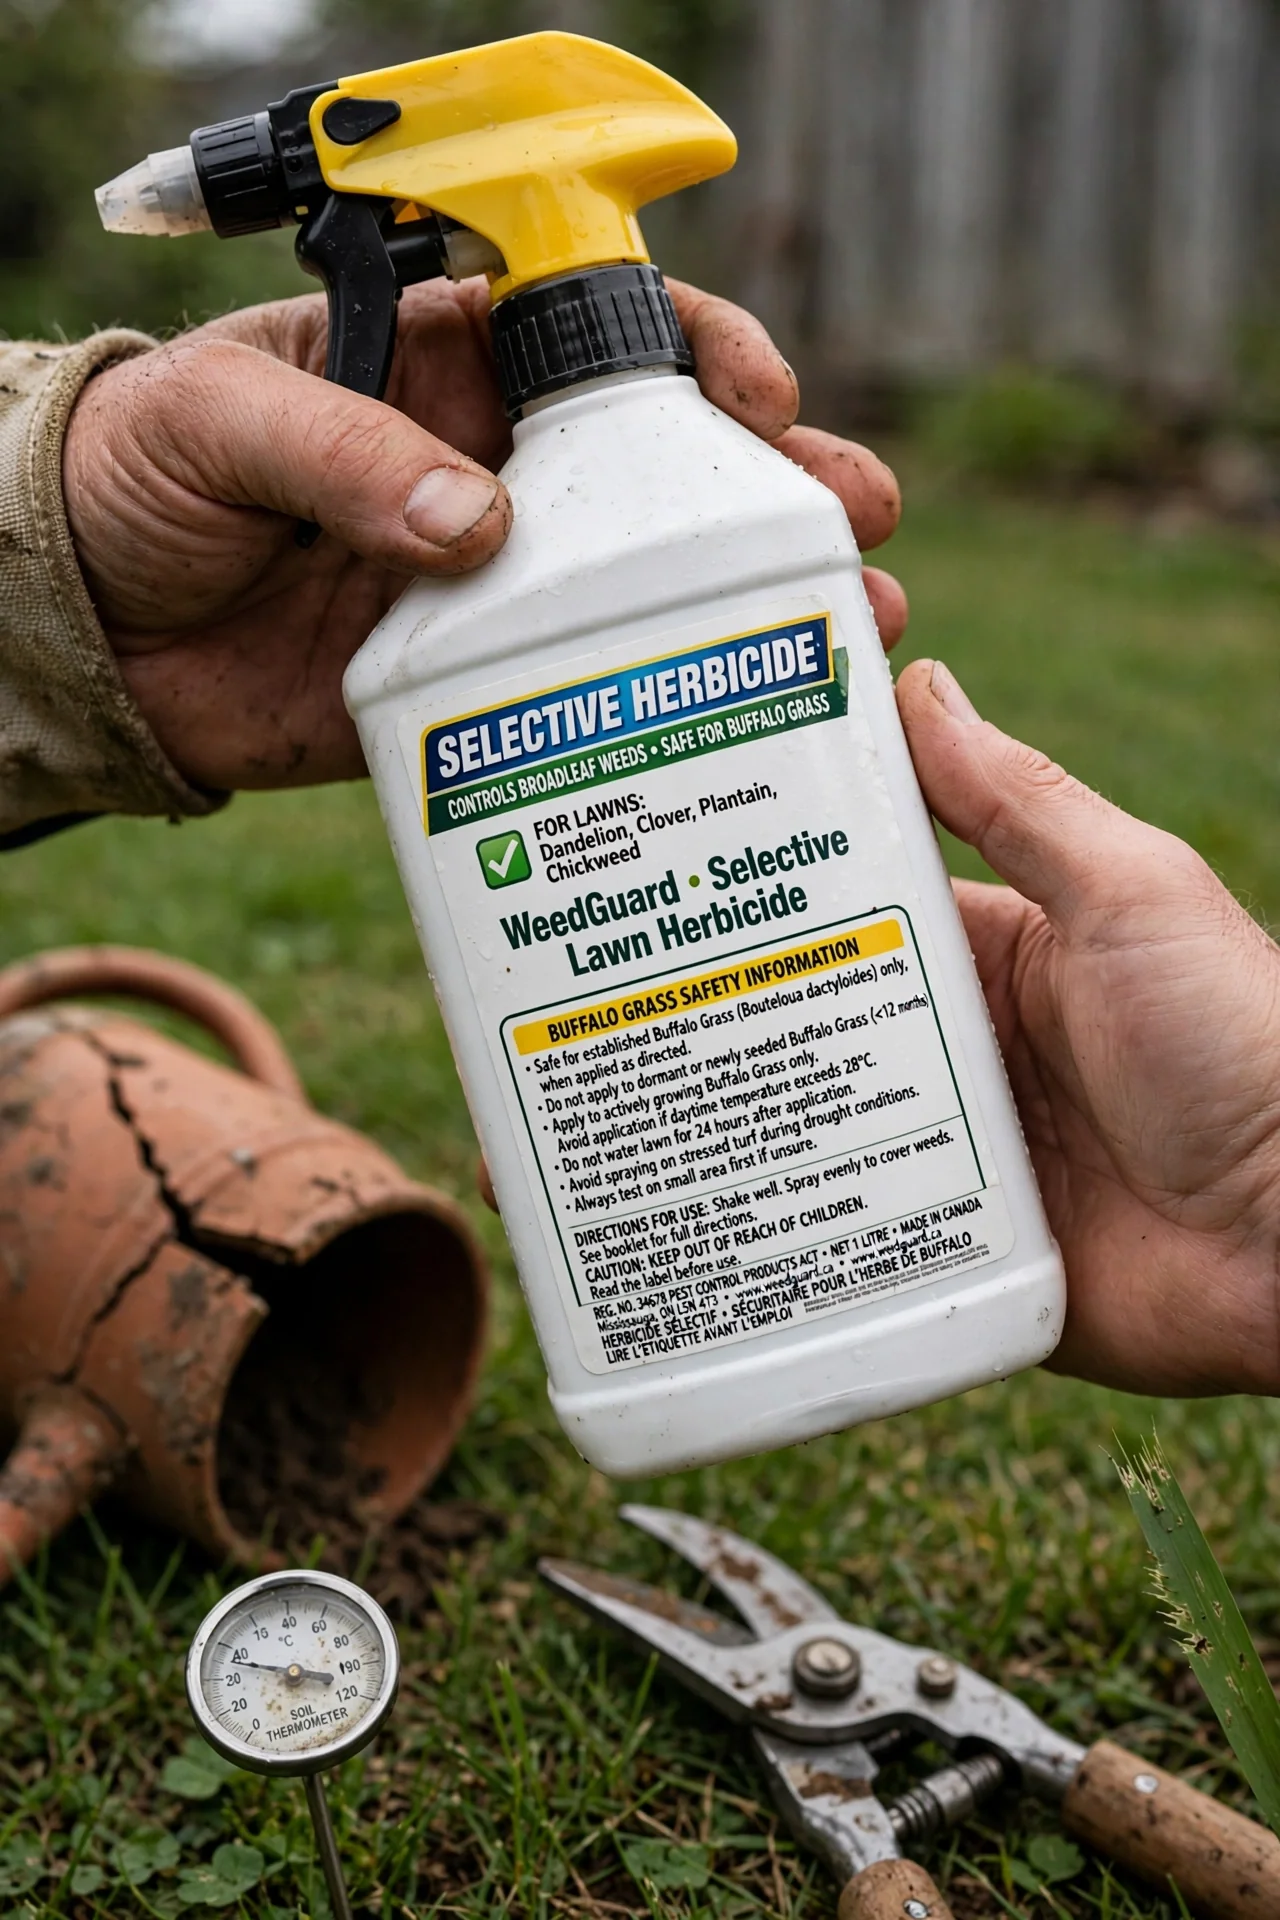
9. Selective Herbicide Compatibility: What Buffalo Grass Tolerates
Best for: Branch 2 (Managed Native Lawn) where broadleaf weeds like dandelion, plantain, bindii, and clover have established.
Buffalo grass is herbicide-sensitive compared to bermudagrass or zoysia. The safe active ingredients for broadleaf weed control are bromoxynil and MCPA, often formulated together in products specifically labeled for buffalo grass lawns. Avoid products containing dicamba or 2,4-D unless the label explicitly states buffalo grass safety; many broad-spectrum lawn weed killers will damage or kill buffalo grass.
The timing rule matters as much as the chemistry. Apply post-emergent herbicides when weeds are actively growing and the buffalo grass is fully green and actively growing, typically June through August. Never apply herbicides to dormant or drought-stressed buffalo grass. For winter annual weeds, the most effective treatment window is late October to early November, after the buffalo grass has entered dormancy but while winter weeds are still small and actively translocating herbicide to their roots. For more on herbicide selection and timing, see our post-emergent weed control guide.
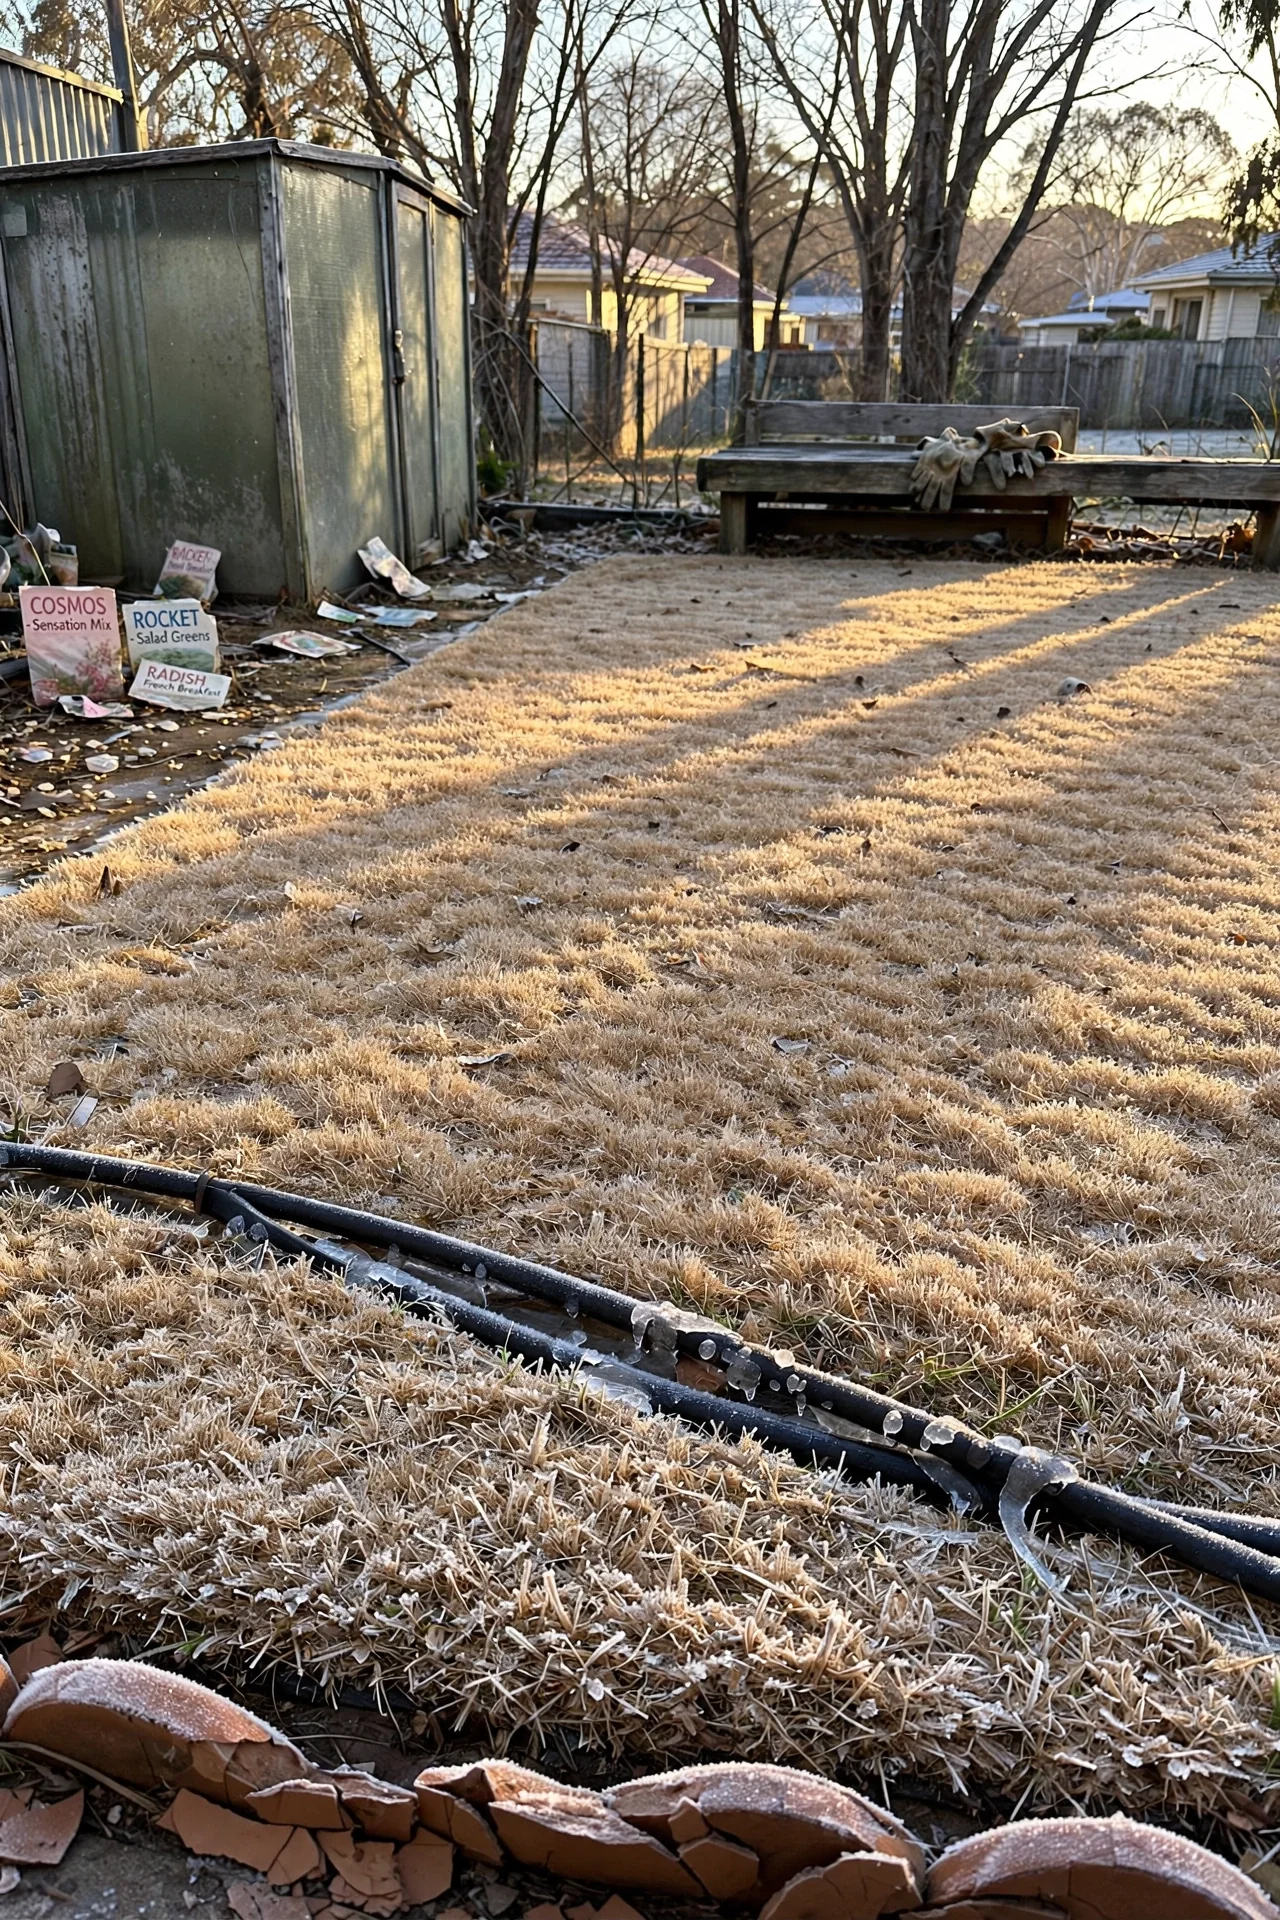
10. Winter Dormancy Acceptance: The Non-Negotiable Season
Best for: Branch 1 (Prairie Minimalist) and Branch 3 (Reality Check), where understanding dormancy determines whether buffalo grass is the right choice at all.
What: Buffalo grass enters full dormancy at first frost and remains tan, straw-colored, or pale brown until soil temperatures return to roughly 55°F in spring. In zone 5, the dormant period can span October through mid-May, roughly 7 months. In zone 8, dormancy may only last December through February. This is not a symptom of poor health; it is the plant’s survival strategy for cold, drought, or both.
What you can do: Avoid mowing in late fall if you want the greenest possible winter appearance. Research from Colorado State University Extension indicates that leaving the green leaf tips intact through winter preserves more color than mowing short before dormancy. Apply winter annual weed control in late October or early November, after the buffalo grass is fully dormant, to target weeds that will compete for spring resources.
The disqualifying factor: If a brown lawn for more than half the year is unacceptable, buffalo grass in zones 4–6 is the wrong species. No amount of winter watering, fertilizer, or product will keep it green. The alternative action is to either accept dormancy as the tradeoff for in-season low maintenance, or select a cool-season grass that stays green through winter but requires summer irrigation.
For an alternative approach that stays green year-round in suitable climates, see our bermuda grass care guide.
11. Thatch Monitoring and Aeration: Preventative Maintenance for Older Lawns
Best for: Branch 2 (Managed Native Lawn) where lawns are 3+ years old or subject to regular foot traffic.
Buffalo grass spreads by above-ground stolons that naturally create a thatch layer. When thatch exceeds 3/4 inch thick, water, fertilizer, and air cannot reach the soil. The intervention is power-raking set just deep enough to pull thatch without tearing stolons, followed by core aeration in late spring when the grass is actively growing. De-thatch once every 2–3 years, not annually; over-aggressive de-thatching damages the stolons that the plant depends on for lateral spread.
Starter Stack: What to Choose First
Branch 1: The Prairie Minimalist Starter Stack
Start with Item 4 (Soil Testing) before spending a dollar on seed. A pH below 6.0 or poor drainage makes everything else irrelevant. If the soil qualifies, pair Item 1 (Seed Establishment) with Item 6 (Deep Watering Protocol). The synergy: a properly prepared seedbed plus deep, infrequent watering drives roots to follow moisture downward, producing a self-sufficient stand that needs little beyond the first season. Budget roughly $0.10–$0.20 per square foot for seed and mulch materials; expect 60–90 days of attentive watering during establishment. Time commitment during year one is approximately 20–30 minutes of watering every 1–3 days, tapering after the first month.
Branch 2: The Managed Native Lawn Starter Stack
Start with Item 2 (Sod Installation) to eliminate the weed-prone establishment window, then add Item 7 (Timed Nitrogen Application) starting the June after installation. The synergy: sod gives you an immediate, dense canopy that resists weed invasion from day one, and the lean nitrogen program maintains color and density without the thatch buildup that over-fertilized buffalo grass develops. Budget roughly $0.80–$1.50 per square foot for sod materials and installation; time commitment after the initial 10-day establishment window drops to mowing every 2–3 weeks and two fertilizer applications per summer.
Branch 3: The Reality Check Starter Stack
Start with Item 4 (Soil Testing) and Item 3 (Plug Planting) only on a small test plot, not the entire lawn. The synergy: a $50 soil test plus a $30 tray of plugs on a 10-foot by 10-foot trial area costs less than $100 and reveals within one season whether buffalo grass can survive your specific conditions. If the plugs thrive, expand. If they thin out or die, you have saved thousands of dollars and months of frustration. Time commitment: daily watering for the first 3 weeks, then weekly observation.
When This Won’t Work
Failure condition 1: Shade exceeding 4 hours of direct sun blockage per day. Buffalo grass is a full-sun prairie species. Under tree canopies, on north-facing slopes, or in yards with tall fences, the grass thins progressively each year until bare soil dominates. No fertilizer or watering schedule compensates for insufficient light. The measurable threshold: use a sunlight tracking app or observe the area every hour from 9 AM to 5 PM on a clear summer day. If direct sun lands on fewer than 6 of those 8 hourly checks, buffalo grass will fail. The alternative for shaded sites is fine fescue (cool-season, shade-tolerant, still drought-tolerant once established) or a shade groundcover such as native violets or ajuga.
Failure condition 2: Sand deeper than 2 feet with no underlying clay subsoil. Buffalo grass evolved on the heavy clay and loam soils of the Great Plains. In deep sand, water and nutrients drain past the root zone too quickly for the grass to access them. The stolons also struggle to anchor in loose, shifting sand. If your soil feels gritty and fails to form a ribbon when squeezed moist, and the sandy layer extends past 2 feet (verify with a soil probe or post-hole digger), choose a species adapted to sandy conditions instead. Bermudagrass, while higher-maintenance, handles sand far better than buffalo grass. For repairing patches that have already failed, see our guide to fixing bare spots.
Choosing the Right Option for Your Situation
Budget Threshold
Seed costs the least upfront (roughly $0.10–$0.20 per square foot) but demands the most labor and patience. Sod runs $0.80–$1.50 per square foot installed but eliminates the weed-infested first year. Plugs fall between the two. If your budget is below $300 for an average suburban lawn (approximately 2,500 sq ft), seed is the only viable option. If you can invest $800–$1,500, sod accelerates the timeline by 12–18 months. The budget question is really a time-versus-money tradeoff: cheaper upfront means 2 years to full coverage; more expensive upfront means a usable lawn in 4–6 weeks.
Time Threshold
Seed requires daily attention during the first 3 weeks of germination and consistent monitoring through the first full growing season. If you travel frequently during summer or cannot commit to being present for at least the first month after planting, eliminate seed as an option. Sod requires 7–10 days of daily watering, then tapers to weekly deep watering. Plugs require daily watering for 2–3 weeks, then every-other-day for another 2 weeks. If none of these schedules fit your availability, buffalo grass establishment is not feasible without hiring irrigation setup.
Technical Constraint: Herbicide Sensitivity
If your existing lawn has a heavy weed seed bank (dandelions, crabgrass, bindweed), and you plan to use broad-spectrum herbicides to control them, verify that your chosen herbicide is labeled safe for buffalo grass before planting. Many common lawn weed killers contain active ingredients that buffalo grass cannot tolerate. The safe options are narrower than for bermudagrass or fescue. If you rely on a lawn service that uses standard herbicide mixes, confirm buffalo grass compatibility with them before committing; most conventional lawn care programs are designed for cool-season grasses and will damage buffalo grass.
Yes/No Checklist:
- Does your lawn receive at least 6 hours of direct sun on a clear summer day? Yes → proceed. No → choose a shade-tolerant alternative.
- Does your soil drain at a rate of at least 1 inch per hour? Yes → proceed. No → improve drainage or choose a different grass.
- Can you tolerate a tan-brown lawn for 5–7 months in zones 4–6 (or 2–4 months in zones 7–8)? Yes → proceed. No → choose a cool-season grass.
- Are you able to water daily during the first 2–4 weeks of establishment? Yes → proceed with any method. No → choose sod only or delay planting until you can be present.
Expert Q&A
Can I overseed buffalo grass into an existing cool-season lawn?
No. Buffalo grass seedlings cannot compete with established turf. The existing grass must be completely removed, either by non-selective herbicide application followed by tillage, or by solarization over a full summer. Any remaining cool-season grass will out-compete the slower-growing buffalo grass seedlings. Plan for a full renovation, not an overseed.
Why does my buffalo grass lawn look patchy even though I water regularly?
Likely causes in order of probability: (1) shade from trees or structures that blocks more than 4 hours of direct sun; (2) soil compaction preventing root penetration; (3) sandy soil that drains too quickly, starving roots between waterings. Probe the patchy areas with a screwdriver. If it resists at 1–2 inches, compaction is the issue; aerate in late spring. If the screwdriver sinks effortlessly past 8 inches and the soil feels gritty, sand drainage is the culprit.
What is the difference between US native buffalo grass and Australian buffalo grass varieties?
They are different species. North American buffalo grass is Bouteloua dactyloides, a fine-bladed, very drought-tolerant prairie native. Australian “buffalo grass” typically refers to Stenotaphrum secundatum (commonly called St. Augustine grass in the US), which has a wider blade, better shade tolerance, and higher water requirements. The care instructions in this guide apply to Bouteloua dactyloides; if you have Australian buffalo (Sir Walter, Palmetto, Sapphire), follow Stenotaphrum-specific guidance instead.
How long before I can walk on a newly seeded buffalo grass lawn?
Light, occasional foot traffic can begin when the seedlings reach 3 inches tall, typically 6–8 weeks after germination. However, the lawn will not tolerate concentrated traffic (children playing, pet running paths) until the stolons have knitted into a dense mat, which takes a full growing season or longer. If you need a traffic-ready lawn within 2 months, seed is the wrong establishment method; use sod instead.
Does buffalo grass need to be watered in winter?
No. Once dormant, buffalo grass requires no supplemental irrigation. Watering dormant buffalo grass in winter increases the risk of crown rot and fungal disease without providing any benefit. The only exception is in arid regions (desert Southwest, inland Australia) where winter rainfall is essentially zero and soil may desiccate to the point of root damage; in those cases, a single deep watering once every 4–6 weeks during extended dry winter periods is sufficient.
Conclusion
Buffalo grass rewards the gardener who respects its boundaries. The decision that matters most is not which variety to buy or which fertilizer to use; it is whether your site delivers enough sun, the right soil texture, and adequate drainage for a prairie native to thrive without constant intervention. The number one mistake is planting buffalo grass on a site that fails one of these three conditions and then attempting to compensate with extra water, extra fertilizer, or extra herbicide.
If your site passes the sun, soil, and drainage tests, start with a soil test and choose your establishment method based on your patience window and budget. If it fails any of those tests, the best next step is to explore a species that matches your actual conditions rather than fighting against them. For a broader look at lawn care approaches that work with your site rather than against it, see our eco-friendly lawn care guide.