
Dieffenbachia care is often presented as a universal checklist, but a thriving plant depends on three household variables: available light, your natural watering rhythm, and whether the home includes pets or small children. The care approach that works in a bright sunroom can rot a plant in a dim apartment; the routine safe for a busy plant parent may stress a dieffenbachia in a pet-filled home.
This guide replaces one-size-fits-all advice with a decision framework that matches nine specific care methods to your real conditions. We cover watering, light, soil, feeding, humidity, pruning, toxicity management, repotting, and pest prevention, but only through the lens of these three variable branches. You will not find generic tips or propagation projects here.
By the end, you will know exactly which branch fits your home, which actions to take first, and which items you can safely ignore. The decision grid will steer you to a small set of highest-impact moves that prevent the two most common dieffenbachia killers: root rot and leaf burn.
Bottom line: Dieffenbachia health hinges less on following every tip and more on aligning care with your light, watering habits, and pet safety needs.
The Yield Grid Decision Grid
Branch 1: High Light, Consistent Moisture. If your dieffenbachia receives bright indirect light (200 to 400 foot-candles) for at least 6 hours daily, and you can check soil moisture twice a week, follow Branch 1. In these conditions, the plant actively grows and uses water and nutrients faster. In high-light environments like a bright bathroom, it thrives alongside other tropical bathroom plants. Recommended: Items 3, 4, 5, 9 below.
Branch 2: Low Light, Drier Cycles. If light levels stay below 100 foot-candles most of the day, or if your schedule leads you to water infrequently (every 10 to 14 days), choose Branch 2. This approach reduces root rot risk by matching care to slower growth. Recommended: Items 1, 2, 6 below.
Branch 3: Pet-Safe Household. If you have cats, dogs, or small children who might chew on leaves, prioritize Branch 3 regardless of light. Dieffenbachia sap contains calcium oxalate crystals that cause painful swelling; care routines must include handling and placement strategies. Recommended: Items 7, 8 below.
Quick Comparison Table
| Option | Key Mechanism | Best for | Decision Grid Branch | Effort Score |
|---|---|---|---|---|
| Watering by Weight Method | Lifting pot to gauge soil moisture | Overwaterers, low light | Branch 2 | 2 |
| Light Positioning by Window Direction | Matching placement to available natural light | Low-light homes | Branch 2 | 1 |
| Soil Mix for Your Watering Style | Adjusting drainage to watering frequency | Active growers | Branch 1 | 1 |
| Fertilizing by Growth Rate | Feeding only when new leaves appear | Bright spaces | Branch 1 | 3 |
| Humidity Supplementation Threshold | Adding moisture only below comfort level | Dry air climates | Branch 1 | 2 |
| Pruning to Encourage Bushiness | Cutting leggy stems above a node | Low light, leggy plants | Branch 2 | 2 |
| Toxicity-Safe Placement | Physical barriers and glove use | Pet/child households | Branch 3 | 1 |
| Repotting Timing Based on Roots | Inspecting root crowding before repotting | Risk-averse repotters | Branch 3 | 2 |
| Leaf Cleaning Routine | Monthly dust removal for photosynthesis | High light, pest-prone | Branch 1 | 3 |
Watering by Weight Method
Best for: Branch 2 (Low Light, Drier Cycles)
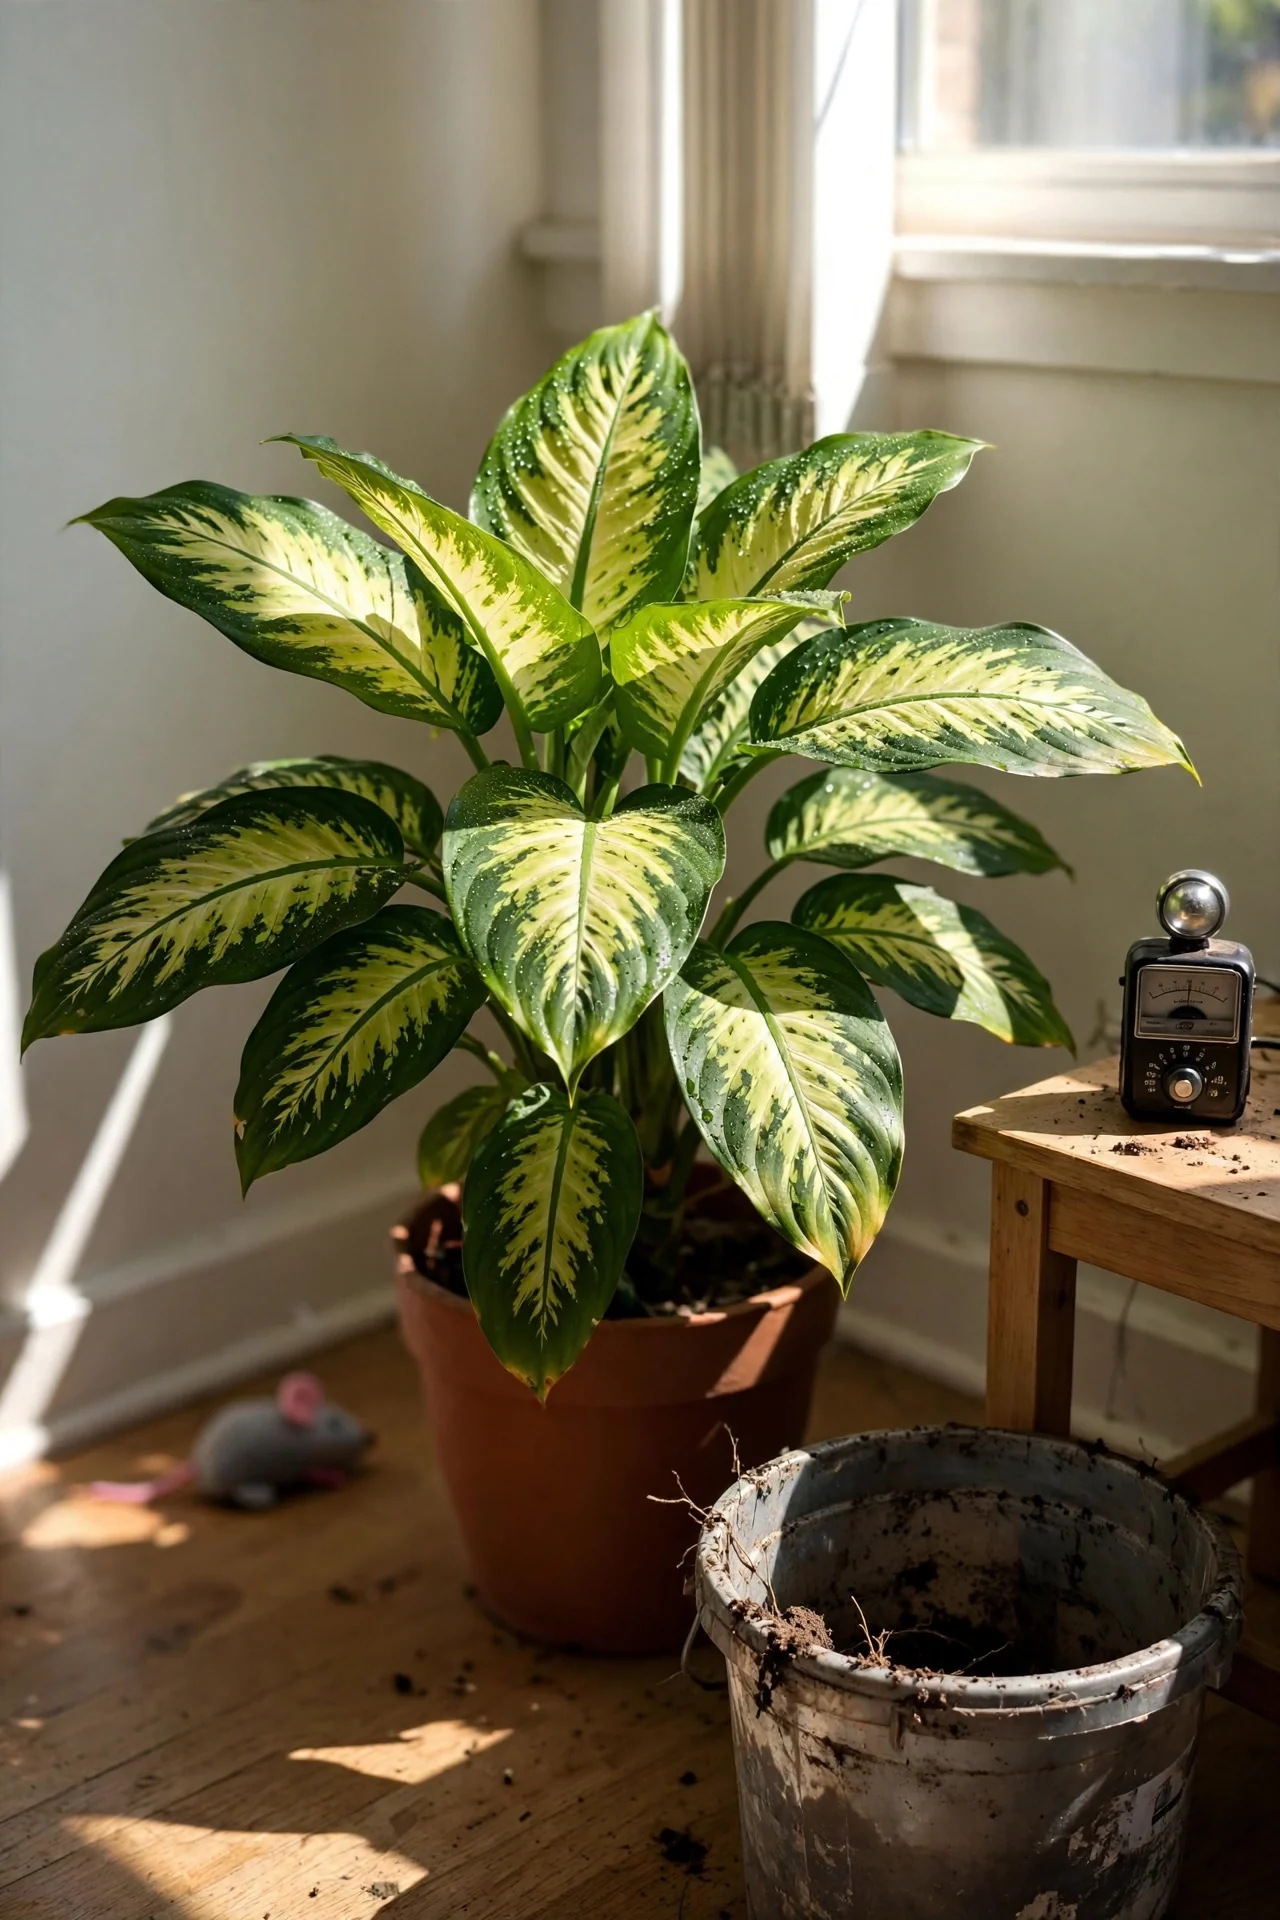
This technique replaces guesswork with a physical cue: lift the pot to feel its weight when the soil is dry versus freshly watered. Unlike alocasia, dieffenbachia signals thirst clearly through drooping before damage occurs, but avoiding that stress altogether keeps leaves turgid. For forgetful waterers or low-light rooms where evaporation slows, this method prevents root rot from chronic overwatering.
How to do it: Water thoroughly until it runs from drainage holes, then lift the pot to memorize the heavy feel. Check every 3 days by lifting again. When the pot feels noticeably lighter and the top 2 inches of soil are dry, water again. In winter, that interval may stretch to 10-14 days. The common mistake: waiting until leaves wilt. By then, root tips have already desiccated, and repeated wilting causes lower leaf drop.
Light Positioning by Window Direction
Best for: Branch 2 (Low Light, Drier Cycles)
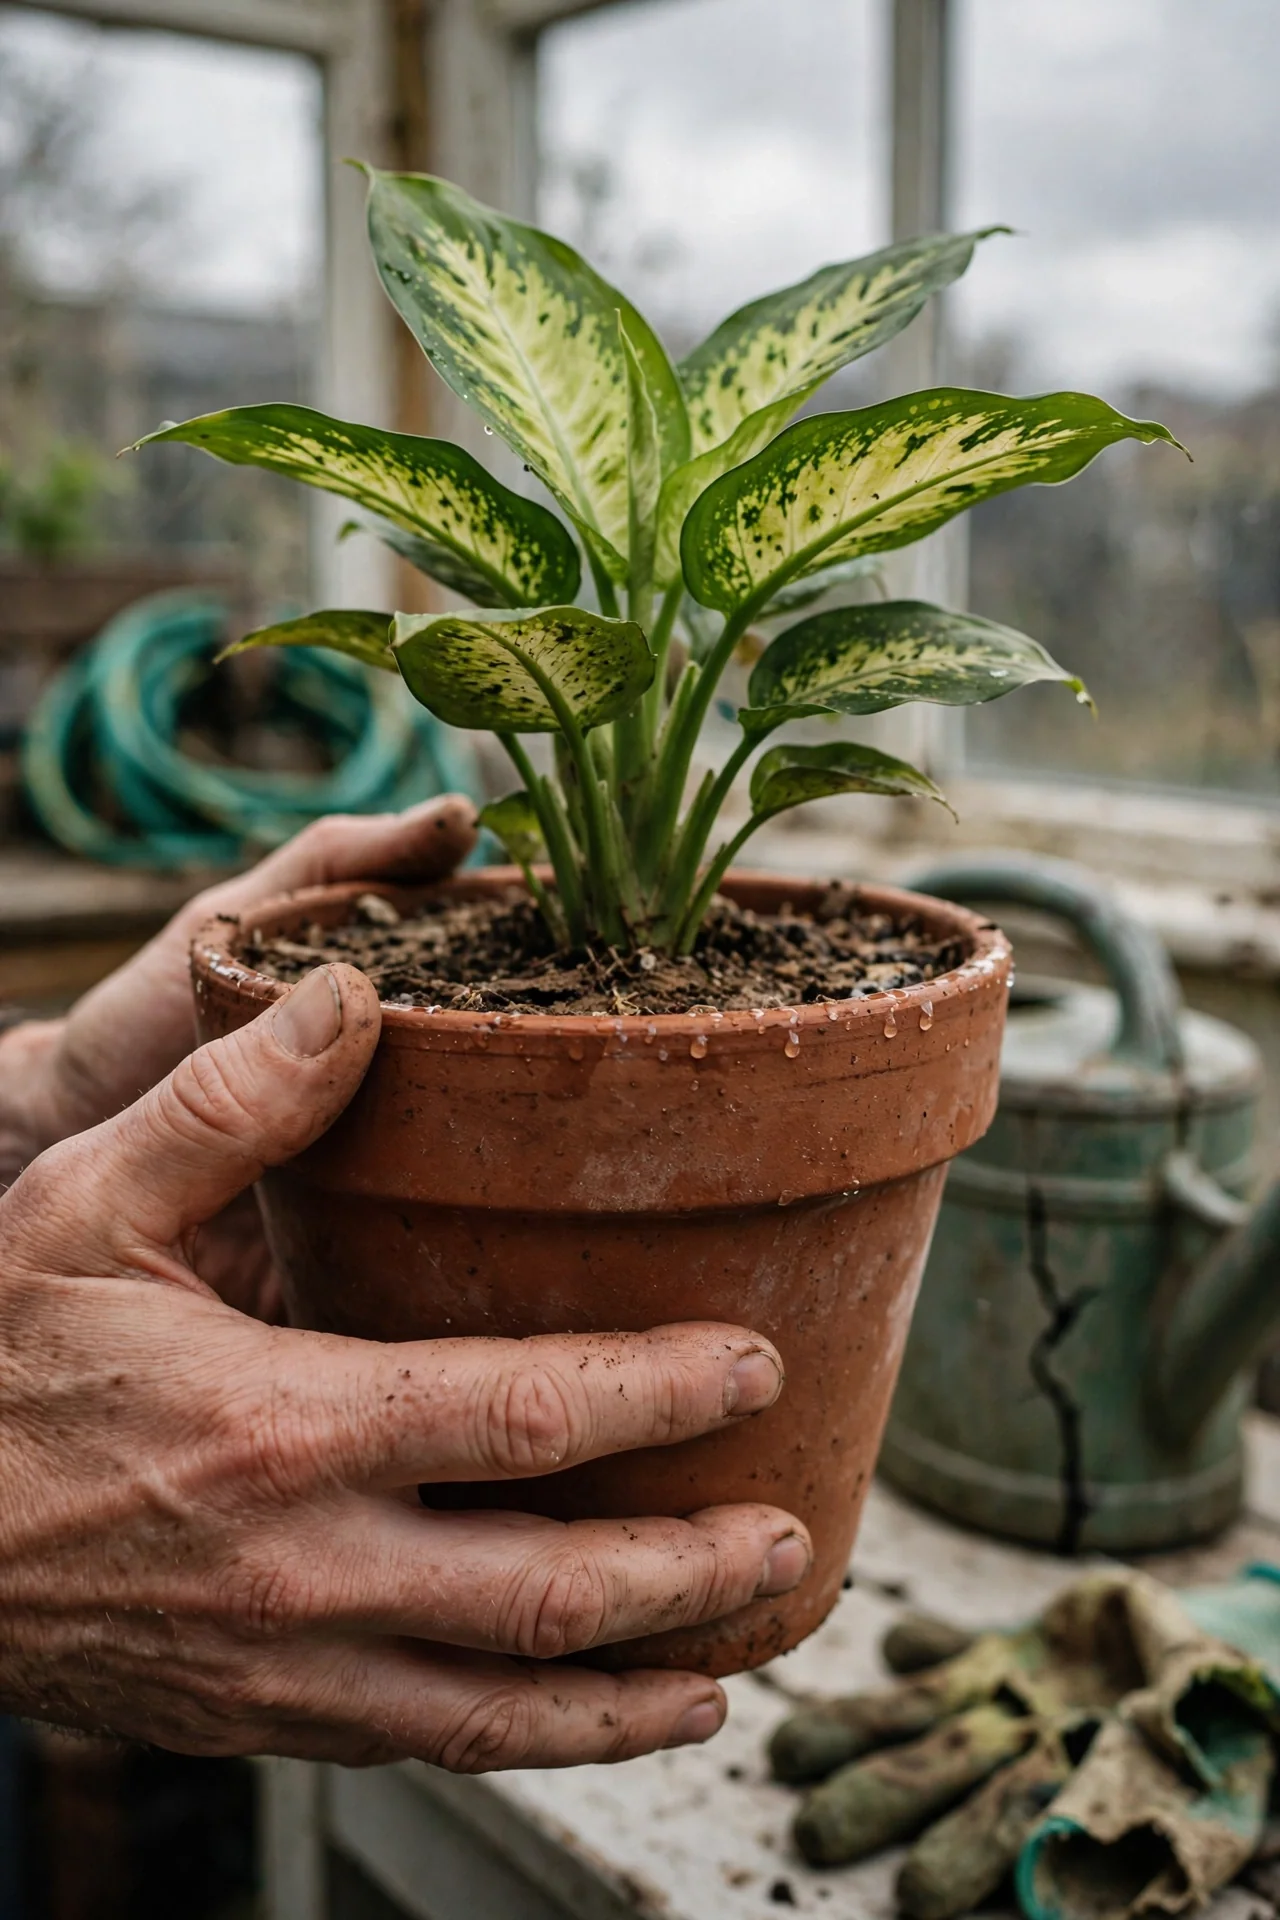
Use if: your dieffenbachia shows leggy stems or fading variegation. Place it within 3 feet of an east or north window, where light stays below 100 foot-candles. Like aglaonema, it handles low light but growth slows. Skip if: you have only south-facing glare; direct sun scorches leaves. Edge case: a sheer curtain can convert a bright window into usable filtered light, but test with a light meter first.
Soil Mix for Your Watering Style
Best for: Branch 1 (High Light, Consistent Moisture)
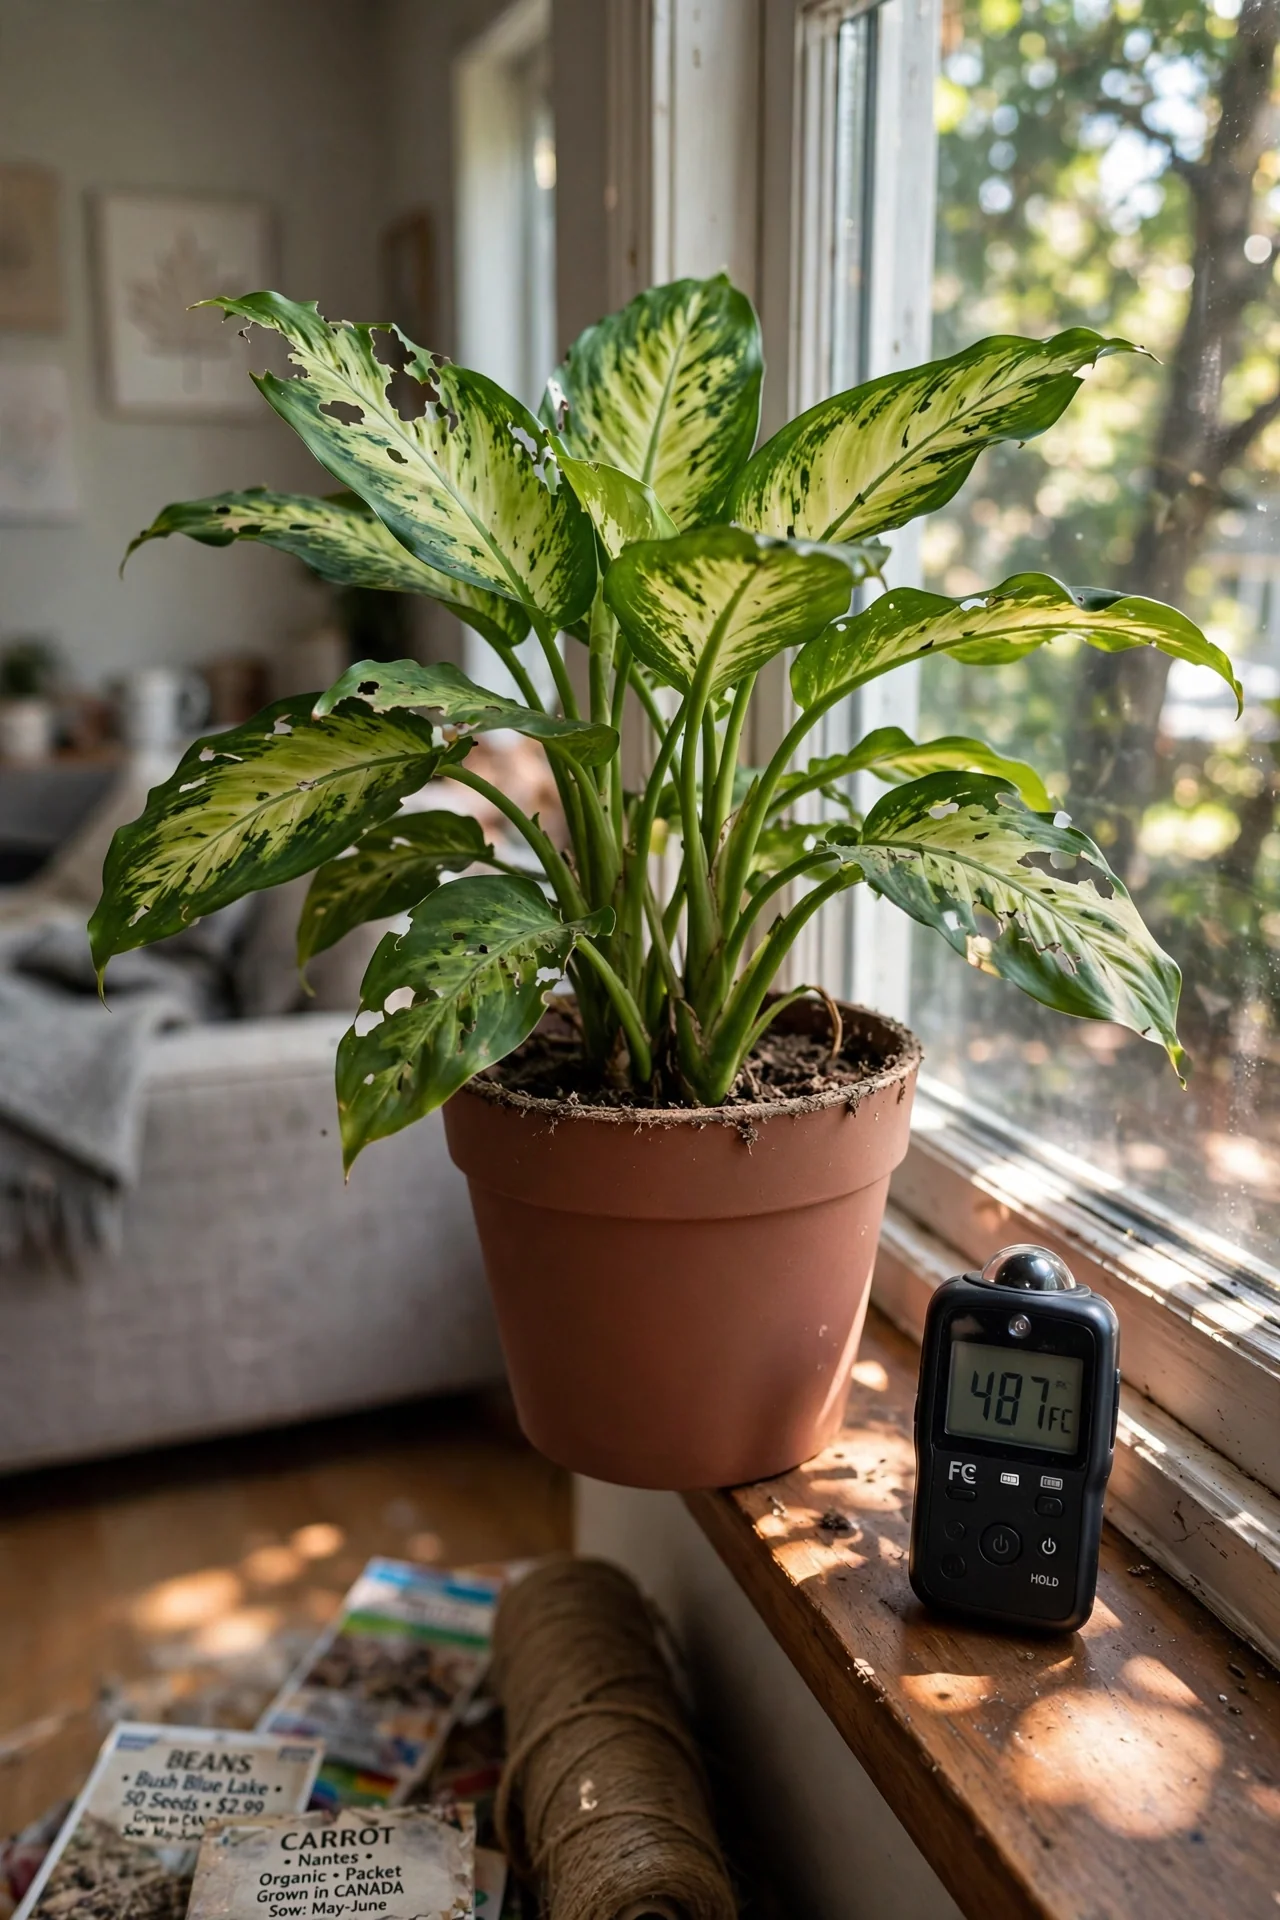
The threshold: if you water more than once a week, use a mix of 2 parts peat-based potting soil to 1 part perlite (by volume) to ensure drainage. If you water every 10 days or less, increase peat and reduce perlite to hold moisture longer. A heavy, compacted mix in high light leads to stagnant water and root rot despite frequent watering. To test, pour a cup of water onto the soil; it should drain within 30 seconds. Adjust with additional perlite or coarse sand if pooling persists. This rule ties soil porosity directly to your habits, not a generic recipe.
Fertilizing by Growth Rate, Not Calendar
Best for: Branch 1 (High Light, Consistent Moisture)
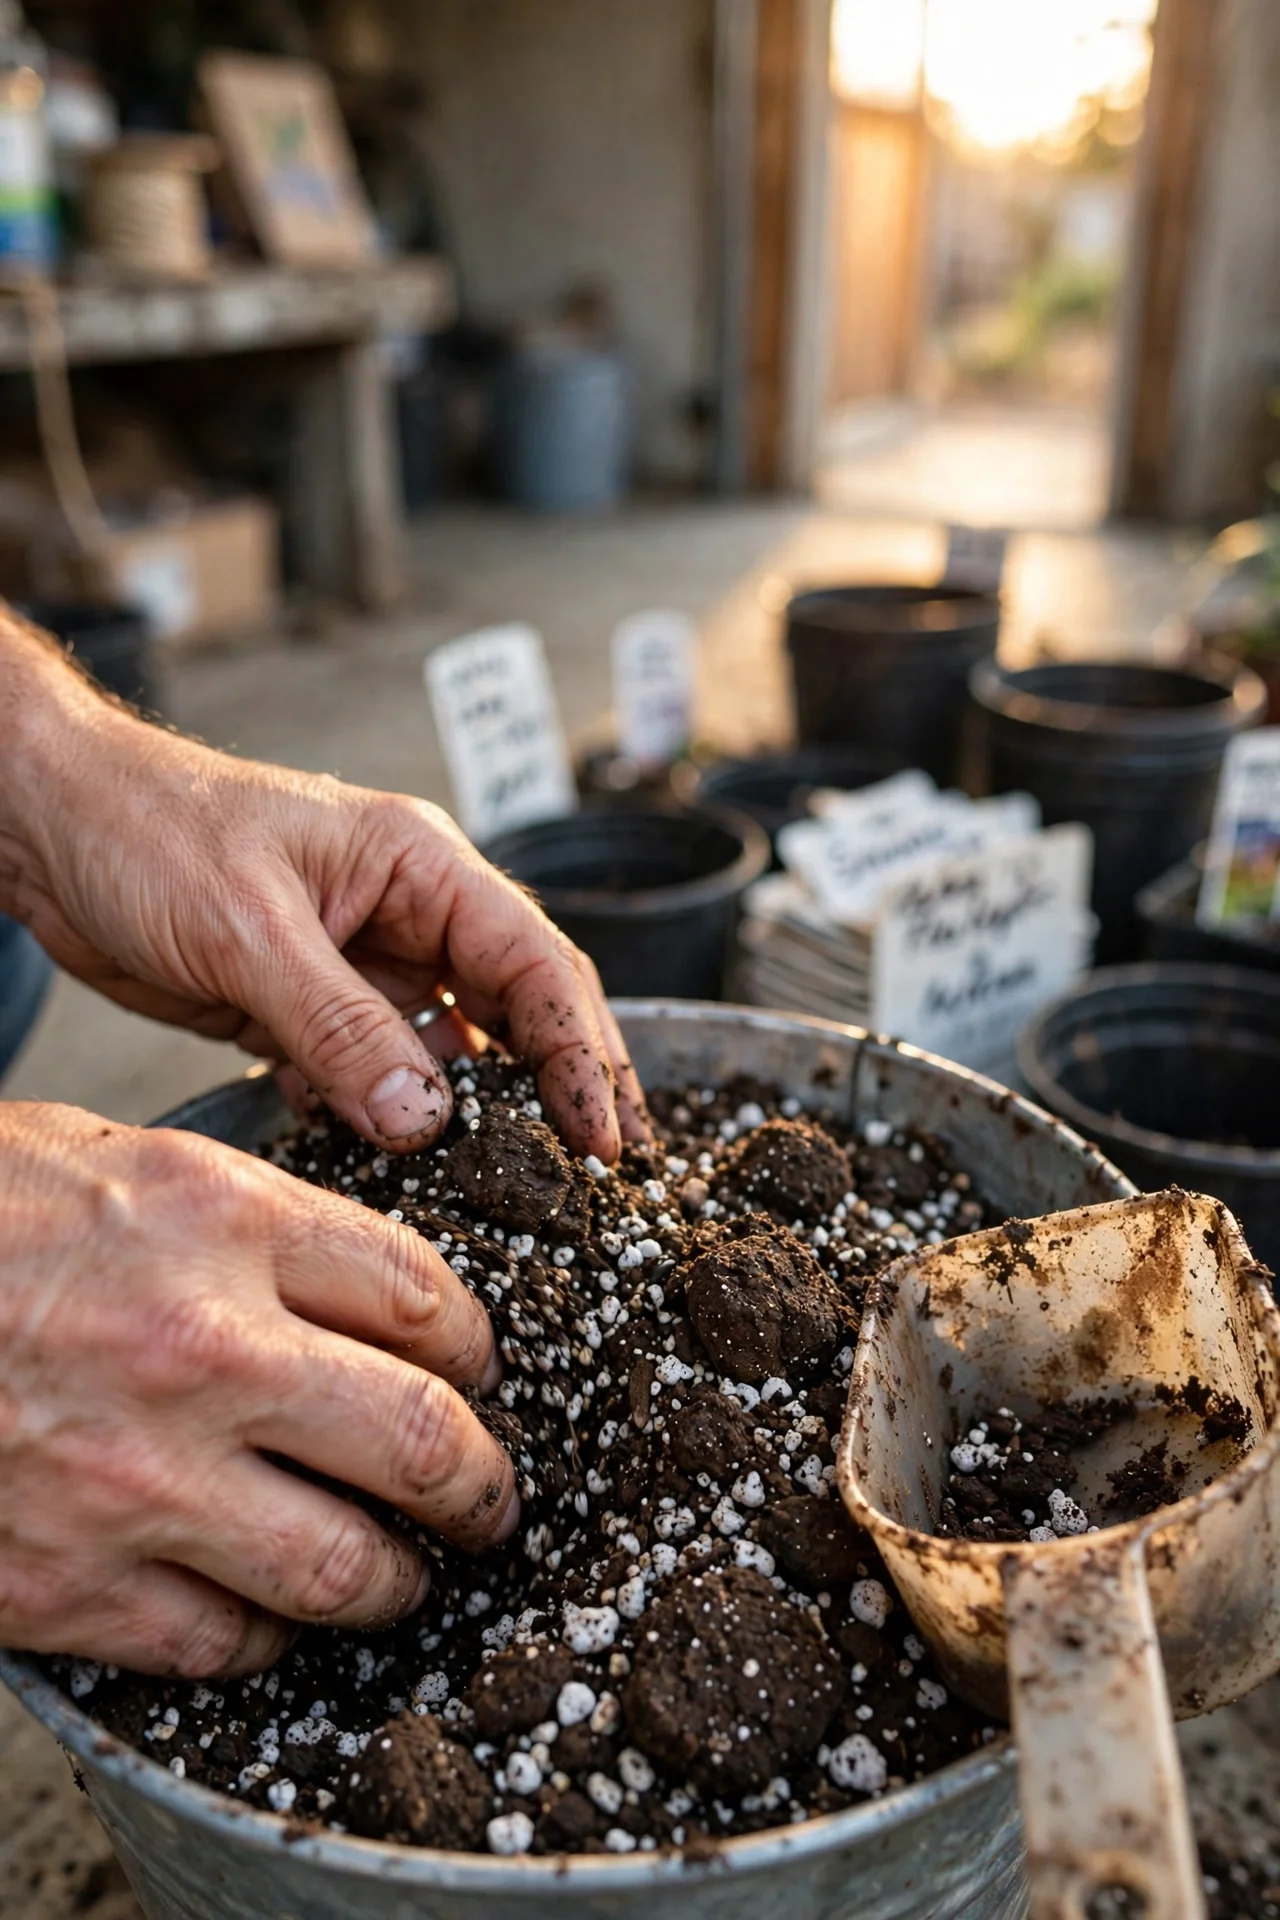
10-minute workflow: (1) Check for new leaf unfurling at least once a month during spring and summer. (2) If active growth is visible, mix a balanced liquid fertilizer (NPK 10-10-10 or 3-1-2 ratio) at half the label strength. Unlike flowering anthuriums, dieffenbachia needs less phosphorus. (3) Apply to moist soil to avoid root burn. (4) Skip feeding if no new leaves have appeared in 4 weeks, or if light drops below 100 foot-candles for the season. Upgrade: Use a fertilizer with a 3-1-2 ratio (e.g., 9-3-6) and add a calcium-magnesium supplement every third feeding to prevent tip browning. The common error: feeding on a fixed schedule in winter, which causes salt buildup and leaf edge necrosis.
Humidity Supplementation Threshold
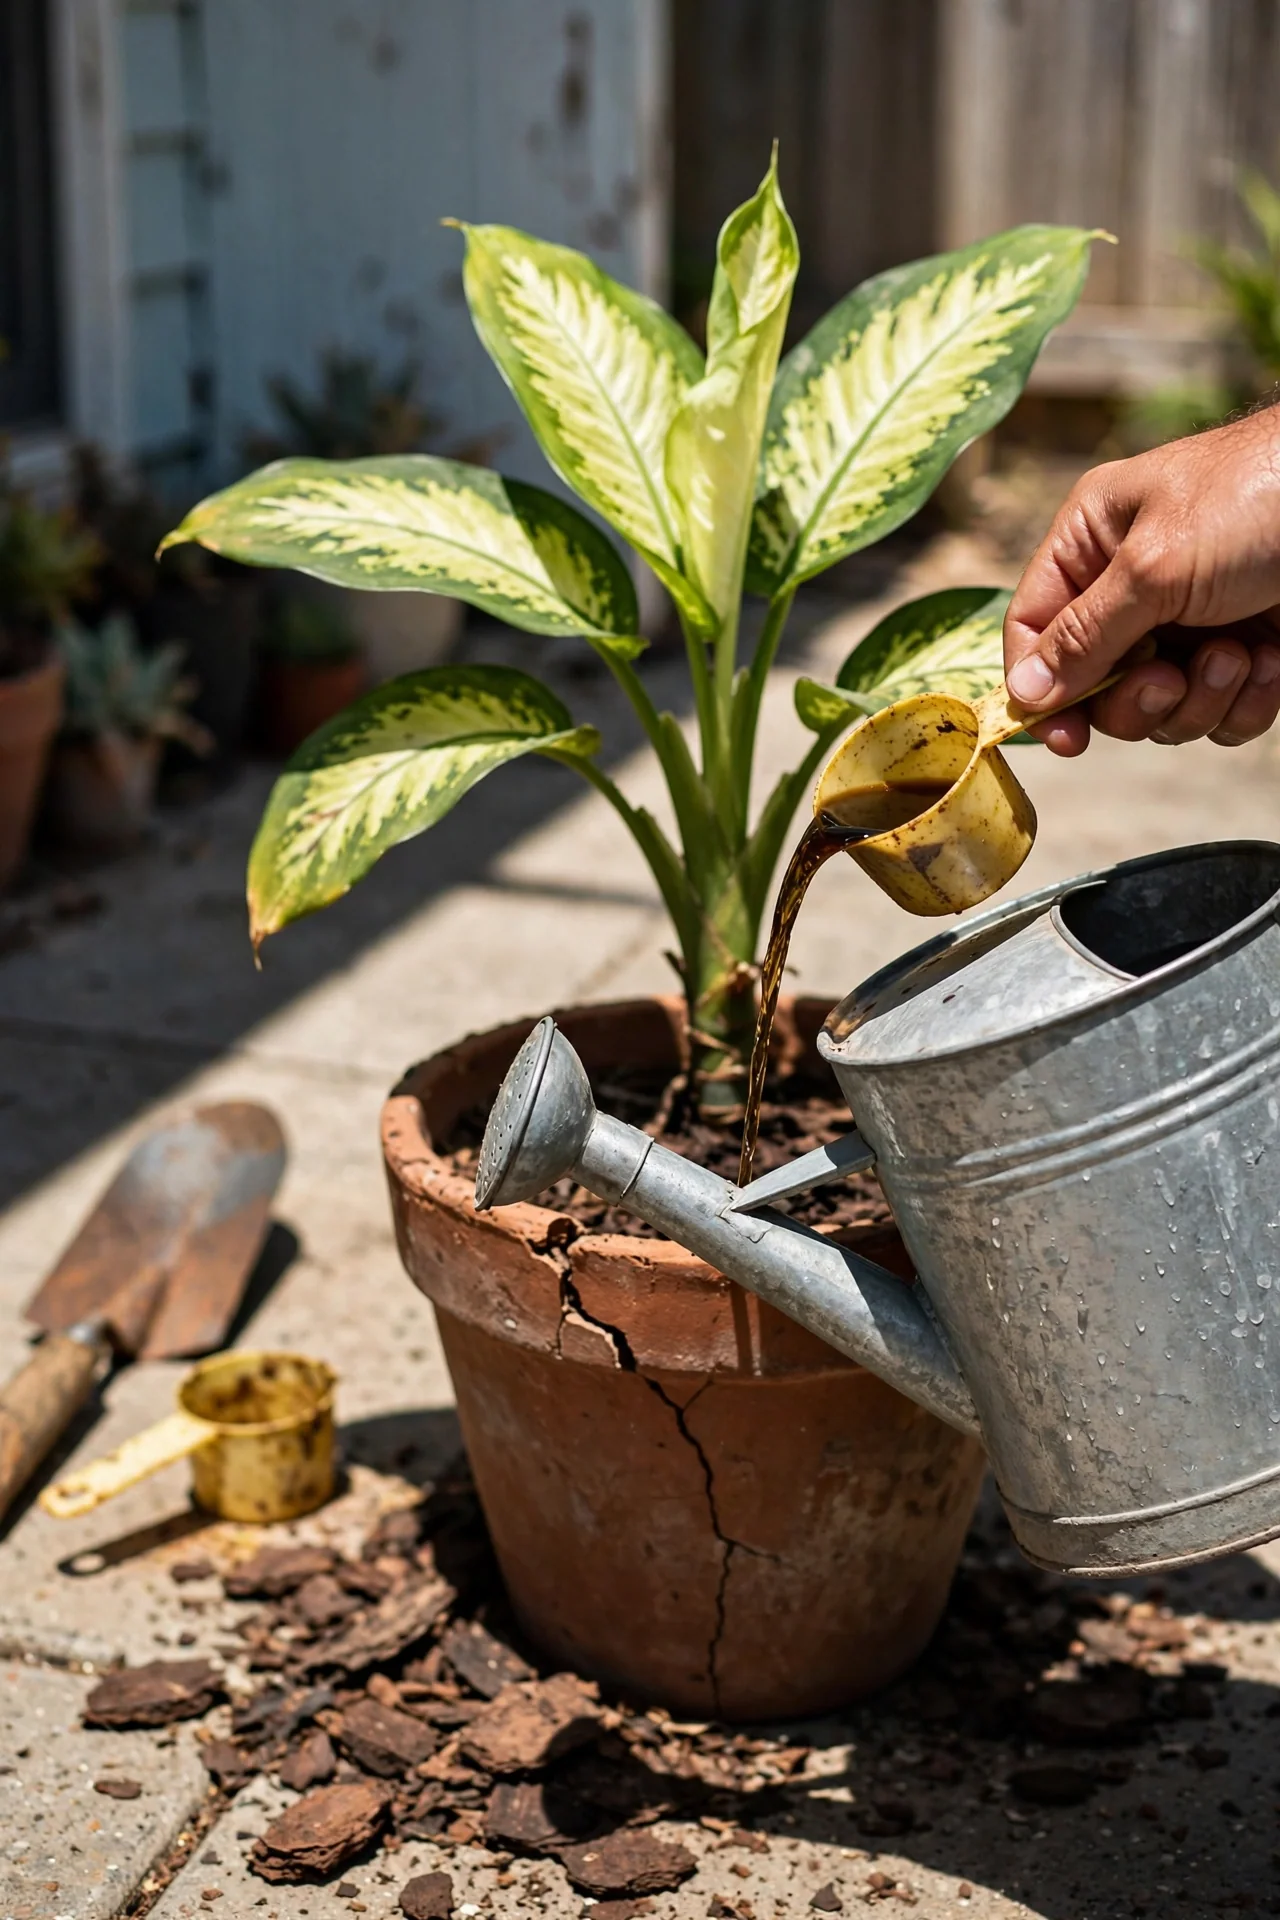
Best for: Branch 1 (High Light, Consistent Moisture)
Use if: indoor air feels dry, static shocks occur, or a hygrometer indicates low humidity for more than 3 consecutive days. Unlike calathea, dieffenbachia tolerates average air but may develop brown tips in dry heated air. Place a pebble tray with water beneath the pot; refill weekly. Skip if: you run a humidifier already for other plants, as added effort rarely changes leaf quality. Edge case: in bathrooms with daily shower steam, no intervention is needed.
Pruning to Encourage Bushiness
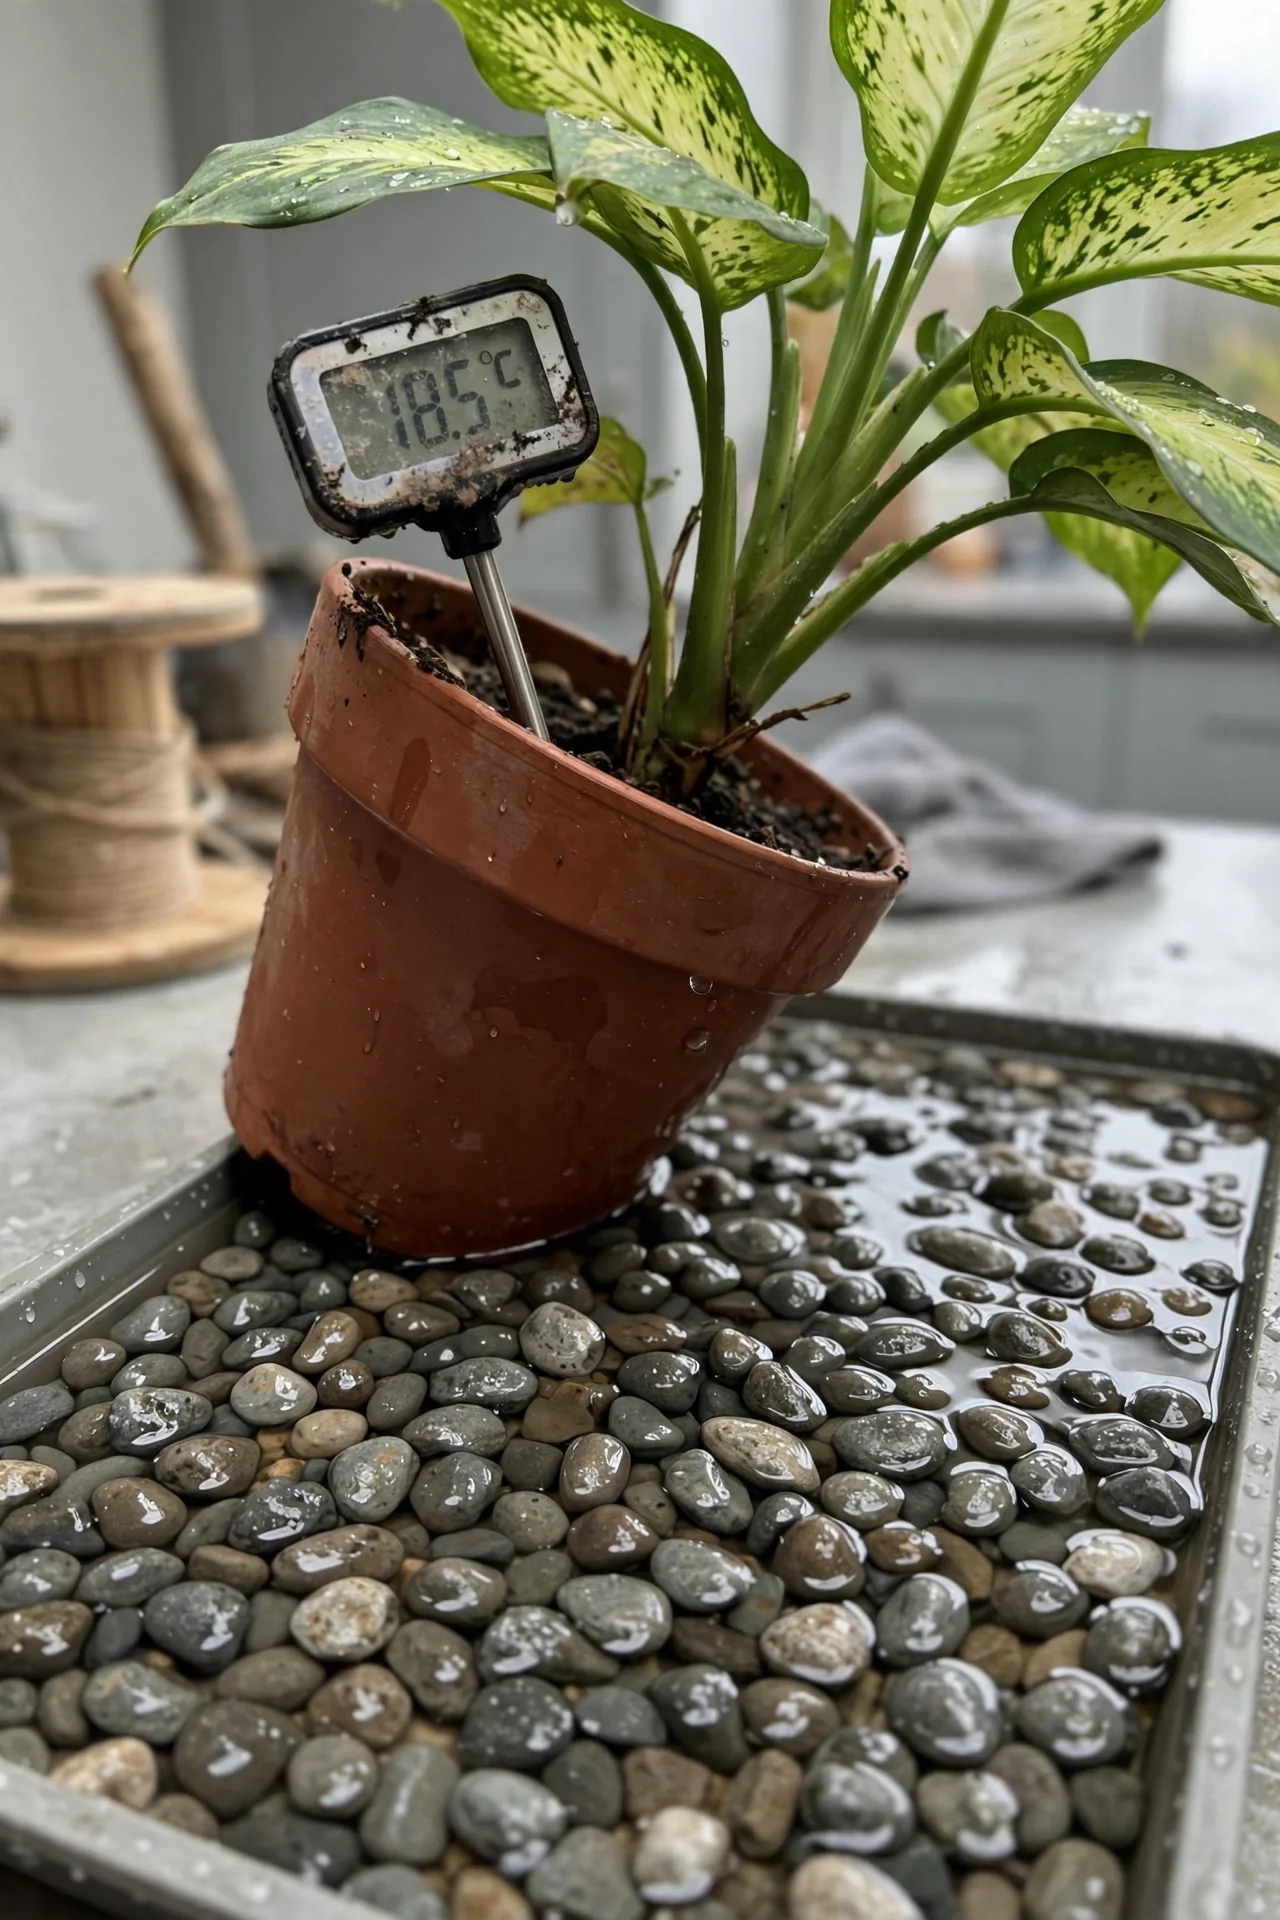
Best for: Branch 2 (Low Light, Drier Cycles)
The threshold: prune when a stem exceeds 12 inches in length with more than 4 inches of bare cane between leaf nodes. Use clean shears to cut just above a node at a 45-degree angle. Compact varieties like ‘Camille’ need only tip pinching when they reach 8 inches. After cutting, reduce watering slightly for 2 weeks to prevent rot at the wound. The plant will push new growth from the node below the cut, increasing density. If no new shoots appear within 4 weeks, check light levels; below 75 foot-candles, regrowth stalls.
Toxicity-Safe Placement and Handling Routine
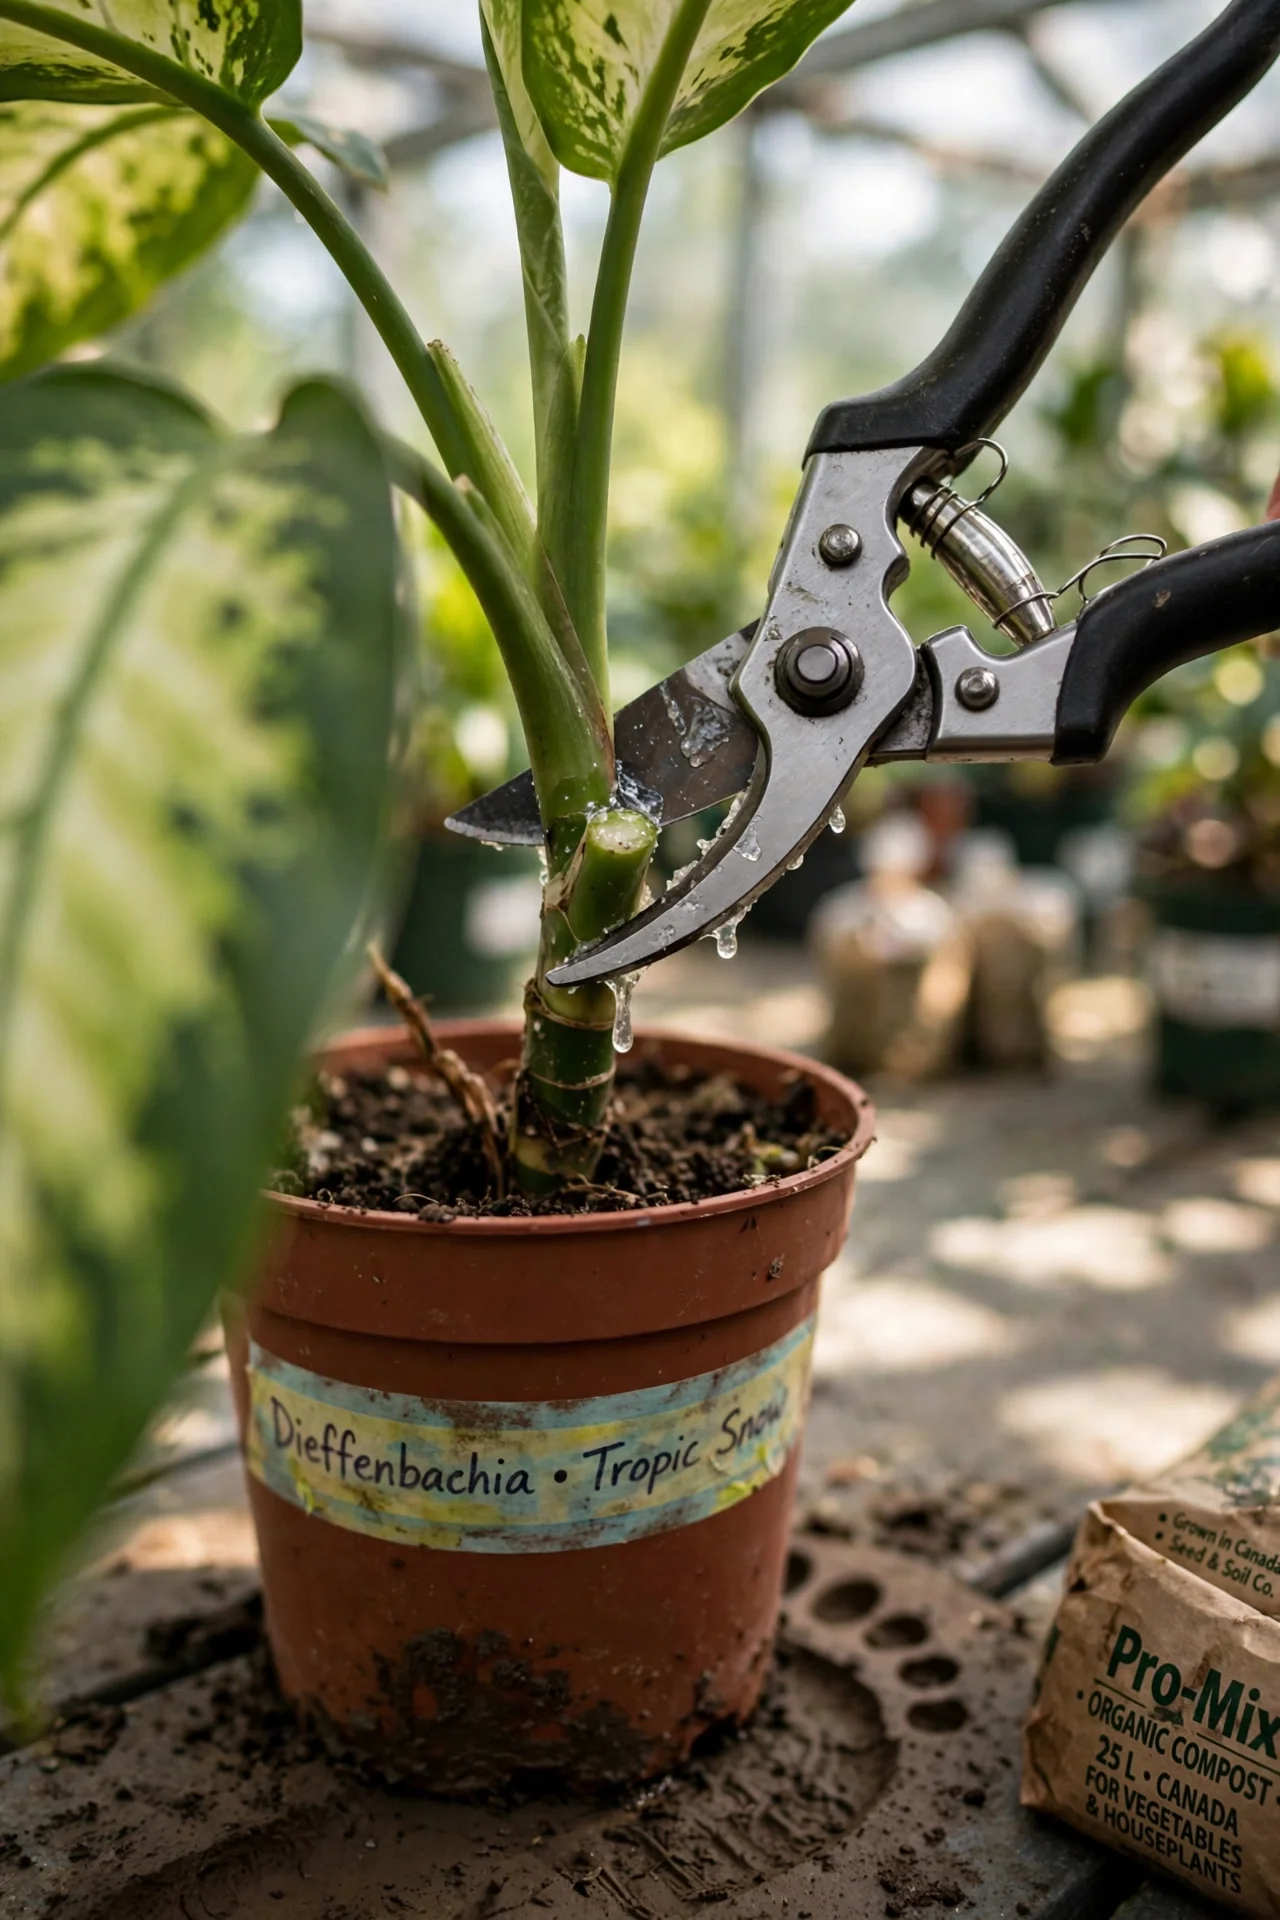
Best for: Branch 3 (Pet-Safe Household)
What it is: A set of physical barriers and habits that prevent oral contact with dieffenbachia sap, which contains needle-like calcium oxalate crystals causing intense mouth pain and swelling. Like dracaena, the entire plant is toxic if chewed. Who it’s for: Households with cats that climb, dogs that investigate low foliage, or toddlers who mouth objects. Steps: (1) Place the plant on a tall plant stand or shelf out of reach, ensuring no trailing leaves hang within access. (2) Wear disposable gloves when pruning or repotting; wash hands immediately after. (3) Inspect weekly for fallen leaves, which retain toxicity and can be ingested from the floor. Common mistake: Relying on bitter taste to deter pets; some animals persist and suffer oral burns. If ingestion occurs, rinse the mouth with water and contact a veterinarian. This routine adds no daily chore beyond the weekly leaf check.
Repotting Timing Based on Root Inspection
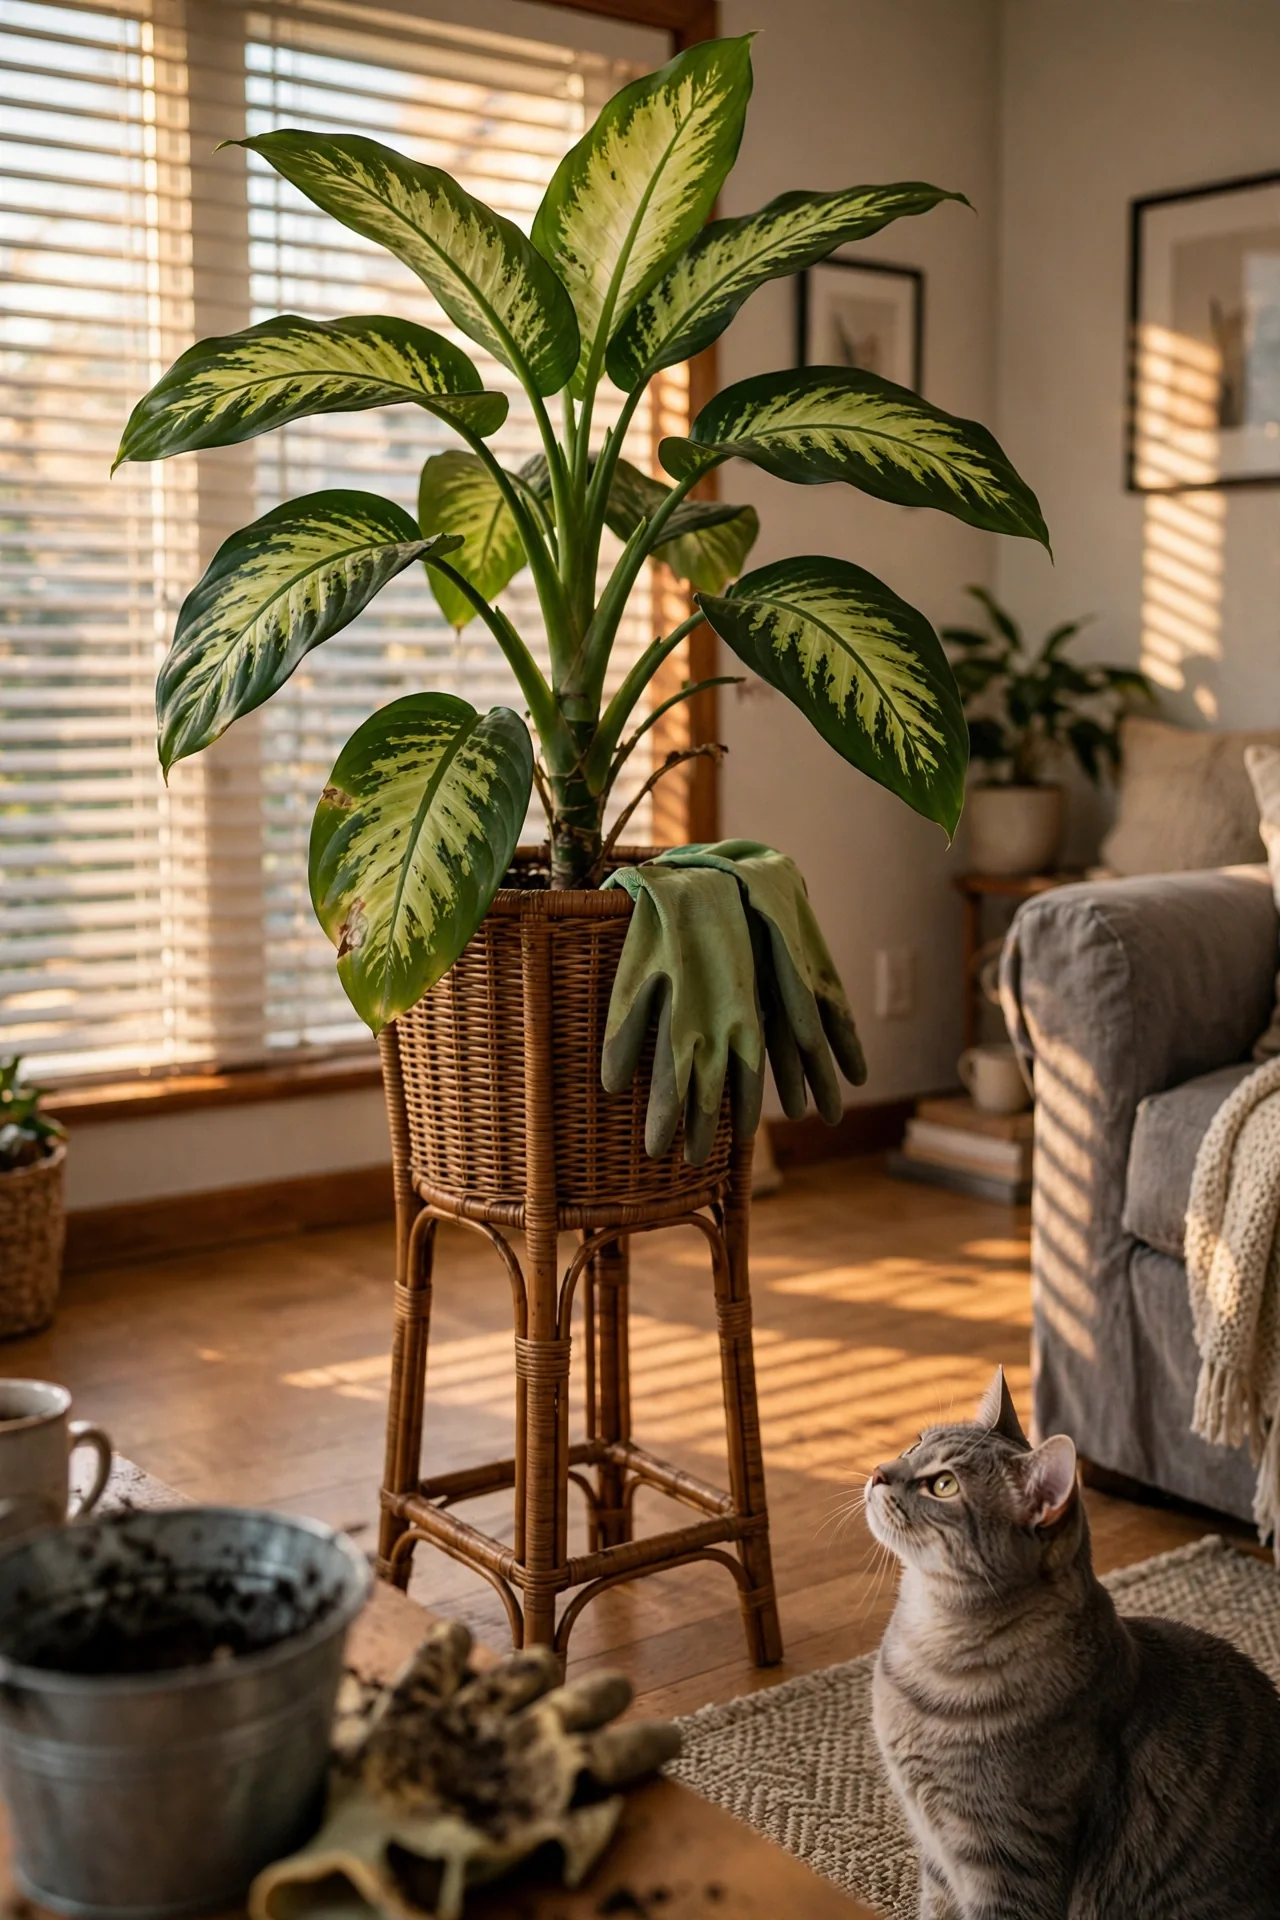
Best for: Branch 3 (Pet-Safe Household)
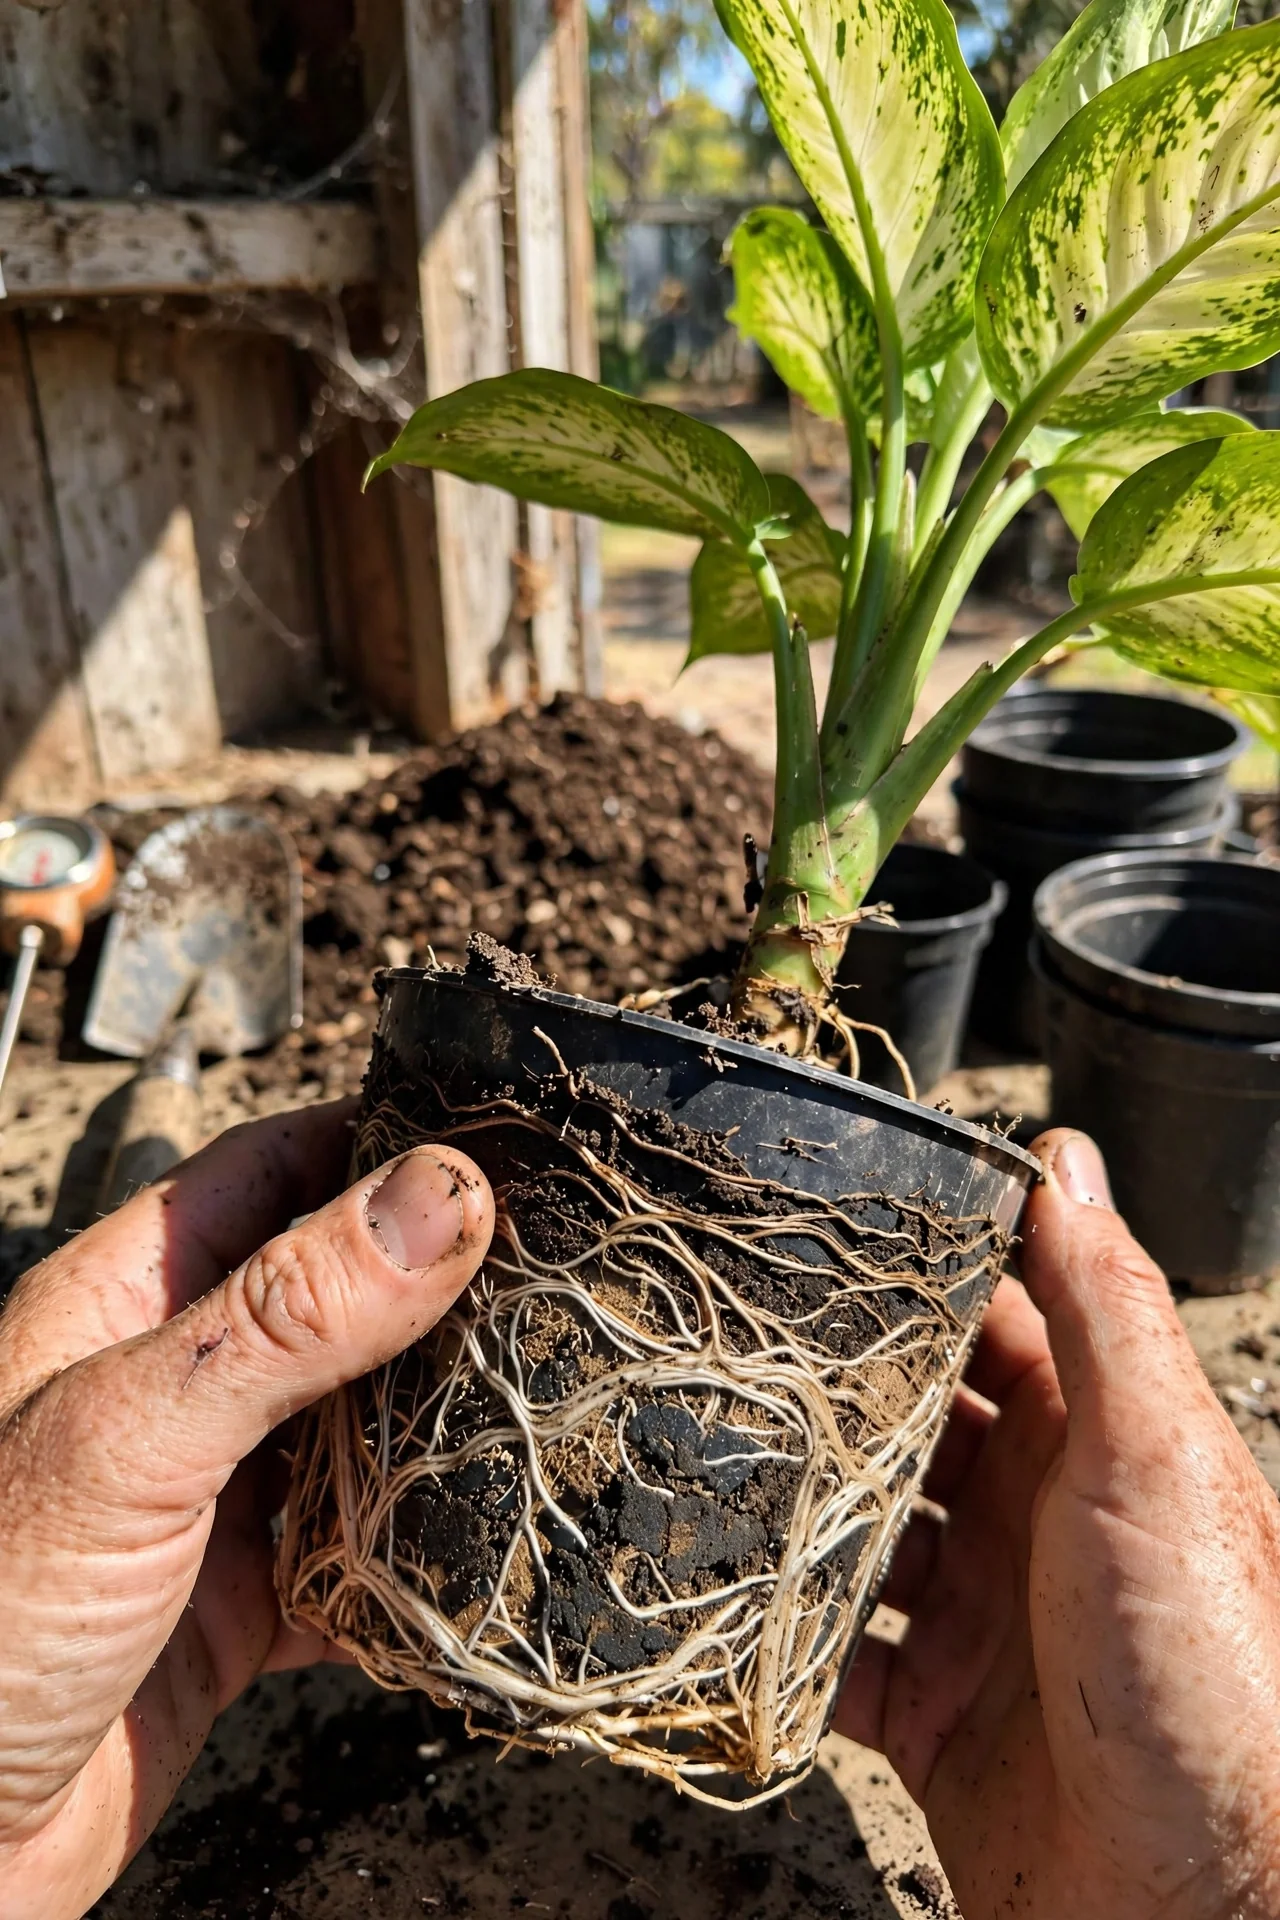
Use if: roots circle the pot’s interior or protrude from drainage holes. Repot in early spring, moving to a container only 1-2 inches wider. Skip if: the plant shows no root crowding, even if it’s been 2 years; dieffenbachia performs better slightly rootbound. Edge case: when handling during repotting, wear gloves and avoid touching sap, then wash the pot and tools to remove residue that could transfer to surfaces pets contact.
Leaf Cleaning for Pest Prevention and Light Efficiency
Best for: Branch 1 (High Light, Consistent Moisture)
The threshold: clean leaves whenever dust visibly dulls the surface, or at least once a month during the growing season. Use a soft, damp microfiber cloth with plain water. For sticky residue or pest eggs, add 1 teaspoon of mild castile soap per quart of water. Wipe both top and undersides. Dust layers reduce photosynthesis efficiency, and in high-light conditions, that directly slows growth. Avoid leaf shine products; they can clog stomata. If spider mites appear, increase cleaning frequency to every 10 days and isolate the plant.
Starter Stack (What to Choose First)
Branch 1 Starter: High Light, Consistent Moisture
Start with the Soil Mix for Your Watering Style and Fertilizing by Growth Rate. Together, they ensure that frequent watering doesn’t cause root rot and that nutrients match the plant’s accelerated growth. Mixing a well-draining soil costs about $5–$10 for materials and takes 15 minutes. Fertilizing adds 5 minutes monthly during spring and summer.
Branch 2 Starter: Low Light, Drier Cycles
Begin with Watering by Weight Method and Light Positioning by Window Direction. This combo prevents the number one low-light mistake: overwatering a slowly growing plant. Learning pot weight requires no cost and two watering cycles to calibrate. Repositioning takes 5 minutes.
Branch 3 Starter: Pet-Safe Household
Adopt Toxicity-Safe Placement and Repotting Timing. The placement routine costs nothing and immediately reduces risk, while proper repotting timing with glove use prevents accidental sap contact. Budget $0–$10 for a plant stand and gloves.
When This Won’t Work
If your dieffenbachia sits in a room where light measures below 50 foot-candles and you water weekly or more often, root rot becomes inevitable even with careful weight-based watering. The plant simply cannot use water fast enough, and the soil remains wet, suffocating roots. In such spaces, the only viable solution is a grow light or a relocation to a brighter area.
In a home with a determined chewer, such as a cat that climbs shelves to reach leaves, even tall placement may fail. Repeated exposure to sap, despite barriers, creates constant monitoring stress. When the risk cannot be reduced to an acceptable level, rehoming the plant is safer. As an alternative, a nontoxic tall plant like a cast iron plant (Aspidistra) or a parlor palm may fit the same spot. For those who still want a flowering tropical with similar care needs, our peace lily care guide covers a plant with comparable watering and light preferences, though it is also toxic.
Choosing the Right Option for Your Situation
Budget Threshold
If you spend less than $10 total on plant care annually, focus on Branch 2 items (Watering by Weight and Light Positioning), as they require no purchased inputs. Branch 1 requires fertilizer ($8–$15) and possibly a moisture meter or light meter ($15–$30). Branch 3 may need a plant stand ($10–$30).
Time Threshold
If you have less than 15 minutes per week for plant tasks, stick to Branch 2. Branch 1’s monthly leaf cleaning and fertilizing adds about 20 minutes monthly; Branch 3’s weekly leaf checks take 5 minutes.
Technical Constraint: Light Measurement
Accurate light measurement is critical. Use a lux meter or a free smartphone app calibrated to foot-candles. If you cannot measure, assume low light in north-facing rooms and treat accordingly. Ignoring this constraint leads to mismatched care.
Yes/No Checklist:
- Do I know my plant’s typical light level in foot-candles? (Yes/No)
- Do I check soil moisture before watering, not on a fixed schedule? (Yes/No)
- If I have pets, is the plant placed entirely out of reach with fallen leaves cleared? (Yes/No)
- Have I selected at least two items from my matched branch to start? (Yes/No)
Expert Q&A
Why are my dieffenbachia leaves turning yellow?
Yellowing leaves, especially lower ones, typically indicate overwatering or inconsistent moisture. Check that the soil dries out partially between waterings. In low light, reduce frequency. If yellowing appears on new growth with brown edges, suspect fertilizer salt buildup. Flush soil with water thoroughly.
How long does dieffenbachia toxicity last?
Symptoms from chewing dieffenbachia, such as oral pain and swelling, usually begin immediately and can last several hours. In rare cases, swelling can persist up to 24 hours. Rinse the mouth with cool water and contact a medical professional or veterinarian. The crystals do not cause systemic poisoning, only local irritation.
Can dieffenbachia survive in a windowless office?
Dieffenbachia can survive in a windowless office only if supplemented with a dedicated full-spectrum grow light providing at least 100 foot-candles for 8–10 hours daily. Without artificial light, it will slowly decline, dropping leaves and becoming spindly. Overwatering in such low light accelerates rot.
Should I mist my dieffenbachia leaves?
Misting provides negligible humidity benefit, as moisture evaporates within minutes. Instead, use a pebble tray or group plants to raise localized humidity. Misting can leave water spots on leaves and, if done in the evening, may encourage fungal issues. Focus on soil moisture and ambient humidity monitoring.
When should I cut back a leggy dieffenbachia?
Cut back a stem when the bare section between nodes exceeds 4 inches and the plant becomes top-heavy. Prune in spring or early summer using clean shears above a node. New shoots will emerge within 3–6 weeks. After pruning, reduce watering slightly until new growth appears to prevent stem rot.
Conclusion
The single biggest mistake is following a care routine that worked in a different home without adjusting for your light, water habits, or pet situation. Use the decision grid to match your approach, and start with just two items from your branch. Dieffenbachia rewards attention to its three variables with dramatic, upright growth that few houseplants match.
For a bold foliage plant with simpler requirements, see our monstera care guide.