
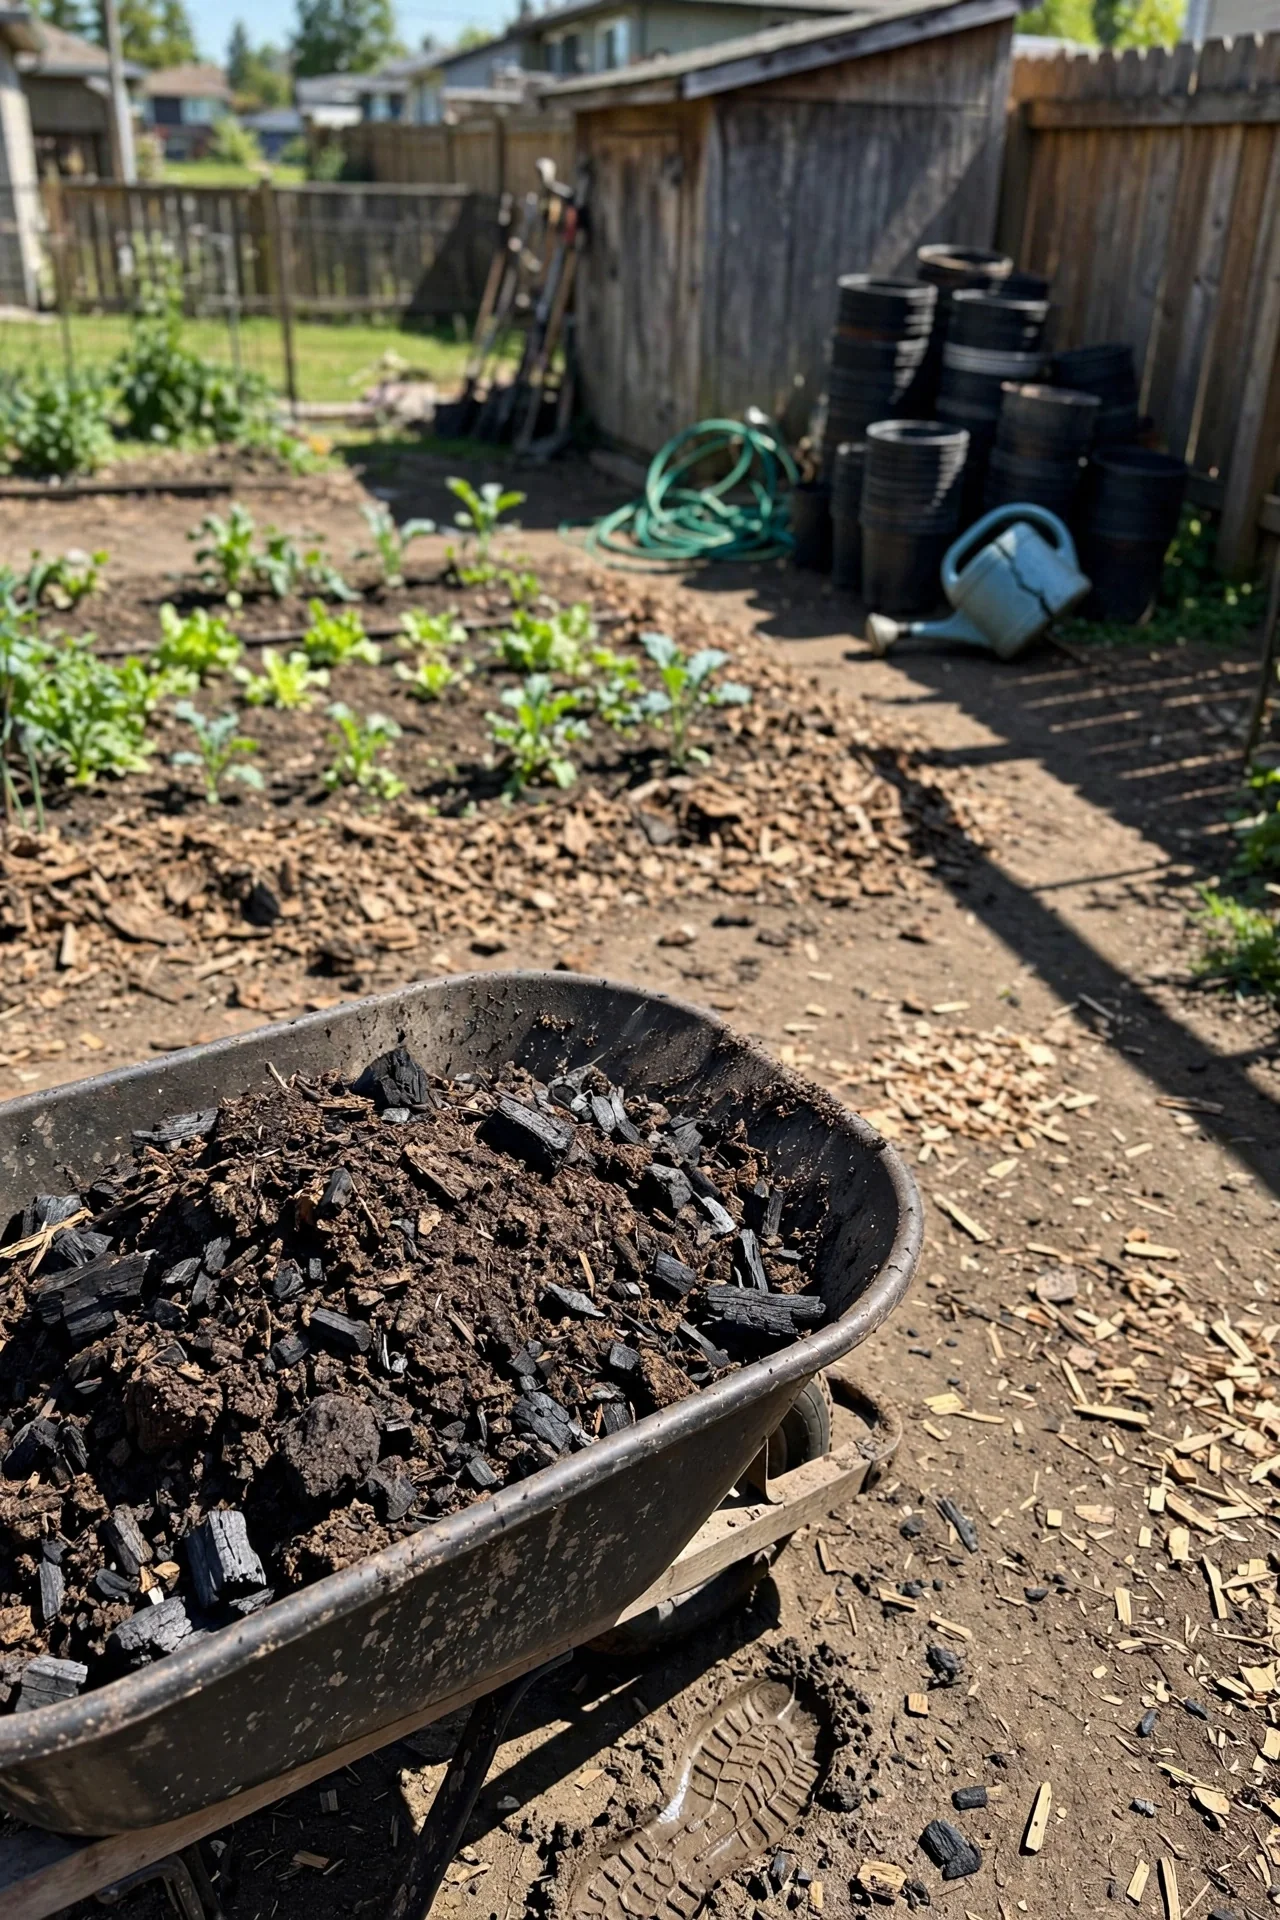
Most gardening advice treats biochar as a straightforward soil additive: you buy a bag, sprinkle it on, and watch your soil improve. That framing skips a critical biological reality. Fresh biochar is not a nutrient source; it is an empty, high-surface-area carbon sponge that will pull nitrogen and other mobile nutrients out of your soil solution for weeks or months if applied raw. The difference between a successful biochar application and a season of stunted growth comes down to one process: charging.
This guide covers the decisions you face after you decide to use biochar: whether to buy pre-charged or charge it yourself, how to match feedstock and pyrolysis temperature to your soil goal, what application rates make sense for different soil types, and when biochar is simply the wrong tool. We do not cover biochar production methods, kiln design, or carbon credit markets. Those topics belong in separate discussions.
By the end of this article, you will be able to identify which of three soil-improvement scenarios matches your situation, select the right biochar type and loading rate for that scenario, and execute the charging step on a timeline that avoids nutrient lockup.
Bottom line: Never apply raw, uncharged biochar directly to soil where plants are actively growing; always charge it with compost, manure, or microbial inoculant for at least two weeks first.
The Yield Grid Decision Grid
Biochar decisions split into three branches based on what measurable problem you are trying to solve. Identify your branch, then follow the item recommendations below.
Branch 1: Water retention in fast-draining soil. If your soil contains more than 60 percent sand by feel test, or if a deep watering drains within hours, your primary need is increased water holding capacity. Biochar with high porosity and large particle size works best here. Recommended: Items 4, 7, and 9 below.
Branch 2: Nutrient holding in depleted soil. If your soil has been over-farmed, shows low organic matter (visible as pale, dusty texture and poor aggregation), or has a CEC below 10 meq/100g on a lab report, your priority is increasing the soil’s cation exchange capacity. Biochar produced at moderate temperatures (450–550°C) with high CEC is the target. Recommended: Items 1, 3, and 6 below.
Branch 3: Long-term carbon storage and soil structure. If your pH is above 5.5, you are willing to wait two or more growing seasons for visible results, and your goal is building permanent soil organic carbon rather than immediate fertility, choose high-temperature biochar (>550°C) with maximum surface area and recalcitrance. Recommended: Items 2, 5, and 8 below.
If you are new to soil amendments generally, our composting for beginners guide covers the fundamentals that underpin biochar charging.
Quick Comparison Table
| Option | Key Mechanism | Best for | Decision Grid Branch | Effort Score (1–5) |
|---|---|---|---|---|
| 1. Pre-Charging Biochar Before Soil Incorporation | Nutrient pre-loading prevents nitrogen drawdown | Depleted soils, first-time users | Branch 2 | 4 |
| 2. Matching Biochar Feedstock to Your Soil Type | Feedstock determines ash content and CEC | Buyers choosing between products | Branch 3 | 1 |
| 3. Choosing the Right Pyrolysis Temperature for Your Goal | Temperature controls surface area vs CEC trade-off | Users with specific soil chemistry goals | Branch 2 | 1 |
| 4. Calculating Application Rates by Soil Volume | Dose determines whether biochar helps or temporarily hurts | Sandy soils, container gardens | Branch 1 | 2 |
| 5. Incorporating Charged Biochar Into Existing Garden Beds | Physical mixing depth affects microbial colonization | Established gardens, no-till systems | Branch 3 | 3 |
| 6. Adding Raw Biochar to Active Compost Piles | Co-composting charges biochar while reducing pile emissions | Depleted soils, composters | Branch 2 | 2 |
| 7. Targeting Water Retention in Sandy Soils | Pore space traps water between irrigation events | Fast-draining soils, arid climates | Branch 1 | 2 |
| 8. Evaluating Commercial Pre-Charged vs Raw Biochar Bags | Pre-charged saves time; raw saves money | Budget-conscious or time-pressed gardeners | Branch 3 | 1 |
| 9. Using Biochar as a pH Buffer for Acidic Soils | Alkaline ash content raises soil pH | Acid soils (pH below 5.5) | Branch 1 | 2 |
1. Pre-Charging Biochar Before Soil Incorporation
Best for: Branch 2 (Nutrient holding in depleted soil)
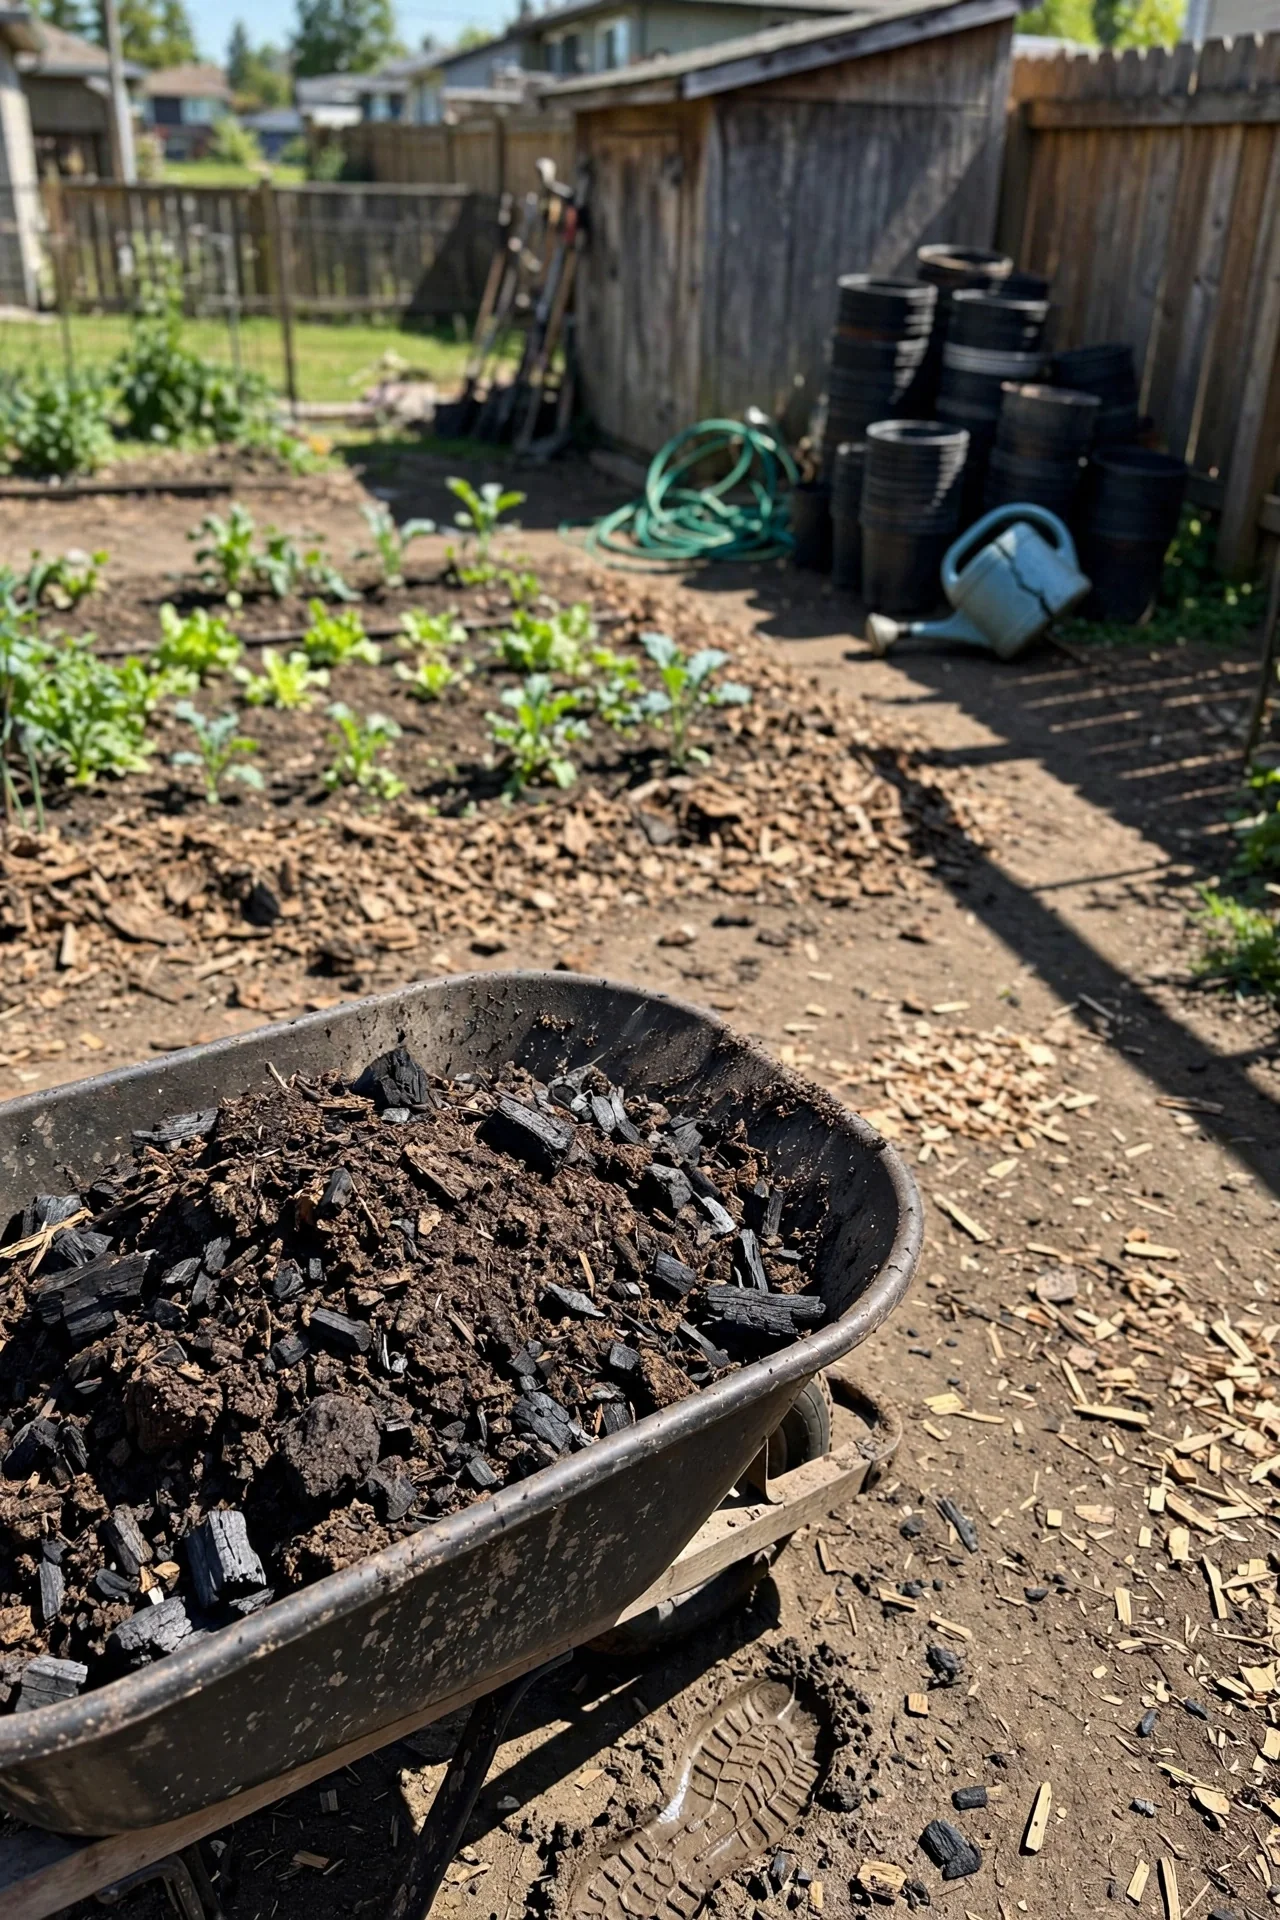
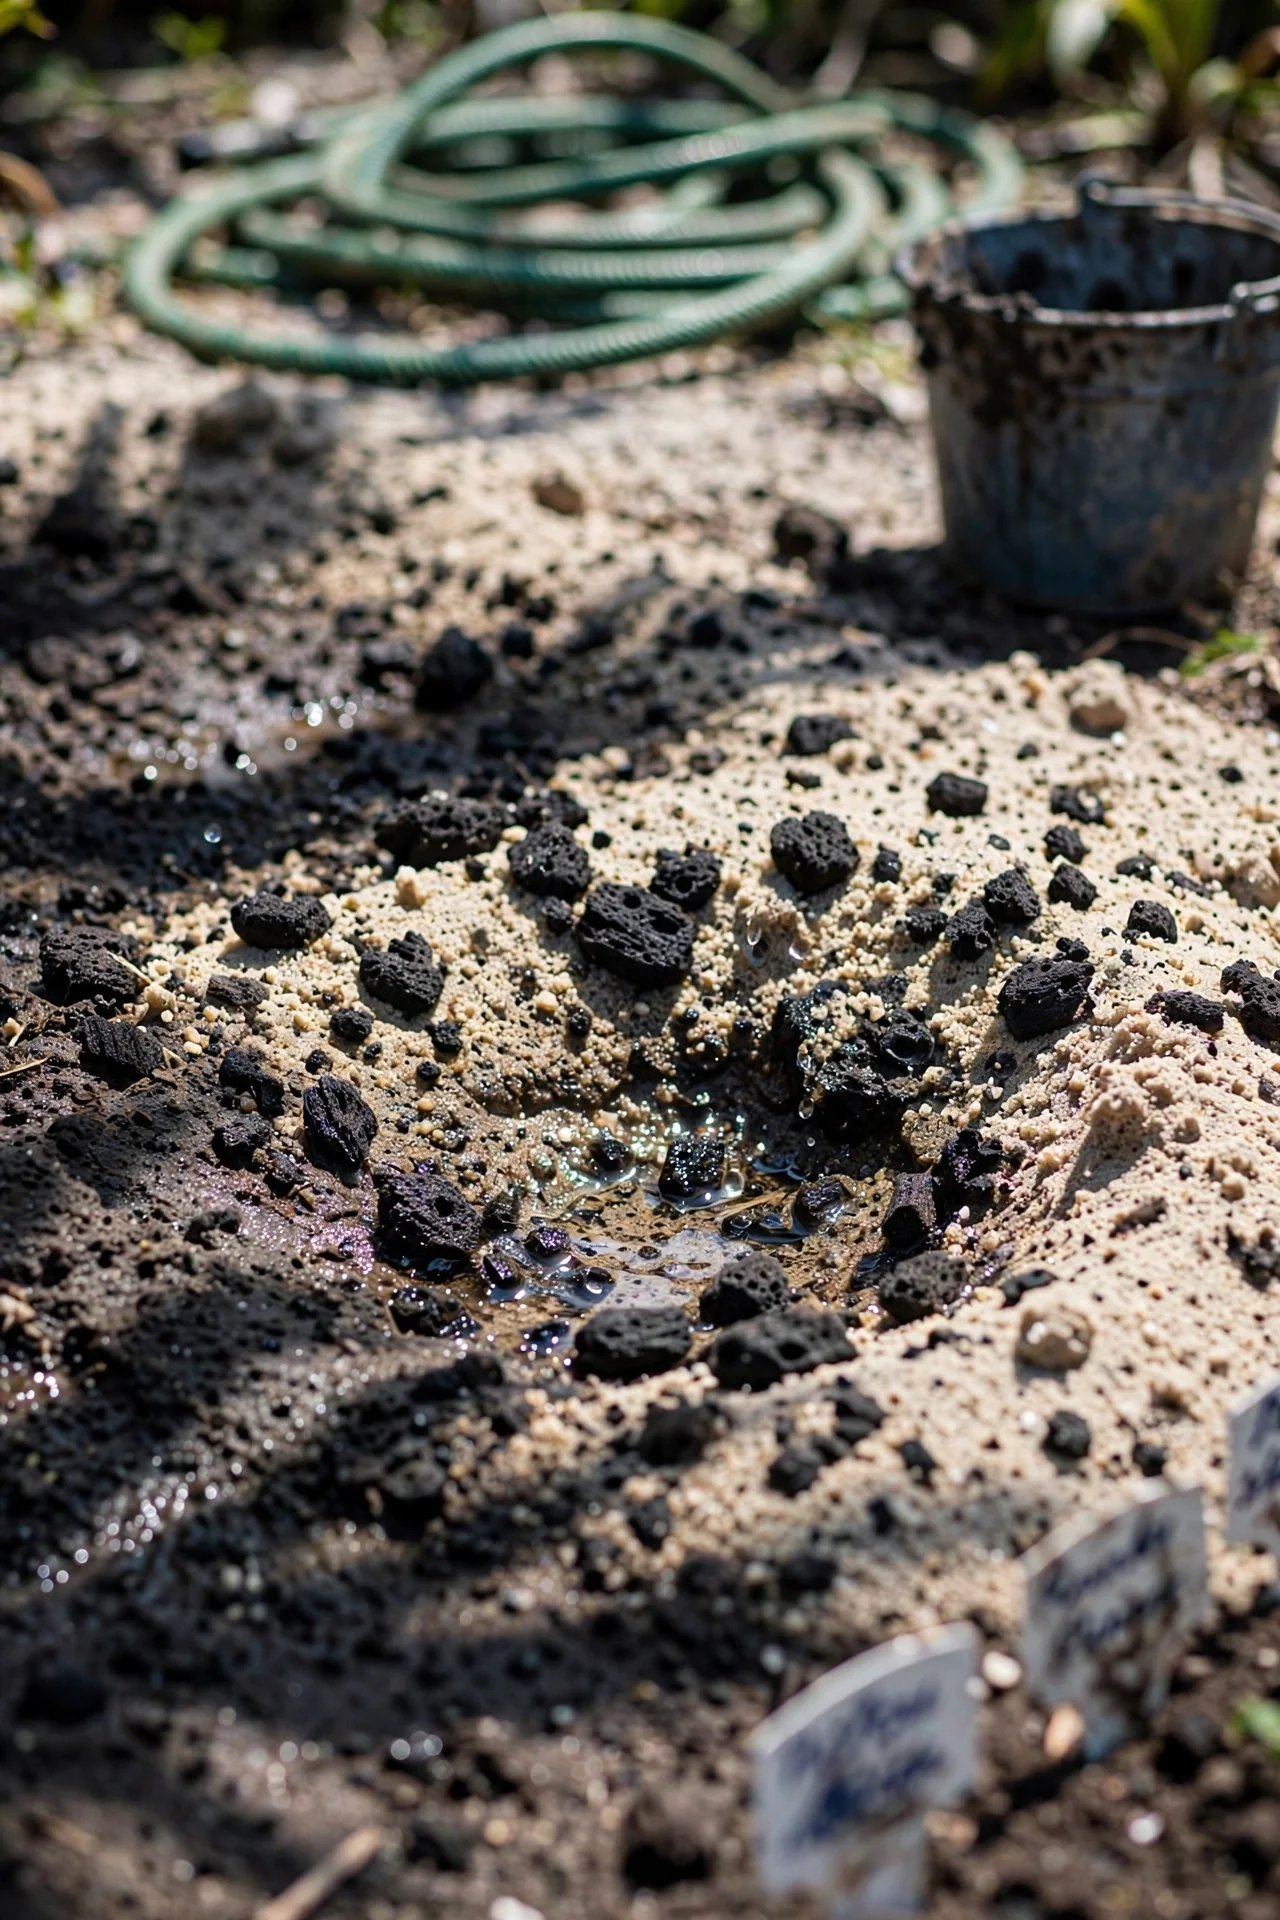
What it does: Uncharged biochar acts like a nutrient magnet in reverse. Its massive internal surface area (commonly exceeding 300 m² per gram for high-temperature material) adsorbs nitrate, ammonium, and phosphate from the soil solution, temporarily starving plant roots. Charging saturates those binding sites with nutrients and microbes before the biochar reaches the soil.
Target user: Any gardener applying biochar for the first time, especially in soils with low organic matter (below 3 percent as determined by a lab test or visible as pale, dusty soil).
Steps: Combine dry biochar with finished compost, aged manure, or worm castings at a 1:1 ratio by volume. Moisten the mixture until it holds together when squeezed but does not drip. Store in a covered container or pile at 10–25°C. Turn once per week. Minimum charging time is 14 days at warm temperatures; extend to 4 weeks if ambient temperature stays below 10°C. Apply to garden beds at the rates covered in Item 4.
Common mistake: Skipping the moistening step. Dry biochar mixed with dry compost will not charge; microbial activity requires water. If the pile dries out, restart the clock.
For an alternative charging liquid rich in microorganisms, compost tea can replace water when wetting the biochar-compost blend, delivering a concentrated microbial inoculant directly into the biochar pores.
2. Matching Biochar Feedstock to Your Soil Type
Best for: Branch 3 (Long-term carbon storage and soil structure)
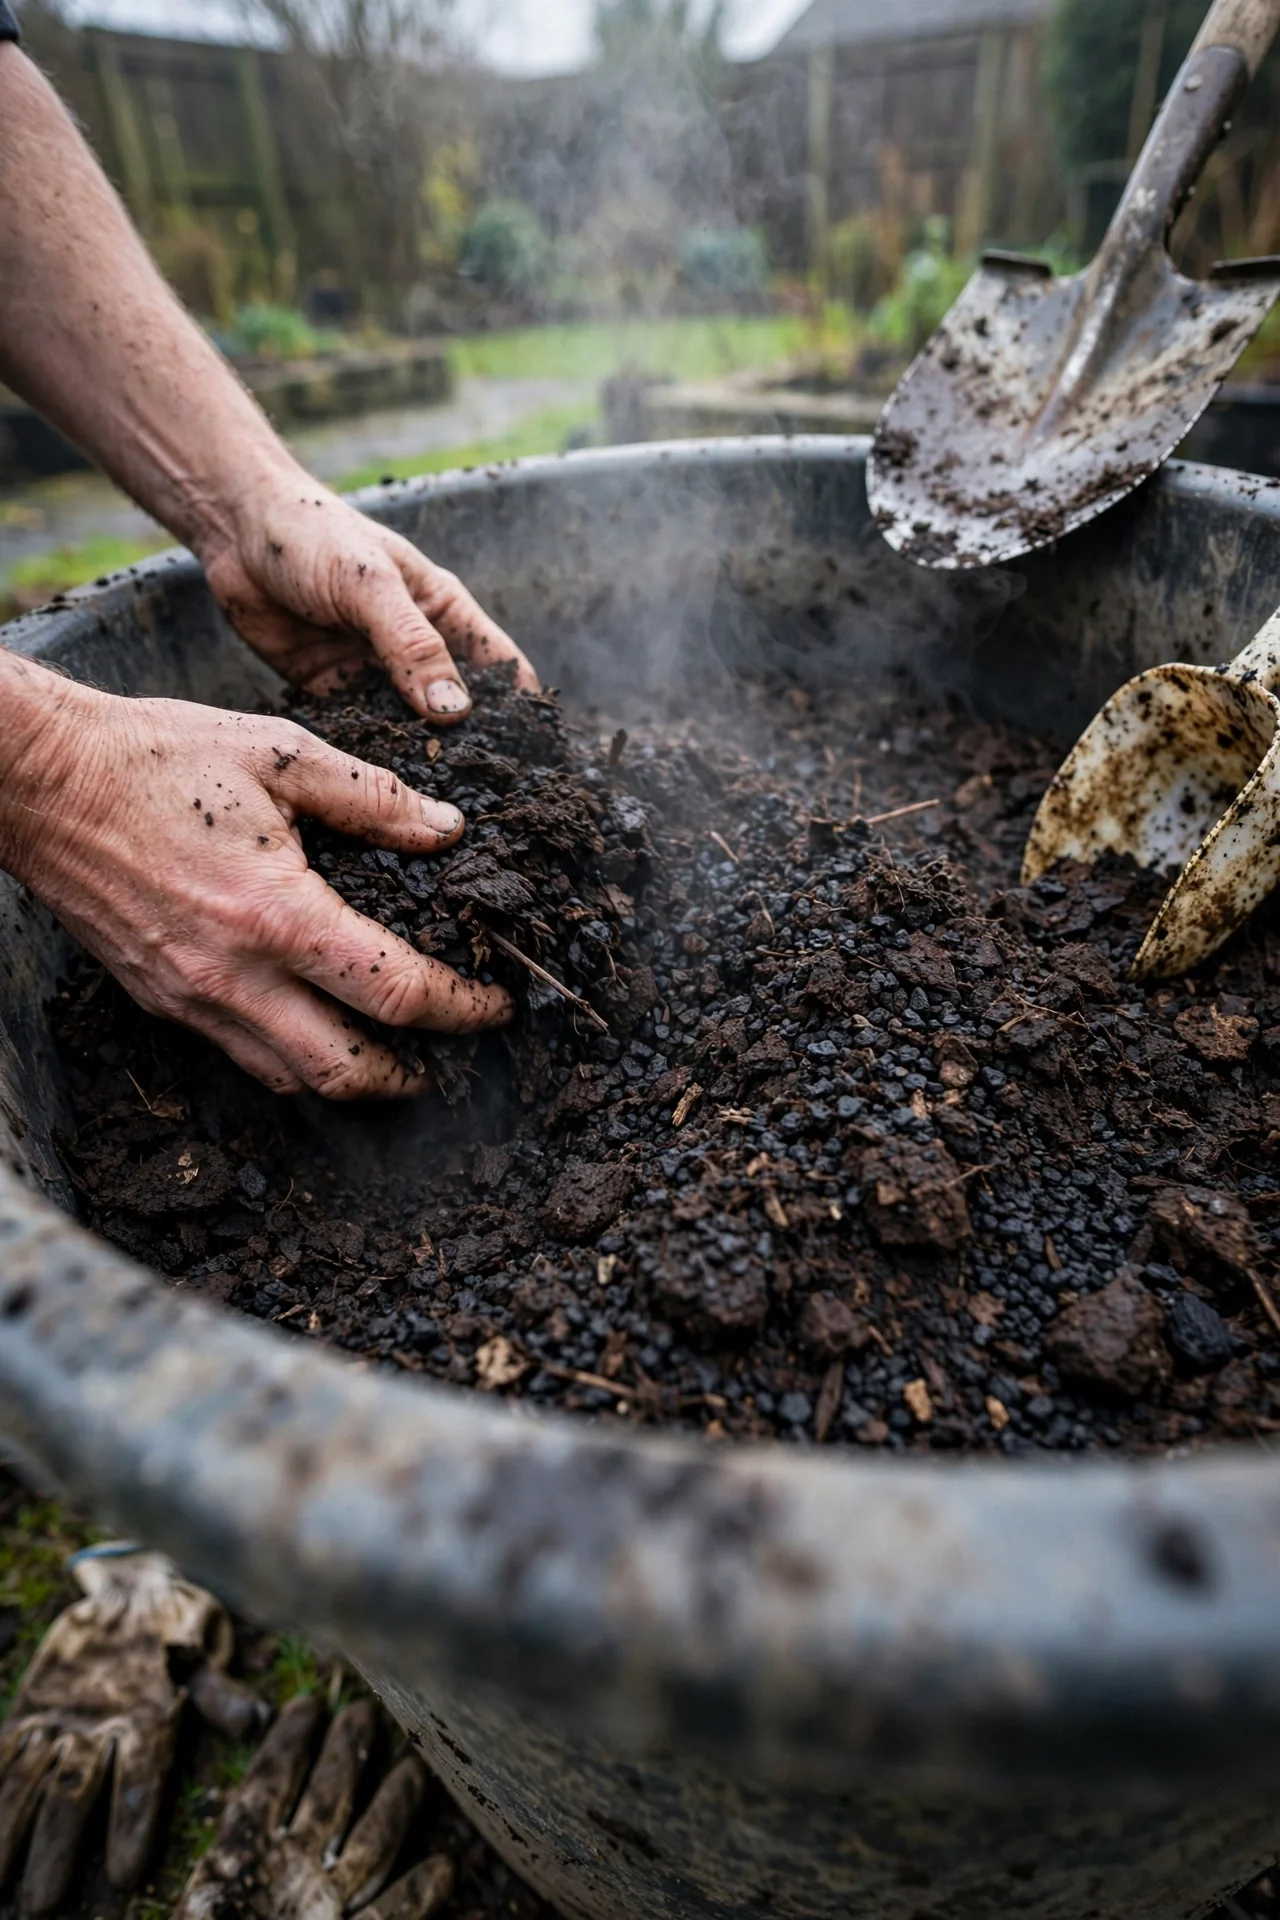
Use hardwood-derived biochar when: Your soil is acidic (pH below 5.5) and you want the liming effect. Hardwood biochars typically carry higher ash content and alkalinity, making them better pH buffers.
Use softwood-derived biochar when: Your soil pH is already neutral to alkaline (above 6.5) and you want to avoid further pH increase. Softwood biochars tend to have lower ash content and less liming effect.
Edge case: Manure-derived biochars carry their own nutrient load (notably phosphorus) and can function as a slow-release fertilizer in addition to a carbon matrix. But they also raise pH significantly. Test your soil pH before selecting a manure-based product.
3. Choosing the Right Pyrolysis Temperature for Your Goal
Best for: Branch 2 (Nutrient holding in depleted soil)
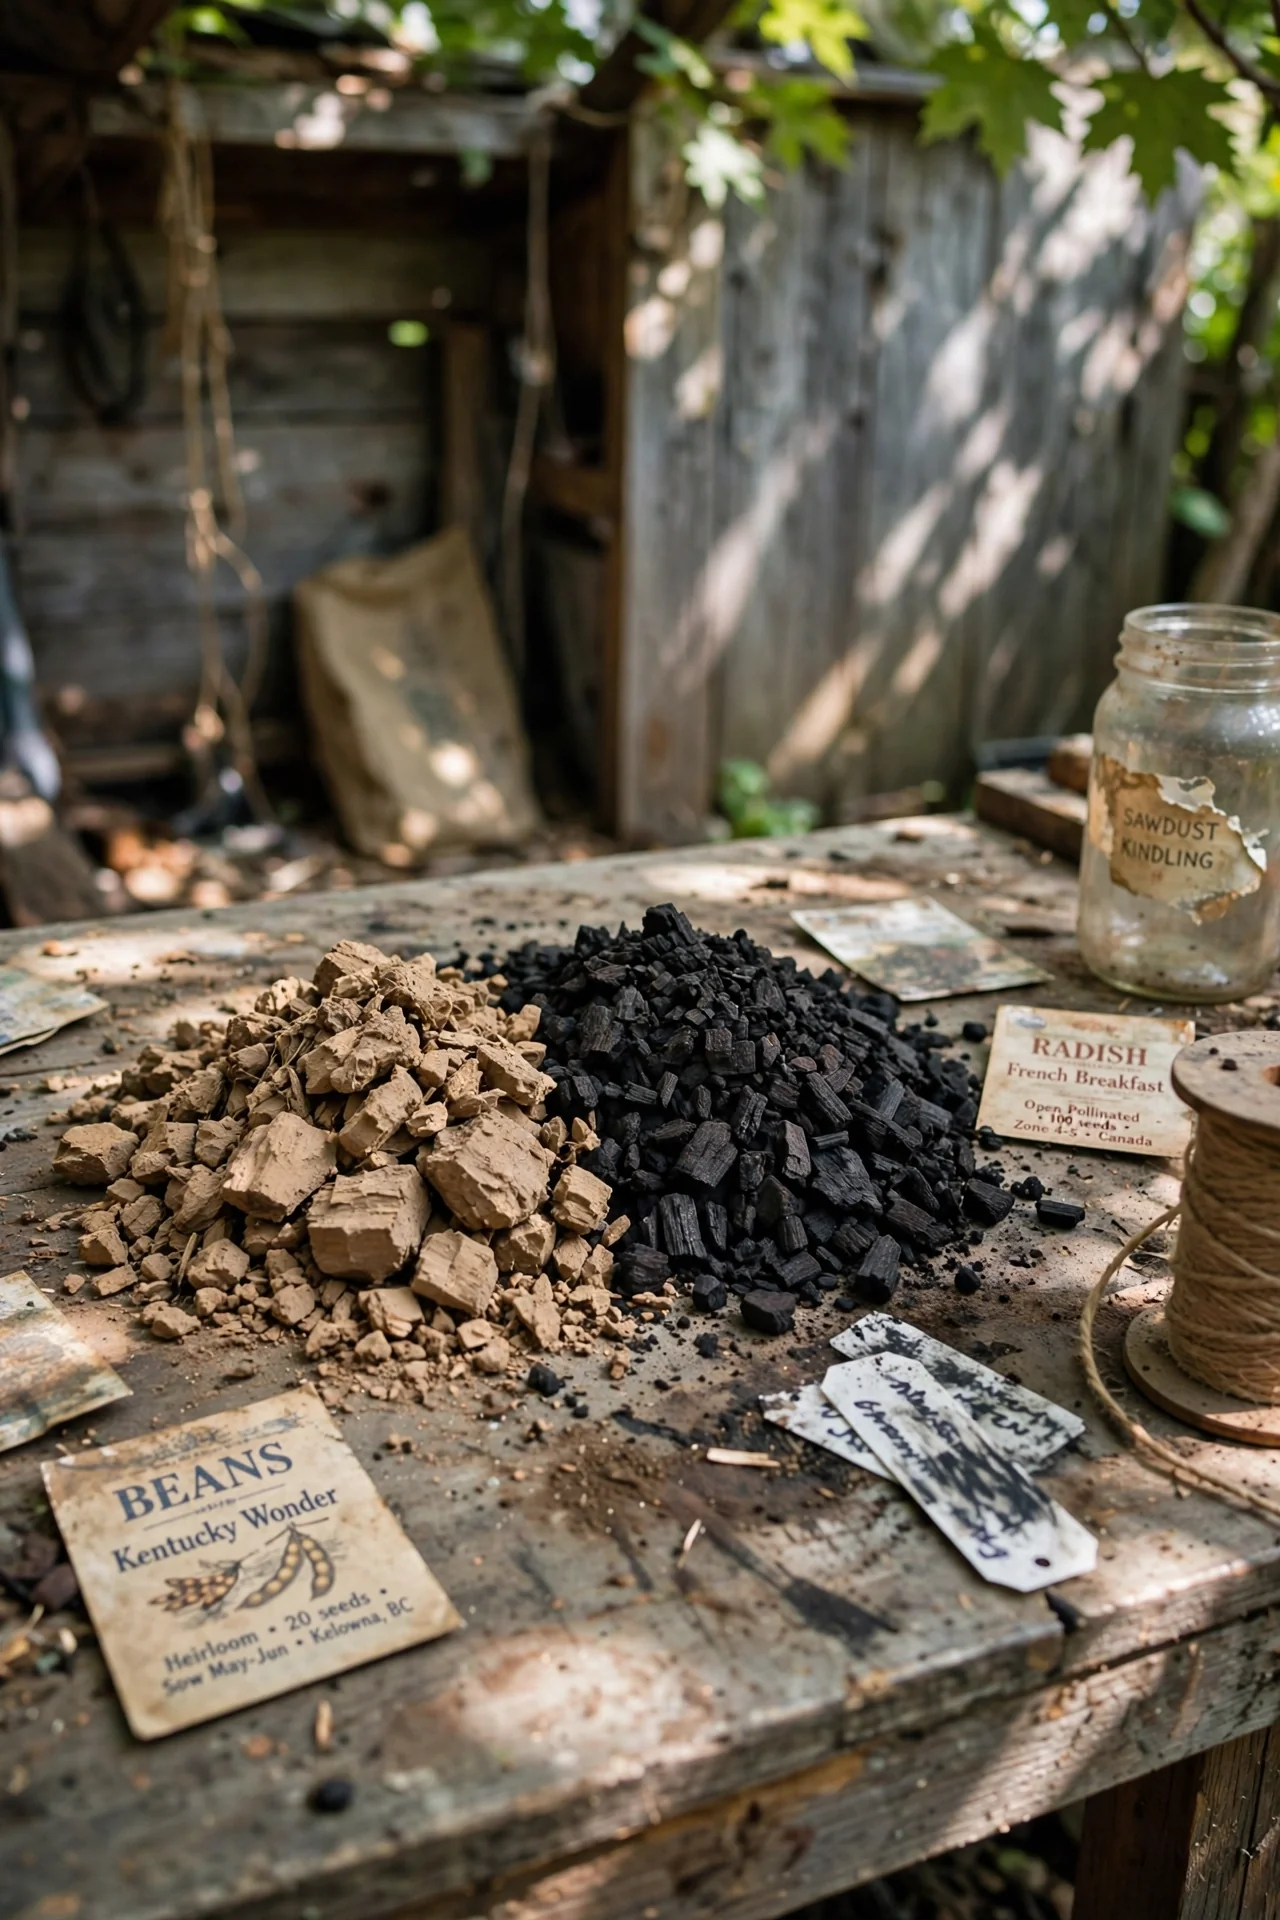
Biochar produced at 400–500°C delivers the highest cation exchange capacity (CEC), which is what you need to hold nutrients in depleted soil. Above 550°C, surface area skyrockets but CEC declines, shifting the benefit from nutrient retention toward water holding and carbon persistence. The threshold matters because you cannot optimize for both properties in a single product.
If your priority is immediate nutrient availability, choose biochar produced at or below 500°C. If your priority is multi-decade carbon storage and water retention, choose biochar produced above 550°C. Ask suppliers for the production temperature; reputable producers track this variable. If the supplier cannot tell you the pyrolysis temperature, assume the product is inconsistent batch-to-batch.
4. Calculating Application Rates by Soil Volume
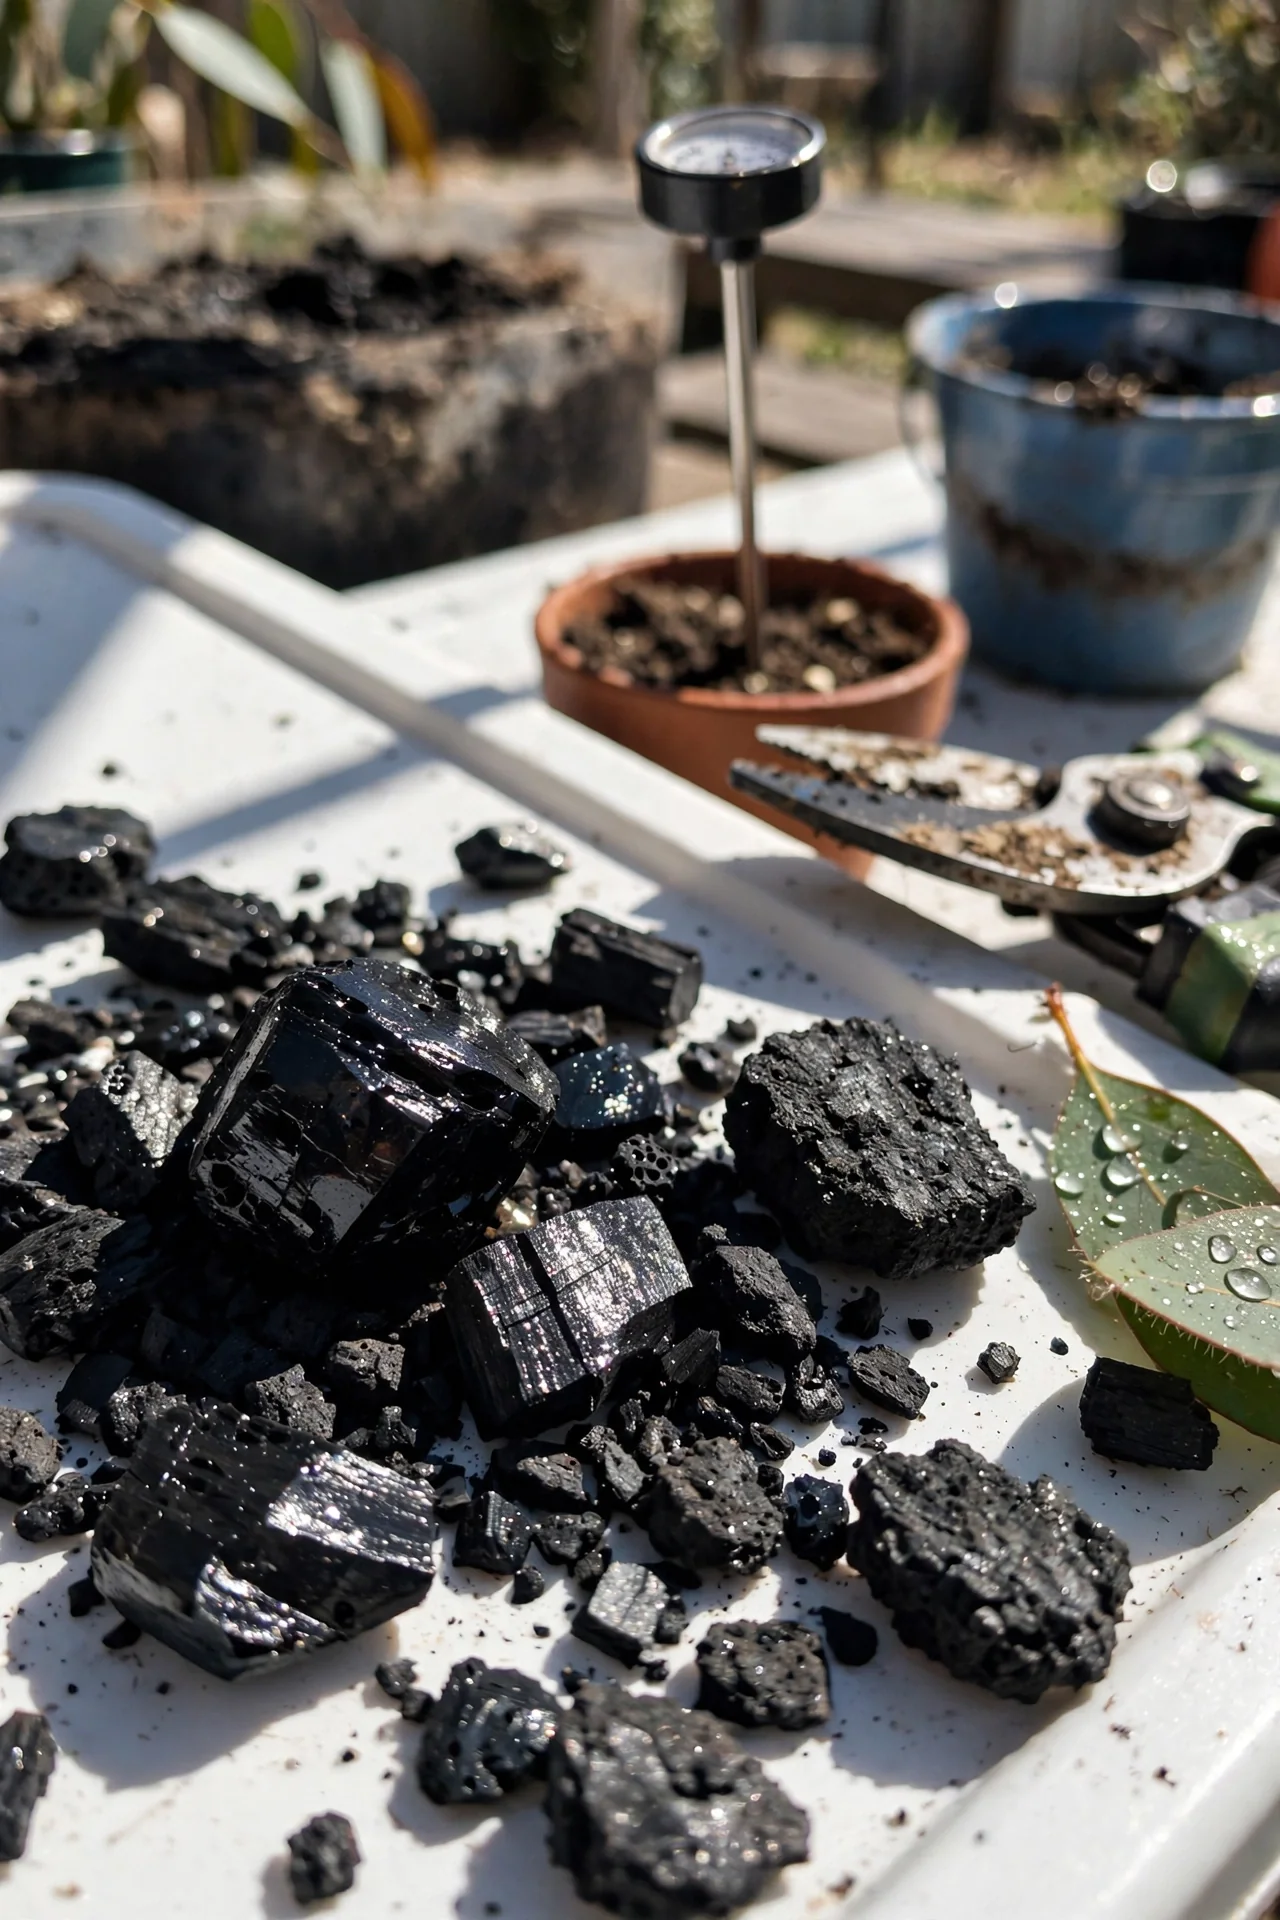
Best for: Branch 1 (Water retention in fast-draining soil)
Step 1: Determine your soil depth. For garden beds, 15–20 cm (6–8 inches) is the standard incorporation depth. For containers, use the full pot depth.
Step 2: Calculate the volume of soil you are amending. Multiply bed area (m²) by 0.15 m for a 15 cm depth. A 1 m² bed × 0.15 m gives 0.15 m³ of soil to treat.
Step 3: Apply biochar at 5–10 percent by volume. For 0.15 m³ (150 L) of soil, 5 percent biochar is 7.5 L of dry biochar. This equates to roughly 1–2 kg of dry biochar per square metre.
Step 4: Adjust for soil type. Sandy soils (Branch 1) benefit from the upper end of the range, closer to 10 percent. Clay soils need less: 3–5 percent, because excess biochar in clay can reduce water holding capacity in some cases. Never exceed 10 percent by volume; above that threshold, the risk of nutrient immobilization increases even with charged material.
Step 5: Spread evenly and incorporate. After spreading, mix to full depth. Water thoroughly.
Upgrade option: For container gardens, pre-blend biochar into your potting mix before filling pots. A seed starting soil mix with 5 percent biochar by volume can improve moisture consistency for germination.
5. Incorporating Charged Biochar Into Existing Garden Beds
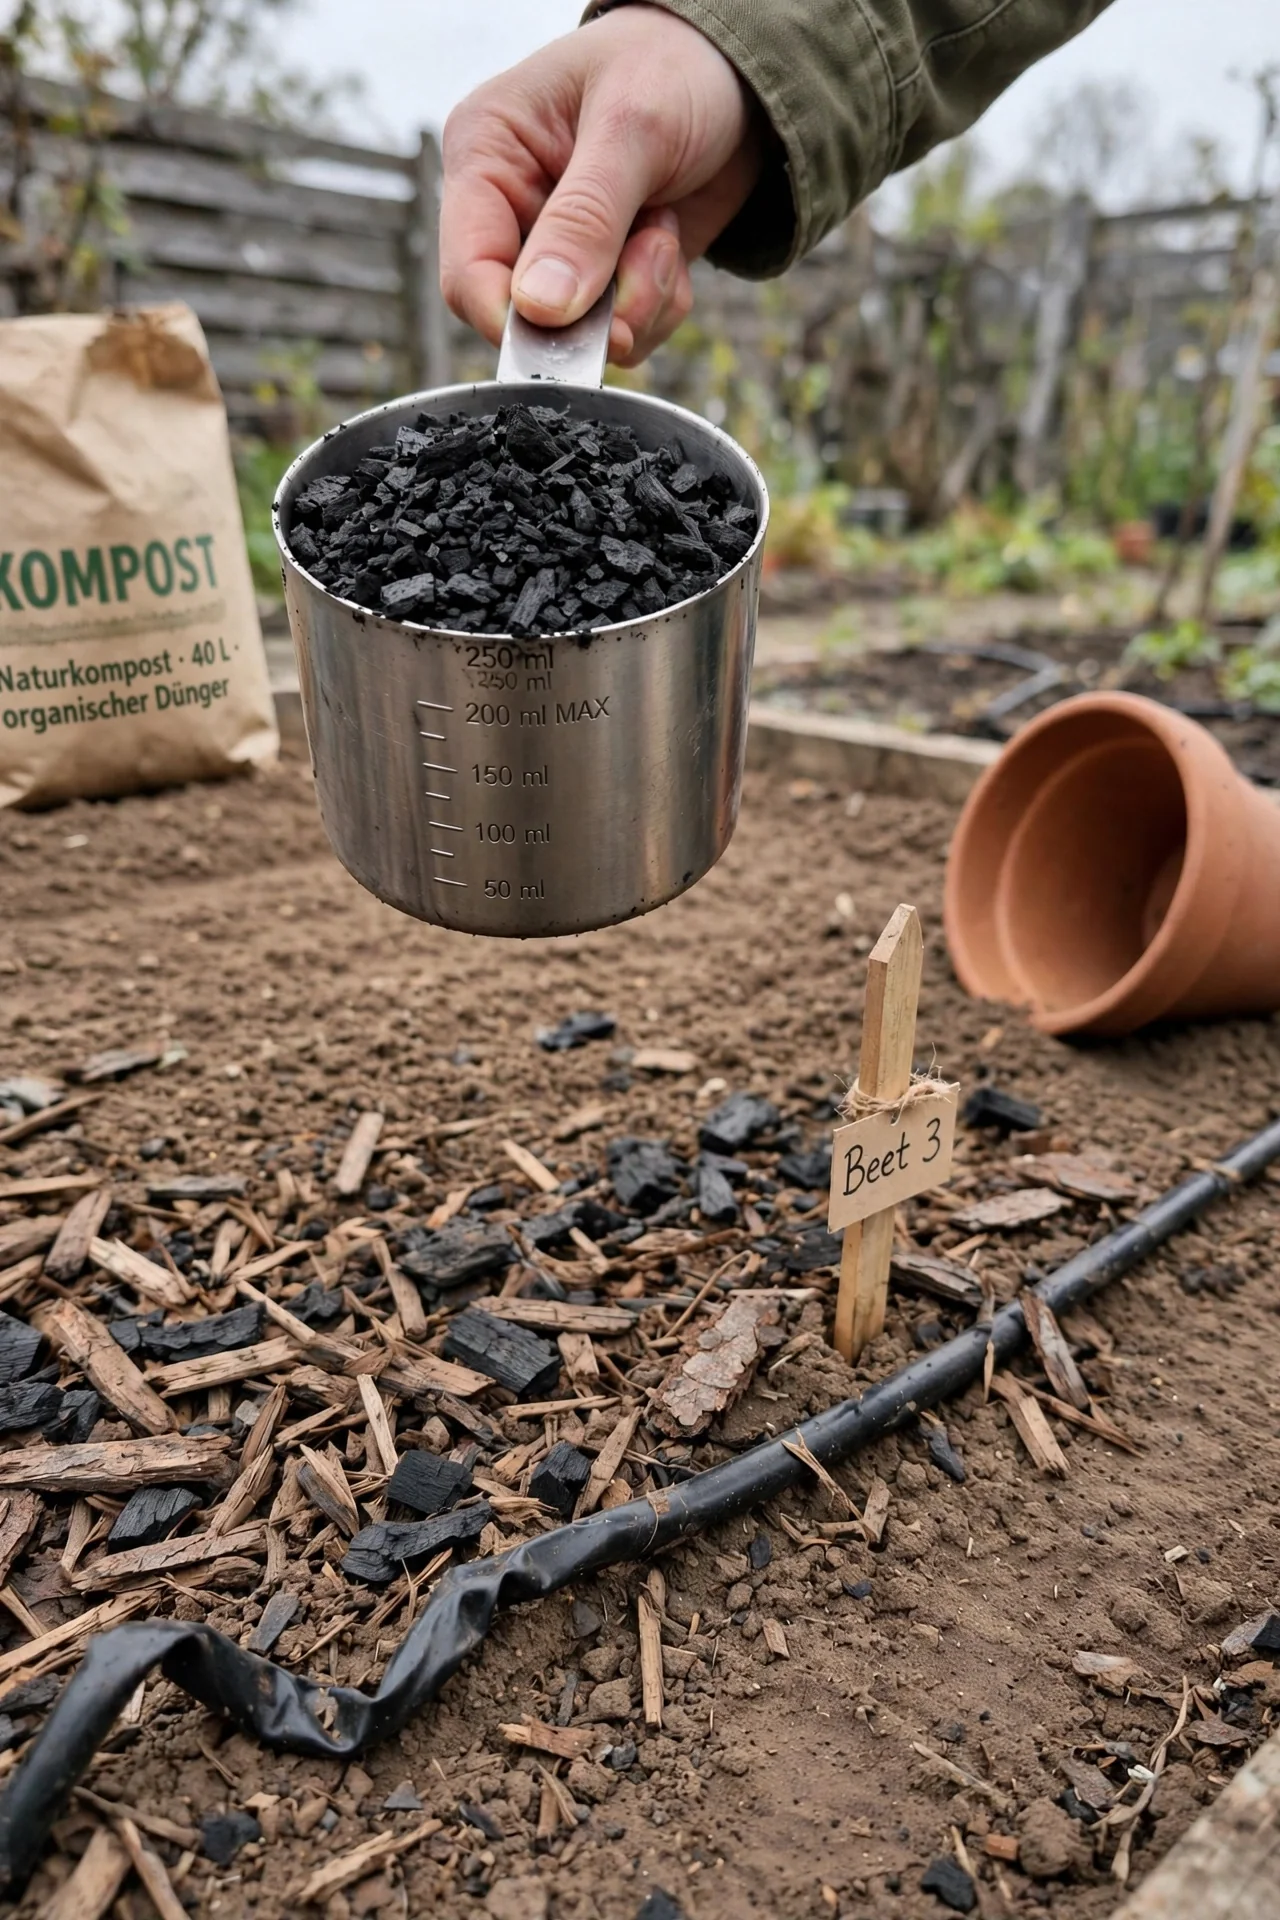
Best for: Branch 3 (Long-term carbon storage and soil structure)
Use this method when: You have perennial plantings or no-till beds where full soil disturbance is undesirable. Apply charged biochar as a surface layer 1–2 cm thick, then lightly fork or rake it into the top 5 cm. Earthworms and soil fauna will gradually incorporate it deeper.
Skip this method when: You are in a short growing window (fewer than 8 weeks until harvest) and need rapid results. Surface-only incorporation takes months to deliver measurable soil changes. In that case, remove plants, incorporate biochar to full depth, and replant.
Constraint: Surface-applied biochar can form a crust in hot, dry conditions if not mulched over. Always cover with a 2–3 cm layer of mulch after surface application to maintain moisture at the biochar-soil interface.
6. Adding Raw Biochar to Active Compost Piles
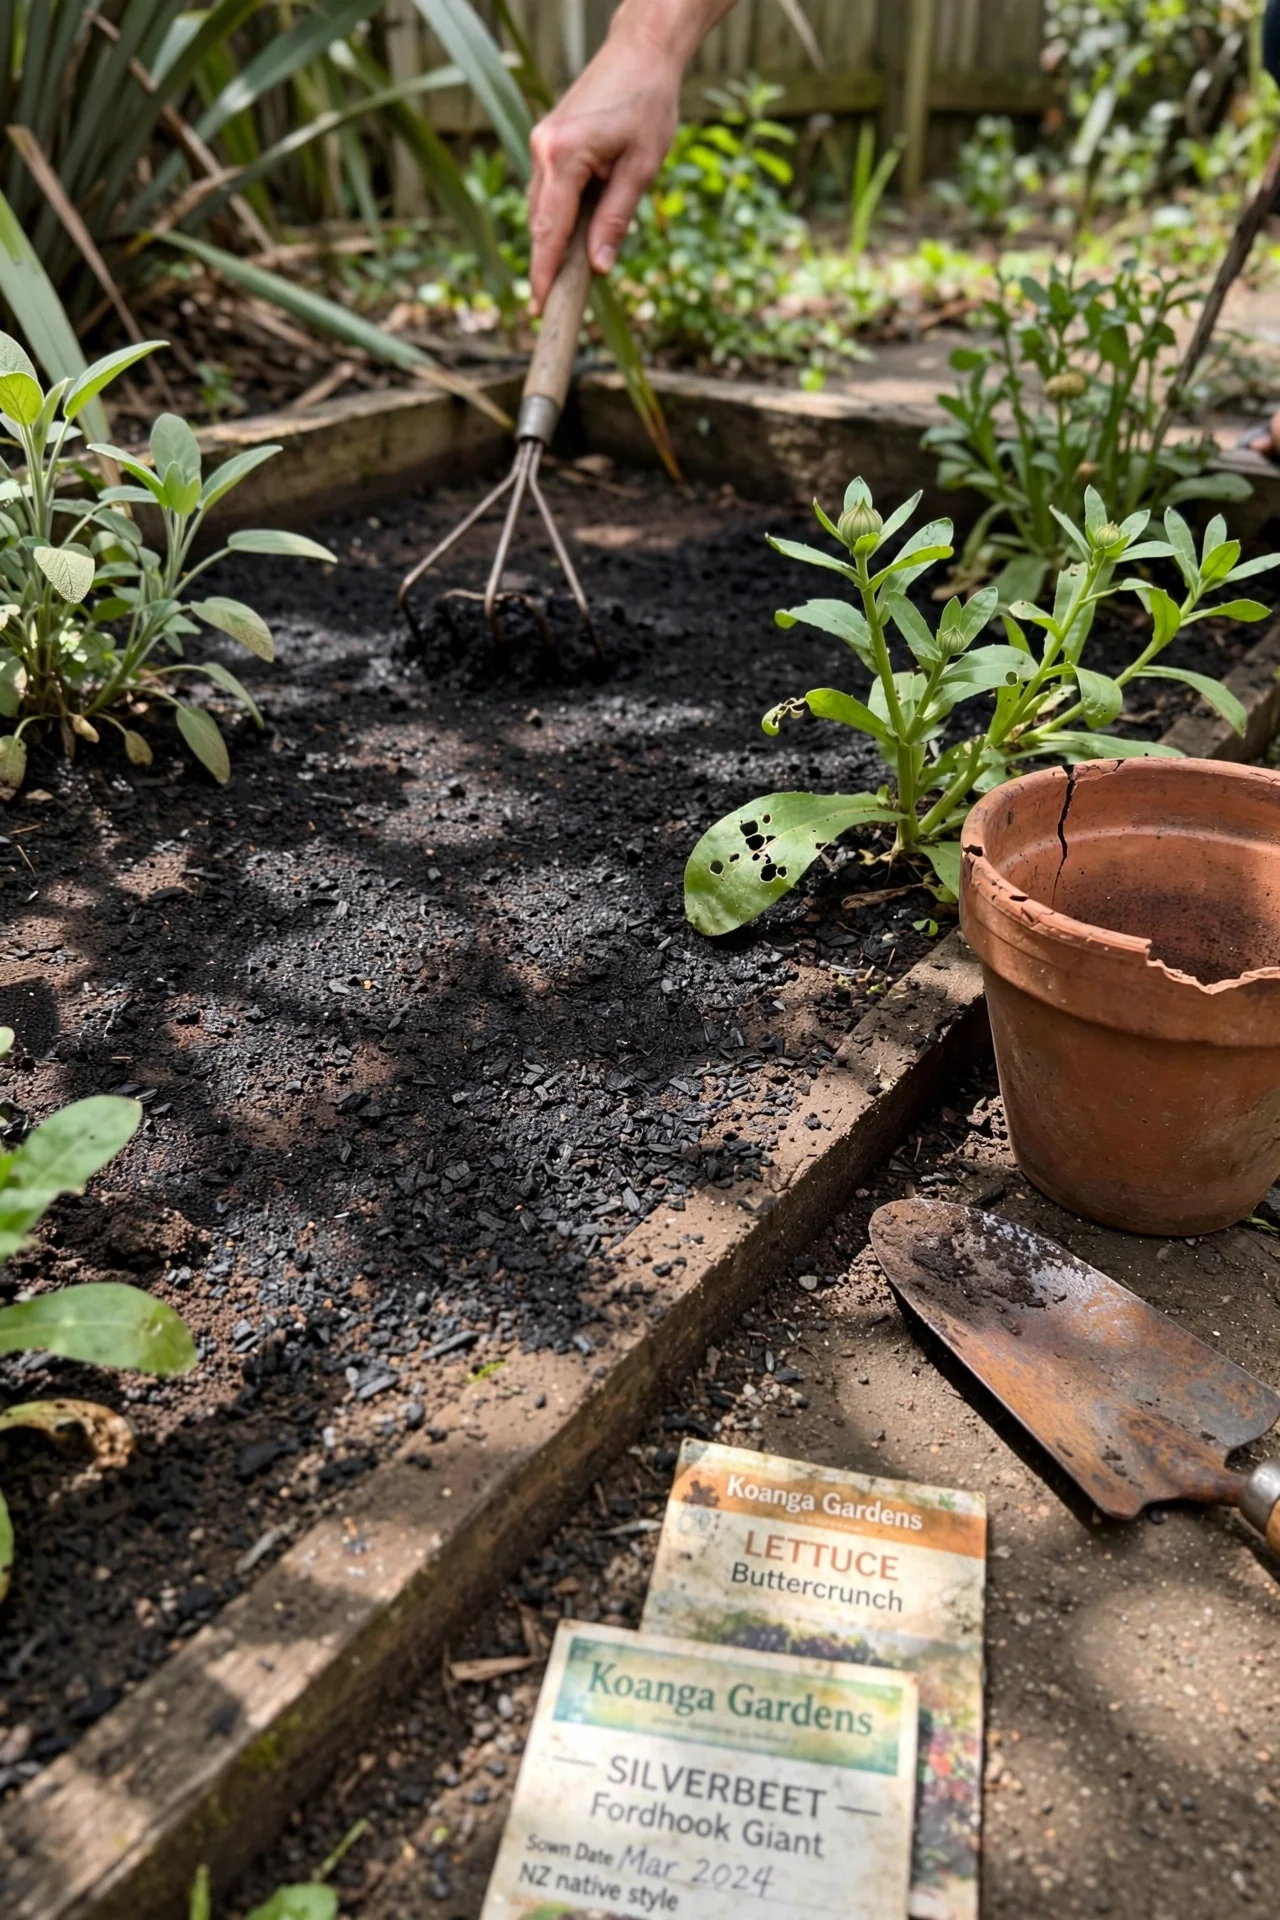
Best for: Branch 2 (Nutrient holding in depleted soil)
The threshold rule for co-composting: add raw biochar at 5–10 percent of pile volume during pile construction, not after. Adding biochar to an already-hot pile (above 55°C internal temperature) works, but adding it during the initial build captures ammonia and volatile nitrogen compounds that would otherwise escape during the first two weeks of active composting.
Adjustment: if your compost feedstock is carbon-heavy (straw, wood chips, dry leaves), stay at the lower end of the range (5 percent). If nitrogen-heavy (grass clippings, manure, kitchen scraps), go to 10 percent. The biochar will sorb excess nitrogen and reduce ammonia odor.
After the compost cycle finishes (8–12 weeks for hot composting), the biochar is fully charged and can be applied directly to soil. For more on pile management, see our hot composting method guide.
7. Targeting Water Retention in Sandy Soils
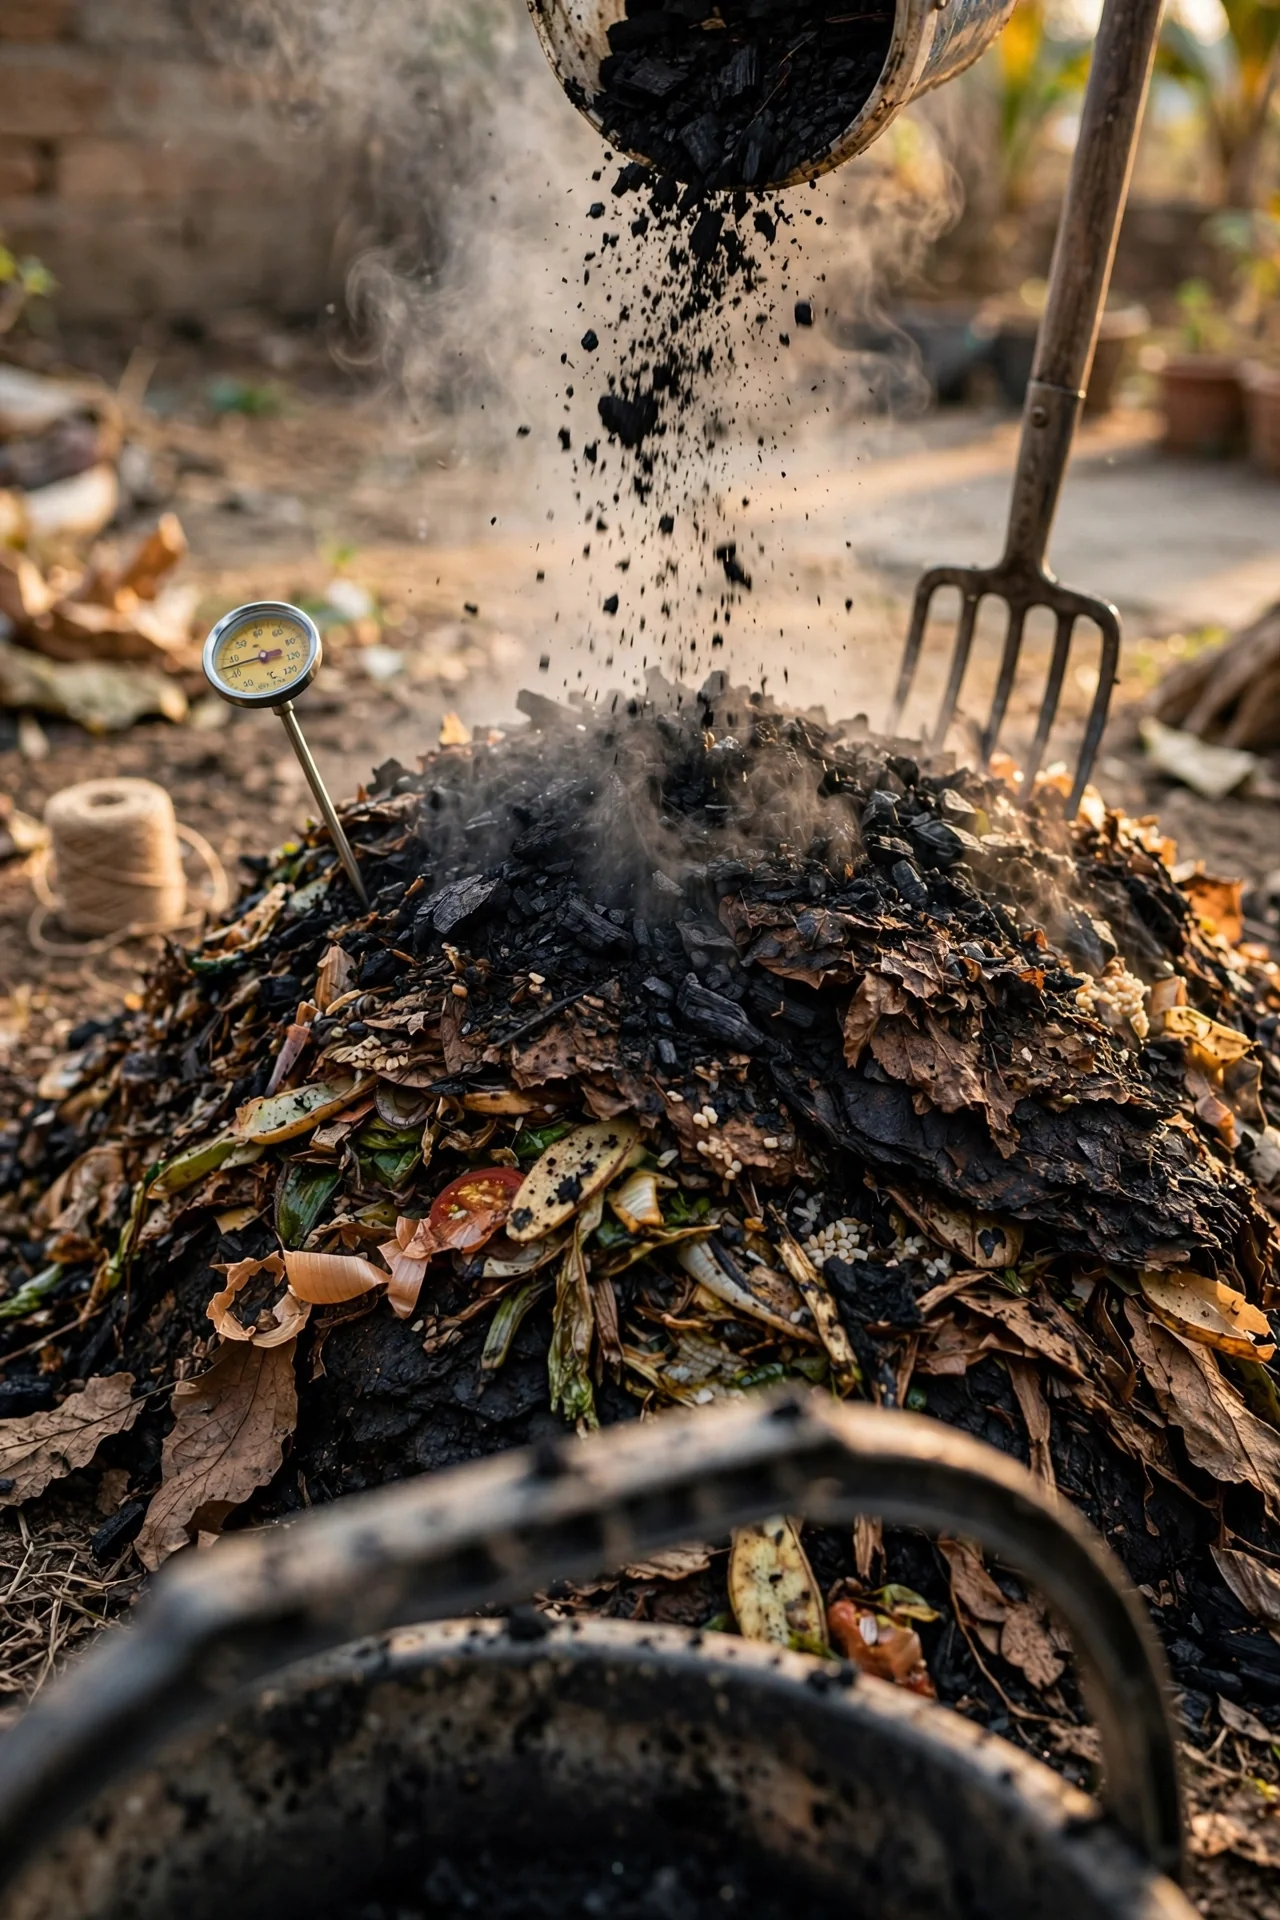
Best for: Branch 1 (Water retention in fast-draining soil)
What it does: In sandy soils (over 60 percent sand, under 20 percent clay), water drains through quickly because large pore spaces cannot hold water against gravity. Biochar introduces micro- and meso-pores that retain plant-available water between irrigation or rainfall events.
Target rate: Apply 1.5–2 kg of charged biochar per square metre, incorporated to 15–20 cm depth. This rate is higher than for loam or clay because sandy soils have lower native water holding capacity and benefit from a larger biochar fraction.
Steps: Charge biochar using the 1:1 compost method described in Item 1. Spread the charged blend evenly across the soil surface. Dig or till to the full 15–20 cm depth; shallow incorporation concentrates biochar near the surface and reduces the water-reservoir effect. Water immediately after incorporation.
Common mistake: Using uncharged biochar in sand. Sandy soils already have low nutrient holding capacity; adding raw biochar worsens the problem by adsorbing what few nutrients exist. Always charge first when working with sand.
For additional water-holding strategies in sandy soils, leaf mold used as a surface mulch works synergistically with subsurface biochar, trapping moisture from above while biochar retains it below.
8. Evaluating Commercial Pre-Charged vs Raw Biochar Bags
Best for: Branch 3 (Long-term carbon storage and soil structure)
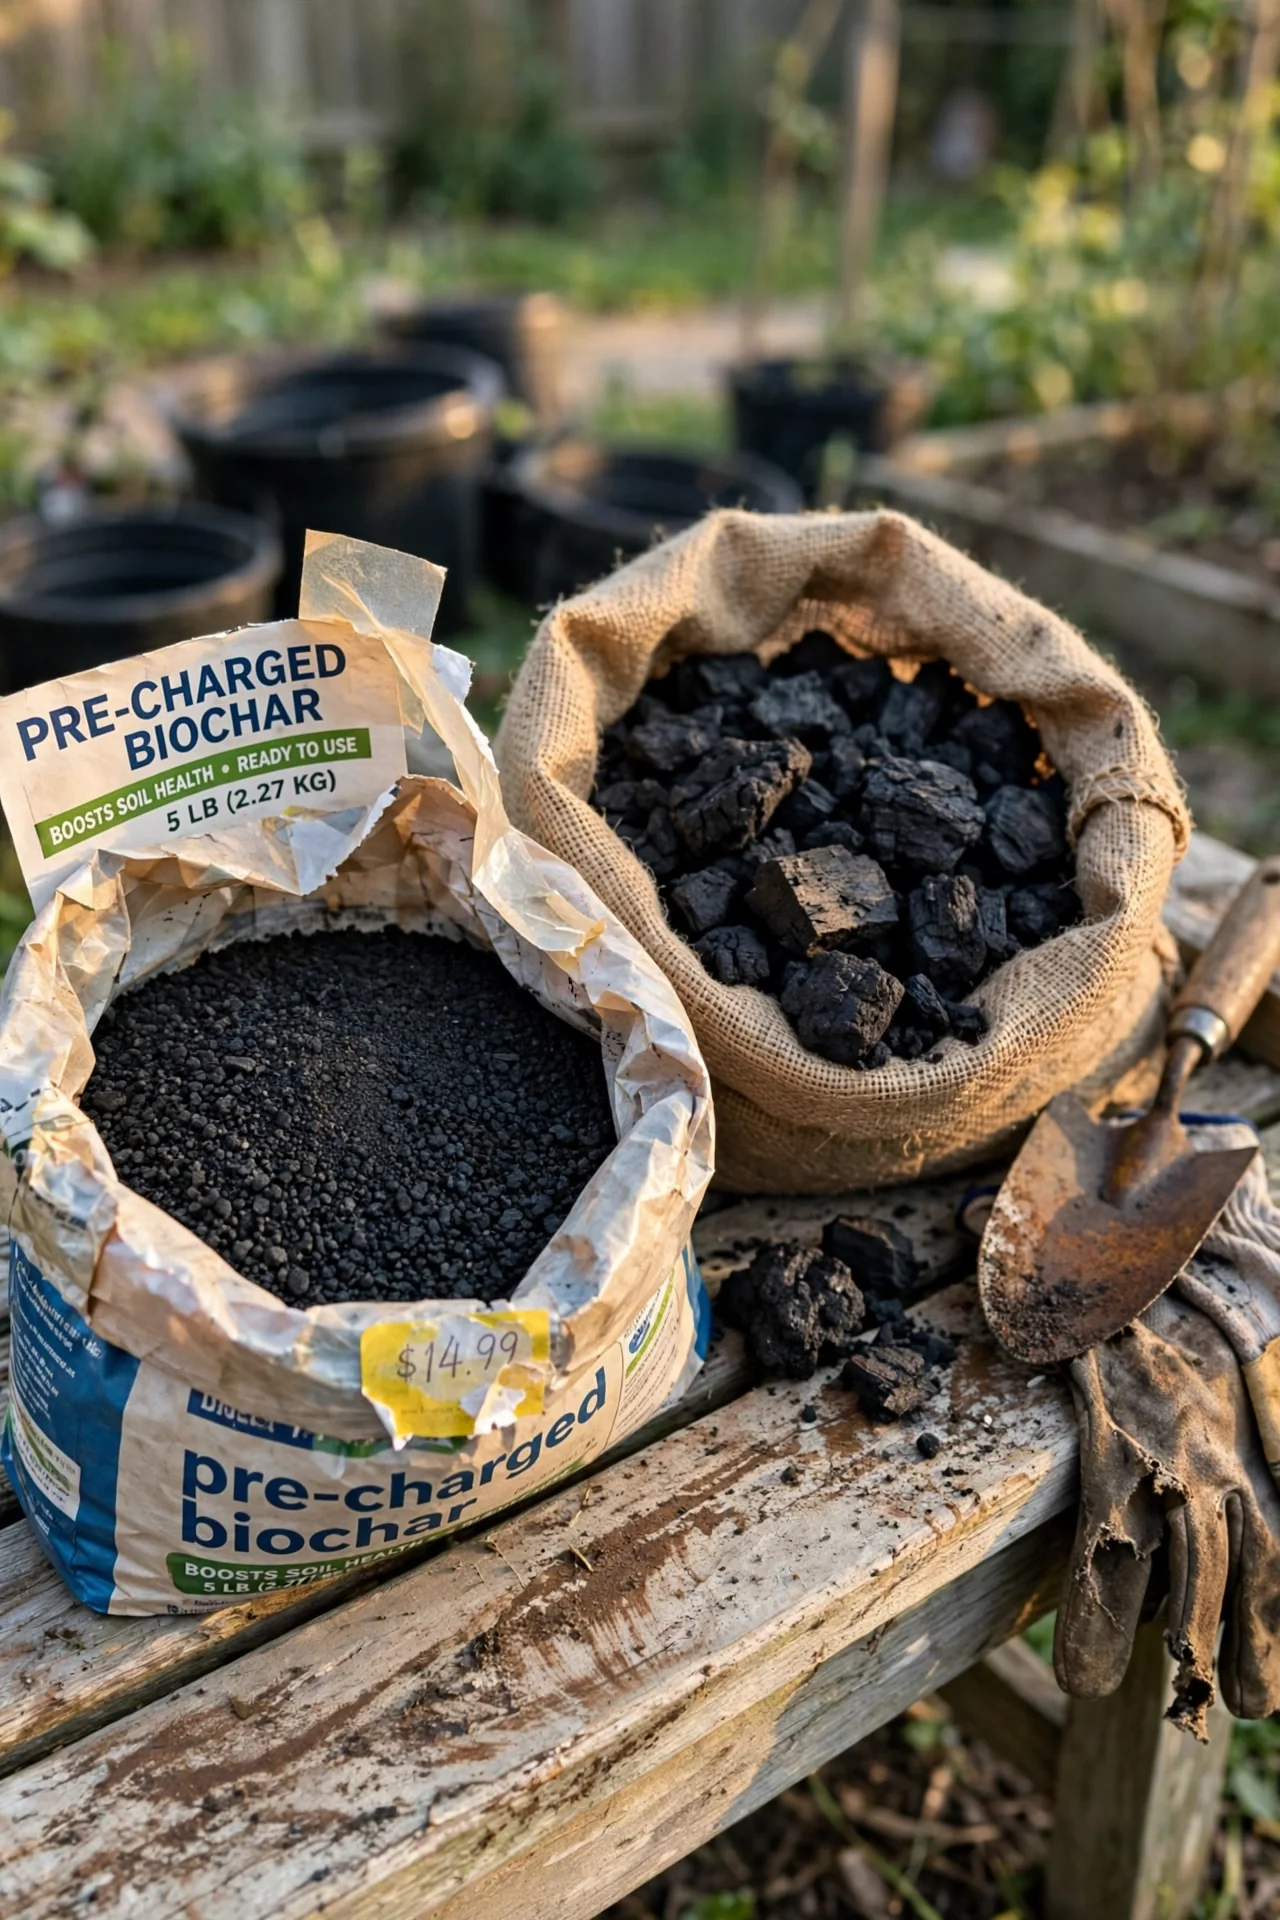
Use pre-charged or inoculated biochar when: You need to apply and plant within the same weekend, or you lack space for a 2–4 week charging setup. Pre-charged products have already been saturated with compost extract, microbial inoculants, or liquid nutrients.
Use raw biochar when: You have an active compost pile, a spare bin for charging, and a timeline that allows at least 14 days before planting. Raw biochar typically costs significantly less per kilogram than pre-charged equivalents in US and UK markets.
Verification tip: Ask the supplier to describe their charging process. If they cannot name the nutrient source or duration, treat the product as raw biochar and charge it yourself.
9. Using Biochar as a pH Buffer for Acidic Soils
Best for: Branch 1 (Water retention in fast-draining soil), particularly when acidic sandy soil combines both problems.
The threshold: soil pH below 5.5. Below this level, aluminium toxicity becomes possible and phosphorus availability declines. Biochar produced above 500°C typically has a pH of 8–10 due to alkaline ash residues. Applied at 1–2 kg per square metre, it can raise soil pH by 0.2–0.5 units over several months.
Adjustment: if your soil pH is below 4.5, biochar alone may act too slowly. Combine biochar with agricultural lime at half the lime rate you would normally apply. The biochar then buffers against rapid pH swings while the lime provides the initial correction. Retest soil pH at 6 months rather than assuming the adjustment is complete.
If you regularly add calcium-rich materials to your soil, check our guide on eggshells in compost for another slow-release option that works alongside biochar.
Starter Stack: What to Choose First
If You Match Branch 1 (Water Retention in Sandy Soil)
Start with Item 7 (Targeting Water Retention) and Item 4 (Calculating Application Rates). Together they give you the correct dose and the soil-type-specific method. Charged biochar at 1.5–2 kg/m², incorporated 15–20 cm deep, delivers the most measurable improvement in sandy soil water holding. Expect to spend 2–3 hours prepping and applying for a 10 m² bed, plus 14 days of charging time. Budget: medium, since you need both biochar and compost for charging.
If You Match Branch 2 (Nutrient Holding in Depleted Soil)
Start with Item 1 (Pre-Charging) and Item 6 (Adding to Compost Piles). Charge your biochar while simultaneously improving your compost quality. The co-composting route costs nothing extra if you already maintain a compost pile, and the two-week charging window aligns with the pile-building timeline. Time investment: 1 hour to mix biochar into the pile during construction, then passive waiting. Budget: low, assuming raw biochar and existing compost feedstocks.
If You Match Branch 3 (Long-Term Carbon Storage and Structure)
Start with Item 2 (Feedstock Selection) and Item 8 (Pre-Charged vs Raw). These are purchasing decisions you make once before buying. Choose hardwood biochar for acidic soils or softwood for neutral-to-alkaline soils. Decide whether to pay more for pre-charged convenience or less for raw product that requires your own charging setup. Time investment: under 30 minutes of research before purchase. Budget: variable; pre-charged costs more upfront but saves 2–4 weeks.
When This Won’t Work
Failure condition 1: Soil pH above 7.5, and you are using high-temperature (>550°C) hardwood biochar. High-pH biochar added to already-alkaline soil can push pH above 8.0, inducing micronutrient lockout (especially iron, manganese, and zinc). If your soil pH is above 7.5, either choose a low-ash, low-temperature biochar produced below 450°C, or use an alternative amendment like compost alone. Test pH before applying.
Failure condition 2: You cannot wait 14 days to charge and plan to apply raw biochar directly to planted beds. The nitrogen drawdown effect is well documented. Plants may show yellowing (nitrogen deficiency) within 2–4 weeks of raw biochar application. If your planting schedule cannot accommodate a charging window, purchase pre-charged biochar only, or postpone biochar use until a fallow period.
In both cases, the alternative action is straightforward: either adjust your biochar selection to match your soil chemistry, or adjust your timeline to accommodate proper charging. There is no shortcut that bypasses these constraints. If you are dealing with soils that already have good structure and fertility, you may not need biochar at all; review our compost vs mulch comparison to see if a simpler approach meets your needs.
Choosing the Right Option for Your Situation
Budget Threshold
Raw biochar in the US, UK, and Canada typically costs between $1.50 and $4.00 per kg in bulk bags. Pre-charged or inoculated biochar costs 1.5 to 3 times more. In Australia and New Zealand, prices run slightly higher due to smaller market scale. In India and Nigeria, availability is more limited and prices vary widely by region. If your budget is under $30, buy raw biochar and charge it yourself using material from an existing compost pile.
Time Threshold
If you have fewer than 14 days between purchase and planting date, you must buy pre-charged biochar or delay application until a fallow window. The minimum viable charging period is 14 days at temperatures above 15°C. At 5–10°C, extend to 28 days. Below 5°C, microbial activity slows to the point where charging is ineffective; wait for warmer weather.
Technical Constraint: Feedstock Traceability
Biochar made from treated lumber, painted wood, or waste containing heavy metals can introduce contaminants into garden soil. Always verify that your supplier’s feedstock is untreated plant material or clean wood waste. In Germany, biochar sold as a soil amendment must meet the European Biochar Certificate standards, which include heavy metal limits. In the US, no federal standard exists; ask the supplier for a lab analysis showing arsenic, cadmium, chromium, and lead levels below common soil screening thresholds.
Yes/No Checklist:
1. Is your soil pH between 4.5 and 7.5? If no, reconsider biochar selection or pH strategy.
2. Do you have a 14-day charging window or access to verified pre-charged product? If no, postpone application.
3. Can you verify the feedstock source is untreated plant material? If no, choose a different supplier.
4. Have you identified which of the three Decision Grid branches matches your primary soil goal? If no, review the grid above before purchasing.
Expert Q&A
Can I charge biochar in a bucket instead of a compost pile?
Yes. Use a 20 L bucket with a lid. Mix biochar and finished compost 1:1 by volume, moisten to field capacity (damp but not dripping), cover loosely, and stir every 3–4 days. The same 14-day minimum applies. The bucket method works well for small gardens and container growers who do not maintain a full compost pile.
Does biochar expire or break down over time?
Biochar does not expire in any meaningful gardening timeframe. Its carbon structure persists for centuries. However, once incorporated into soil, it gradually saturates with nutrients and microbial life over several seasons. After the first year, previously charged biochar behaves as a stable, permanent soil component. You do not need to reapply annually; most soils need only one thorough application.
Why does biochar sometimes reduce yields in the first season?
This is almost always due to nitrogen immobilization from uncharged or insufficiently charged biochar. The carbon-rich surface adsorbs nitrate and ammonium, leaving less available for plants. A secondary cause is over-application above 10 percent by volume, which can alter soil physical properties enough to restrict root penetration in clay soils.
Is biochar the same as activated charcoal or horticultural charcoal?
No. Activated charcoal is processed at higher temperatures with steam or chemical activation to maximize surface area for filtration, and it costs far more. Horticultural charcoal is typically lump charcoal crushed for potting mixes, often uncharged. Biochar is specifically produced from biomass through pyrolysis for soil application, with defined feedstock and temperature parameters.
Can I use biochar in hydroponic or soilless growing systems?
Biochar can replace a portion of inert media like perlite or vermiculite in soilless mixes, typically at 5–10 percent by volume. However, uncharged biochar in a hydroponic system will strip nutrients from the solution rapidly. Pre-charge it with a complete nutrient solution for at least 7 days before introducing plants, and monitor EC levels closely for the first week.
Conclusion
The single decision that determines biochar’s outcome is whether you charge it before soil contact. Raw biochar in planted soil creates a nutrient deficit; charged biochar builds a microbial habitat that improves your soil for decades. The most common mistake is treating biochar as a one-step additive rather than a two-step process of saturation followed by incorporation.
If you have read this far and are unsure where to begin, start with the cheapest raw biochar you can verify, charge it in your existing compost pile for at least 14 days, and apply it at 5 percent by volume to a small test bed. Measure results before scaling up. For more on what materials should never enter your compost or soil, see our guide on what not to compost.