Below is the raw HTML for the listicle, ready to publish. It’s structured around the decision‑grid logic, uses the required internal links exactly once, and avoids every prohibited element.
“`html
Introduction
The most useful balcony hanging planter you can own is the one your balcony will actually let you mount. Too many guides start with materials or plant pairings, yet the first question that eliminates entire categories is mechanical: where does the load transfer, and does the surface permit that connection. This article reframes the search around three structural pathways so you stop shopping for planters that cannot work on your specific balcony.
This guide covers planters that hang from railings, walls, ceilings, or tension systems on residential balconies. It excludes floor-standing vertical towers, in-ground beds, and window‑box planters that sit on sills rather than suspend. Every option assumes outdoor exposure with variable wind and sun, not sheltered indoor conditions.
By the end, you will be able to identify which mounting category matches your balcony’s physical permission set, estimate the effort each system requires to maintain, and walk away with a starter combination that fits your exact constraints instead of a generic “top picks” list.
Bottom line: Match the planter’s mounting mechanism to your balcony’s structural reality first; everything else (material, style, plant choice) is secondary.
The Yield Grid Decision Grid
Use the three branches below. Each branch describes a measurable condition. Follow the branch that matches your balcony, then jump to the recommended items listed immediately after.
Branch 1: Solid overhead or wall surface; drilling permitted
You own the property or have written landlord approval to drill into masonry, concrete, or structural timber. You have a ceiling or an unglazed wall capable of holding at least 10 kg per anchor point after accounting for wet soil weight. Anchors must seat into solid substrate, not drywall alone. If your building was constructed after 2000 in North America or the EU, the balcony live‑load rating typically starts at 1.9 kN/m² (roughly 195 kg/m²), but confirm with building management before adding concentrated hanging loads.
Recommended: Items 2, 3, 9 below. Also see how planter placement interacts with evening light by visiting our balcony lighting ideas guide.
Branch 2: No drilling allowed; railing is the primary mount surface
You rent, your strata bylaws prohibit alterations, or your walls are cladded with material that cannot hold weight. Your railing must be structurally sound: wrought iron, steel, or thick aluminum with a top rail width between 3 cm and 9 cm for most clamp‑style hangers. Glass‑panel railings without a horizontal top bar are generally incompatible unless you use a floor‑standing tension alternative.
Recommended: Items 1, 4, 5 below.
Branch 3: Above the 3rd floor in a documented wind corridor
Your balcony regularly experiences gusts above 30 km/h, or you live in a coastal high‑rise where sustained wind dries out hanging baskets within hours. Lightweight planters become projectiles here. The priority shifts to mechanical security (locking hardware, secondary straps) and self‑watering reservoirs that buffer against rapid moisture loss. Single‑point hanging systems fail more often in this branch; clamp‑on brackets and macramé with tie‑downs outperform open hooks.
Recommended: Items 6, 7, 8 below.
Quick Comparison Table
| Option | Key Mechanism | Best For | Decision Grid Branch | Effort Score (1–5) |
|---|---|---|---|---|
| 1. Over‑the‑Rail Hanging Planters | Clamp or saddle bracket gripping the railing top | Rental balconies with sturdy top rails | Branch 2 | 1 |
| 2. Wall‑Mounted Hanging Planters | Bracket anchored into masonry or timber with expansion bolts | Owned properties with blank wall space | Branch 1 | 2 |
| 3. Ceiling‑Suspended Hanging Baskets | Ceiling hook or eye bolt rated for wet load | Balconies with solid overhead slabs | Branch 1 | 3 |
| 4. Tension Rod & No‑Drill Vertical Hangers | Spring‑loaded or twist‑tightened rod spanning floor to ceiling | Renters who cannot drill and have no usable railing | Branch 2 | 2 |
| 5. Pocket & Over‑the‑Door Organizer Hangers | Fabric or plastic pockets draped over a door or railing bar | Ultra‑narrow balconies with a door or vertical bar | Branch 2 | 3 |
| 6. Clamp‑On Bracket Hangers with Hooks | C‑clamp or screw‑clamp bracket gripping a railing or ledge | Wind‑exposed balconies needing locked hardware | Branch 3 | 2 |
| 7. Self‑Watering Reservoir Hangers | Built‑in reservoir feeding water via capillary mat or wick | High‑floor balconies where daily watering is impractical | Branch 3 | 1 |
| 8. Macramé & Rope Suspension Systems | Weight‑bearing cord wrapped or knotted around a pot | Lightweight pots on wind‑exposed balconies needing tie‑downs | Branch 3 | 3 |
| 9. Modular Rail & Grid Track Systems | Horizontal rail or grid mounted to wall or ceiling with movable hooks | Gardeners who rearrange plants seasonally | Branch 1 | 4 |
1. Over‑the‑Rail Hanging Planters
Best for: Branch 2
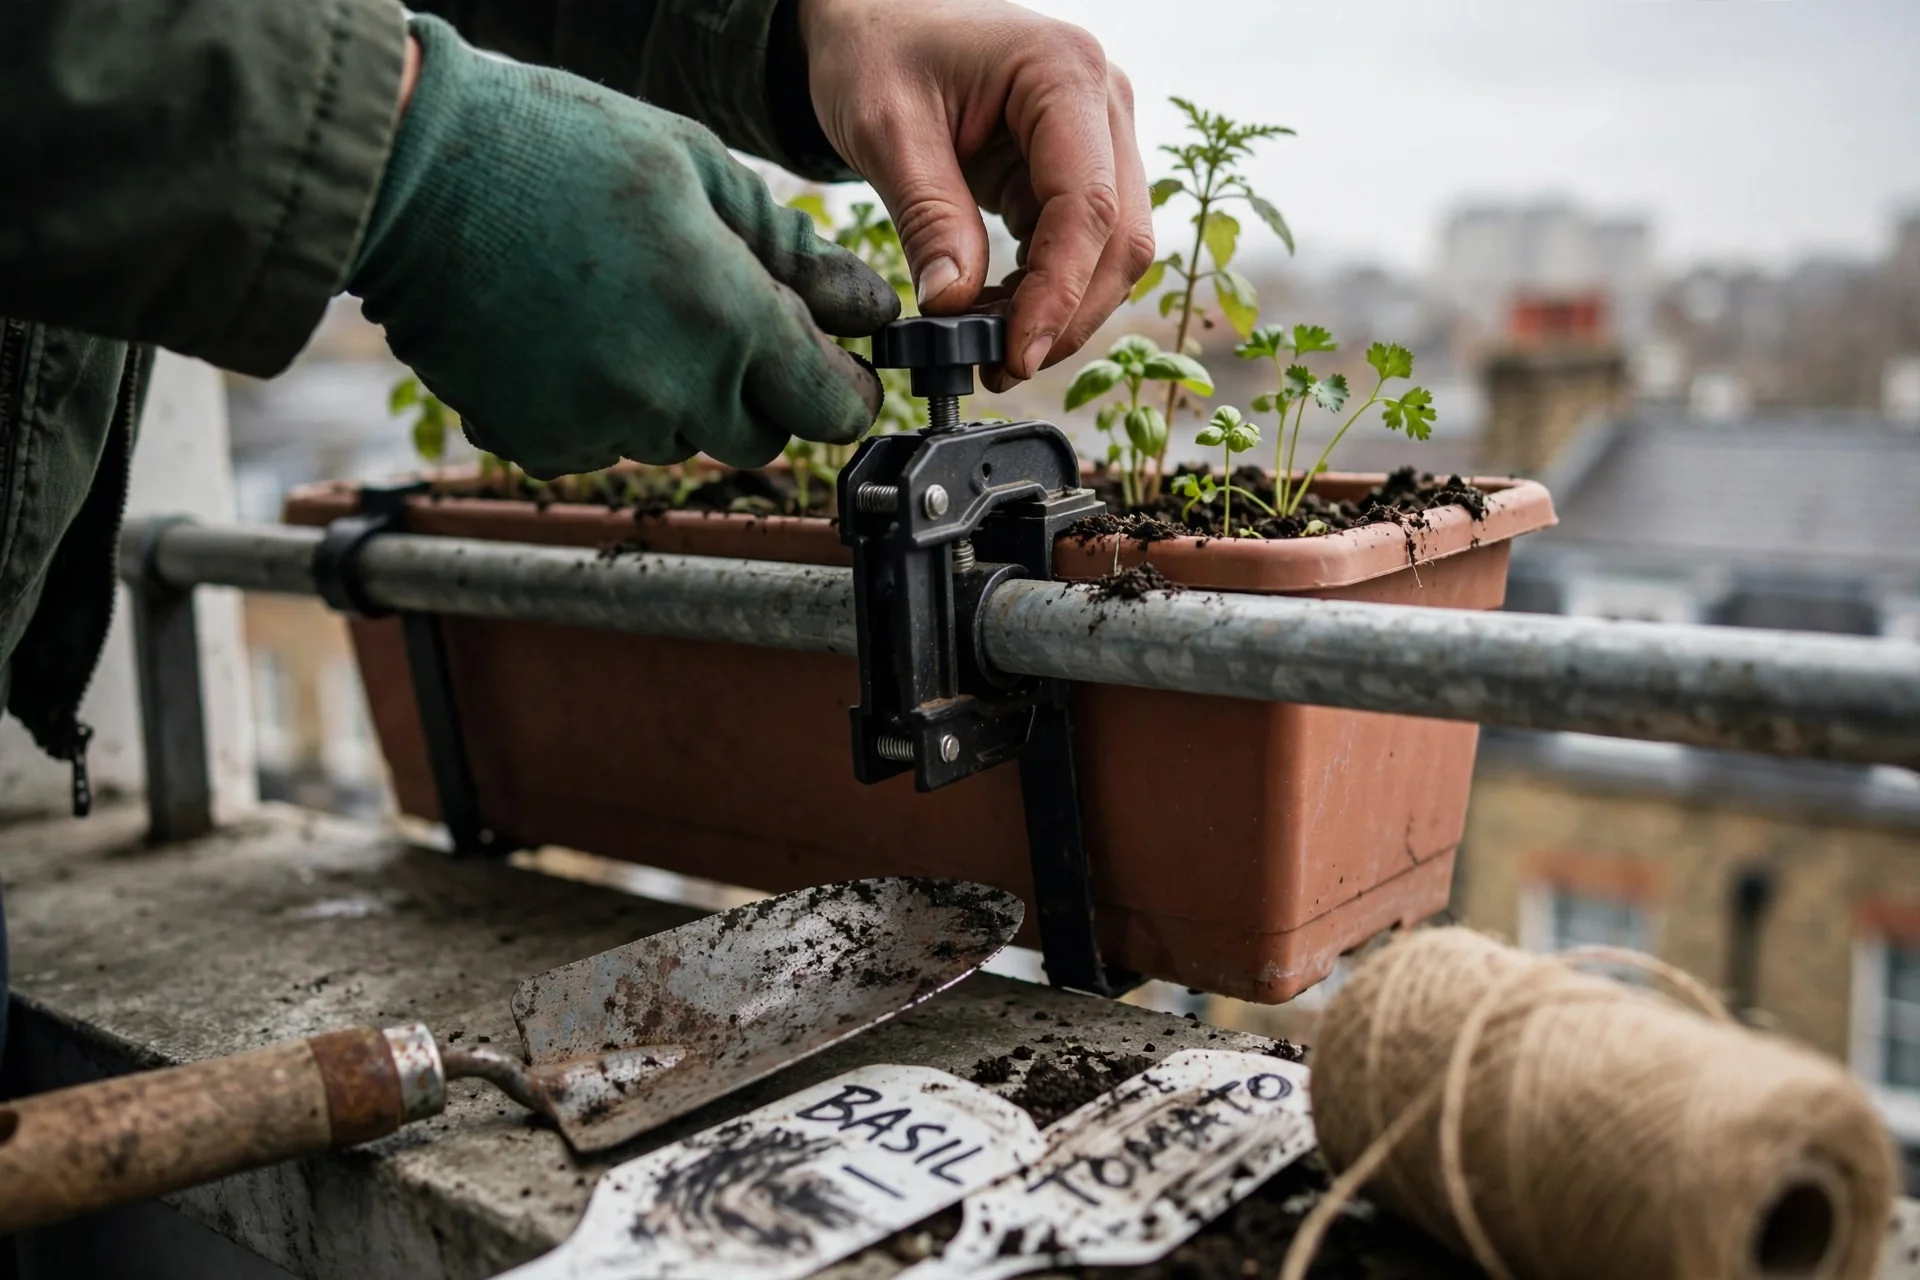
Blueprint. These planters use a saddle bracket or clamp that sits astride the top rail of a balcony guard. The planter body hangs on the exterior or interior face, and the bracket’s width must match your rail. Most off‑the‑shelf models fit rails between 3 cm and 6 cm; specialty brackets extend to 9 cm. Measure the rail width with calipers before purchasing, not a tape measure pressed against a curved surface. Weight is borne entirely by the railing, so verify that the railing’s connection to the building slab is intact (no rust, no loose bolts) before loading.
What to do. Confirm rail width. Choose a bracket rated for at least 5 kg wet weight per planter. Install with the planter on the inner side of the railing wherever possible to reduce wind leverage and prevent objects from falling to the street. Fill with lightweight potting mix, not garden soil, to keep the wet load manageable.
Common mistake. Hanging planters on the outward side of a railing in high‑wind conditions without a secondary safety strap. A gust can lift an unsecured planter off its bracket and send it over the edge.
If your goal is to block adjacent sightlines, over‑the‑rail planters are one of the fastest ways to build a green screen. Read our privacy plants for balcony guide to pick species that deliver dense vertical coverage from a railing start.
2. Wall‑Mounted Hanging Planters
Best for: Branch 1
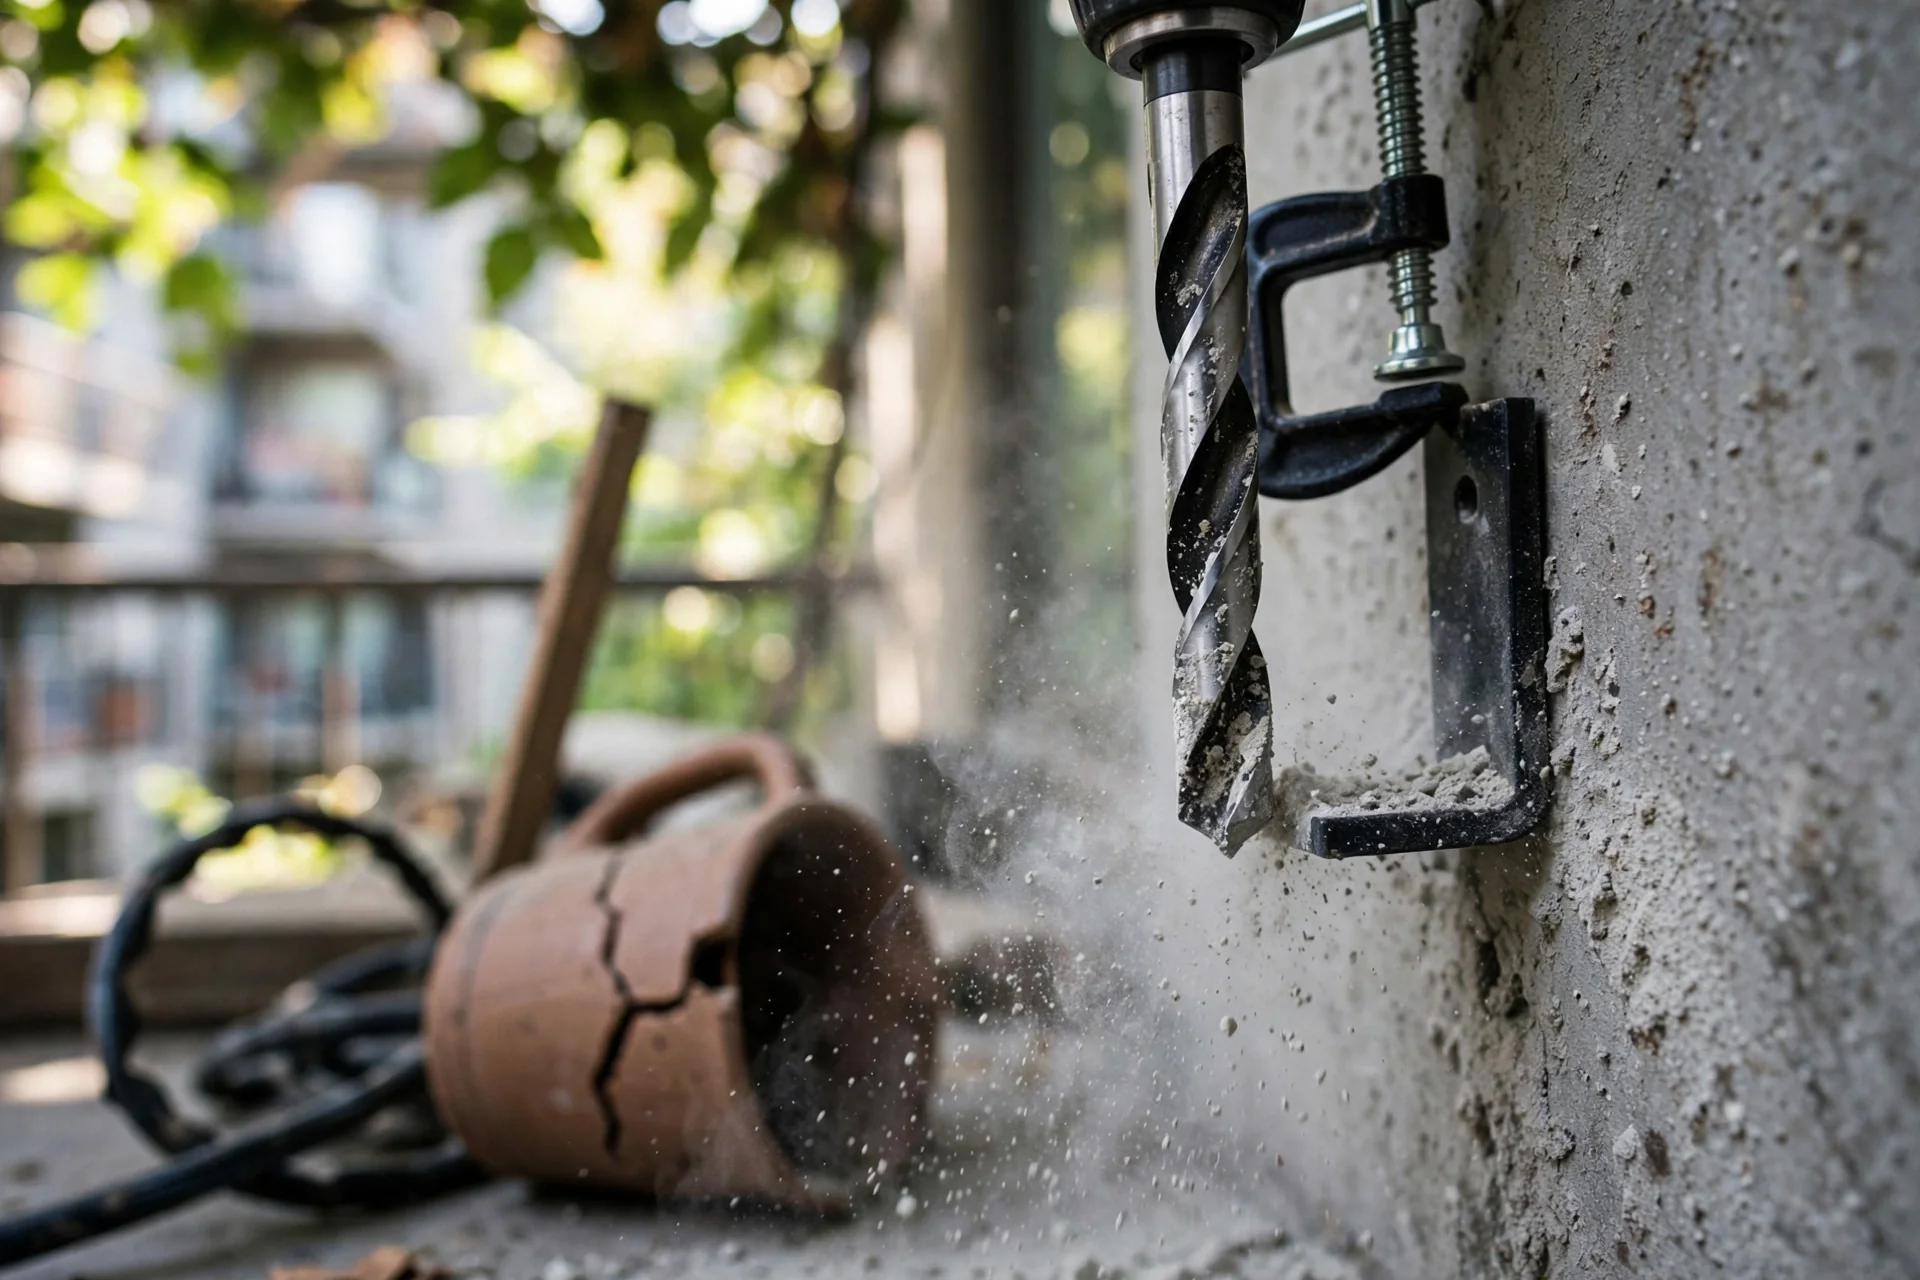
Use vs. Skip. Use when you have an unglazed masonry or timber wall and written permission to drill. A single expansion bolt in concrete rated for 10 kg can hold a small planter; for anything above 5 kg wet weight, use two anchors and a bracket with a triangulated support arm. Skip if your wall is drywall, glass, or fiber‑cement cladding without a structural substrate behind it. Wall‑mounted systems concentrate load on a small fastener group, so the substrate matters more than the planter’s weight rating.
3. Ceiling‑Suspended Hanging Baskets
Best for: Branch 1
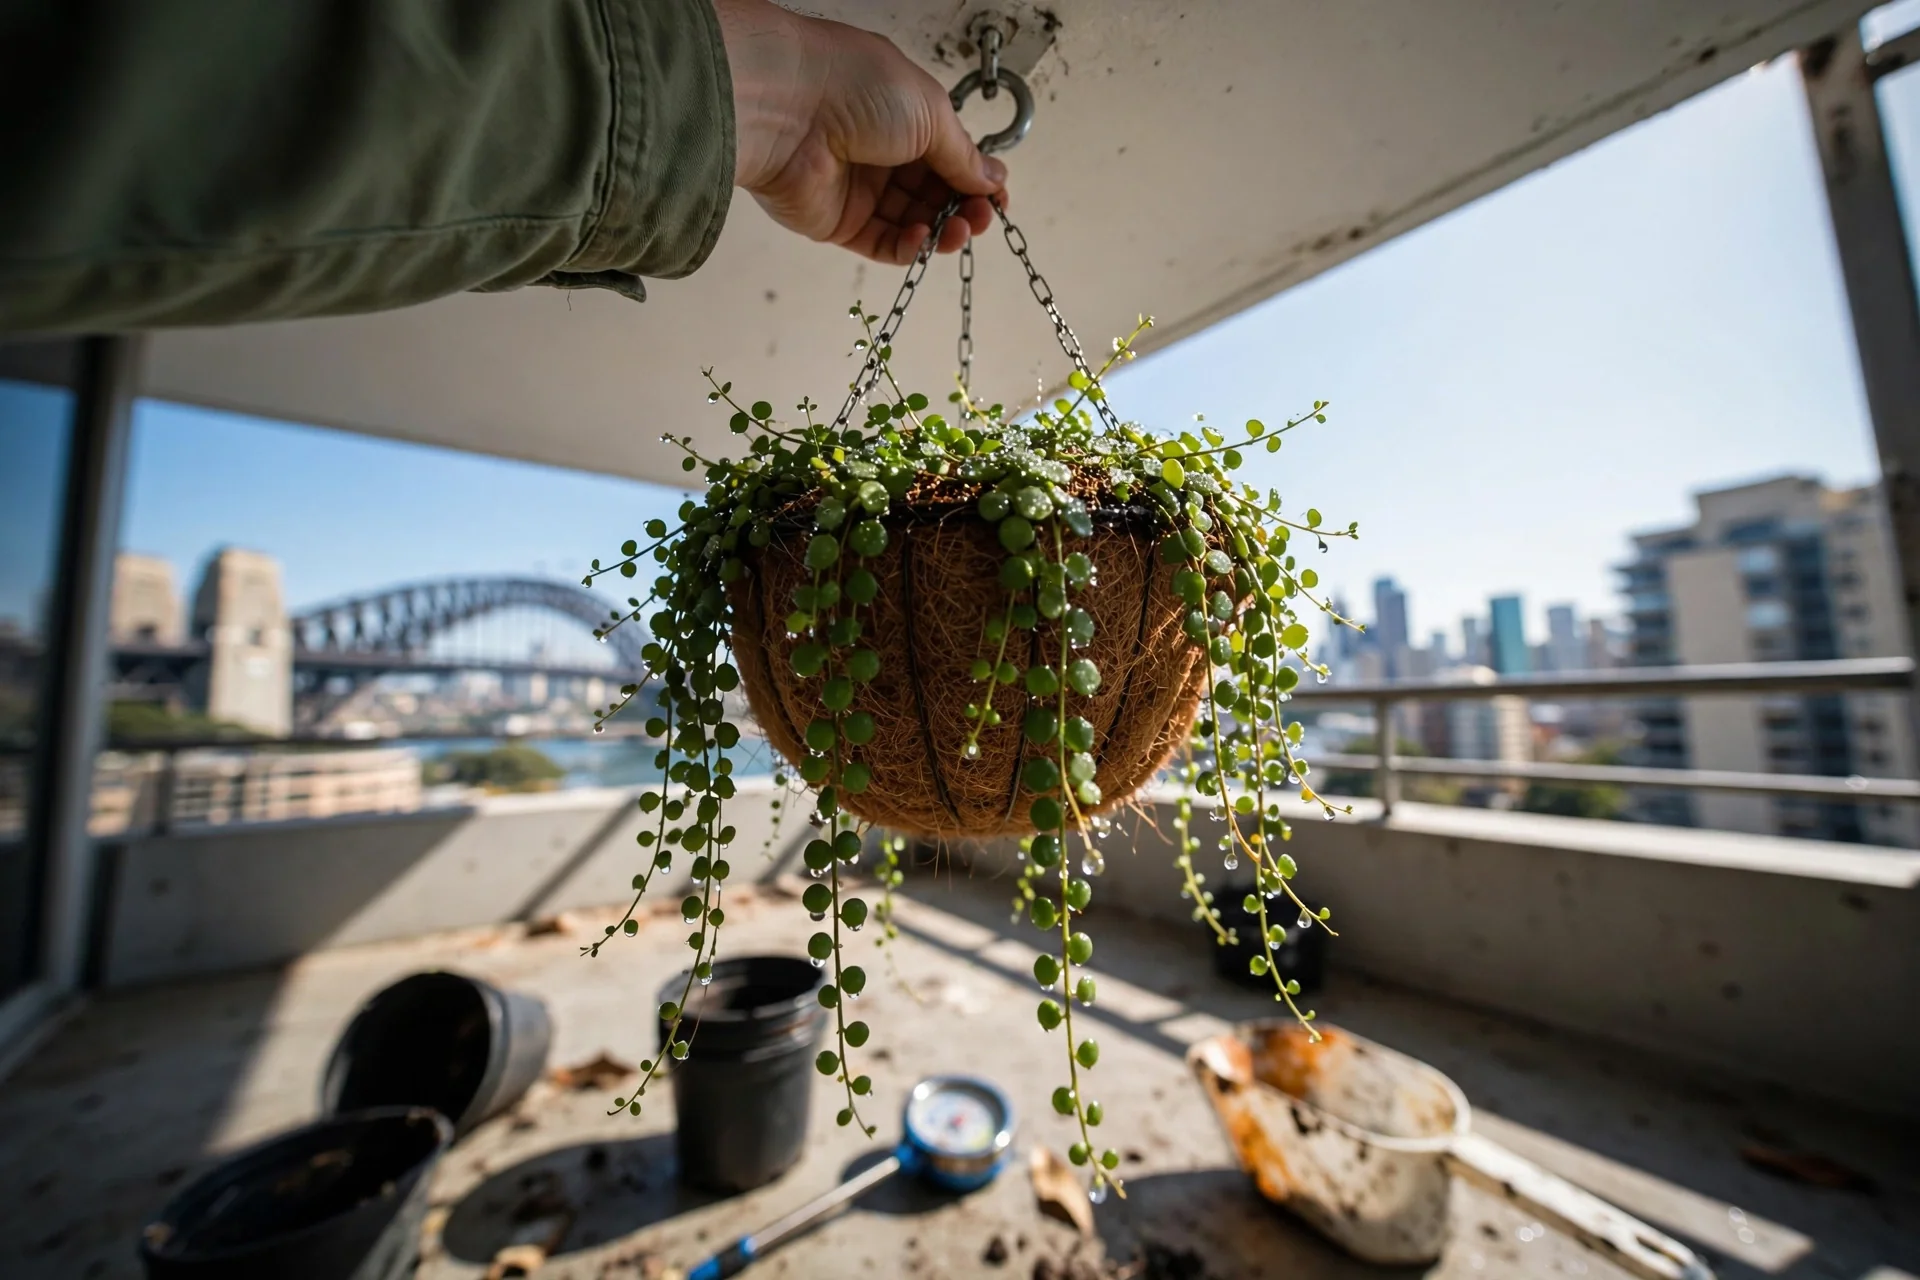
Threshold rule. Ceiling hooks must be rated for the full wet weight of the basket plus plant growth, not the dry weight at purchase. A 30 cm diameter basket filled with moist potting mix and mature foliage typically weighs 6–8 kg. If your ceiling anchor is rated for 10 lb (4.5 kg), it is inadequate for this use. The second threshold is drop height: the bottom of the basket must clear head height by at least 15 cm and stay above any furniture that blocks the path. In wind, baskets on a single hook swing in an arc equal to roughly twice the suspension length; space hooks so adjacent baskets cannot collide.
Adjustment: if the ceiling is a balcony slab above you, confirm that drilling will not penetrate waterproofing membranes. Some buildings require a structural engineer’s sign‑off for overhead penetrations. If your balcony faces full sun, pair ceiling‑suspended baskets with species that tolerate intense light. Our full sun balcony plants list includes trailing options that handle overhead heat reflection from the slab.
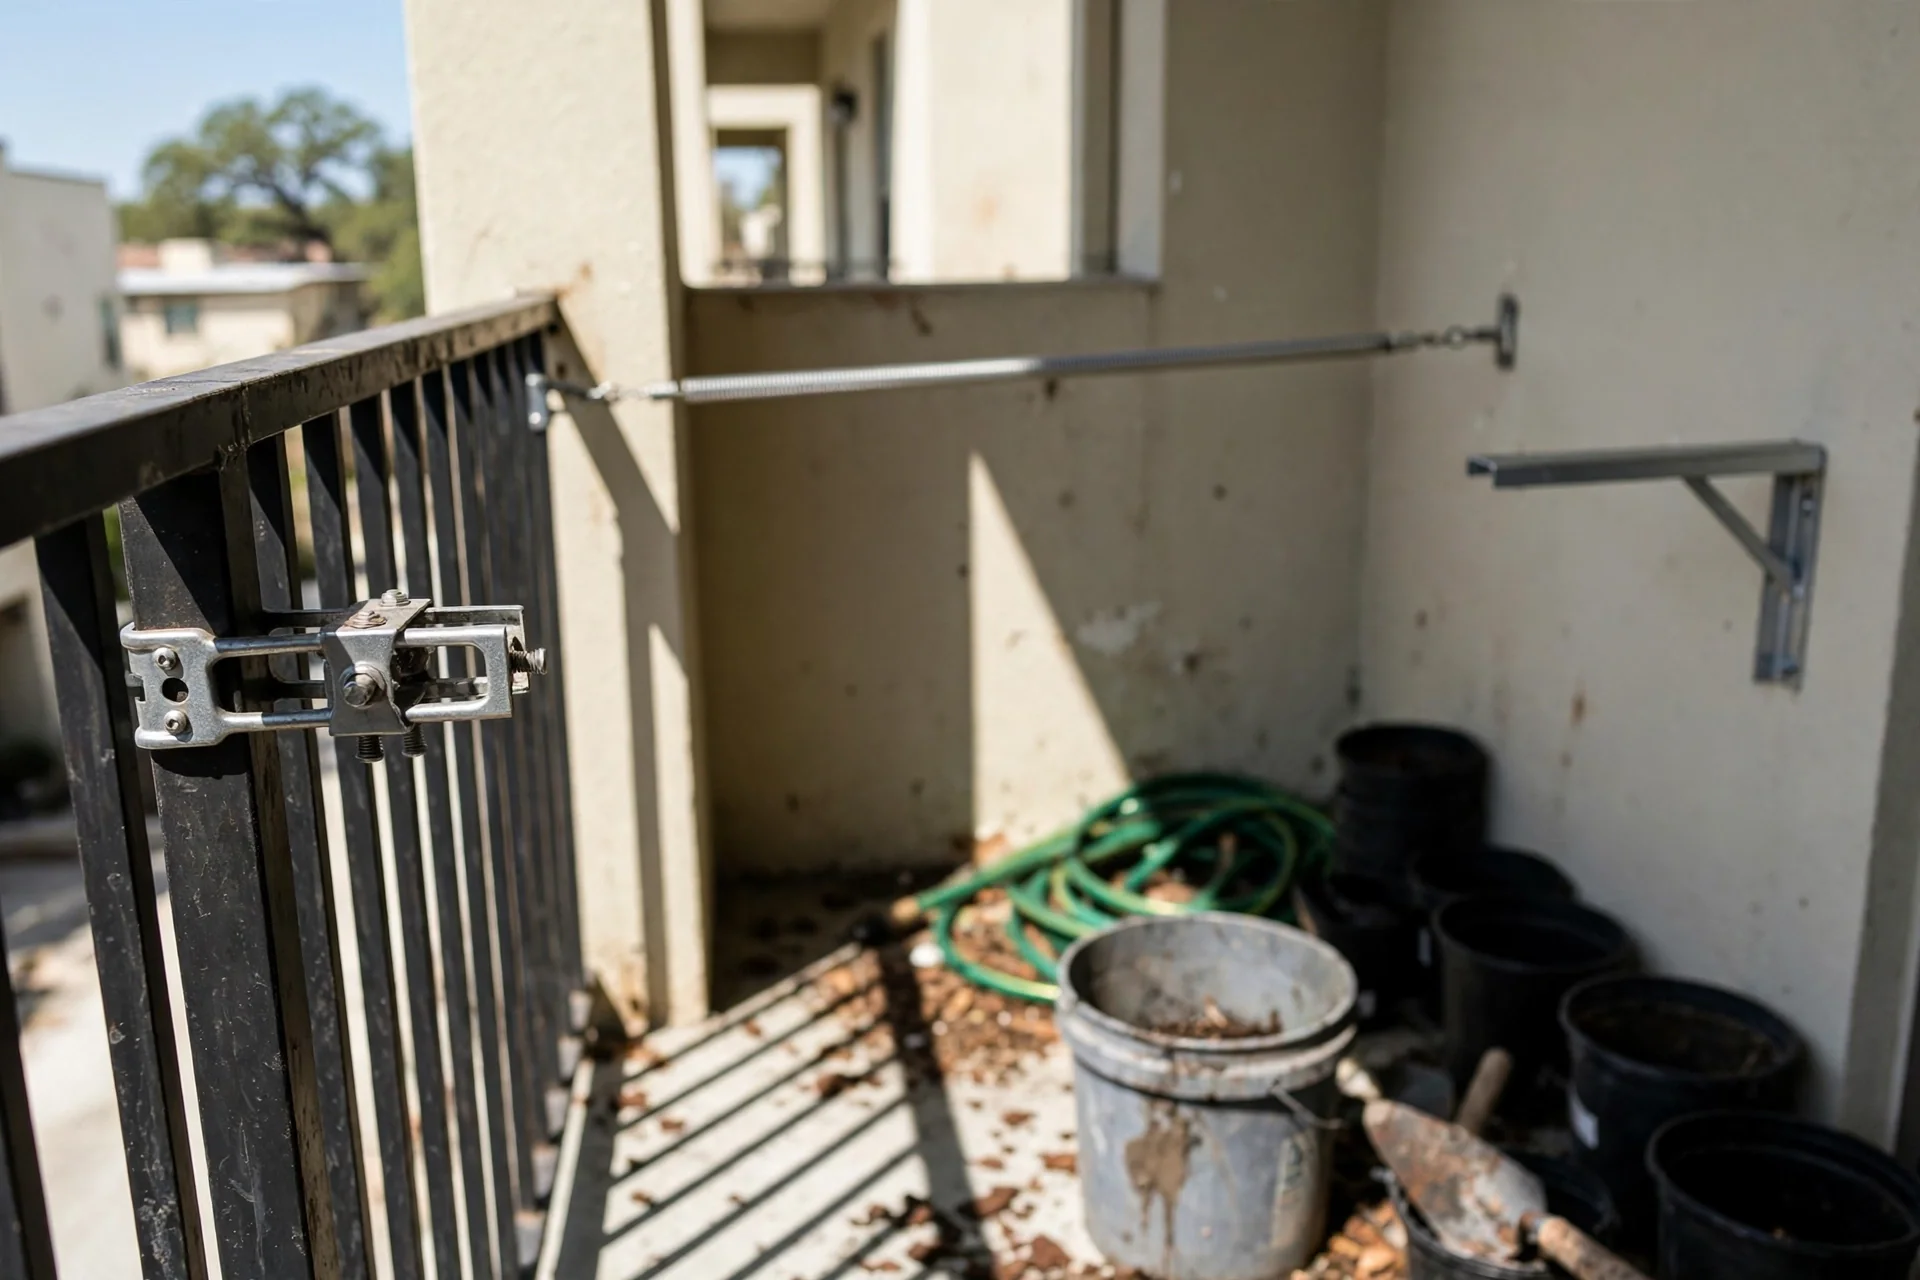
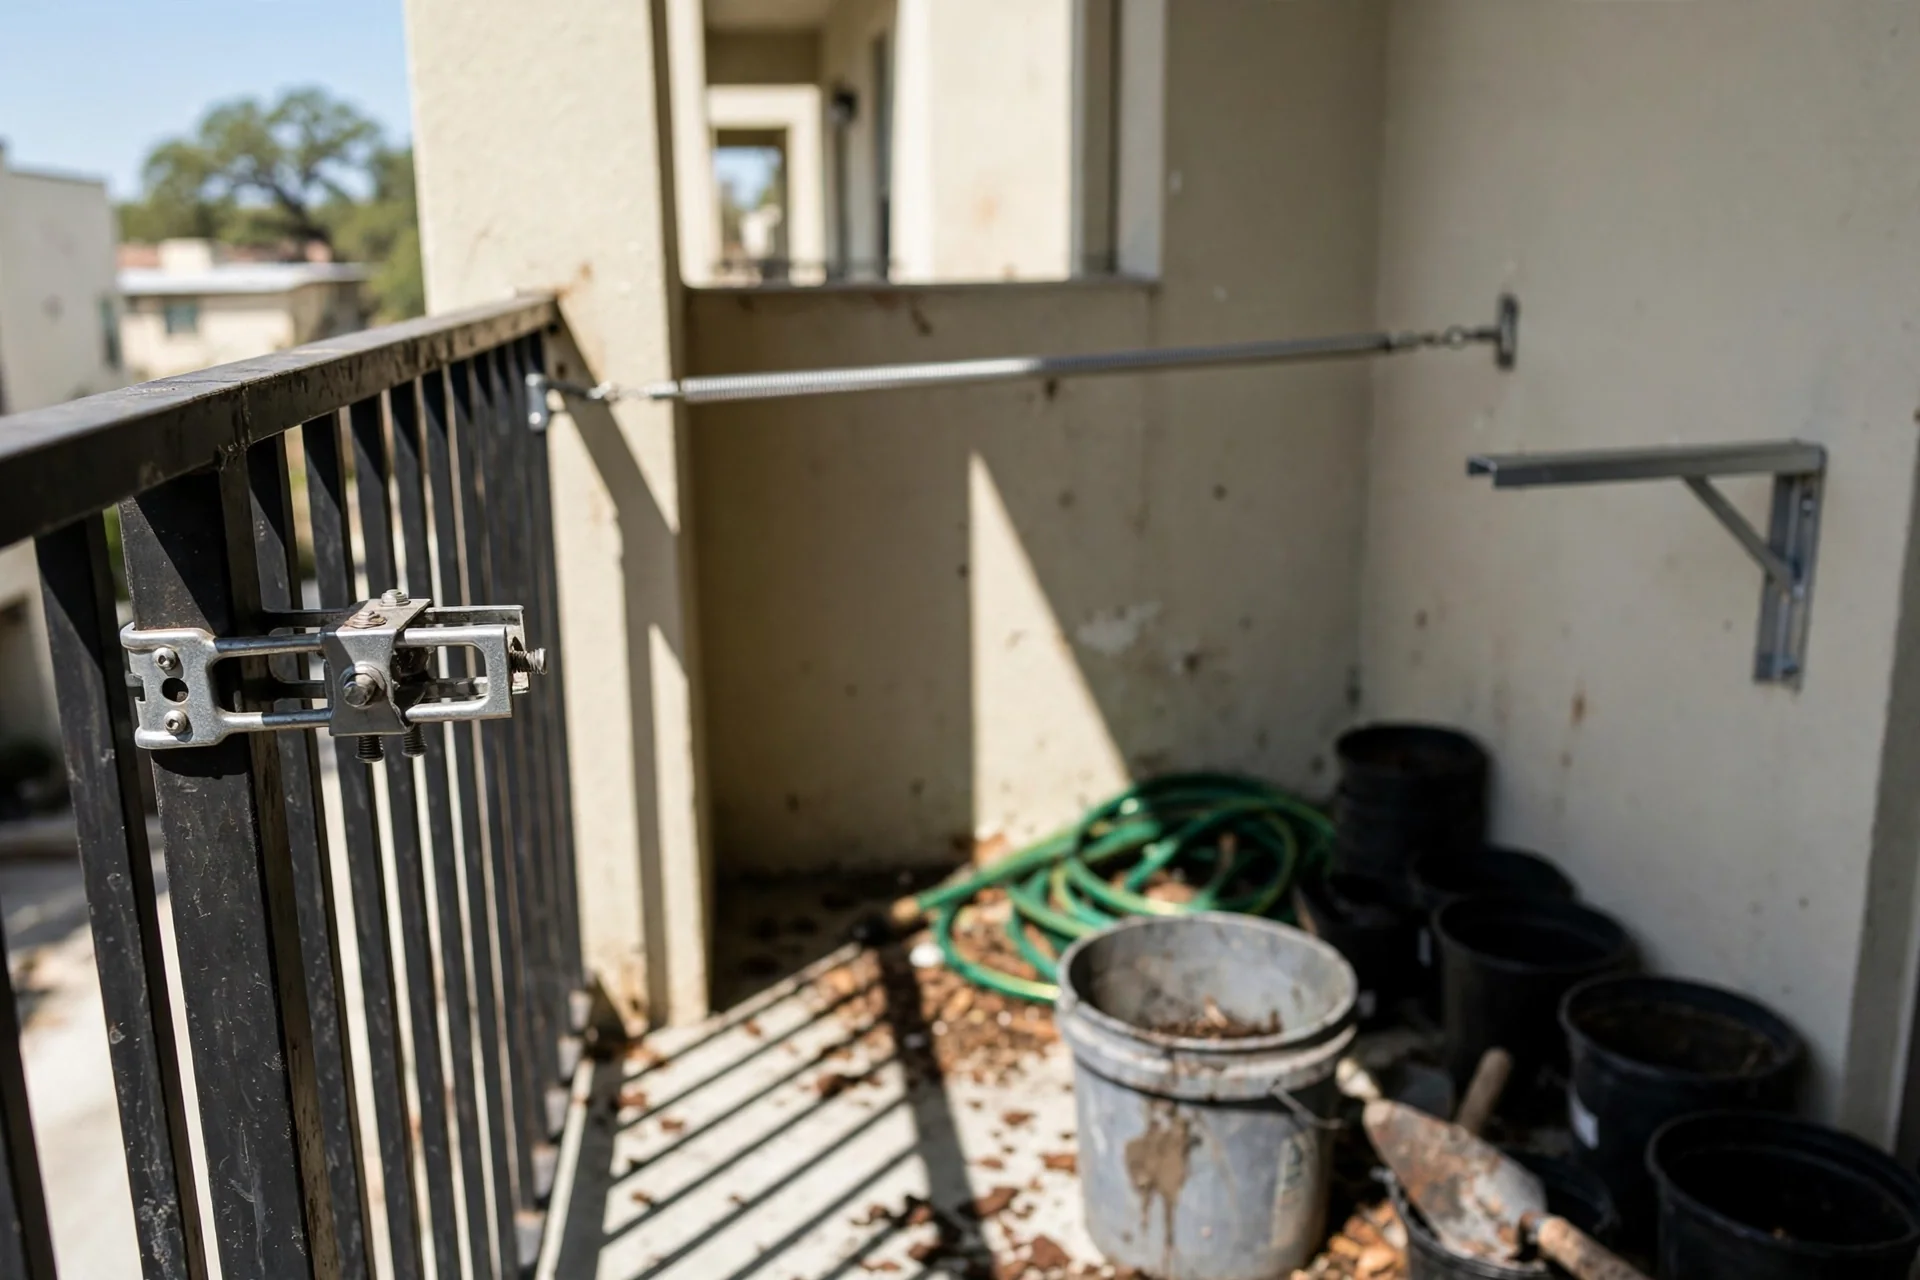
4. Tension Rod & No‑Drill Vertical Hangers
Best for: Branch 2
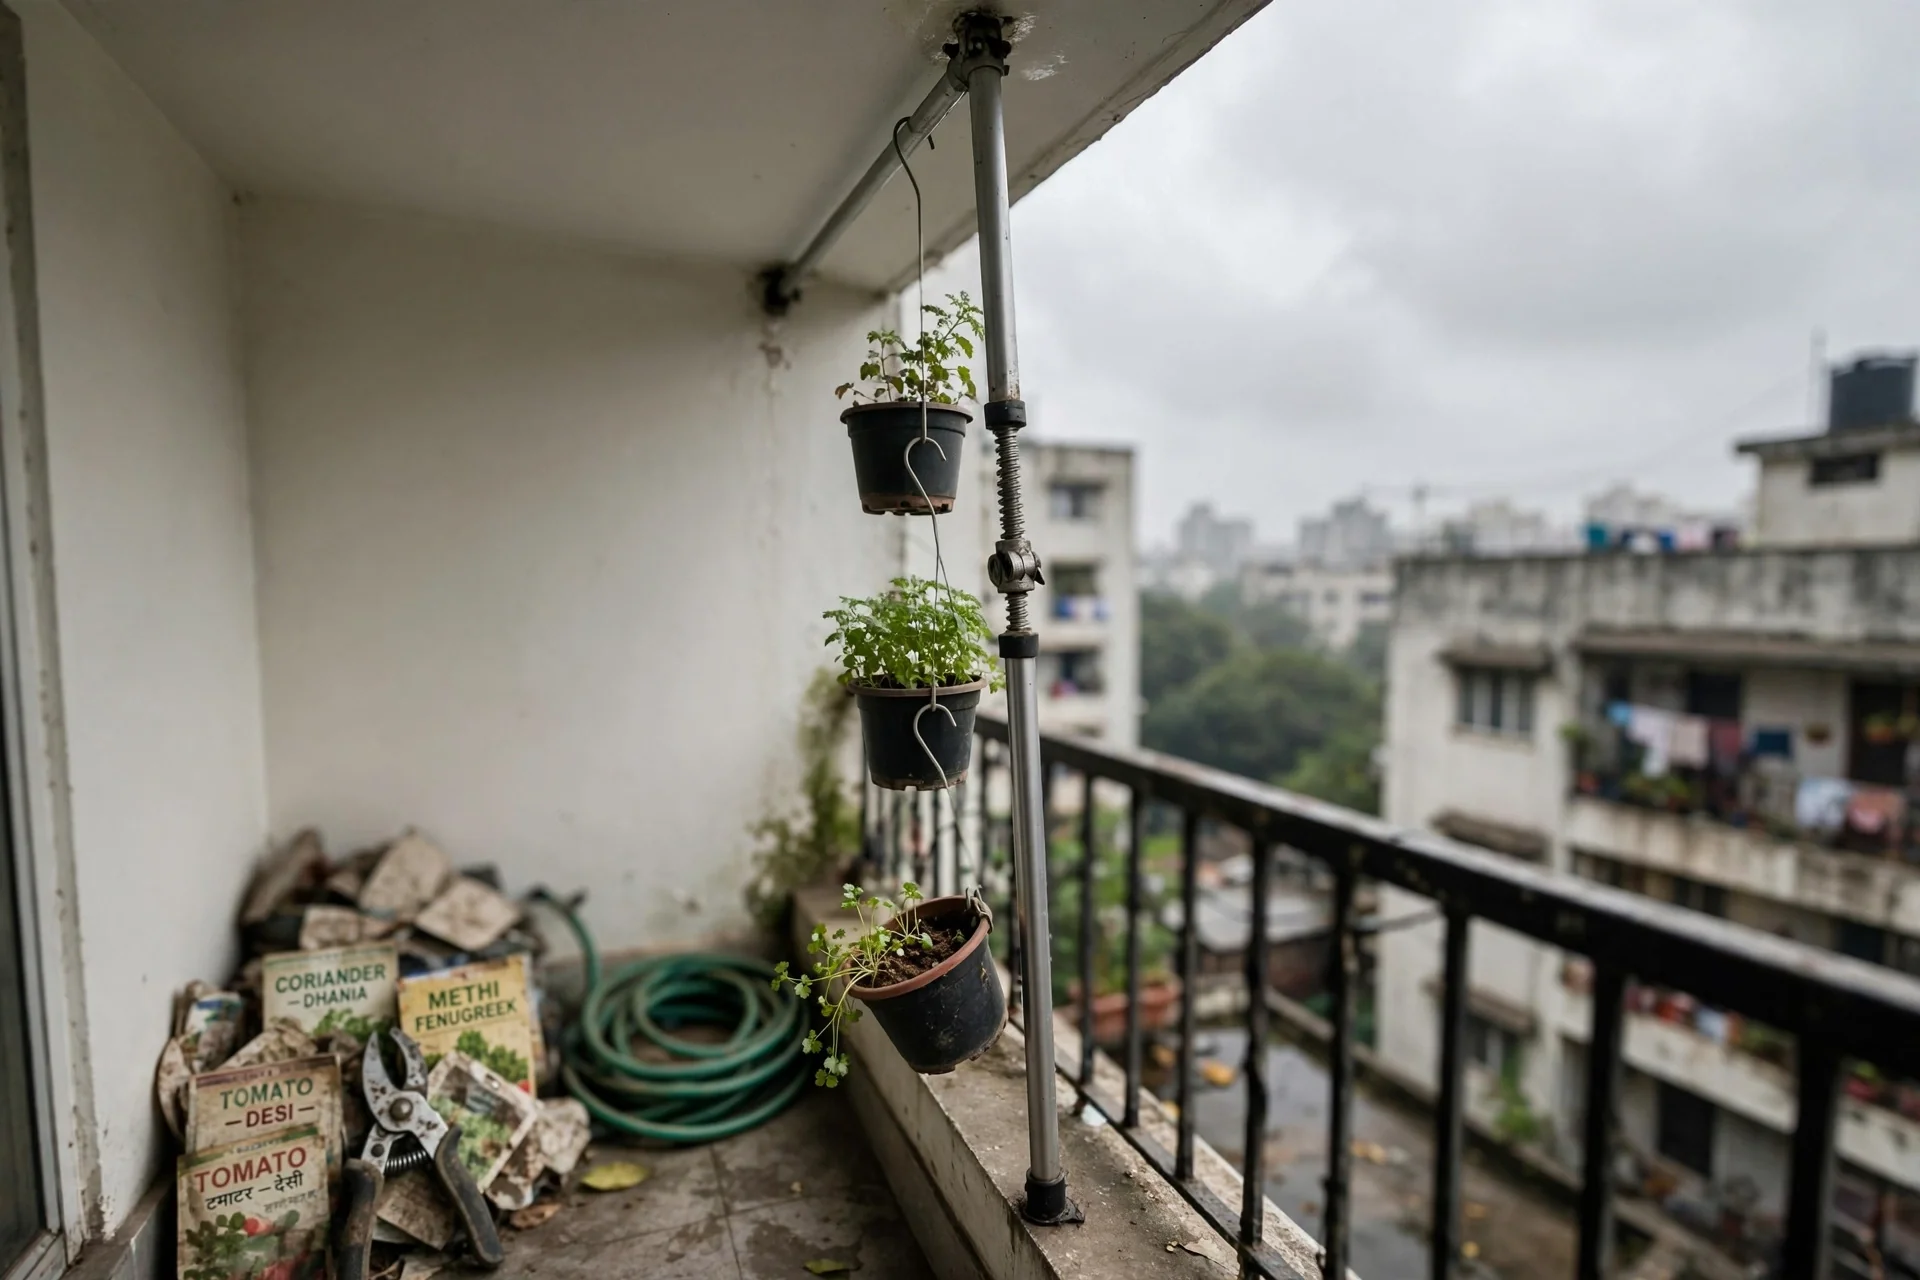
10‑Minute Workflow. Measure floor‑to‑ceiling height. Select a tension rod rated for your span (most extend from 2.1 m to 3.0 m). Clean both contact surfaces with isopropyl alcohol to remove dust and grease. Position the rod vertically against a solid surface (not window glass). Twist the adjustment mechanism until the rod is snug; then add one more half‑turn. Hang planters using S‑hooks that close or lock, not open hooks. Test stability by applying a 2 kg downward pull to each hook before leaving the setup unattended.
Upgrade option. Replace the single vertical rod with a floor‑to‑ceiling tension pole system that includes horizontal arms at multiple heights, effectively creating a no‑drill vertical garden. This spreads the load across two contact points but can hold three to five small planters on a single pole without exceeding the typical 15 kg total load ceiling for tension systems.
5. Pocket & Over‑the‑Door Organizer Hangers
Best for: Branch 2
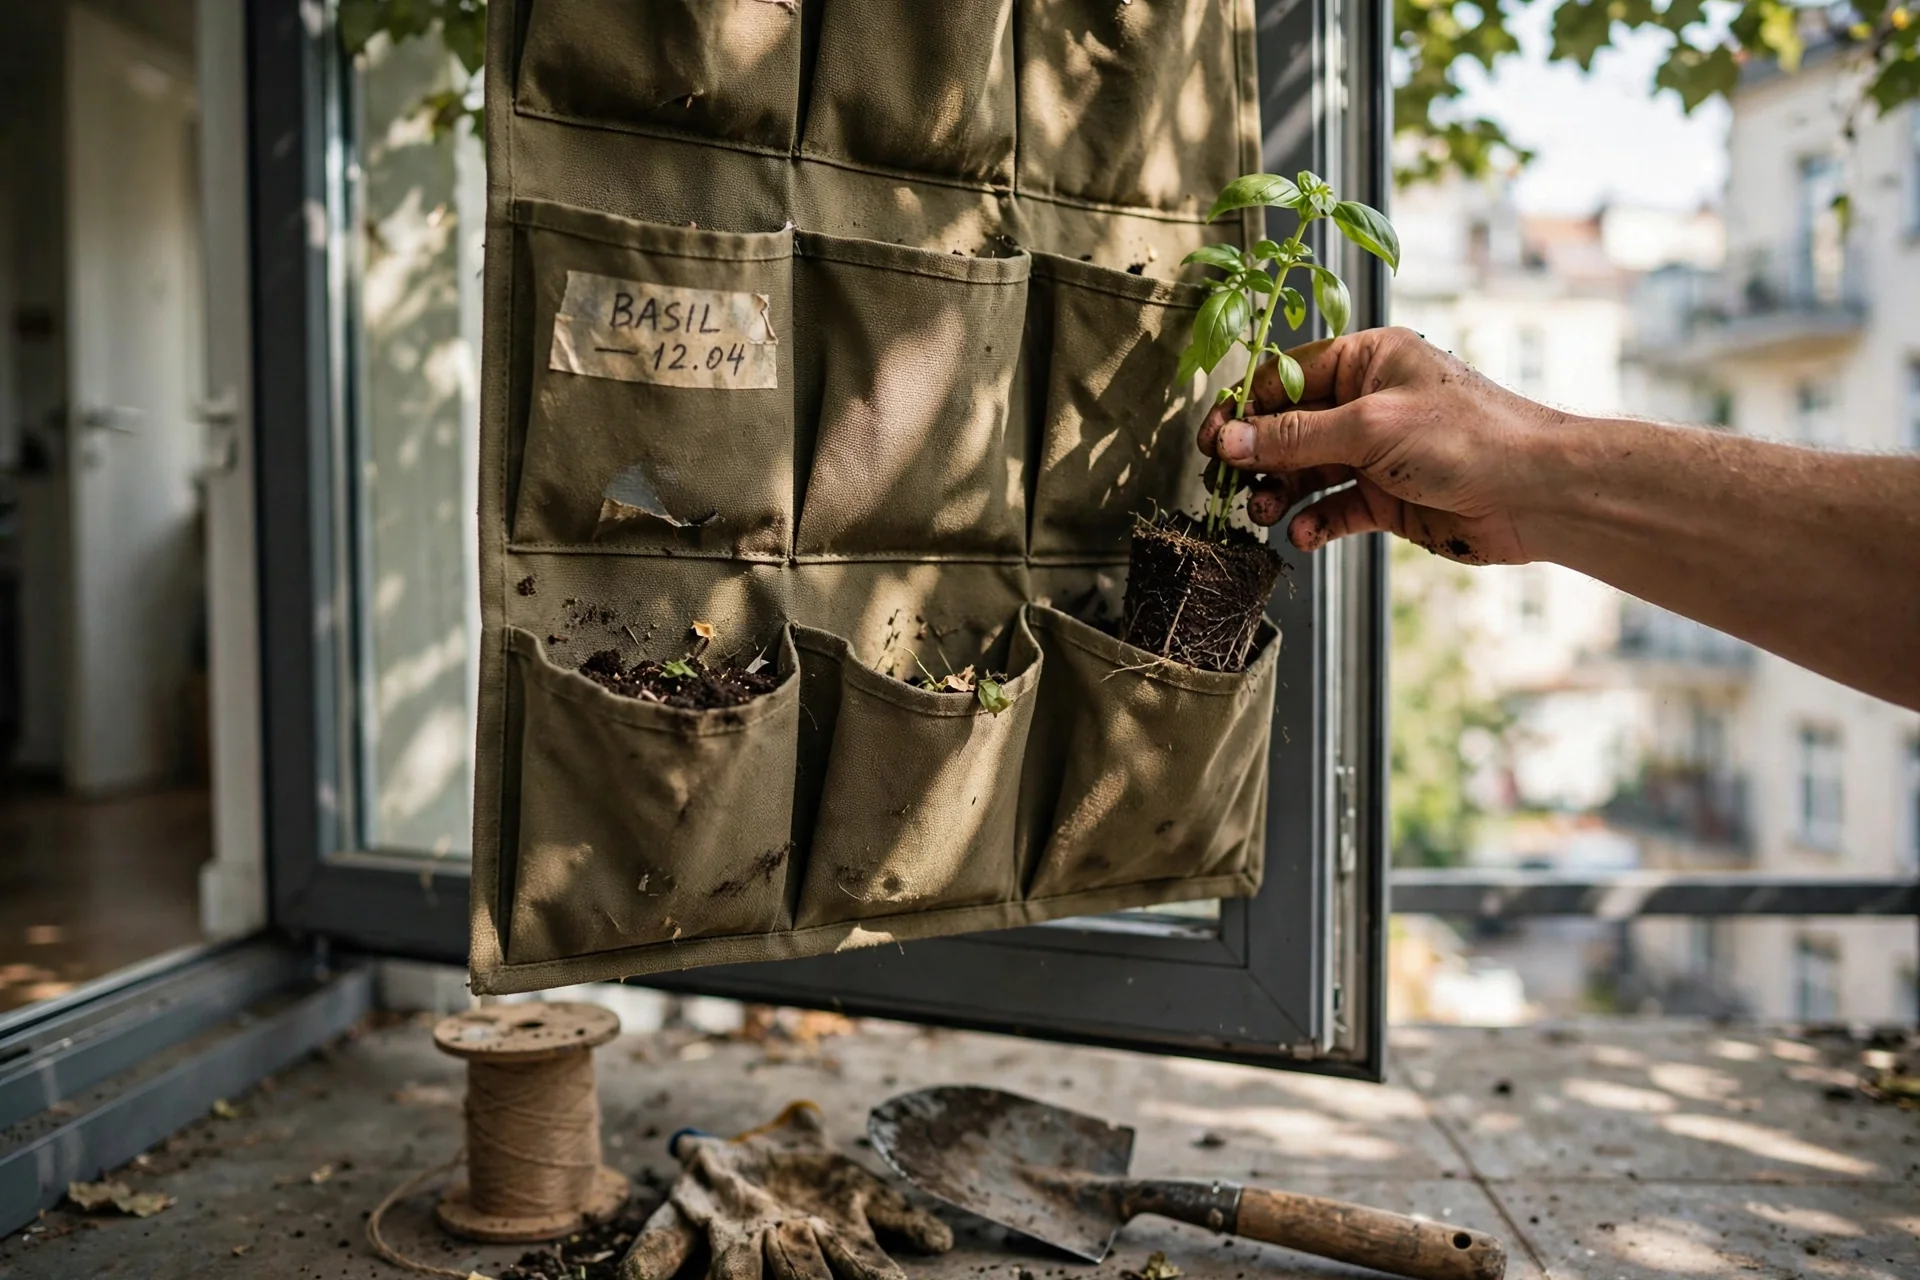
Use vs. Skip. Use pocket hangers on narrow balconies where a door or vertical railing bar already exists and you want to grow shallow‑rooted plants (herbs, succulents, annual flowers). Each pocket holds roughly 0.5–1 L of soil, so root depth is limited to about 10 cm. Skip if you need to grow tomatoes, peppers, or any crop with a taproot exceeding 15 cm. Fabric pockets dry out faster than rigid planters; in full sun above 30°C, expect to water twice daily, making this format unsuitable if you travel frequently.
6. Clamp‑On Bracket Hangers with Hooks
Best for: Branch 3
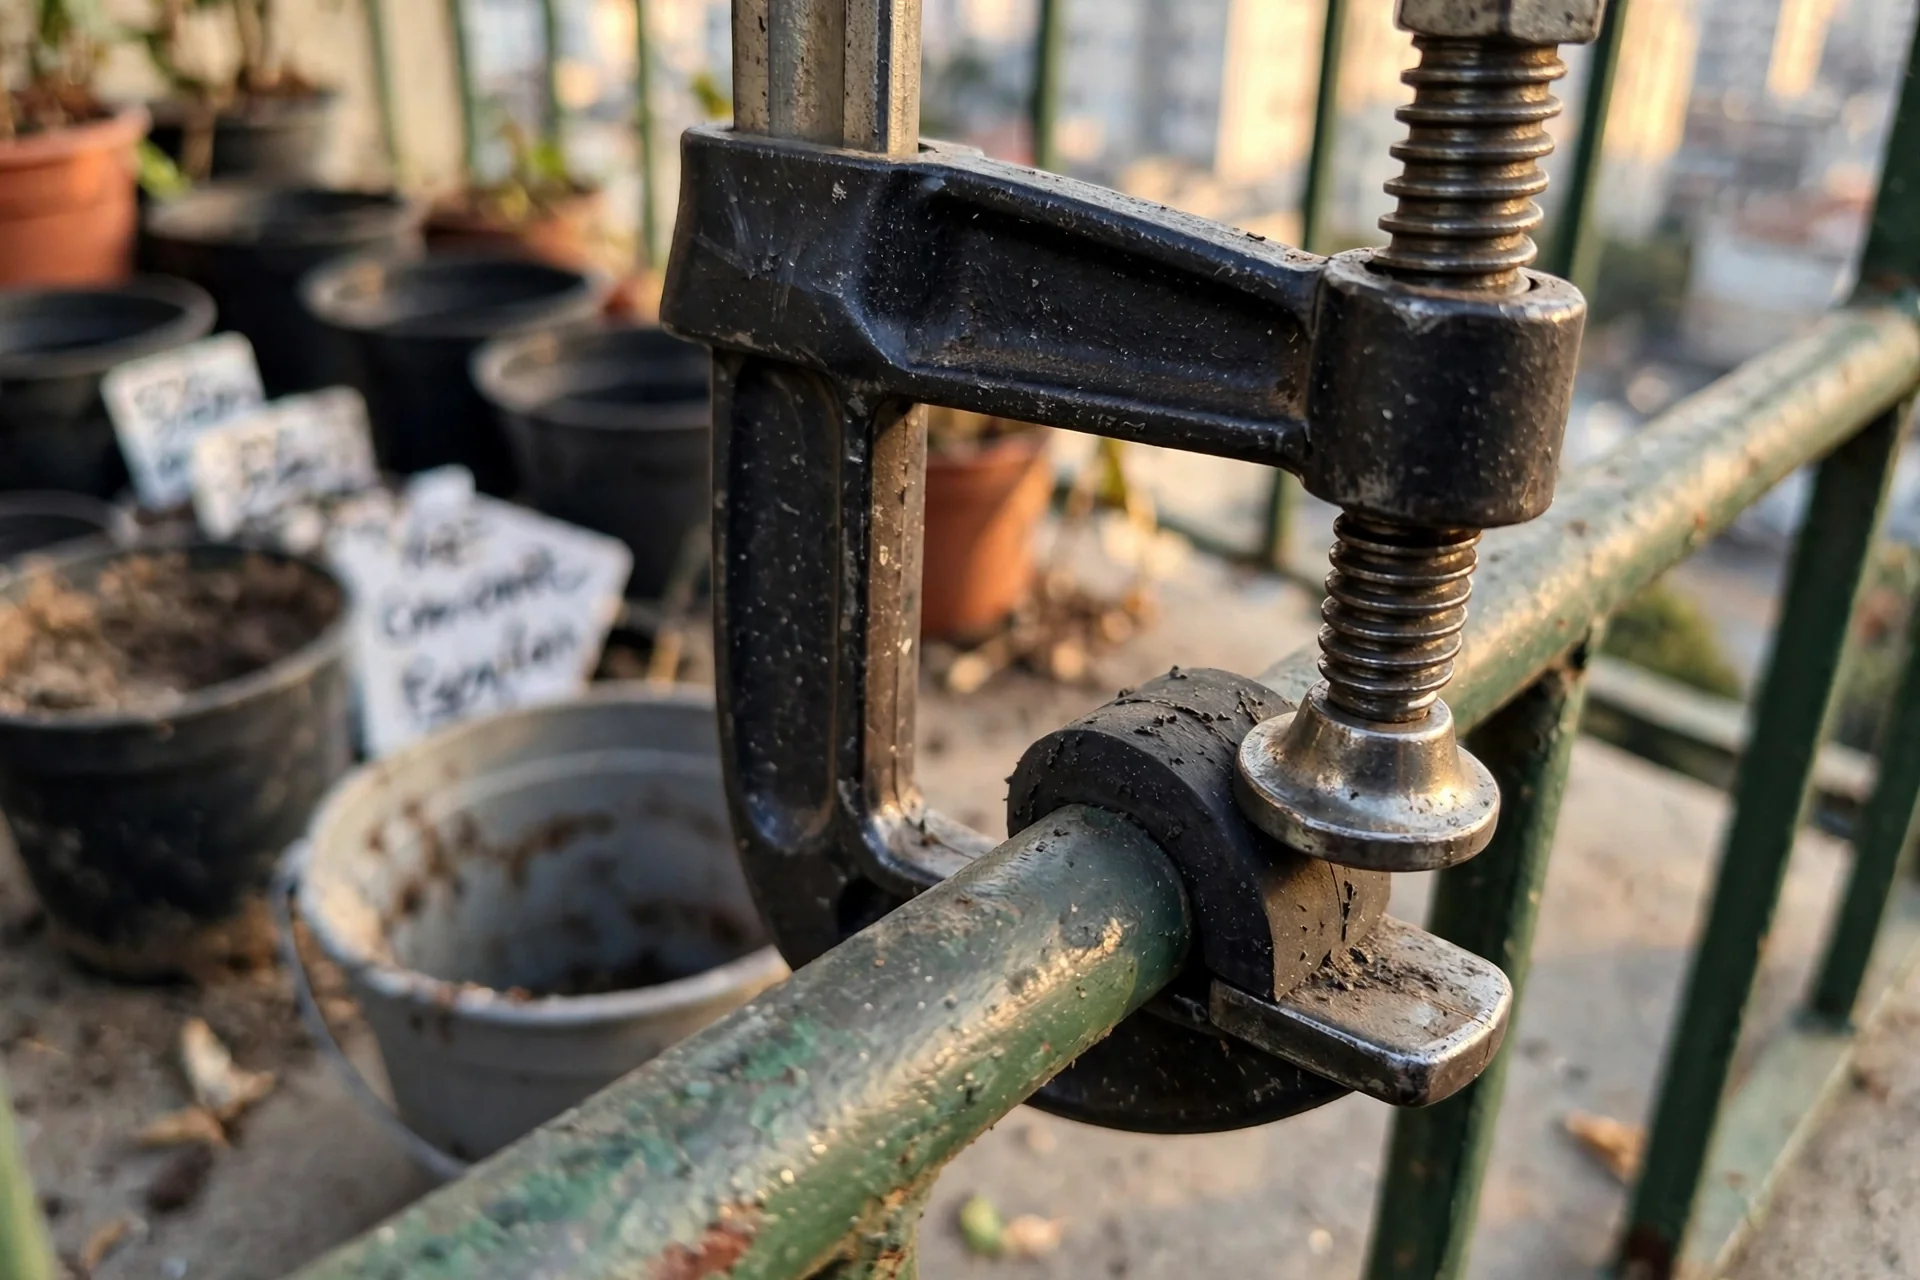
Threshold rule. A C‑clamp bracket must engage at least 2.5 cm of railing depth to remain stable under wind load. Brackets that merely hook over a rail without a tightening screw or locking mechanism are unsafe above the 3rd floor. The key number: a clamp‑on bracket with a threaded tightening bolt holds roughly three times the lateral resistance of a gravity‑only hook under gust conditions. After installation, wrap one UV‑resistant bungee cord around the planter body and a fixed part of the railing as a secondary catch.
Adjustment: if your railing is square rather than round, add a rubber shim between the clamp jaw and the metal to prevent rotation when wind pushes the planter sideways.
7. Self‑Watering Reservoir Hangers
Best for: Branch 3
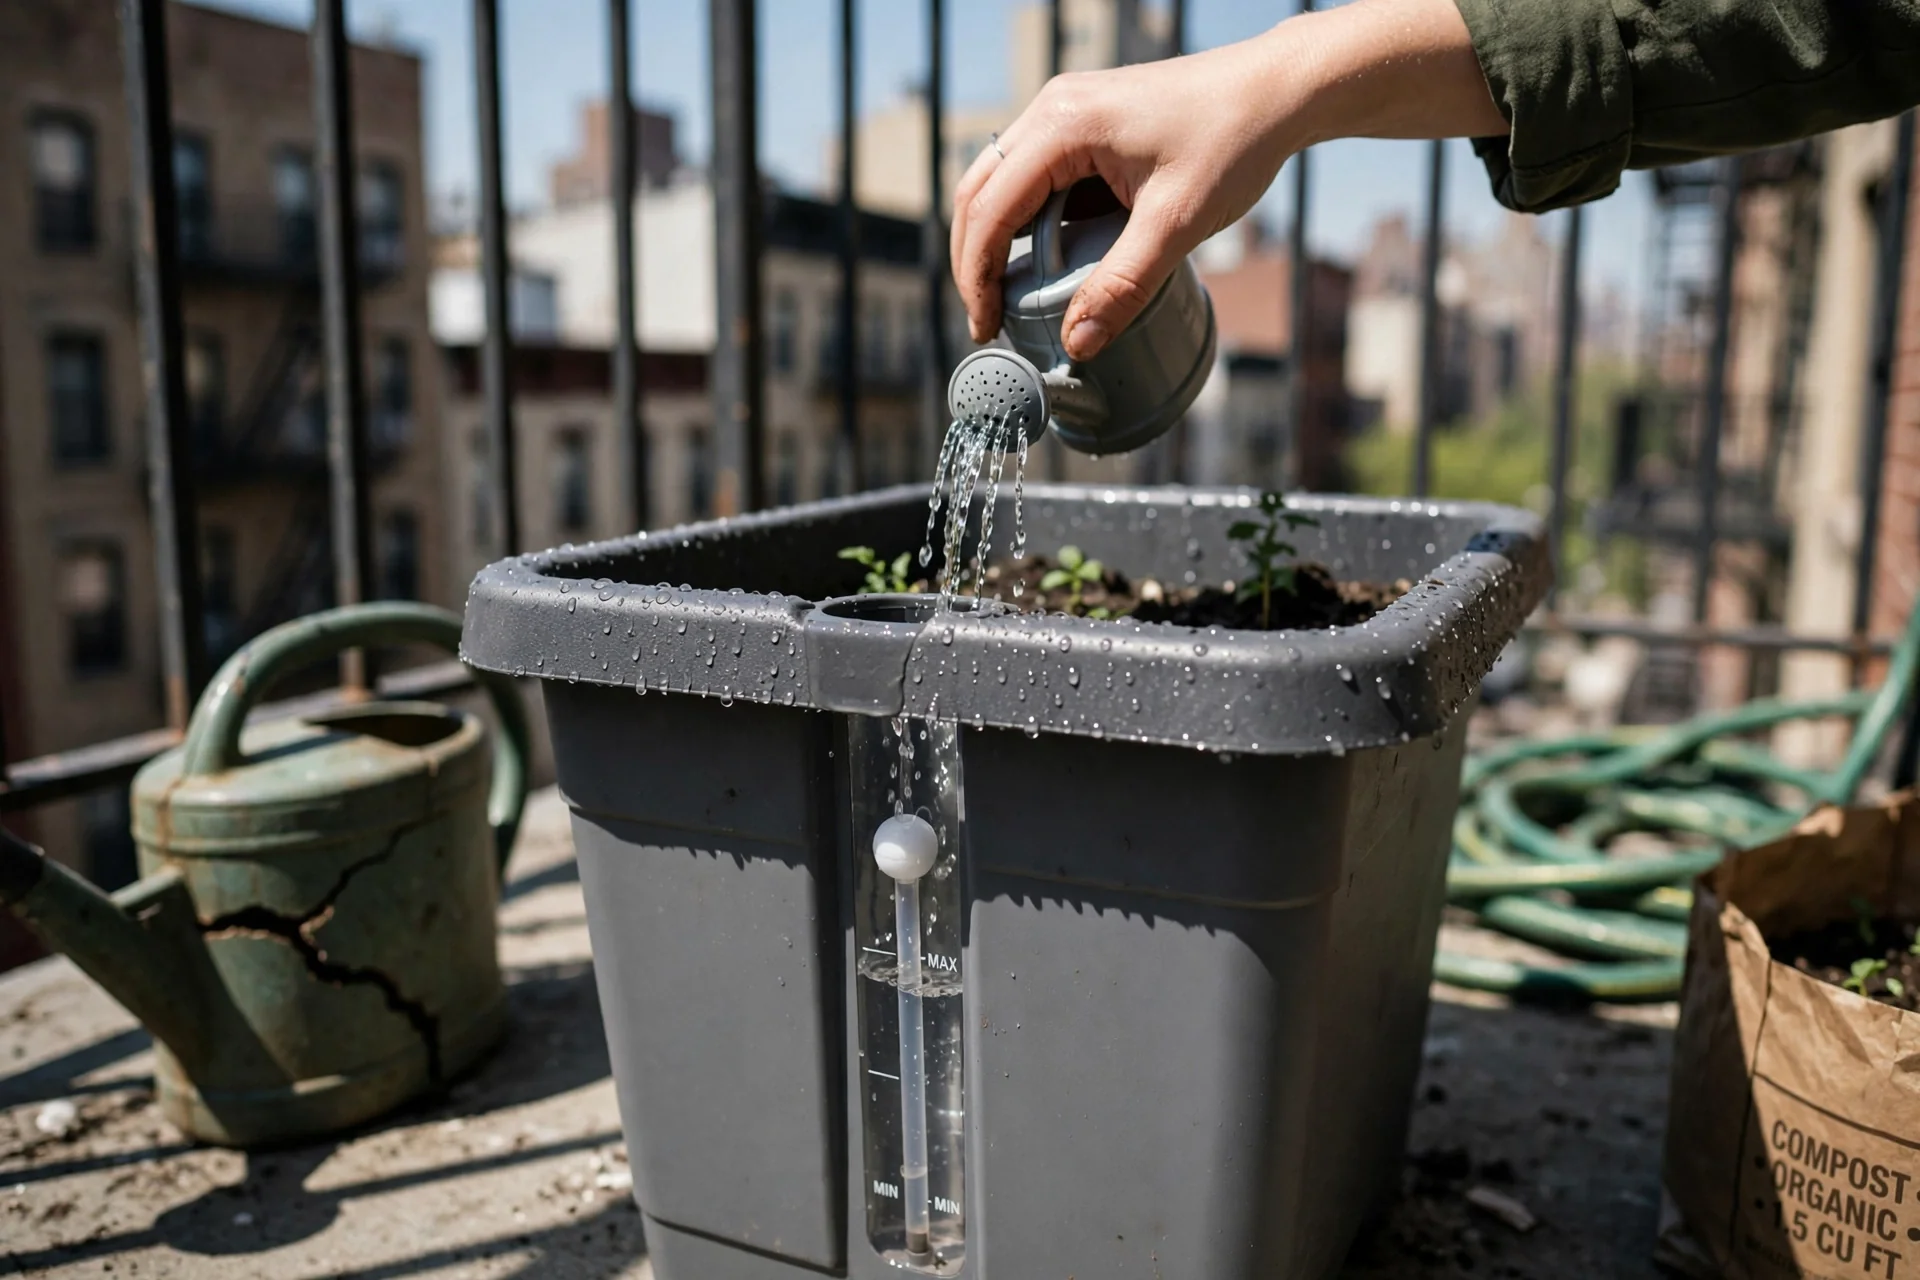
Blueprint. These planters contain a water reservoir below the soil bed, separated by a perforated platform or a capillary mat that wicks moisture upward. The reservoir typically holds 1–3 L, extending the interval between waterings from daily to every 4–7 days depending on temperature and plant size. On a high‑floor balcony where wind accelerates evaporation, this reservoir buffer is the difference between a living plant and a wilted one after a single skipped watering.
What to do. Choose a model with a visible water‑level indicator so you can refill before the reservoir runs dry. Fill the reservoir completely at installation, then top up when the indicator shows empty. Use a lightweight, peat‑free potting mix that wicks effectively; dense clay‑heavy mixes will not draw water upward through the capillary system.
Common mistake. Treating the reservoir as a “set and forget” system. In temperatures above 32°C, even a full reservoir can empty in 48 hours. Check the indicator every two days during heat waves.
Self‑watering hangers work especially well for thirsty herbs like basil and mint that collapse quickly when dry. For layout ideas that combine edibles with ornamentals, see our balcony herb garden ideas.
8. Macramé & Rope Suspension Systems
Best for: Branch 3
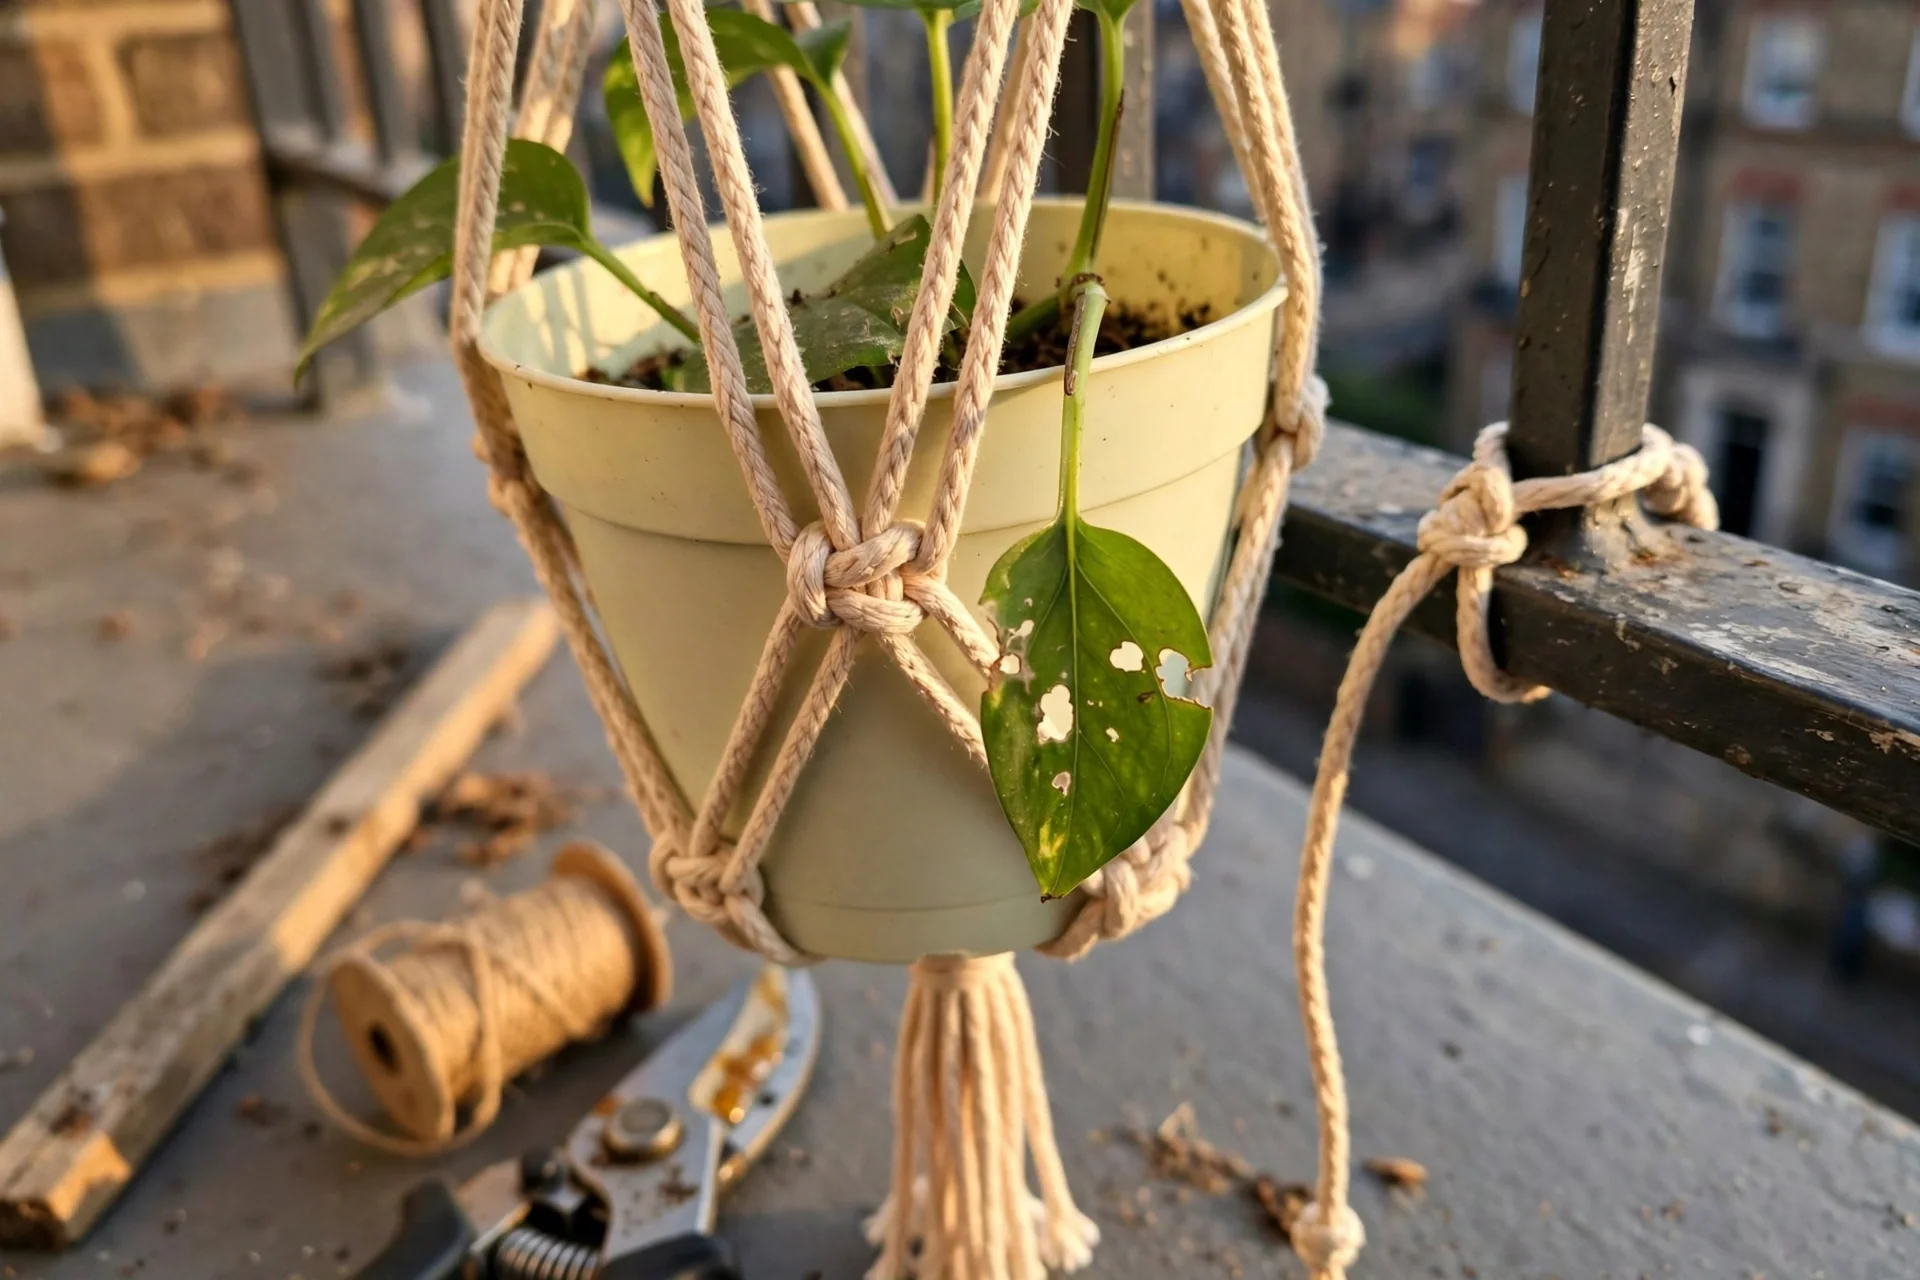
Use vs. Skip. Use macramé hangers for lightweight plastic or resin pots under 3 kg wet weight. The cord distributes the load across multiple strands, which reduces the chance of a single‑point failure. On wind‑exposed balconies, add a secondary tie‑down cord from the pot’s base to a fixed railing point to limit swing. Skip natural‑fiber ropes (cotton, jute) outdoors; they degrade within one season of UV and rain exposure. Use synthetic cord rated for outdoor use, such as polypropylene or polyester with a minimum breaking strength of 50 kg.
9. Modular Rail & Grid Track Systems
Best for: Branch 1
10‑Minute Workflow. Mount a horizontal aluminum rail or grid panel to the wall or ceiling using at least three anchor points spaced evenly. Slide movable hook carriages onto the track. Hang planters from the carriages. Reposition hooks seasonally as sun angles shift: move shade‑tolerant plants closer to the wall in summer, pull sun‑loving plants forward. The modularity is the core value here; you are not locked into a fixed arrangement.
Upgrade option. Add a drip irrigation line clipped to the rail above the planters, with one emitter per pot. This converts a high‑effort watering routine (Score 4) into a near‑zero‑effort system once the irrigation timer is set.
Starter Stack (What to Choose First)
Branch 1 Starter: Wall‑Mounted + Ceiling‑Suspended
Start with two wall‑mounted planters (Item 2) at eye level on your sunniest wall, then add one ceiling‑suspended basket (Item 3) in the corner where it will not obstruct movement. Together, these use zero floor space and create two visual layers: a backdrop against the wall and a floating focal point overhead. Budget roughly $40–$70 USD for the brackets, anchors, and planters combined; installation takes about 90 minutes if you have a drill and the correct masonry bit. The ceiling basket will need watering every 2–3 days in summer unless you retrofit a self‑watering insert.
Branch 2 Starter: Over‑the‑Rail + Tension Rod
Place two over‑the‑rail planters (Item 1) on the sturdiest section of your railing, then install one tension rod vertical hanger (Item 4) in a corner that receives morning or late‑afternoon light. This gives you railing‑level greenery plus a vertical column that can hold three small pots without touching the floor. Budget roughly $50–$80 USD; the entire setup requires no tools beyond a spirit level for the tension rod. Expect to spend 10 minutes every other day on watering during peak summer.
Branch 3 Starter: Clamp‑On Brackets + Self‑Watering Reservoir
Install two clamp‑on bracket hangers (Item 6) with locking screws on the innermost railing section, then hang one self‑watering reservoir planter (Item 7) on each. The clamp hardware provides wind security; the reservoir buys you a 4–5 day watering buffer. Budget roughly $60–$90 USD. Add a secondary bungee strap to each bracket as a fail‑safe. This combination keeps the total wet weight under 12 kg distributed across two attachment points, which stays within conservative load limits for most residential railings.
When This Won’t Work
Hanging planters become the wrong tool when a balcony has no railing, no overhead structure, and no drill‑permitted wall. In that configuration, the only mounting options are freestanding floor planters or a wheeled planter cart. For balconies where floor space is also tight, a compact seating arrangement with integrated planter boxes may be more practical than forcing a hanging solution onto surfaces that cannot hold it. See our balcony seating ideas guide for layouts that pair built‑in planters with functional seating.
The second failure condition is a historic or structurally compromised balcony with a posted load limit below 25 kg/m². Even lightweight hanging planters add concentrated point loads that can exceed the design margin on older cantilevered balconies. If your building predates 1960 and no load rating documentation exists, restrict yourself to two small planters under 3 kg wet weight each, positioned directly over load‑bearing walls rather than at the slab edge.
Alternative action: switch to a freestanding tiered shelf placed against the building wall, which distributes weight across a larger footprint and requires no mounting hardware at all.
Choosing the Right Option for Your Situation
Budget threshold
If your total budget is under $30 USD, focus on over‑the‑rail clamp planters (Item 1) or pocket organizers (Item 5). These are the lowest‑cost entry points that still provide reliable mounting. Avoid ceiling‑suspended systems at this price point because the cost of quality‑rated anchors and hooks alone typically exceeds $15.
Time threshold
If you can spend no more than 15 minutes per week on planter maintenance, eliminate options with an Effort Score of 4 or higher. That means avoiding modular grid systems (Item 9) unless you add drip irrigation, and being cautious with pocket organizers (Item 5) that demand frequent watering. Self‑watering reservoir hangers (Item 7) and over‑the‑rail planters (Item 1) are the lowest time‑commitment choices.
Technical constraint: railing material
Glass railings without a horizontal top bar are incompatible with all clamp‑on and saddle‑style hangers. For glass‑panel balconies, your only hanging options are ceiling‑suspended (if drilling is allowed) or a tension rod system positioned away from the glass. Never attach a clamp to a glass panel itself; the point load will create a stress fracture over time.
Yes/No Checklist
Can you drill into at least one solid surface? If YES, explore Branch 1 items. If NO, stay in Branch 2 or 3.
Does your railing have a horizontal top bar between 3 cm and 9 cm wide? If YES, over‑the‑rail planters work. If NO, skip Item 1.
Is your balcony above the 3rd floor or in a coastal wind zone? If YES, prioritize Branch 3 security hardware.
Will you be away from home for more than 3 consecutive days during growing season? If YES, choose self‑watering (Item 7) or plan for a drip irrigation retrofit.
Expert Q&A
How do I calculate the wet weight of a hanging planter before installation?
Weigh the empty planter. Add the weight of the potting mix (roughly 1.5 kg per litre of planter volume when moist). Add estimated mature plant weight (0.5–1 kg for most ornamentals). Multiply the total by 1.2 as a safety margin. Compare that number against your anchor or bracket rating.
Can I hang planters on a glass balcony railing?
Only if the glass panel has a metal top cap that a clamp can grip. Never clamp directly to exposed glass. The alternative is a tension rod placed independently of the railing or ceiling‑suspended baskets if drilling is permitted. Glass panels themselves cannot bear lateral hanging loads.
What gap should I leave between hanging planters to prevent fungal spread?
Leave at least 15 cm between the foliage edges of adjacent planters. This allows airflow that reduces humidity buildup around leaves, which is the primary driver of powdery mildew and botrytis. In humid climates (coastal Singapore, Mumbai during monsoon), increase the gap to 20 cm.
How do I winterize balcony hanging planters in USDA zones 5 and below?
Remove the planter from its hanging position and place it on the balcony floor against the building wall, which radiates residual heat. Wrap the pot in bubble wrap or burlap, and mulch the soil surface with 5 cm of straw. Water sparingly once every two weeks, only when the soil is dry at a 3 cm depth.
At what wind speed should I temporarily remove hanging planters?
Sustained winds above 40 km/h (25 mph, or Beaufort force 6) warrant temporary removal, especially for single‑hook suspended baskets that can swing violently. If a storm warning is issued for gusts above 55 km/h, take all hanging planters indoors or lay them flat on the balcony floor against the wall.
Conclusion
The single decision that matters most is whether your balcony lets you mount from above, from the side, or from the railing alone. Chasing a ceiling‑suspended basket when your building prohibits drilling wastes time and money; the same effort applied to a tension rod or over‑the‑rail clamp gets plants growing immediately. The number‑one mistake is buying a planter because of how it looks in a product photo without verifying that your balcony has the compatible mounting surface.
Once you have identified your branch and starter combination from the grid above, the next step is matching plants to the light that reaches your chosen position. Use our full sun balcony plants guide to select species that will thrive in the exact exposure your hanging planter will receive.
“`