
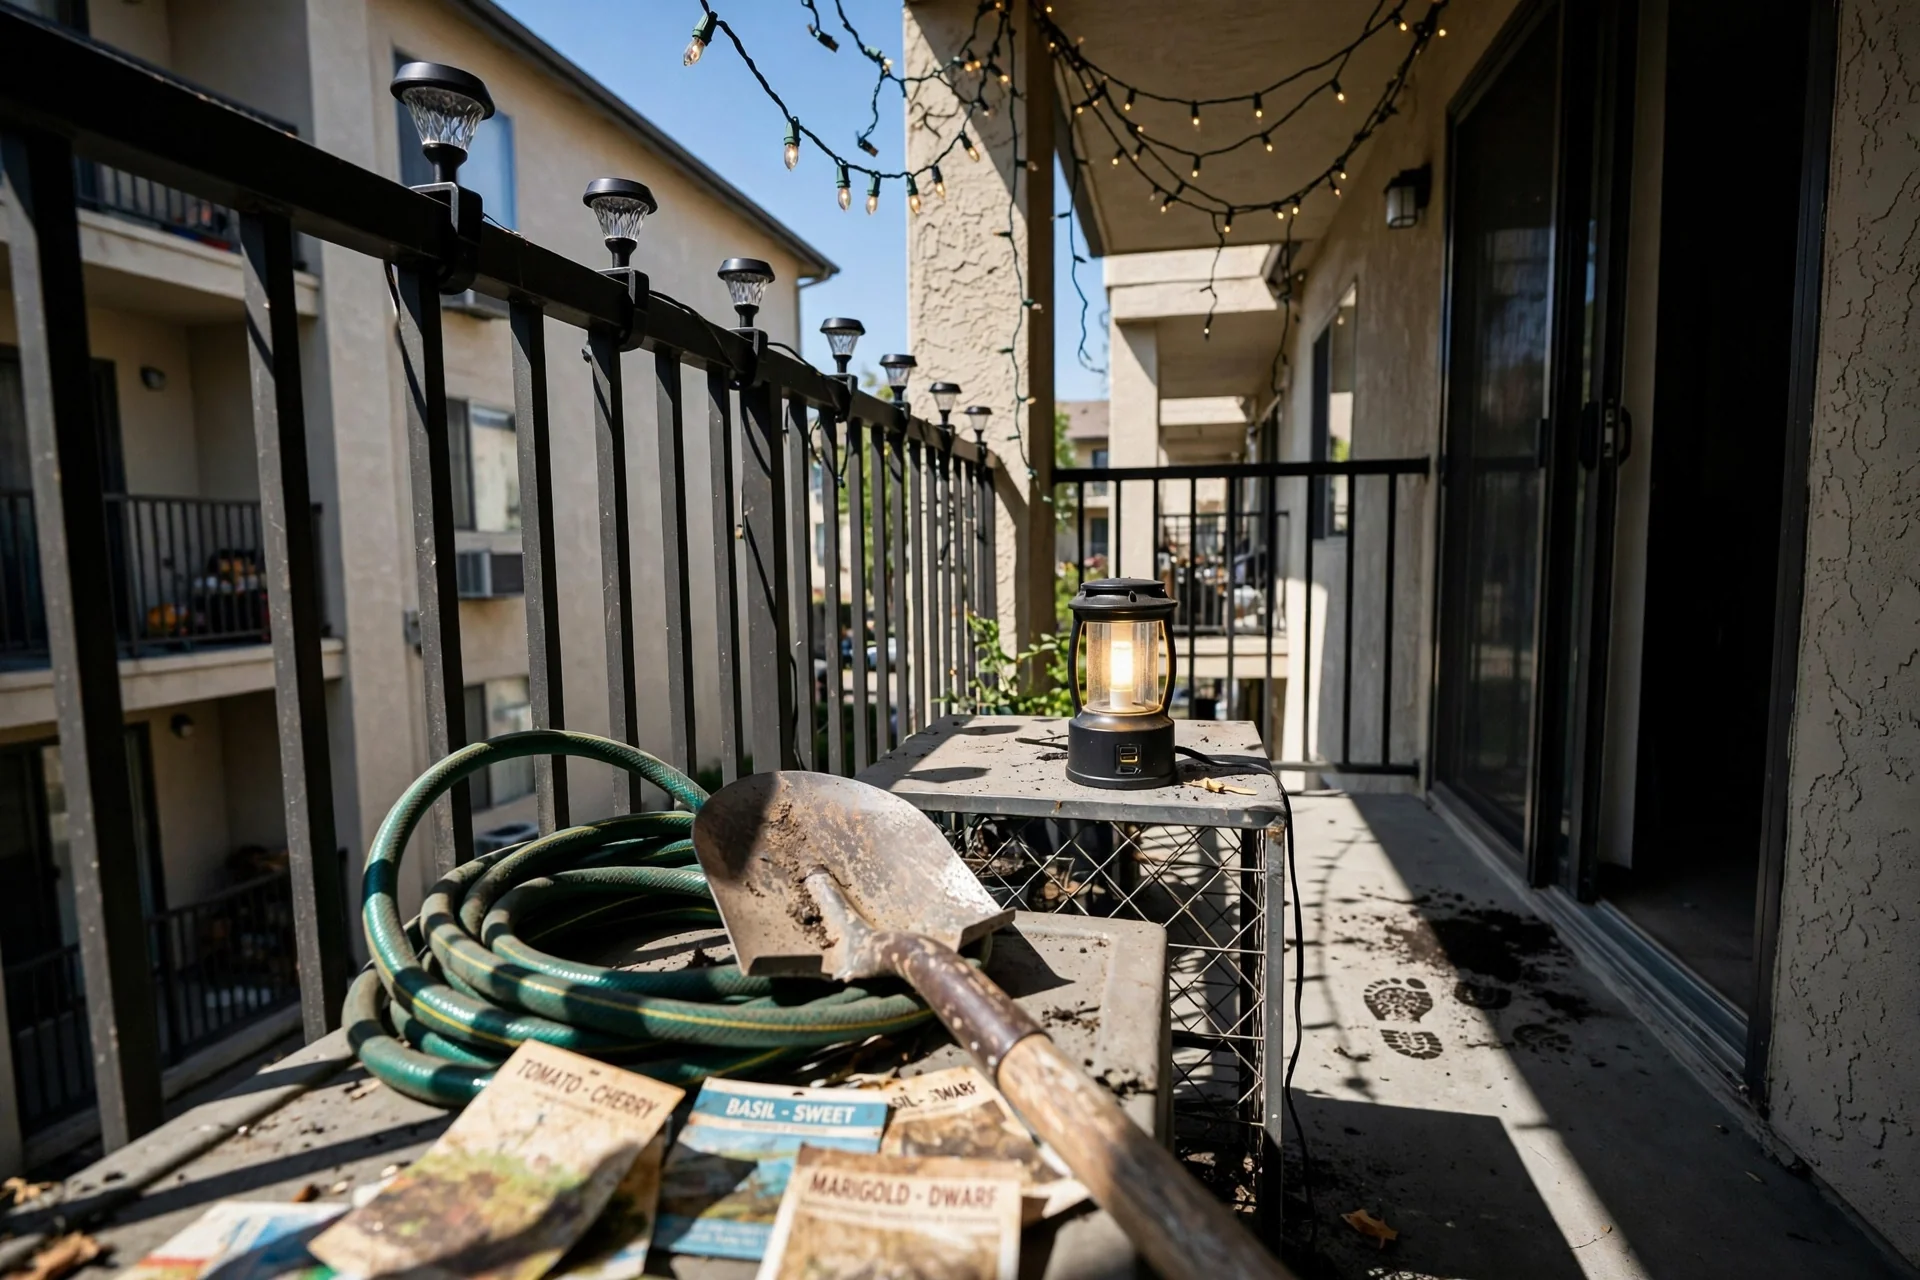
Most balcony lighting lists start with ambience. This one starts with constraints: your lease, your local fire code, and how many months of rain, dust, and UV your fixtures will actually survive. Because a string of indoor-rated lights that shorts out in November or a drilled railing that costs you a security deposit is not a good idea. It is a liability wearing a warm glow.
This guide covers lighting solutions for apartment balconies, condo terraces, and rooftop ledges where you cannot make permanent modifications, where an outdoor GFCI outlet may or may not exist, and where weather exposure ranges from a sheltered Juliet balcony to full wind-and-rain assault above the 10th floor. It excludes hardwired architectural lighting that requires an electrician, holiday-specific displays, and any fixture that violates the International Fire Code requirement of a 36-inch clear egress path on balconies classified as part of a building’s means of escape.
By the end, you will be able to match a specific lighting idea to your exact constraint profile: no-drill, no-outlet, exposed-to-storms, or all three at once. You will know which IP rating matters for your climate, which color temperature avoids glare complaints from neighbors, and where to place the first dollar of a tight budget. Every recommendation is traced to a measurable condition: fire code clearance, wet-location rating, or attachment method.
Bottom line: Pick one ambient layer first (no-drill, outdoor-rated, 2700K-3000K), then add task or accent layers only if your budget and outlet situation support them.
The Yield Grid Decision Grid
Start by identifying which of the three branches below matches your balcony. The branch determines which power sources, mounting methods, and IP ratings are mandatory, not optional.
Branch 1: You cannot drill holes and have no outdoor GFCI outlet. This is the most common rental scenario. All lighting must be battery-operated, solar, or USB-rechargeable. Mounting depends entirely on removable adhesives, tension rods, magnetic clips, or gravity. IP rating can be as low as IP44 if the balcony is fully covered, but IP65 is safer if rain blows in. Recommended: Items 1, 4, 7, 10 below.
Branch 2: You have an outdoor GFCI outlet and can attach to surfaces with screws or permanent clips. This includes condo owners and renters whose lease explicitly permits minor modifications. You gain access to plug-in string lights, low-voltage LED strips, and fixtures that need a weatherproof power supply box. All cords must be UL-listed for wet locations and routed so they do not create a tripping hazard across the egress path. Recommended: Items 2, 5, 8, 11 below.
Branch 3: Your balcony is fully exposed with no overhead cover and frequent wind-driven rain. IP rating becomes non-negotiable. Fixtures must be IP65 or higher; power connections must be sealed inside weatherproof junction boxes rated NEMA 3R or better. Solar panels need direct sun for 6-8 hours to deliver rated runtime. All mounting hardware must be corrosion-resistant (316 stainless steel or powder-coated aluminum). Recommended: Items 3, 6, 9 below.
If you also need to mount lights near plants without compromising leaf health, see our guide on balcony hanging planters that work with clip-on lighting.
Quick Comparison Table
| Option | Key mechanism | Best for | Decision Grid Branch | Effort Score (1-5) |
|---|---|---|---|---|
| 1. Solar rail lamps with dusk sensor | Clip-on, zero-wire, auto-on/off | No-outlet, no-drill balconies | Branch 1 | 1 |
| 2. Plug-in LED string lights (perimeter grid) | 110V-240V, dimmable, UL wet-listed | Outdoor outlet, permanent clips | Branch 2 | 1 |
| 3. IP67 sealed LED strip (under-rail) | Silicone-encased, aluminum channel, 24V DC | Exposed balconies, heavy rain | Branch 3 | 2 |
| 4. USB-rechargeable table lantern | Lithium-ion, 6-12 hr runtime, portable | Rental, no-sun balconies | Branch 1 | 3 |
| 5. Low-voltage planter uplights | 12V transformer, stake-mounted, 3000K | Owned balcony with plants | Branch 2 | 2 |
| 6. Solar wall sconce (IP65) | Monocrystalline panel, motion sensor optional | Wind-and-rain exposed walls | Branch 3 | 1 |
| 7. Battery fairy lights (AA, timer) | Ultra-thin wire, 3xAA pack, 6hr timer | Temporary setups, railings | Branch 1 | 5 |
| 8. Plug-in LED strip (under-ceiling cove) | Adhesive or channel-mounted, remote dimmer | Covered balcony with outlet | Branch 2 | 1 |
| 9. Rechargeable magnetic work light | 18650 battery, magnetic base, IP65 | Steel railings, storm-prone | Branch 3 | 4 |
| 10. Solar stake lights (pathway) | AA NiMH, ground stake, auto-dusk | Balcony with planters/floor gaps | Branch 1 | 1 |
| 11. Hardwired pendant (IP44, covered only) | 120V-240V, ceiling junction box required | Owned covered balcony | Branch 2 | 1 |
1. Solar Rail Lamps With Built-In Dusk Sensor
Best for: Branch 1 (no drill, no outlet)
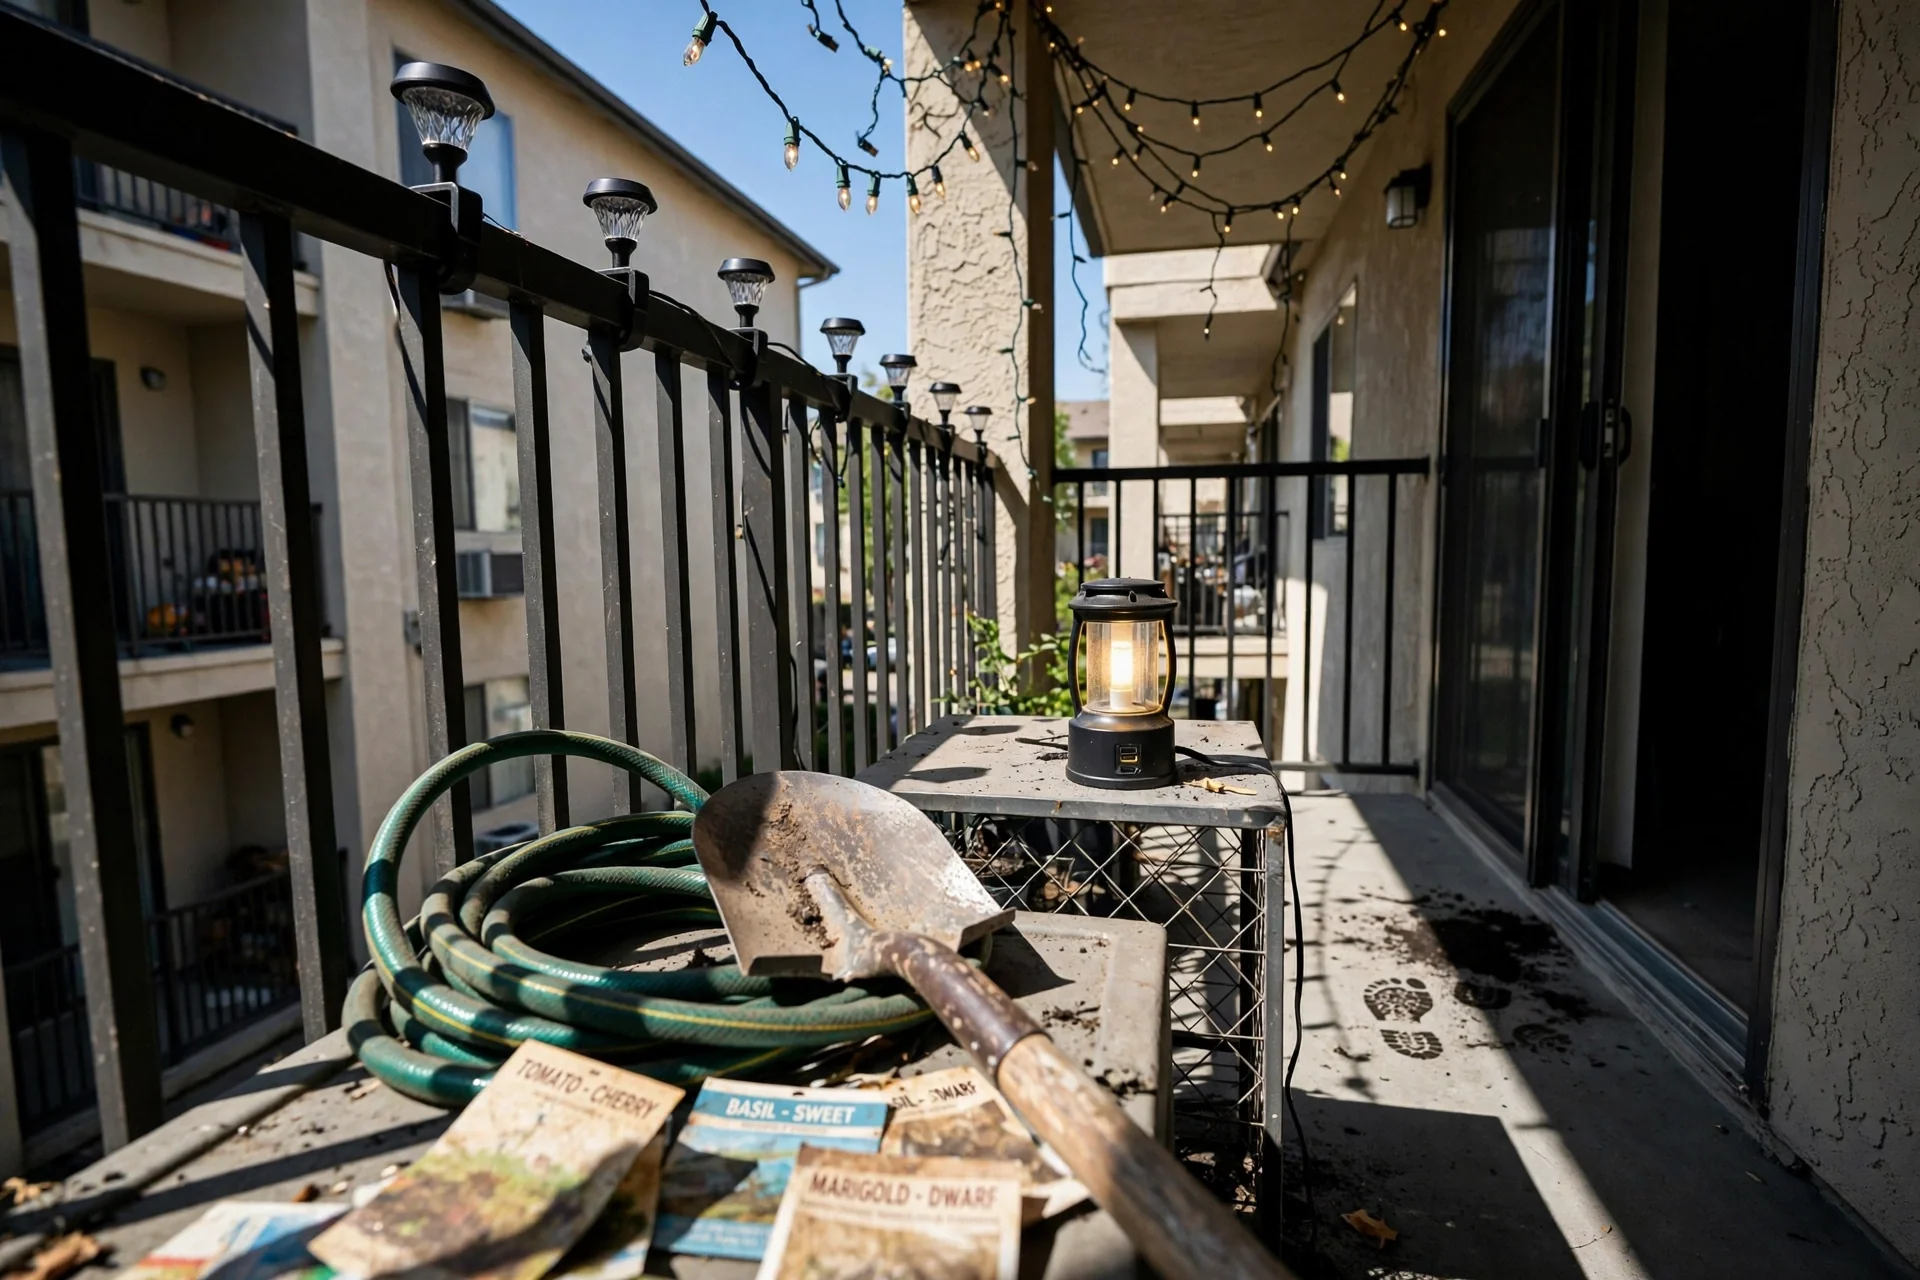
What it is: A self-contained unit that clamps directly onto a balcony railing, with a monocrystalline or polycrystalline solar panel on top, a rechargeable AA or 18650 battery inside, and an LED that activates automatically when ambient light drops below approximately 10 lux. No wiring, no outlet, no drilling.
Why it earns the Effort Score of 1: Install once. The photoresistor handles on/off cycling. You do nothing seasonally except wipe the panel with a damp cloth if dust accumulates. Battery replacement is needed roughly every 18-24 months depending on sunlight hours and depth of discharge cycles.
The constraint most buyers miss: Solar rail lamps require a minimum of 4 hours of direct, unobstructed sunlight on the panel to achieve a full 6-8 hour nighttime runtime. On a north-facing balcony, or one shaded by an overhang or adjacent building after 2 PM, expect reduced runtime (2-4 hours). Before purchasing, observe your railing’s sun exposure at 10 AM, 1 PM, and 4 PM on a clear day. If two of those three checkpoints are shaded, switch to a USB-rechargeable option instead.
Installation step: Clean the railing surface with isopropyl alcohol, clamp the unit, and confirm the panel faces the brightest quadrant of the sky. Do not mount behind glass balustrades; glass can reflect or absorb enough UV to cut charging efficiency noticeably.
2. Plug-In LED String Lights (Perimeter Grid Layout)
Best for: Branch 2 (outdoor GFCI outlet, can attach permanently)
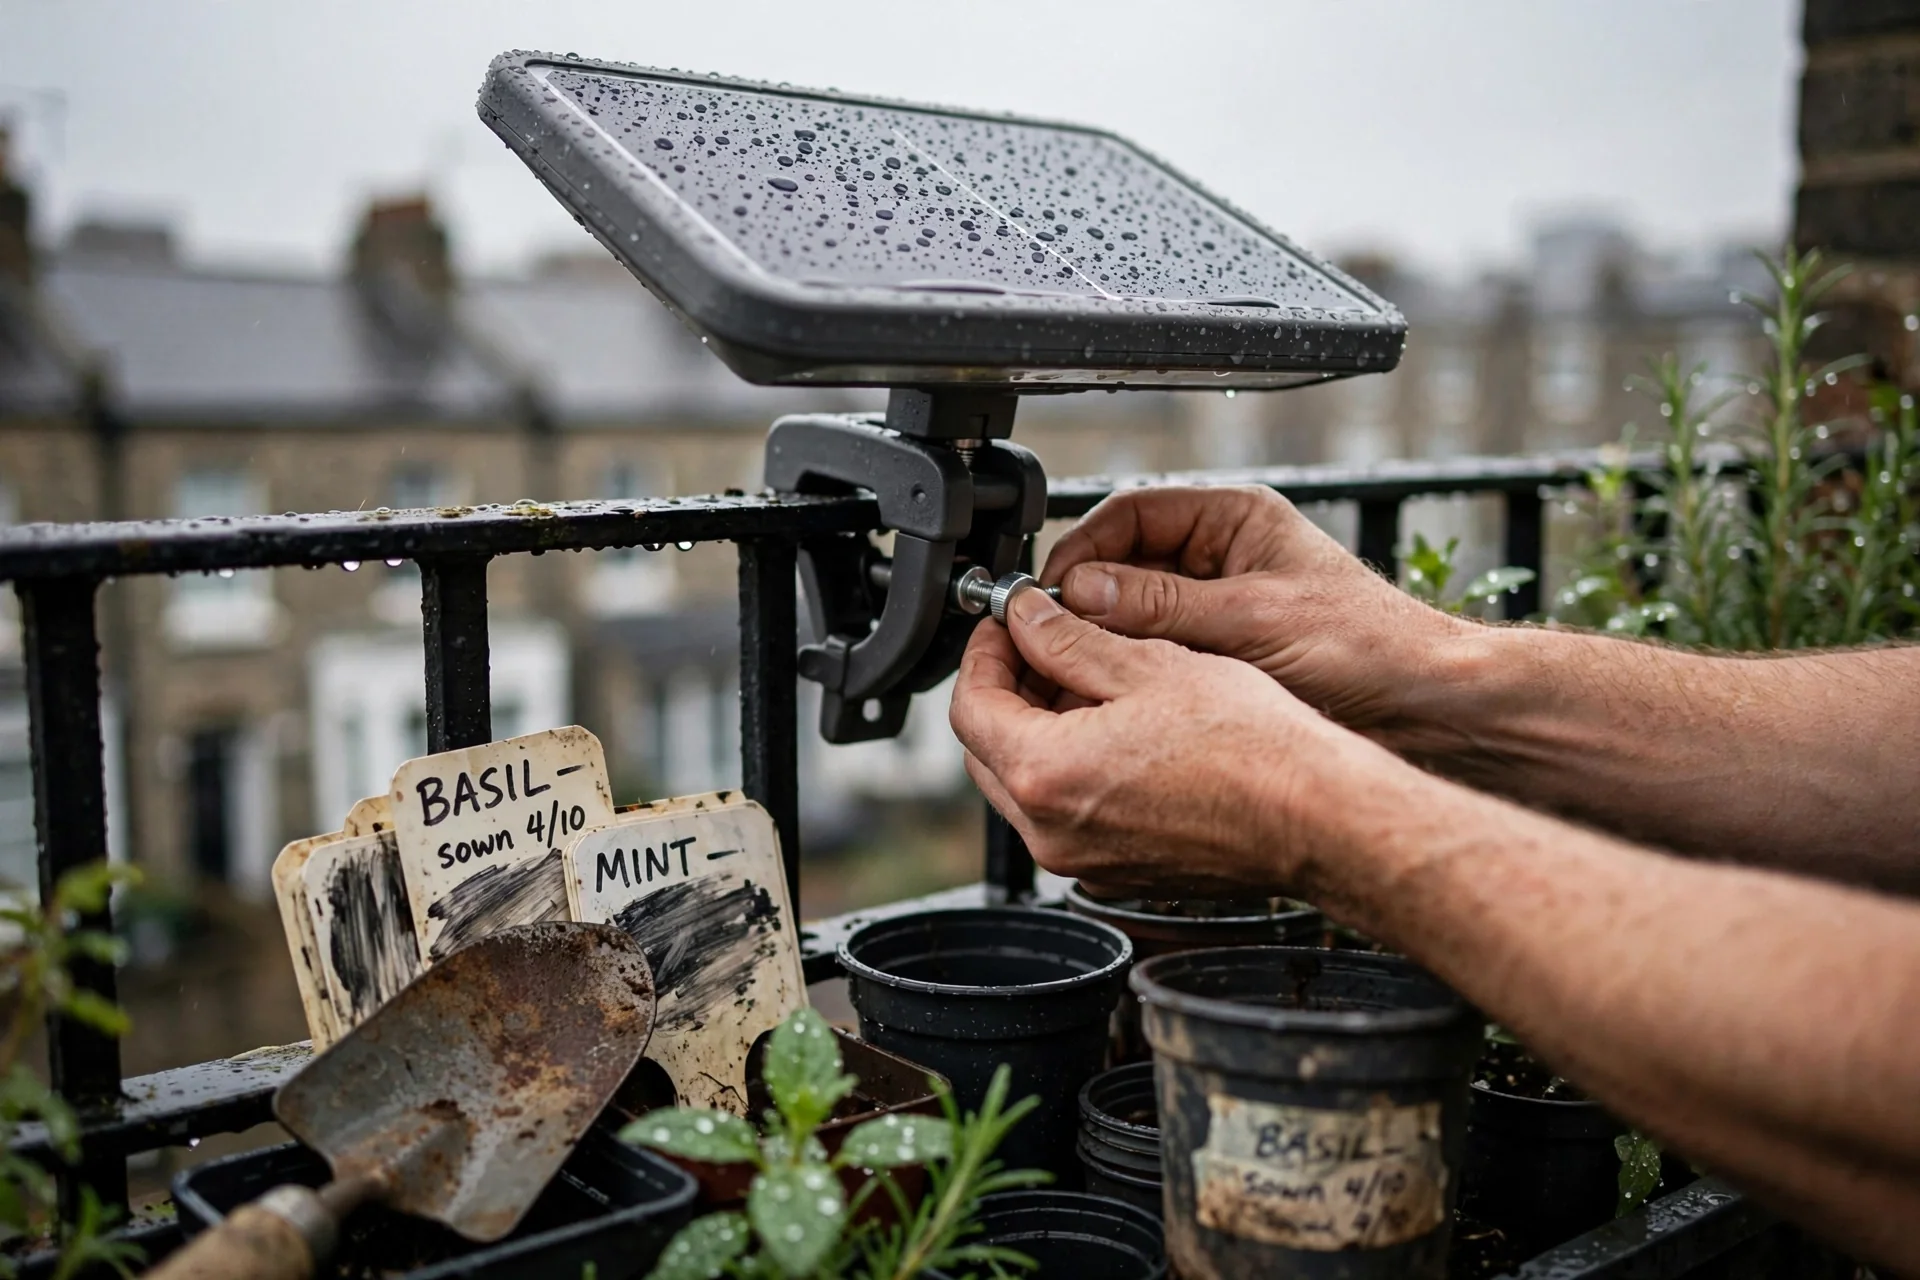
Use vs. skip: Use if you want a single ambient layer that defines the entire balcony perimeter. Choose warm white (2700K-3000K), UL wet-listed strands, and connect no more than three strands end-to-end unless the manufacturer specifies a higher limit. Skip if your balcony lacks a GFCI-protected outdoor outlet; running an extension cord through a door or window violates most fire codes in multi-family dwellings and voids the wet-location rating. Also skip if your railing is the only attachment surface (string lights need overhead or wall anchors for a perimeter grid).
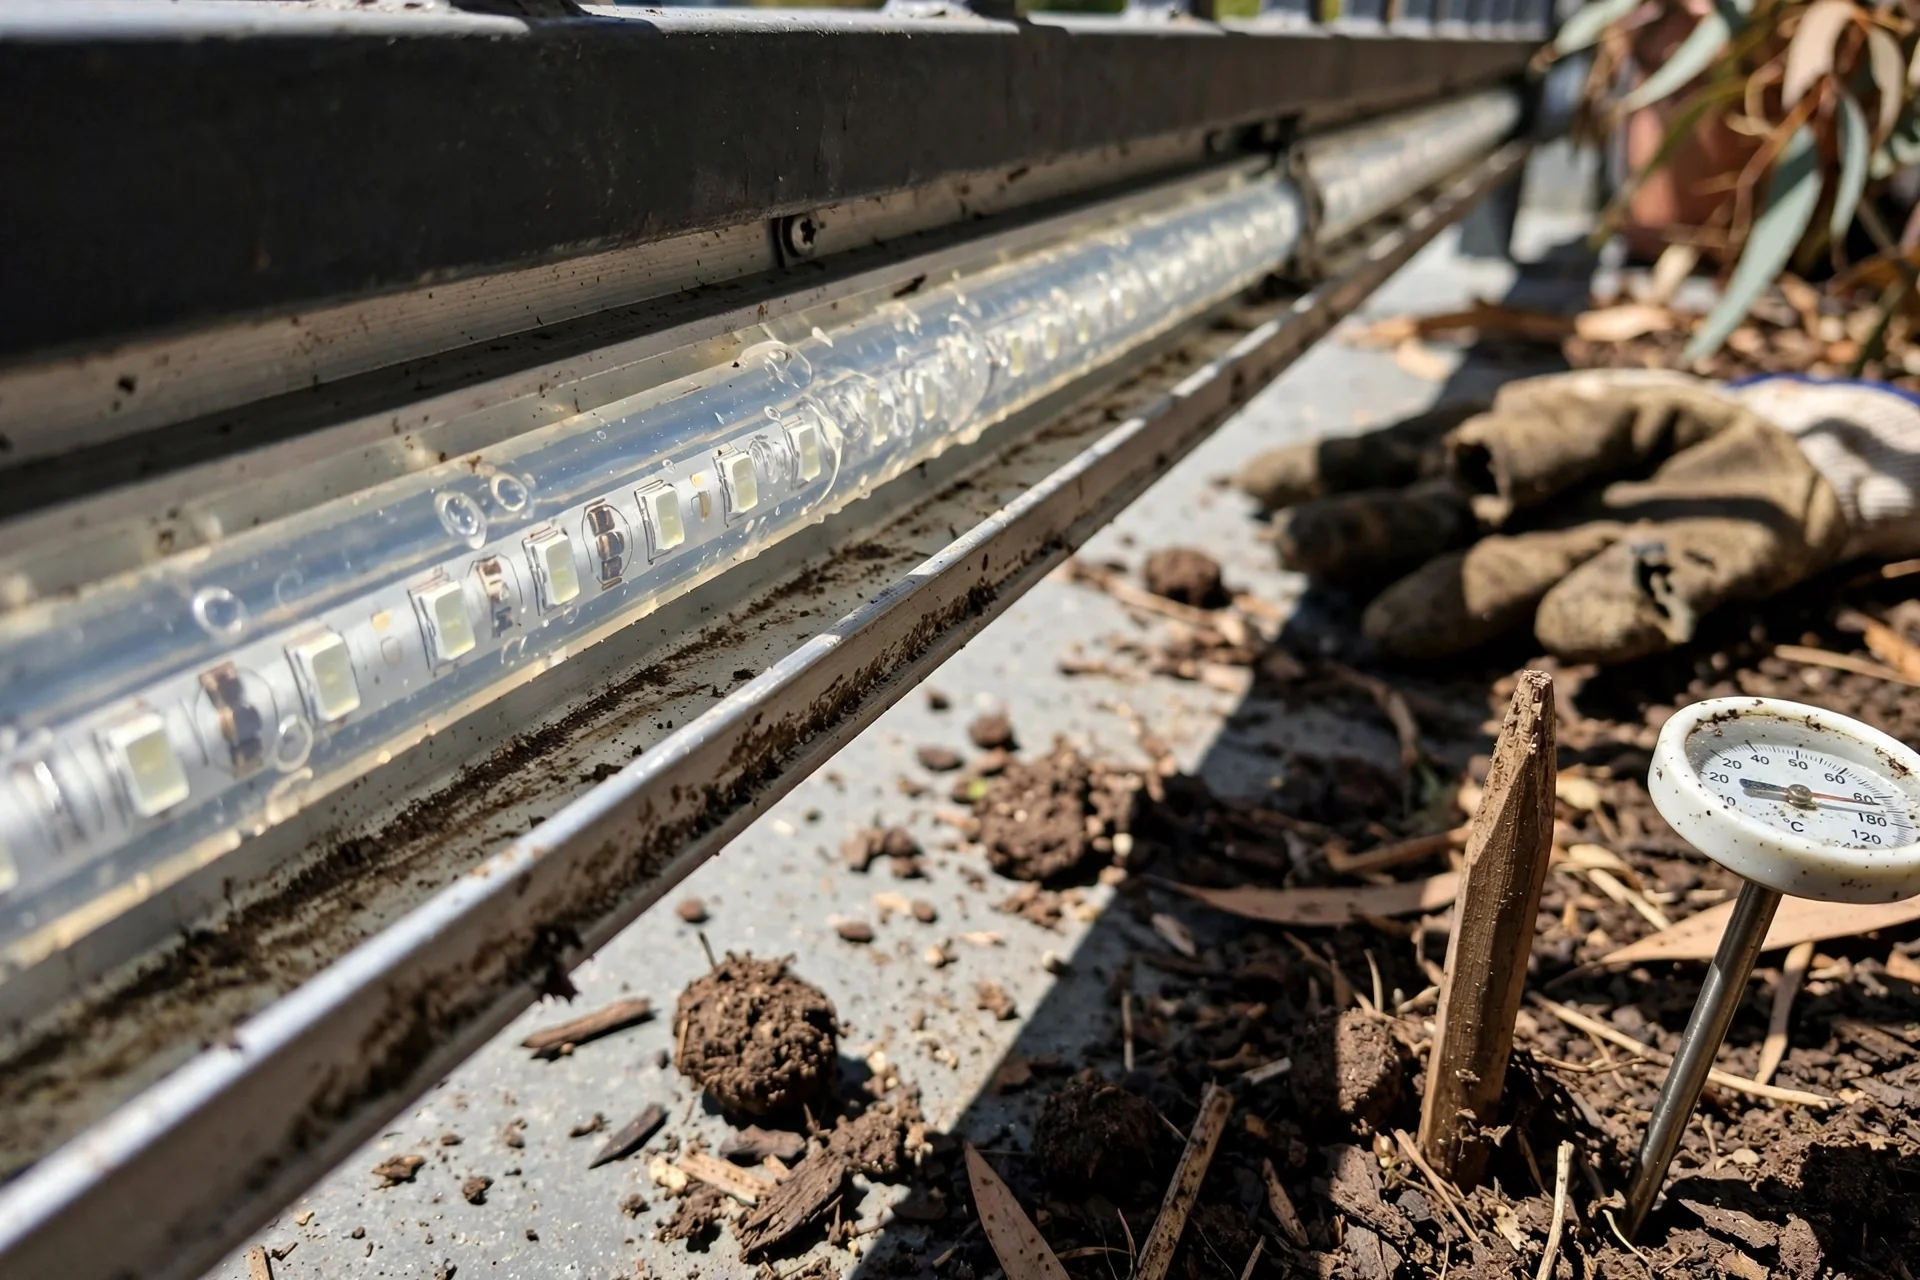
3. IP67 Sealed LED Strip (Under-Rail, Aluminum Channel)
Best for: Branch 3 (fully exposed, driven rain)
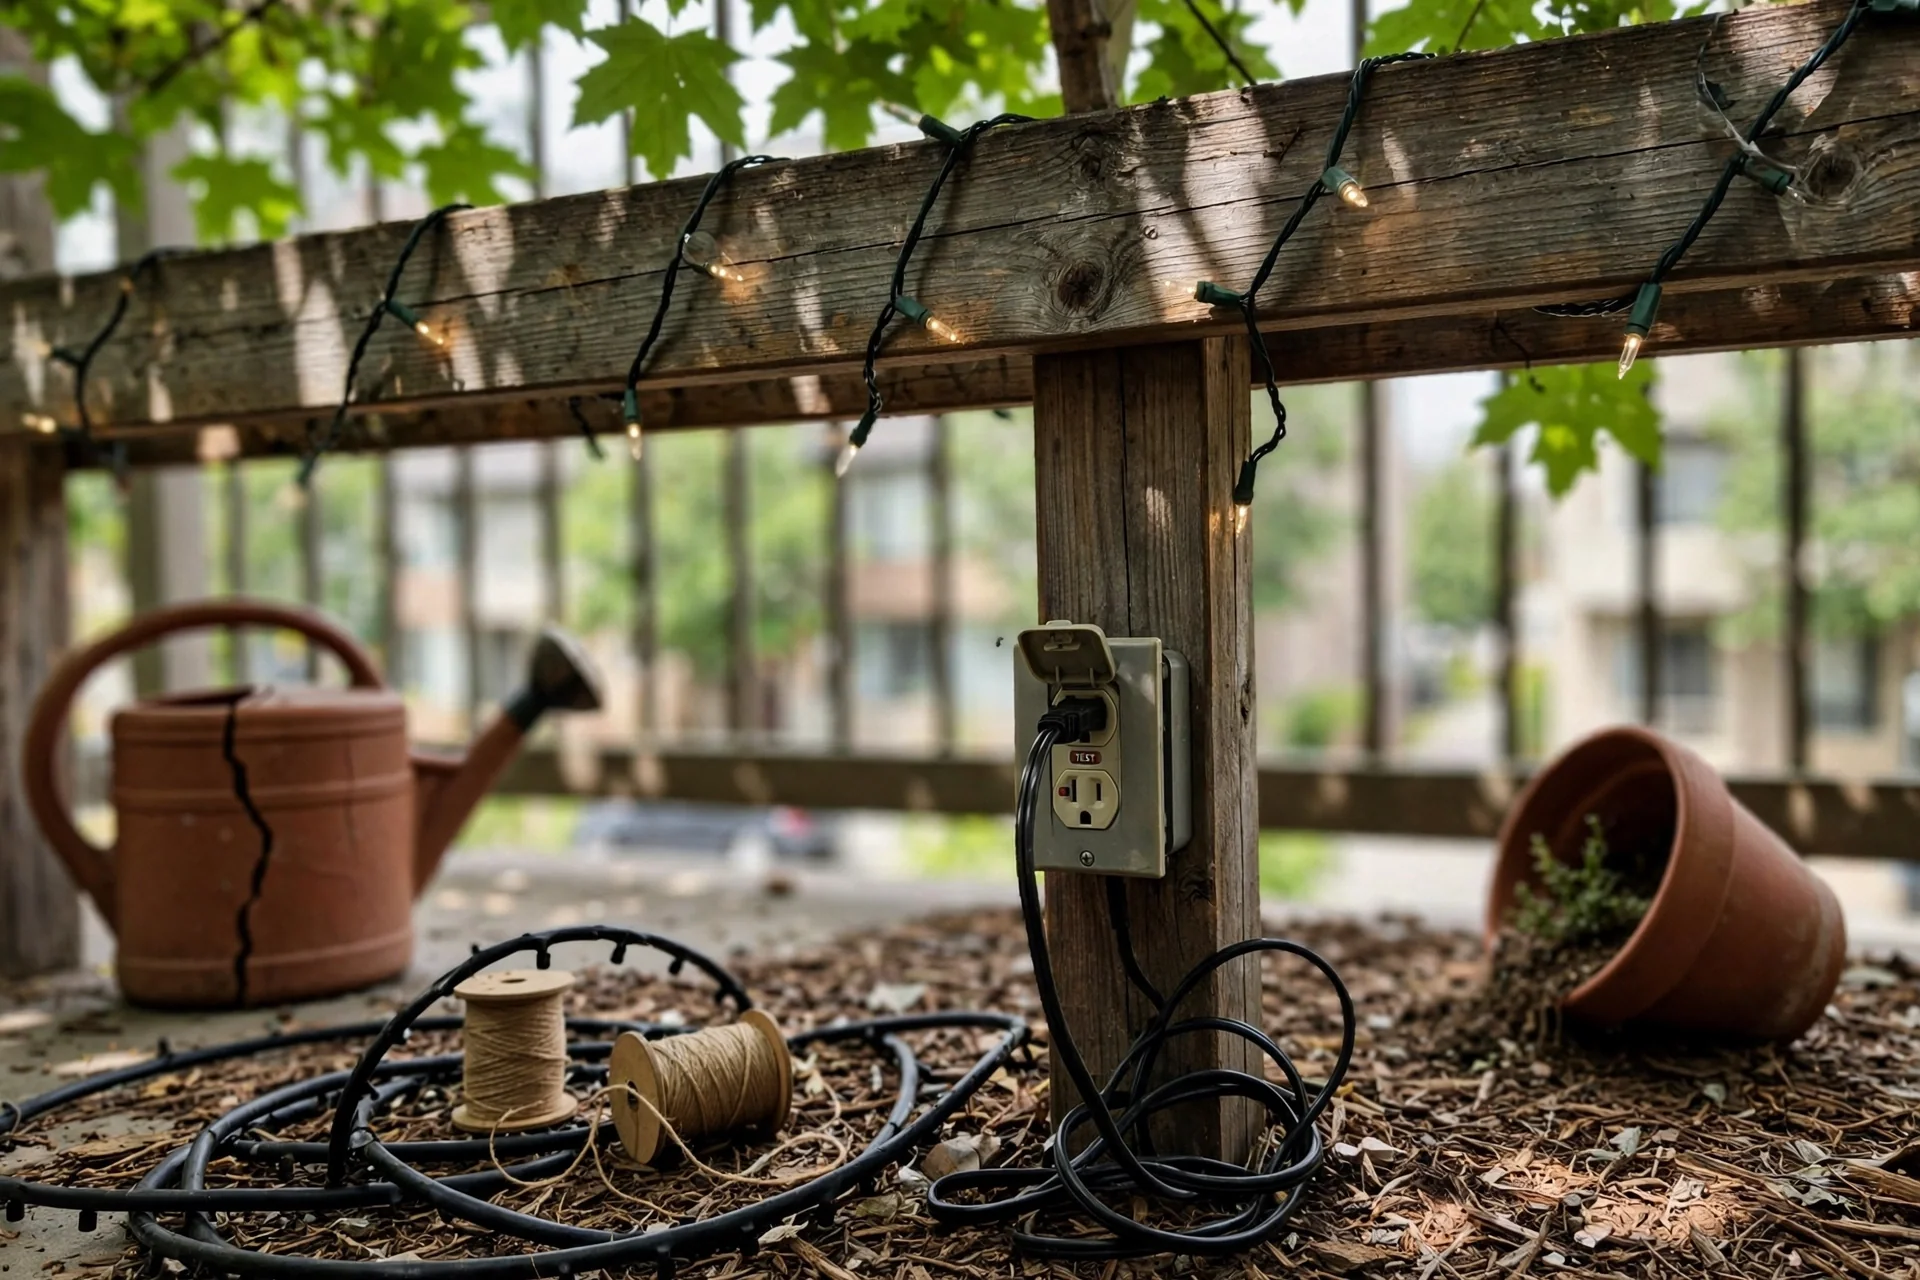
The threshold rule: Any LED strip mounted on a balcony that receives direct rain must be rated IP65 or higher. IP65 protects against low-pressure water jets from any direction. IP67 protects against temporary immersion in water up to 1 meter for 30 minutes, which matters if your balcony drains poorly and water pools at the rail base. The second digit (7) is not marketing; it is the difference between a strip that survives a coastal storm and one that corrodes internally by month three.
Adjustment for voltage drop: On 12V DC LED strips, a run longer than 5 meters (16.4 feet) will show visible dimming at the far end due to voltage drop across the copper traces. For balcony perimeters exceeding 5 meters, either use a 24V strip, run a parallel power feed from the transformer to both ends, or split the run into two shorter segments each with its own power supply. Measure the total length before ordering.
4. USB-Rechargeable Table Lantern
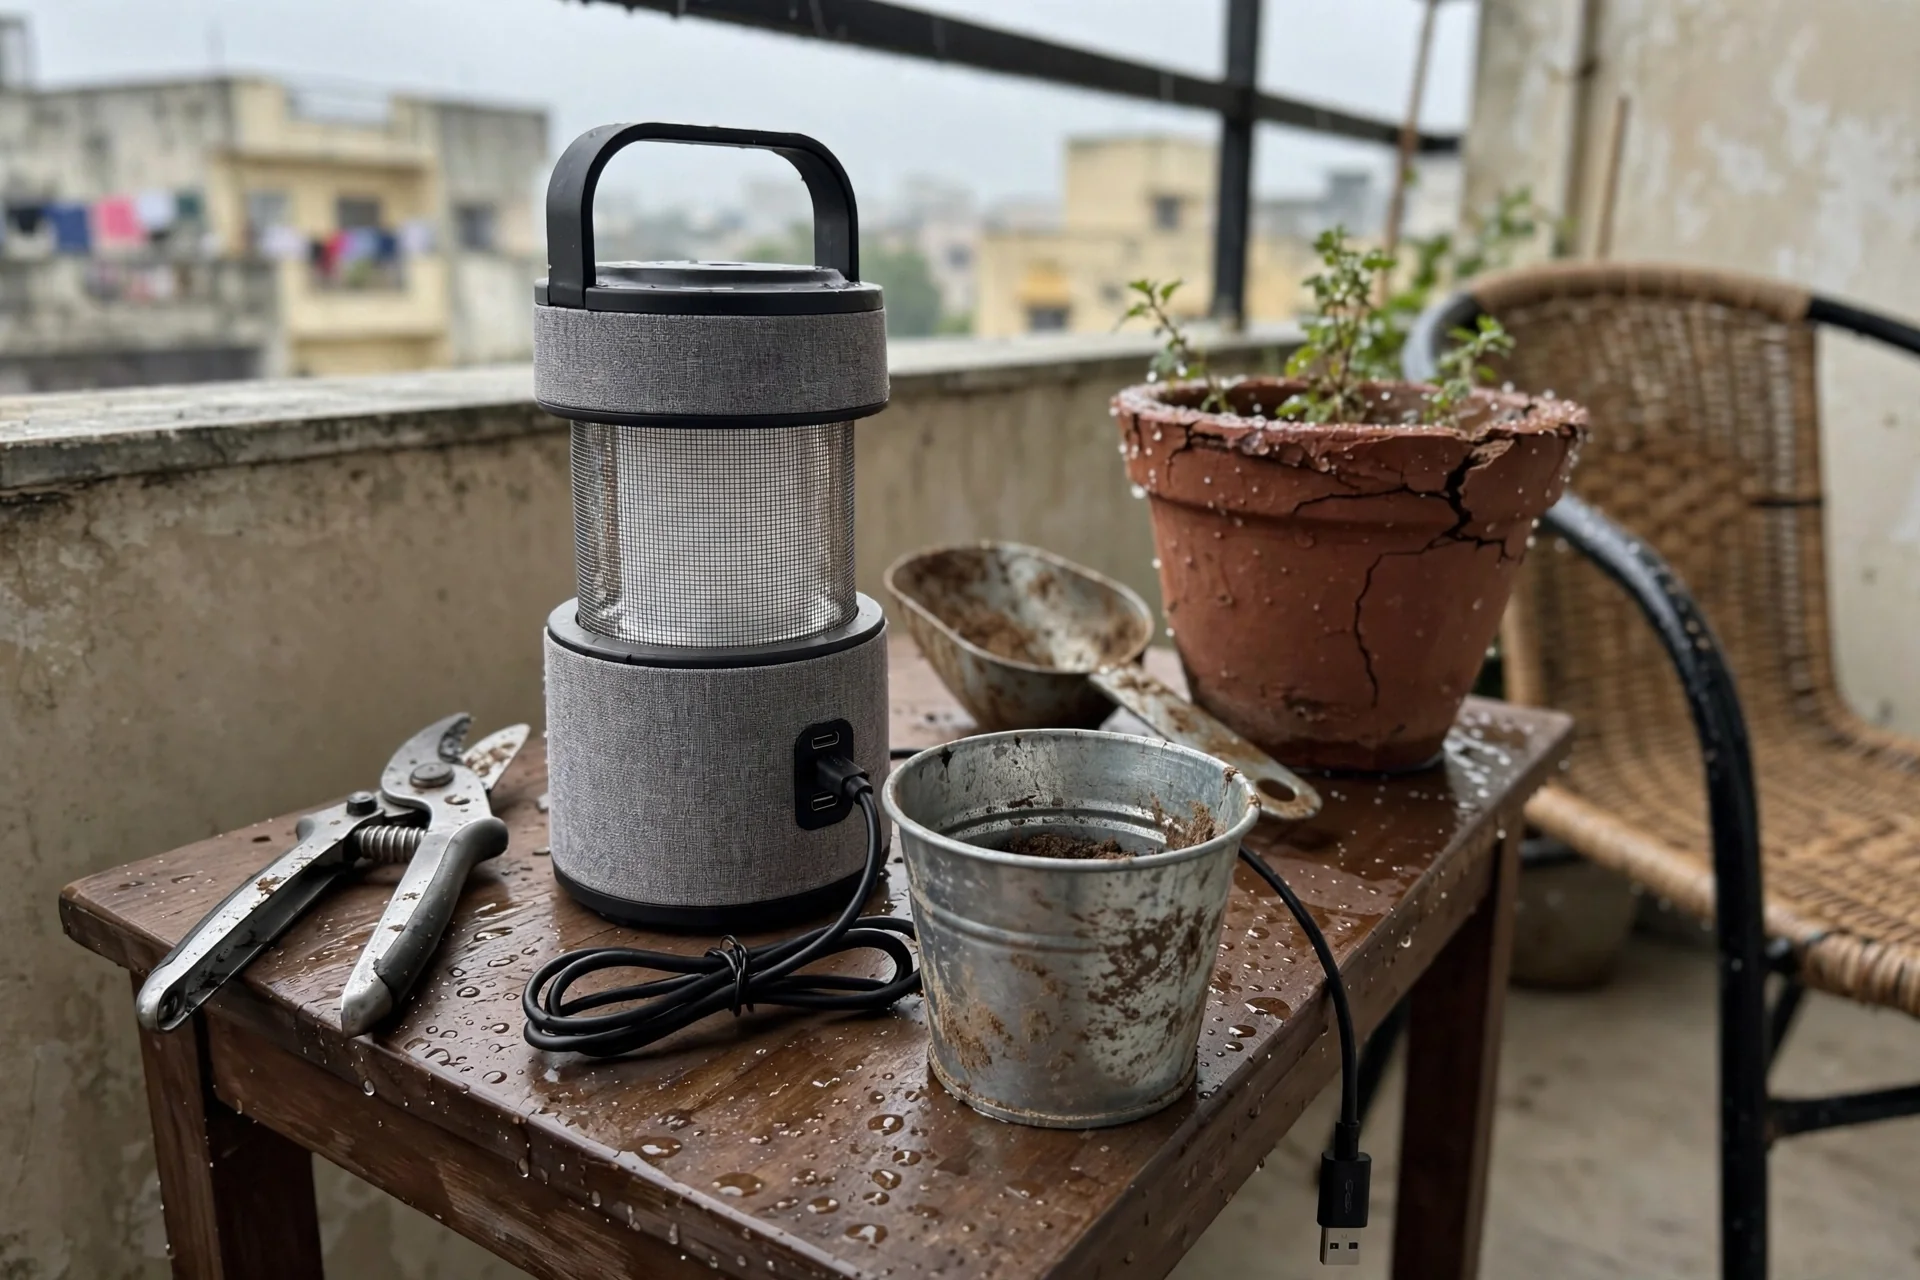
Best for: Branch 1 (rental, no sun, no outlet)
What it is: A portable lantern with an internal lithium-ion battery (typically 2000-5000 mAh), charged indoors via USB-C or Micro-USB, providing 6 to 12 hours of illumination per charge at low to medium brightness settings. It sits on a table, shelf, or floor and can be moved inside during storms or when not in use.
Why it earns an Effort Score of 3: Recharging is monthly or biweekly depending on usage frequency. You must remember to bring it inside, plug it in, and return it. No daily effort, but it is not set-and-forget.
Constraint that matters: Battery capacity degrades measurably after 300-500 full charge cycles. If you use the lantern nightly for a six-month outdoor season, expect reduced runtime by year two. Look for models with replaceable 18650 cells rather than sealed internal batteries; this extends the usable life beyond two years.
Placement rule: Position the lantern below eye level when seated to avoid direct glare. Standard seated eye height is approximately 40-48 inches (100-120 cm) above the floor. A lantern placed on a 16-inch side table meets this constraint.
5. Low-Voltage Planter Uplights
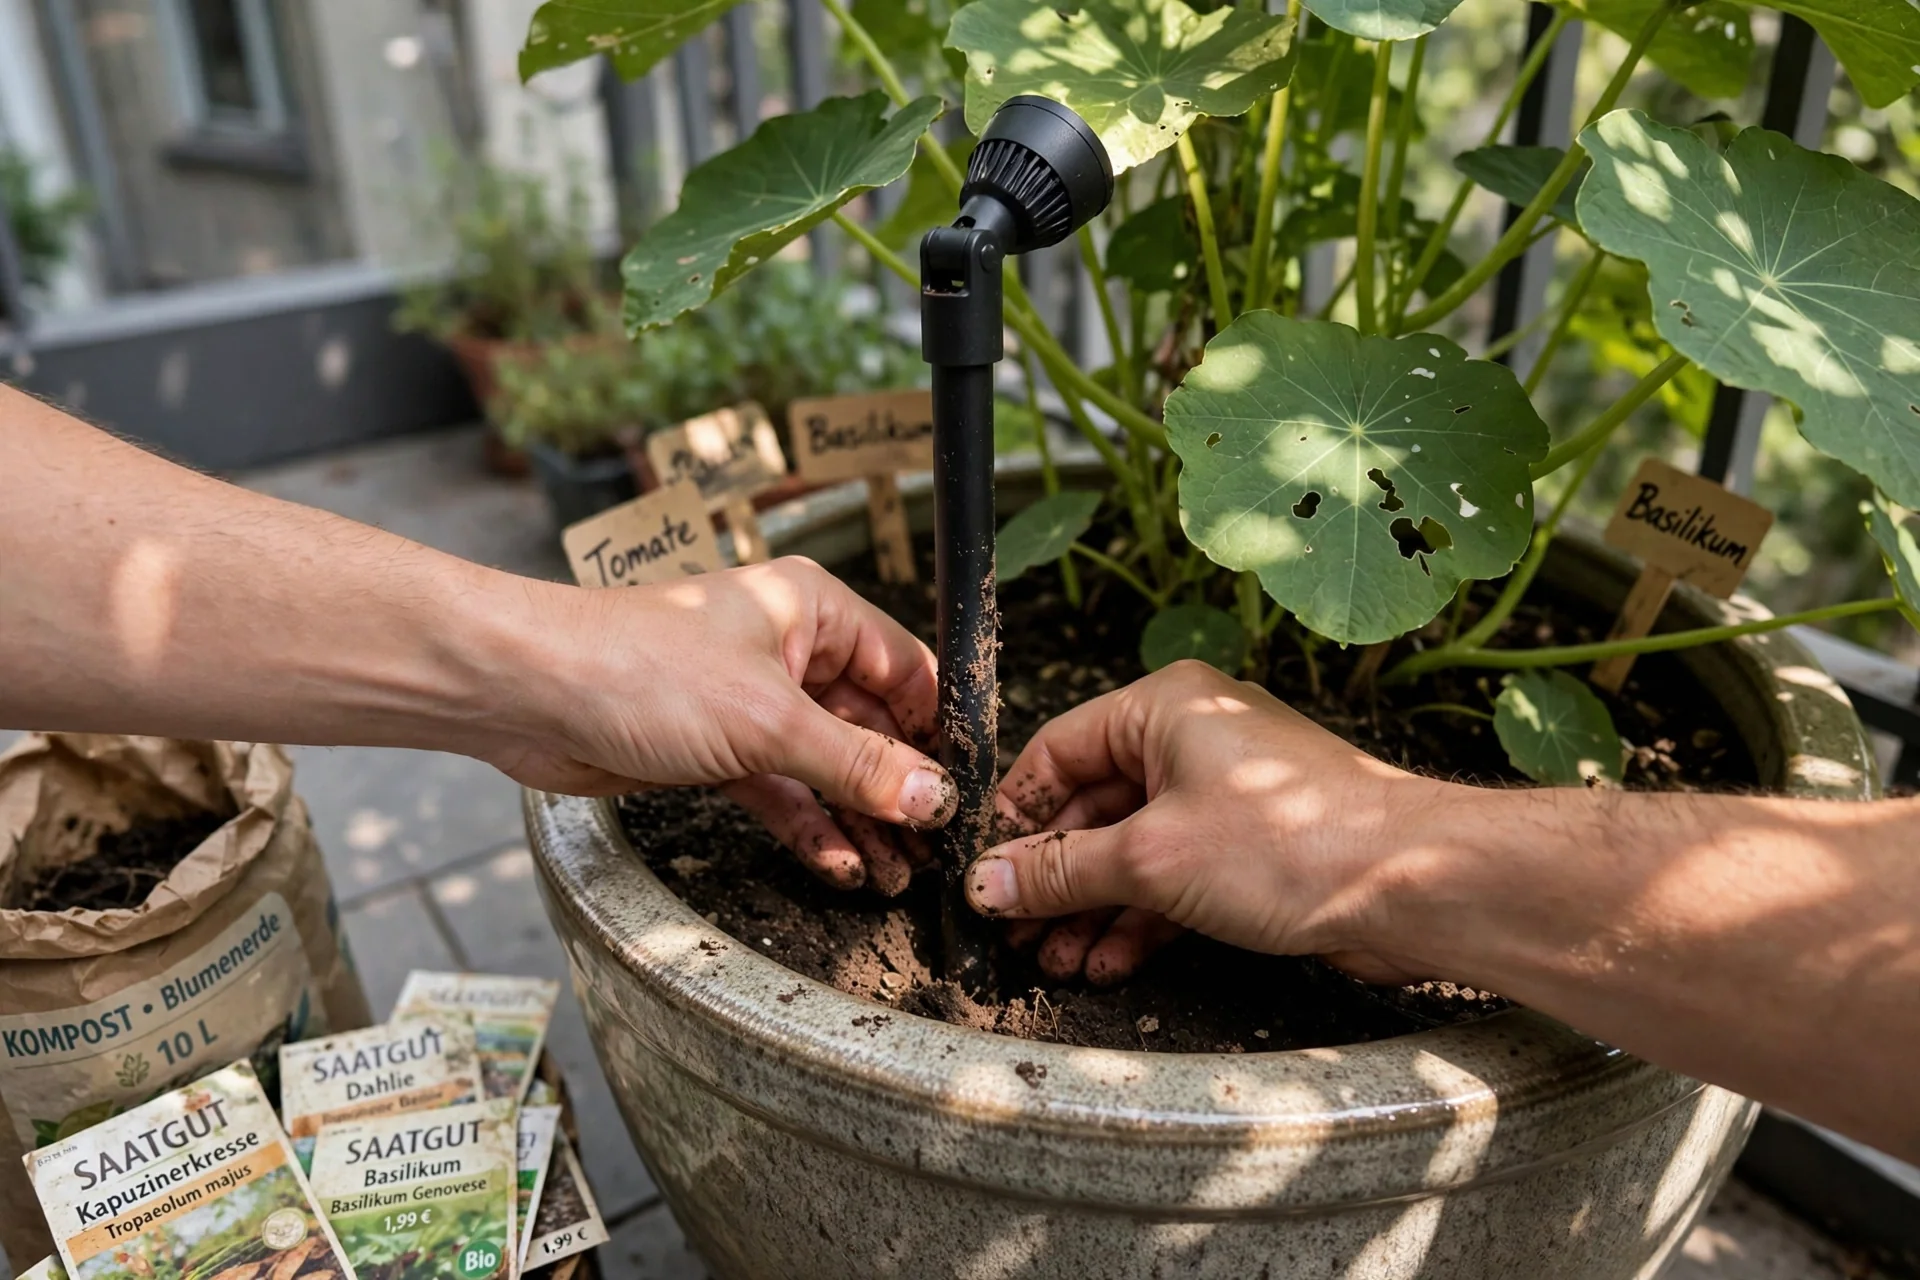
Best for: Branch 2 (owned balcony with plants and outdoor outlet)
Blueprint: Use a 12V AC transformer plugged into a GFCI outlet, connected to low-voltage landscape wire (12-16 AWG) that runs along the planter edge or under the floor deck. Stake a small LED spotlight (3-5 watts, 3000K, 15-30 degree beam angle) into the soil of each large planter, aimed upward at the foliage. The light bounces off leaves and creates texture without adding visible fixtures. Avoid aiming the beam above the railing line; light spill into neighboring units is a frequent source of complaints and, in some municipalities, a code violation.
6. IP65 Solar Wall Sconce With Optional Motion Sensor
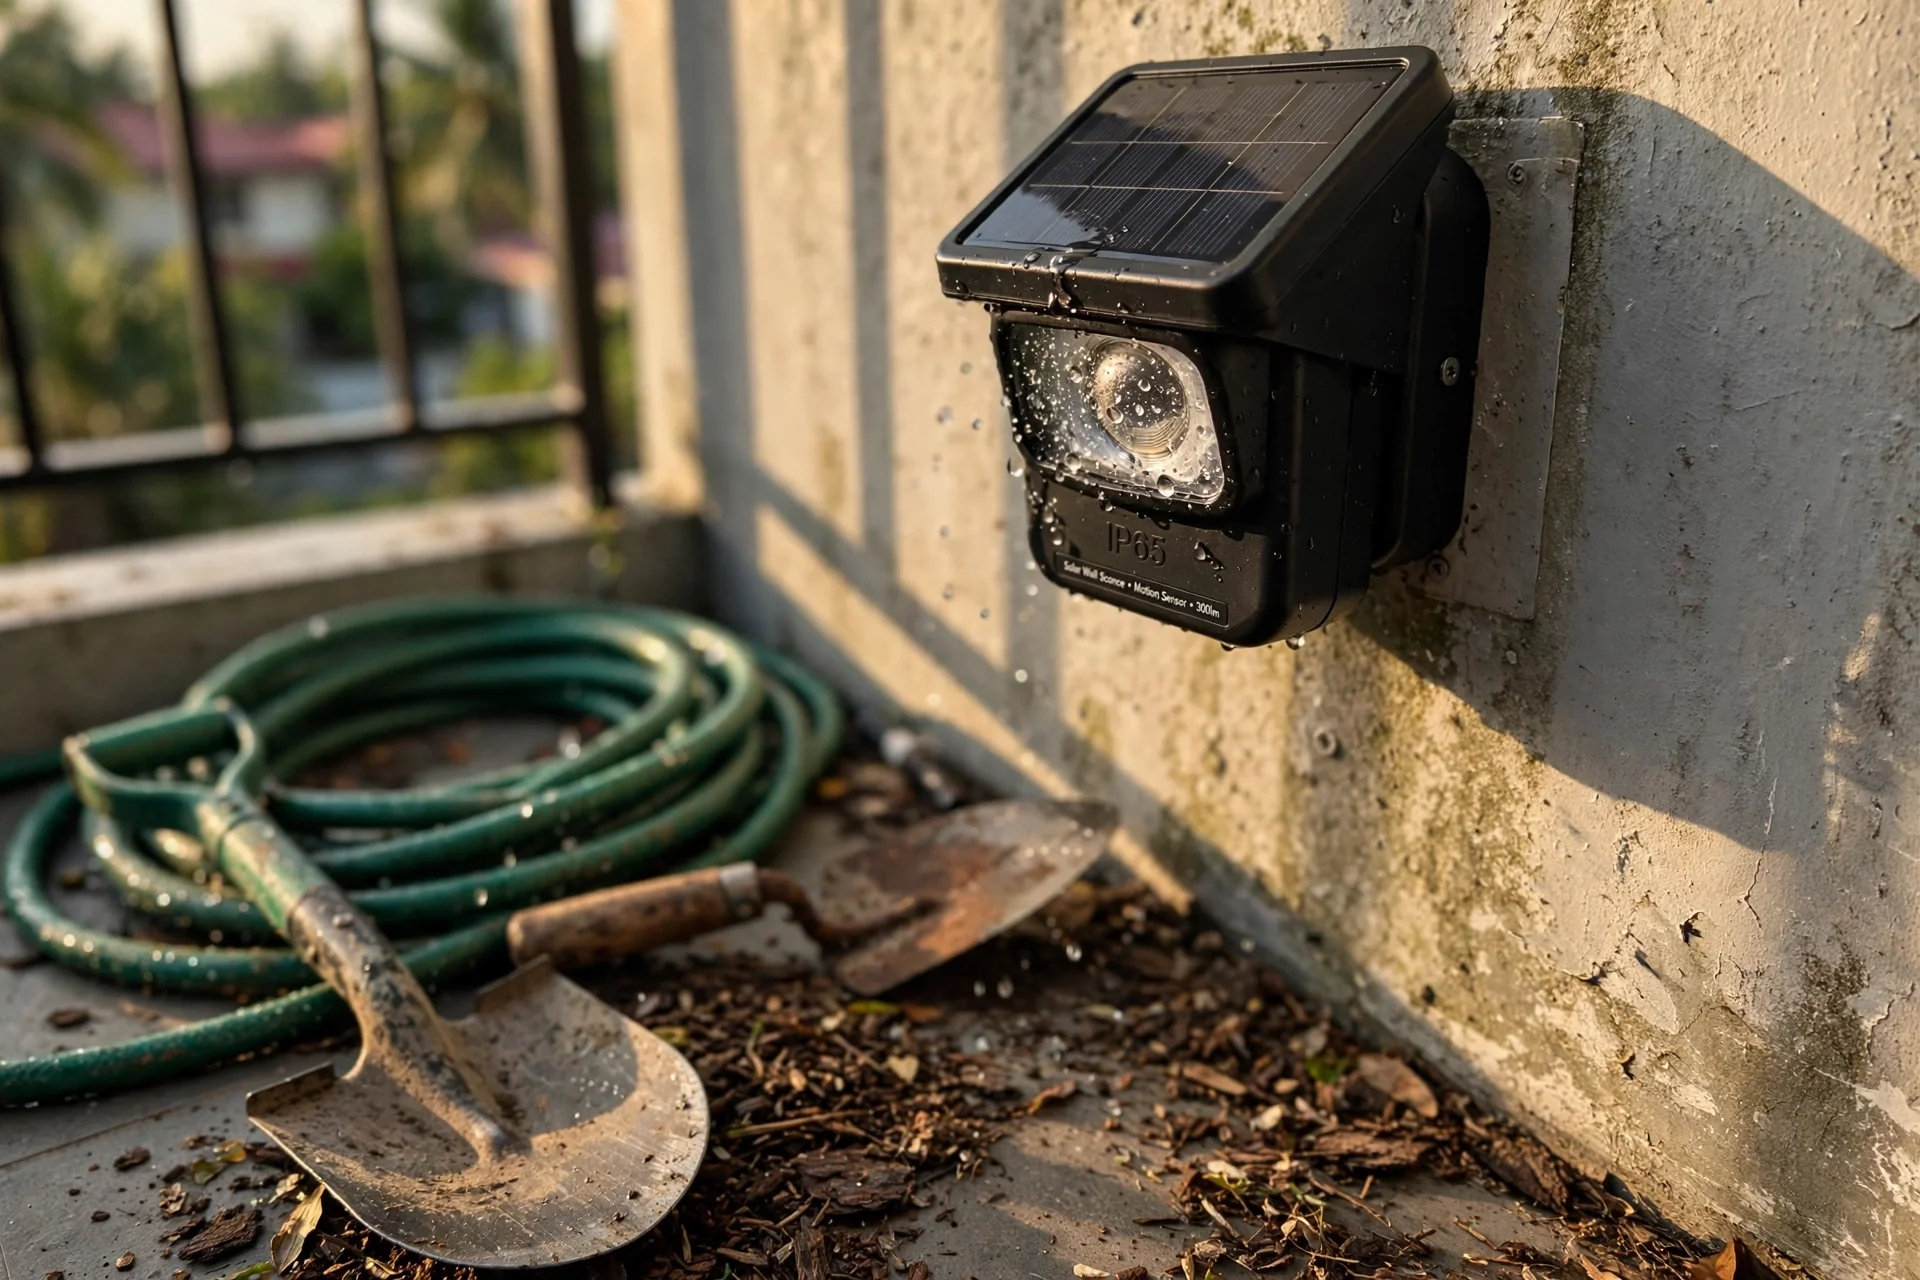
Best for: Branch 3 (exposed walls, wind-driven rain)
Threshold rule: IP65 is the minimum for a fixture mounted on an exterior wall that receives direct rain. The first digit (6) means complete dust-tight sealing; the second digit (5) means protection against water jets from a 6.3 mm nozzle at 12.5 liters per minute from any direction. If you live in a coastal area with salt spray, step up to IP66 (protection against powerful water jets) or IP67. Salt corrosion attacks aluminum housings faster than fresh water; stainless steel (316 grade) mounting screws are mandatory, not optional, within 5 kilometers of saltwater.
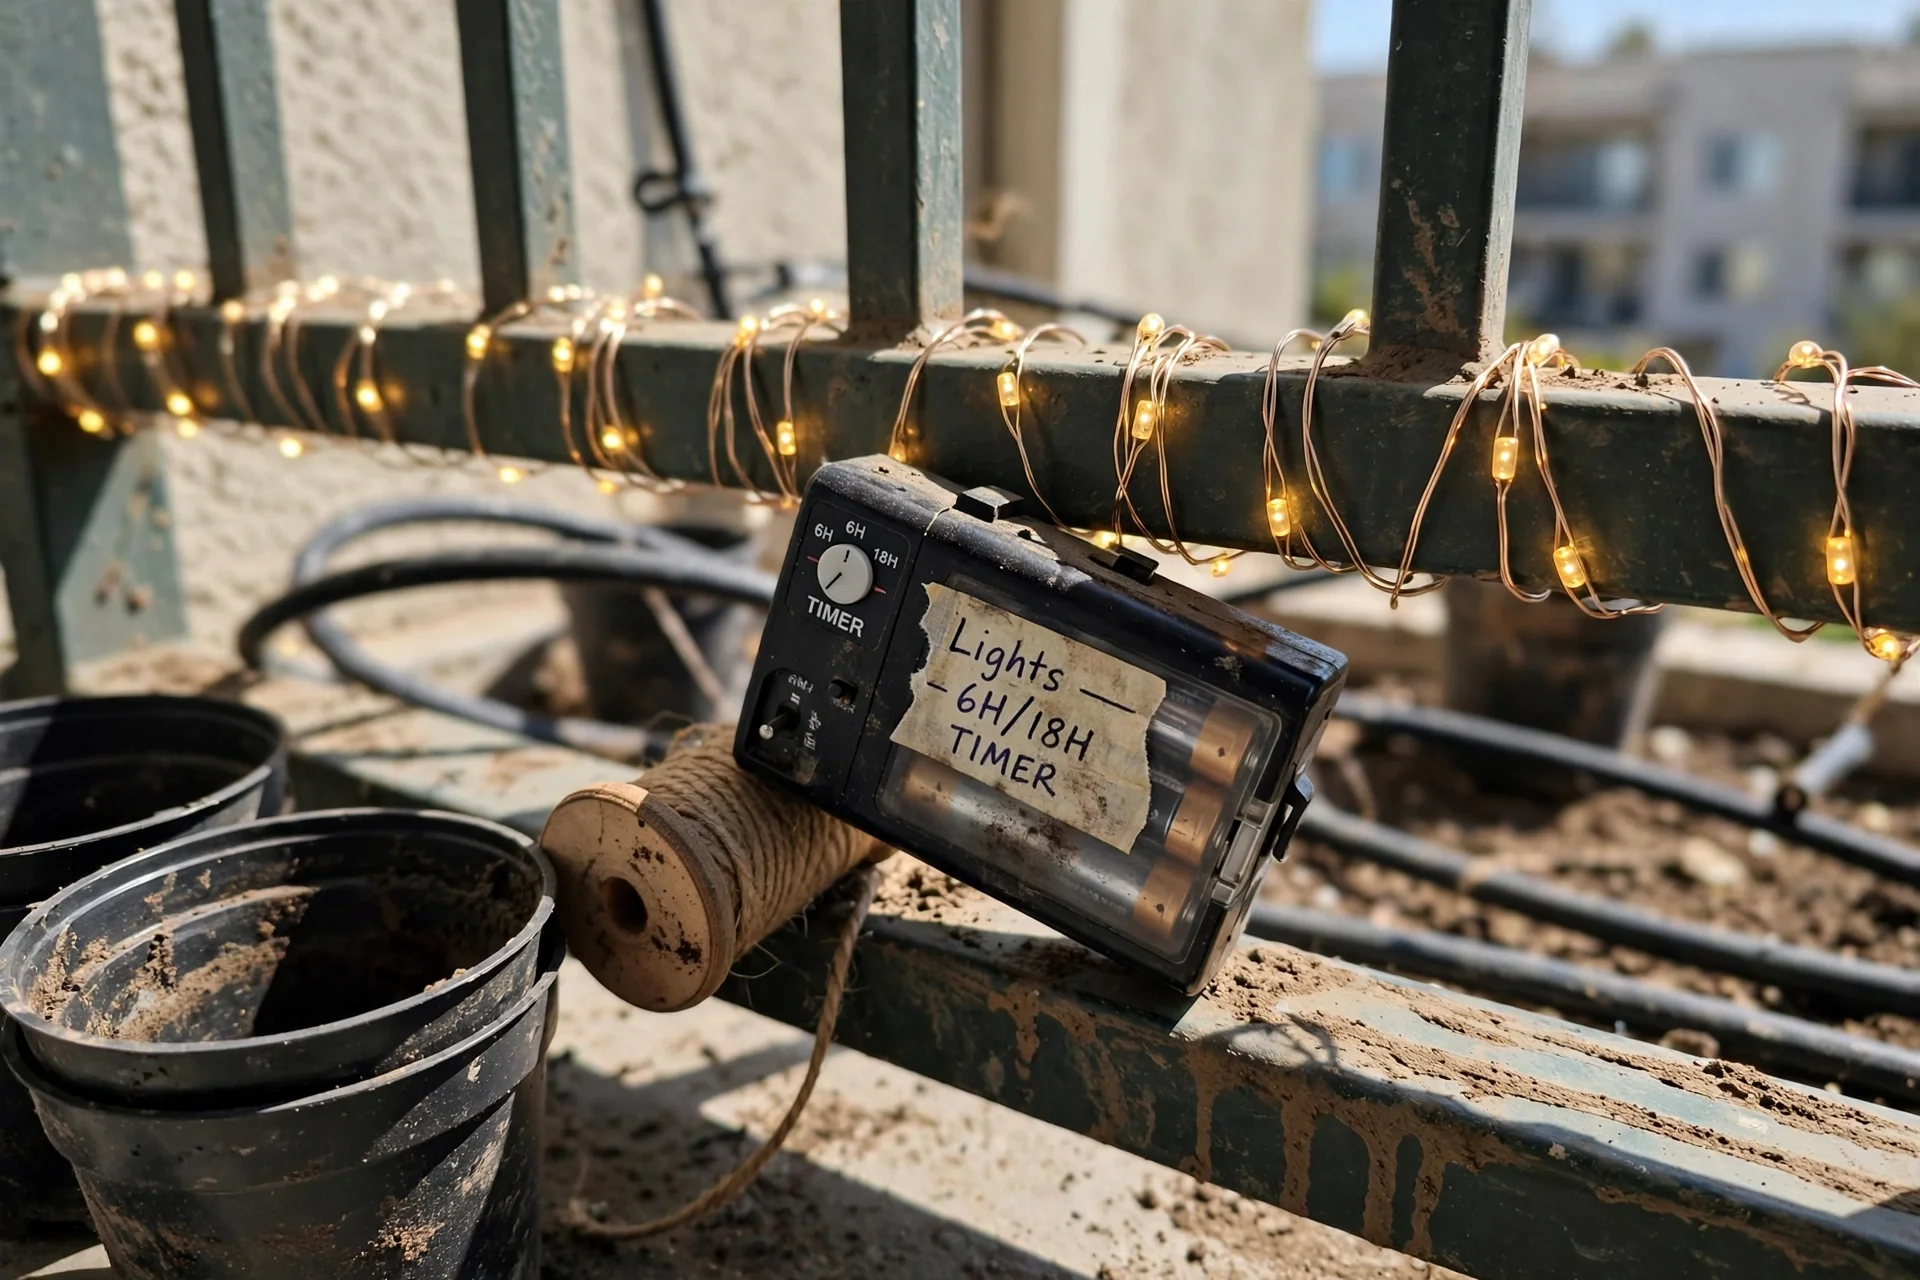
7. Battery Fairy Lights (AA, With Timer)
Best for: Branch 1 (temporary, renter-friendly railings)
Why Effort Score 5: Three AA batteries power approximately 50-60 hours of runtime. If you run them 4 hours nightly, that is a battery change every 12-15 days. Over a six-month outdoor season, expect to replace batteries 12-15 times. This is the highest-maintenance option on this list.
The placement constraint: Fairy light wire is typically 0.3-0.5 mm thick with no weatherproofing on the copper strands beyond a thin enamel coating. They are rated for indoor or sheltered use only. On an uncovered balcony, moisture will cause the wire to corrode and fail, often within one season. Use these only on balconies with a solid overhead cover and limit exposure to blowing rain. If you want a similar sparkle effect on an exposed balcony, choose solar string lights with a sealed IP65 controller box instead.
Attachment: Use 3M Command outdoor light clips (removable, rated for -29°C to 52°C) spaced every 30-40 cm. Do not wrap the wire tightly around metal railings; the repeated thermal expansion and contraction of the metal can abrade the enamel coating.
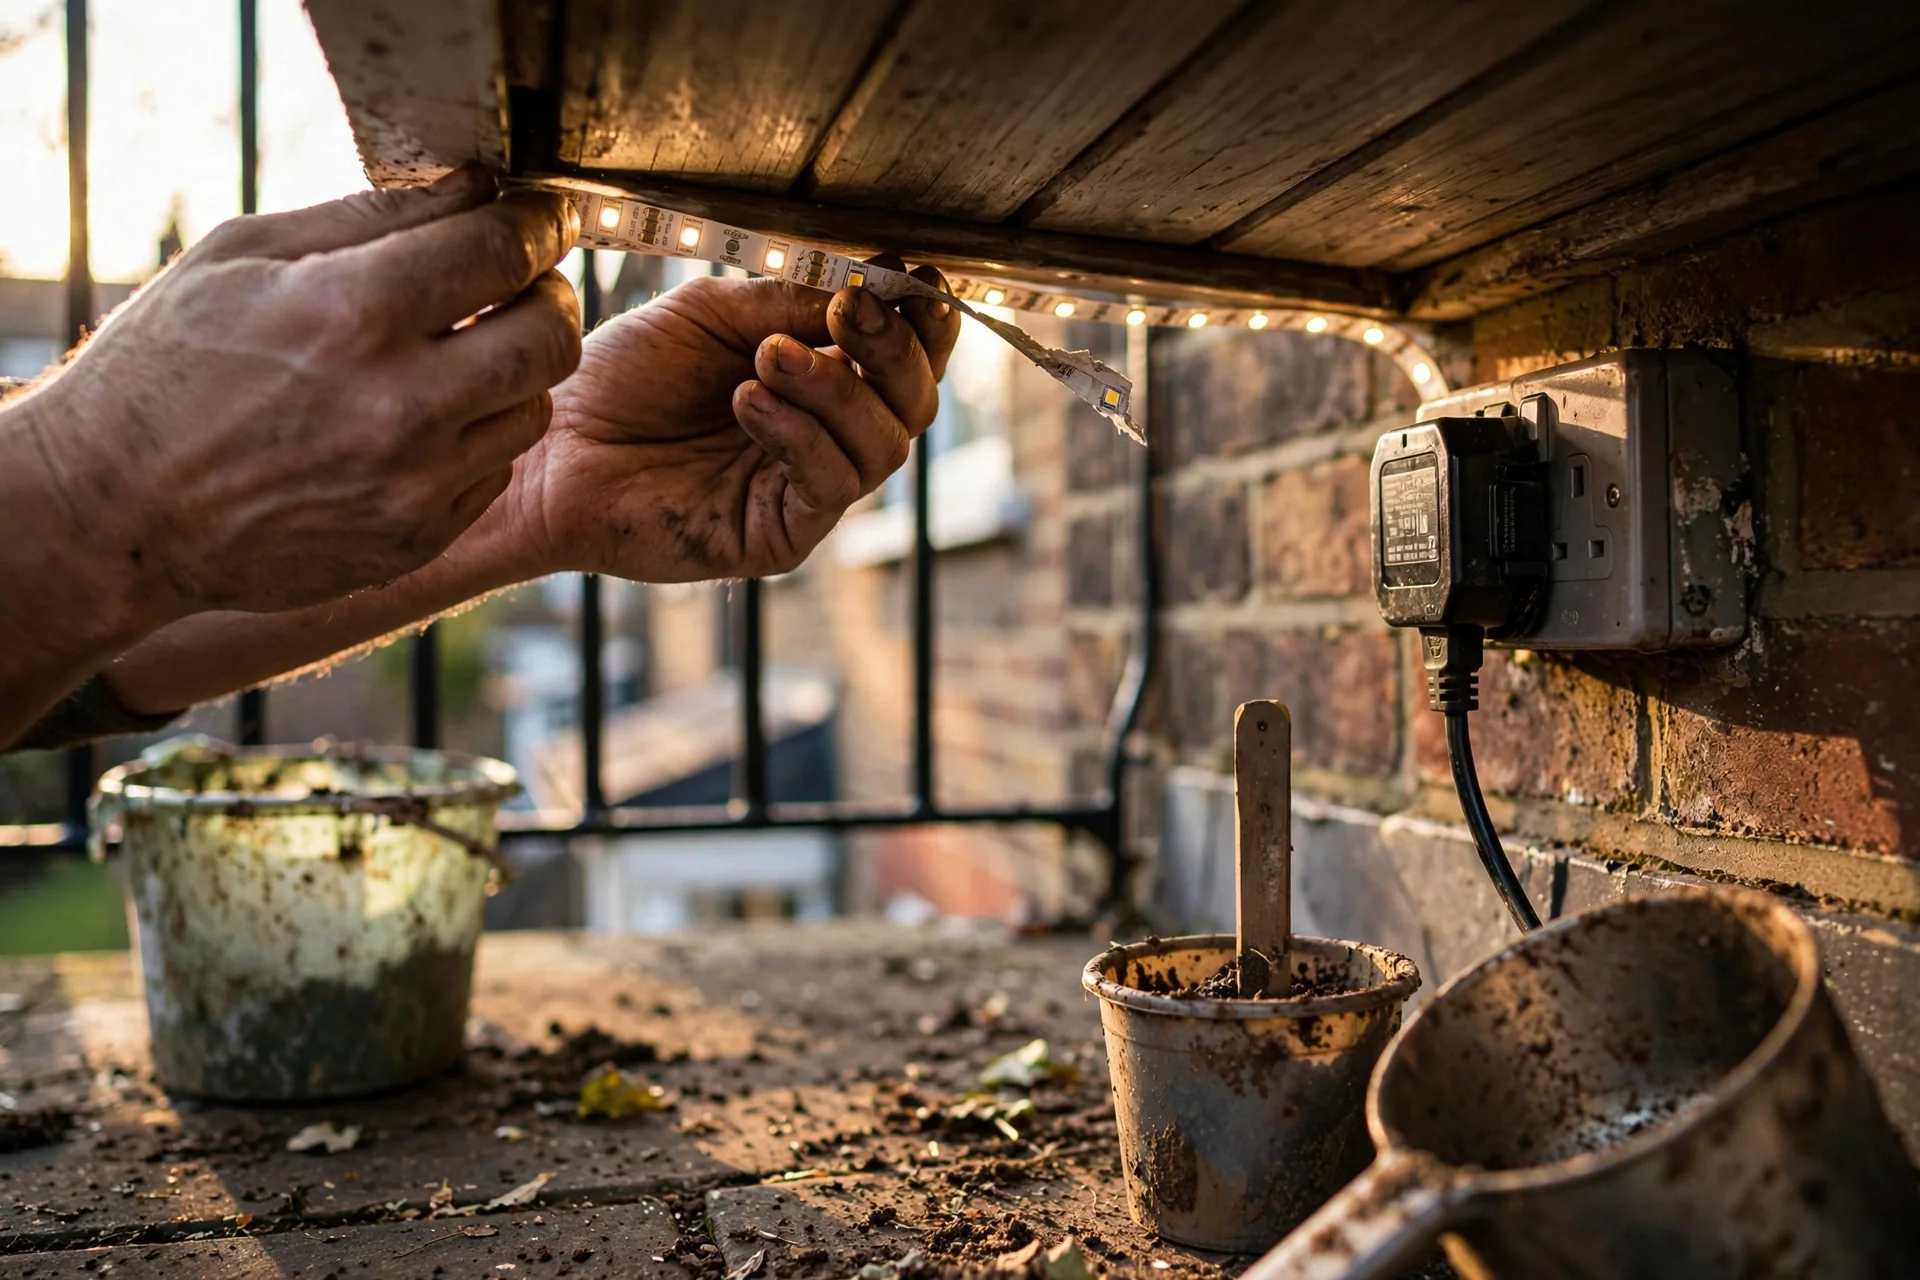
8. Plug-In LED Strip (Under-Ceiling Cove)
Best for: Branch 2 (covered balcony with outlet)
10-minute workflow: Clean the mounting surface with 70% isopropyl alcohol and let dry for 2 minutes. Cut the LED strip to length at the marked scissor icons only (cutting elsewhere breaks the circuit). Peel the 3M VHB adhesive backing and press firmly for 30 seconds per linear foot. Connect the strip to the weatherproof power supply and plug into the GFCI outlet. Test before concealing the power supply inside a weatherproof box. Upgrade option: Mount the strip inside a diffused aluminum channel for a seamless, glare-free line of light instead of visible LED dots.
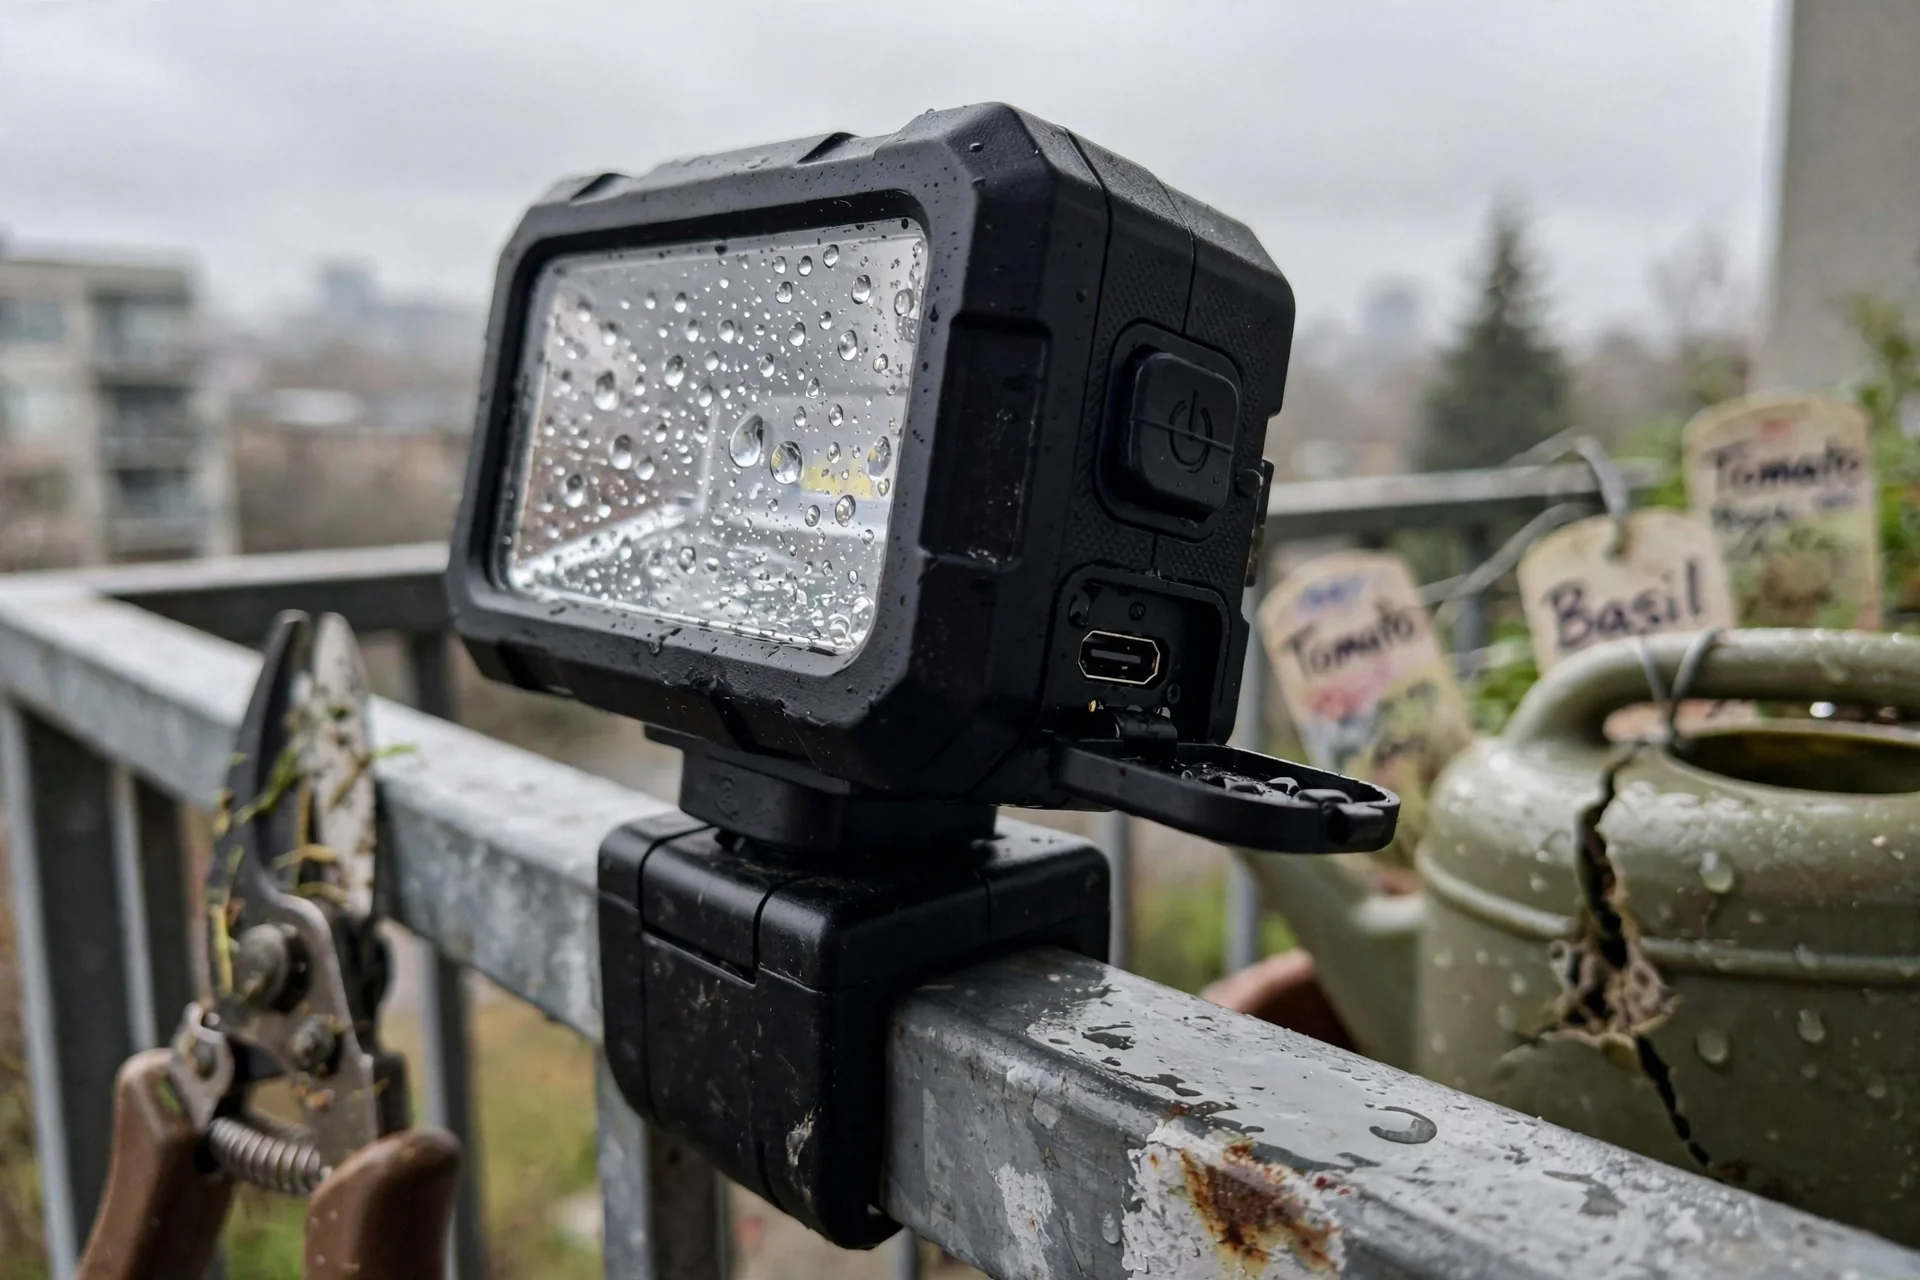
9. Rechargeable Magnetic Work Light
Best for: Branch 3 (steel railings, storm-prone, portable)
The edge case: This is an unconventional choice that solves a specific problem: a balcony with a steel railing and no other viable mounting surface. The magnetic base (typically neodymium, 50-100 lb pull force) attaches directly to the railing without clamps, adhesives, or drilling. The IP65 rating handles rain and dust. Runtime on a single charge ranges from 4 hours (high, 500+ lumens) to 20 hours (low, 50-80 lumens).
Constraint: These lights are designed for job site use, not decorative ambience. The beam angle is wide (120° flood), and color temperature is typically fixed at 5000K-6500K (cool white), which feels harsh for evening relaxation. Use this only as a functional layer (task lighting for repotting plants, grilling, or reading) and pair it with a warm ambient source from Branch 1 or 2. Do not rely on it as your only evening light unless you specifically prefer cool, high-contrast illumination.
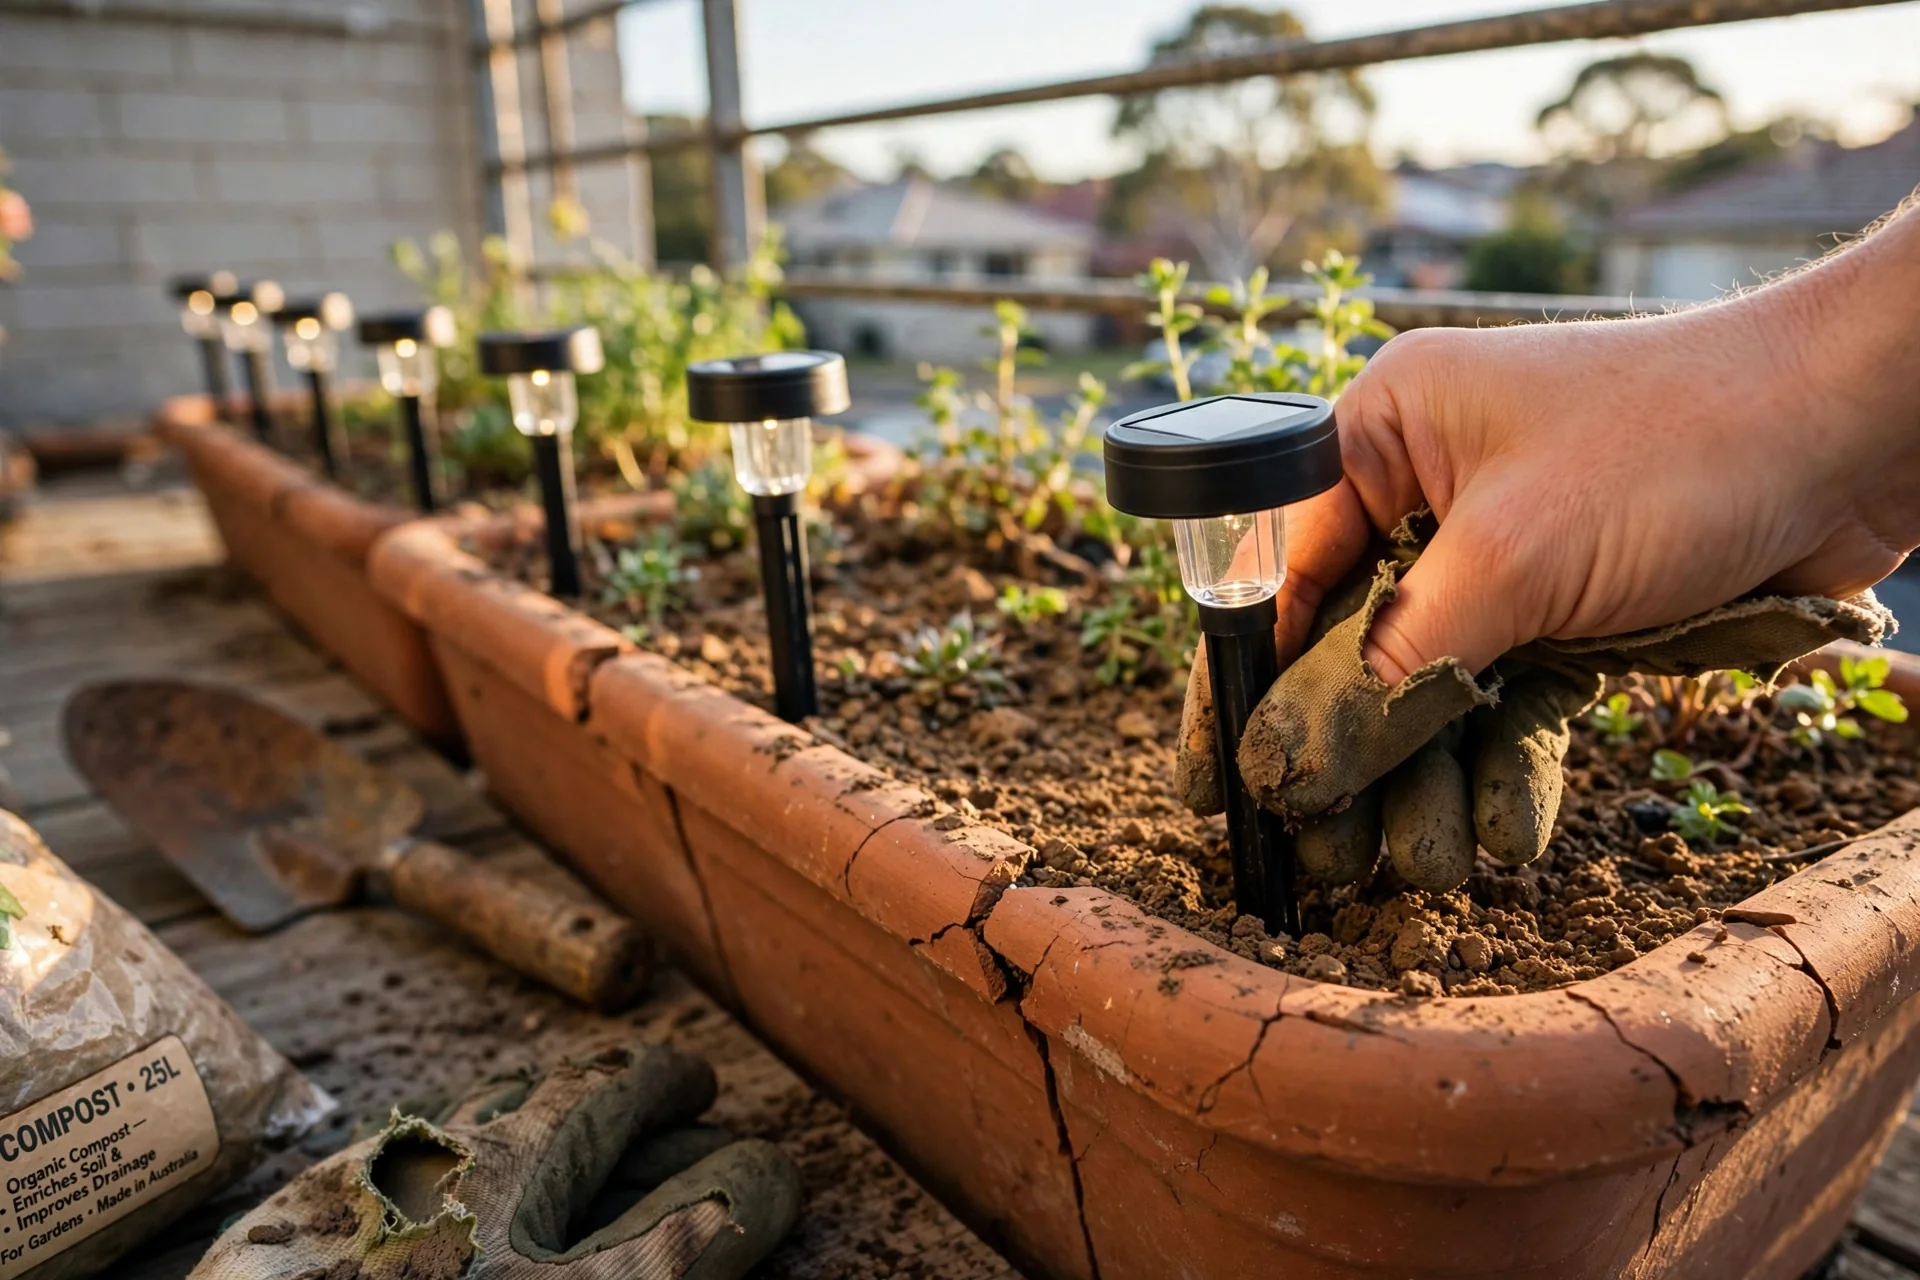
10. Solar Stake Lights (Pathway, Planter Edge)
Best for: Branch 1 (floor gaps, planter beds, no wiring)
What it is: A small solar panel integrated into a stake that pushes into soil or a gap between deck boards. An internal NiMH or LiFePO4 battery charges during the day and powers a single LED (typically 1-5 lumens) from dusk until the battery depletes, usually 6-8 hours on a full charge.
Why Effort Score 1: Push into soil, angle the panel toward the south (northern hemisphere) or north (southern hemisphere), and walk away. No seasonal adjustment beyond wiping the panel if visibly dusty. Battery lifespan is 2-3 years, replacement is tool-free on most models.
The constraint: Stake lights produce very low output (1-5 lumens). One lumen is roughly the light of a single candle seen from one foot away. They are markers, not illuminators. Use them to define a path edge or highlight planter perimeters, not to read, cook, or work by. On a 50-square-foot balcony, four to six stake lights can outline the floor zone, but you still need a primary ambient layer from another source. Also, if your balcony floor is solid concrete with no gaps, stakes cannot penetrate; look for models with a flat base or screw-mount adapter instead.
11. Hardwired Ceiling Pendant (IP44, Covered Balcony Only)
Best for: Branch 2 (owned, covered, existing junction box)
Blueprint: This is the only option on this list that requires an existing weatherproof ceiling junction box and a dedicated switch leg. Hire a licensed electrician to install a pendant rated IP44 (protected against splashing water and solid objects larger than 1 mm). Choose a fixture with a sealed glass or polycarbonate shade and a bulb rated for enclosed damp locations. Avoid open-bottom shades that collect water. The drop length should leave at least 84 inches (213 cm) of headroom clearance per International Building Code for egress paths. If your balcony ceiling is below 96 inches (244 cm), a pendant may not be feasible. Use a semi-flush mount instead.
Starter Stack (What to Choose First)
Branch 1 Starter Stack: No Drill, No Outlet
Start with Item 1 (solar rail lamps) plus Item 4 (USB-rechargeable table lantern). The rail lamps provide a zero-effort ambient baseline that turns on and off automatically. The lantern adds a portable, warm point of light exactly where you sit, at eye level or below. Together they create two layers (ambient plus task) with no wiring and no tools. Estimated cost: $35-$70. Time to install: under 20 minutes.
Branch 2 Starter Stack: Outdoor Outlet, Can Attach
Start with Item 2 (plug-in LED string lights, perimeter grid) plus Item 8 (plug-in LED strip, under-ceiling cove). The string lights define the balcony edge and provide overhead ambient glow. The cove strip adds an indirect layer that washes the ceiling or wall without visible bulbs. Both are dimmable if you add a compatible dimmer plug. Estimated cost: $50-$100. Time to install: 60-90 minutes including measuring and clip placement.
Branch 3 Starter Stack: Exposed, Storm-Prone
Start with Item 3 (IP67 sealed LED strip, under-rail) plus Item 6 (IP65 solar wall sconce). The under-rail strip survives pooling water and provides low-glare ground wash. The wall sconce adds a higher, weather-sealed accent layer that charges independently of the grid. Both are rated for continuous outdoor exposure in rain and dust. Estimated cost: $60-$120. Time to install: 45-75 minutes, including aluminum channel mounting and sconce screw placement.
When This Won’t Work
Failure condition 1: Your balcony faces a light-polluted street or a neighbor’s bright security floodlight. In this scenario, any low-lumen ambient lighting (solar stake lights, battery fairy lights, small lanterns) will be invisible against the background glare. The fix is not more lumens; it is shielding. Use directional fixtures aimed downward and away from the glare source, or install a privacy screen that blocks the external light before adding your own. For privacy screen options that double as light blockers, see privacy plants that reduce light trespass on balconies.
Failure condition 2: Your building prohibits any balcony attachment, including removable adhesives, and has no outdoor outlet. Some leases and condo bylaws explicitly ban all fixtures, clamps, hooks, and adhesives on railings, walls, and ceilings. In this case, the only compliant option is a fully portable, freestanding light that requires no mounting: a USB-rechargeable lantern placed on a table or the floor (Item 4). If even that is prohibited, lighting your balcony is not feasible under the current rules. The alternative action is to request a written exemption from the property manager detailing exactly the temporary, non-damaging fixture you propose, or to focus on indoor lighting that spills gently through the balcony door glass instead.
Choosing the Right Option for Your Situation
Budget threshold
If your total budget is under $40, limit yourself to one item: Item 1 (solar rail lamps) or Item 4 (USB lantern). Both deliver functional ambient light without requiring additional components. Avoid LED strips because the strip itself is cheap but the weatherproof power supply, aluminum channel, and connectors push the real cost above $40. If your budget is $40-$80, add a second layer (Item 2 or Item 7). Above $80, you can build a full three-layer system with ambient, task, and accent layers across multiple items.
Time threshold
If you have less than 30 minutes to install and maintain your lighting per season, choose only Effort Score 1 items: Items 1, 2, 6, 8, 10, 11. These are install-once solutions. Avoid Items 7 (battery fairy lights, Effort Score 5) and 9 (frequent recharging, Effort Score 4). Item 4 (Effort Score 3) is borderline; acceptable if you already charge devices nightly and can add the lantern to that routine.
Technical constraint: Fire code egress clearance
Per the International Fire Code (IFC 1028) and International Building Code (IBC 1029), any balcony that functions as part of a building’s means of egress must maintain a clear, unobstructed path at least 36 inches (914 mm) wide and 80 inches (203 cm) high. No light fixture, cord, or mounting hardware may encroach into this envelope. Before installing any lighting, measure the distance from the door swing to the railing and mark the 36-inch minimum. If your balcony is narrower than 48 inches total, you may not be able to install any wall-mounted or railing-mounted fixture on the egress side and still maintain clearance. In that case, restrict lighting to the ceiling or the floor perimeter outside the egress zone.
Yes/No checklist:
– Do you know your balcony’s IP rating requirement based on exposure? Yes / No
– Have you confirmed your lease or HOA allows your chosen attachment method? Yes / No
– Does your layout preserve a 36-inch clear egress path? Yes / No
– Is every power source (solar, battery, plug-in) rated for wet or damp locations as applicable? Yes / No
Expert Q&A
Can I use indoor string lights on a covered balcony?
Indoor string lights lack the weatherproofing required for any outdoor installation, even under a roof. Humidity, condensation from temperature swings, and occasional wind-blown mist will corrode the sockets and wiring. The UL listing for indoor lights explicitly excludes outdoor use. If your balcony is fully enclosed and climate-controlled (a sunroom), indoor lights may be acceptable. Otherwise, use only outdoor-rated strings marked “wet location” or “damp location” per the fixture label.
What color temperature is least likely to disturb neighbors?
Warm white (2700K to 3000K) produces the least light trespass complaints because it closely resembles incandescent and candlelight, which human eyes perceive as less intrusive at night. Cool white (4000K-5000K) appears brighter at the same lumen output and penetrates windows more aggressively. If your balcony faces another unit within 30 feet, stay at or below 3000K and aim all fixtures downward. Many municipal nuisance codes reference the Illuminating Engineering Society recommendation of 1 foot-candle maximum at the property line after 10 PM.
How many lumens do I actually need for a small balcony?
For a balcony up to 50 square feet, 100 to 300 total lumens spread across all fixtures is sufficient for ambient evening use (socializing, eating, reading). Task lighting for detailed work (repotting, sewing, drawing) needs 300-500 lumens focused on the work surface. More than 500 lumens in a confined space begins to feel harsh and may violate local light trespass ordinances. Measure total lumens, not individual fixture claims, by adding the rated output of every bulb or LED in your setup.
Are solar lights reliable in cloudy climates like the UK or Pacific Northwest?
Solar lights depend on direct sunlight hours, not daylight hours. In climates with frequent overcast conditions (less than 2 peak sun hours per day in winter months), solar fixtures will underperform: reduced runtime, dimmer output, and battery degradation from chronic undercharging. The workaround is to choose models with larger solar panels (over 2 watts) and higher-capacity batteries (over 2000 mAh), and to position panels at an angle that maximizes low-angle winter sun. Alternatively, switch to USB-rechargeable or plug-in options for the darker half of the year.
Can I leave my balcony lights up year-round?
Only if every fixture, cord, connector, and mounting component is rated for continuous outdoor exposure (IP65 or higher) and your local climate does not include extended freeze-thaw cycles that can crack plastic housings. Even then, inspect all components monthly for UV degradation, corrosion, and water ingress. Remove and store any fixture with a fabric cord or plastic housing not specifically UV-stabilized. Most manufacturers rate outdoor decorative lights for seasonal use (3-6 months) not continuous 365-day exposure. Check the product manual for the stated duty cycle.
Conclusion
The most expensive mistake in balcony lighting is not buying the wrong color temperature or the wrong style. It is buying a fixture that violates your lease, your local fire code, or your climate’s IP rating requirement and then having to remove it, replace it, or pay a fine. Start with the constraint grid (Branch 1, 2, or 3), pick one ambient layer, and confirm the attachment method is reversible where required.
Your next step: measure your balcony’s sun exposure at three time points tomorrow. If you get 4 or more hours of direct light on the railing, start with Item 1 (solar rail lamps). If not, start with Item 4 (USB lantern). Once that layer is running, revisit this guide to add task or accent lighting. For ideas on arranging seating under your new lighting, see our balcony seating layouts that work with layered lighting.