
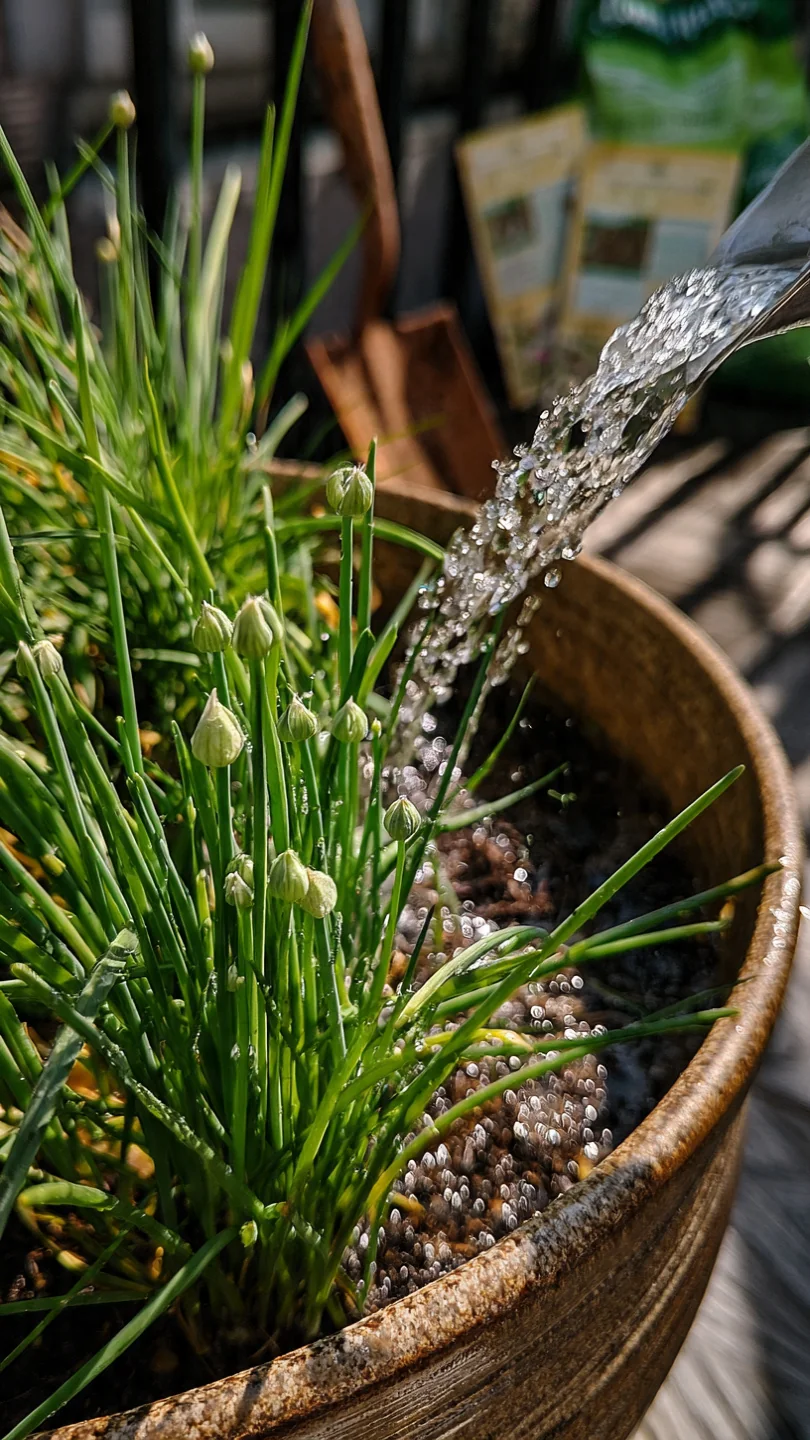
Most container guides treat chives as a plug-and-play herb. The reality in small urban spaces is different: success hinges on matching pot width to the plant’s clumping habit and aligning variety choice with your exact light hours and overwintering conditions. Wider pots (10 inches or more) let clumps expand without crowding the center, while variety selection determines whether you prioritize mild onion flavor or garlic notes and white flowers.
This article covers only container-specific decisions for chives in pots. It excludes in-ground beds, large-scale production, and unrelated herbs. You will find measurable thresholds for pot dimensions, sunlight exposure, and division timing drawn from extension service guidelines and horticultural standards.
Follow the decision grid and comparison table to select the right combination for your balcony, windowsill, or indoor setup. You will know exactly which variety and pot type to buy, when to divide, and how to adjust care to maintain healthy clumps through seasons.
Bottom line: Use the decision grid below to pick the chives in pots setup that fits your measurable space and light conditions for consistent harvests without repeated trial and error.
The Yield Grid Decision Grid
Branch 1: Full sun (6 or more hours direct sunlight daily) and at least 12 inches of available width. This matches outdoor patios or balconies where clumps can spread. Recommended: Items 1, 4, 7 below.
Branch 2: Partial sun (4 to 6 hours) or limited width under 12 inches. This fits windowsills or shaded urban balconies. Recommended: Items 2, 5, 8 below.
Branch 3: Indoor or low-light conditions with supplemental lighting or south-facing windows during winter months. This covers apartment overwintering or year-round indoor growing. Recommended: Items 3, 6, 9 below.
For broader herb container strategies across varieties, see our guide to herbs in containers.
Quick Comparison Table
| Option | Key mechanism | Best for | Decision Grid Branch | Effort Score |
|---|---|---|---|---|
| Common Chives in Wide Terracotta Pots | Breathable walls reduce root zone moisture buildup while wider base supports clump spread | Full-sun balconies with steady drainage needs | Branch 1 | 2 |
| Garlic Chives in Narrow Window-Box Planters | Flat-leaf structure and later flowering tolerate tighter spacing | Partial-sun windowsills seeking garlic flavor | Branch 2 | 3 |
| Common Chives Overwintered Indoors on Sunny Windowsills | Reduced winter growth managed by consistent light and minimal fertilizer | Low-light indoor transitions | Branch 3 | 4 |
| Dividing Established Chives into Fresh Containers Every Three Years | Rejuvenates center by separating offsets into new soil | Long-term full-sun maintenance | Branch 1 | 1 |
| Chives Companion-Planted with Basil or Thyme in One Pot | Shared root zone with compatible watering and light needs | Space-efficient partial-sun combinations | Branch 2 | 3 |
| Garlic Chives in Lightweight Grow Bags for Indoor Transitions | Fabric allows air pruning and easy seasonal movement | Indoor or overwintering setups needing mobility | Branch 3 | 2 |
| Common Chives in Self-Watering Patio Containers | Reservoir maintains even soil moisture without daily checks | Full-sun patios with variable watering access | Branch 1 | 2 |
| Garlic Chives in Plastic Pots for Partial-Shade Balconies | Retains moisture longer in lower light conditions | Shaded or narrow urban balconies | Branch 2 | 3 |
| Starting Chives from Seed in Small Container Kits | Controlled germination at 60 to 70 degrees F in shallow trays | Beginner indoor or low-light starts | Branch 3 | 4 |
Common Chives in Wide Terracotta Pots
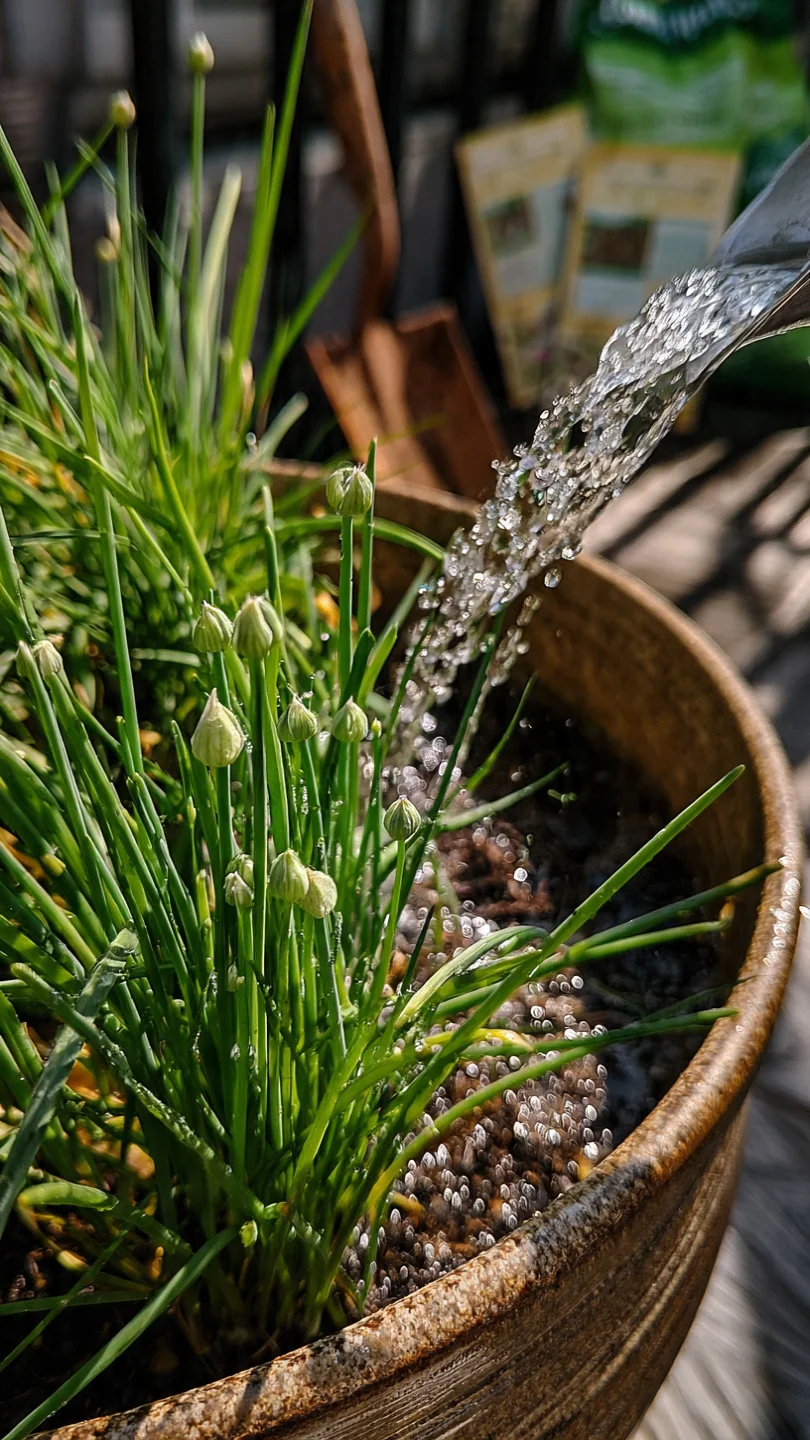
Best for: Branch 1
Terracotta provides superior breathability that prevents root zone saturation compared with non-porous materials. Choose pots at least 8 inches deep and 10 to 12 inches wide to accommodate clump expansion. Fill with well-draining potting mix that holds pH between 6 and 7. Place in full sun where temperatures stay above 50 degrees F for active growth. Water when the top inch of soil feels dry, typically every 3 to 4 days in peak summer. This setup avoids the center die-off common when clumps outgrow narrow containers. For material trade-offs, see terracotta versus plastic pots.
Garlic Chives in Narrow Window-Box Planters
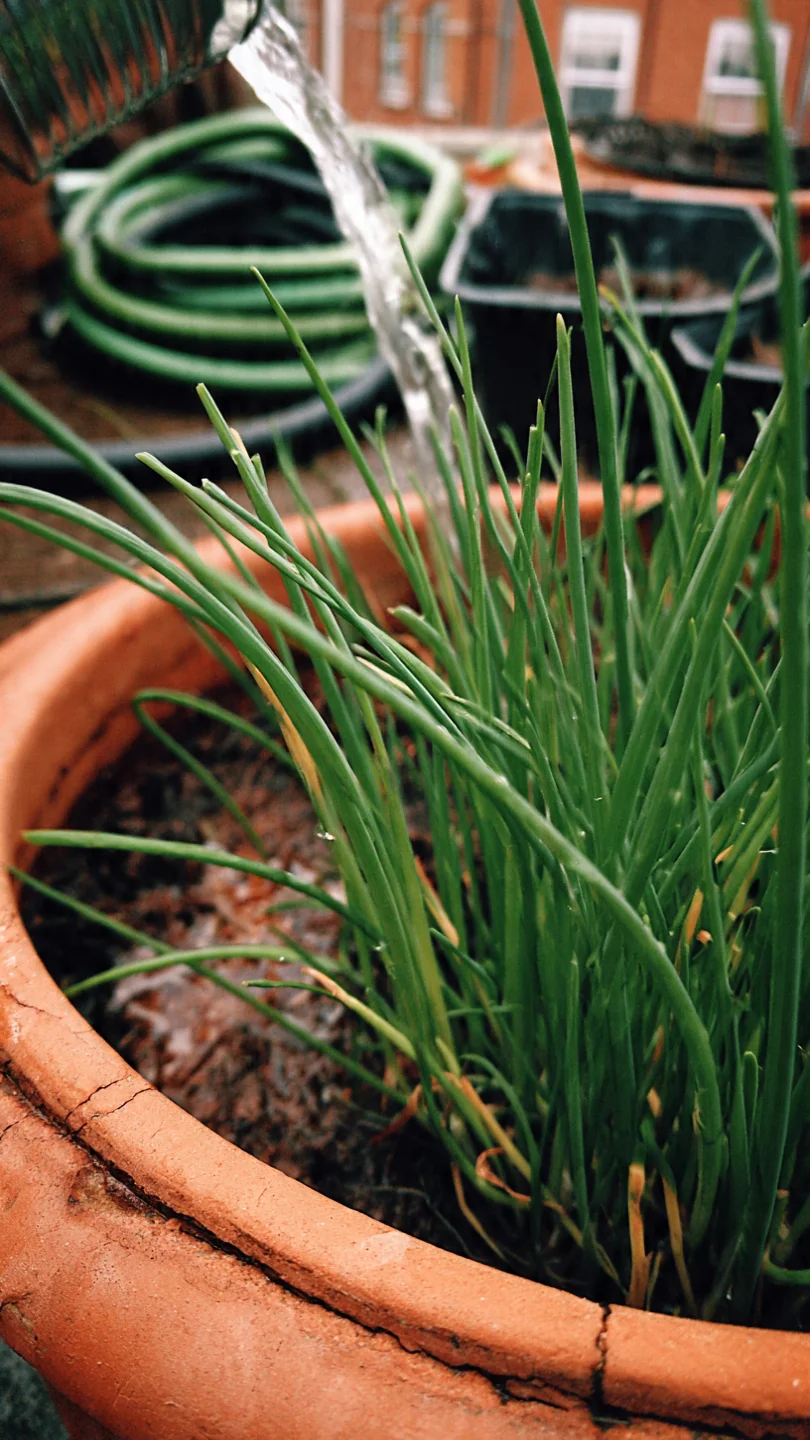
Best for: Branch 2
Use garlic chives here when space is tight and you want flat leaves with mild garlic flavor plus white summer flowers. Skip if you need maximum leaf volume, as the narrower profile yields less bulk than common chives. Edge case: in zones with hot summers above 85 degrees F, provide afternoon shade to prevent leaf scorch. Pair with a 6-inch minimum depth box and ensure drainage holes every 4 inches along the base.
Common Chives Overwintered Indoors on Sunny Windowsills
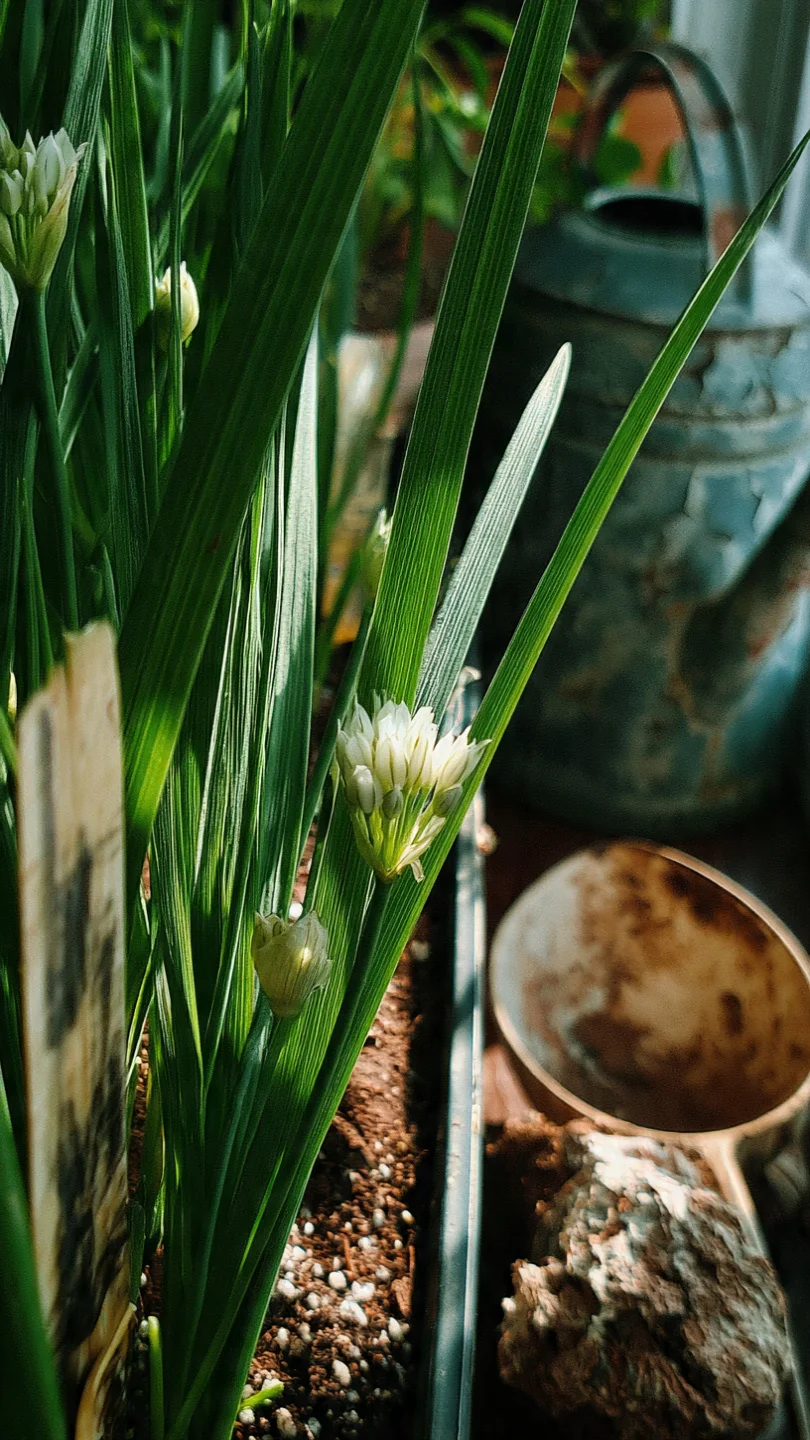
Best for: Branch 3
Blueprint steps: select a south-facing window with at least 5 hours of direct winter sun, use a 6- to 8-inch pot with drainage, and maintain soil moisture without saturation. Move outdoors after last frost once night temperatures exceed 40 degrees F. Supplement with a grow light on cloudy days to reach the 4- to 6-hour threshold. Mist leaves weekly to counter dry indoor air. This keeps the clump active through winter months when outdoor growth halts.
Dividing Established Chives into Fresh Containers Every Three Years
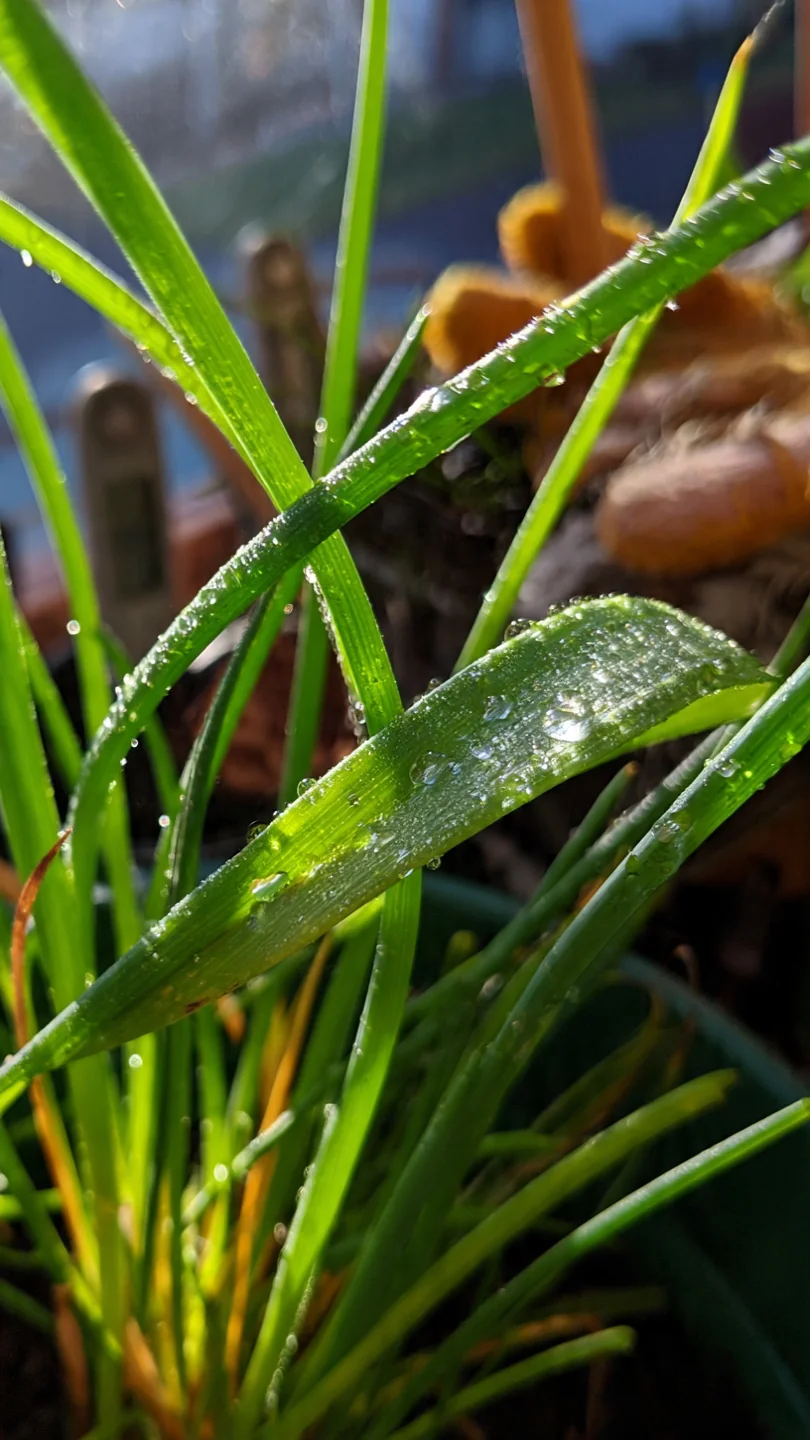
Best for: Branch 1
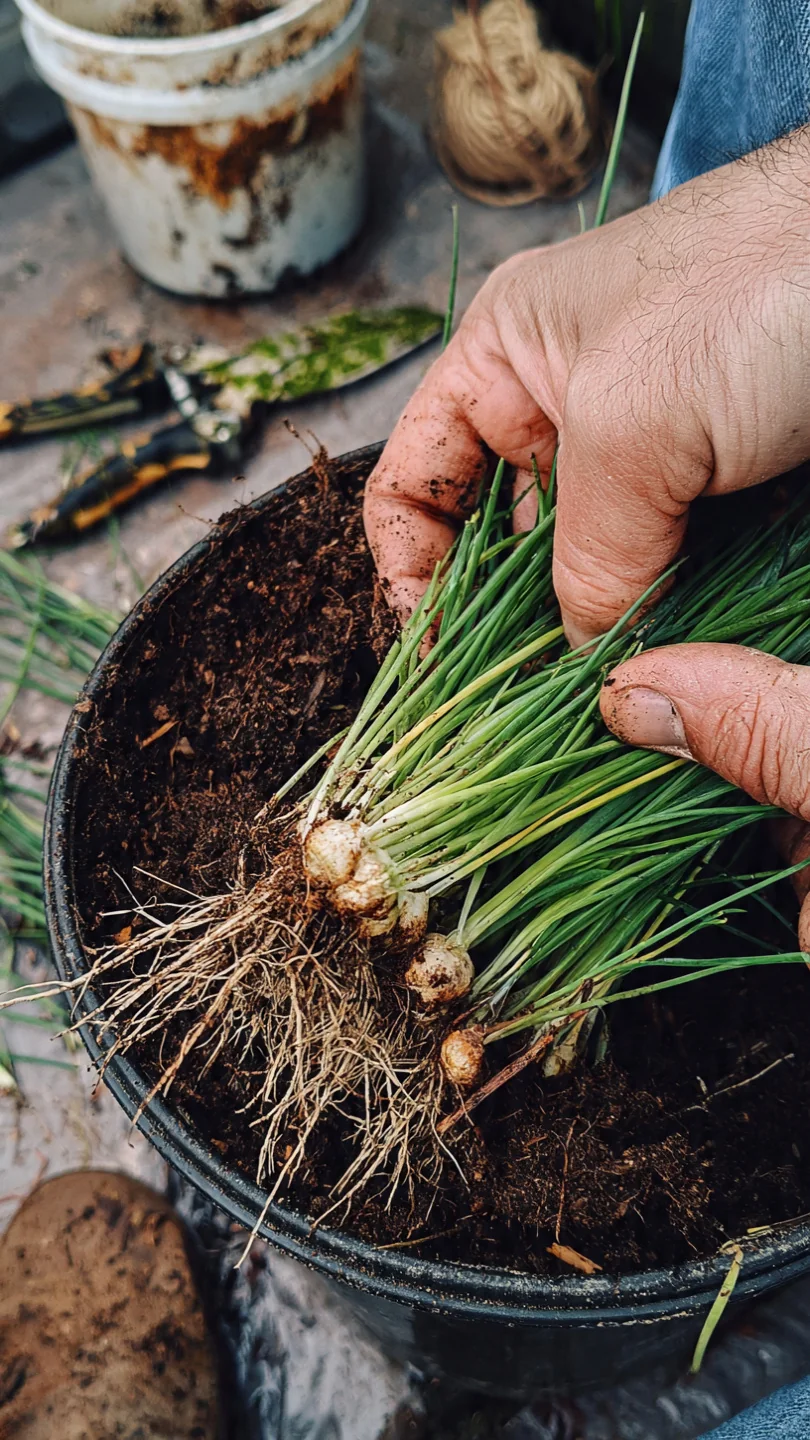
10-minute workflow: in early spring or fall, tip the pot sideways, gently tease apart the clump into sections each with 6 to 8 bulbs, discard the woody center, and replant offsets into fresh soil at the same depth. Upgrade option: add a thin layer of gravel at the pot base for extra drainage in heavy rain areas. This single seasonal task resets vigor and prevents reduced leaf production that occurs after year four in the same container. Gather container gardening tools beforehand: a sharp knife and fresh potting mix.
Chives Companion-Planted with Basil or Thyme in One Pot
Best for: Branch 2
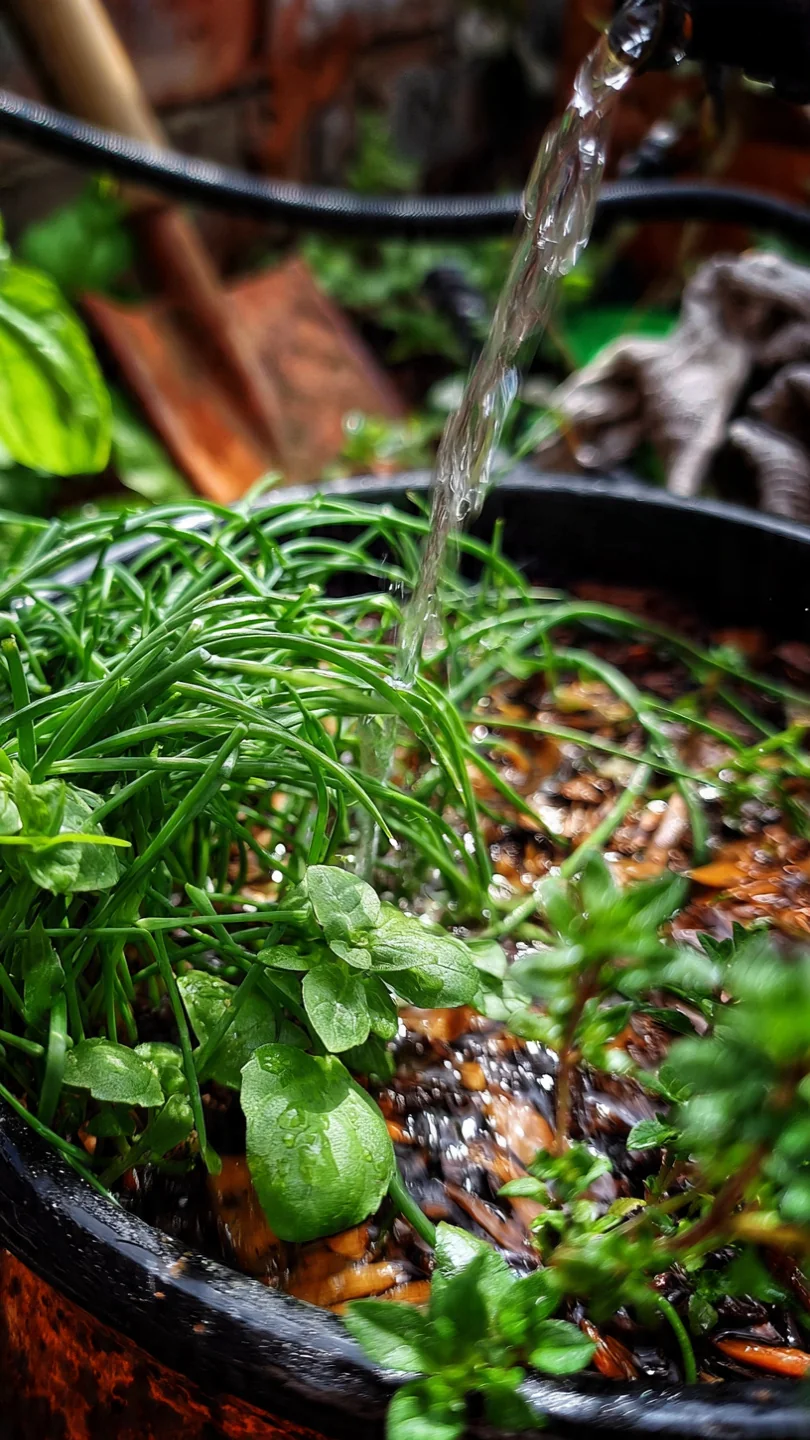
Threshold rule: keep total container width at 10 inches or more and space chives 6 inches from companions to avoid root competition. Both basil and thyme share similar watering needs (soil surface dry to the touch) and full-to-partial sun tolerance. Adjustment: reduce fertilizer to half strength every 6 weeks instead of 4 if growth slows. This shared-pot approach maximizes small-space yield without separate containers. For basil-specific details, see basil in pots.
Garlic Chives in Lightweight Grow Bags for Indoor Transitions
Best for: Branch 3
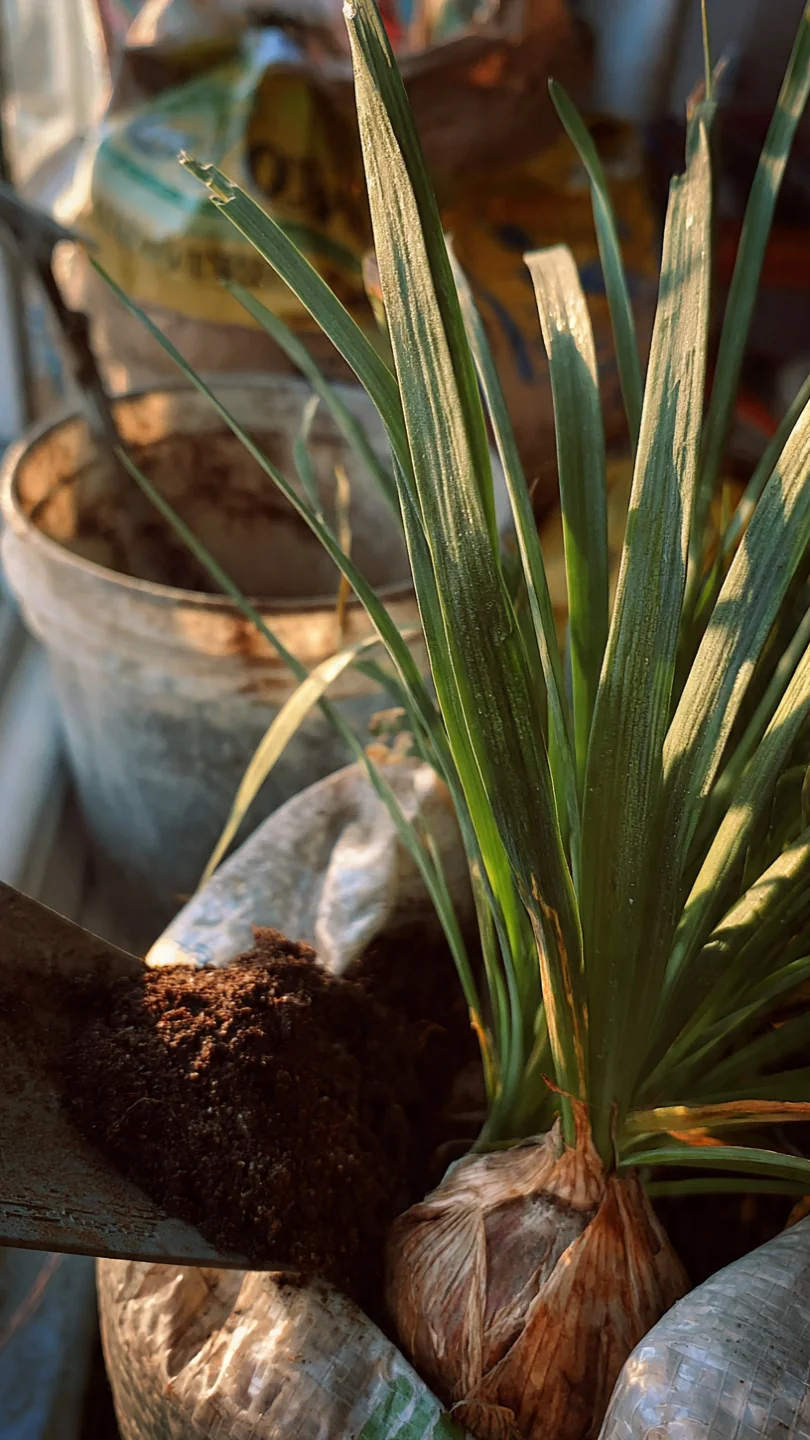
Blueprint steps: fill a 5- to 7-gallon fabric bag with well-draining mix, plant divisions or started seedlings at 2-inch spacing, and position near a bright window or under grow lights. The fabric sides promote air pruning and make seasonal moves simple. Water when the bag feels light, roughly every 5 to 7 days indoors. This option suits apartments where heavy pots are impractical and allows easy relocation outdoors in spring.
Common Chives in Self-Watering Patio Containers
Best for: Branch 1
Self-watering reservoirs maintain consistent moisture levels critical for full-sun clumps that dry out quickly. Fill the reservoir every 7 to 10 days depending on outdoor temperatures above 70 degrees F. Use a 10-inch wide model with overflow holes. This reduces daily checks while still requiring monthly soil surface inspection for any surface crusting. Combine with the division schedule from item 4 for long-term health. See our guide to watering container plants for reservoir calibration tips.
Garlic Chives in Plastic Pots for Partial-Shade Balconies
Best for: Branch 2
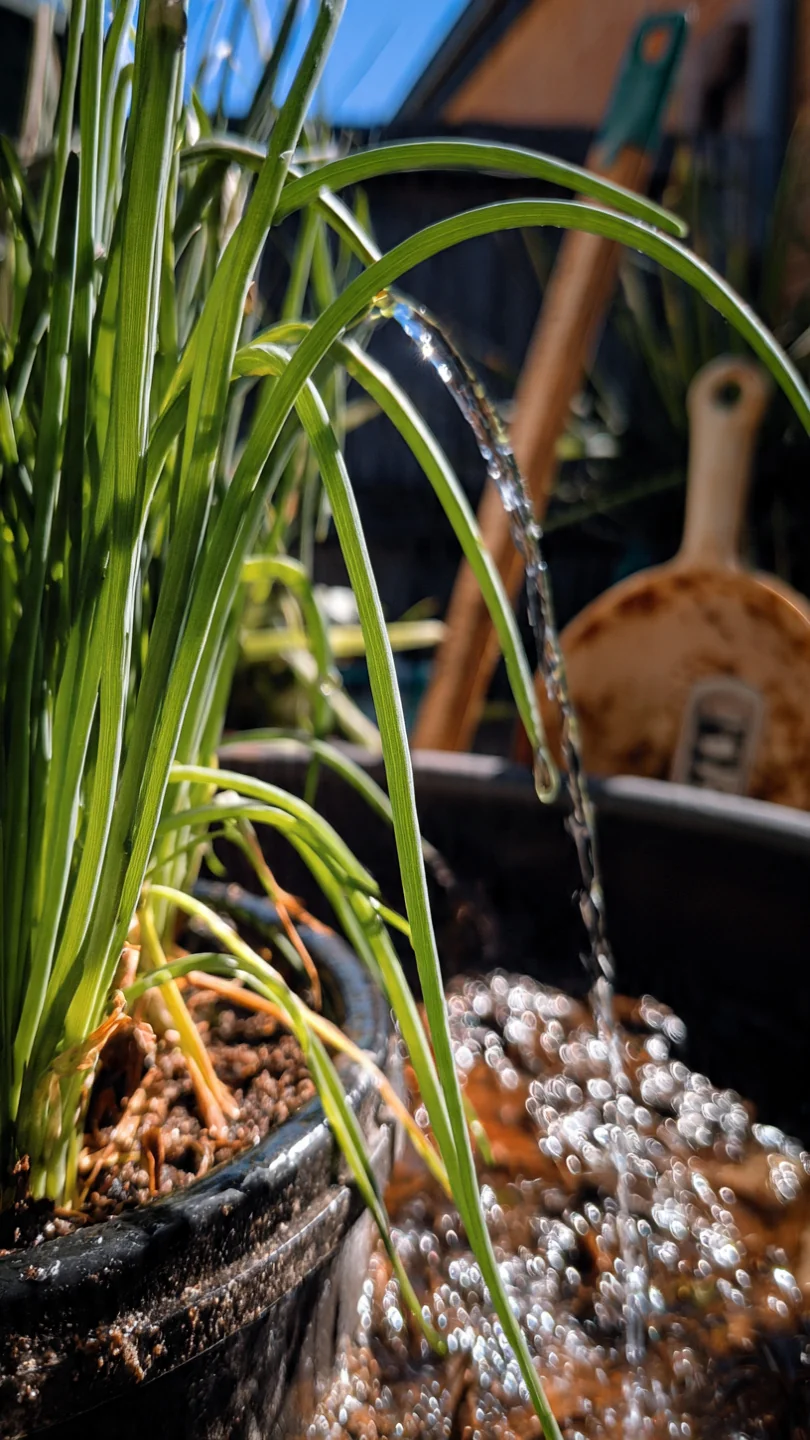
Plastic retains moisture longer than terracotta, suiting the lower evaporation rates in 4- to 6-hour light. Choose pots 8 inches deep and at least 8 inches wide. Monitor soil every 4 days rather than daily. This setup tolerates the cooler microclimates of shaded balconies without constant wilting. Avoid if your site receives sudden full-sun bursts exceeding 2 hours, as plastic can overheat roots.
Starting Chives from Seed in Small Container Kits
Best for: Branch 3
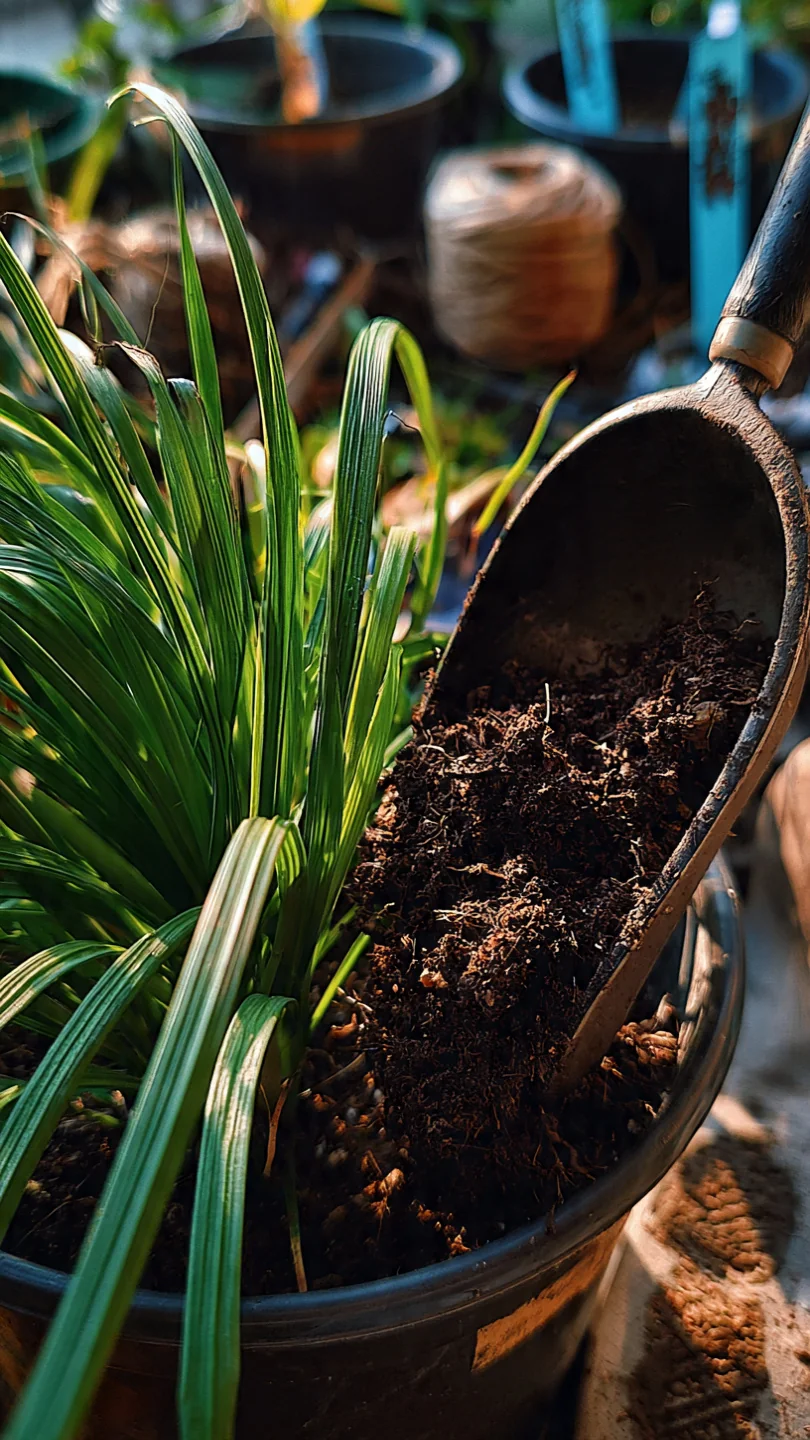
Threshold rule: sow seeds 1/4 inch deep in kits kept at 60 to 70 degrees F with consistent surface moisture until germination in 10 to 14 days. Thin seedlings to 3-inch spacing once they reach 2 inches tall. Transition to larger pots when roots fill the cell. This method gives control over variety and timing but requires daily misting for the first 3 weeks. For full beginner container techniques, see container gardening for beginners.
Starter Stack (What to Choose First)
For Branch 1 Gardeners
Start with item 1 (common chives in wide terracotta pots) plus item 4 (dividing every three years). The breathable pot pairs with regular division to keep the clump center productive. Initial cost range: 15 to 35 dollars for one pot and soil. Setup time: 30 to 45 minutes.
For Branch 2 Gardeners
Start with item 2 (garlic chives in narrow window-box planters) plus item 5 (companion-planted with basil or thyme). Shared moisture and light needs reduce separate care routines. Initial cost range: 10 to 25 dollars for the box and starter plants. Setup time: 15 to 25 minutes.
For Branch 3 Gardeners
Start with item 3 (common chives overwintered indoors) plus item 6 (garlic chives in lightweight grow bags). Mobility and light management keep both varieties active through winter. Initial cost range: 12 to 28 dollars for bags and basic light strip. Setup time: 20 to 35 minutes.
When This Won’t Work
Chives in pots fail when drainage is absent and soil stays saturated for more than 48 hours, leading to root rot regardless of variety. Another measurable failure condition occurs when clumps remain undivided beyond four years: the center turns woody and leaf production drops sharply even in ideal light. Both issues appear across branches when initial pot width is under 6 inches or soil pH falls outside 6 to 7.
In either case, repot immediately into fresh mix meeting the width and drainage standards. For soil selection details that prevent these exact conditions, see best soil for container gardening.
Choosing the Right Option for Your Situation
Budget Threshold
Under 15 dollars per container: choose window-box or small plastic pots from items 2 or 8. Over 25 dollars: invest in terracotta or self-watering models from items 1 or 7 for longer service life.
Time Threshold
Under 10 minutes weekly: select self-watering or grow-bag options from items 6 or 7. Over 15 minutes weekly available: use division and companion setups from items 4 or 5.
Technical Constraint: Soil Drainage Test
Fill a sample pot with your chosen mix and water thoroughly. If water pools on the surface longer than 30 minutes, switch to a coarser blend or add perlite before planting.
Yes/No checklist:
Do you have 6+ hours sun and 12+ inches width? Yes: Branch 1.
Is your space limited to 4-6 hours or narrow sills? Yes: Branch 2.
Are you growing indoors year-round? Yes: Branch 3.
Have you tested drainage and pH? Yes: proceed to starter stack.
Expert Q&A
Can you grow chives year-round indoors without a greenhouse?
Yes, provided you maintain at least 5 hours of direct sun or equivalent grow-light output and keep temperatures between 50 and 70 degrees F. Reduce watering frequency in winter because growth slows. Fertilize at half strength every 6 weeks only during active periods.
How do common chives and garlic chives compare for container performance?
Common chives produce more leaf volume with hollow round stems and purple flowers, suiting wider pots. Garlic chives offer flat leaves, later white blooms, and garlic flavor but tolerate narrower containers and partial shade better. Both require the same division schedule.
What companions besides basil or thyme work well with chives in the same pot?
Parsley and carrots share similar root depth and watering needs while benefiting from chives’ pest-repelling scent. Keep total container volume at least 2 gallons and space plants 6 inches apart to prevent competition.
Why do potted chives sometimes develop woody centers, and how do you fix it?
Woody centers develop after three to four years without division because the oldest bulbs crowd the middle. Lift the clump in spring or fall, discard the center section, and replant healthy offsets in fresh soil at the original depth.
Do chives in pots need different overwintering steps by hardiness zone?
In zones 3 and warmer, pots can remain outdoors with mulch around the base if drainage is assured. In colder zones or for indoor moves, cut foliage to 2 inches and place in a bright cool spot above 40 degrees F with minimal watering until spring.
Conclusion
The key decision is matching pot width to clump growth and variety to your light hours. The number one mistake is planting in containers narrower than 8 inches and skipping division after year three, both of which cause center decline and sparse harvests.
Next step: review your available width and sunlight, then select the two starter items for your branch and gather supplies. For more small-space layout inspiration, see small patio garden ideas.