
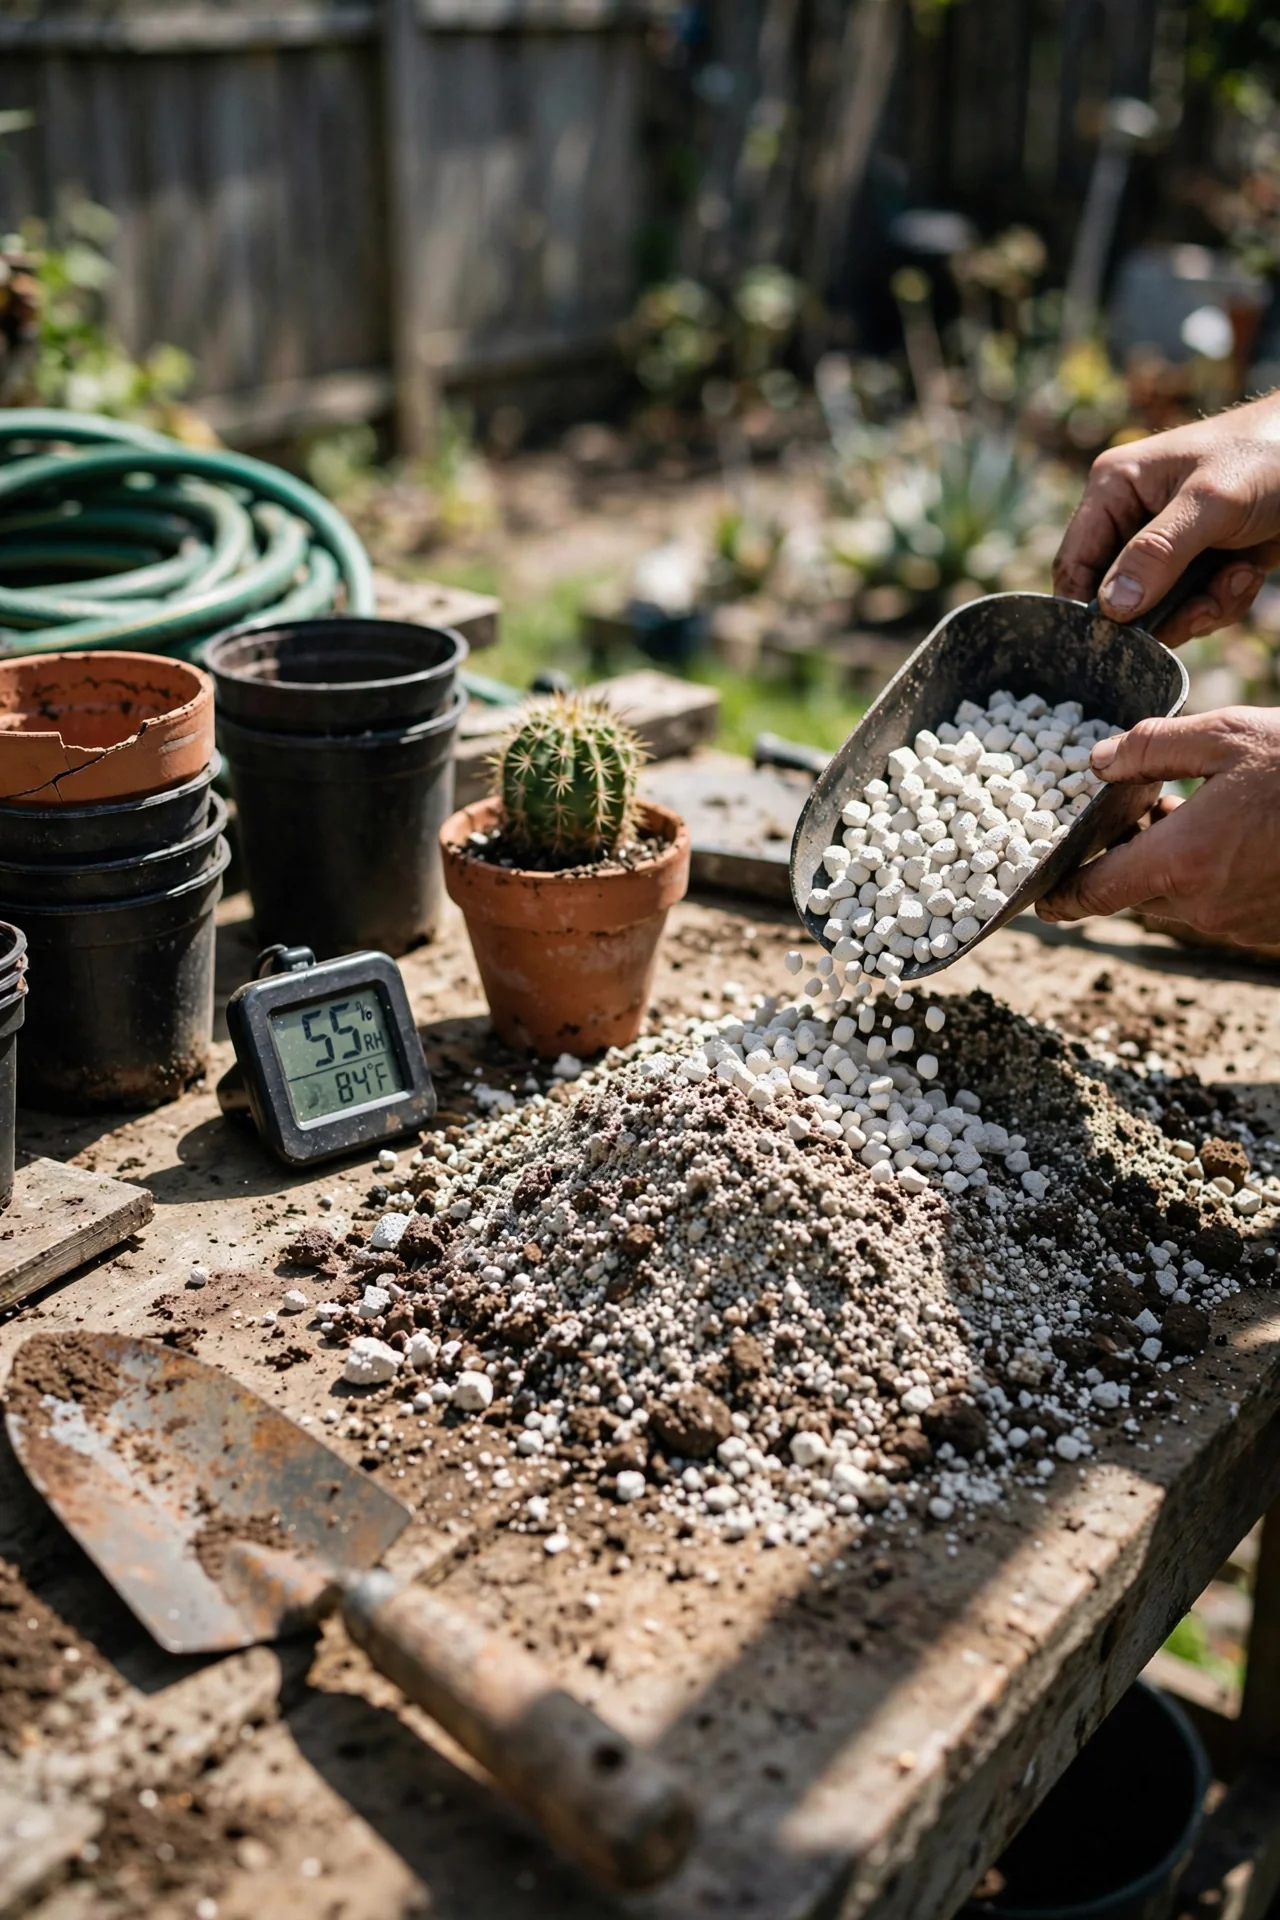
Every DIY cactus soil guide offers a ratio. What nearly all of them skip is the variable that matters most: the ambient humidity inside your home. A mix that drains perfectly in a heated Toronto apartment in January will stay soggy for days in a Singapore flat with no air conditioning. The recipe is not the problem. The mismatch between recipe and environment is.
This guide covers desert cacti grown indoors in containers. It does not cover epiphytic jungle cacti (like Christmas cactus or Rhipsalis), which need more organic matter and consistent moisture. It also does not cover outdoor in-ground planting, where drainage behaves differently than in pots.
By the end, you will know which of ten mix approaches fits your specific indoor conditions, how to adjust a base ratio when your home runs humid or dry, and which single ingredient substitutions actually change drainage performance versus those that are just filler swaps.
Bottom line: Choose your mix ratio by testing how long your current soil stays wet after watering, then shift the mineral-to-organic balance in the direction your drying time demands.
The Yield Grid Decision Grid
Start by measuring how many days your current potting medium stays visibly damp after a thorough watering. Use this observation to pick one of three branches.
Branch 1: Fast Dry-Out (under 3 days). Your environment is arid, or your pot is terracotta and small. The soil loses moisture too quickly for roots to absorb nutrients. You need slightly more water-holding organic material without crossing into rot territory. Recommended: Items 1, 5, 8 below.
Branch 2: Moderate Dry-Out (3 to 6 days). This is the target zone for most desert cacti. Your current mix or environment is close to optimal. The goal is to replicate this performance when you mix a fresh batch. Recommended: Items 1, 2, 3 below.
Branch 3: Slow Dry-Out (over 6 days). Your environment is humid, your pot is glazed or plastic, or your current mix holds too much water. Roots are sitting in moisture long enough that rot risk is real. You need a higher mineral fraction. Recommended: Items 4, 7, 9 below.
For a deeper look at how commercial potting soils compare in moisture retention, see our guide to the best potting soil for indoor plants.
Quick Comparison Table
| Option | Key Mechanism | Best For | Decision Grid Branch | Effort Score (1-5) |
|---|---|---|---|---|
| 1. 70:30 Mineral-Organic Baseline | Balanced drainage with nutrient retention | First-time DIY mixers; moderate indoor humidity | Branch 1 or 2 | 2 |
| 2. Coarse Sand Selection | Creates macropores between larger particles | Anyone using fine sand or play sand currently | Branch 2 | 1 |
| 3. Perlite or Pumice Choice | Traps air in porous particles; pumice adds weight | Mixers deciding between the two aerators | Branch 2 | 1 |
| 4. Humidity-Adjusted Ratio Method | Shifts mineral fraction based on ambient humidity | Humid climates; homes without climate control | Branch 3 | 3 |
| 5. Coconut Coir Base | Rewets more reliably than peat after drying out | Peat-free preference; arid environments | Branch 1 | 2 |
| 6. Pre-Made Base Plus Amendments | Starts with bagged cactus mix, adds extra mineral | Beginners wanting minimal measuring | Branch 2 or 3 | 1 |
| 7. Fully Inorganic Gritty Mix | Zero organic matter; all drainage, no water retention | Very humid homes; rot-prone species | Branch 3 | 4 |
| 8. Worm Castings Nutrient Addition | Slow-release microbial nutrient cycling | Long-term pots without regular fertilizing | Branch 1 | 2 |
| 9. pH Adjustment Layer | Lime raises pH for desert species; gypsum adds calcium | Areas with acidic tap water; limestone-loving cacti | Branch 3 | 3 |
| 10. Heat Sterilization Protocol | Kills fungal spores, insect eggs, and weed seeds | Seed-starting; recovering from root rot outbreak | All branches (situational) | 5 |
1. The 70:30 Mineral-Organic Baseline Mix
Best for: Branch 1 or Branch 2
What It Is
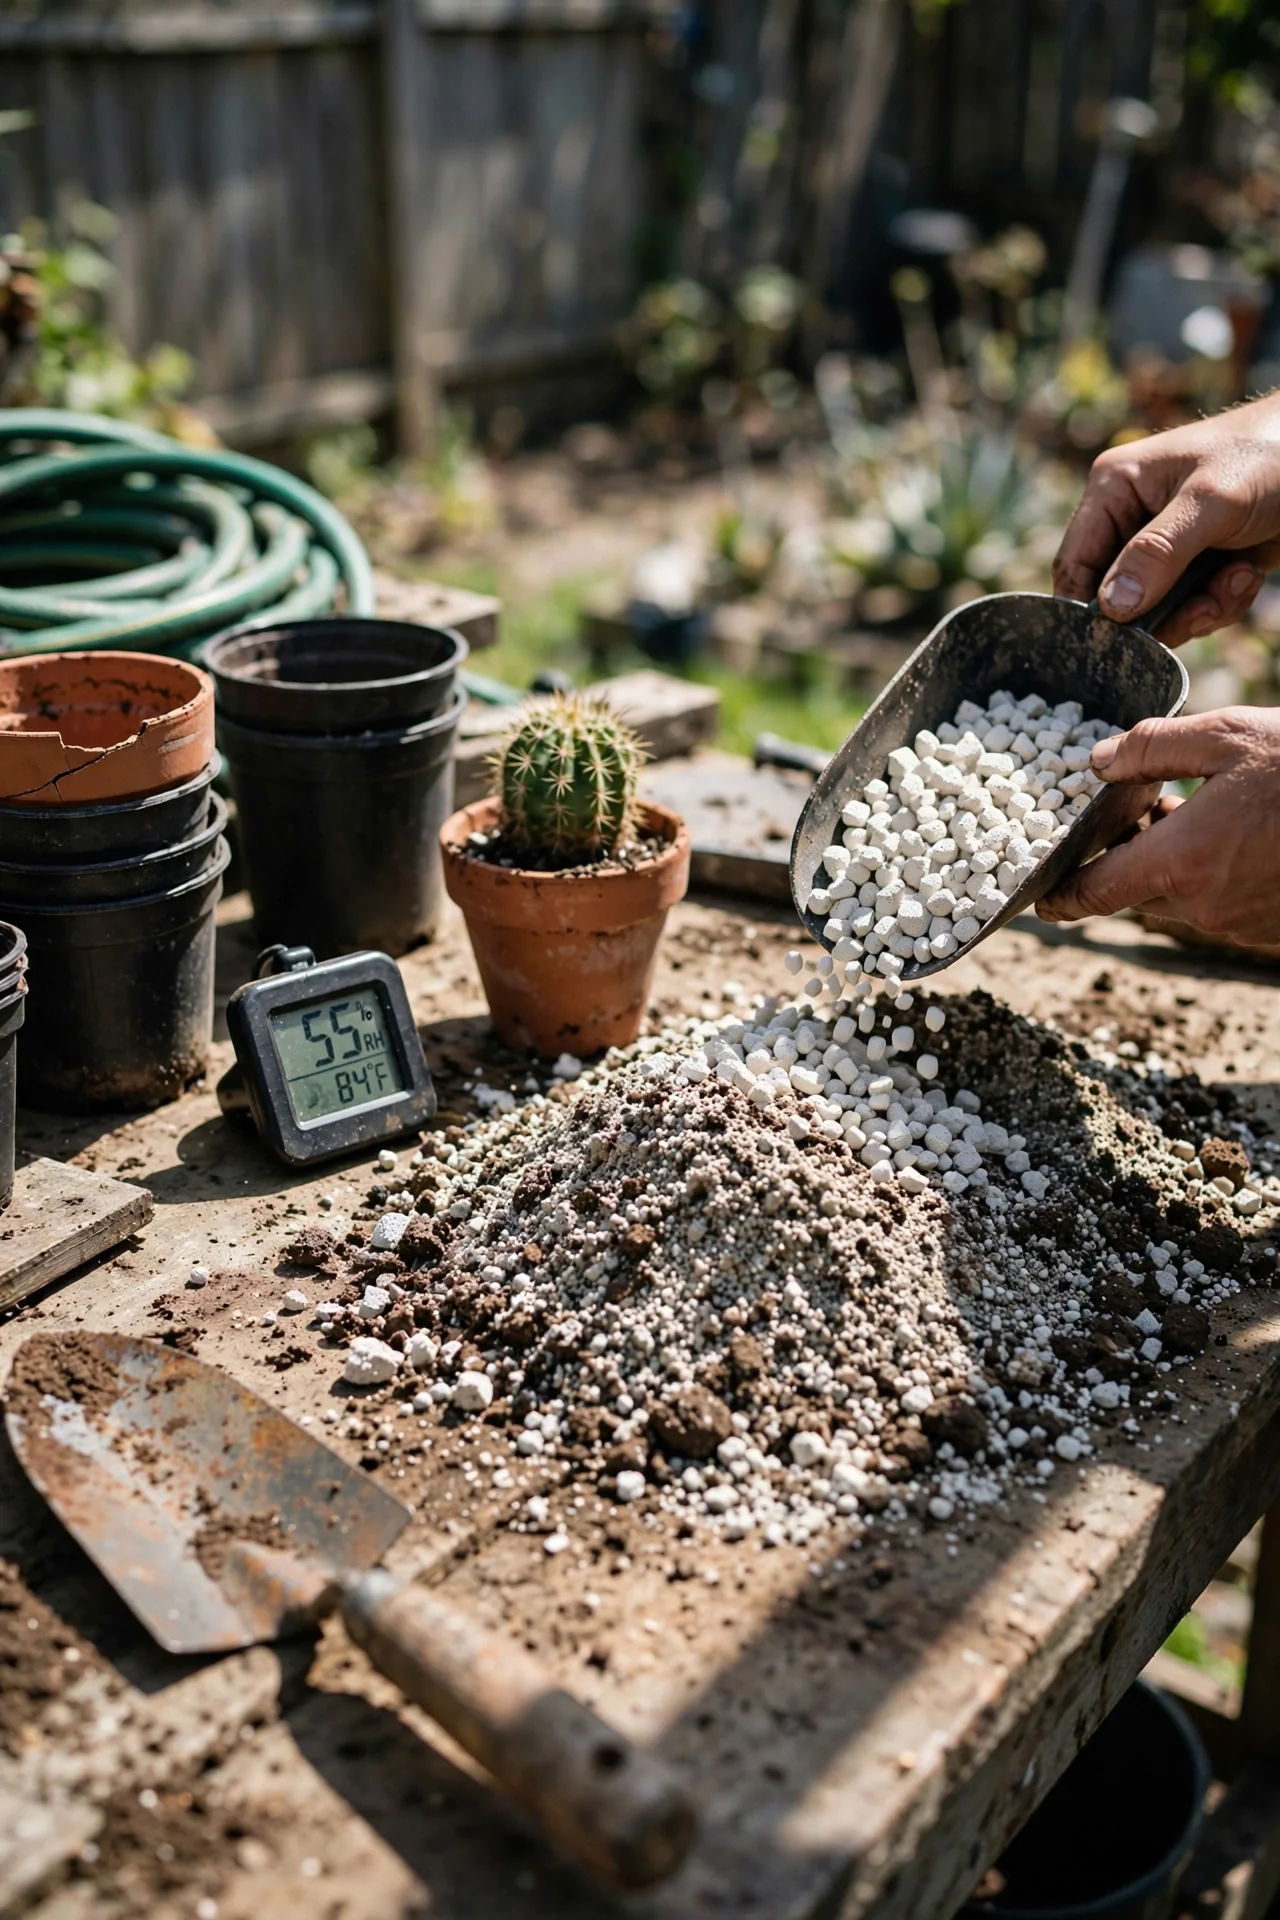
A starting-point ratio of roughly 70% inorganic mineral material to 30% organic matter by volume. This is not a fixed recipe; it is a baseline you adjust after observing how it performs in your specific home. The mineral fraction provides the drainage skeleton. The organic fraction contributes mild nutrient retention and prevents the mix from becoming so hydrophobic that water beads and runs off.
How to Build It
Combine 7 parts mineral aggregate (split between coarse sand and either pumice or perlite) with 3 parts organic base (sieved compost or coco coir). Measure by volume using the same scoop for every component. A 1-cup measure yields roughly 2.5 litres of finished mix, enough for a 15 cm diameter pot. Mix dry first, then moisten lightly before potting to reduce dust and help the organic fibres integrate with the mineral grains.
The Most Common Mistake
Treating the ratio as precise chemistry rather than a starting hypothesis. If your mix stays wet beyond 6 days after watering, increase the mineral fraction to 80:20 on the next repot. If it dries out in under 2 days, shift to 60:40. Let your drying-time observation, not the formula, have the final word.
Understanding what each bagged ingredient actually contains helps avoid redundant additions. Our breakdown of common potting soil ingredients explains what commercial mixes already include.
2. Coarse Sand: The Drainage Workhorse
Best for: Branch 2
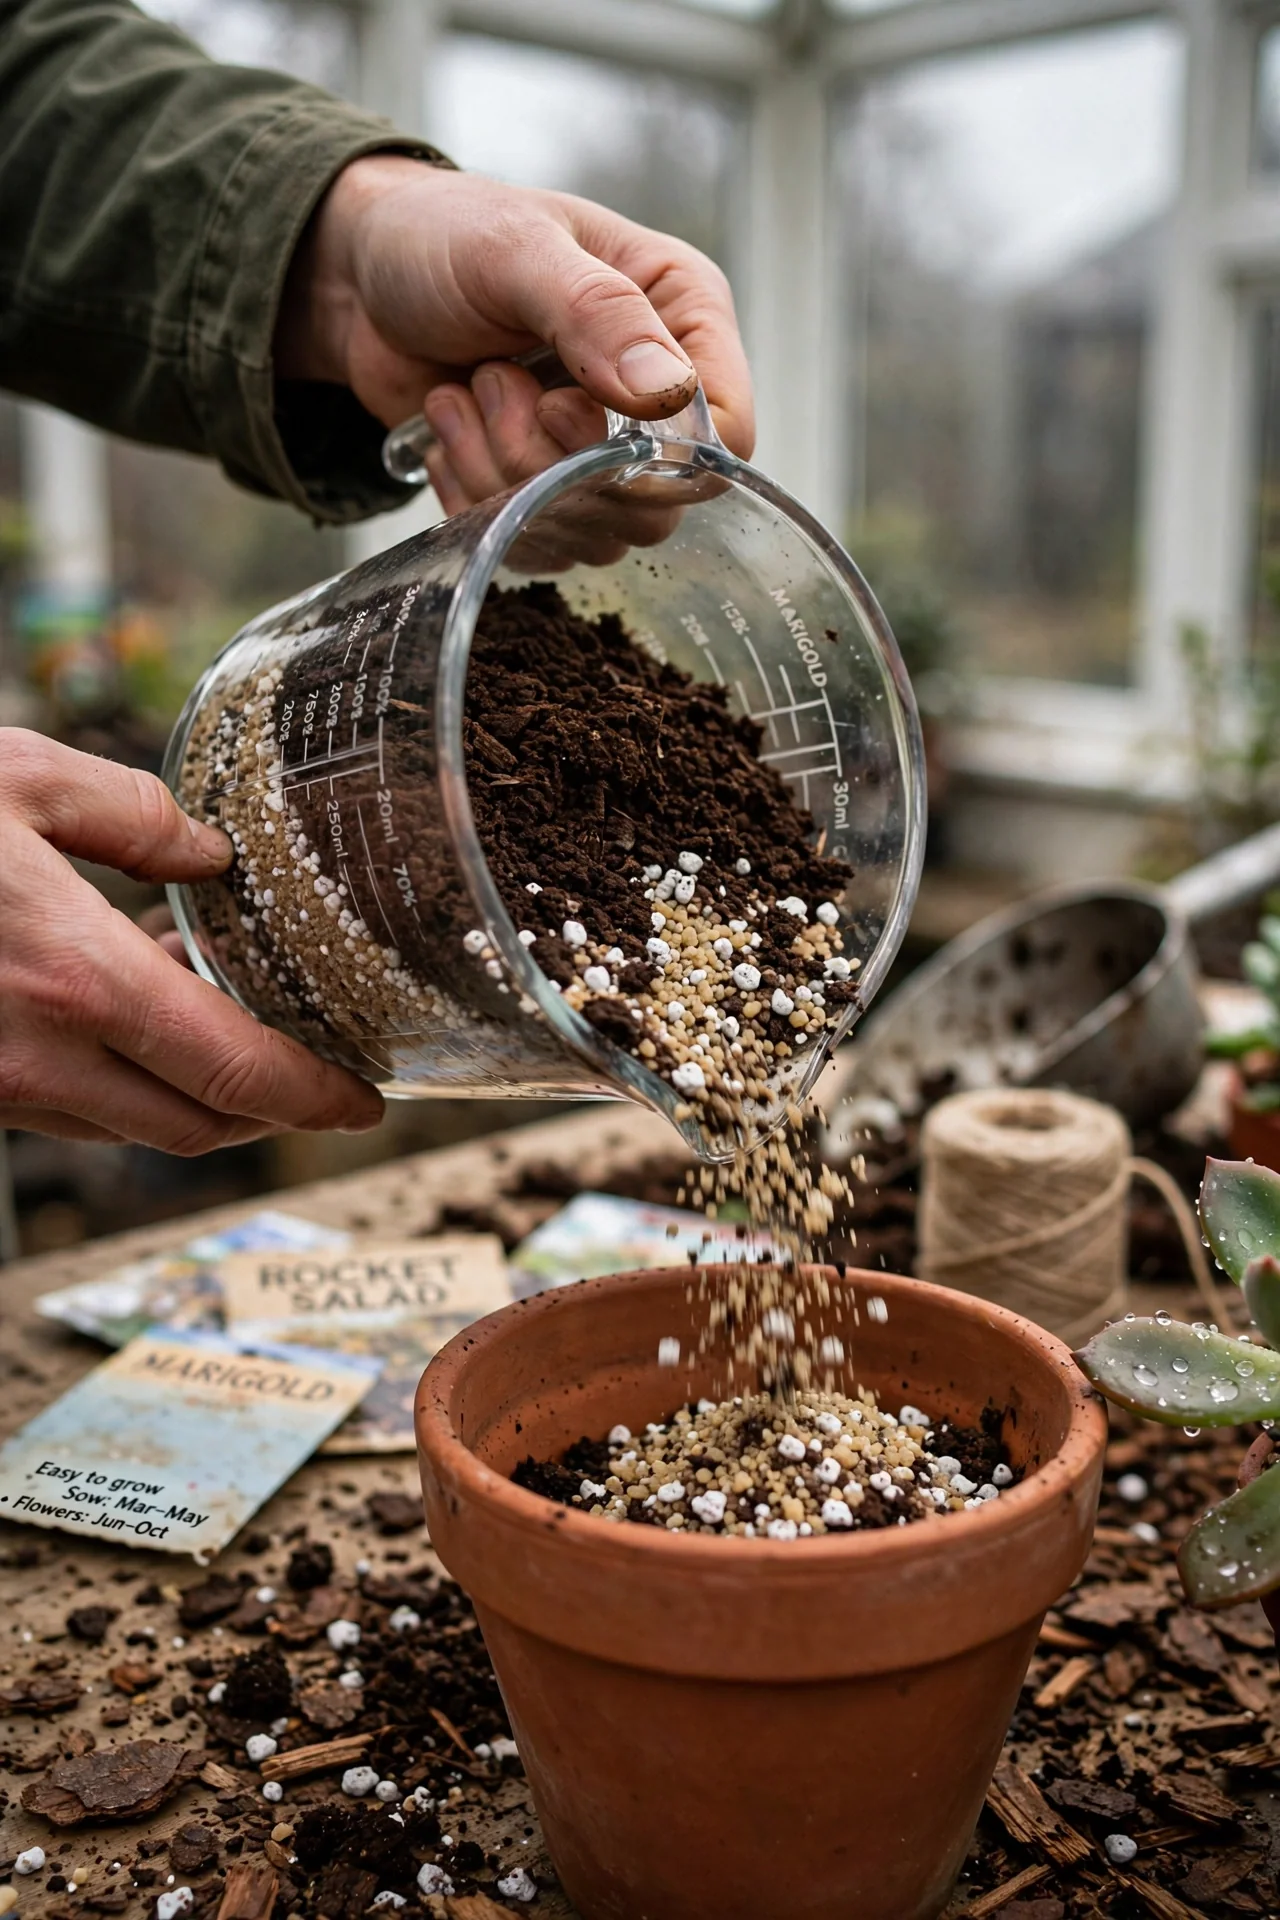
Not all sand functions the same way. Fine play sand compacts into a dense layer that blocks drainage. Coarse horticultural sand or builder's sand, with particles in the 2 to 4 mm range, creates the macropores that let water flow through quickly. Avoid beach sand entirely; its salt content is toxic to cactus roots. If your only available sand is fine, substitute poultry grit or crushed granite of similar particle size. One bag of coarse sand typically costs under USD 8 and lasts through multiple batches.
3. Perlite or Pumice: The Aeration Decision
Best for: Branch 2
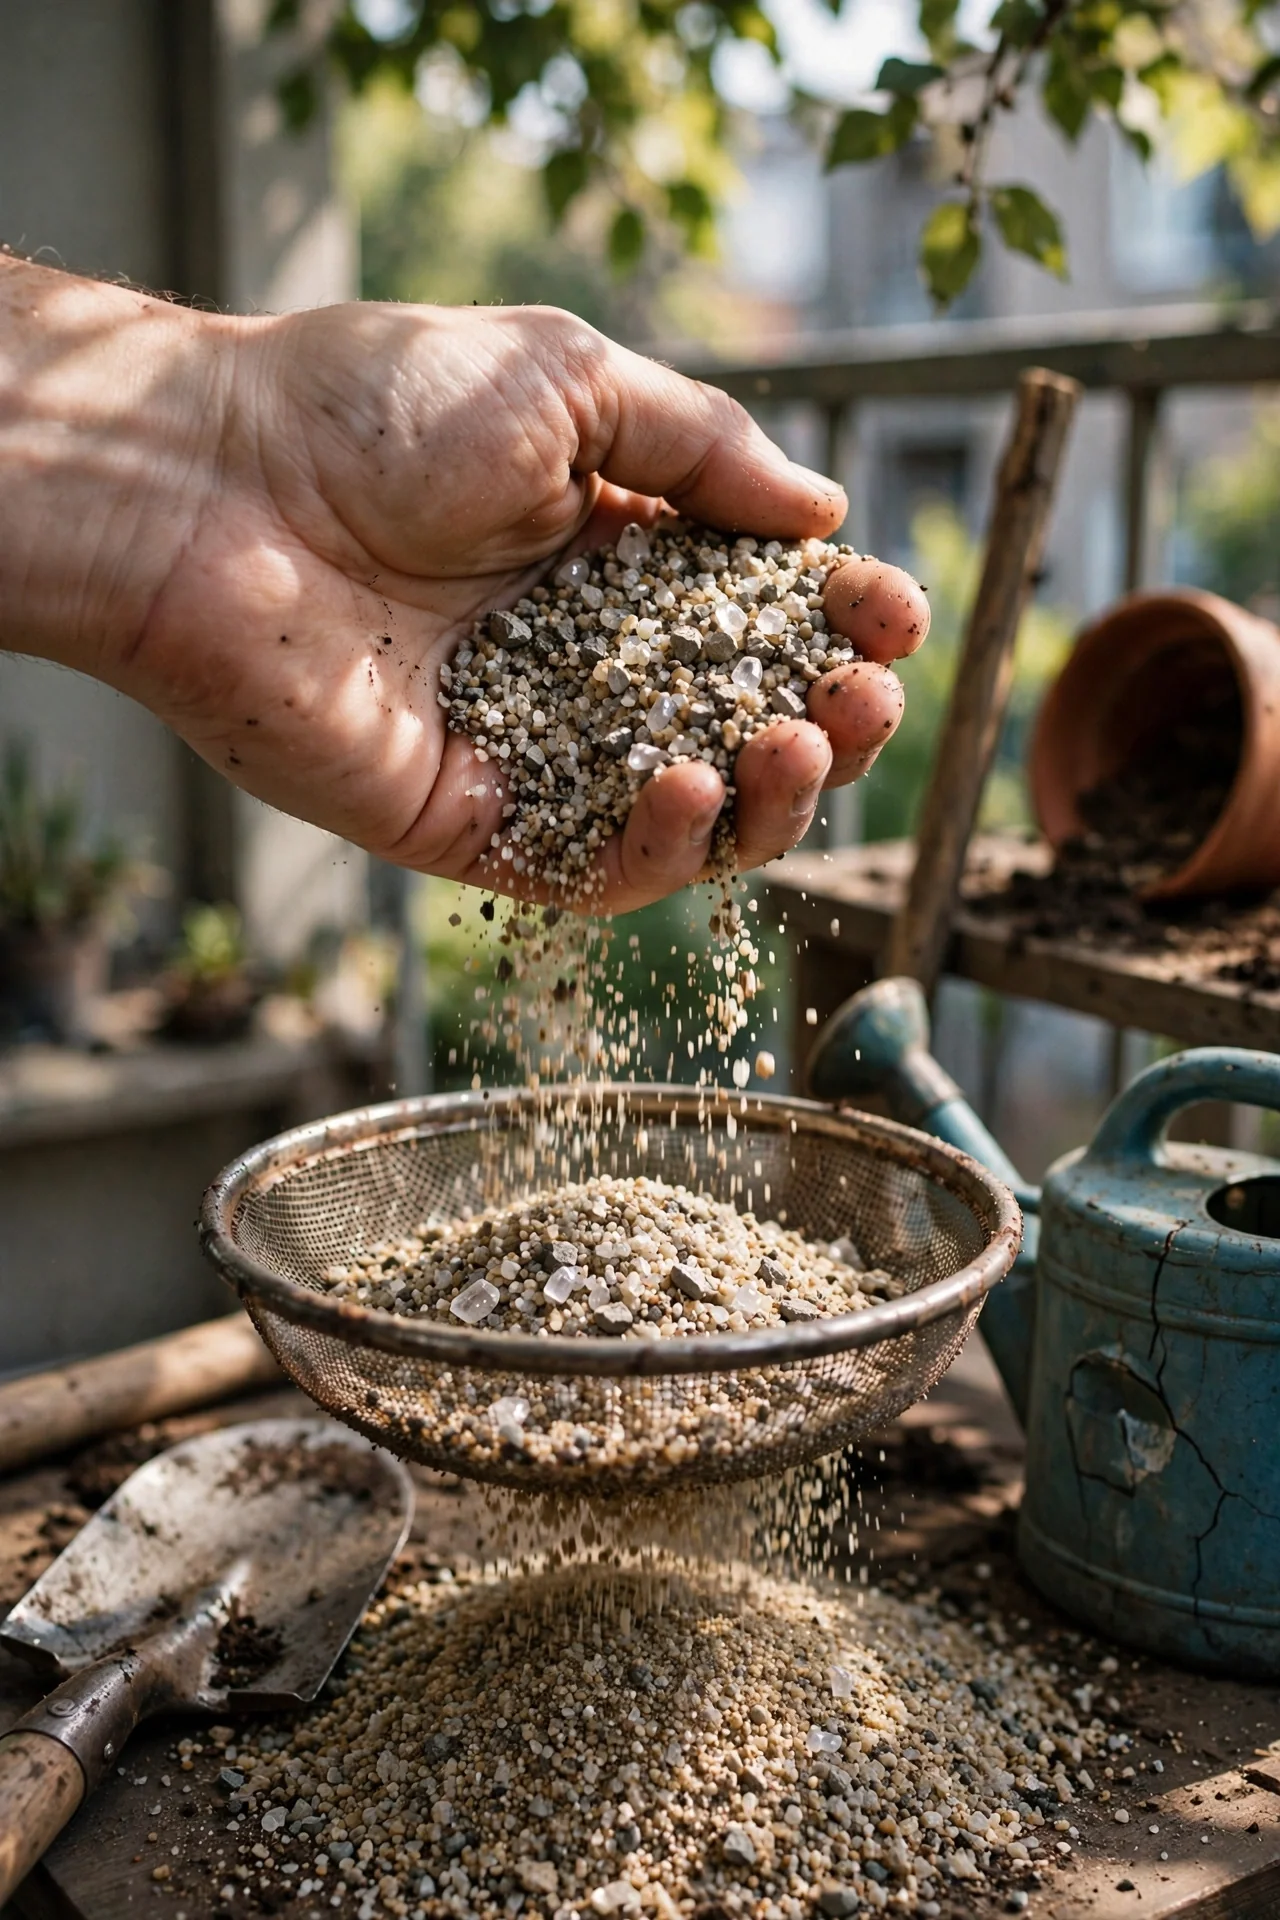
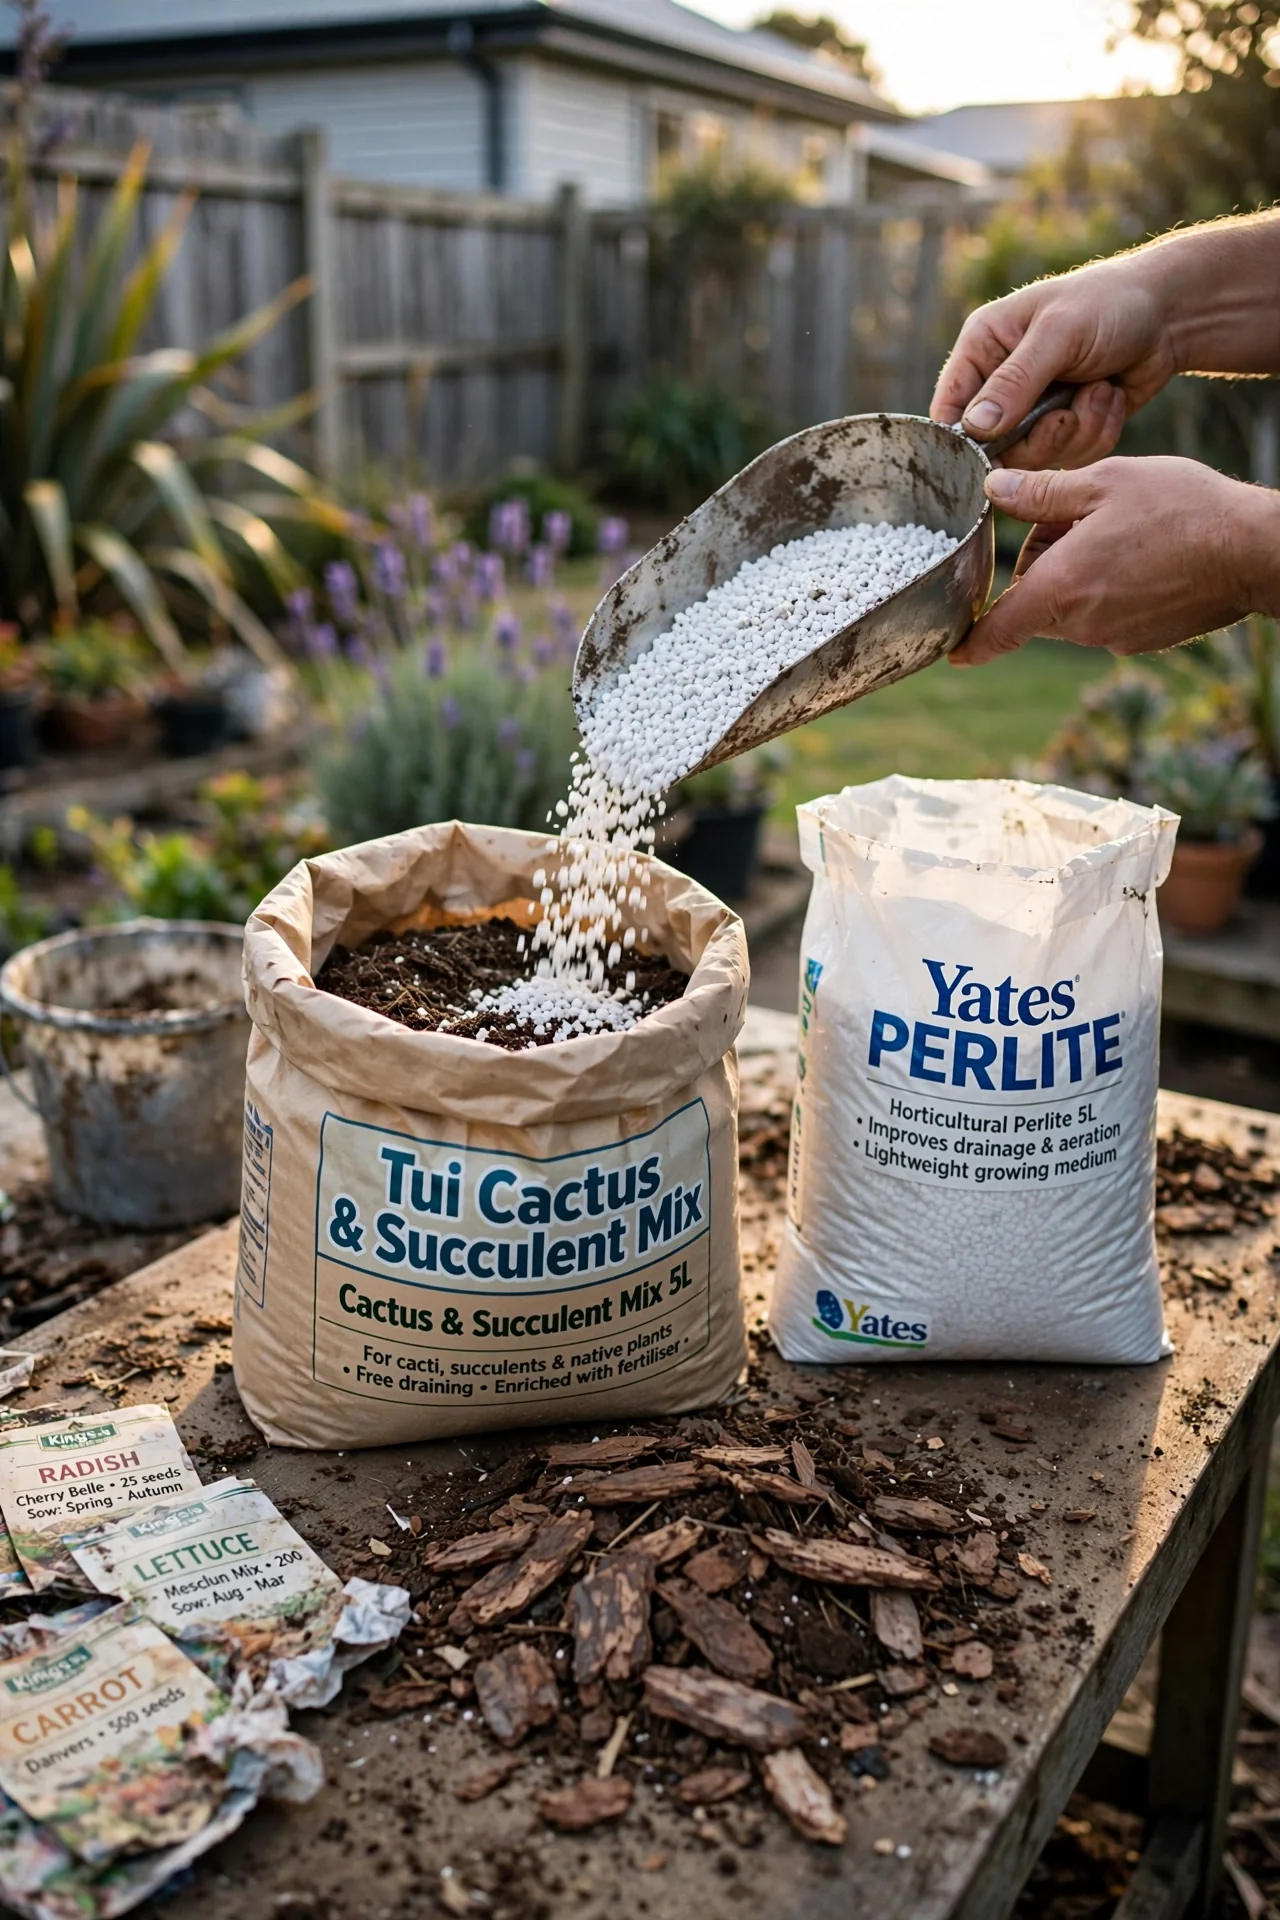
Both materials create air pockets in the mix, but they behave differently over time. Perlite is lighter, cheaper, and widely available. It tends to float to the surface with repeated top-watering, gradually stratifying your mix. Pumice is heavier, stays distributed, and its rough surface gives roots something to grip. It also costs more and can be harder to source outside specialty suppliers.
Edge case: If you bottom-water your cacti, perlite's floating tendency becomes irrelevant. In that scenario, perlite performs nearly identically to pumice at a lower cost. For top-watering in deep pots, pumice maintains consistent aeration through the entire column.
For a detailed side-by-side comparison of these two materials across different plant types, read our guide on perlite vs pumice.
4. The Humidity-Adjusted Ratio Method
Best for: Branch 3
The Core Principle
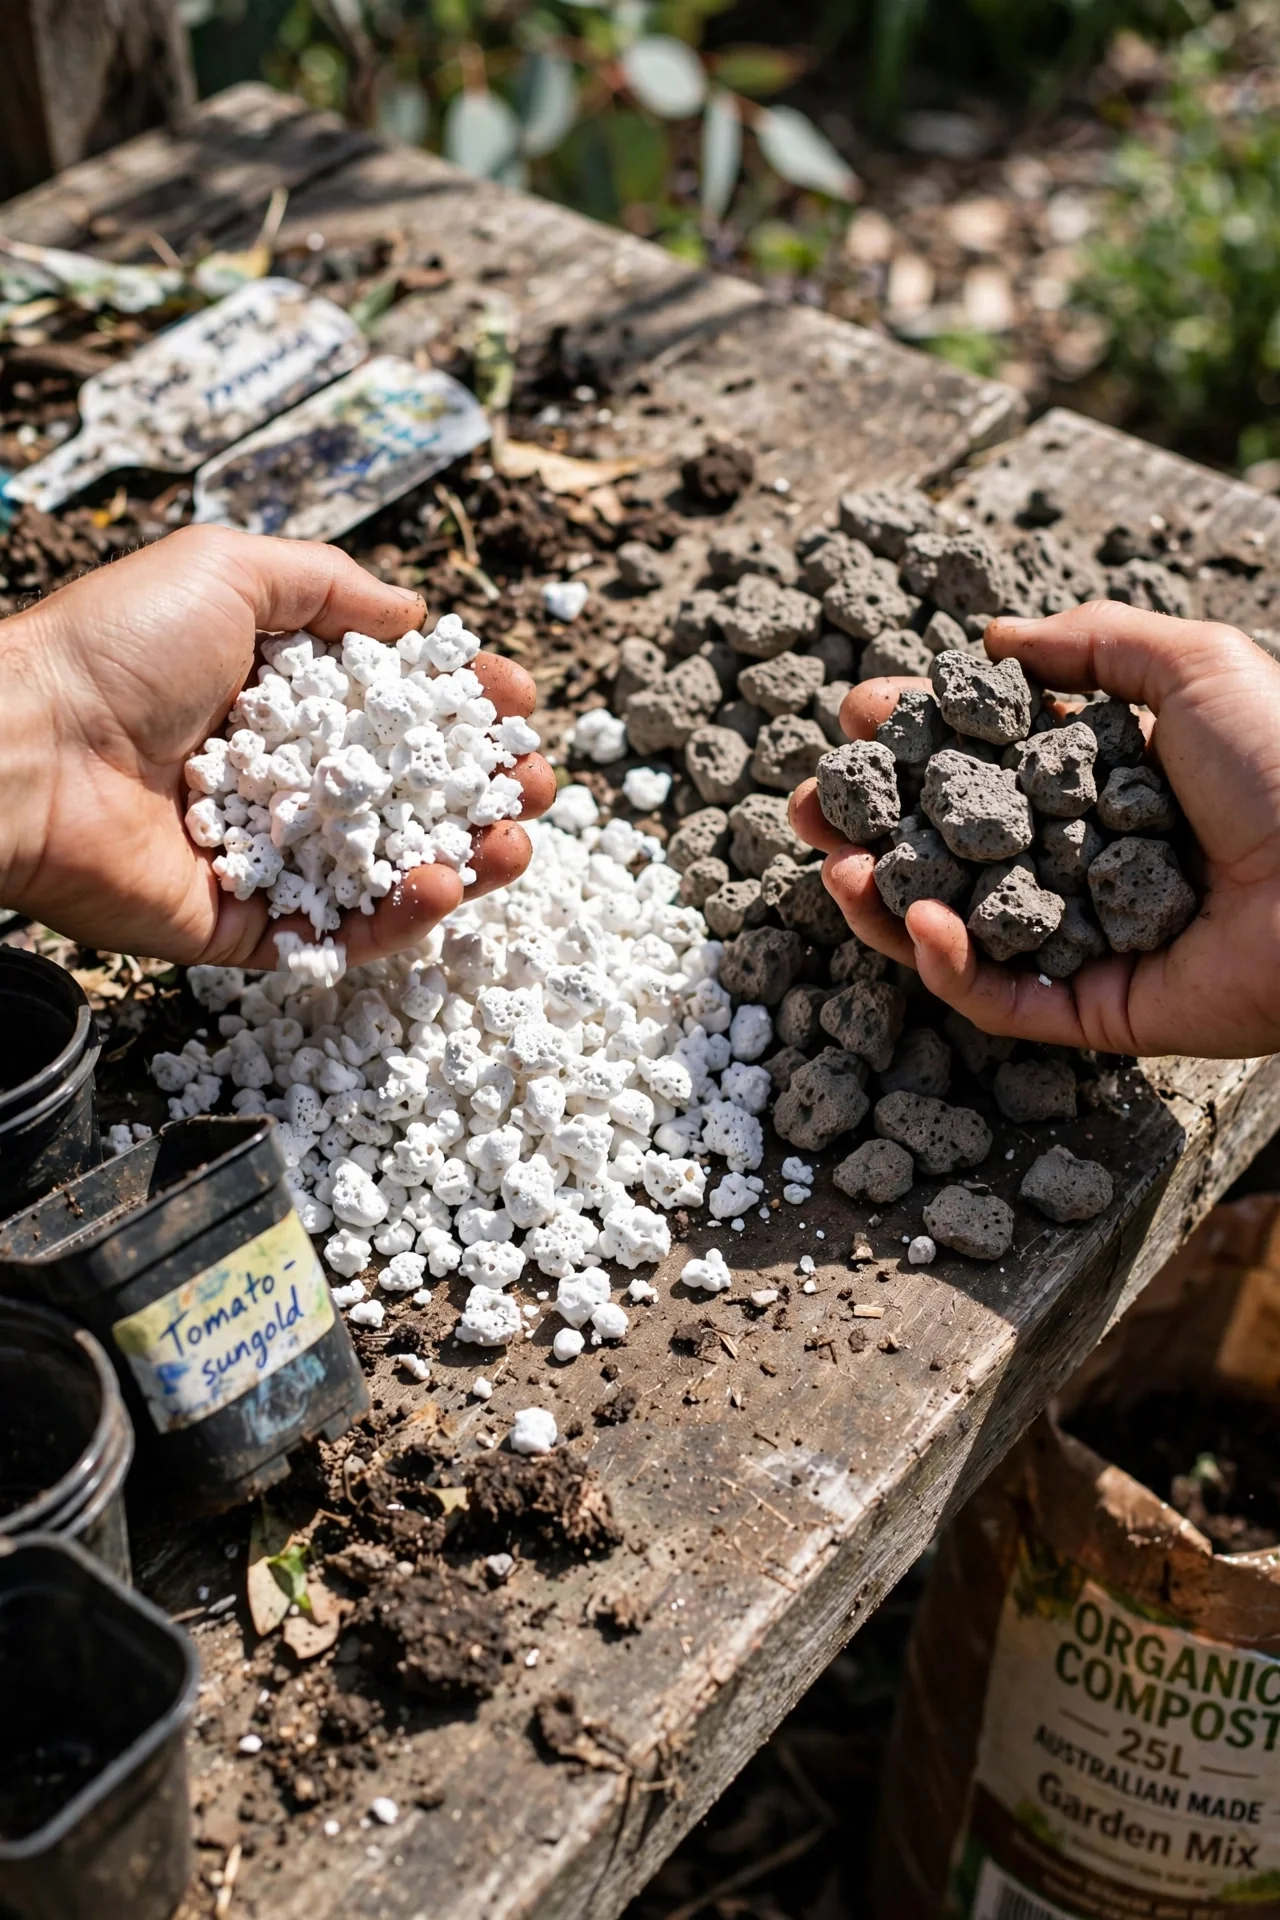
Ambient relative humidity directly controls how fast your potting mix dries. In a room at 30% relative humidity (common in heated North American and European homes during winter), water evaporates from the soil surface rapidly. At 70% relative humidity (typical in tropical climates or unventilated bathrooms), evaporation slows dramatically. The same mix that dries in 3 days under dry air may take 8 days under humid air.
Adjustment Thresholds
If your indoor humidity consistently stays above 60%, shift your ratio to 80:20 mineral-to-organic or leaner. If it stays below 35%, a 60:40 ratio may be appropriate. Measure with an inexpensive digital hygrometer placed near your plants. One reading is not enough: track it over a week, at different times of day, before committing to a ratio shift.
10-Minute Workflow
1. Place a hygrometer near your cactus shelf. 2. Record the reading morning and evening for 5 days. 3. Average the readings. 4. Select your ratio using the thresholds above. 5. Mix a small test batch and pot one plant. 6. Check drying time before committing your entire collection.
Once your mix is dialed in, knowing exactly when to water prevents undoing all that ratio work. A reliable soil moisture meter removes the guesswork from watering timing.
5. Coconut Coir as a Peat Replacement
Best for: Branch 1
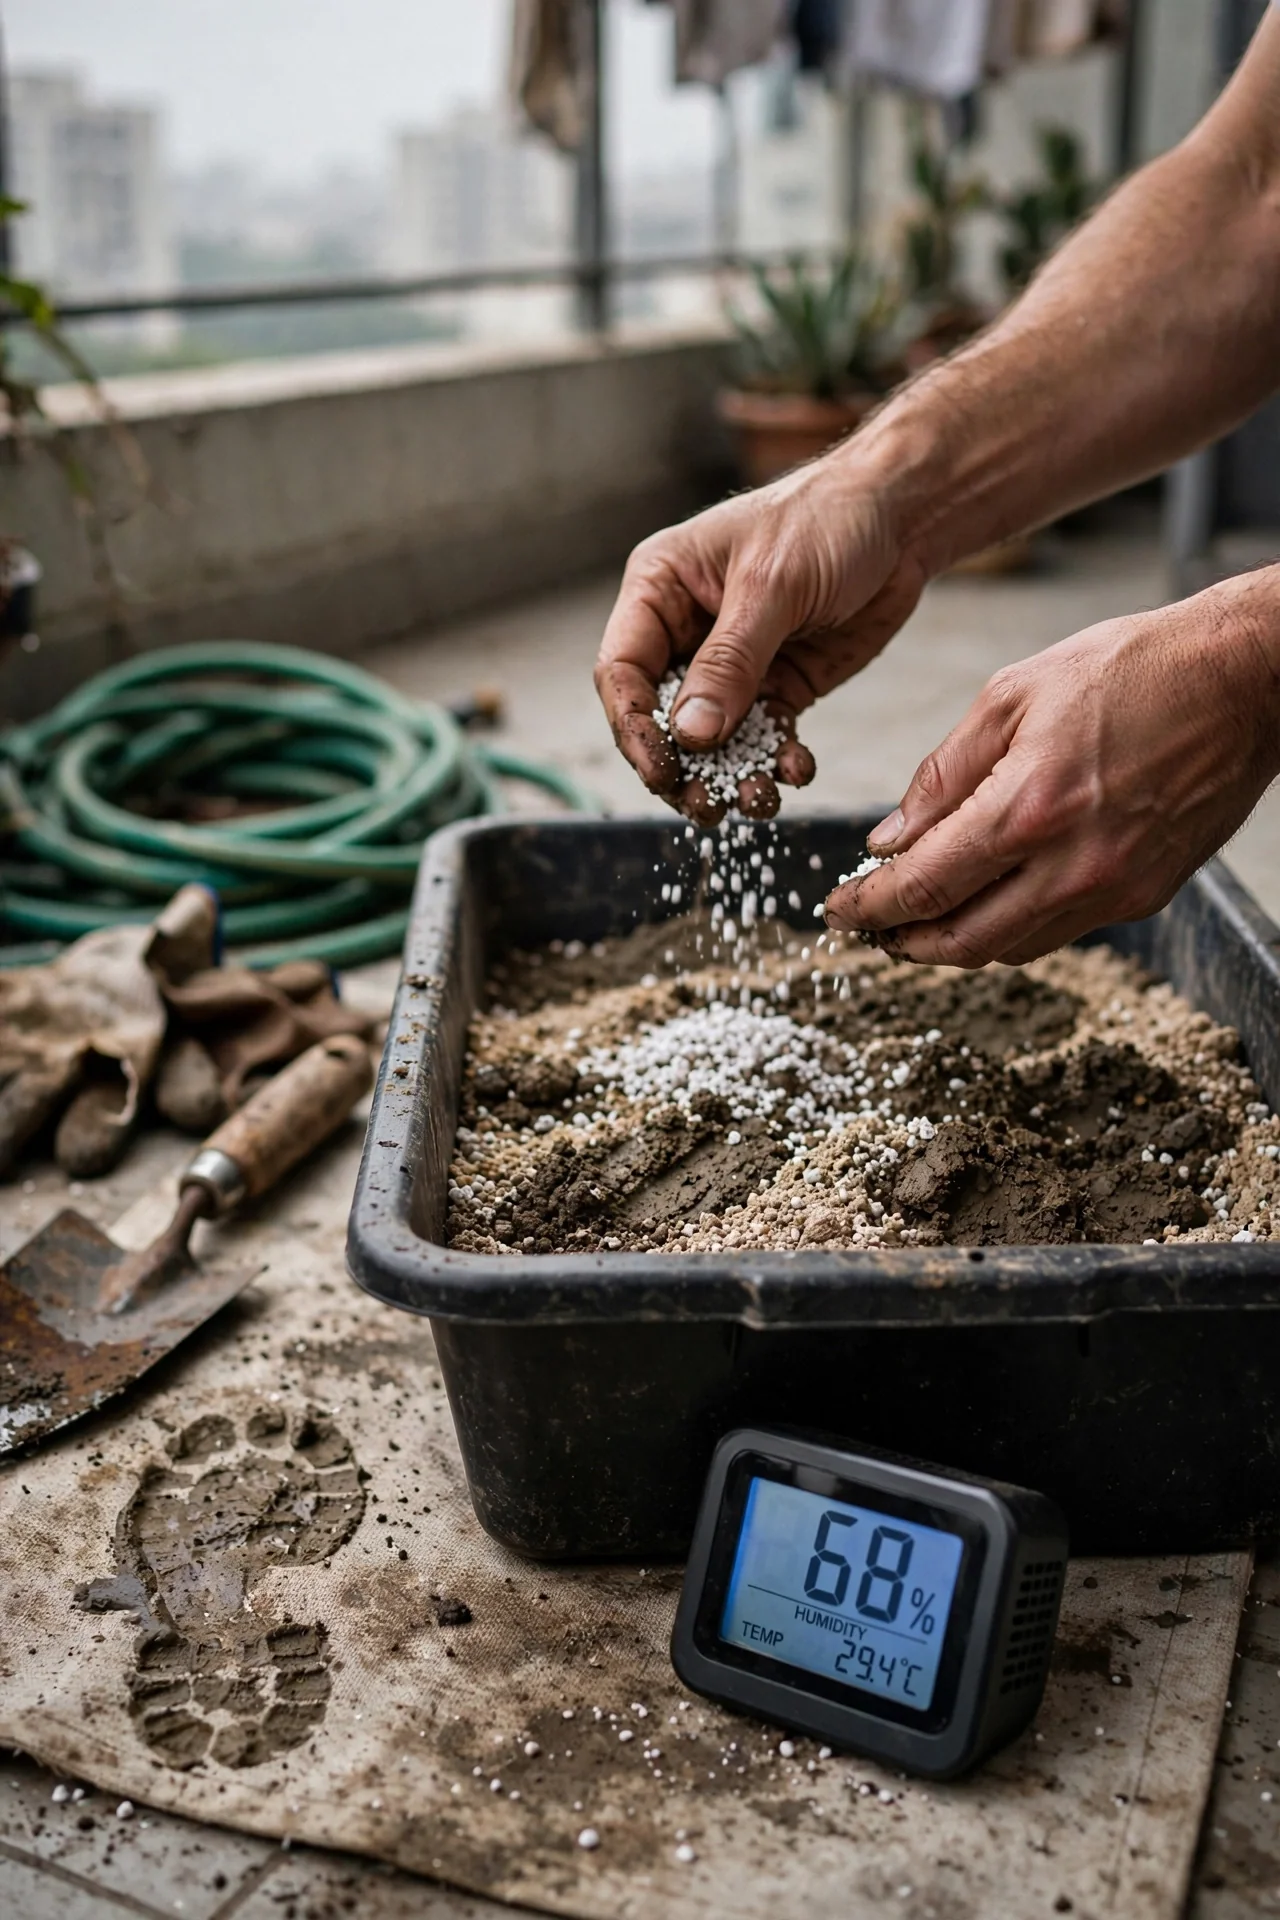
Coconut coir holds less water than sphagnum peat moss and, crucially, rewets more reliably after going bone dry. Peat can become hydrophobic when fully desiccated, causing water to bead and run down the inside of the pot without soaking the root ball. Coir, once properly hydrated from its compressed brick form, reabsorbs water more readily. The trade-off: coir contains almost no inherent nutrients, so pairing it with a small amount of worm castings or a diluted low-nitrogen fertilizer is necessary for long-term plant health.
6. Pre-Made Base Plus Amendments Shortcut
Best for: Branch 2 or Branch 3
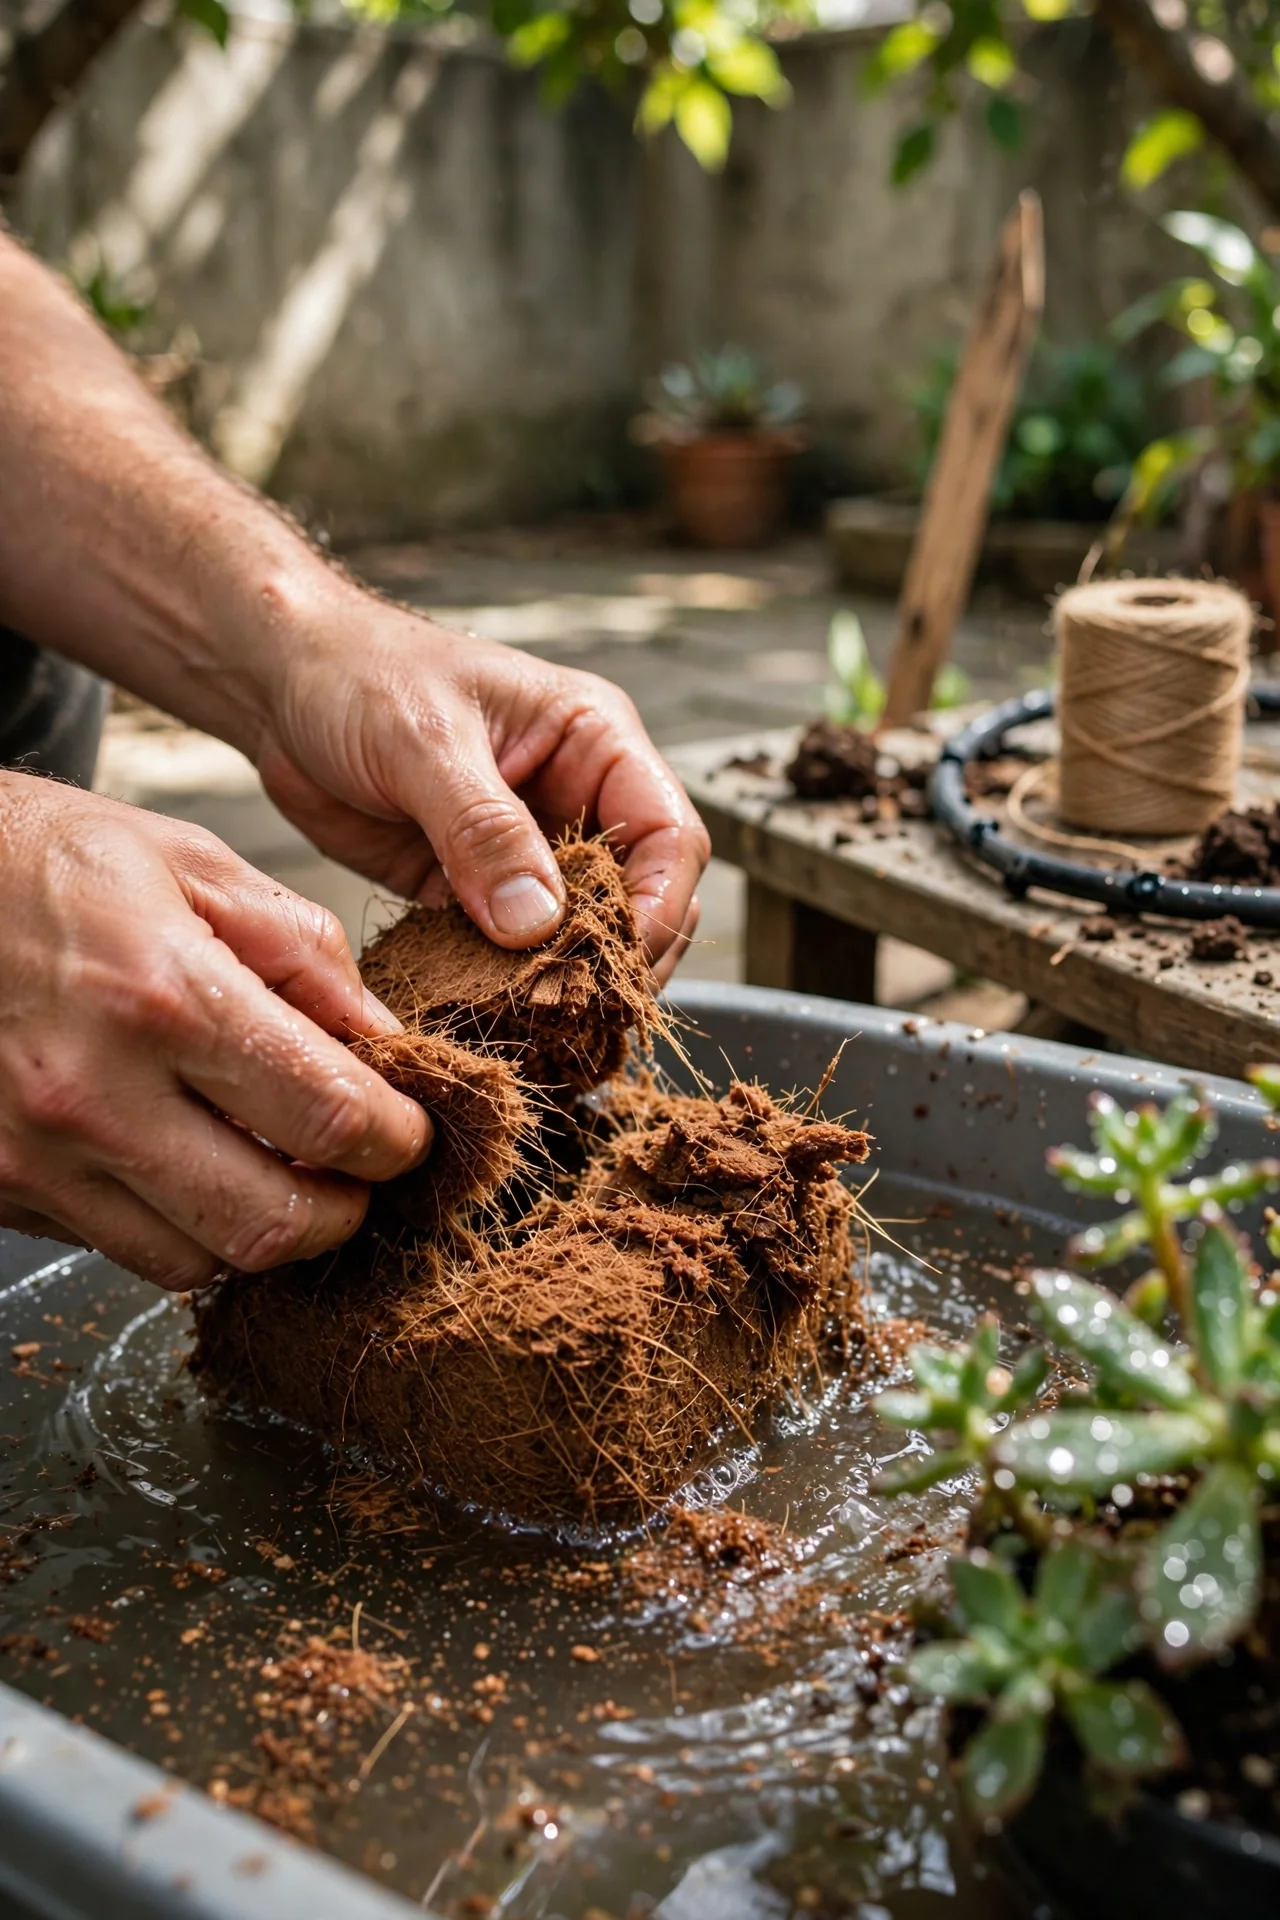
Buy a bag of commercial cactus mix and treat it as your organic base, not the finished product. Most bagged cactus soils still contain too much peat or composted forest products for truly fast drainage. Add extra perlite or pumice at a ratio of 1 part amendment to 2 parts bagged mix. This approach skips the measuring of multiple raw ingredients while still producing a mix that drains faster than anything straight from the bag. Total hands-on time is under 5 minutes. The cost runs approximately USD 12 to 18 for a batch that fills three to four 15 cm pots, depending on local bagged mix prices.
7. The Fully Inorganic Gritty Mix
Best for: Branch 3
What It Is
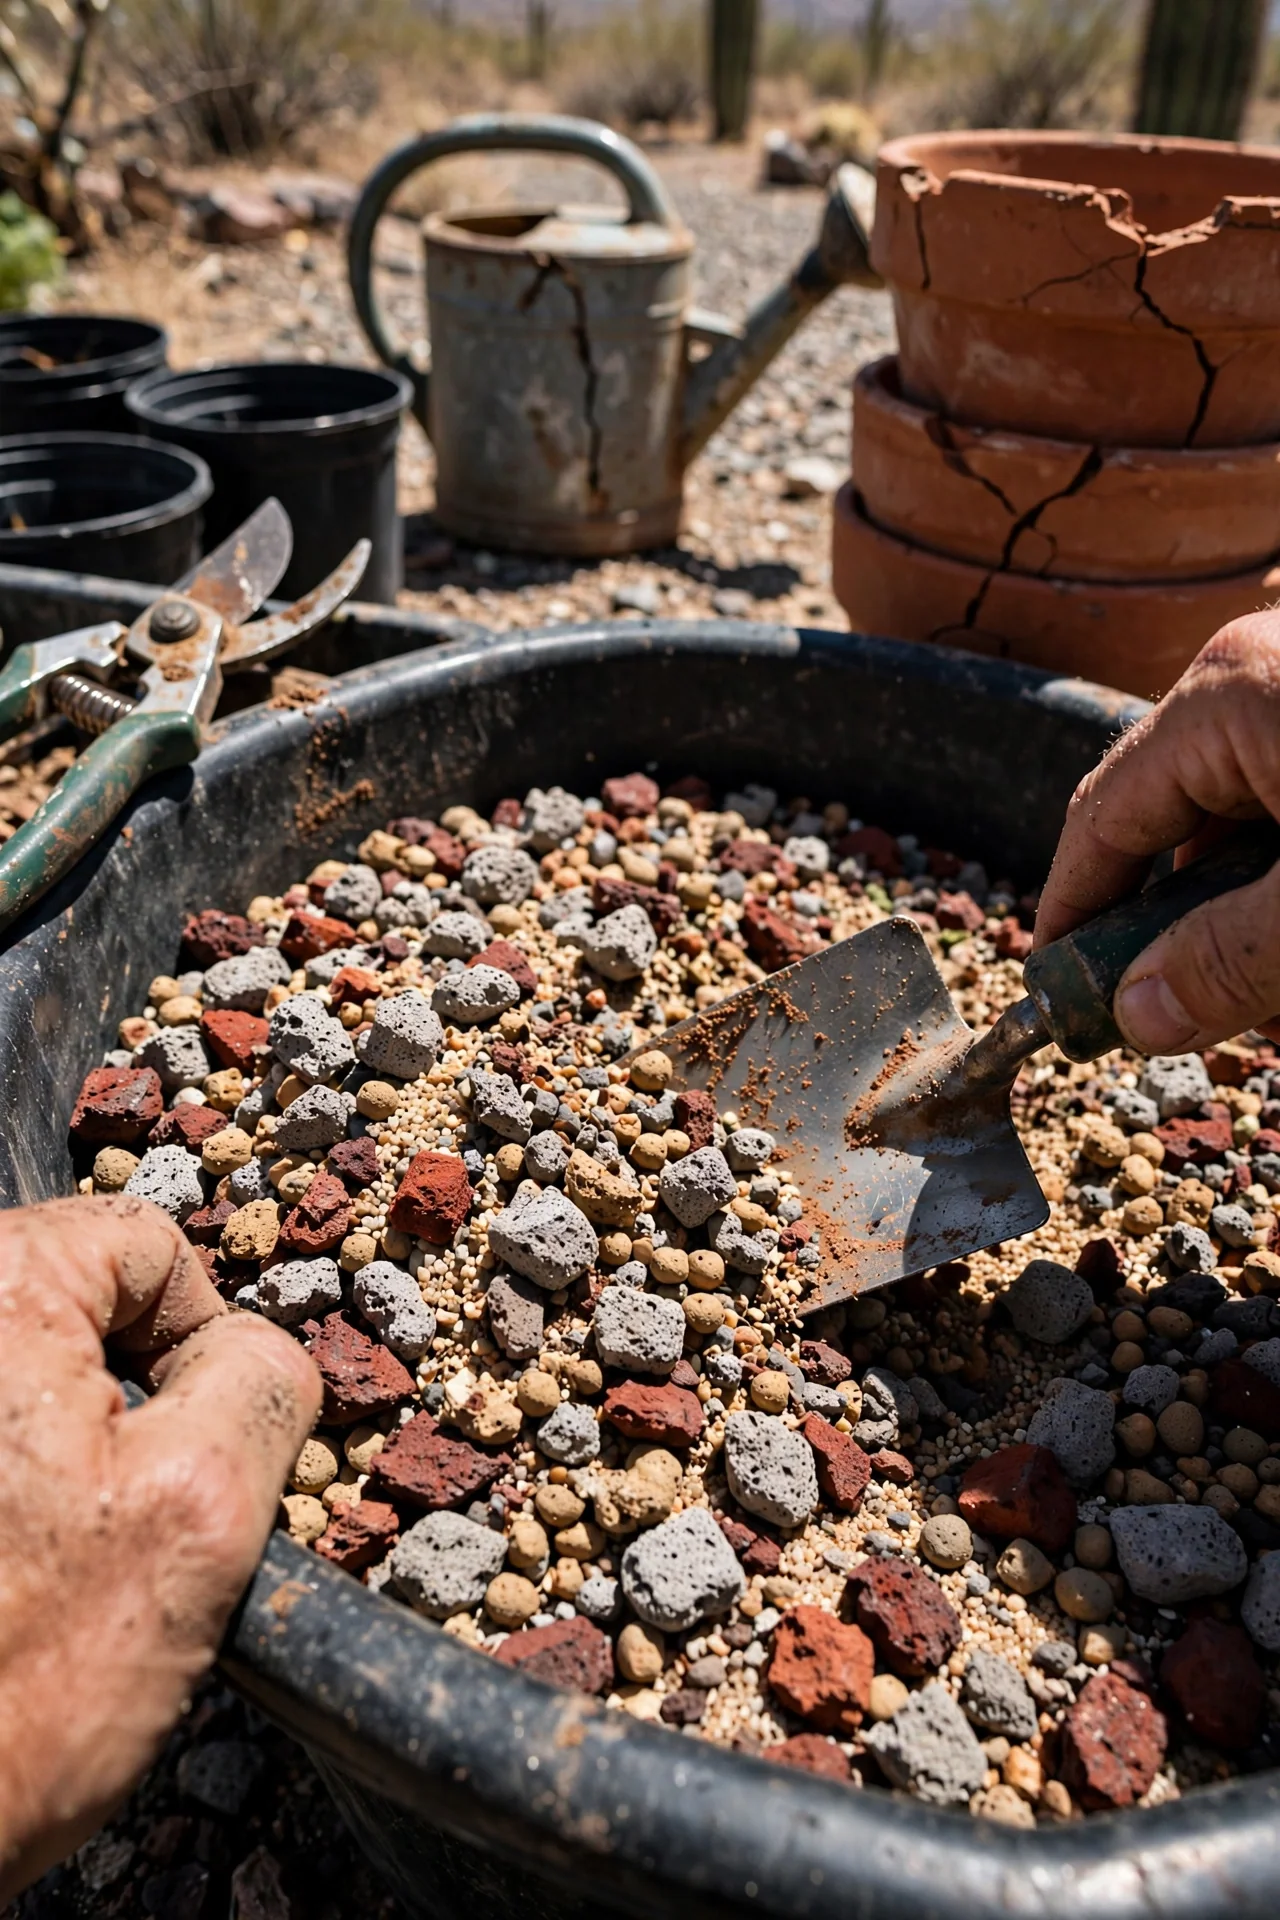
A mix containing zero peat, coir, compost, or soil. Every component is mineral: pumice, lava rock, calcined clay (such as Turface), crushed granite, or coarse sand. With no organic matter to decompose, the structure remains stable for years. With no water-holding organic component, the mix dries within 24 to 48 hours even in moderately humid conditions.
When to Use It
This is the appropriate choice when your home's humidity stays above 65% for most of the year, when you are growing particularly rot-sensitive species like Ariocarpus or Astrophytum, or when you have lost plants to root rot despite using a standard cactus mix. It is also the preferred substrate for growers who prefer to control nutrition entirely through dilute liquid fertilizer rather than relying on compost breakdown.
Critical Constraint
A fully inorganic mix requires more frequent watering and a disciplined fertilization schedule. If you travel frequently or tend to forget to water for weeks, this mix will punish neglect faster than any organic-containing blend. The effort score is 4 because you must mix multiple components, source specialty materials, and maintain a consistent liquid feeding routine.
Mixed more than you need? Properly stored dry mineral components last indefinitely. See our guide on potting soil storage for keeping your leftover mix in usable condition.
8. Worm Castings and Nutrient Additions
Best for: Branch 1
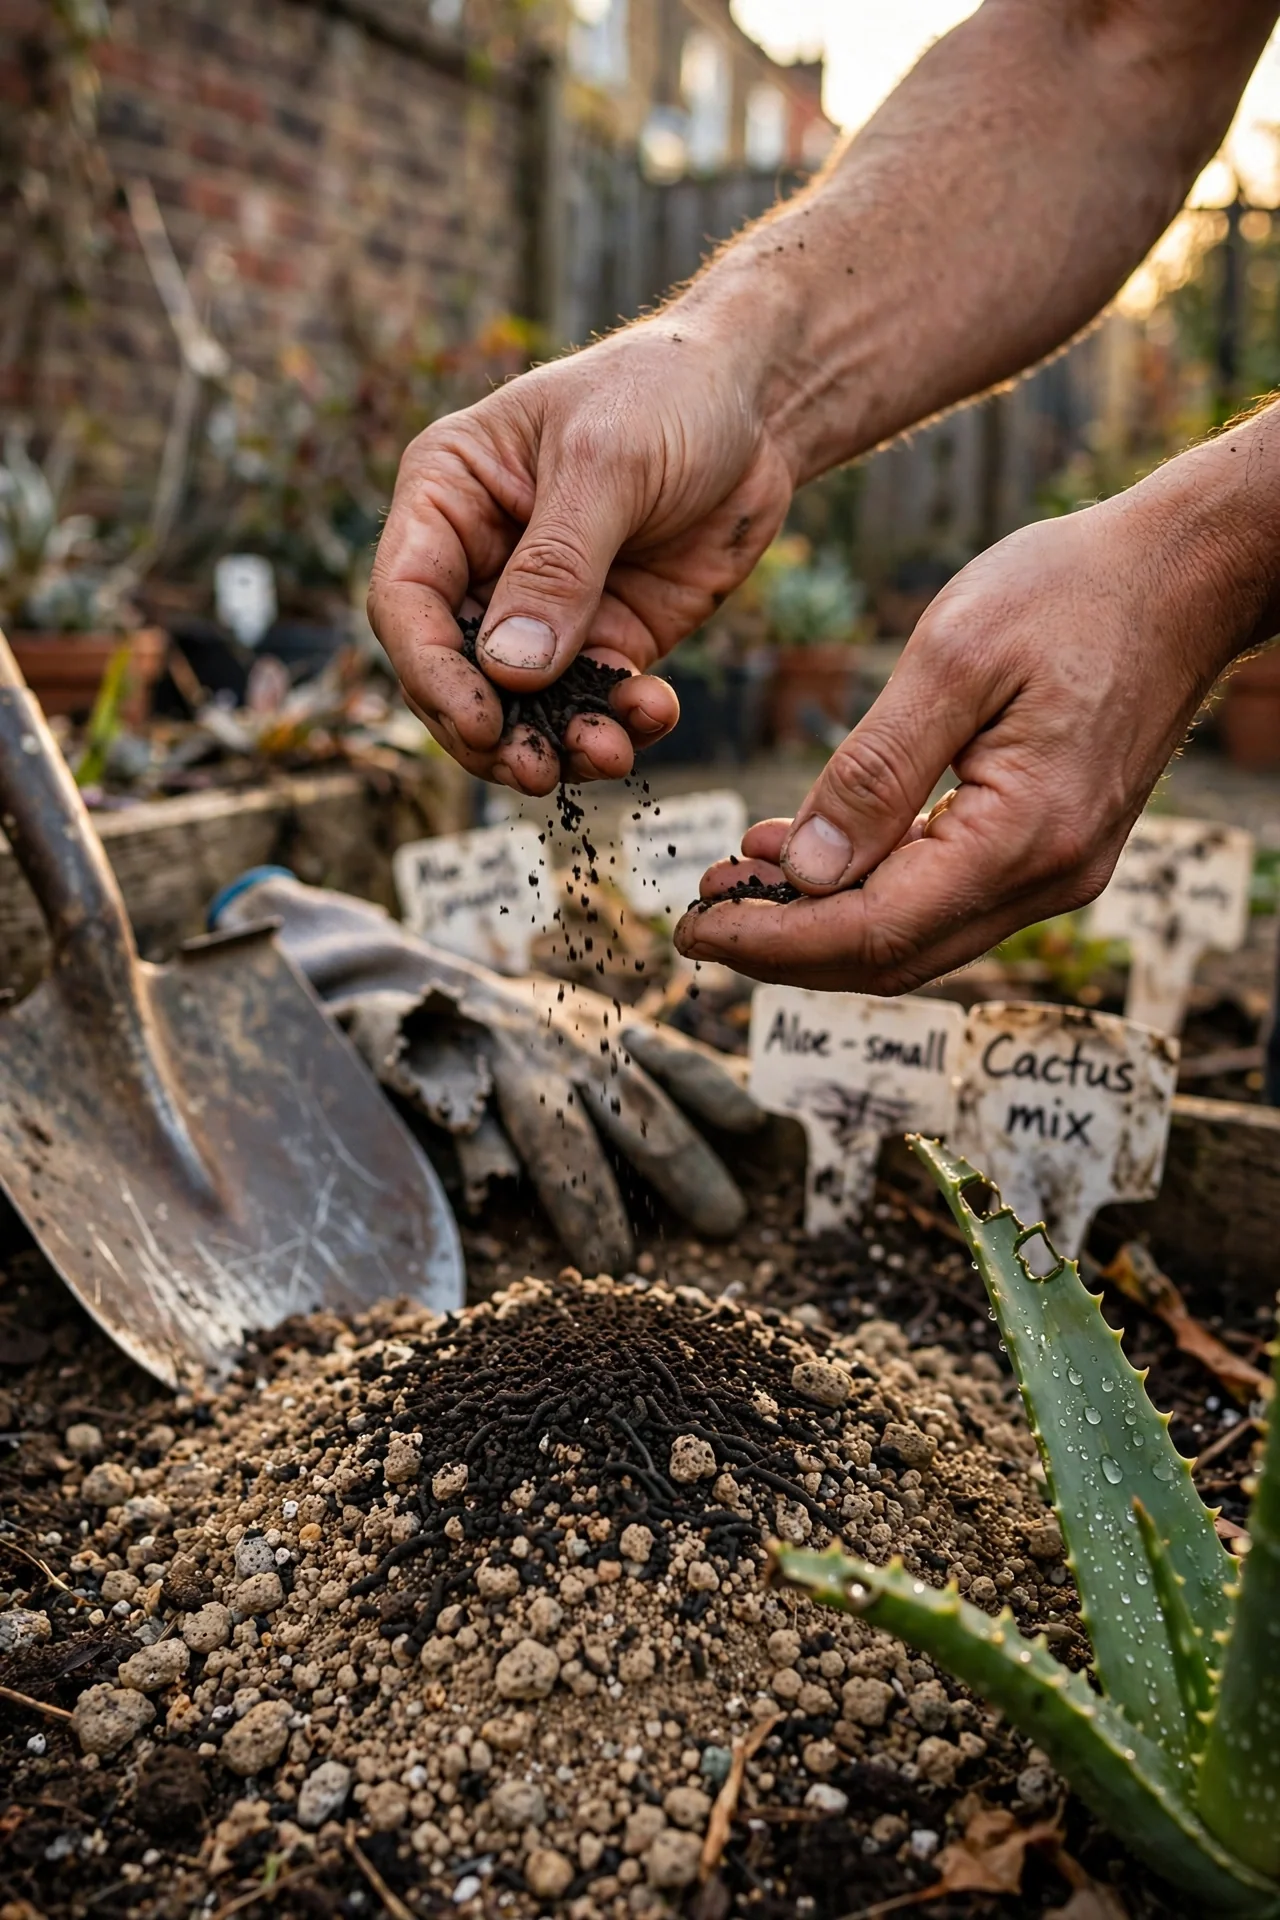
Worm castings added at roughly 5% to 10% of total volume introduce beneficial microbiology and slow-release nutrients without the water-retention penalty of compost. Unlike synthetic granular fertilizers, castings will not cause salt buildup in the root zone. One caution: do not exceed 10% by volume. Beyond that threshold, castings begin to form dense, moisture-holding clumps that defeat the drainage purpose of your mineral fraction. A 1-litre bag of castings is enough for roughly 10 to 20 litres of finished mix.
9. pH Adjustment with Lime or Gypsum
Best for: Branch 3
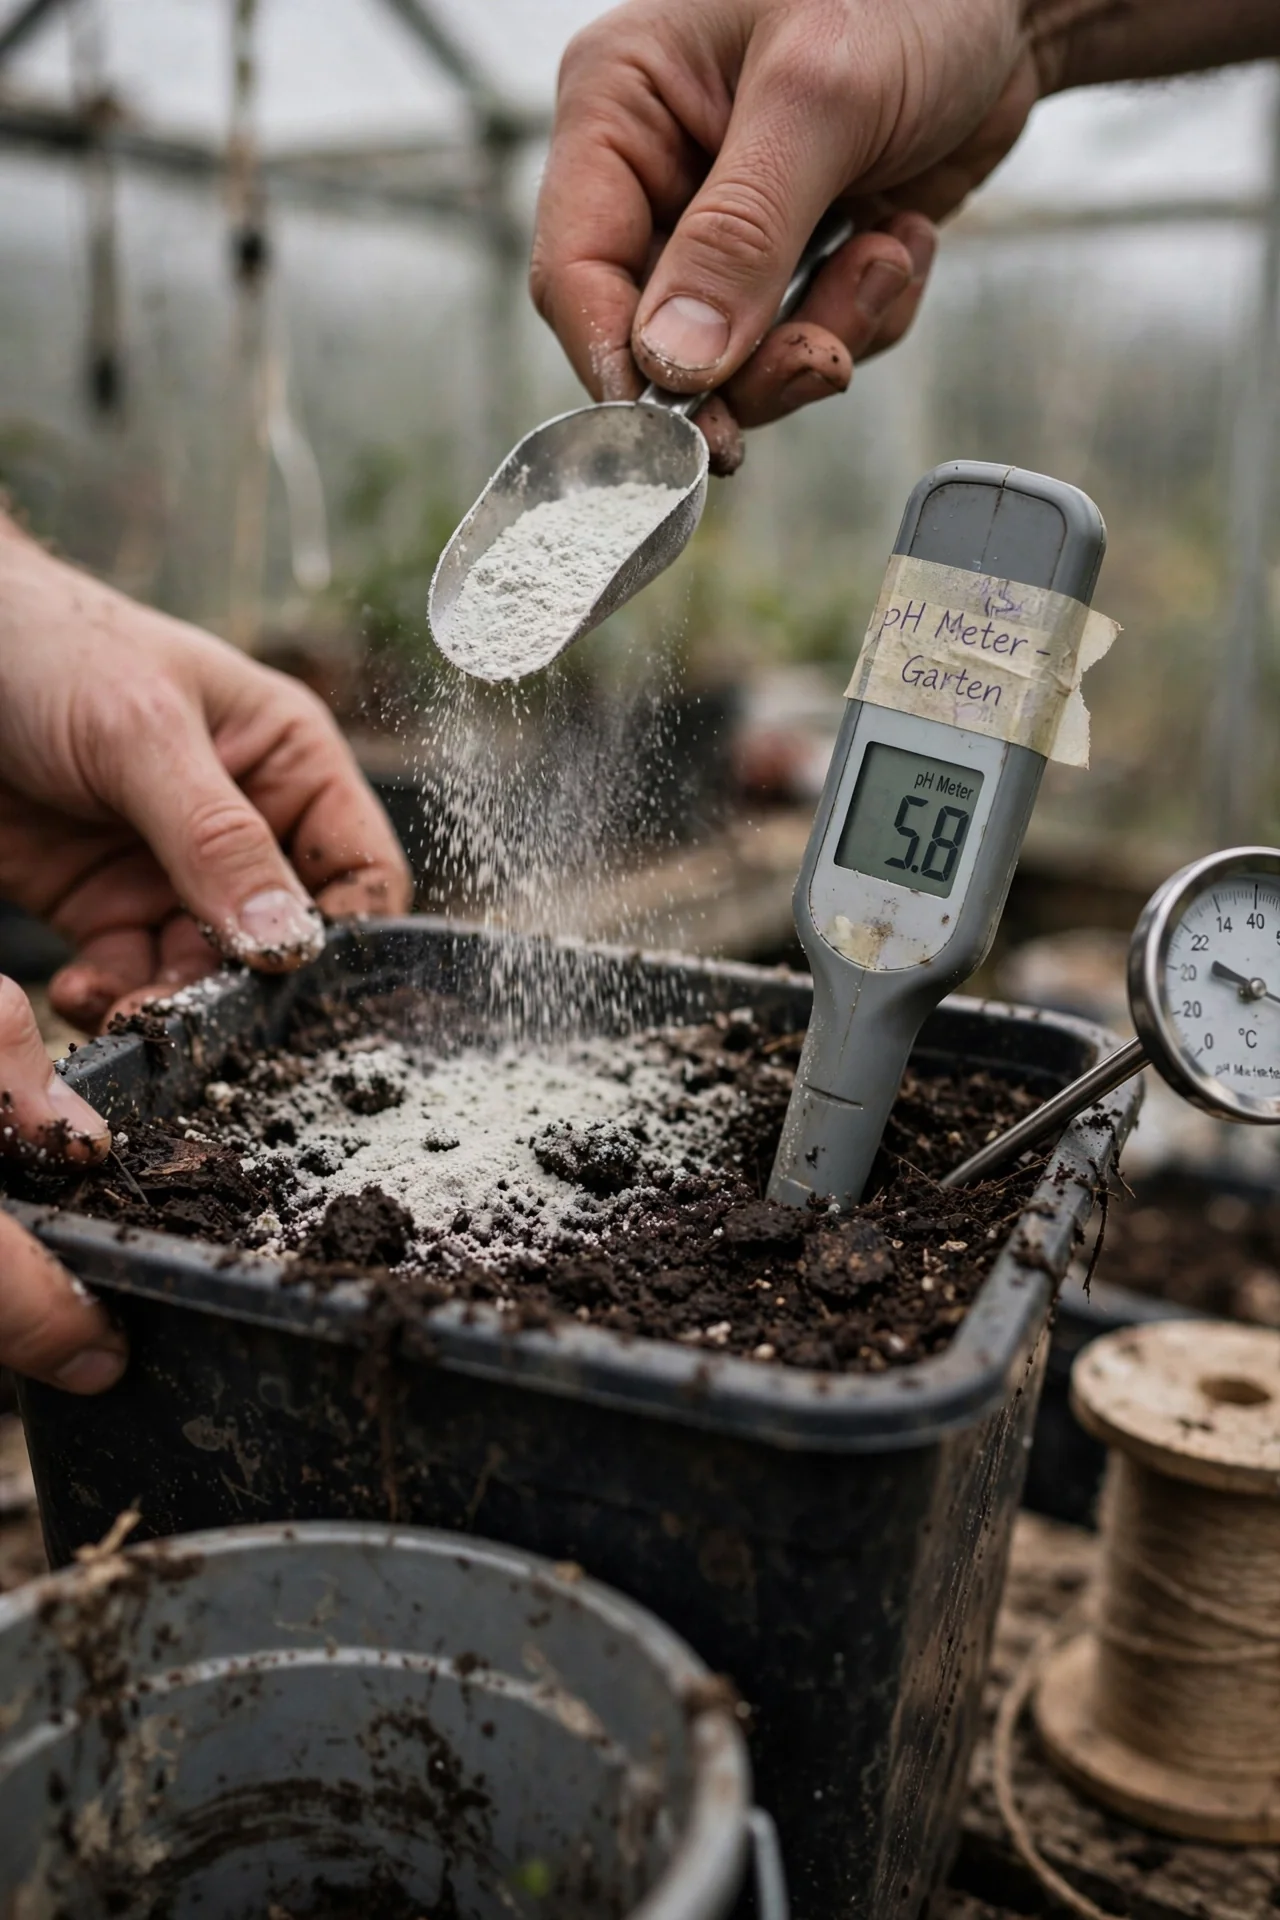
Most desert cacti prefer a slightly acidic to neutral pH range of 5.5 to 6.5. Peat-based mixes naturally drift acidic over time as the peat decomposes. If you use coir as your organic base, the starting pH is closer to neutral (around 6.0 to 6.5), which is already in the target zone. For peat-heavy blends, adding dolomitic lime at roughly 1 tablespoon per 4 litres of mix buffers against acidification. For growers in hard-water areas where tap water is alkaline, skip the lime entirely; the water itself will gradually raise the pH.
Threshold rule: Test your tap water pH before adding any lime. If your water pH is above 7.5, you are already adding alkalinity with every watering, and additional lime will push the mix beyond the tolerable range for most cacti.
10. Heat Sterilization for Seed Starting and Disease Recovery
Best for: All branches (situational)
When It Matters
Sterilizing your mix is unnecessary for routine repotting of healthy adult plants. It becomes relevant in two scenarios: starting cactus seeds, where seedlings spend weeks in a sealed humid environment ideal for fungal growth; and repotting after a root rot outbreak, when pathogen spores may persist in reused components.
The Protocol
Moisten your mixed soil until it feels like a wrung-out sponge. Spread it no more than 5 cm deep in a metal or glass baking dish. Cover loosely with aluminium foil. In an oven preheated to 90 degrees C (195 degrees F), heat the soil for 30 minutes. Use a probe thermometer to verify the centre reaches at least 82 degrees C for a minimum of 10 minutes. Let it cool completely, still covered, before use. This temperature range kills most fungal spores and insect eggs without combusting organic matter or creating the unpleasant odour that higher-heat sterilization produces. Do not microwave dry soil; it can ignite.
The Downside
Heat sterilization kills beneficial microorganisms along with pathogens. After sterilizing, consider reintroducing microbial life by mixing in a small amount of fresh worm castings or using a microbial inoculant product. This step is optional but recommended if you are sterilizing a large batch that will be used over many months.
Starter Stack (What to Choose First)
Branch 1: Fast Dry-Out Environments
Start with Item 1 (the 70:30 baseline) and Item 5 (coconut coir as your organic base). The coir holds slightly more available moisture than peat would at the same ratio, giving roots more time to absorb water between dry-downs. Together, these two items give you a mix that retains enough moisture for nutrient uptake without crossing into soggy territory. Estimated cost: USD 15 to 25 for initial ingredients, enough for 3 to 5 medium pots. Mixing time: roughly 15 minutes.
Branch 2: Moderate Dry-Out Environments
Start with Item 2 (coarse sand selection) and Item 3 (perlite or pumice decision). Combine them with a basic organic component of your choice at the 70:30 ratio from Item 1. This trio covers your drainage skeleton, your aeration strategy, and your nutrient base. Estimated cost: USD 12 to 20. Mixing time: roughly 10 minutes once ingredients are sourced.
Branch 3: Slow Dry-Out Environments
Start with Item 4 (humidity-adjusted ratio method) and Item 7 (fully inorganic gritty mix). Use the hygrometer readings from Item 4 to confirm you genuinely need the aggressive drainage of Item 7 before committing to the fully inorganic path. If your humidity is moderate but your pots still dry slowly, try the 80:20 ratio first before going fully inorganic. Estimated cost: USD 20 to 35 for quality mineral components. Mixing time: roughly 20 to 30 minutes, including sifting materials to consistent particle size.
When This Won't Work
Failure condition 1: Pots without drainage holes. No soil mix, no matter how perfectly proportioned, can compensate for a container that traps water at the bottom. Water will accumulate, a perched water table will form above the pot base, and roots in that zone will suffocate. The fix is not a better mix; it is a different pot. Either drill drainage holes or repot into a container that has them.
Failure condition 2: Using this guide for plants that are not desert cacti. Epiphytic jungle cacti, succulents from humid environments, and carnivorous plants each need fundamentally different soil structures. Applying a fast-draining mineral mix to a carnivorous plant, which requires consistently moist, nutrient-poor peat, will kill it within weeks. If you are growing carnivorous species alongside your cacti, see our guide on carnivorous plant soil requirements for the correct approach.
In both cases, the alternative action is the same: identify the mismatch early, before roots show visible damage. A plant that has not yet yellowed or softened can usually be saved by repotting into the correct setup within a few days of noticing the problem.
Choosing the Right Option for Your Situation
Budget Threshold
If your total budget for soil materials is under USD 15, prioritize coarse sand and a single aeration amendment (perlite is typically cheapest). Skip the specialty items like pumice, calcined clay, and pH adjusters. Items 2, 3, and 6 from the list above can be executed for under USD 15 total in most US and UK markets. A basic 70:30 mix using only sand, perlite, and a small bag of compost will outperform any unamended commercial cactus mix at a comparable cost.
Time Threshold
If you have less than 15 minutes from start to finish, choose Item 6 (the pre-made base plus amendments shortcut). You are buying one bag of commercial cactus mix and one bag of perlite or pumice, then combining them in a single container. No sifting, no pH testing, no measuring multiple components. The result is not the most precisely tuned mix possible, but it will drain faster than the bagged product alone, and that alone prevents the majority of indoor cactus failures.
Technical Constraint: Particle Size Uniformity
The single factor most correlated with consistent drainage is not the ratio but the particle size distribution. When fine dust and large chunks coexist in the same pot, fine particles migrate downward and fill the spaces between larger particles, reducing overall porosity over time. If you have the time and equipment, sift your mineral components through a 2 mm mesh screen to remove dust and particles smaller than 2 mm. This step alone often improves drainage more than adjusting the ratio by 5 or 10 points.
Yes/No Checklist:
☐ Does your pot have at least one unobstructed drainage hole? (If no, fix this first.)
☐ Have you measured how many days your current soil stays damp after watering? (If no, do this before choosing a ratio.)
☐ Is the plant a desert cactus, not an epiphytic or jungle species? (If no, this guide does not apply.)
☐ Do you have coarse sand or grit with particles in the 2 to 4 mm range? (If no, source this before mixing.)
Expert Q&A
Can I use sand from my backyard instead of buying horticultural sand?
Generally no. Backyard sand is rarely sterilized and may contain clay, silt, salts, or pathogens. Its particle size is usually too fine and inconsistent. The money saved is not worth the risk of introducing soil-borne disease or creating a compacted layer that traps water. Horticultural or builder's sand is washed, graded, and inexpensive.
Why does my DIY cactus mix repel water instead of absorbing it?
This is hydrophobicity, and it is almost always caused by peat moss that has dried out completely. Peat becomes waxy and water-resistant when bone dry. The fix: either pre-moisten your mix before potting, use coir instead of peat, or add a small amount of horticultural surfactant (wetting agent) to your watering can for the first few waterings.
How often should I replace DIY cactus soil?
For mixes containing organic matter, repot every 18 to 24 months. The organic fraction decomposes over time, collapsing the soil structure and reducing drainage. Fully inorganic gritty mixes can go 3 to 5 years between replacement if you rinse accumulated salts out periodically with a thorough flush of distilled or rainwater.
Does charcoal belong in a cactus soil mix?
Horticultural charcoal is optional. It can help absorb excess salts and may reduce odours from decomposing organic matter in humid conditions. However, in a properly draining mix it provides marginal benefit. If you already have it, adding up to 5% of total volume does no harm. Do not buy it specifically for a cactus mix unless you are dealing with salt accumulation from hard tap water.
Can I use the same DIY mix for all my succulents?
Many succulents tolerate a cactus mix, but some need adjustments. Haworthia and Gasteria prefer slightly more organic matter. Lithops and other mesembs need an even leaner, more mineral mix than most cacti. Treat the 70:30 baseline as a starting point for succulents, then adjust based on how each genus responds to your watering frequency and indoor humidity.
Conclusion
The most reliable DIY cactus soil mix is the one you adjust after observing how long it stays wet in your actual home, under your actual watering habits. The number one mistake is copying a ratio from a forum or video without checking whether that grower lives in a climate remotely similar to yours.
Your next step: mix a small test batch using Item 1 as your baseline, pot one plant, water it thoroughly, and time the dry-down. That single data point tells you more than any published recipe ever could. If you are curious how a different soil structure behaves for plants with opposite needs, our aroid soil mix recipe shows what a moisture-retentive, chunky blend looks like for comparison.