
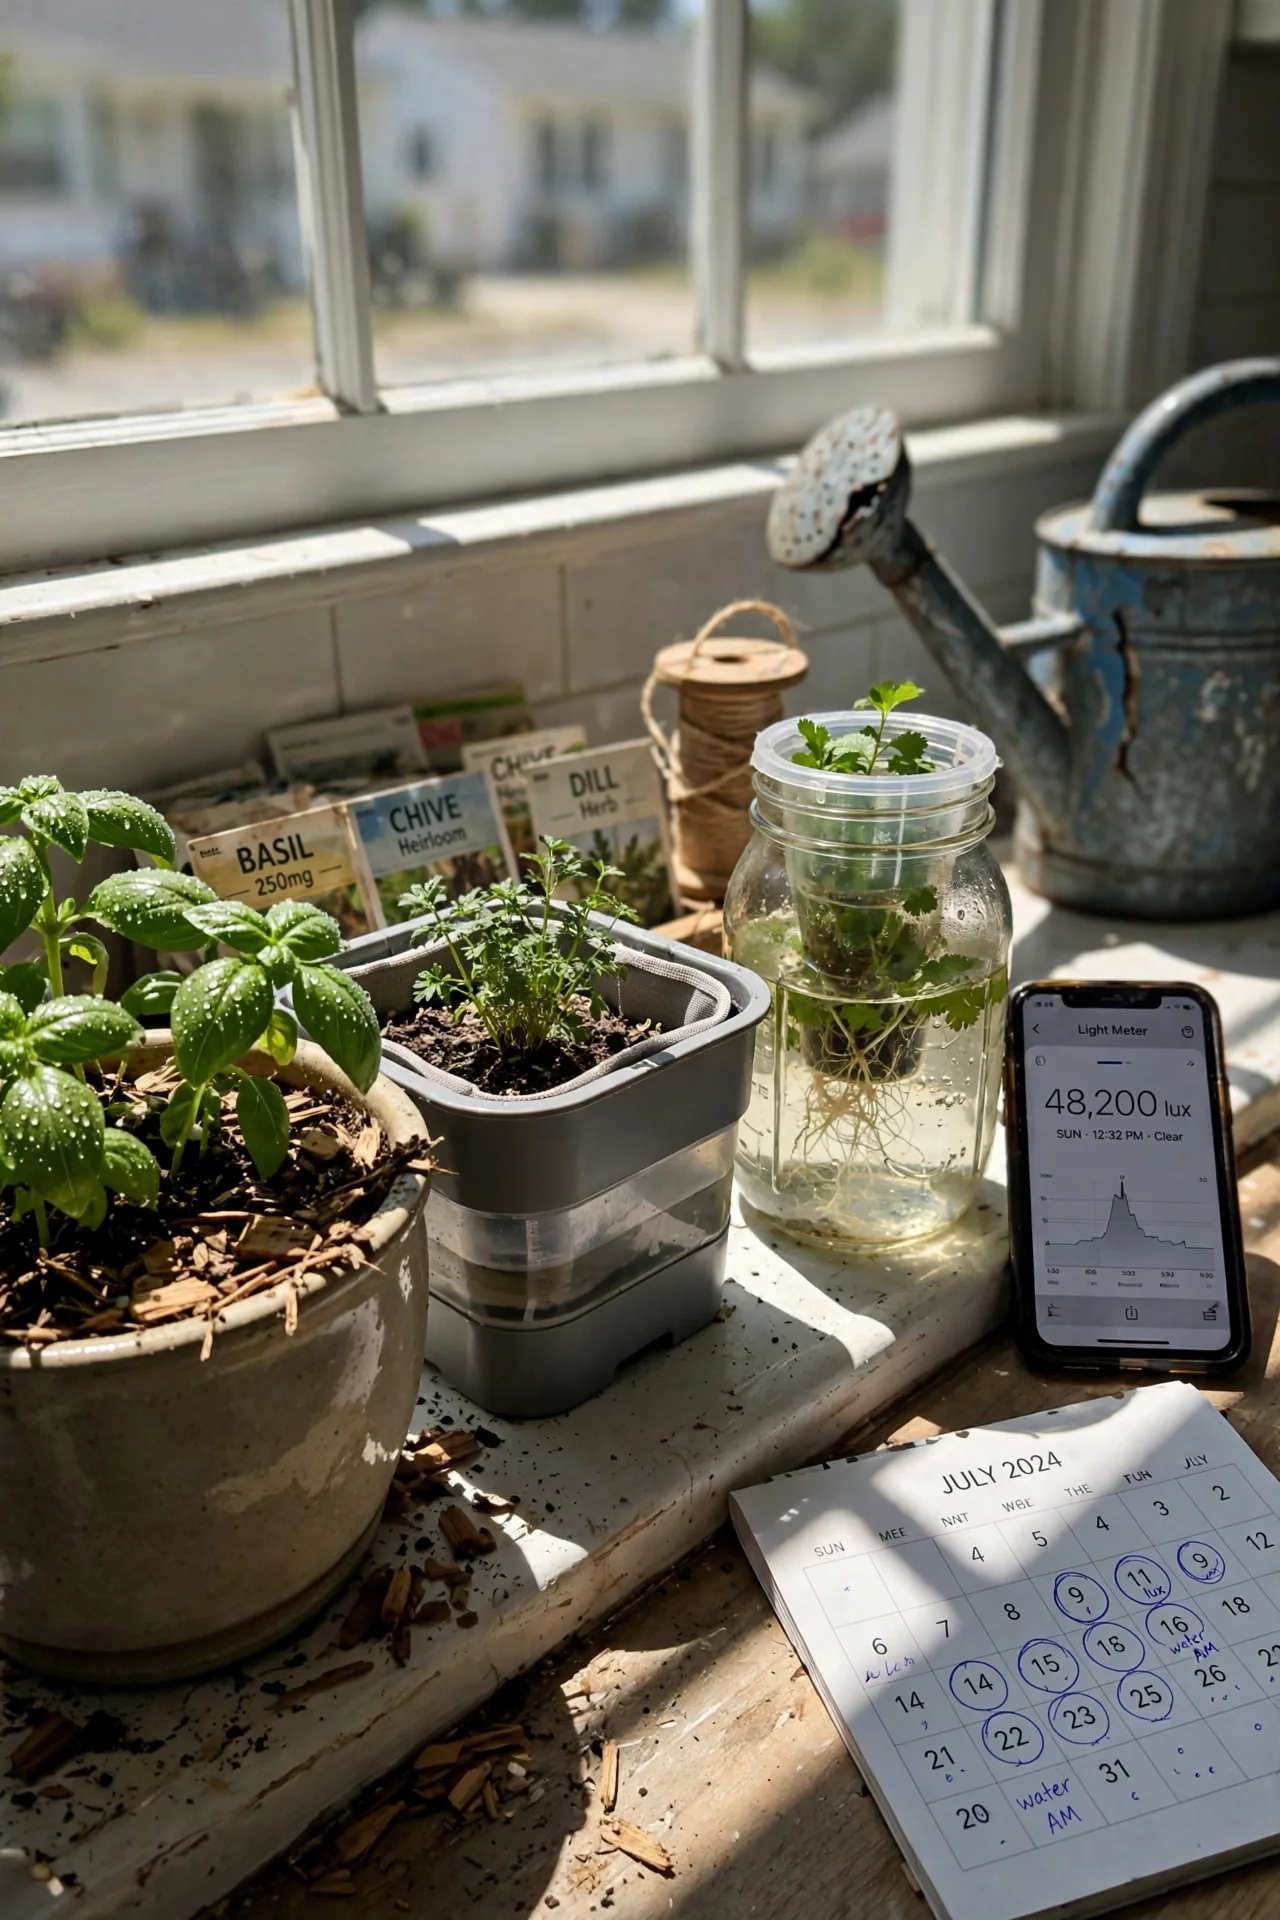
Most countertop herb garden advice treats all kitchens like they have the same sun exposure and the same tolerance for daily watering. The reality is that a south-facing bay window, a dim apartment corner, and a busy family cooktop demand fundamentally different systems. This guide reframes the choice around the two constraints that actually determine success: available natural light measured in hours of direct sun, and how often you are willing to check a water reservoir.
We cover only true countertop setups designed for edible herbs; no floor-standing towers or outdoor transplant systems. The list includes both soil-based planters, passive hydroponic methods, and fully automated smart gardens. What you will not find are generic “top 10” picks that ignore the critical link between your kitchen’s sun arc and the garden’s maintenance rhythm.
By the end, you will be able to identify which of three decision branches fits your space, compare budget tiers for each option, and assemble a starter combination that removes the two biggest points of failure: light starvation and missed watering cycles.
Bottom line: Choose the system whose water-and-light profile matches your actual weekday routine, not the one that looks best on a product page.
The Yield Grid Decision Grid
Measure your countertop light first. Use a phone lux meter app or simply note how many hours of direct sun hit the spot where the herbs will sit. Then pick your branch.
Branch 1: Sun-drenched windowsill, minimal care. At least 5 hours of direct sun daily, and you prefer to water only every 5–7 days. No electricity, no pumps. Soil or wick-based. Recommended: Items 1, 2, 3 below.
Branch 2: Partial light, moderate attention. You get 2–4 hours of direct sun or bright indirect light for most of the day. You are willing to check water twice a week and manage a small LED grow light. Recommended: Items 4, 5, 6 below.
Branch 3: Dim kitchen, hands-off automation. Less than 2 hours of direct sun or no window at all. You want a system that controls light timing, pump cycles, and nutrient reminders with minimal input. Budget is higher. Recommended: Items 7, 8, 9, 10 below.
If none of these branches fits precisely, you can blend features. For a broader look at how people combine positions, see our indoor herb garden ideas.
Quick Comparison Table
| Option | Key mechanism | Best for | Decision Grid Branch | Budget Tier |
|---|---|---|---|---|
| 1. Basic Ceramic Pot & Saucer | Soil, manual top-watering | Strong south window | Branch 1 | Low |
| 2. Self-Watering Wick Planter | Soil with capillary wick reservoir | 5–6 day neglect tolerance | Branch 1 | Low |
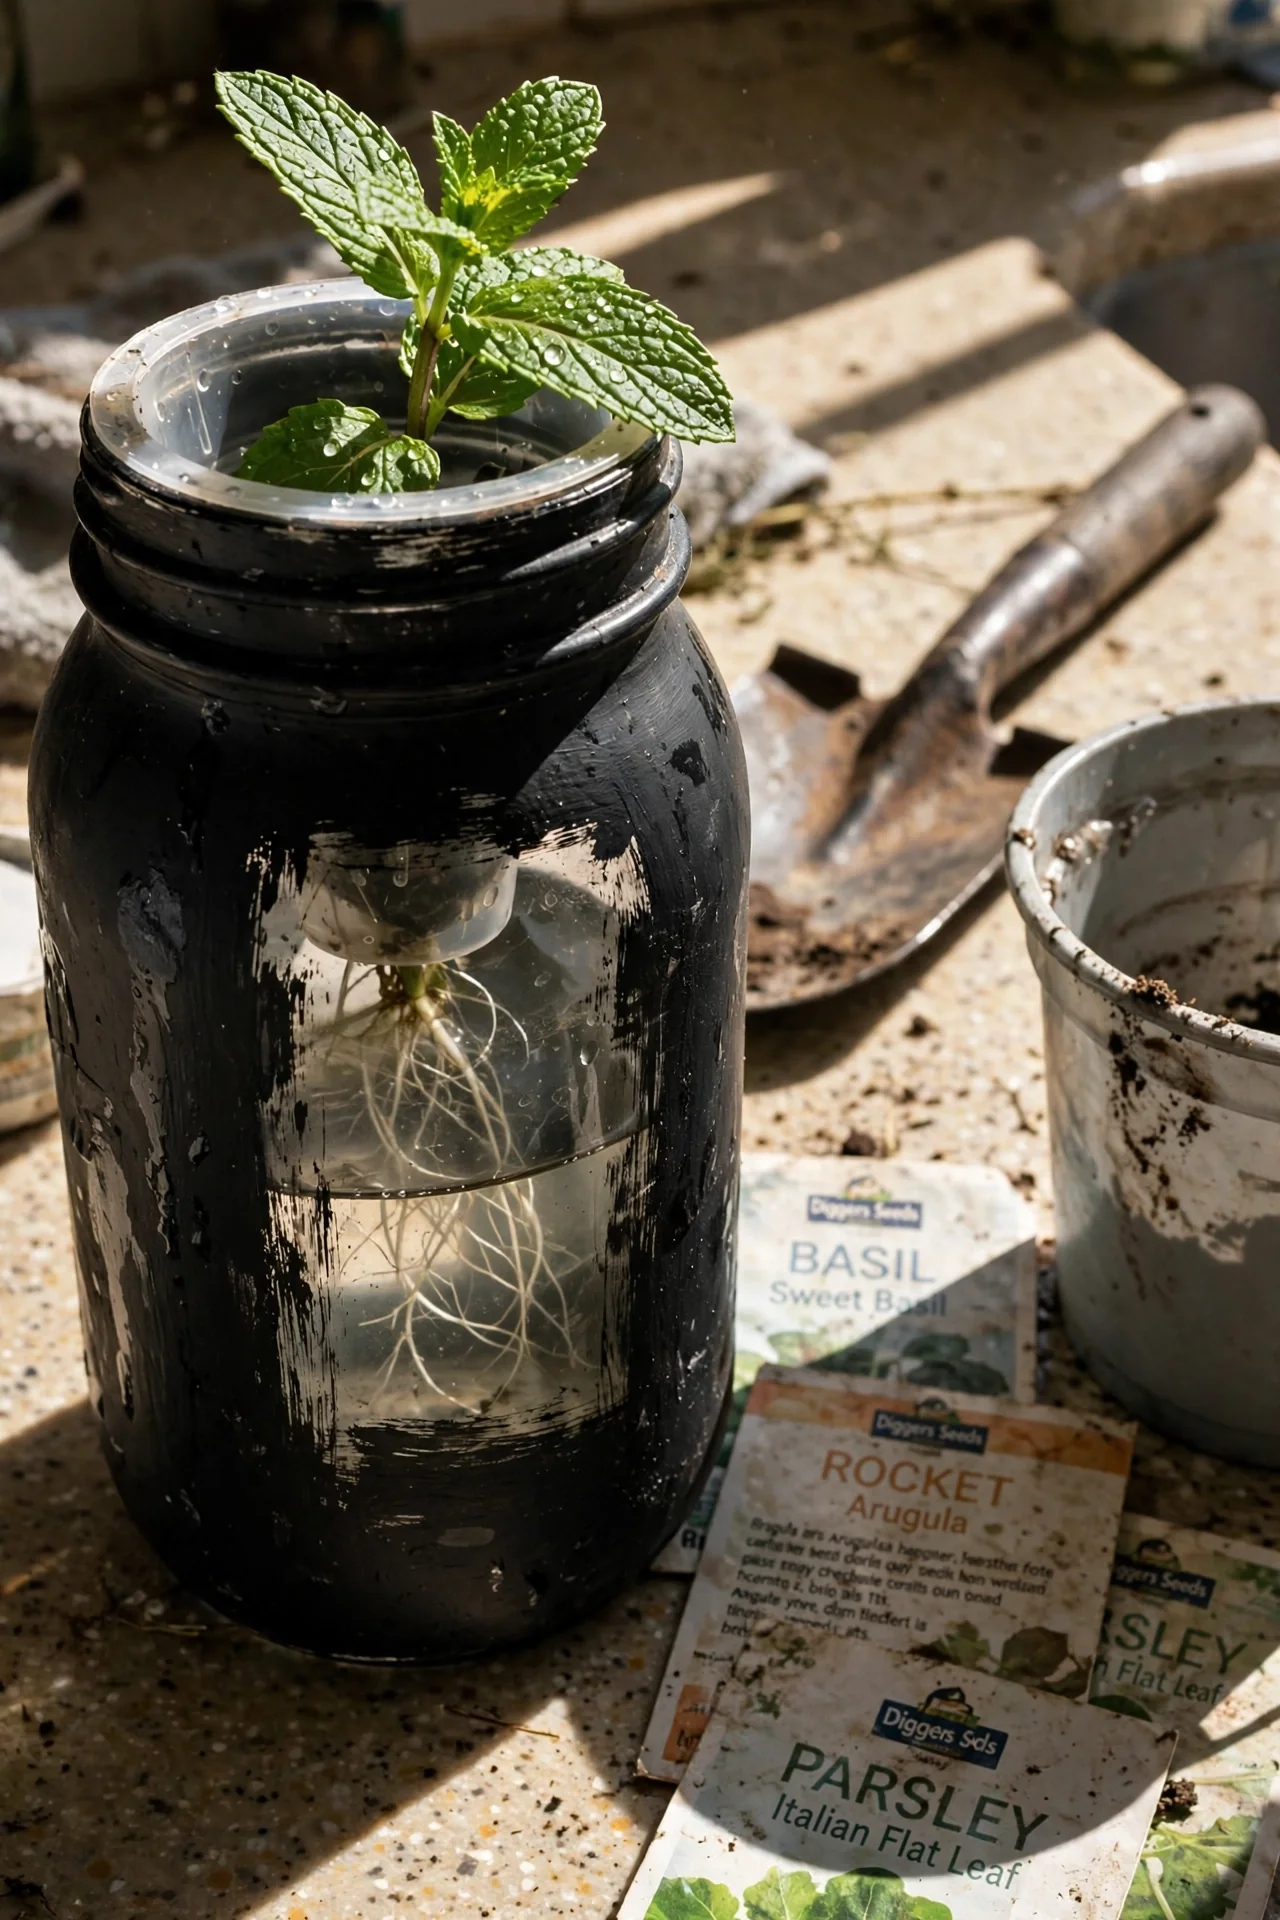
| 3. Kratky Mason Jar System | Passive hydroponic (static solution) | Branch 1 with no soil mess | Branch 1 | Low |
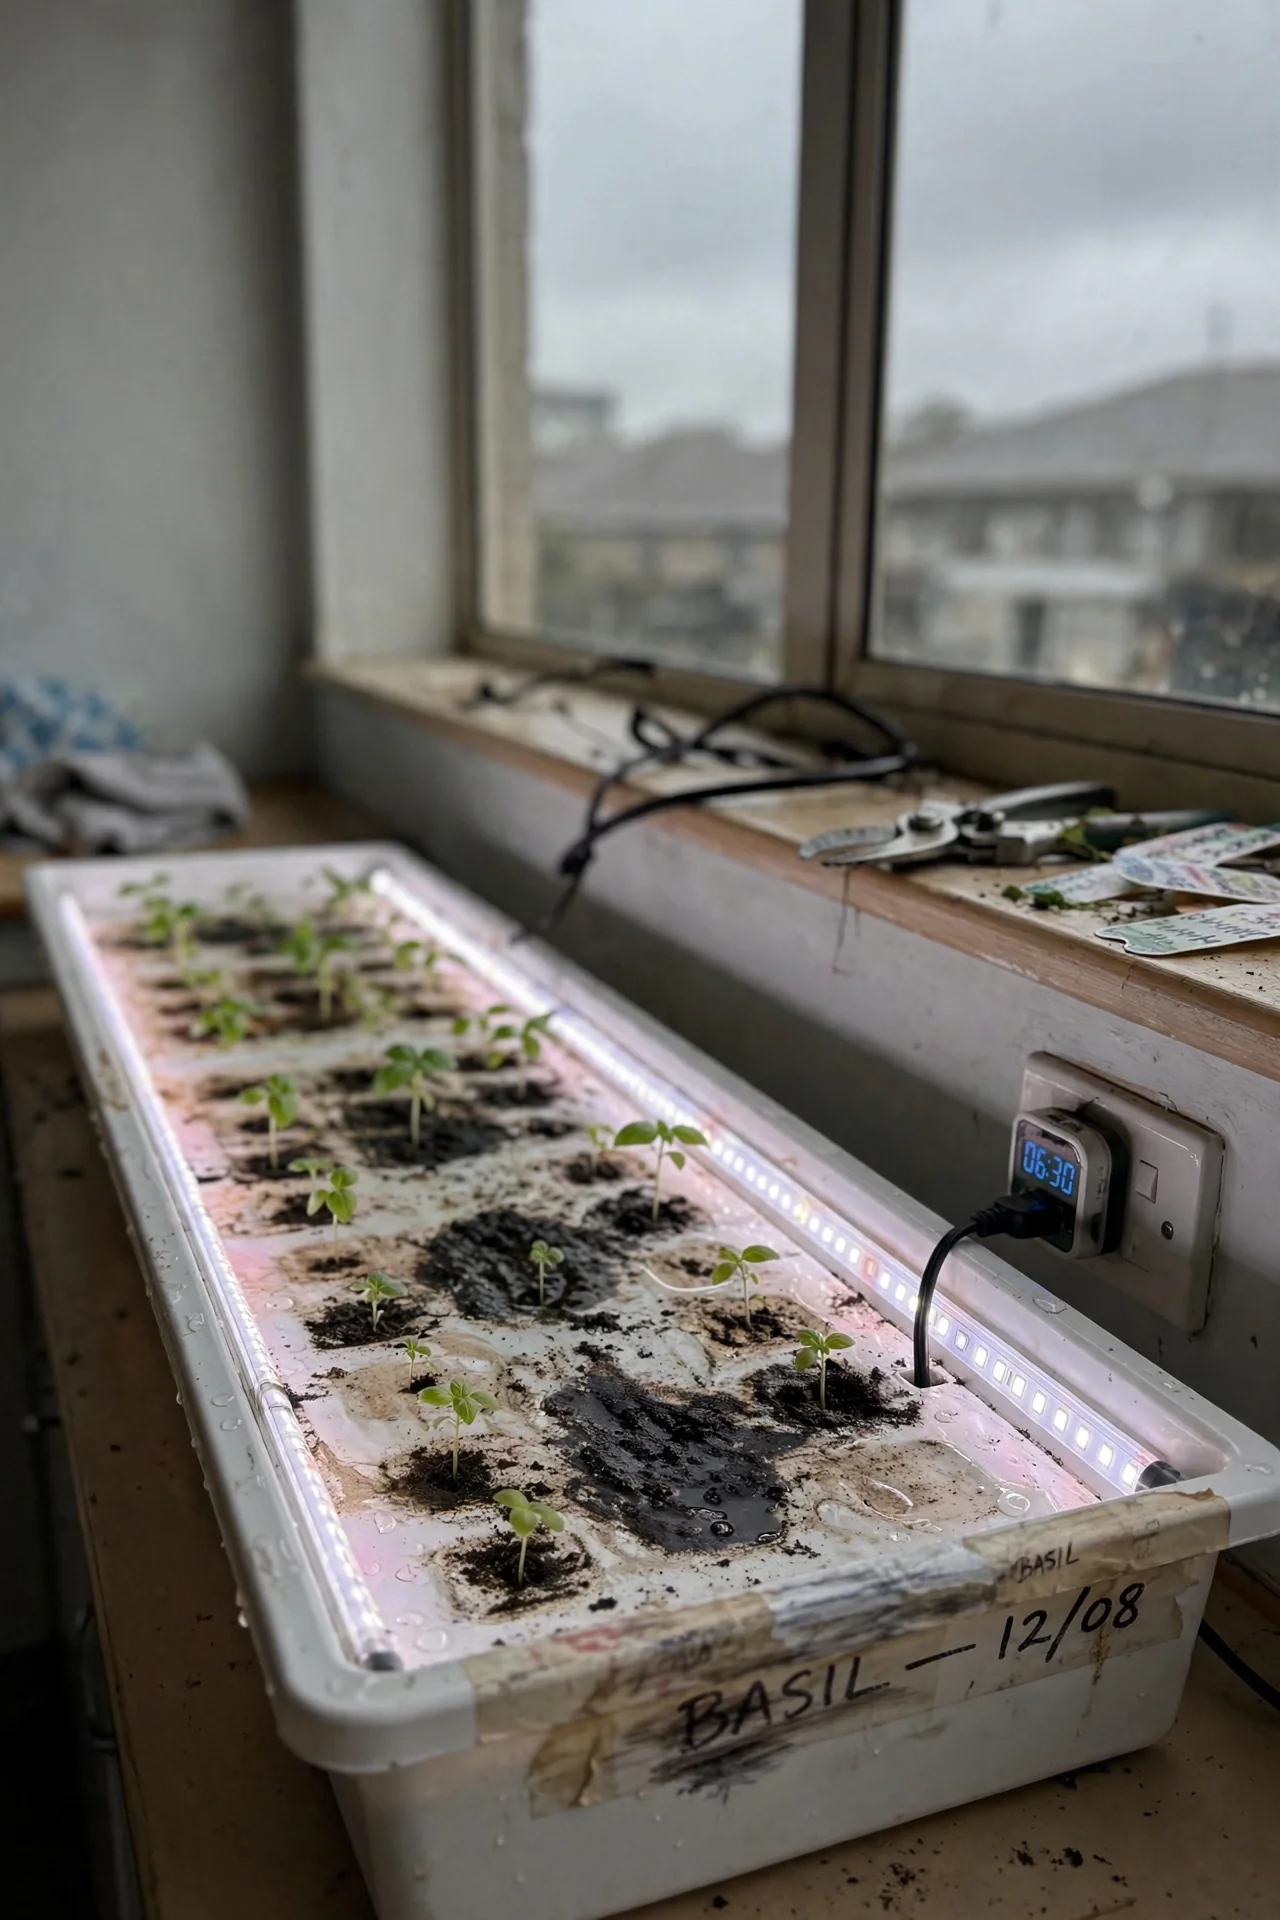
| 4. Windowsill LED Tray Garden | Soil plus built-in low‑profile LED strip | East/west window, light supplement | Branch 2 | Medium |
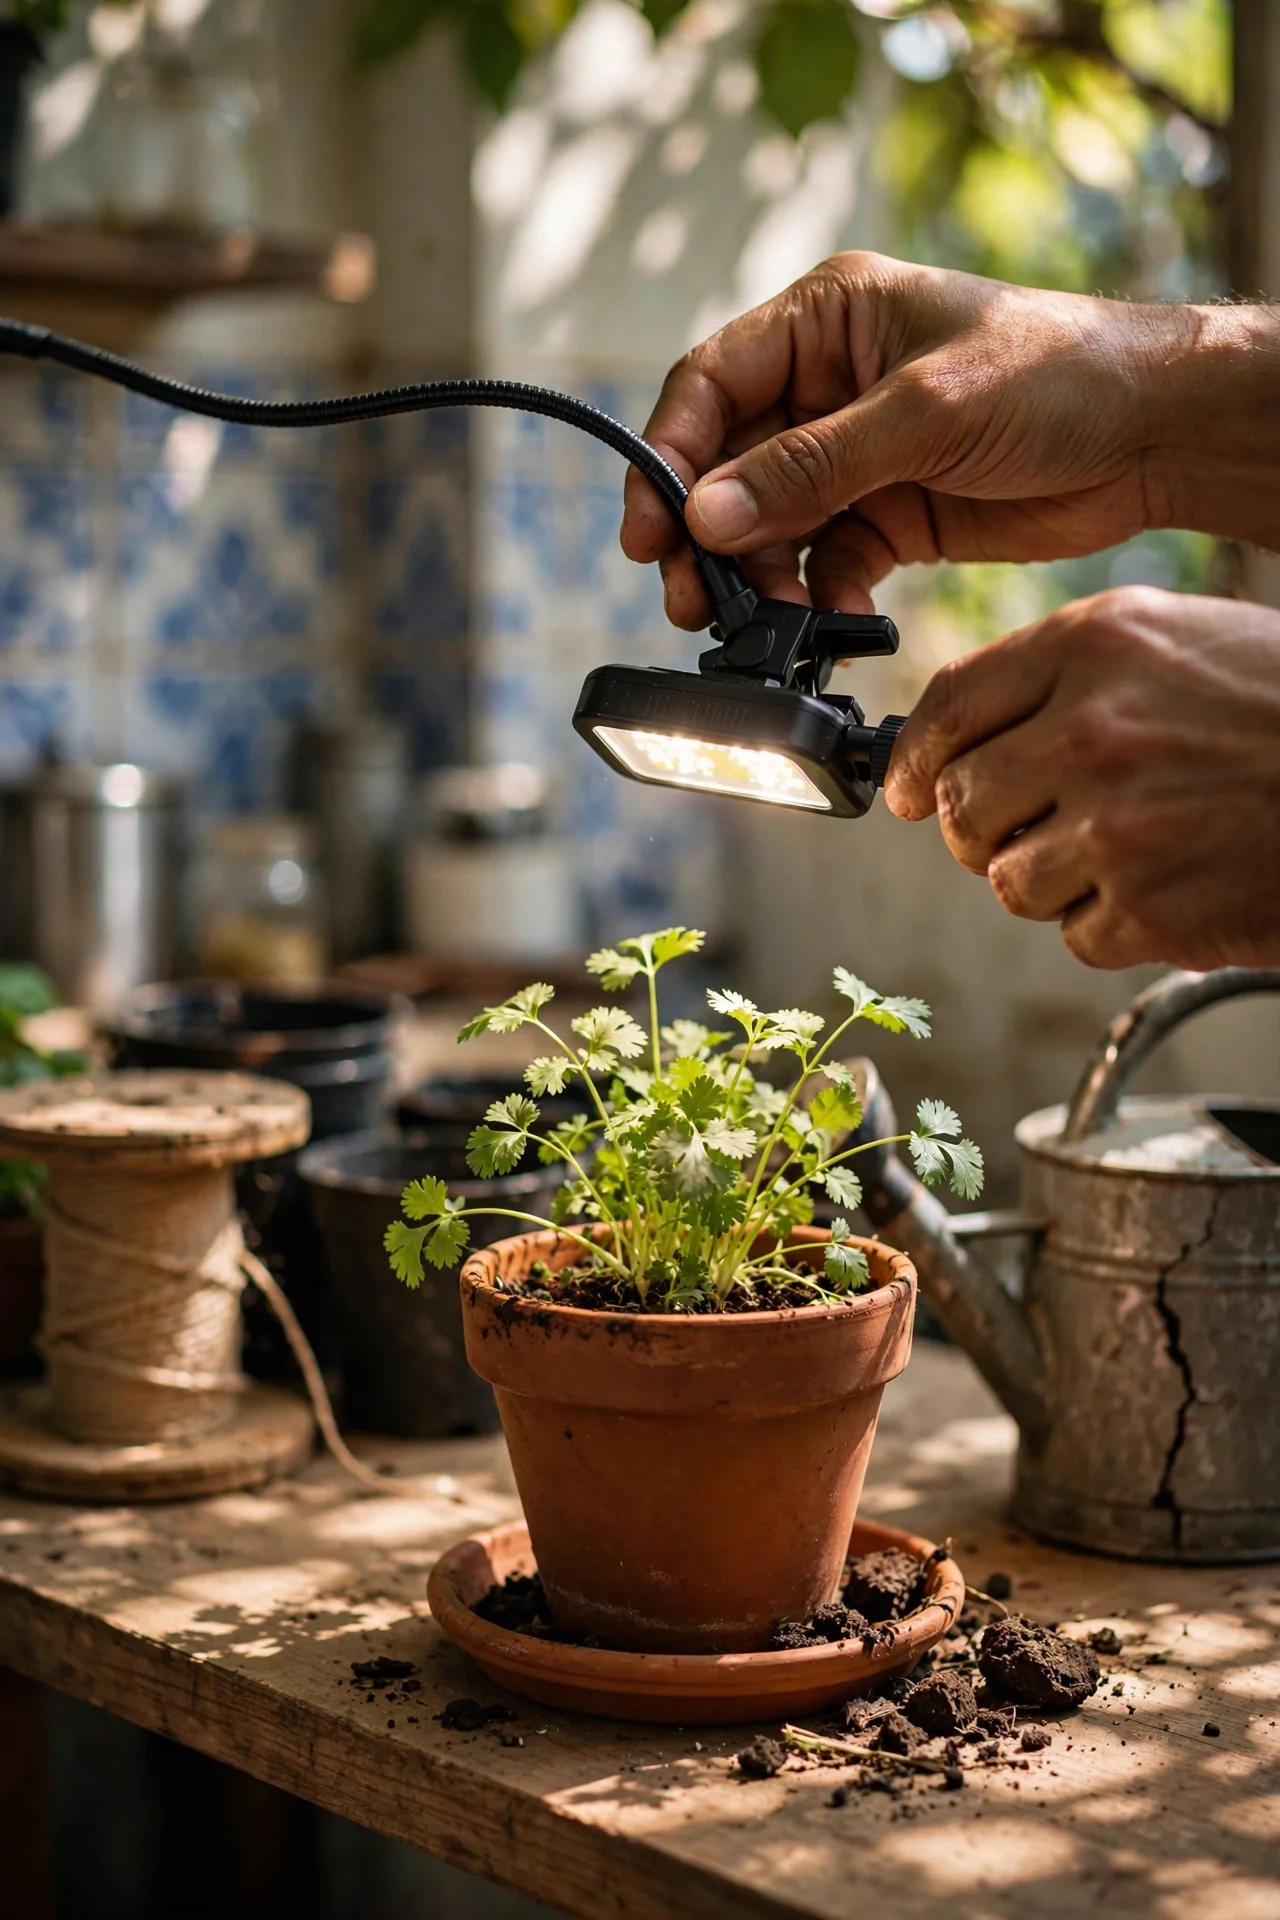
| 5. Clip‑On LED Light with Any Pot | Separate LED arm, manual watering | Flexible lighting, any pot | Branch 2 | Medium |
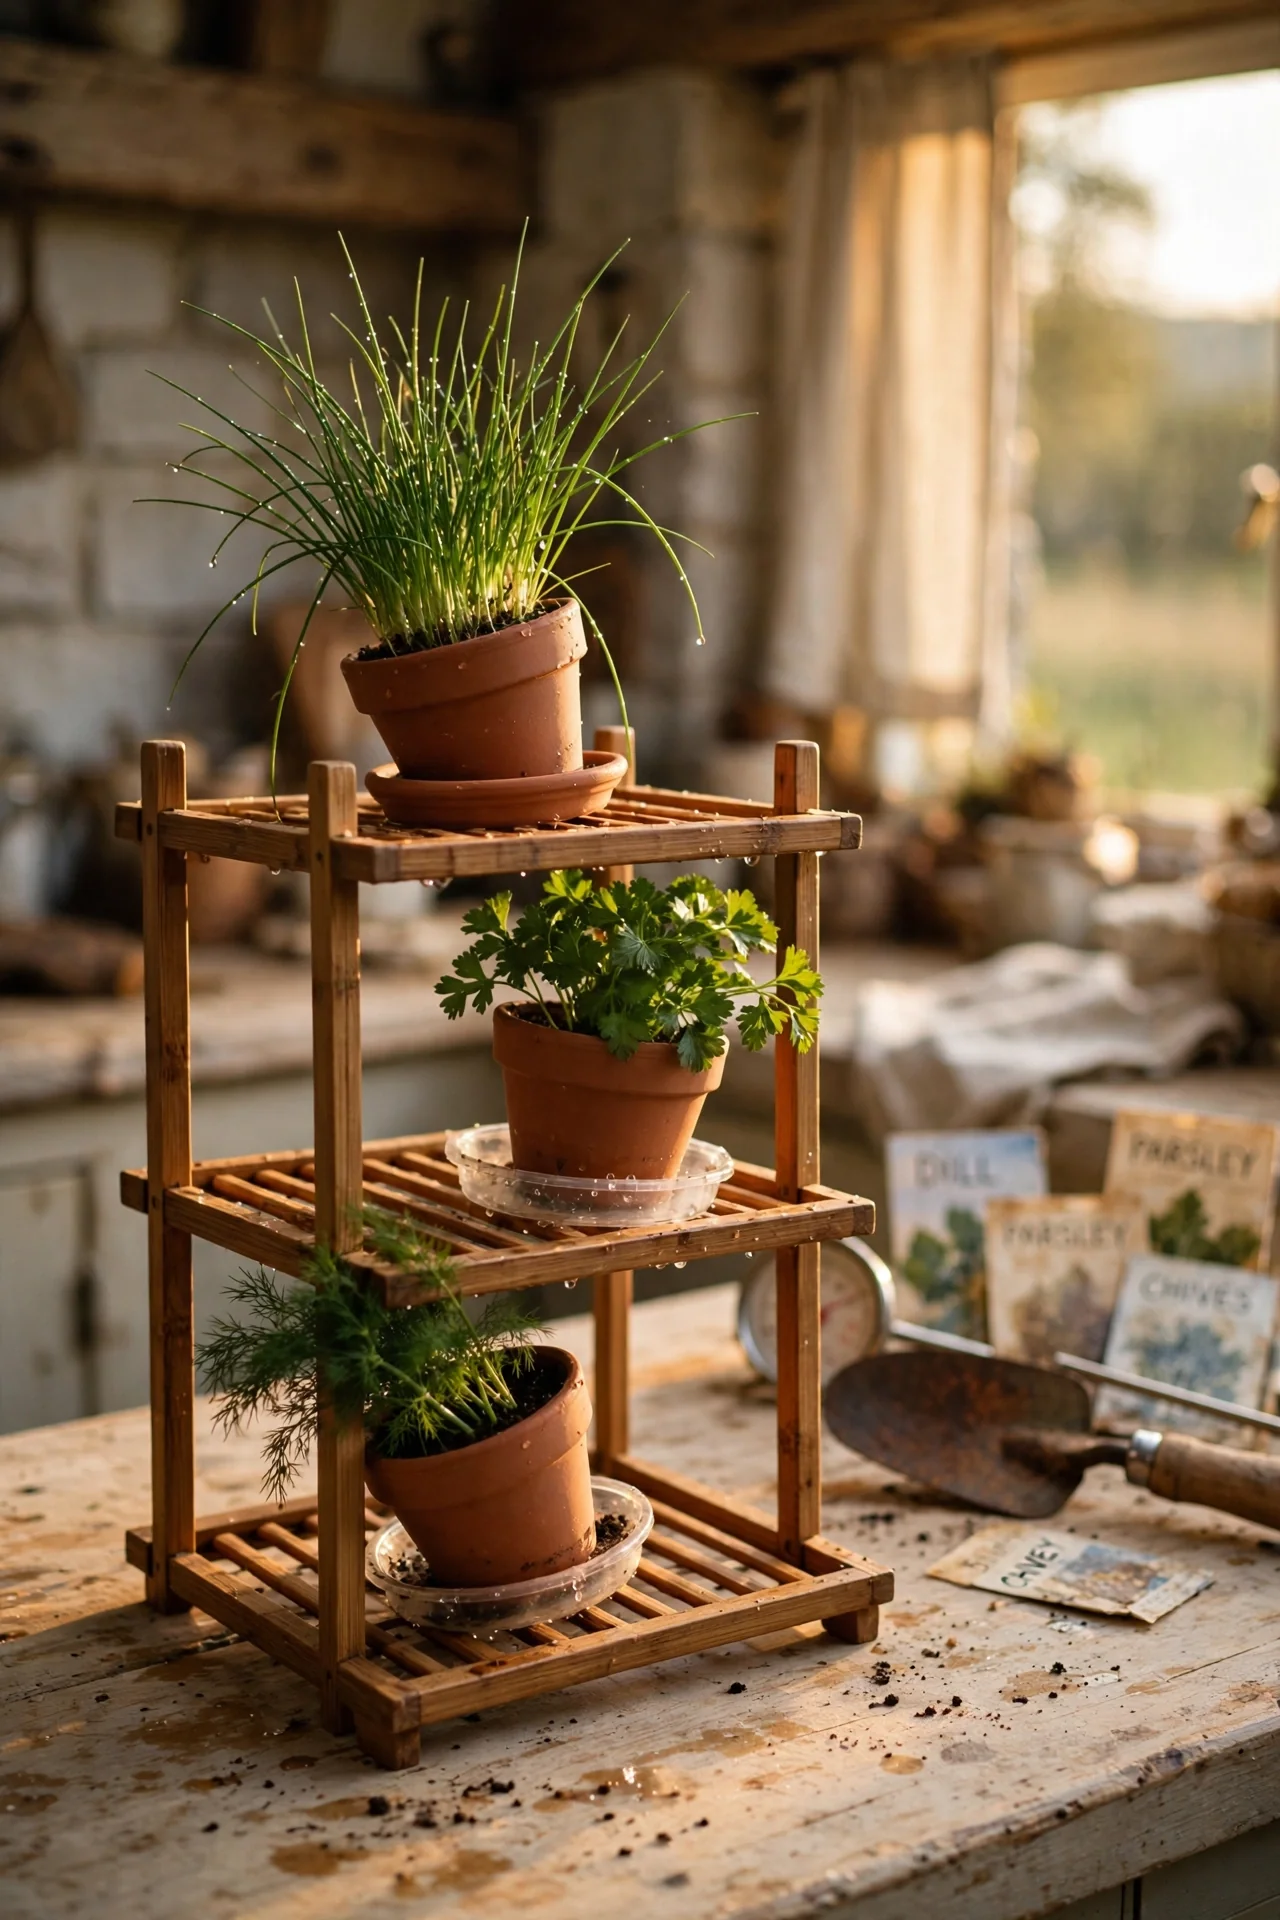
| 6. Tiered Bamboo Rack with Drip Trays | Multi‑level soil planters, optional LED bar | Compact footprint, 3–4 herbs | Branch 2 | Medium |
| 7. AeroGarden Harvest Elite | Pump‑driven hydroponic, full LED panel, alerts | Full automation, dim corners | Branch 3 | High |
| 8. Click & Grow Smart Garden 3 | Soil‑pod, automatic capillary irrigation, low‑power LED | Plant‑and‑forget for 3 plants | Branch 3 | High |
| 9. iDOO 12‑Pod Hydroponic System | DWC with pump, 22W LED, timer | Large capacity, mid‑budget smart garden | Branch 3 | Medium |
| 10. DIY Kratky Tote with Grow Light Hood | Passive hydro in a larger reservoir plus suspended LED | Branch 3 custom build, no pump | Branch 3 | Medium |
1. The Basic Ceramic Pot & Saucer
Best for: Branch 1
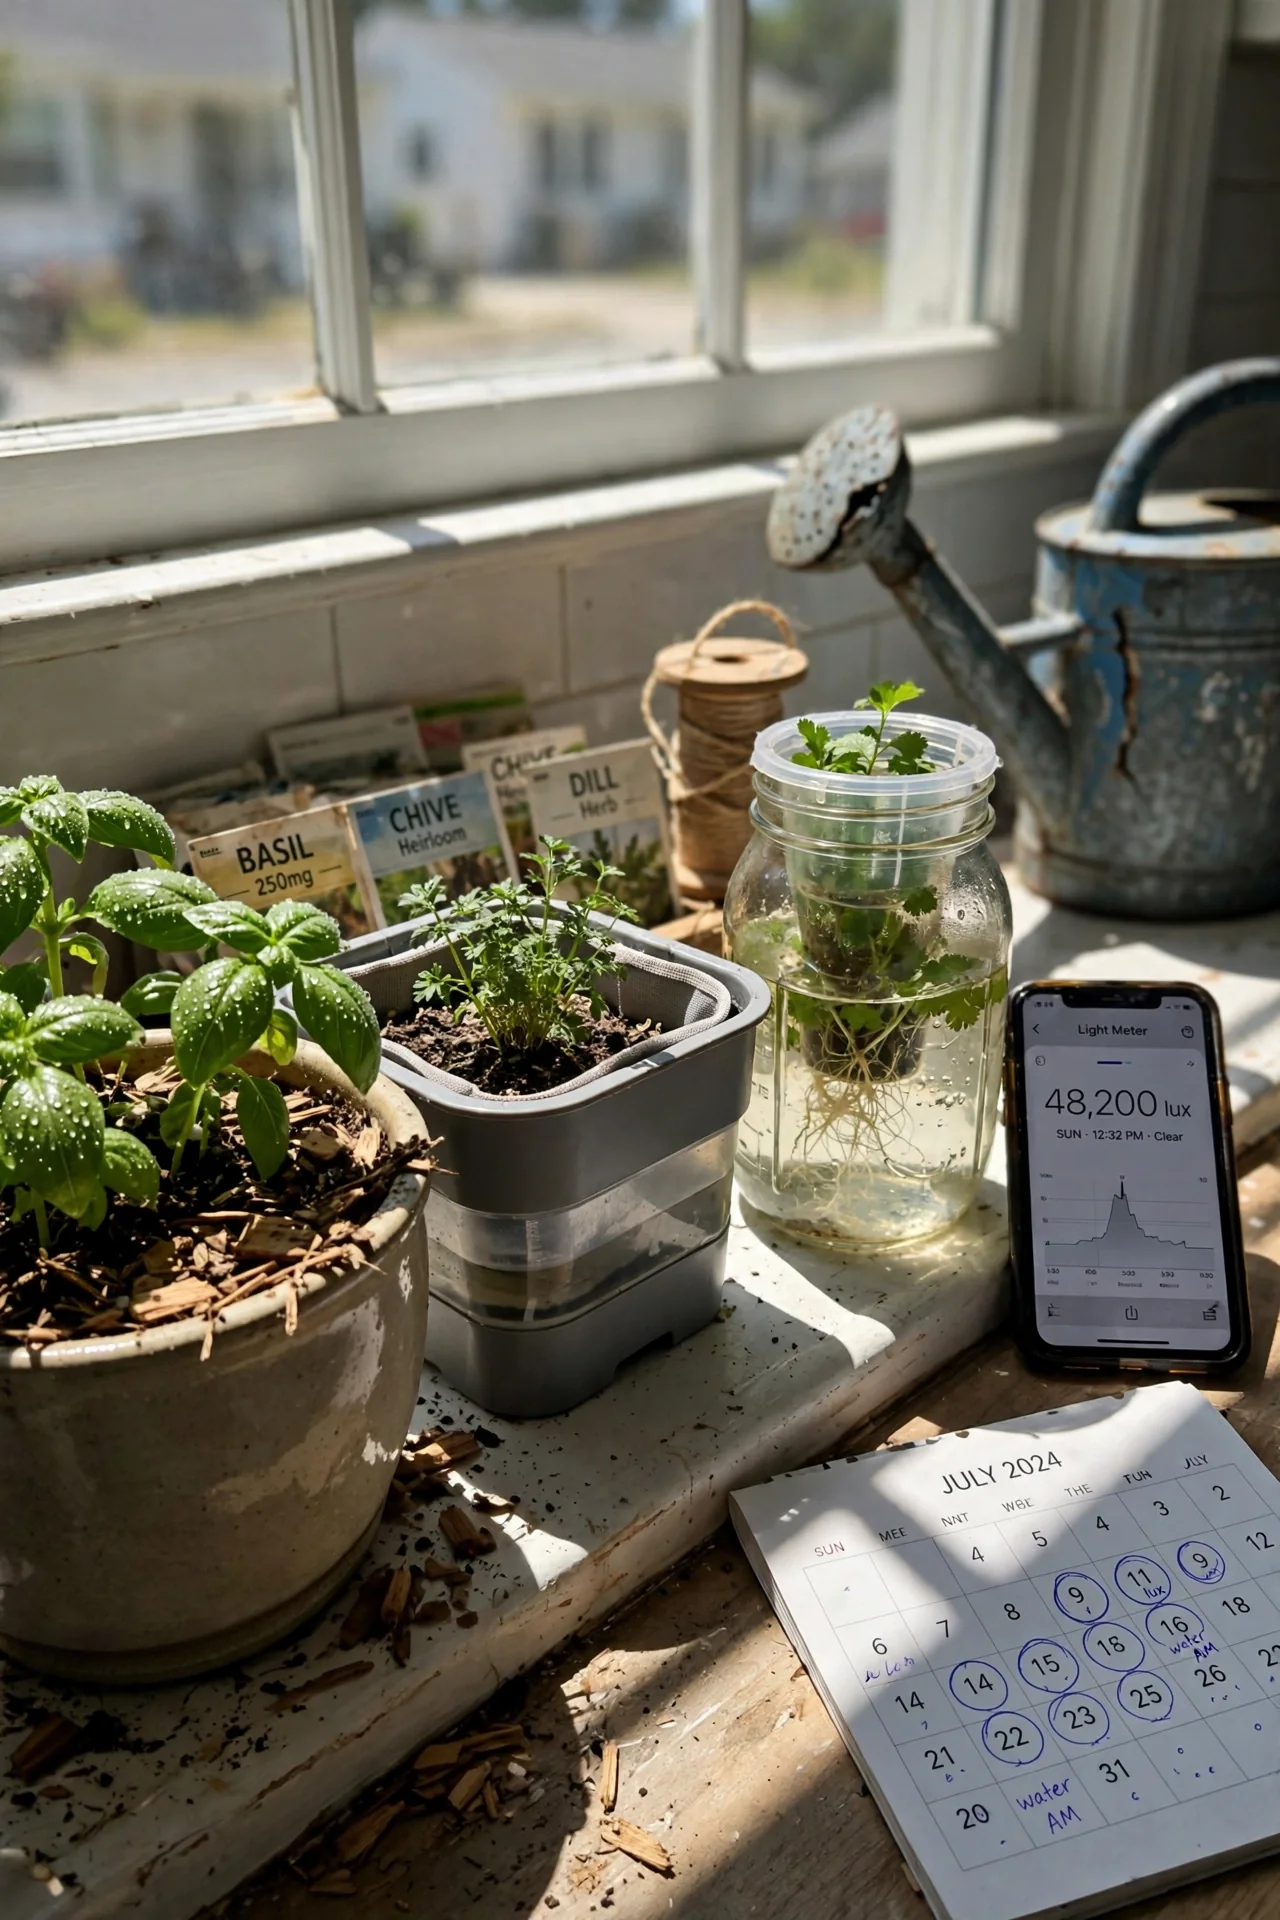
Blueprint: Use a 6‑inch diameter glazed ceramic pot with drainage hole, quality potting mix, and a single herb like Genovese basil or Greek oregano. Place on a south‑facing sill that receives at least 5 hours of direct sun. Water thoroughly when the top inch of soil feels dry, roughly every 3–5 days depending on indoor humidity. The most common mistake is choosing a pot without drainage; anaerobic roots and fungus gnats follow fast. If the pot sits directly on a wooden sill, add a cork pad to prevent condensation damage. For the right medium, consult our best soil for indoor herbs guide to avoid water‑holding mixes that suffocate roots.
2. Self‑Watering Wick Planter
Best for: Branch 1
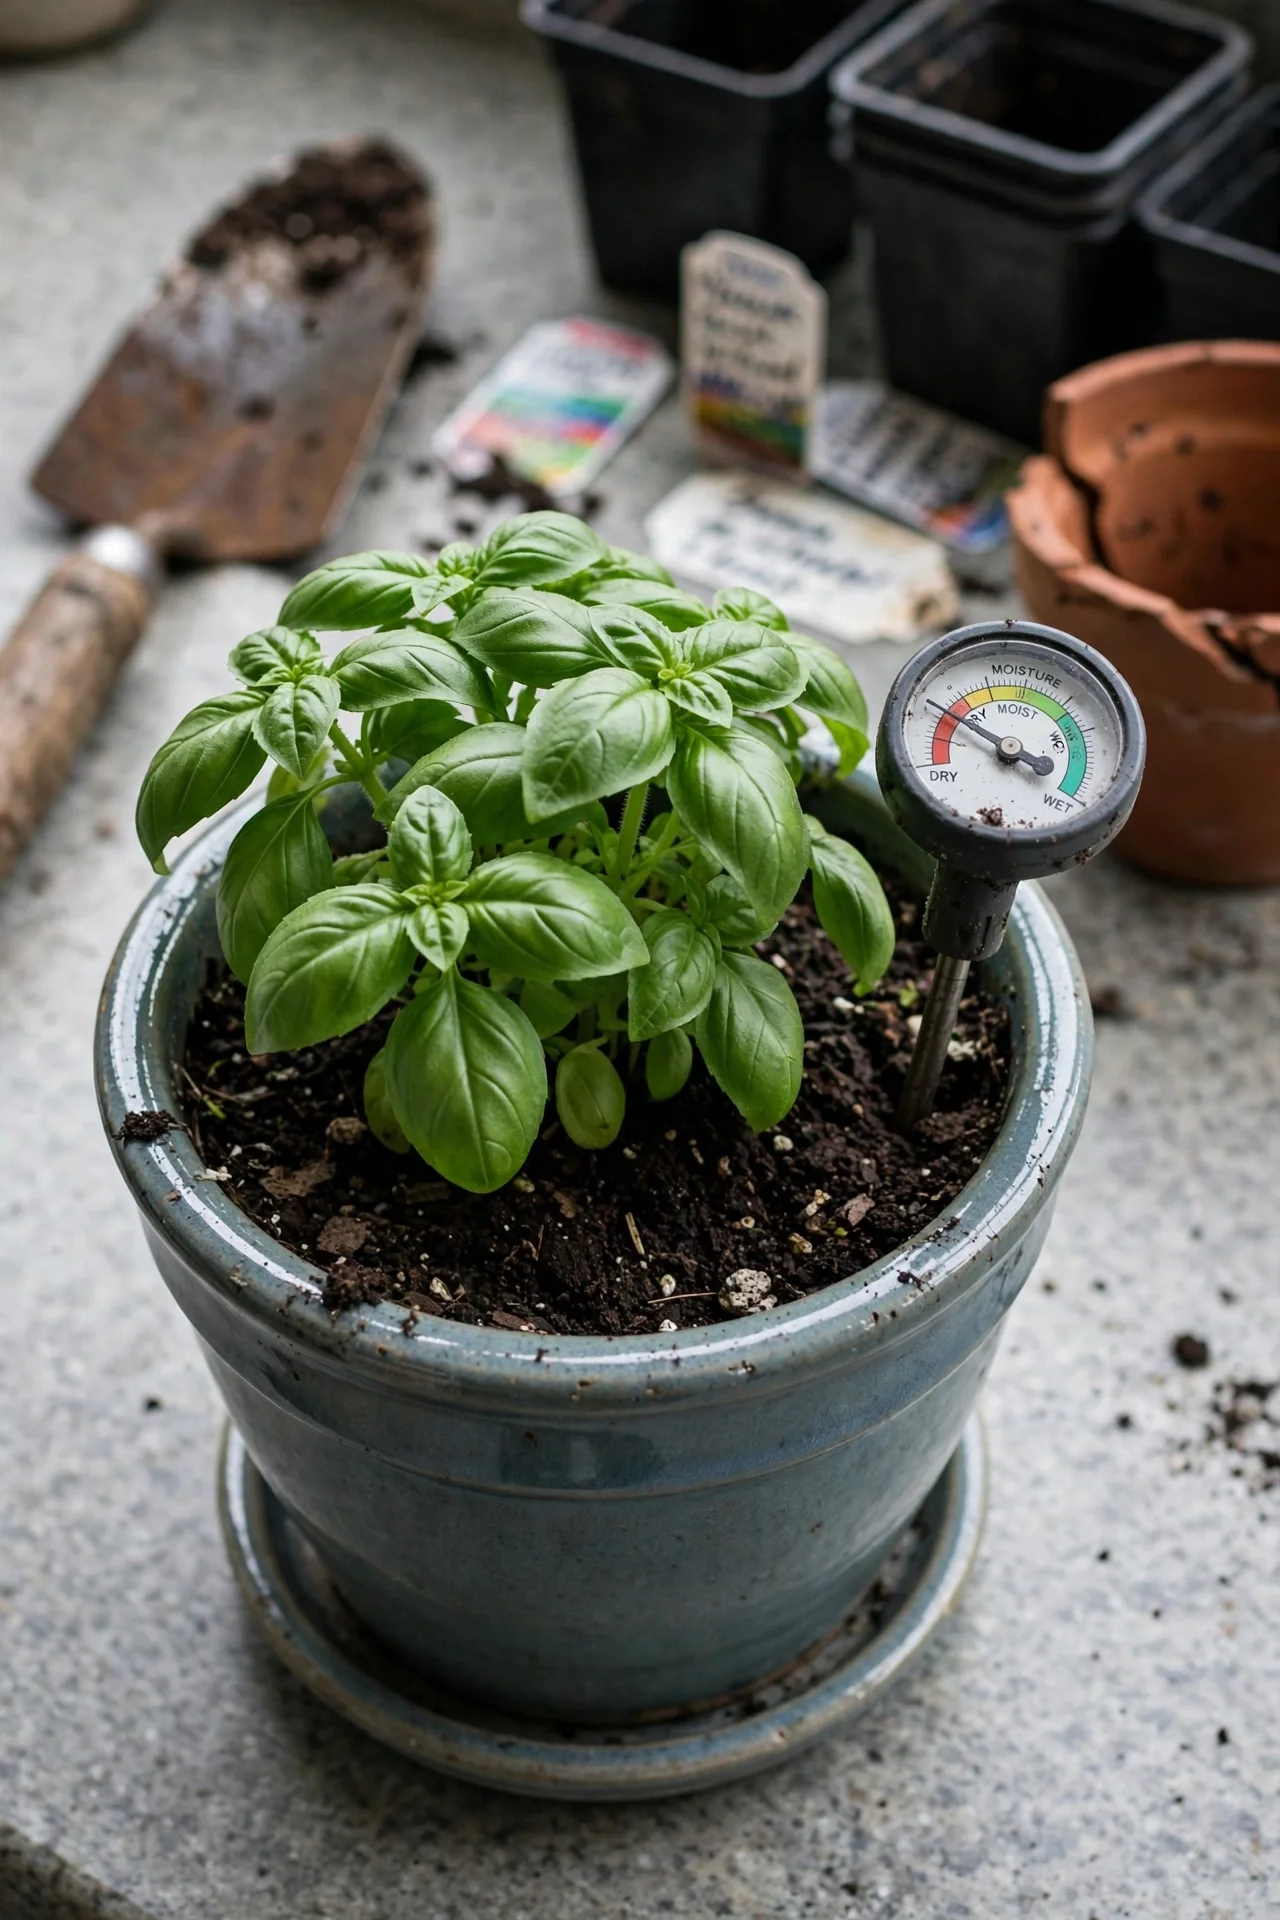
Use vs skip: Use it when your watering schedule is erratic and you can fill the reservoir weekly. The capillary wick pulls water up to the soil, keeping moisture steady. Skip it for thyme or rosemary, which prefer a distinct dry‑down; sustained wicking can lead to soft growth. The edge case is a deep planter with a short wick that fails to reach the root zone: make sure the wick extends into the top third of the soil column. Pair this with our self‑watering herb planter article for reservoir sizing tips.
3. Kratky Mason Jar System
Best for: Branch 1
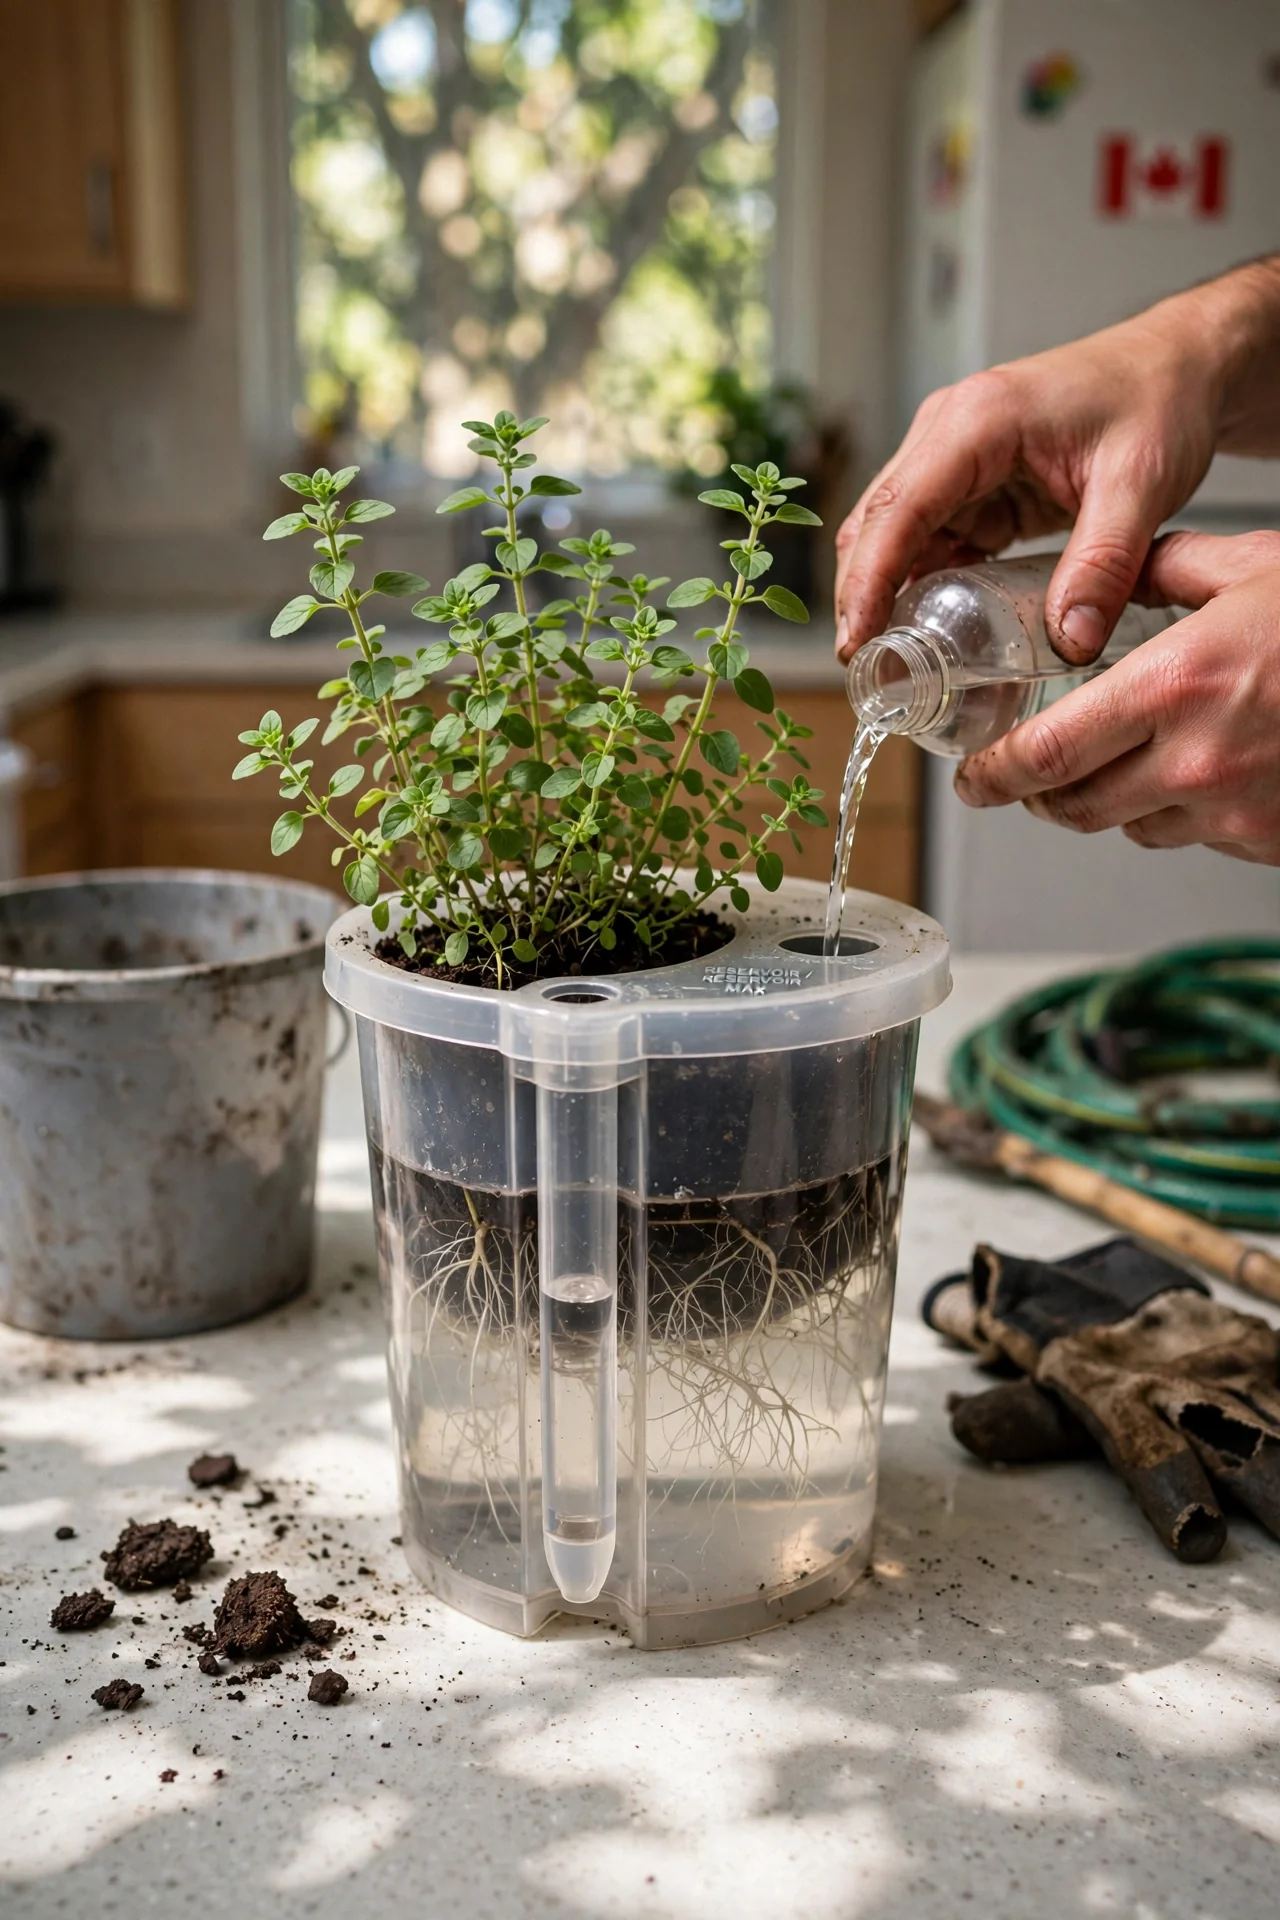
Threshold rule: Maintain a nutrient solution pH between 5.8 and 6.2, and do not submerge more than the bottom third of the net cup. The air gap above the solution is what prevents root rot; if the water level touches the bottom of the cup once roots are established, oxygen deprivation sets in. Fill the jar so that 2–3 cm of air sit between the liquid and the cup base. When roots have drawn the level down by half, refill only to the same mark, never to the top. Works well for leafy herbs like mint and Genovese basil but struggles with woodier cuttings that root slowly.
4. Windowsill LED Tray Garden
Best for: Branch 2
10‑minute workflow: Fill the integrated tray with diluted liquid kelp feed (mix 5 ml per liter of water) each Sunday. Set the LED strip to a 14‑hour photoperiod, timed to start at 6 a.m. using a simple outlet timer. Once a month, inspect the underside of leaves for aphids and wipe the light bar with a dry cloth to maintain brightness. The upgrade path is to add a small USB fan that runs during the light cycle; it strengthens stems and lowers the risk of edema on basil leaves. For positioning advice across different sill widths, see our windowsill herb garden resource.
5. Clip‑On LED Light with Any Pot
Best for: Branch 2
Blueprint: Attach a full‑spectrum LED arm with a 15‑watt draw to a shelf lip, positioning it 10–15 cm above the canopy. Run it 14–16 hours daily. Use any 1‑gallon pot with drainage, filled with a fast‑draining mix. Check soil moisture every 3 days. The mistake to avoid is placing the light too high; beyond 20 cm the PPFD drops below 150 µmol/m²/s, insufficient for compact basil. For bulb selection, check best grow lights for herbs.
6. Tiered Bamboo Rack with Drip Trays
Best for: Branch 2
Use vs skip: Use it when you want to grow three or four herbs in a small footprint but need each pot to have independent light access. The stepped design reduces shading, especially if you train the tallest herb, like dill, on the top tier. Skip this setup if your counter receives strong side light from only one direction; the lower tier will be permanently shaded unless you add a dedicated LED strip above it. The built‑in drip trays simplify cleaning, but make sure they are fully seated so no water seeps onto the countertop laminate.
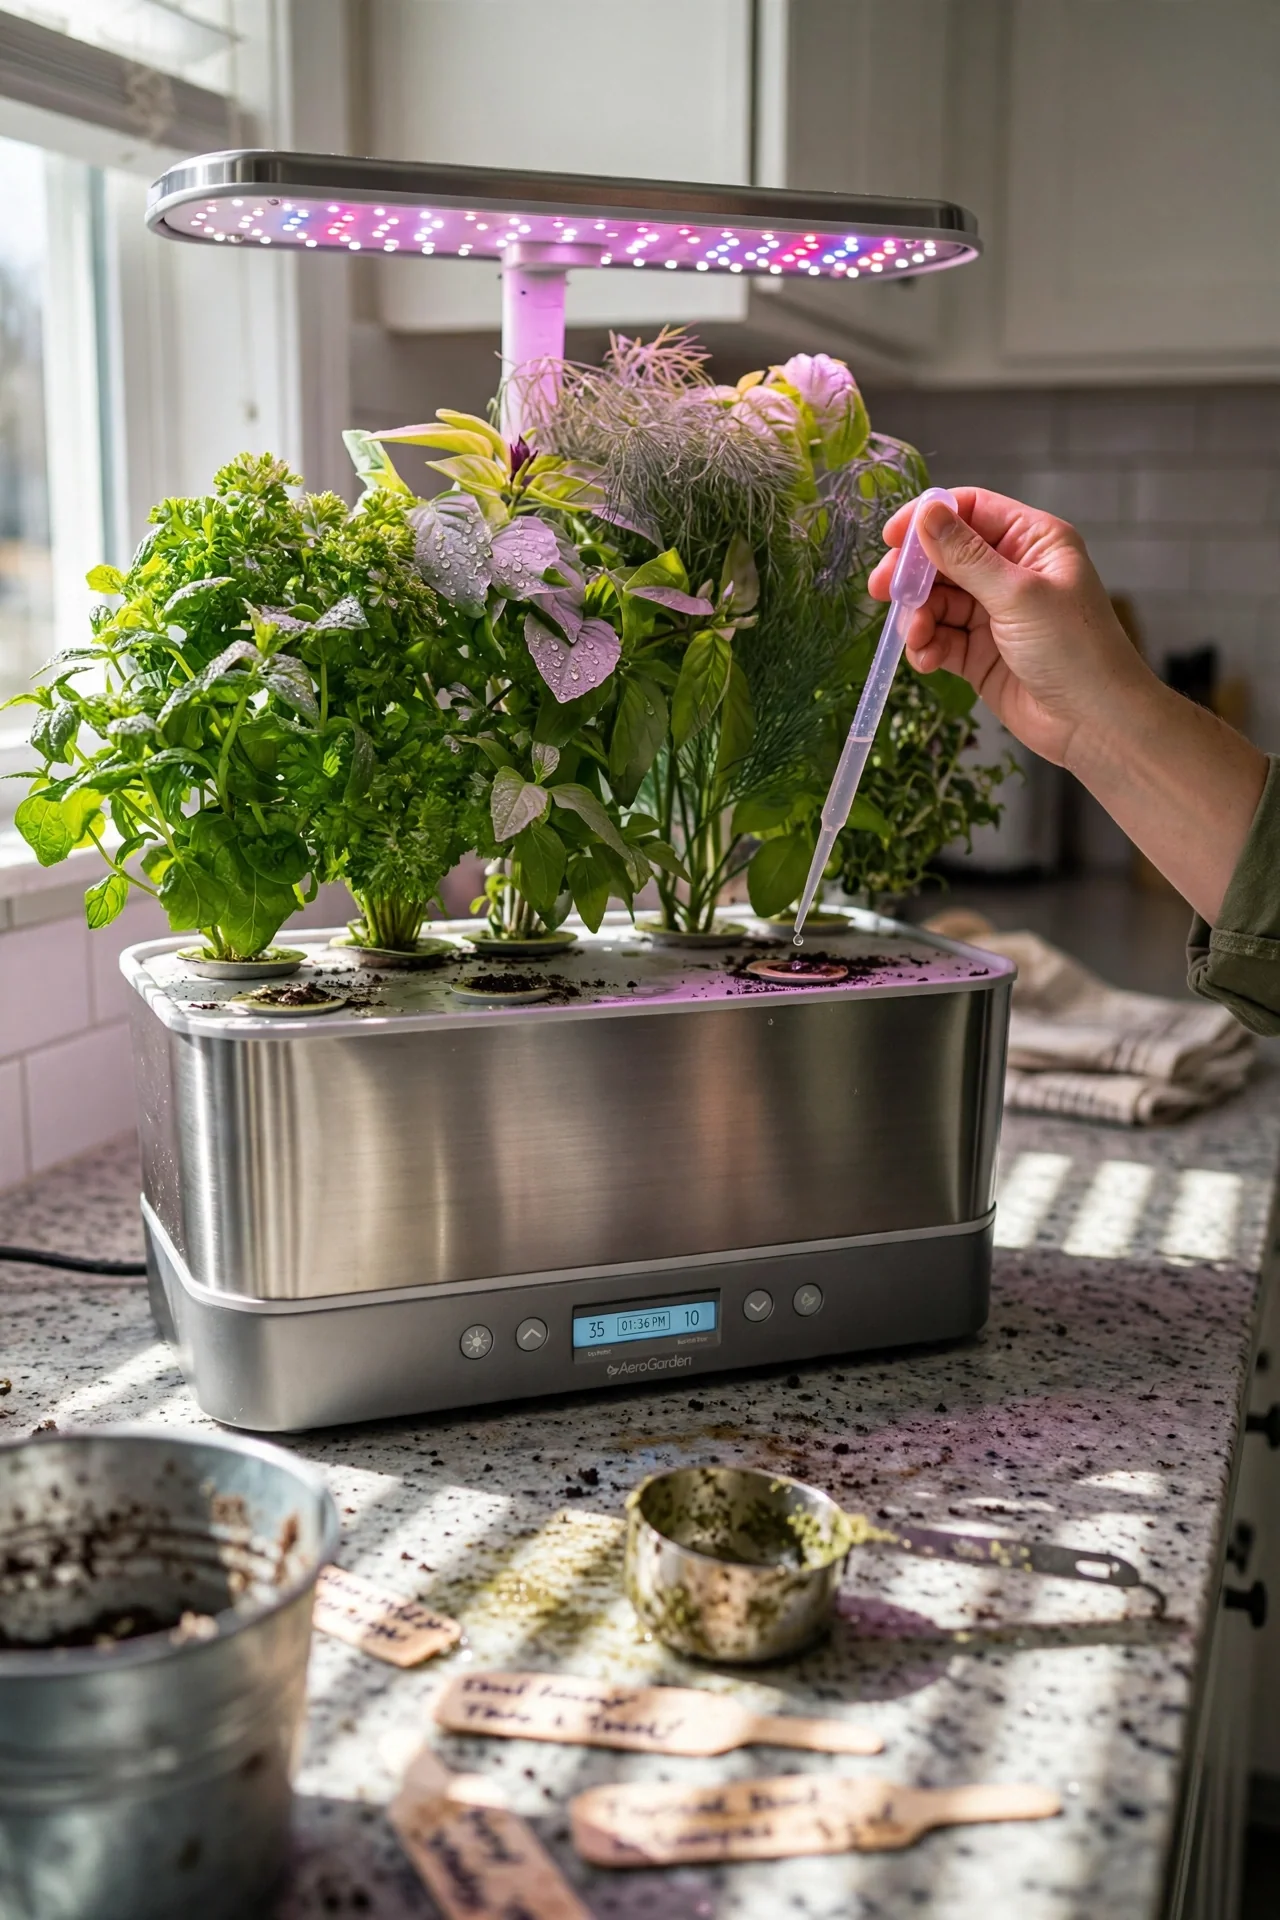
7. AeroGarden Harvest Elite
Best for: Branch 3
Threshold rule: Set the pump cycle to run continuously for leafy herbs; the default 24/7 circulation keeps dissolved oxygen at safe levels when water temperature stays below 24°C. If your kitchen routinely exceeds that temperature, switch to a 30‑minute‑on, 30‑minute‑off cycle to avoid heating the reservoir further. Nutrient strength must stay at 1.6–2.0 EC during vegetative growth. Replace the solution every two weeks, not just top it up, to prevent salt buildup. For harvest timing that encourages branching, read AeroGarden herbs.
8. Click & Grow Smart Garden 3
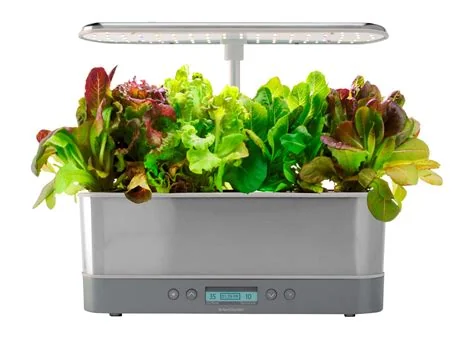
Best for: Branch 3
10‑minute workflow: Fill the float indicator reservoir once a month. No mixing, no timers. Every six weeks, replace the smart soil pod and wipe the light arm. The sealed pod prevents fungus gnats entirely. If you grow basil, start pinching above the third true leaf node as soon as the plant reaches 10 cm; the default light arm height works for most pods but can be extended by one segment for taller varieties. Pod replacement intervals and compost options are in our Click & Grow herbs guide.
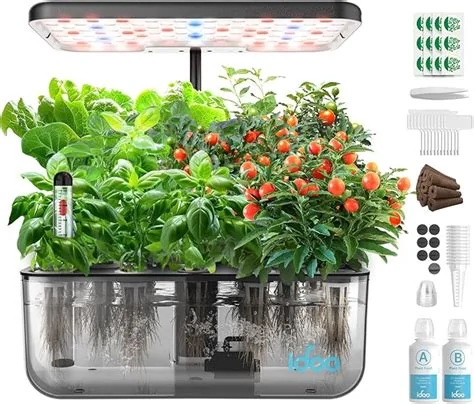
9. iDOO 12‑Pod Hydroponic System
Best for: Branch 3
Threshold rule: The 22‑watt LED panel should stay 8–12 cm above the tallest sprout. At 12 cm, measure the center pod’s light with a meter; if it reads below 250 µmol/m²/s, raise the panel or add a supplemental side LED. The water tank holds 5.5 liters; when growing 12 plants, the EC of the solution can drift by 0.3–0.5 within five days. Check weekly and adjust with a pre‑mixed nutrient blend to keep EC within 1.8–2.2. If any pod shows tip burn before the fourth week, cut the nutrient concentration by one‑third.
10. DIY Kratky Tote with Grow Light Hood
Best for: Branch 3
Use vs skip: Use a 10‑liter opaque tote with a fixed lid and 3‑inch net cups if you want a silent, pumpless hydroponic system that can run without power outages causing root death. The large volume means you can go 2–3 weeks between refills. Skip this approach if your room temperature stays above 28°C for extended periods; the stagnant solution loses dissolved oxygen faster than pump‑aerated systems and can cause pythium even with hydrogen peroxide dosing. Drill a 5 mm hole in the lid to equalize pressure without inviting light leaks. Anchor the LED hood so it hangs 12 cm above the lid, not on a movable arm.
Starter Stack (What to Choose First)
Branch 1 Stack: Basic Pot + Self‑Watering Wick Planter
Start with one 6‑inch ceramic pot for a fast grower like basil, and one self‑watering planter for a slower herb like Greek oregano. Together they let you compare moisture delivery methods under the same light conditions while keeping total cost below $40. Expect the wick planter to require a water refill every 5–7 days and the ceramic pot every 3–5 days during active growth.
Branch 2 Stack: Windowsill LED Tray Garden + Clip‑On Light
Pair the tray garden for a dedicated row of herbs with a clip‑on light aimed at a separate pot of chives or cilantro on a dimmer counter edge. This combination covers both integrated and flexible lighting for around $60–$90 total. The tray handles the main production; the clip‑on extends growing area without committing to a full second system.
Branch 3 Stack: AeroGarden Harvest Elite + Click & Grow Smart Garden 3
Use the AeroGarden for high‑output basil and dill that need strong pump circulation, and the Click & Grow for fuss‑free parsley or mint that thrive with capillary watering. The total cost sits between $160 and $220. Together they cover different nutrient delivery methods and let you test which automation style fits your kitchen’s noise tolerance, since the AeroGarden pump hums and the Click & Grow is silent.
When This Won’t Work
Condition one: Your kitchen countertop receives less than 1 hour of any natural light and you cannot run an LED because of outlet limitations. Even the best smart garden will stall without electricity. In that case, a windowsill relocation or a battery‑powered propagation station that you rotate near a bright window during the day is the only viable path.
Condition two: Your average indoor temperature consistently falls below 15°C (59°F) for weeks. Basil and many culinary herbs stop active growth below that threshold, and nutrient uptake slows regardless of lighting. No countertop system can overcome chronic cold. The alternative is to select cold‑tolerant herbs like parsley and chives and place them directly under a heat‑producing LED panel that raises the ambient temperature around the canopy by 3–4°C.
If you want to understand how vertical stacking changes the thermal profile, read our vertical indoor herb garden guide.
Choosing the Right Option for Your Situation
Budget threshold
If you must stay under $30 total, skip all smart gardens and focus on a Kratky jar or a self‑watering wick planter with natural light. Both can produce usable basil and mint for the cost of seeds, nutrients, and a container. The key trade‑off is no automation and strict dependence on window orientation.
Time threshold
If you have fewer than 10 minutes per week for herb care, Branch 3 is the only sustainable choice. Anything less automated will lead to skipped waterings and bolting. Factor in the 5‑minute biweekly nutrient change for hydroponic models versus the 2‑minute monthly refill of a Click & Grow.
Technical constraint: water quality
Municipal water with a hardness above 150 mg/L CaCO₃ will cause white mineral crust on soil surfaces and pH drift in hydroponic reservoirs. If you are on hard water, either use a soil‑based system with periodic leaching or mix reverse osmosis water for hydroponic nutrients to keep EC stable.
Yes/No checklist:
Do you have at least 4 hours of direct sun or can you power an LED? If no, pause.
Are you able to check water at least twice a week for Branch 2? If no, choose Branch 3.
Is your countertop safe from water spills and condensation? If no, pick only sealed systems.
Can you keep the room above 15°C during winter? If no, add a heat source or switch to cold‑hardy herbs.
Expert Q&A
Why do my basil leaves curl downward even with enough light?
Downward cupping usually signals calcium lockout from low transpiration, not disease. Increase air movement with a small fan for 2–3 hours daily and check that the root zone temperature stays above 18°C to improve calcium uptake from the nutrient solution or soil.
Can I grow cilantro on a countertop without it bolting?
Yes, but you must keep the root zone cool, ideally below 21°C. Use a light timer of 14 hours on, and choose a slow‑bolt variety like Santo. Harvest the outer leaves weekly; the moment you see a thicker central stem forming, succession‑plant a new pod.
Is it safe to use tap water directly in an AeroGarden?
It depends on chlorine content and starting EC. If your tap water EC exceeds 0.4 mS/cm, begin with half‑strength nutrients. Let water sit overnight to off‑gas chlorine if chloramine is not present; otherwise, use a dechlorinator or dilute with distilled water to avoid leaf tip burn.
How do I stop algae growing on the surface of my Kratky jar?
Algae need light and nutrients. Paint the outside of the jar or use an opaque sleeve. If algae appear inside the jar, add 2–3 ml of food‑grade hydrogen peroxide (3%) per liter of solution, and reduce light exposure to the reservoir by covering the net cup collar.
What is the minimum distance between a grow light and edible herbs to prevent leaf scorch?
Measure leaf surface temperature. For most LED panels under 25 watts, keep 10 cm distance and touch the leaf after an hour; if it feels warm, raise the panel by 3–4 cm. Lettuce‑thin herbs like chervil scorch at temperatures above 29°C on the leaf surface.
Conclusion
Countertop herb gardens fail most often because the chosen system’s light need and watering rhythm do not match the kitchen’s actual conditions. By picking your branch first, you eliminate the two biggest causes of dead herbs in the first month: chronic underwatering in sun‑rich spots and light starvation on shaded counters.
The number one mistake is buying an automated garden but ignoring water quality. Before you add any system to the cart, test your tap water EC. Your next step: review our herb garden starter kit guide to find the best all‑in‑one package if you want a single‑order solution.