
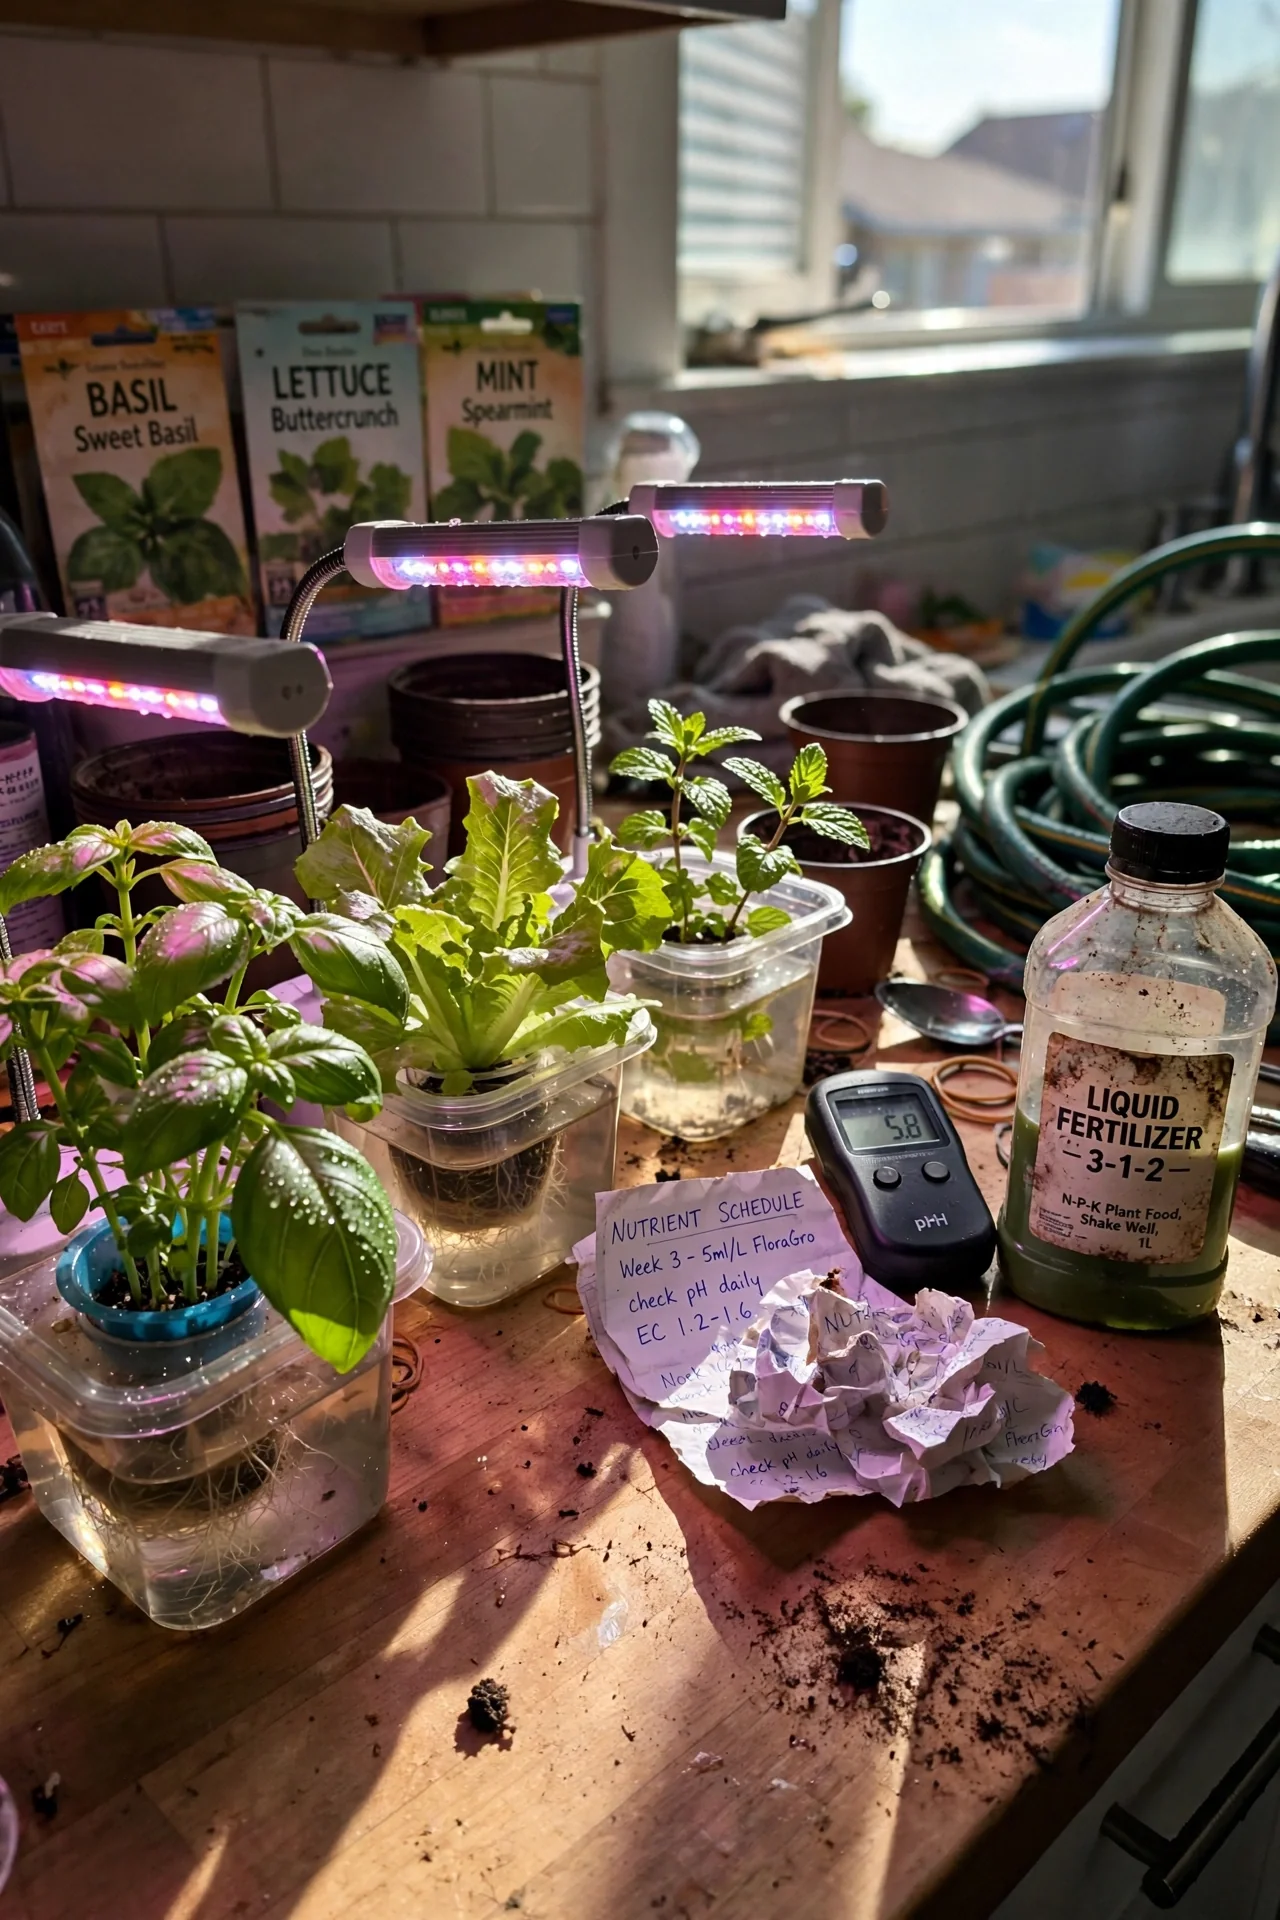
The way most people shop for a countertop hydroponic garden puts the cart before the plant. They compare pod count, LED wattage, and app features, then discover the system expects them to mix nutrients every week, scrub algae from narrow channels, or babysit a pump that clogs if a basil root sneaks past the filter. This article flips that sequence. It ranks system mechanisms by the maintenance load they impose once the unboxing excitement fades, because the best gadget on the market becomes a dusty plastic box if it does not align with the time you will actually spend on it.
We cover only countertop-scale edible gardening setups that use soilless nutrient delivery. That means plug-in units designed for herbs, leafy greens, and compact fruiting crops like dwarf tomatoes or peppers. Floor-standing towers, outdoor NFT rigs, and purely decorative plant displays are excluded. The list includes both pre-built appliances and DIY configurations that fit under a standard 18-inch upper cabinet, provided the core mechanism is distinct enough to change the weekly routine.
After reading, you will be able to pick a system based on how many minutes you are willing to commit each week, which water quality tolerance fits your tap water, and which crops are realistic without add-on sensors. You will also see where hybrid approaches let you combine two mechanisms to cover salad greens and herbs with a single weekly check.
Bottom line: Choose the water delivery method first, and the brand second; the wrong mechanism for your actual routine is the fastest path to a dead cilantro plant.
The Yield Grid Decision Grid
Before scrolling the list, locate your situation in one of three branches. Each is defined by a measurable condition you can confirm in your kitchen today, without a special tool.
Branch 1: Fill-and-forget with no pump. Your kitchen counter is more than 4 feet from a power outlet, or you will not commit to checking a pump or air stone weekly. You are growing leafy greens or herbs that finish a cycle in 30 to 45 days. Start your own seedlings in rockwool or coco plugs to skip the fragile germination phase inside the system. Recommended: Items 5, 6 below.
Branch 2: Weekly 15-minute checks and a nearby outlet. You have a dedicated power socket within 3 feet, can commit to checking water level and pH every 5 to 7 days, and want the option to grow compact fruiting plants that need stable oxygen at the root zone. Recommended: Items 1, 3, 4 below.
Branch 3: Automate nutrient and light scheduling with app control. You need hands-off dosing, vacation mode longer than 10 days, and push notifications that eliminate guesswork. Your water quality is inconsistent, and you want the system to adjust EC on its own. Budget is secondary to labor reduction. Recommended: Items 2, 7 below.
Quick Comparison Table
| Option | Key mechanism | Best for | Decision Grid Branch | Effort Score |
|---|---|---|---|---|
| Deep Water Culture (DWC) | Roots suspended in aerated nutrient solution | Basil, lettuce, compact tomatoes | Branch 2 | 3 |
| Smart DWC with dosing | Pump and sensor array auto-adjusts EC and pH | Busy households, variable tap water | Branch 3 | 2 |
| Ebb and Flow countertop | Timed flood and drain tray with pump | Herbs and strawberries on a shared tray | Branch 2 | 4 |
| Aeroponics (low-pressure) | Misted roots in a closed chamber, short cycle timer | High-oxygen needs like mint, rapid leafy growth | Branch 2 | 4 |
| Wick system | Capillary fabric draws solution from reservoir | Shallow-rooted greens, no electricity | Branch 1 | 1 |
| Kratky (mason jar, static) | Roots access air gap as solution drops, no pump | Single-plant herbs, microgreens | Branch 1 | 1 |
| DIY high-pressure aeroponics | Pressurized mist heads (50-80 psi), accumulator tank | Advanced growers pursuing root mass speed | Branch 3 | 5 |
1. Deep Water Culture (DWC) Countertop Unit
Best for: Branch 2
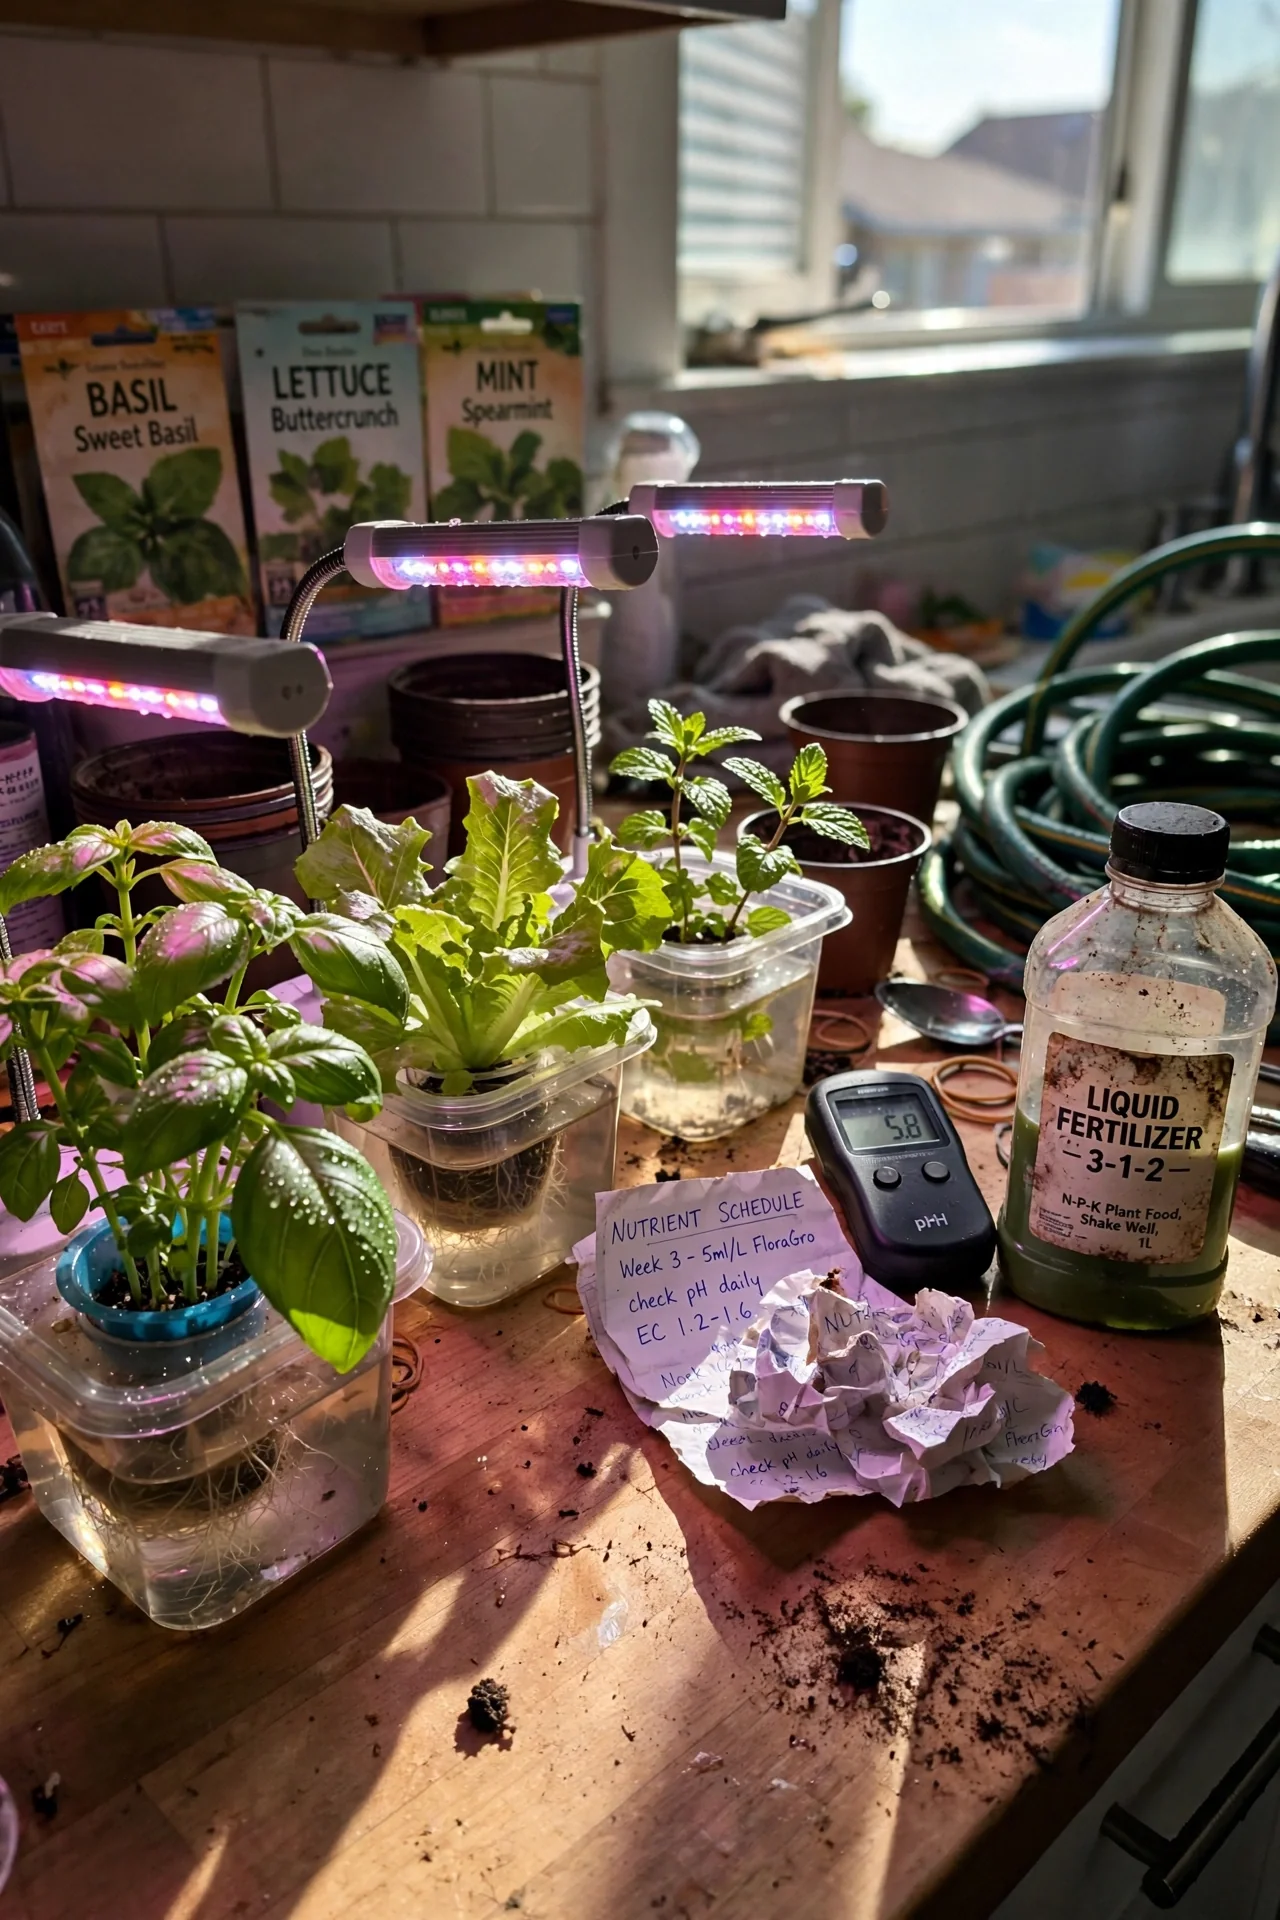
This is the mechanism inside most entry-level smart gardens. A small air pump oxygenates a single reservoir, and net cups hold plants directly in the solution. The constant submersion creates forgiving conditions for basil and lettuce: a 24-hour pump failure in a 70°F room will not wilt roots immediately. The non-negotiable parameter is reservoir temperature. If the water reaches 78°F for more than 48 hours, dissolved oxygen drops enough to trigger pythium. Place the reservoir on a cork mat to insulate it from a warm countertop, and add a frozen water bottle if your kitchen regularly hits 80°F in summer. For compact tomatoes, switch to an air stone that delivers at least 1 liter of air per minute per gallon of solution, and thin roots every 3 weeks to prevent the stone from being encased. The most common mistake is filling the reservoir with nutrient solution to the very bottom of the net cups; leave a 1-inch air gap so the root crown does not drown. If you already own a unit, upgrading the stock air pump to a model rated 2 watts per gallon extends the interval between full reservoir changes from 10 to 14 days when using synthetic nutrients.
2. Smart DWC with Dosing
Best for: Branch 3
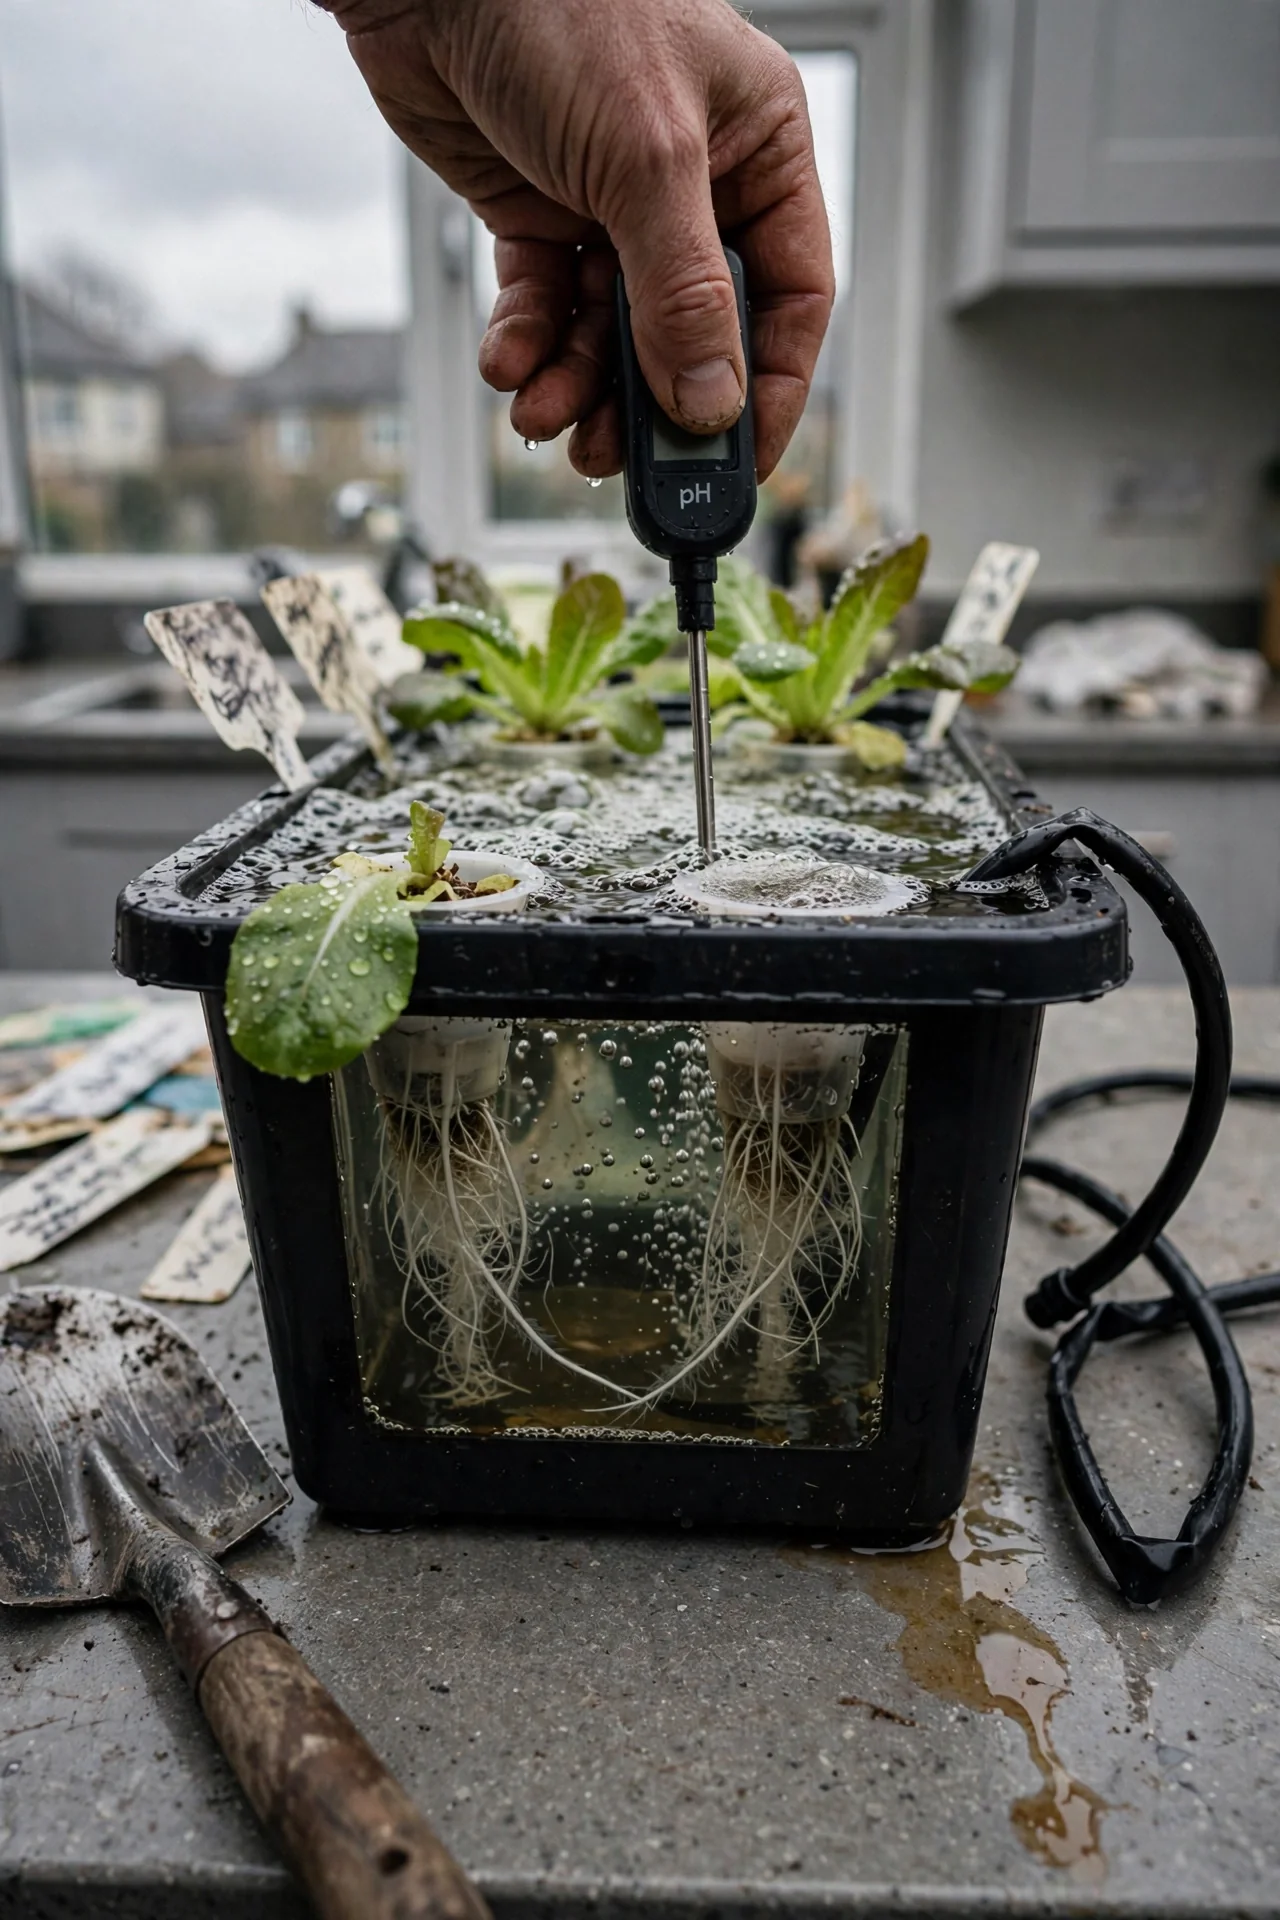
These units add peristaltic dosing pumps and EC/pH probes that inject concentrated nutrient stock solutions on a schedule. The edge case that breaks them is hard water above 180 ppm CaCO₃. Calcium carbonate precipitates on pH probe tips, causing drift within 3 days. A pre-filter that reduces carbonate hardness to 80-120 ppm before filling eliminates recalibration loops. Because the software logs data, you can identify the exact day nitrate uptake spikes, typically day 14 for Genovese basil, and time your reservoir refill accordingly.
3. Countertop Ebb and Flow
Best for: Branch 2
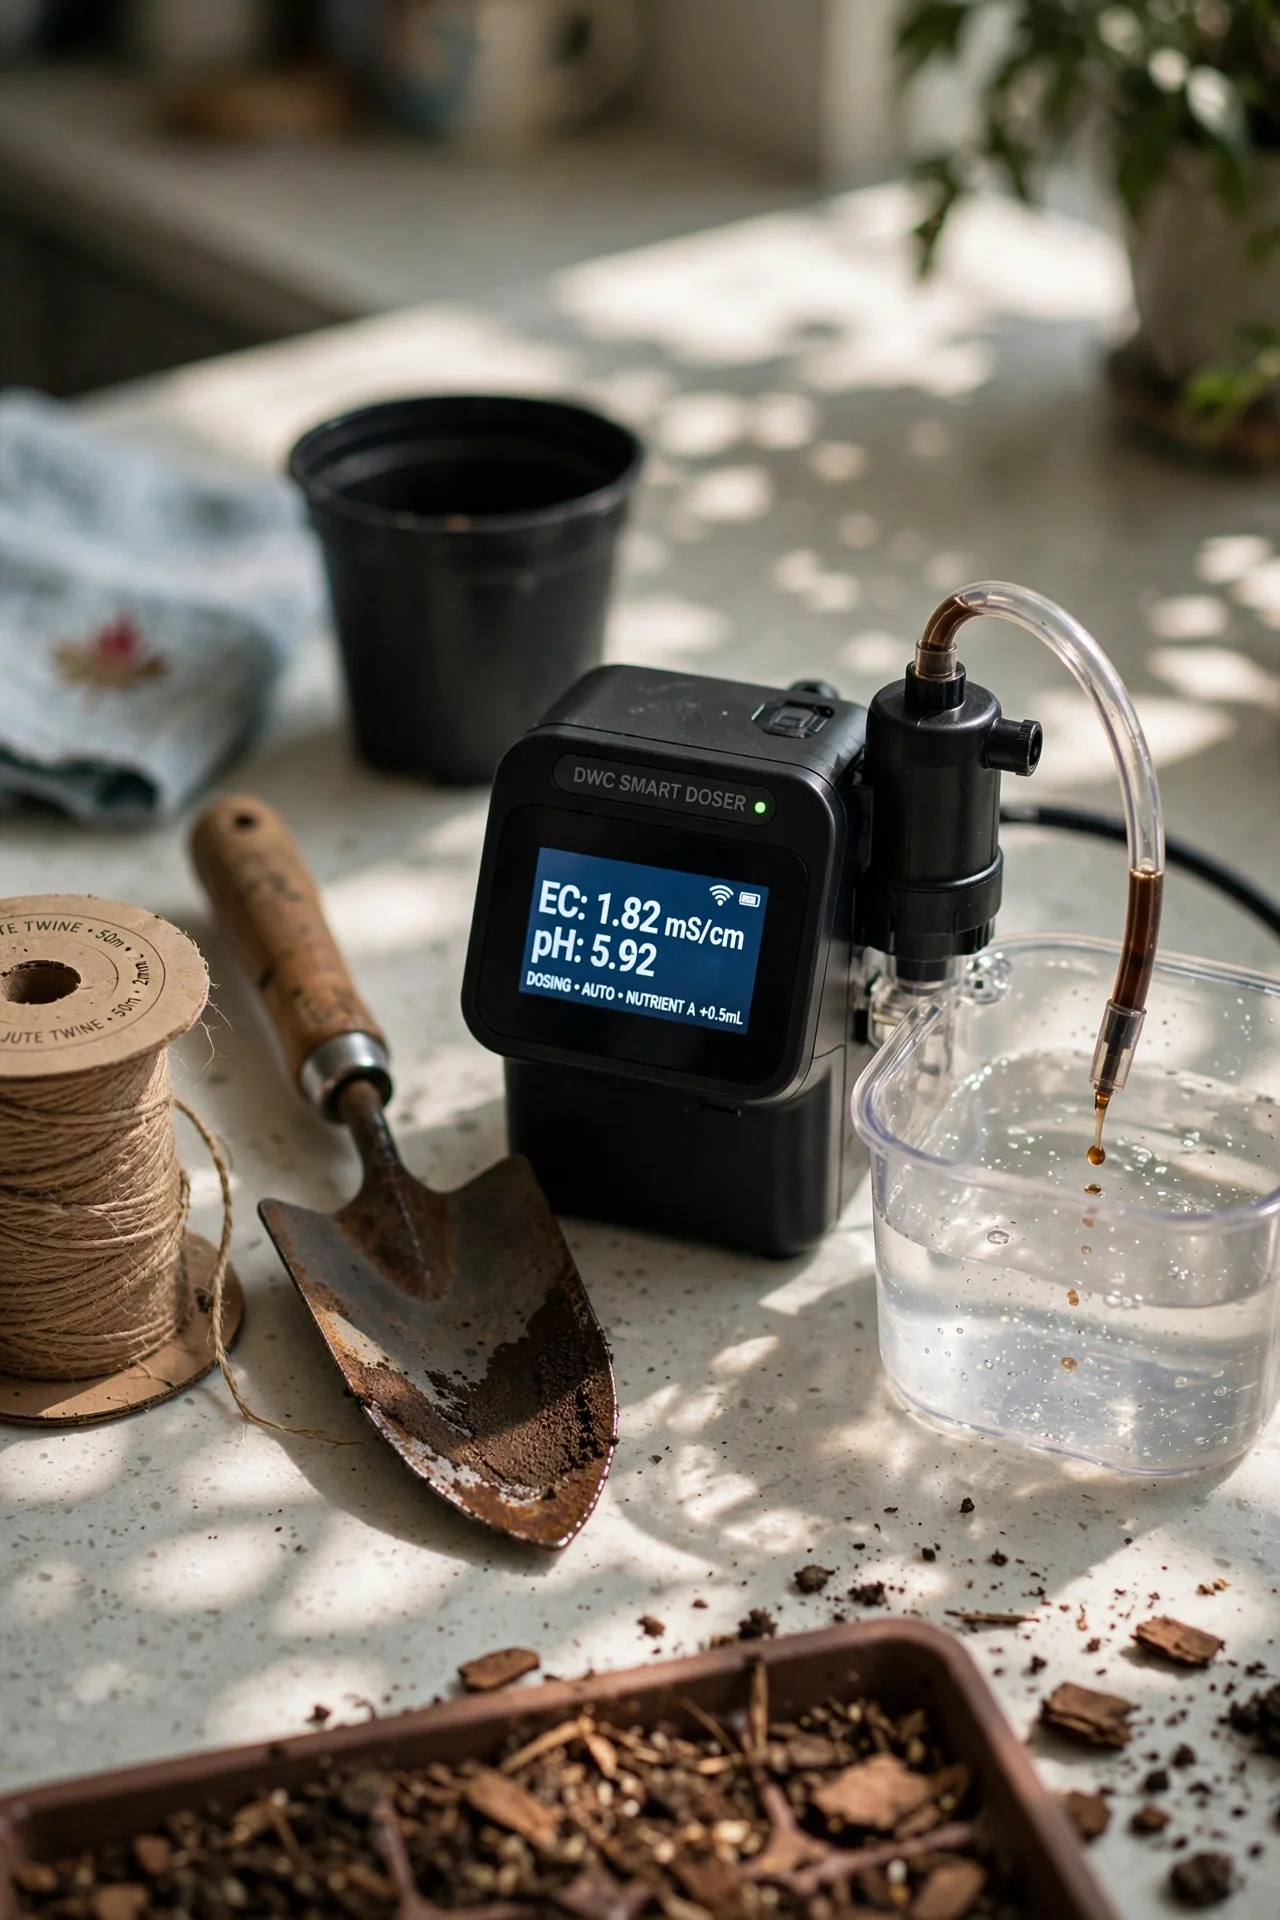
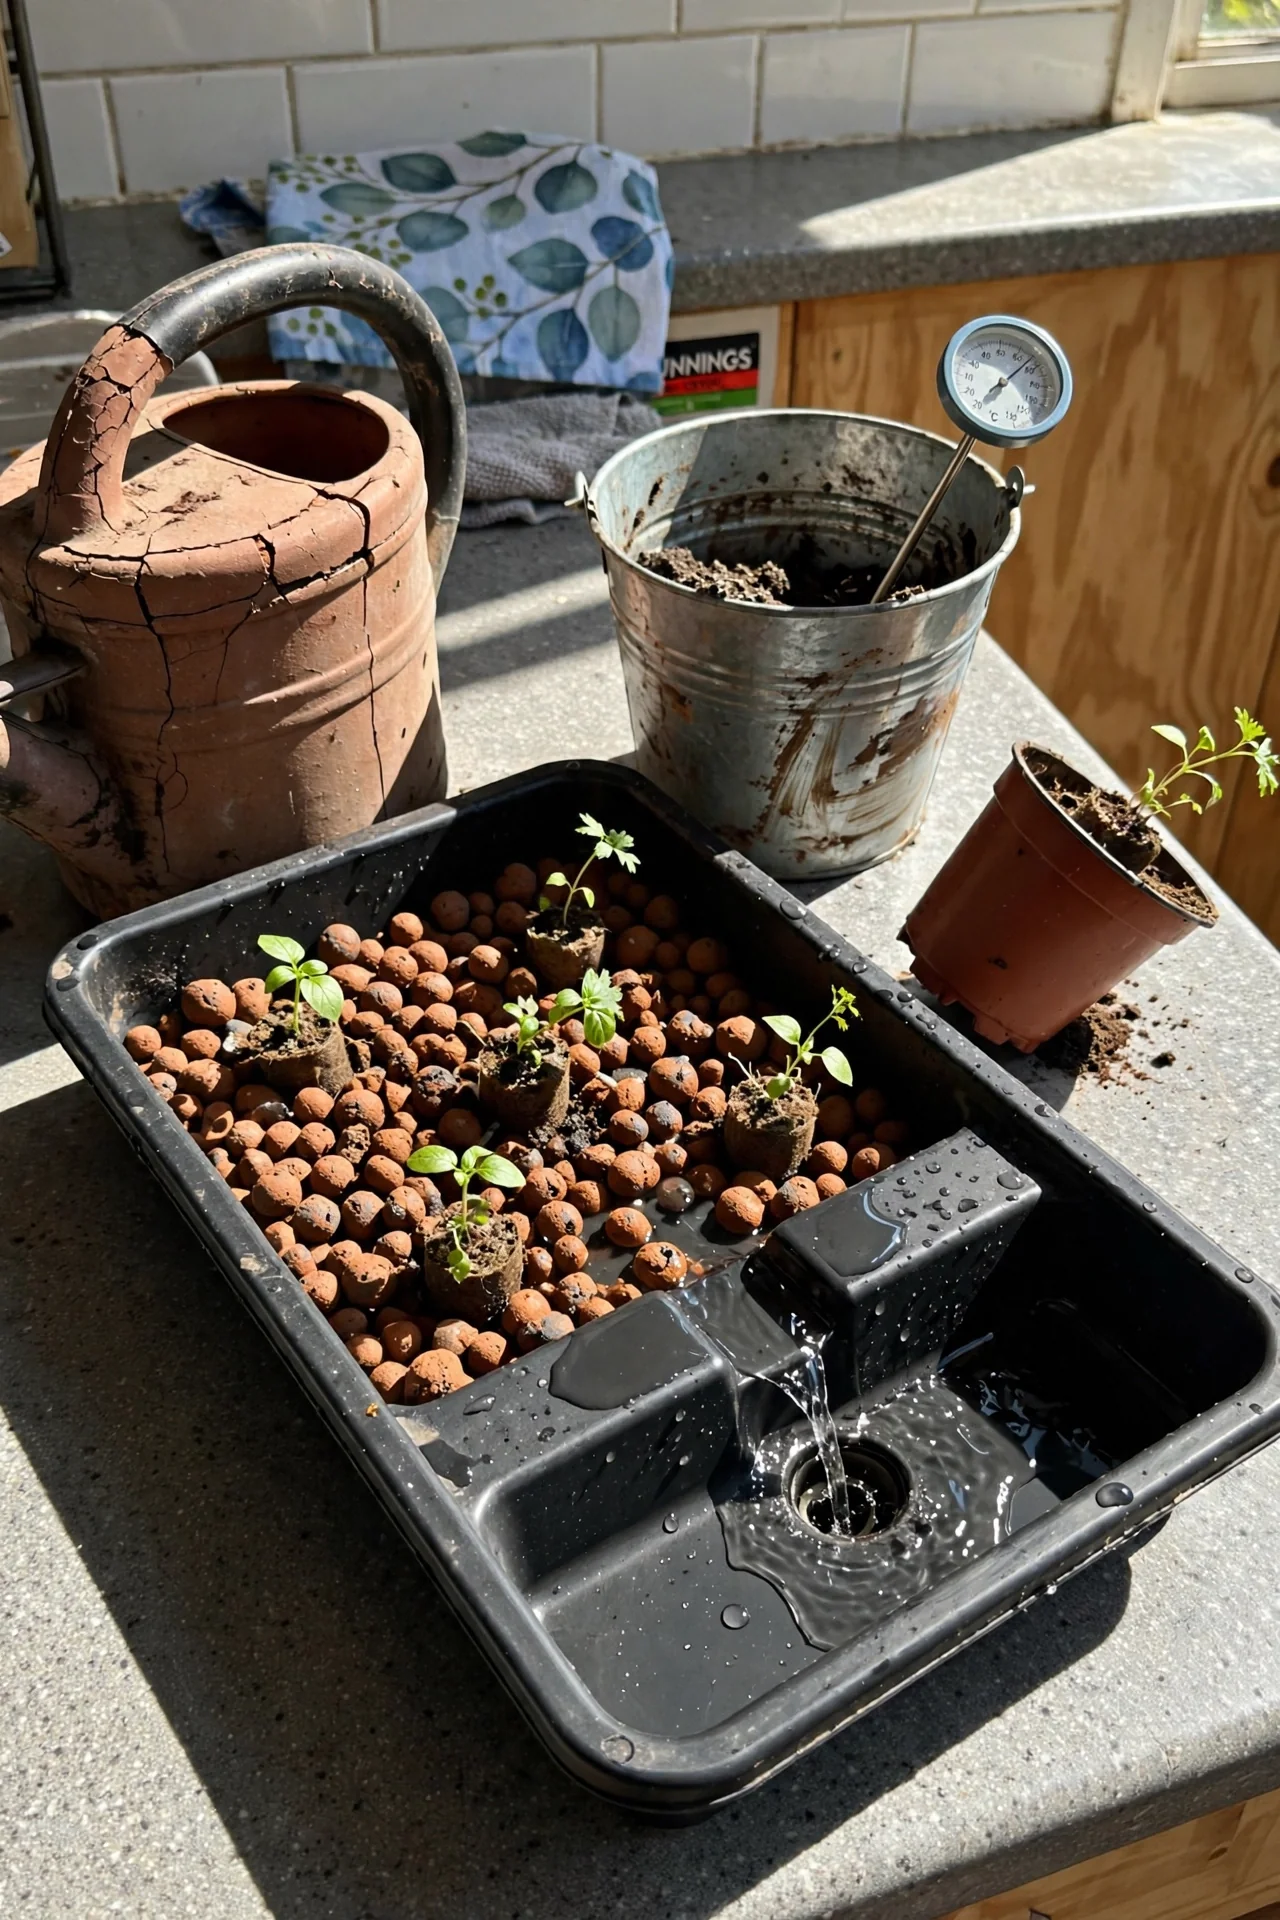
These use a small submersible pump on a 15-minute timer that floods a grow tray several times a day, then drains back into the reservoir. The advantage for herbs like Thai basil is root zone oxygenation during the drain cycle, which prevents the anoxic conditions that make roots darken. The threshold that catches first-time users is pump screen clogging. If the screen mesh is larger than 500 microns, fine coco coir particles bypass it and seize the impeller. Rinse coco coir through a 400-micron paint strainer before filling pots. Our ebb and flow guide covers flood height adjustment for short trays. To avoid flooding the countertop, set the overflow standpipe height so the solution never comes within 0.5 inches of the tray rim when the pump is running.
4. Low-Pressure Aeroponics
Best for: Branch 2
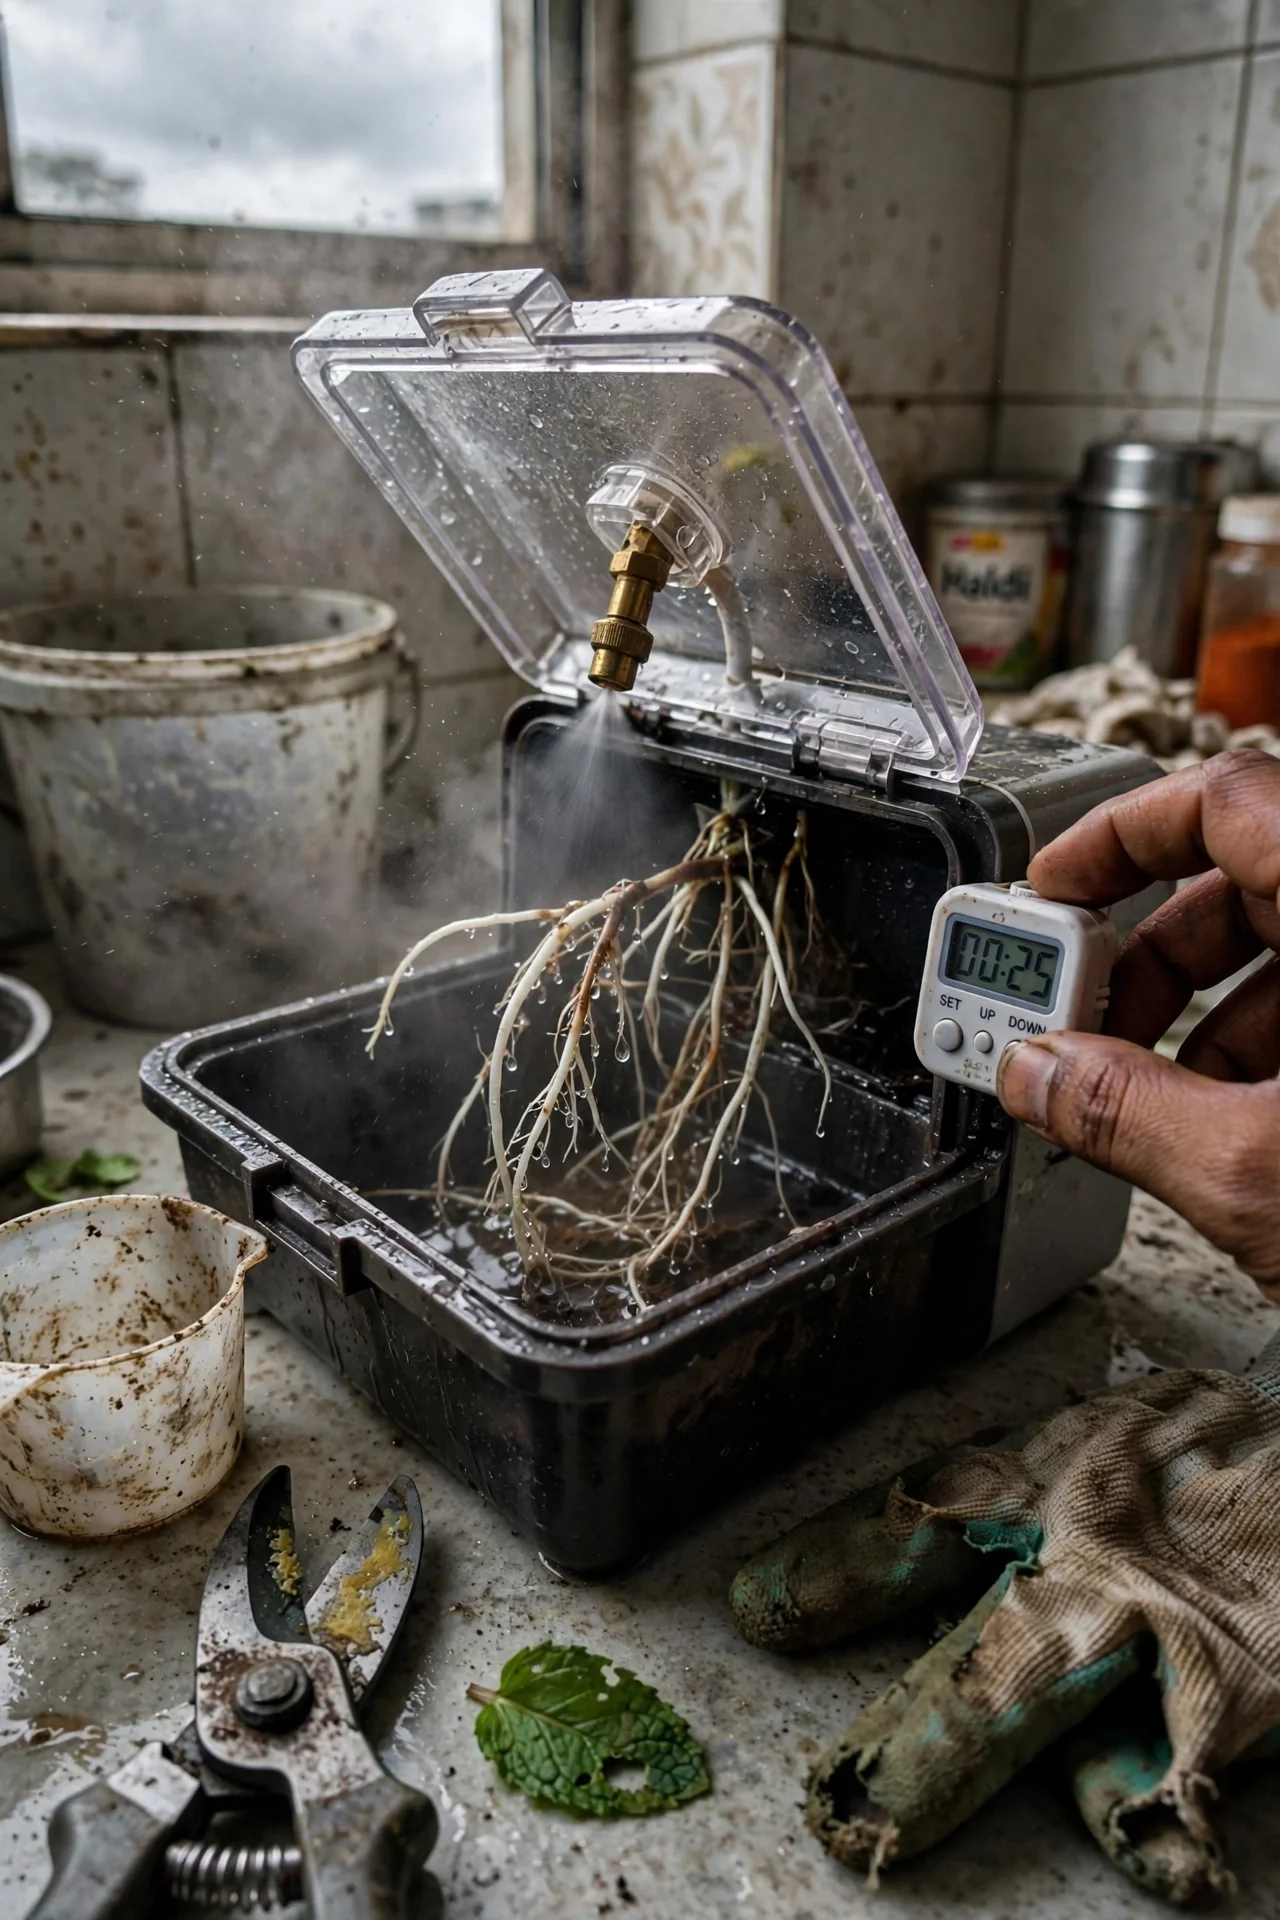
Mist heads inside a dark chamber spray roots on a cycle of 1 minute on, 4 minutes off. The high oxygen availability pushes leafy greens to expand leaf area fast, but the system punishes any lapse in cleaning. The mist orifice diameter is typically 0.3 to 0.5 millimeters. Even after a single crop cycle, calcium carbonate scale from tap water reduces the orifice by enough to create a tight stream instead of a cone, leaving outer roots dry. Soak mist heads in white vinegar (5 percent acidity) for 20 minutes after every harvest, then flush the lines with clean water. This routine adds 30 minutes to crop turnover, but skipping it results in uneven growth within 5 days. For cilantro, which bolts if roots exceed 75°F, wrap the reservoir in reflective bubble insulation and run the mist cycle for 3 seconds more per interval to cool roots via evaporative effect.
5. Wick System
Best for: Branch 1
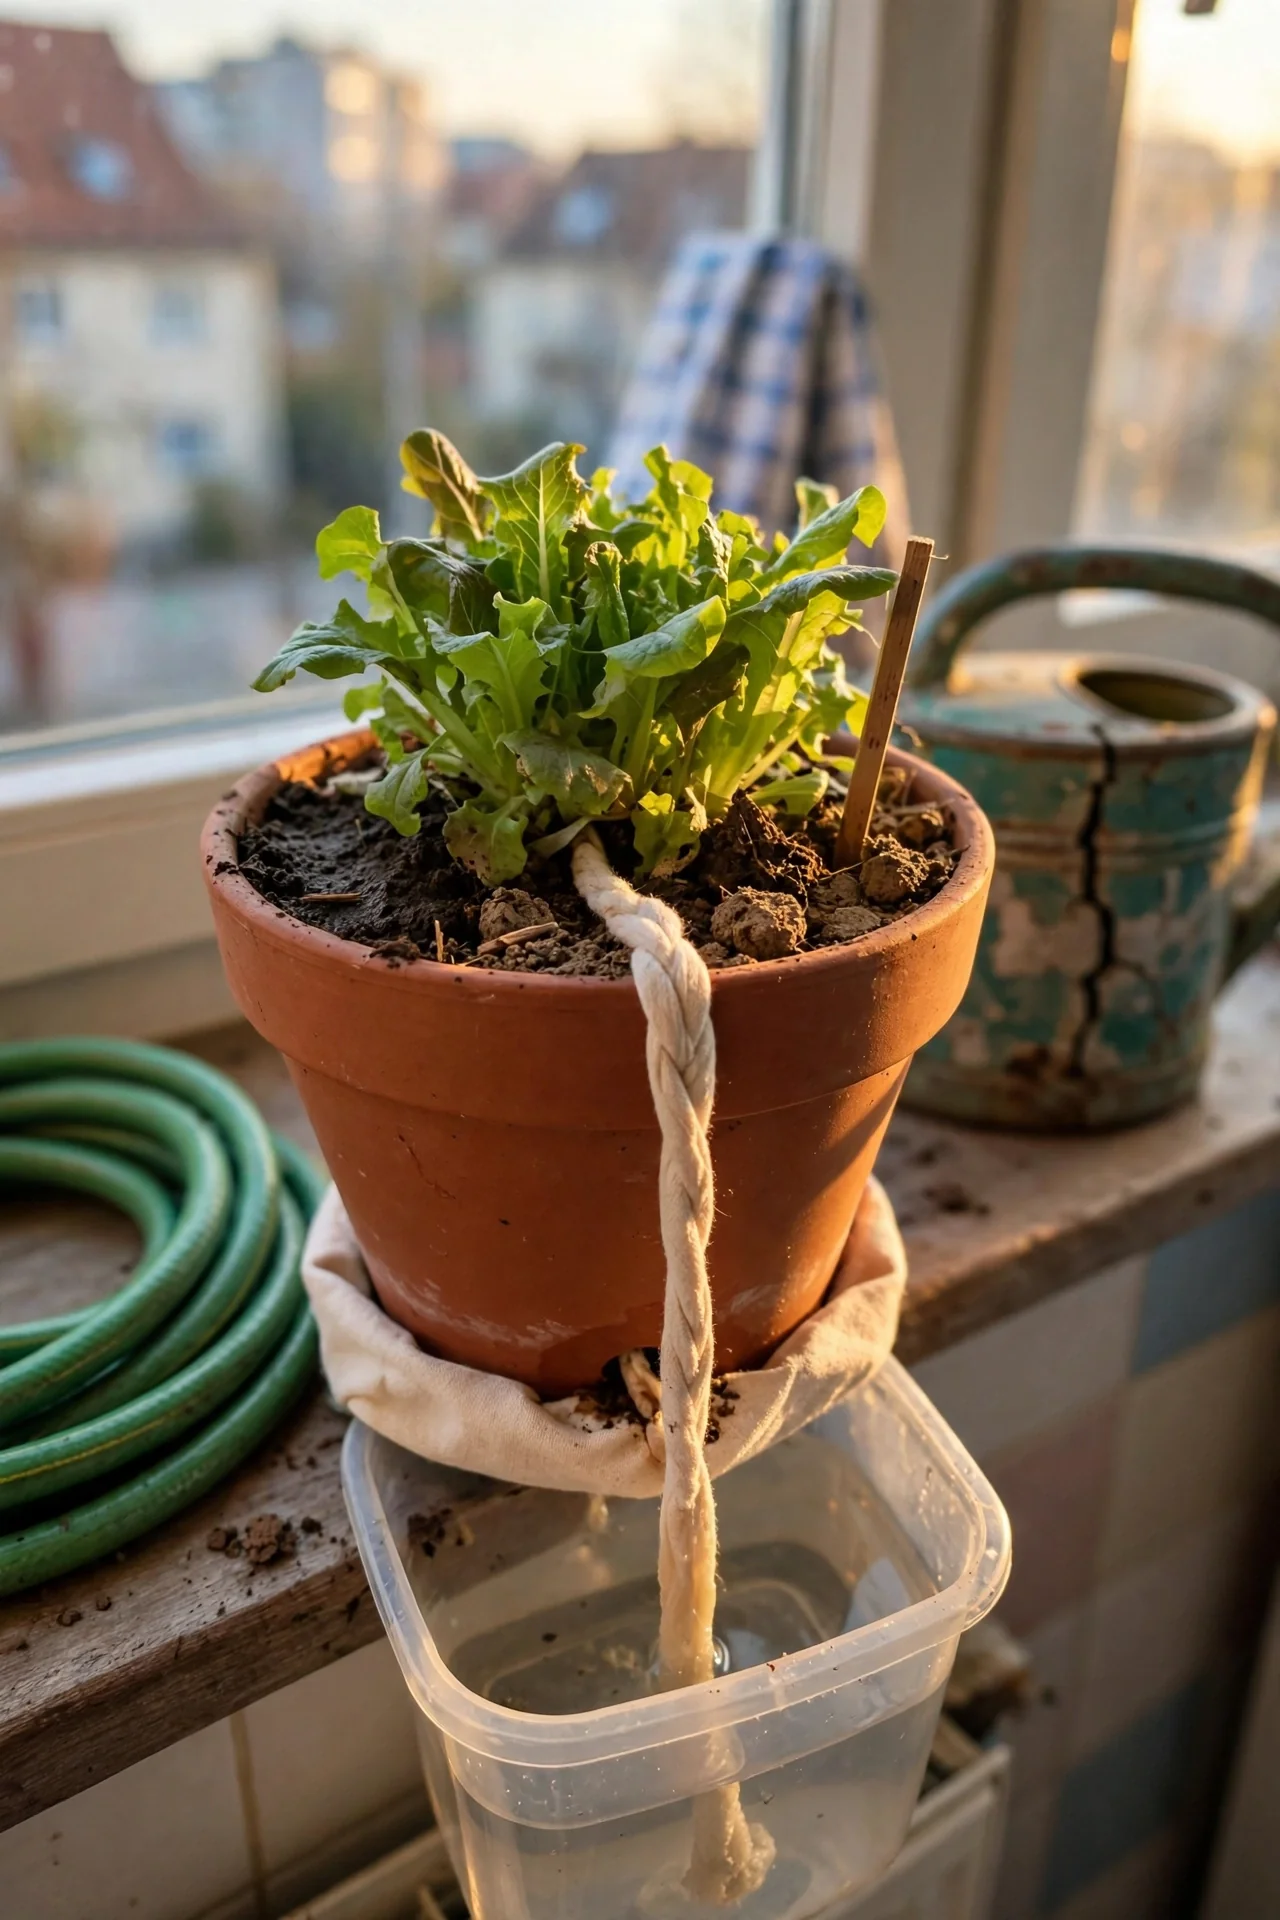
A nylon or cotton wick draws nutrient solution from a lower reservoir into a soilless medium above. The main constraint is wick saturation rate: a single 0.25-inch wick transports roughly 1 fluid ounce per hour under ideal conditions. For a 6-inch pot of lettuce, use three wicks evenly spaced. If you use organic nutrient blends, choosing a filtered organic nutrient prevents sediment that clogs the wick fibers within two weeks. This system works best for leaf lettuce and Asian greens that transpire less than basil.
6. Kratky Mason Jar Setup
Best for: Branch 1
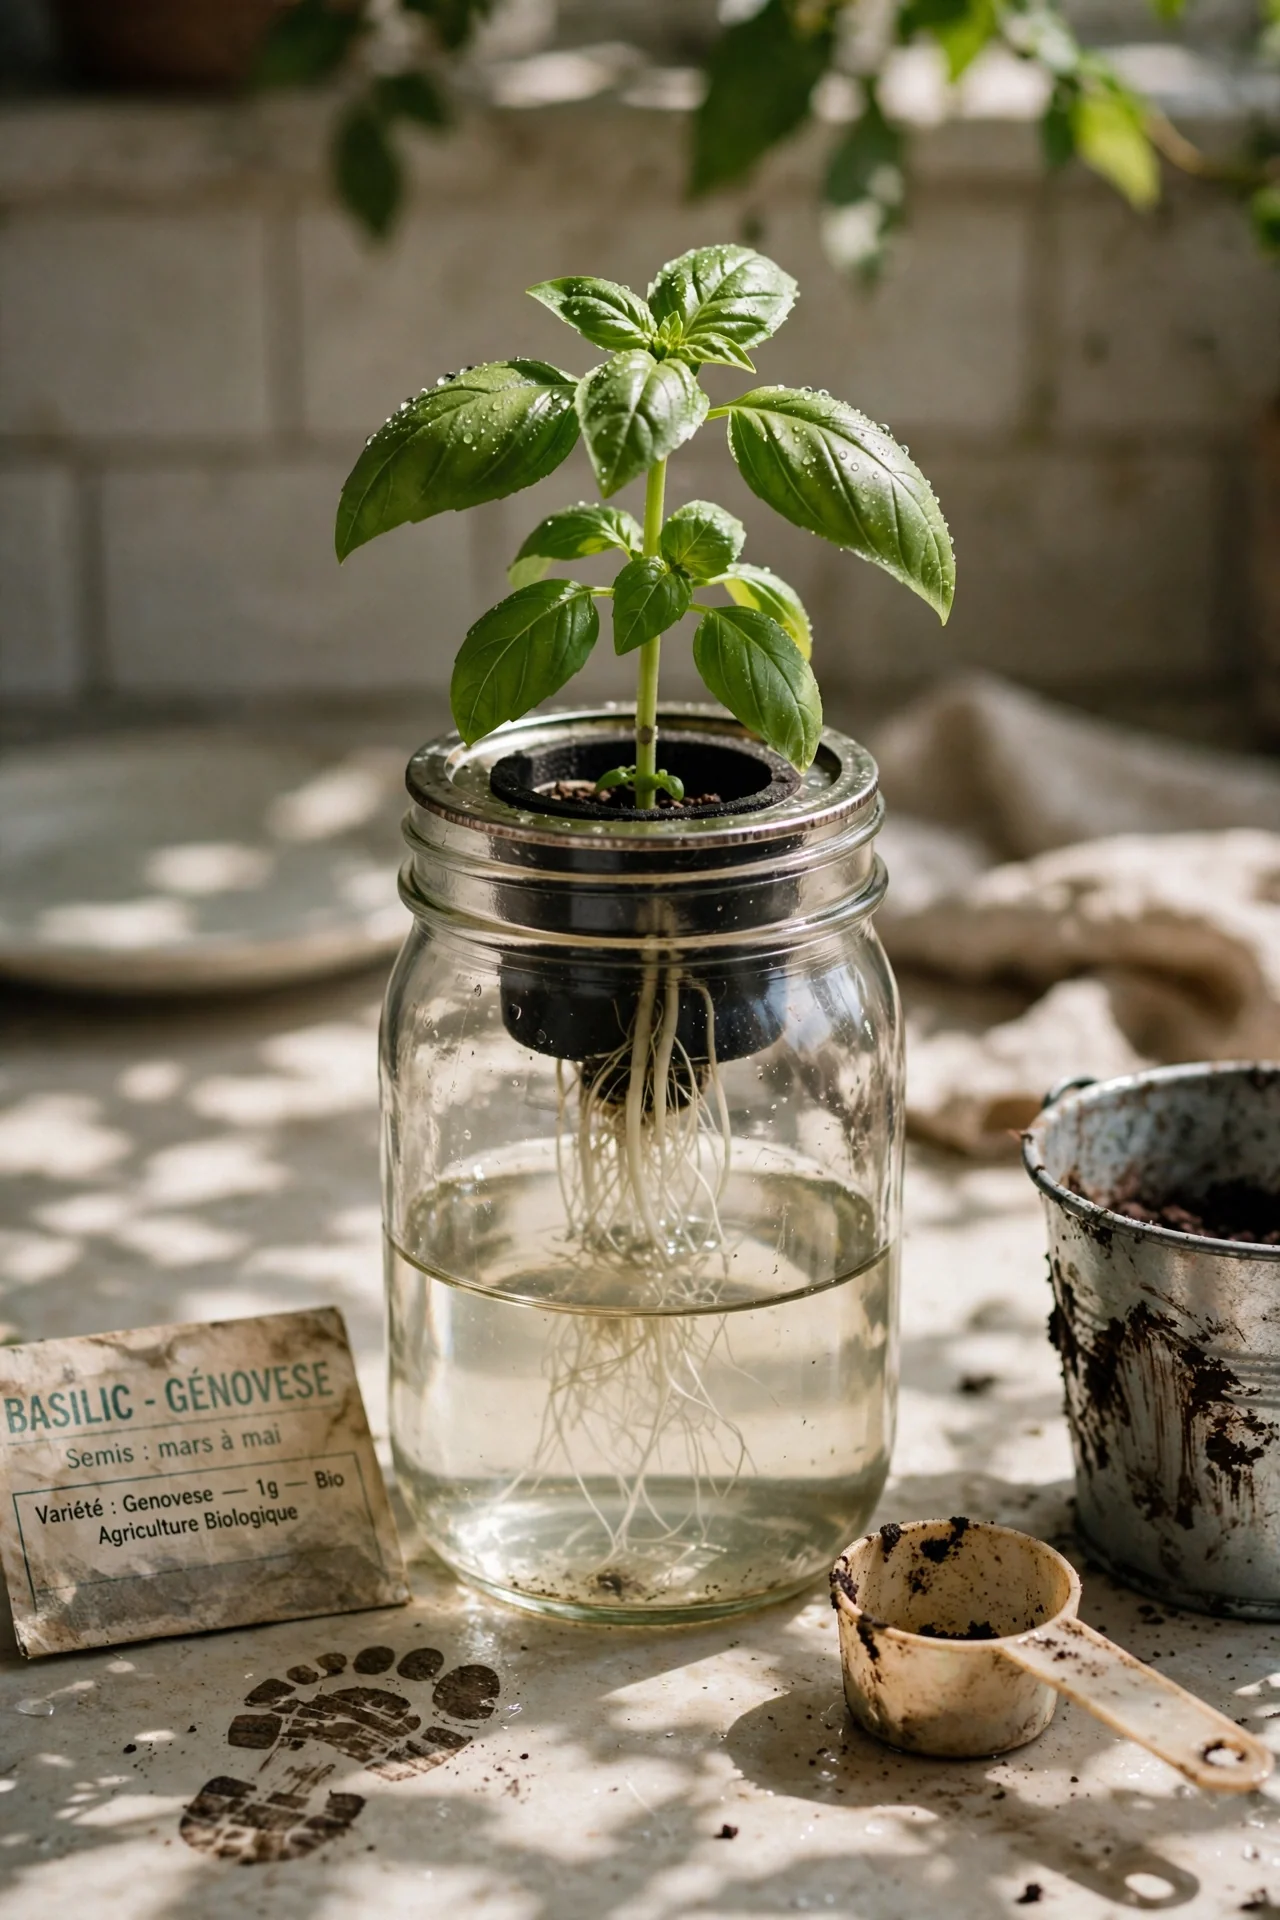
This passive method relies on a static nutrient solution that depletes as the plant grows, exposing an air gap for root respiration. The non-obvious rule is jar volume to crop size: a 1-quart jar supports one Genovese basil plant for a full 60-day cycle only if the starting nutrient level is 2 inches below the net cup, leaving enough airspace. If you start the solution too high, roots drown before the air gap forms. Our mason jar hydroponics page details light-proof paint options that prevent algae. Replace the solution once when EC drops below 0.8 mS/cm, typically around day 35, to avoid calcium deficiency that shows as tip burn on new leaves.
7. DIY High-Pressure Aeroponics
Best for: Branch 3
True high-pressure systems use an accumulator tank and solenoid valve to deliver droplets in the 20 to 50 micron range. The droplet size matters because root hairs develop only when mist droplet diameter falls below 50 microns. Building this for a countertop requires a 0.5-gallon accumulator tank and a mist nozzle rated for 60-80 psi. The daily time commitment comes from monitoring the pressure switch: if the pre-charge in the accumulator drops by 2 psi, cycle timing drifts and roots can dry out during the off interval. A digital pressure gauge with a low-pressure alarm is the minimum instrumentation. For a winter kitchen with ambient humidity below 30 percent, set mist interval to 3 seconds on, 3 minutes off to compensate for faster evaporation from the root chamber walls. This setup is not plug-and-play; it is for growers who treat the system as a hobby platform rather than an appliance.
Starter Stack (What to Choose First)
Branch 1: Fill-and-forget path
Begin with a Kratky mason jar (Item 6) and one wick system (Item 5). Fill the Kratky jar for a single basil plant and the wick system for a continuous harvest of Black-Seeded Simpson lettuce. Together they require no power, no pump, and less than 10 minutes per week for water top-up. Initial cost for both, including nutrients and seeds, runs between $25 and $40; ongoing cost per crop cycle is under $3.
Branch 2: Weekly-check path
Start with a DWC countertop unit (Item 1) and an ebb and flow tray (Item 3). Use the DWC for fast-growing Genovese basil and the ebb and flow tray for cilantro and compact strawberries on a shared flood schedule. Total setup time is about 45 minutes, and weekly maintenance settles at 15-20 minutes including pH check and pump screen inspection. Combined initial spend ranges from $80 to $140 depending on pump and light choices.
Branch 3: Automated path
Choose a smart DWC with dosing (Item 2) and reserve a DIY high-pressure aeroponic chamber (Item 7) for a later project once you trust the dosing calibration. The smart DWC handles lettuce and herbs with push notifications; the aeroponic chamber becomes the experimental station for rooting cuttings or pushing rapid basil cycles. Allocate 60-90 minutes for initial setup, then under 10 minutes per week for the smart system. Budget $200-$350 for the smart unit and roughly $120 for the DIY aeroponics build.
When This Won’t Work
Your tap water TDS exceeds 400 ppm out of the faucet. Most countertop systems rely on balanced nutrient formulations that assume starting water in the 0-150 ppm range. With high dissolved solids, calcium and magnesium already saturate the solution, and adding standard nutrients pushes the EC too high for leafy greens, causing leaf margin burn. The alternative is a small reverse osmosis filter that fits under the sink and produces 3-5 gallons per day, or switching to a distilled water supply. Without that correction, the Kratky method (Item 6) fails first because there is no circulation to buffer localized salt buildup.
Your kitchen temperature stays below 58°F for most of the day. In unheated spaces during winter, root zone temperatures below that threshold slow phosphate uptake enough that seedlings stall permanently. If the room cannot be warmed with a seedling heat mat placed under the reservoir, the only viable option is a fully enclosed system with a submersible aquarium heater set to 68°F. Passive systems (wick and Kratky) cannot incorporate a heater without risking root damage, so switch to a DWC unit that allows safe heater placement.
Choosing the Right Option for Your Situation
Budget threshold that shifts the decision
If your total initial budget is under $50, passive methods (Kratky and wick) are the only mechanisms that remain safe and functional. At $80-$120, basic DWC and small ebb and flow kits become possible, but you will still need to check pH manually. Smart dosing systems enter the picture only above $200, and that cost includes the sensor array that prevents nutrient lockout when tap water quality shifts seasonally.
Time threshold per week
If you cannot reliably set aside 20 minutes once a week for water quality checks, eliminate any system with a pump (Items 1, 3, 4, 7). The sweet spot for busy households is Branch 1, where the only recurring task is topping off a reservoir every 10-14 days. Branch 2 systems that claim “set and forget” still require a 3-minute pH strip check weekly to avoid a pH crash below 5.0, which happens silently in warm kitchens.
Light spill and cabinet clearance constraint
Many plug-in countertop gardens use LED panels that cast a pink glow across the room. If your kitchen opens into a living area where that light is intrusive after sunset, choose a model with a built-in light shield or a physical timer that switches off by 8 p.m. Units that integrate the light bar directly above the plants often cannot fit under a standard 18-inch upper cabinet when growing tall herbs. Measure from countertop to cabinet bottom before buying; dill and Genovese basil easily exceed 14 inches by week 6.
Yes/No Checklist
- Yes, I have a power outlet within 3 feet of the planned spot, or I choose a passive system.
- Yes, I know my tap water TDS, or I am willing to use distilled water if it exceeds 150 ppm.
- Yes, I will measure pH at least every 7 days for pump-based systems.
- Yes, I have 18 inches of vertical clearance under cabinets, or I will grow only low-profile greens.
Expert Q&A
Can I use filtered tap water from a pitcher instead of distilled?
Pitcher filters remove chlorine and some sediments but leave dissolved calcium and magnesium largely unchanged. If your tap water TDS is under 150 ppm, a pitcher filter is sufficient. Above 200 ppm, the remaining carbonate hardness will still push pH upward over the course of a week, requiring more frequent acid adjustment.
How many hours of light do compact tomato varieties need on a countertop?
Determinate dwarf tomato varieties like Tiny Tim need 16 hours of light daily at a minimum PPFD of 300 µmol/m²/s at leaf level. Less than 14 hours triggers blossom drop. Use a light meter app on your phone to verify intensity at the top leaves, not just the advertised wattage of the panel.
Why does my basil smell like cloves after two weeks?
That clove-like aroma indicates the plant has started producing eugenol, often triggered by root zone stress. The most common cause in countertop systems is pH dropping below 4.8 for more than 48 hours, which blocks calcium uptake. Check the reservoir pH immediately and adjust to 5.8 while thinning the roots if they are overcrowding the air stone.
Can I grow microgreens in a countertop hydroponic garden?
Yes, but standard hydroponic pods are too deep for microgreen mats. Use a separate shallow tray on top of the reservoir with a wicking mat that touches the nutrient solution. Harvest at 7-10 days. Do not use the main pod deck for microgreens because the dense root mat will clog the pump intake if any circulates back into the reservoir.
What is the coldest countertop temperature that still supports basil germination?
Basil seed requires a steady medium temperature of 70-75°F for reliable germination within 5 to 7 days. Below 65°F, emergence stretches to 14 days and damping-off risk rises. If your kitchen counter drops to 62°F overnight, use a seedling heat mat under the reservoir set to 72°F, but only until the first true leaves appear.
Conclusion
Most dead plants in countertop hydroponic gardens trace back to a mismatch between the mechanism’s maintenance rhythm and the grower’s actual weekly routine, not to any defect in the seeds or nutrients. Choosing the water delivery method first, and treating the brand as a secondary filter, eliminates the systems that silently demand more time than you can give.
The single greatest unforced error is filling a pump-driven system with hard tap water and never checking pH. If you remember only one fact, let it be this: a 0.3 pH drift per week in a warm kitchen can ruin a crop in 14 days. Pick the branch that matches your tap water reality, and you will harvest more than you compost.