
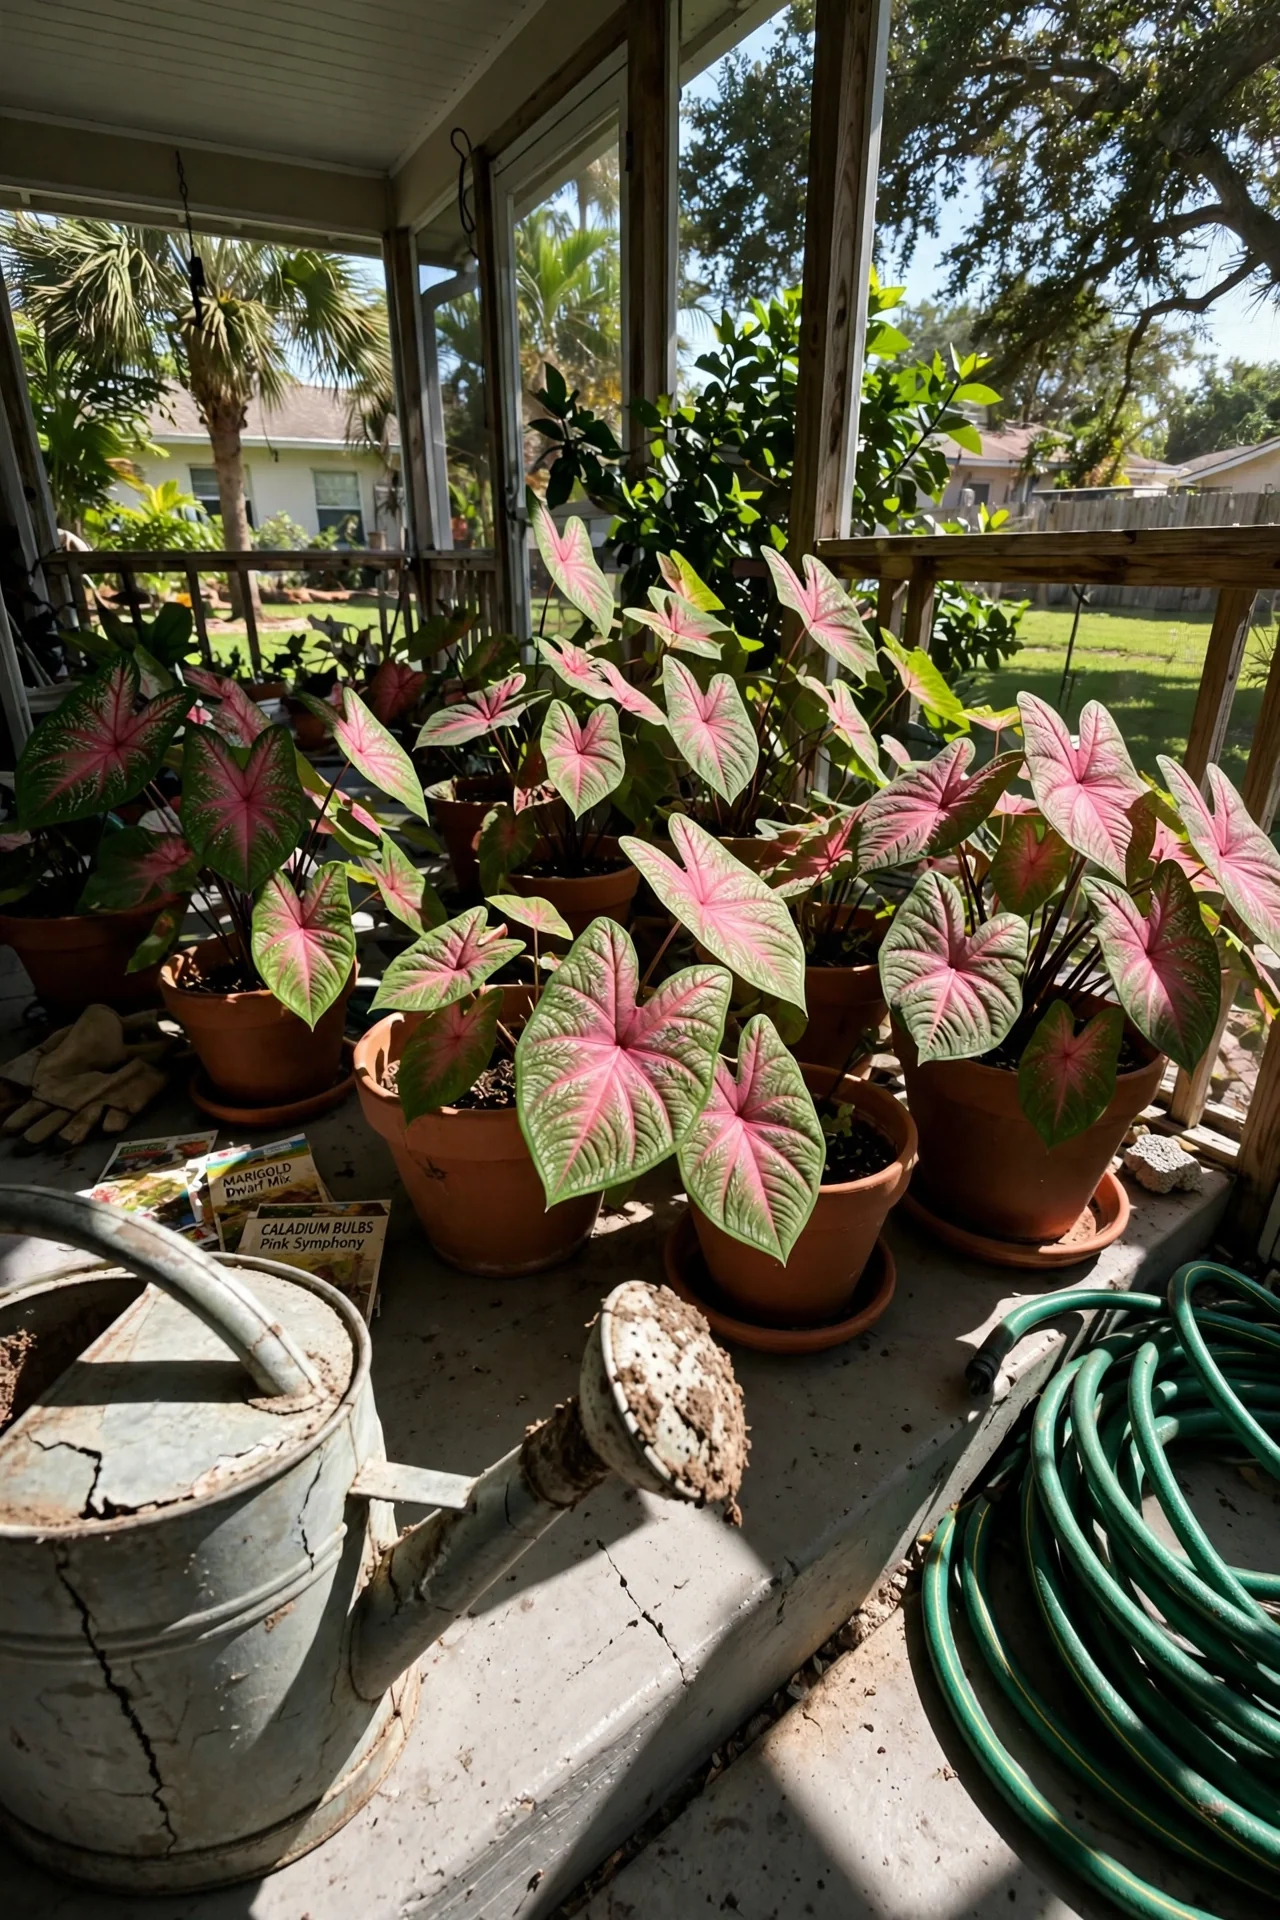
Indoor caladium success isn’t a single playbook. It forks into three distinct paths depending on whether you can maintain a leaf-friendly vapor pressure deficit year-round. Most generic advice ignores this core fork, leaving you guessing why leaves crisp or tubers rot. Here, you decide upfront which path fits your actual living space.
This guide covers container-grown Caladium bicolor hybrids kept as houseplants, excluding landscape planting, cut foliage use, and commercial greenhouse forcing. It addresses the full cycle from tuber selection through dormancy, focusing on actionable metrics you can measure in your home.
By the end, you will identify whether you’re a Year-Round Conservatory grower, a Seasonal South Window grower, or an Annual Color Pop gardener. You will learn exactly which watering, feeding, and dormancy steps to follow for your chosen branch, and where most indoor caladiums fail.
Bottom line: Match your caladium’s lifecycle to your room’s humidity level, or accept the cost of a seasonal display.
The Yield Grid Decision Grid
Choose the branch that matches your indoor environment. All recommendations assume you are growing in typical container conditions with standard potting media.
Branch 1: The Year-Round Conservatory
Conditions: You can sustain relative humidity above 60% (source), daytime temperatures between 70°F and 80°F, and bright indirect light exceeding 500 foot-candles for at least 12 hours daily. This is the realm of dedicated humidity-lovers like calathea; see our calathea care guide for parallel principles.
Recommended: Items 1, 4, 6 below.
Branch 2: The Seasonal South Window
Conditions: Humidity stays between 40% and 60%, light is bright but may dip below 500 fc in winter, and indoor temperatures range from 65°F to 78°F. You accept that leaves may show some edge browning and the plant will naturally slow in fall.
Recommended: Items 2, 3, 5, 7, 9 below.
Branch 3: The Annual Color Pop
Conditions: Humidity regularly falls below 40%, light is moderate to low (under 200 fc), or you prefer a set-it-and-forget-it approach without active dormancy management. You treat caladiums as a long-lasting bouquet and either replace tubers each spring or store them dry.
Recommended: Items 8, 10 below.
Quick Comparison Table
| Option | Key Mechanism | Best for | Decision Grid Branch | Effort Score |
|---|---|---|---|---|
| Variety Selection | Genetic humidity tolerance | Perpetual leaf canopy | 1 | 1 |
| Light Placement | Duration × intensity balance | Leaf color retention | 2 | 1 |
| Watering Cadence | Moisture tension consistency | Root health without rot | 2 | 3 |
| Humidity Microclimate | Boundary layer resistance | Preventing edge burn | 1 | 5 |
| Custom Soil Mix | Air-filled porosity | Oxygen to tuber zone | 2 | 1 |
| Temperature Guardrails | Metabolic rate window | Avoiding cold shock | 1 | 1 |
| Fertilizer Dilution | Controlled nutrient flux | Steady leaf production | 2 | 4 |
| Dormancy Induction | Photoperiod & moisture cue | Tuber preservation | 3 | 2 |
| Pest Scouting | Early detection threshold | Preventing mite outbreaks | 2 | 4 |
| Tuber Division | Eye count & callousing | Low-cost propagation | 3 | 2 |
1. Variety Selection for Indoor Life
Best for: Branch 1
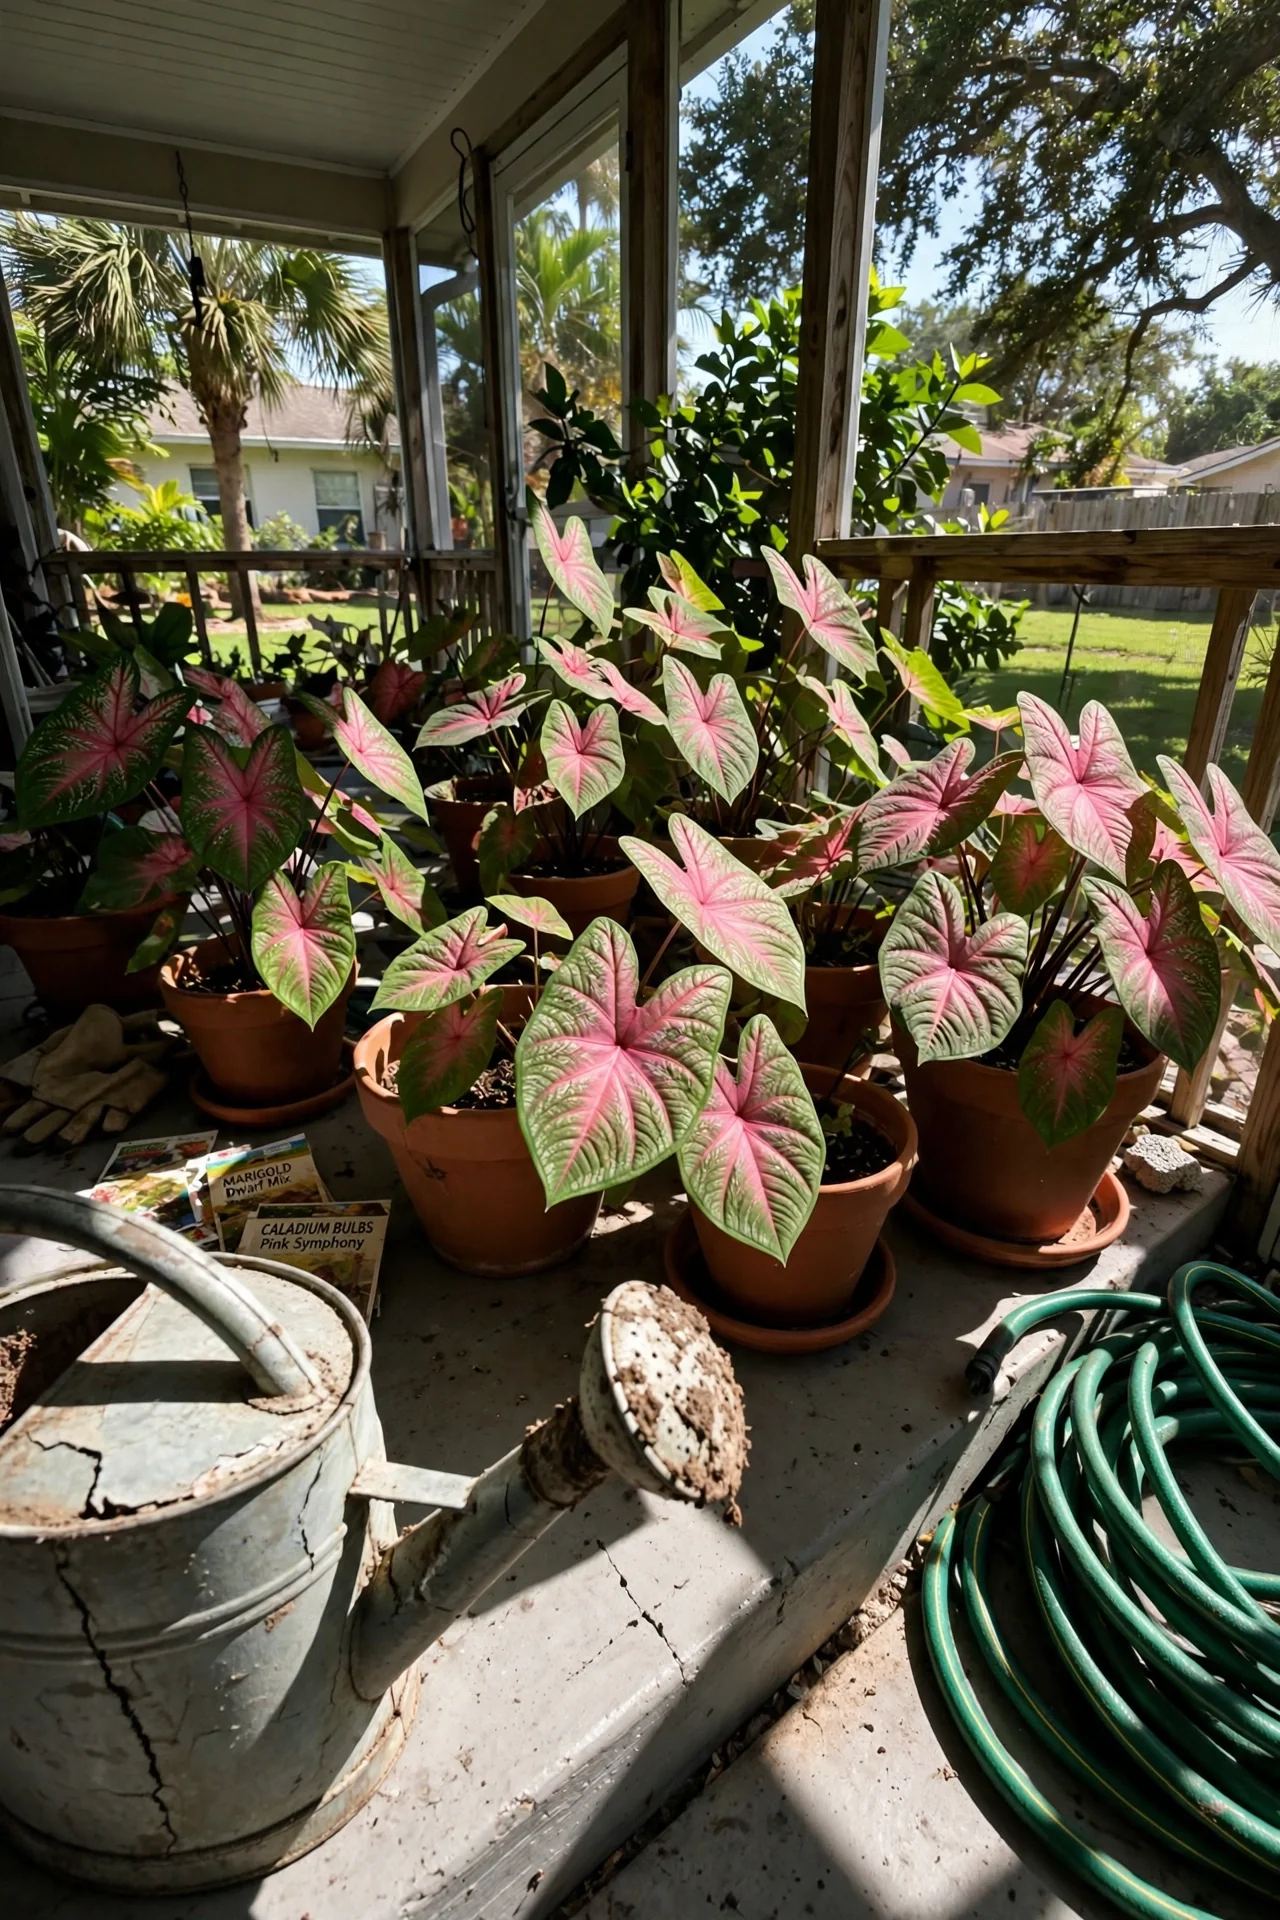
What it is: Picking a caladium cultivar whose leaf thickness and stomatal behavior match indoor humidity levels. Fancy-leaf types with large, papery blades lose water faster than lance-leaf varieties, making them a poor fit for dry rooms.
What it’s for: Extending leaf lifespan without running a humidifier 24/7. A well-chosen variety can hold color weeks longer even when vapor pressure deficit rises.
Steps: First, measure your room’s average daytime humidity with a hygrometer over one week. If it rarely tops 50%, select strap-leaf cultivars like ‘Florida Sweetheart’ or ‘Red Frill’ that have a lower transpiration rate. If you can sustain above 60%, fancy-leaf ‘Candidum’ or ‘Carolyn Whorton’ will thrive. Check tuber suppliers for “sun-tolerant” or “landscape” types, which often indicate thicker leaves. Plant tubers with the knobby eyes facing up, about 2 inches deep.
Common mistake: Assuming all caladiums are equally fragile. Thin-leaved fancy cultivars placed in a living room with 35% humidity will show edge necrosis within days, regardless of watering. If you have already purchased a fussy variety, see our alocasia care approach for a similar humidity-sensitive aroid that benefits from a pebble tray microclimate.
2. Light Placement
Best for: Branch 2
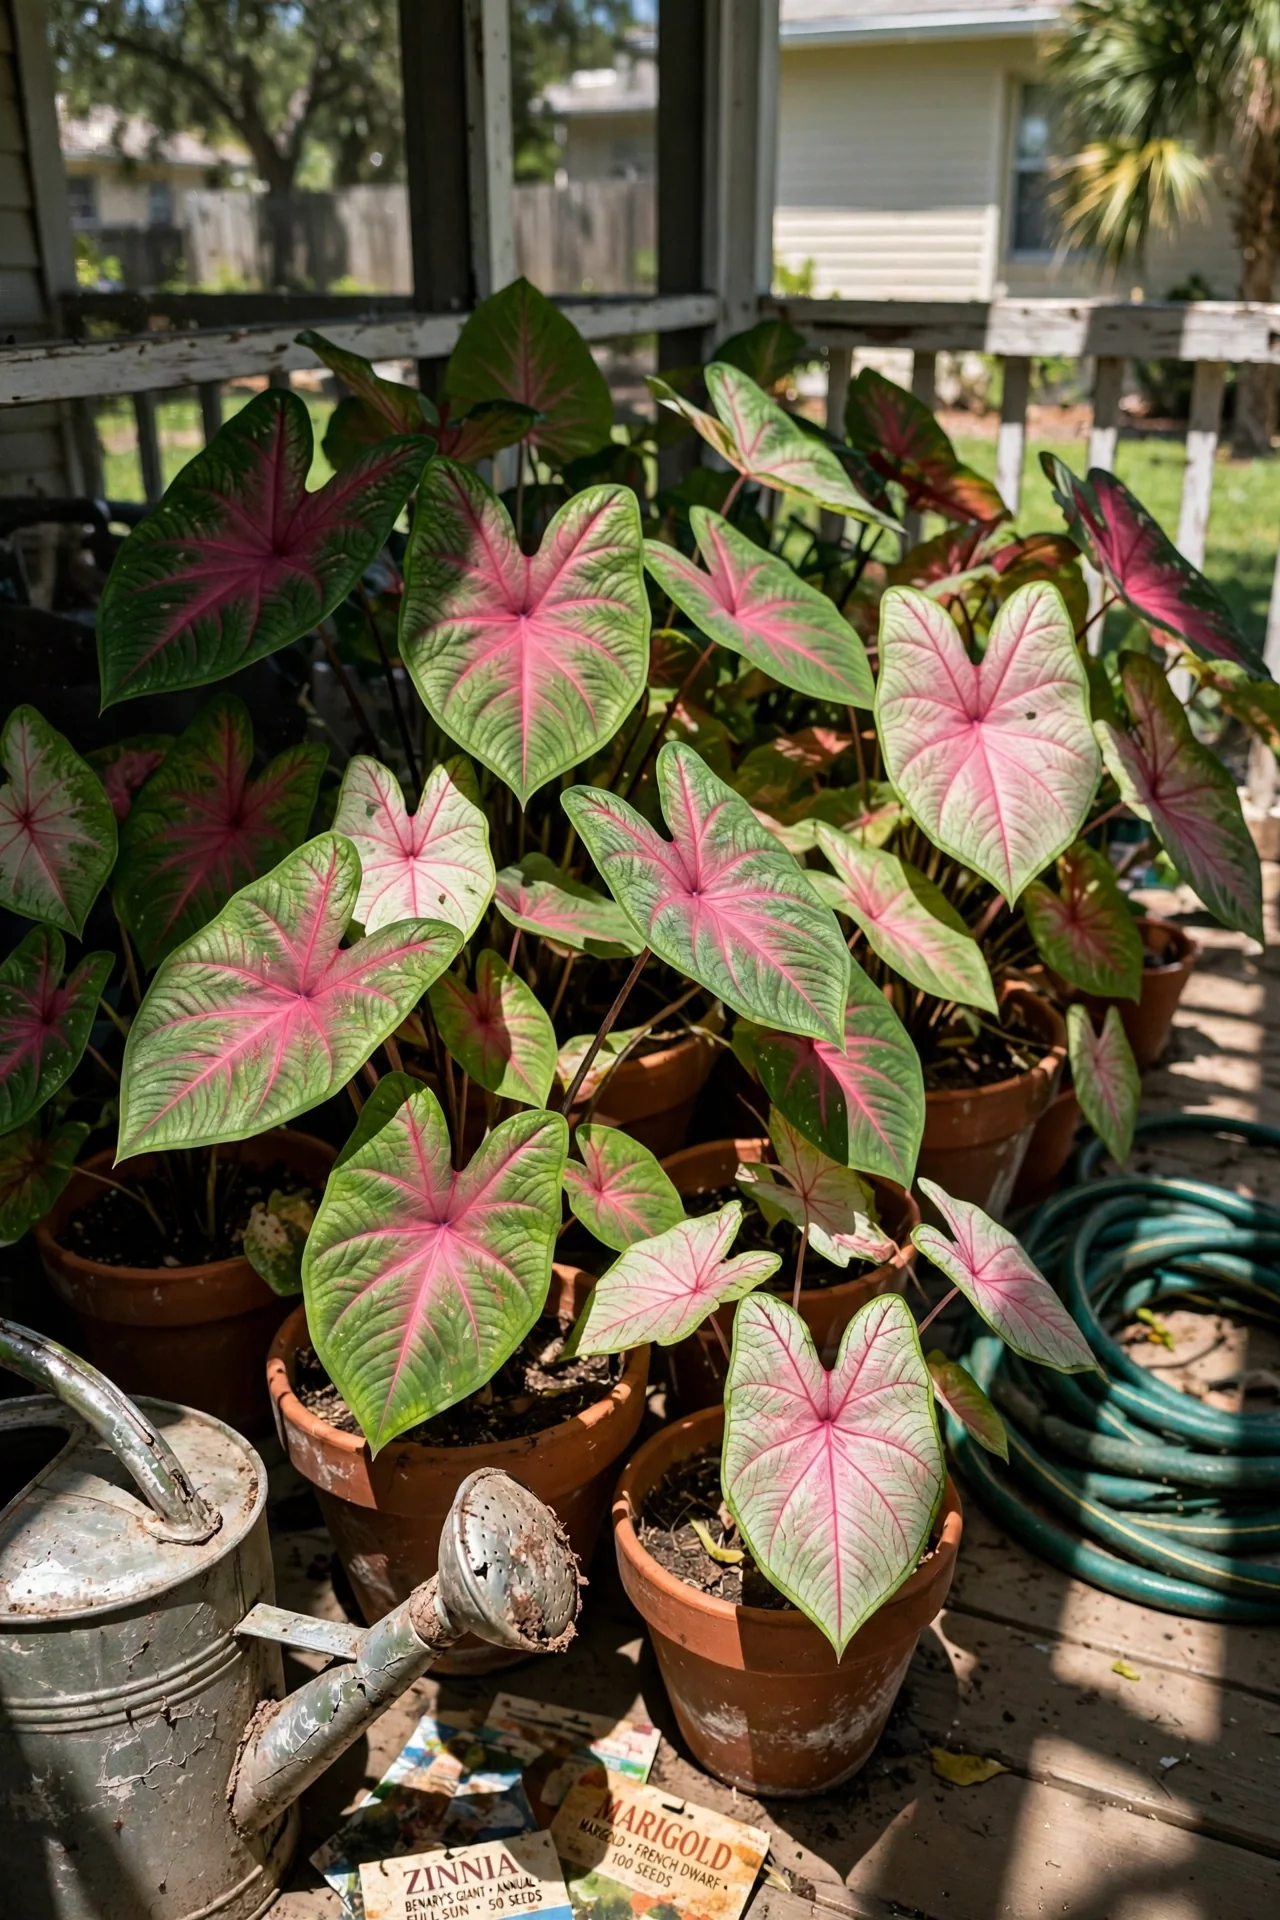
Use: An east-facing windowsill or a spot 3 feet from a sheer-curtained south window. This gives bright indirect light in the 300–500 foot-candle range for most of the day, which saturates leaf color without scorching white or pink areas.
Skip: Deep shade corners or north-facing windows in winter. Below 150 fc, petioles stretch and leaves become floppy. The edge case is a south window in summer without diffusion: direct midday rays can bleach delicate variegation within two hours.
For a foliage plant that handles lower light with similar tropical appeal, browse our dieffenbachia care guide.
3. Watering Cadence
Best for: Branch 2
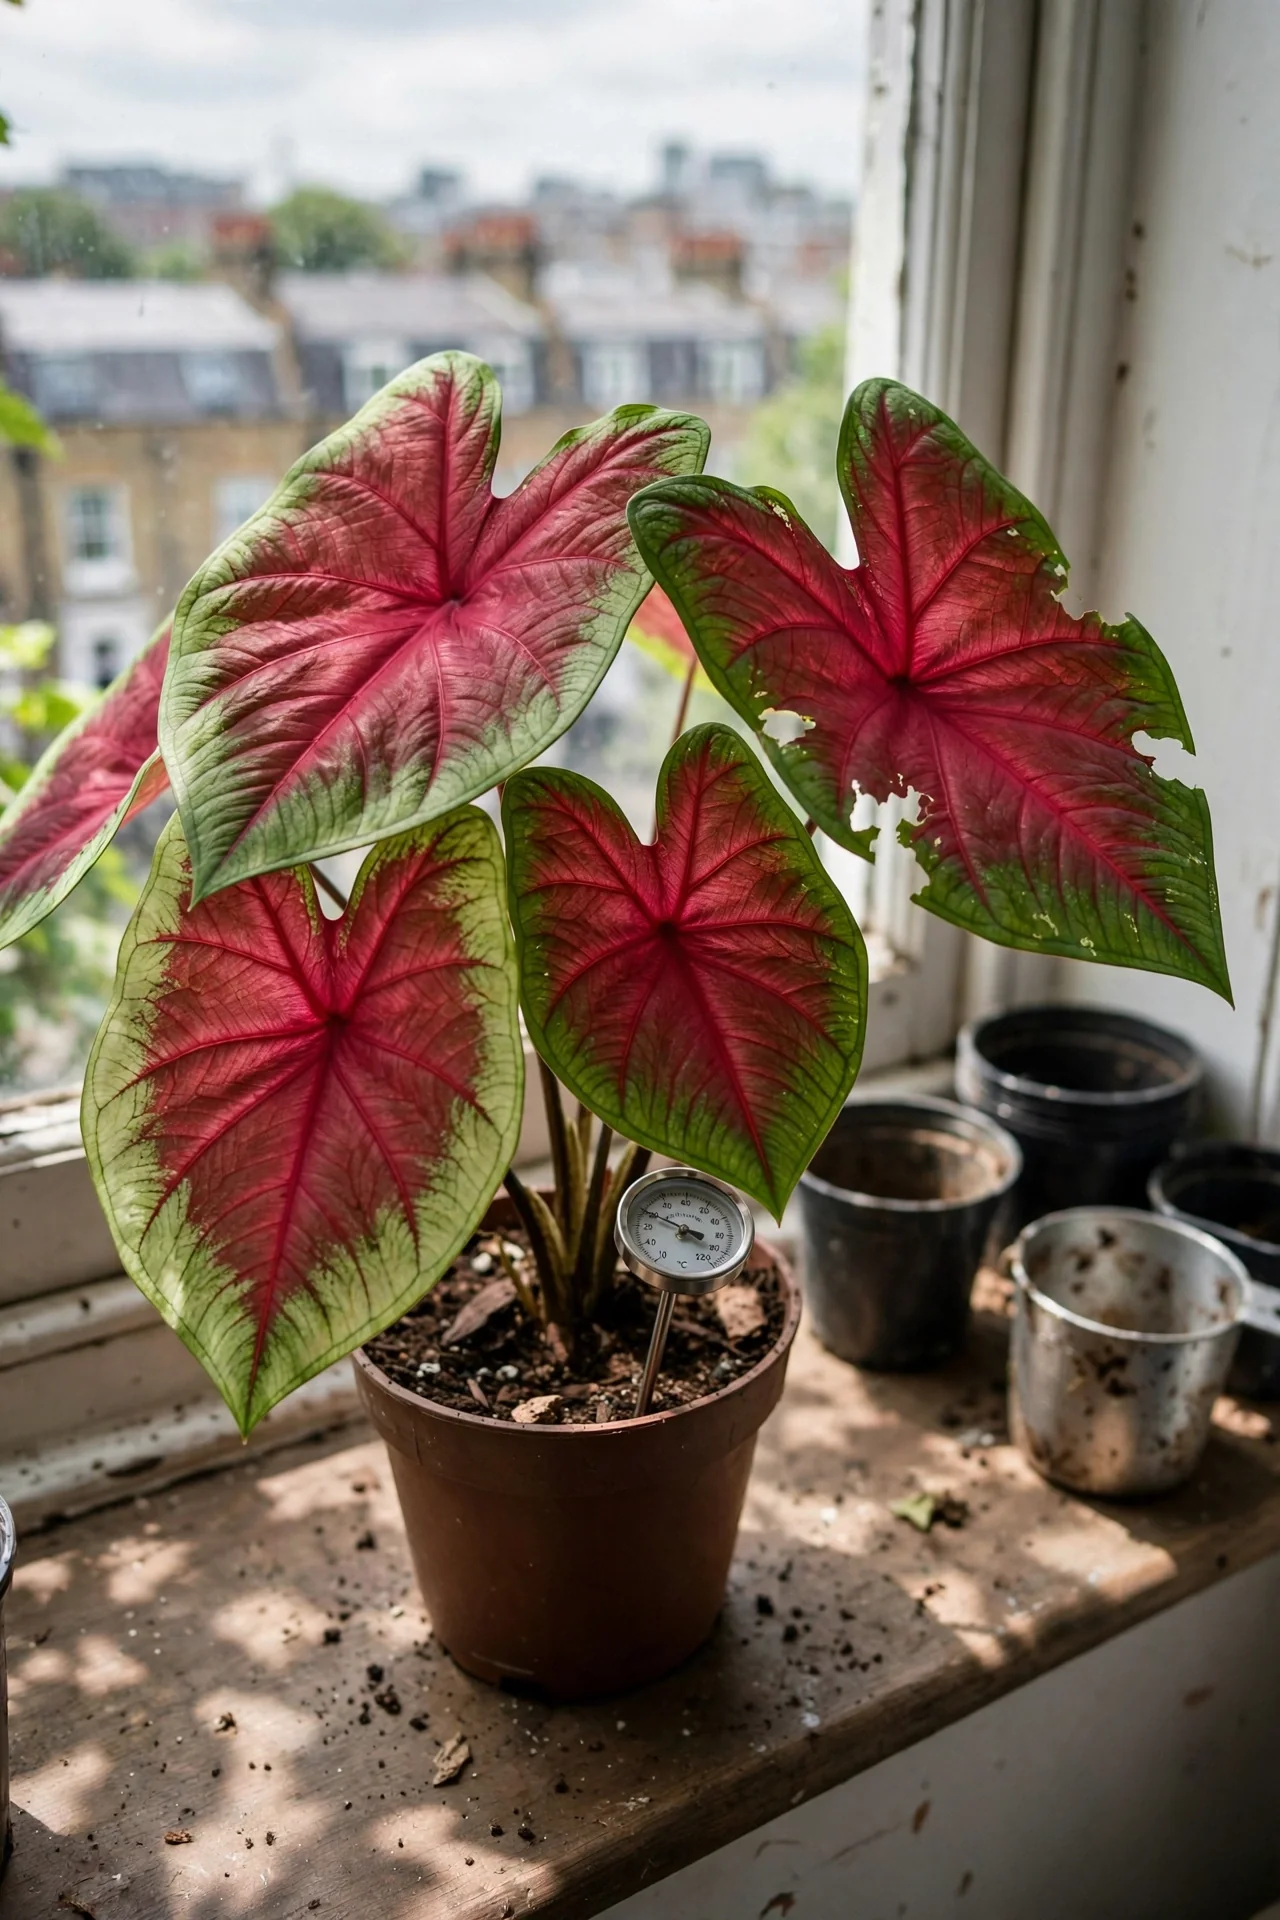
The threshold that matters most is the soil moisture tension in the top third of the pot. Allow the top 1 inch to feel like a wrung-out sponge, never bone dry and never glistening wet. A simple weight test works: lift the pot after watering to memorize the saturated heft, then water again when it feels roughly half that weight. If your home air is dry (below 45% RH), this rhythm may mean watering every 4–5 days in summer. If a leaf suddenly collapses while soil is moist, the problem is usually humidity, not water volume. Adjust by moving the plant to a bathroom or clustering it with other transpiring plants, a technique covered in our maranta care article.
4. Humidity Microclimate (10-Minute Setup)
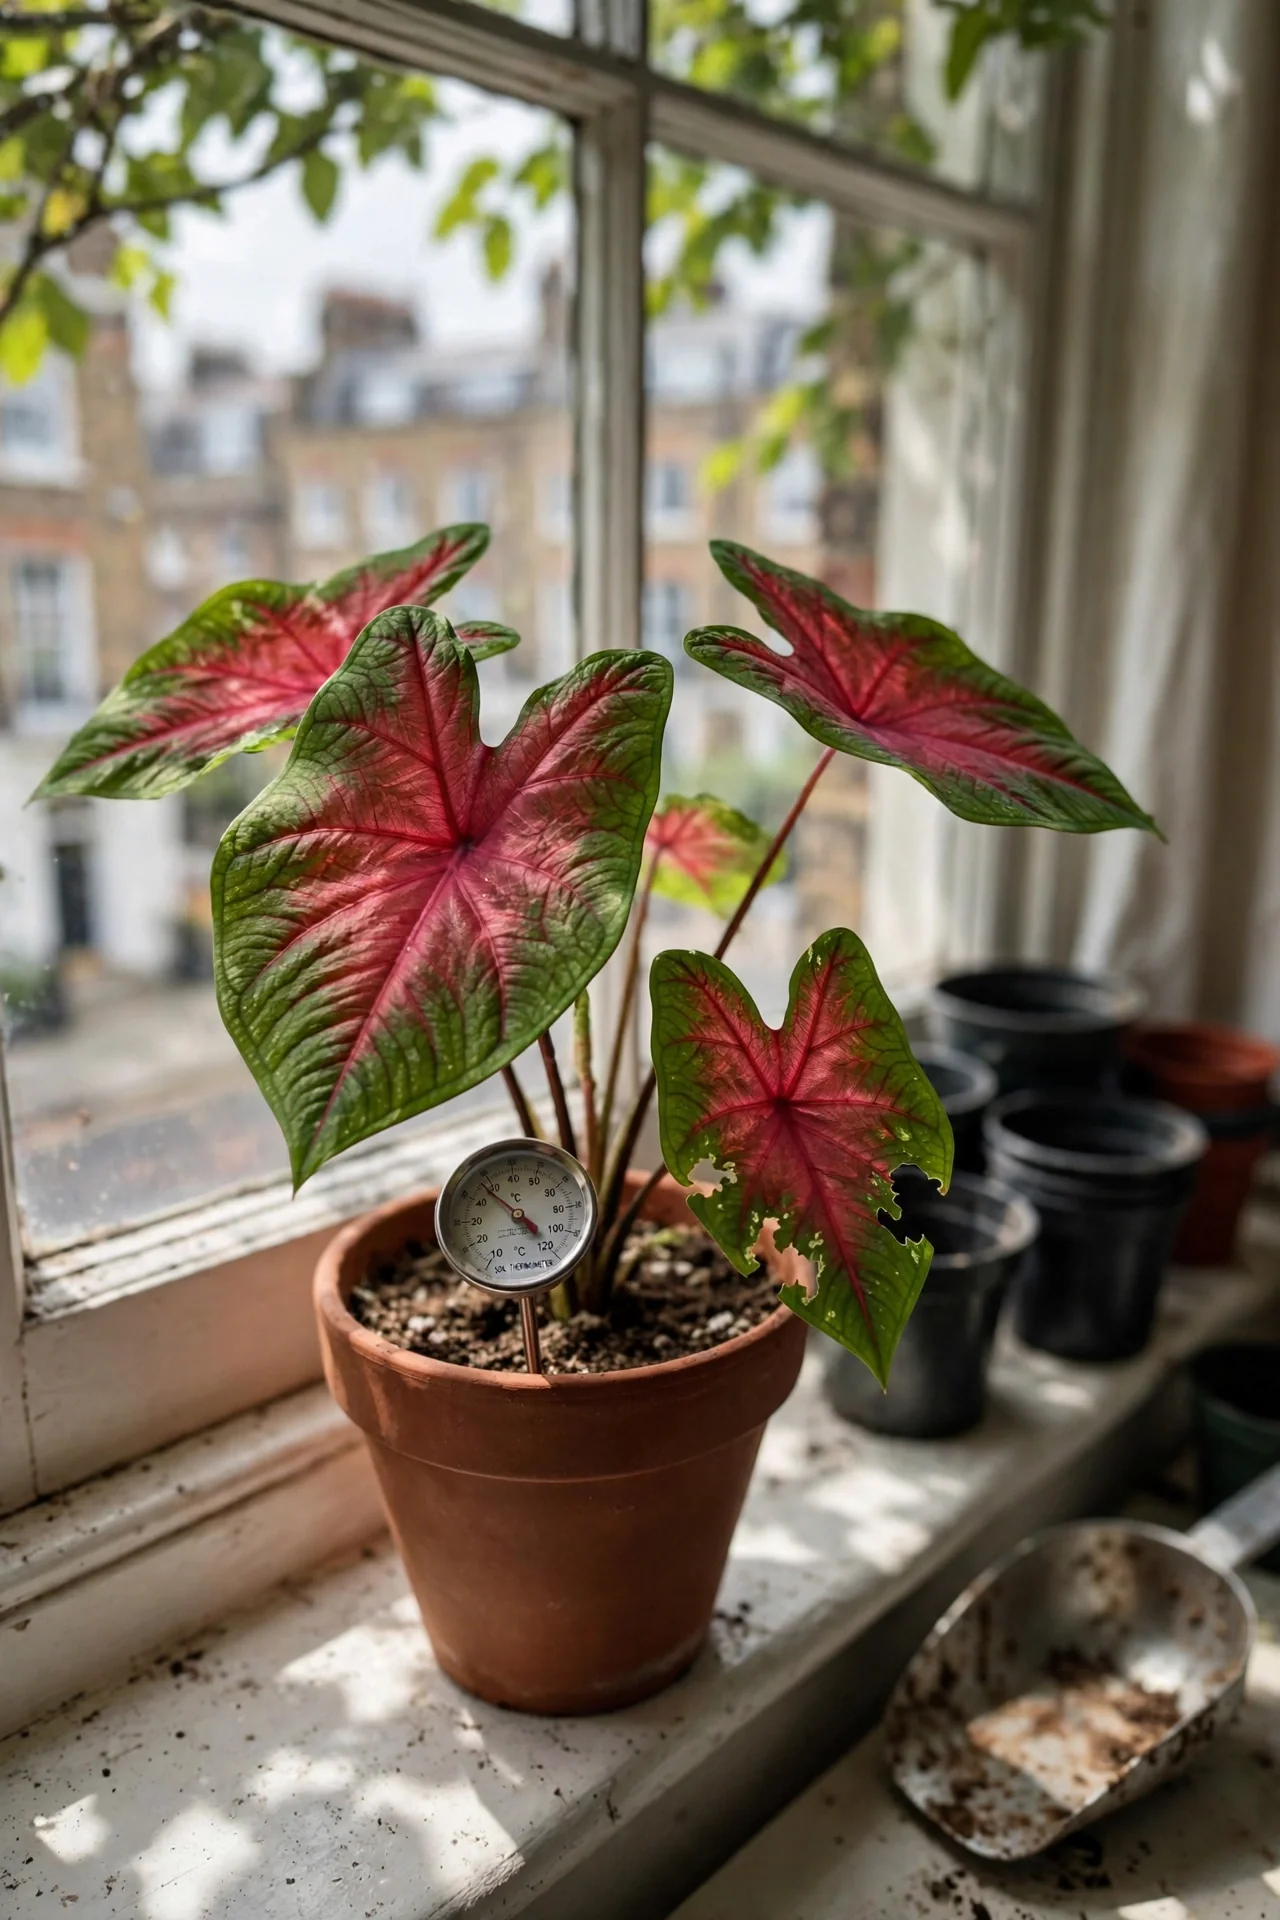
Best for: Branch 1
Step 1: Fill a large, shallow tray with pebbles and add water until it sits just below the pebble tops. Set the caladium pot on the pebbles, never letting the pot base touch the water.
Step 2: Group at least two other leafy plants within 6 inches of the caladium. Shared transpiration creates a local humidity bubble that often raises the microclimate by 10–15 percentage points.
Step 3: Place a small digital hygrometer at leaf height. If readings still dip below 55% around midday, add an ultrasonic cool-mist humidifier set to 55–65% output, positioned no more than 3 feet away.
Upgrade option: A glass cloche or a ventilated propagation dome can push humidity above 70% for a struggling fancy-leaf variety. Remove the dome for one hour daily to prevent fungal issues. This setup works well for new tubers until the second leaf emerges.
5. Soil Mix Foundation
Best for: Branch 2
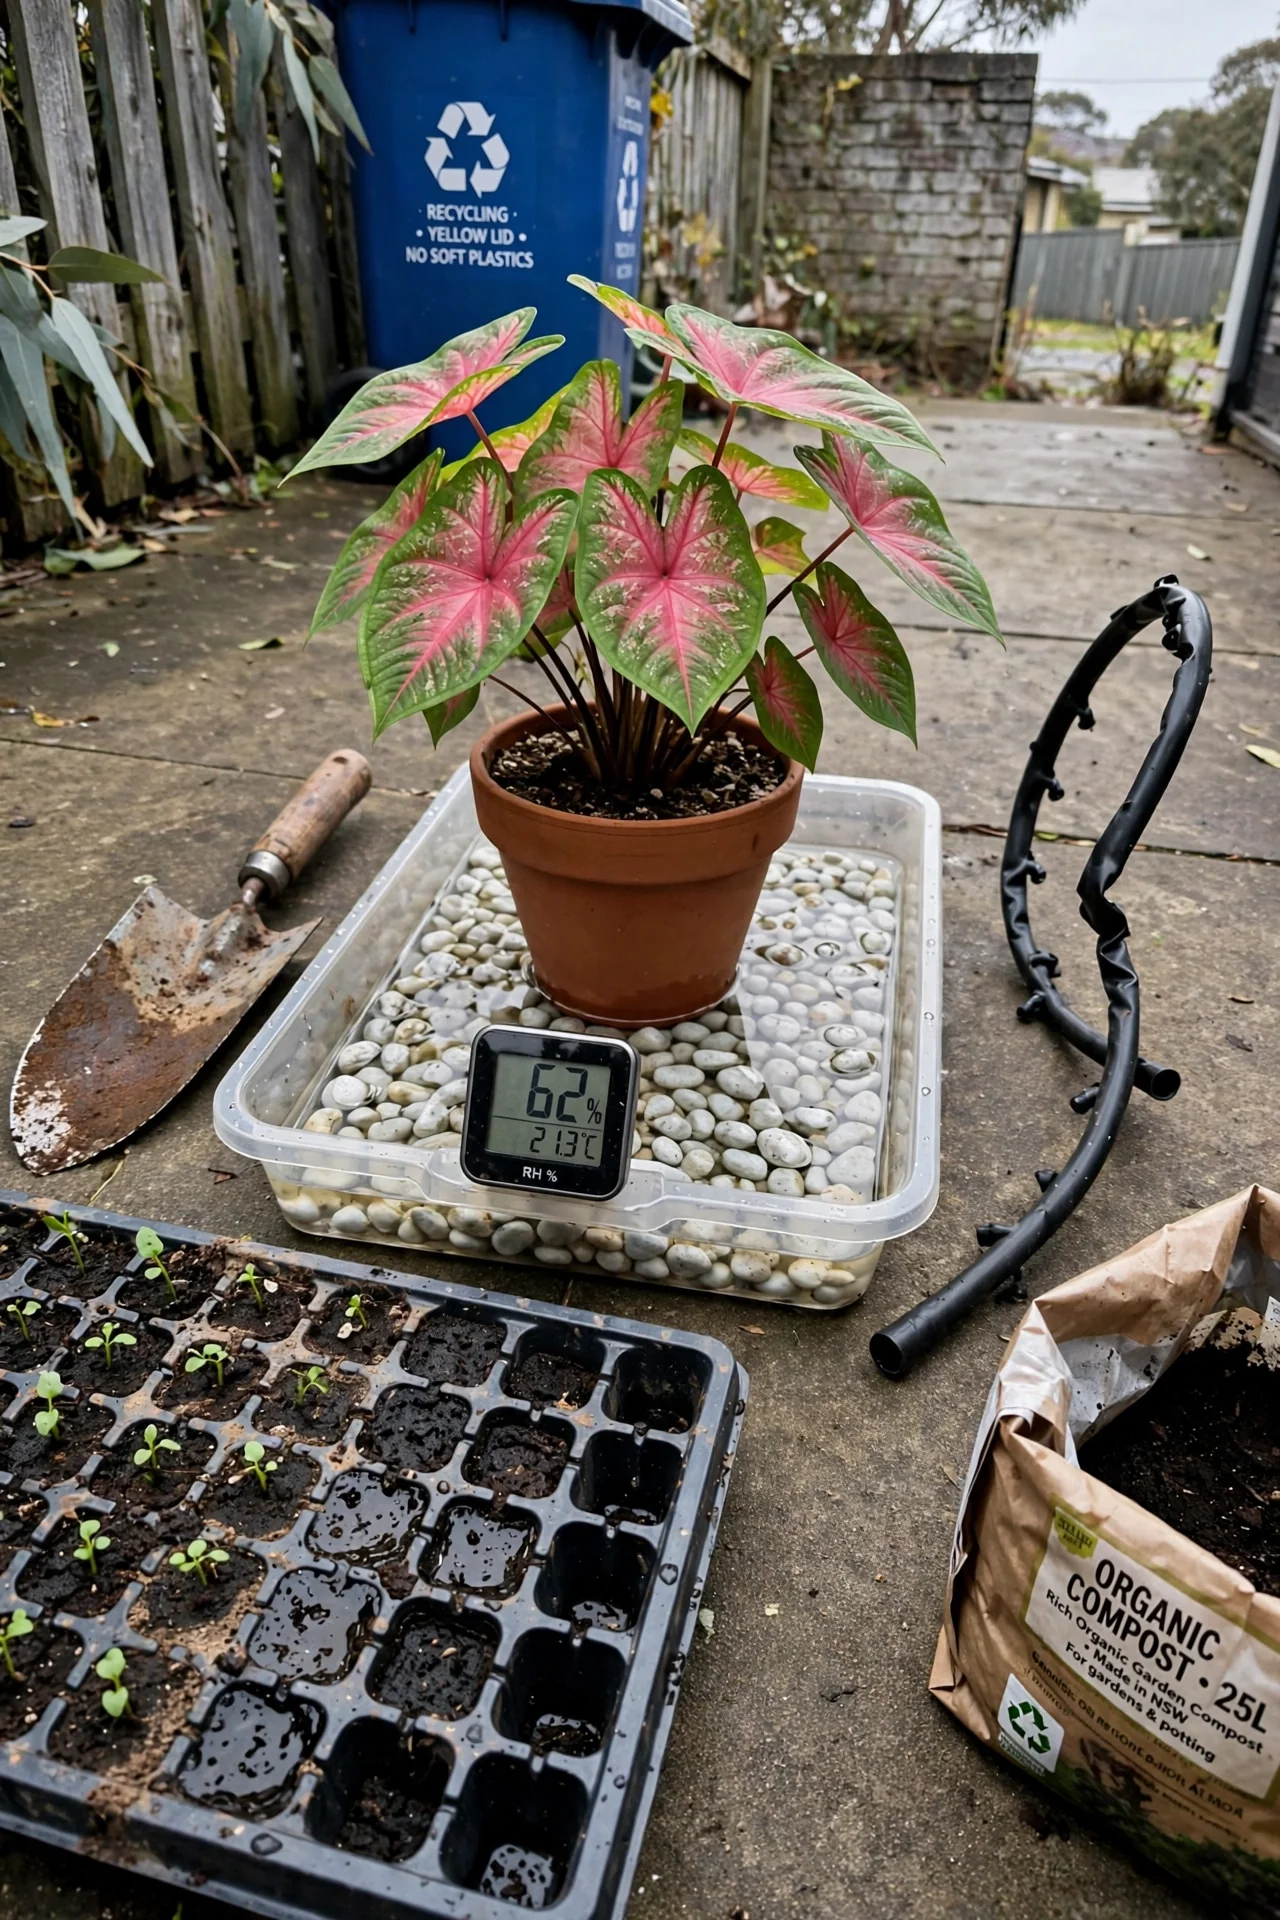
What: A blend of 2 parts peat-based potting mix, 1 part perlite, and 1 part fine orchid bark.
For: Creating air-filled porosity around the tuber while holding enough moisture for the fine root system.
Steps: Mix in a bucket, moisten slightly before filling the pot, and press gently around the tuber, never compacting.
Mistake: Using pure bagged “moisture control” mix. Its water-holding polymers can keep the tuber zone saturated, leading to bacterial soft rot.
A similarly structured mix works well for other tropical understory plants; see our aglaonema care soil section.
6. Temperature Guardrails
Best for: Branch 1
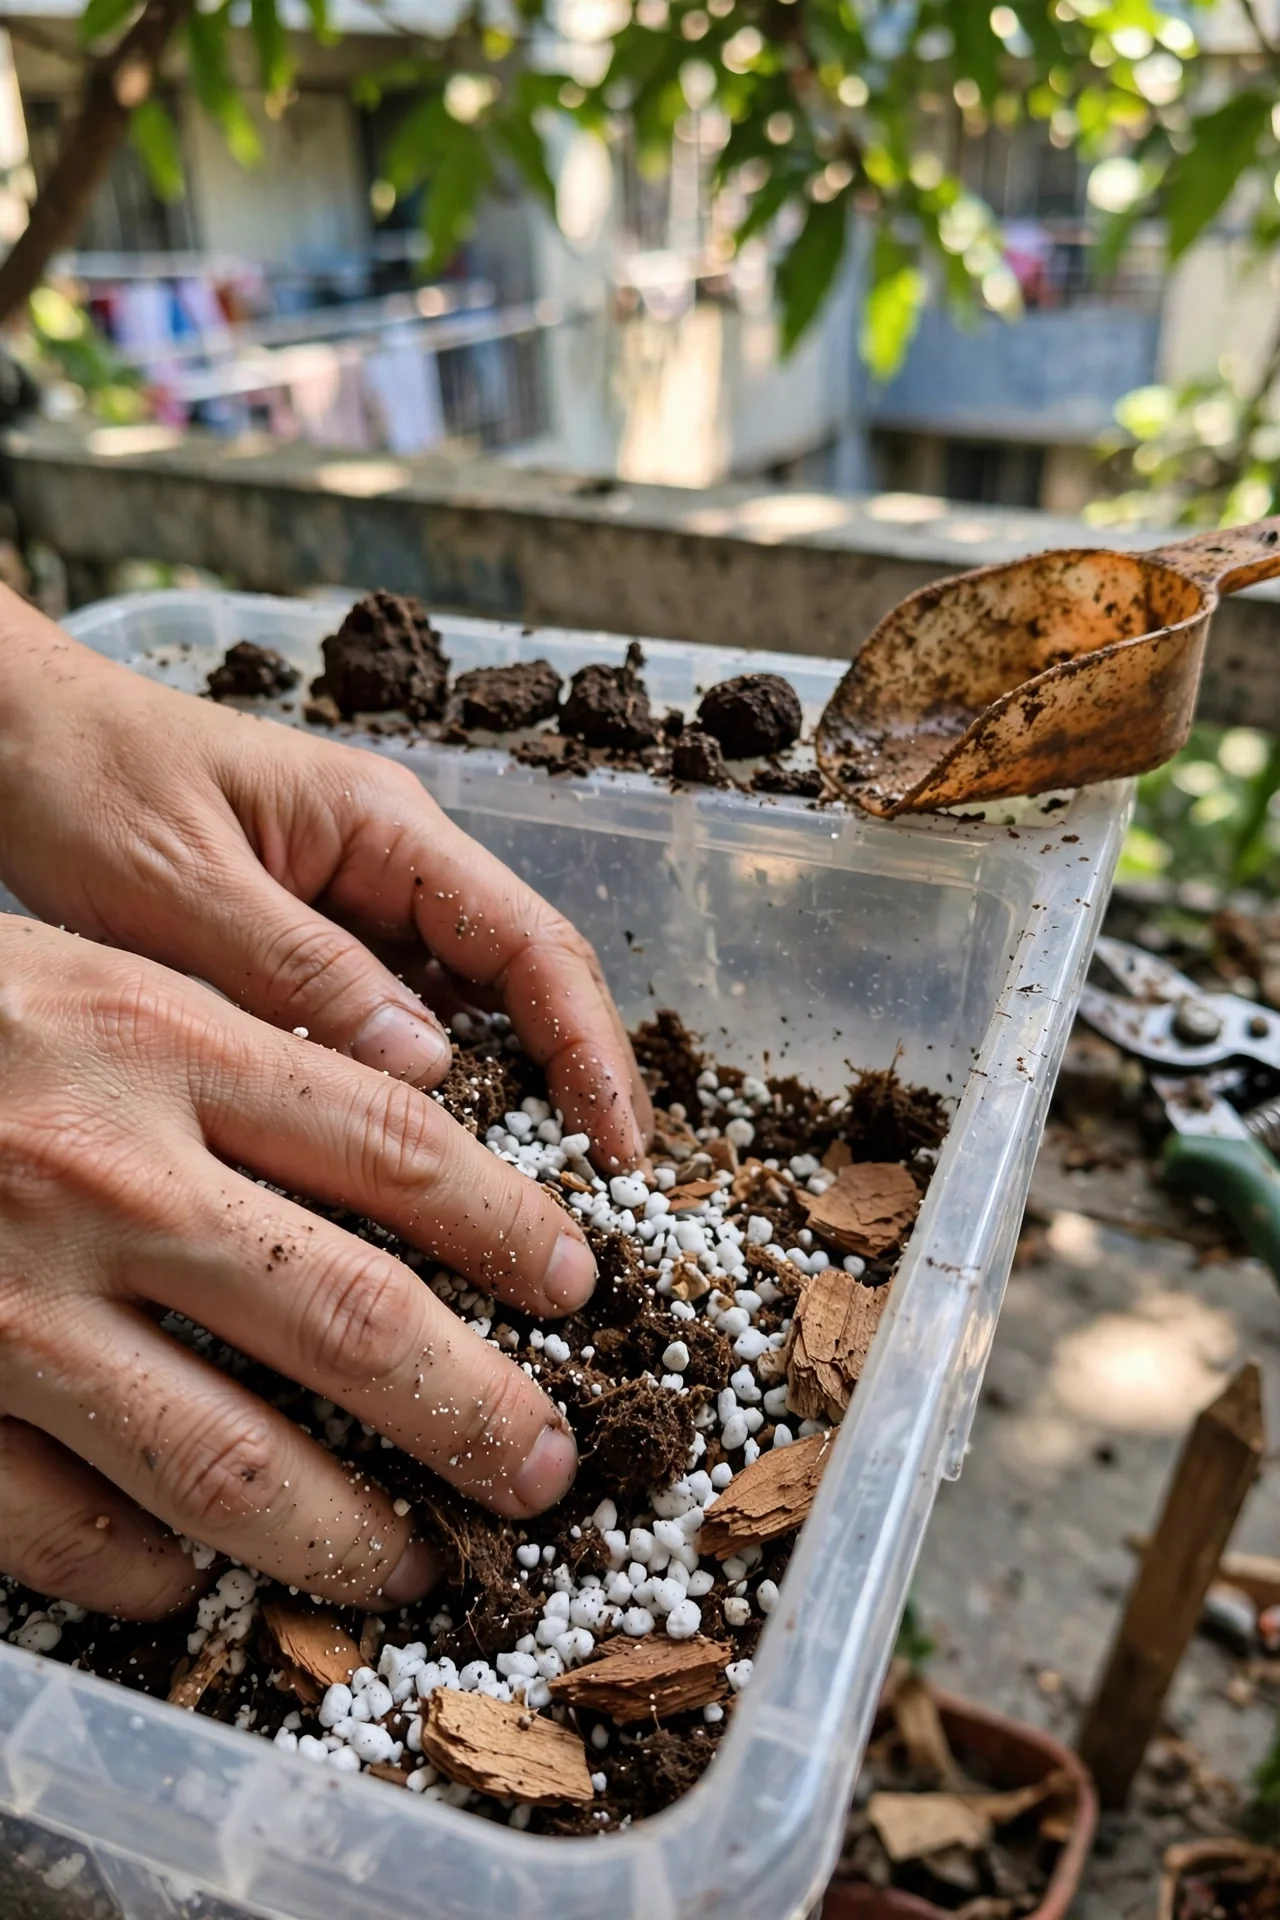
Use: Keep daytime temperatures between 70°F and 80°F, with a night drop no lower than 65°F. This range keeps enzymatic activity in the leaves and tubers optimal without triggering a dormancy cue.
Skip: Drafty windowsills in winter where night temperatures can slip below 60°F. A single night at 55°F often initiates leaf yellowing that cannot be reversed. The edge case is a forced-air heating vent blowing directly on foliage: the hot, dry air causes localized leaf scorch within a day. If you must place near a vent, redirect airflow with a deflector.
7. Fertilizer Dilution
Best for: Branch 2
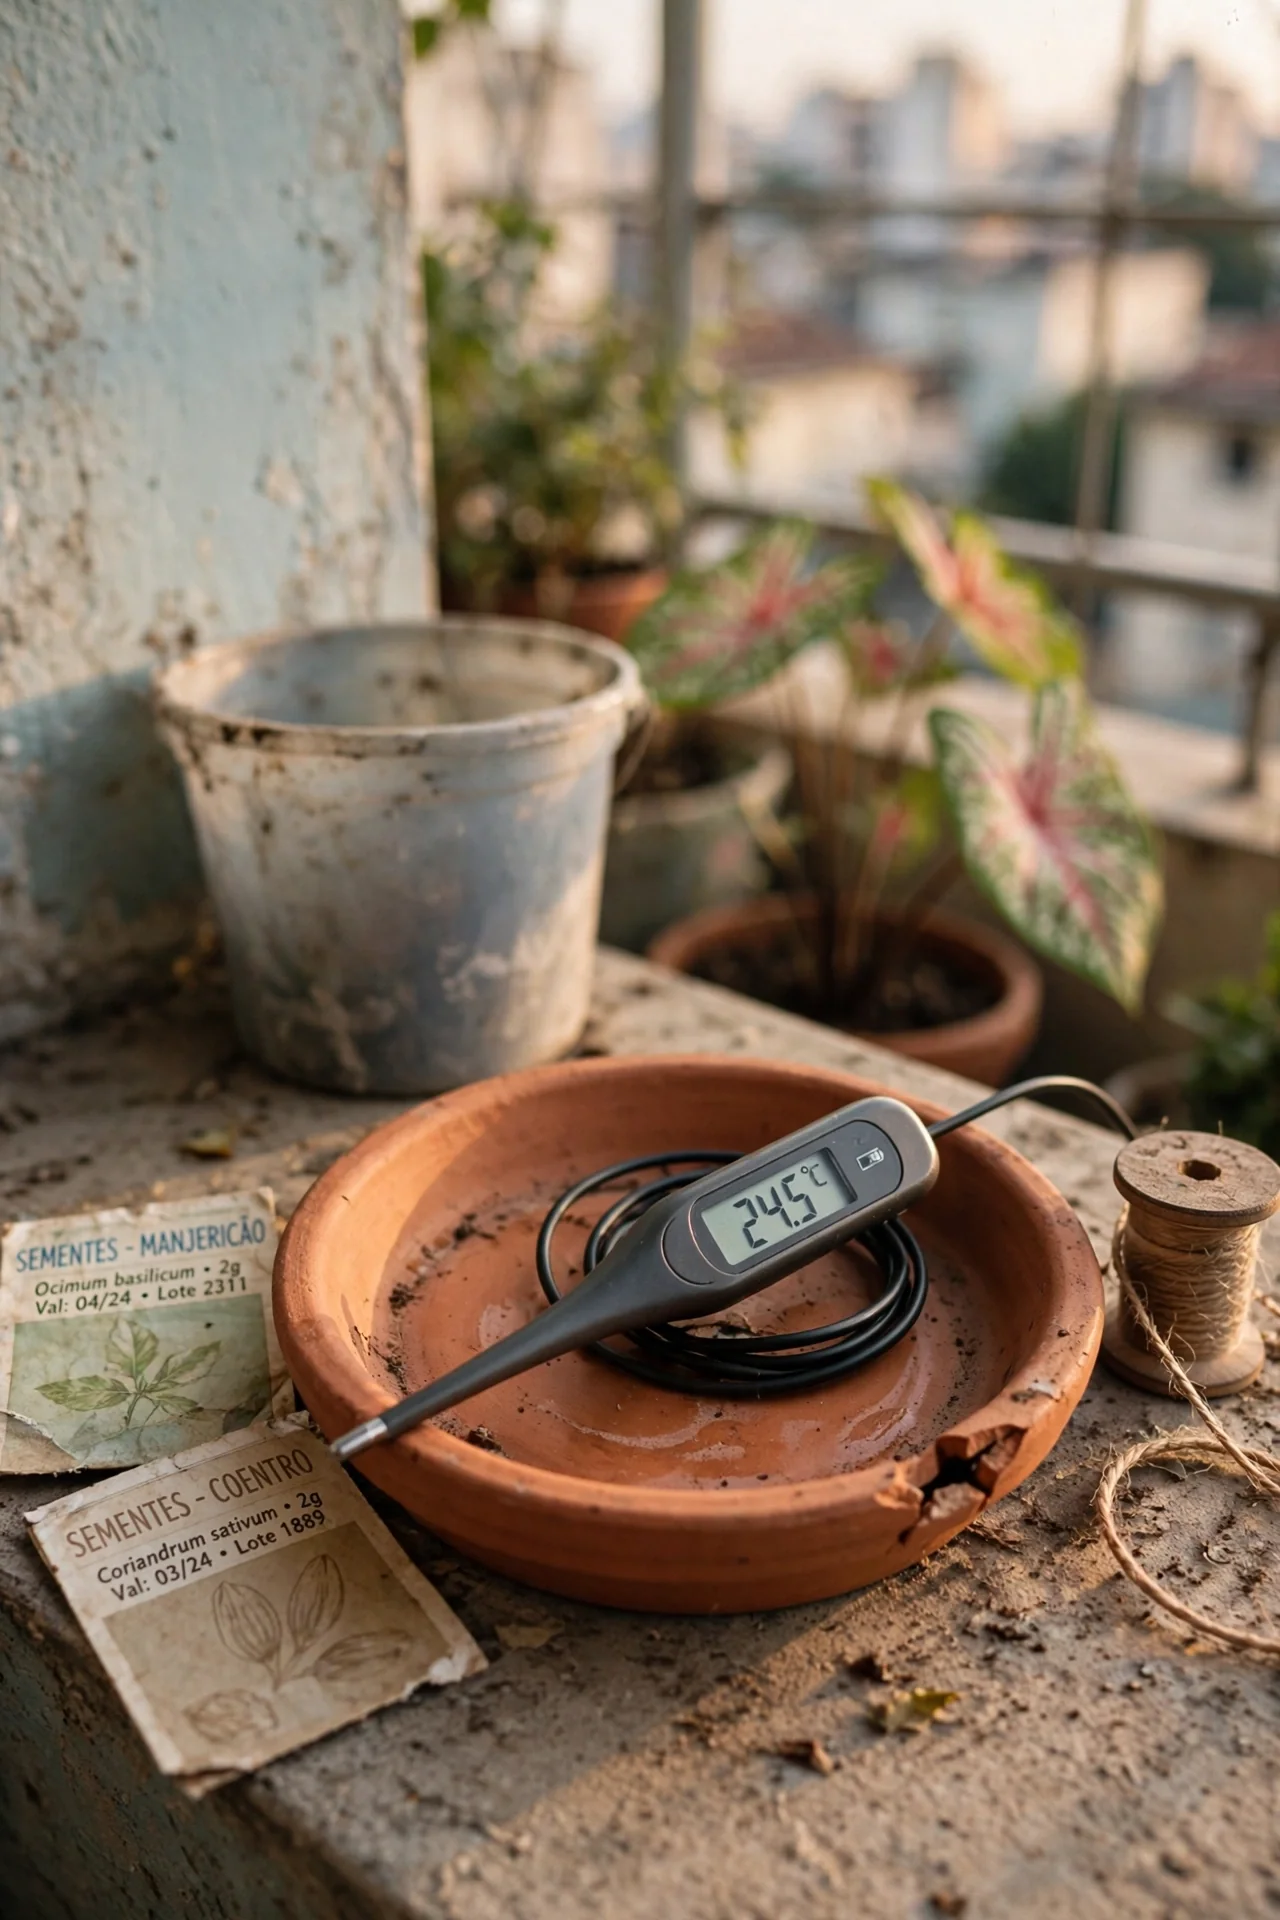
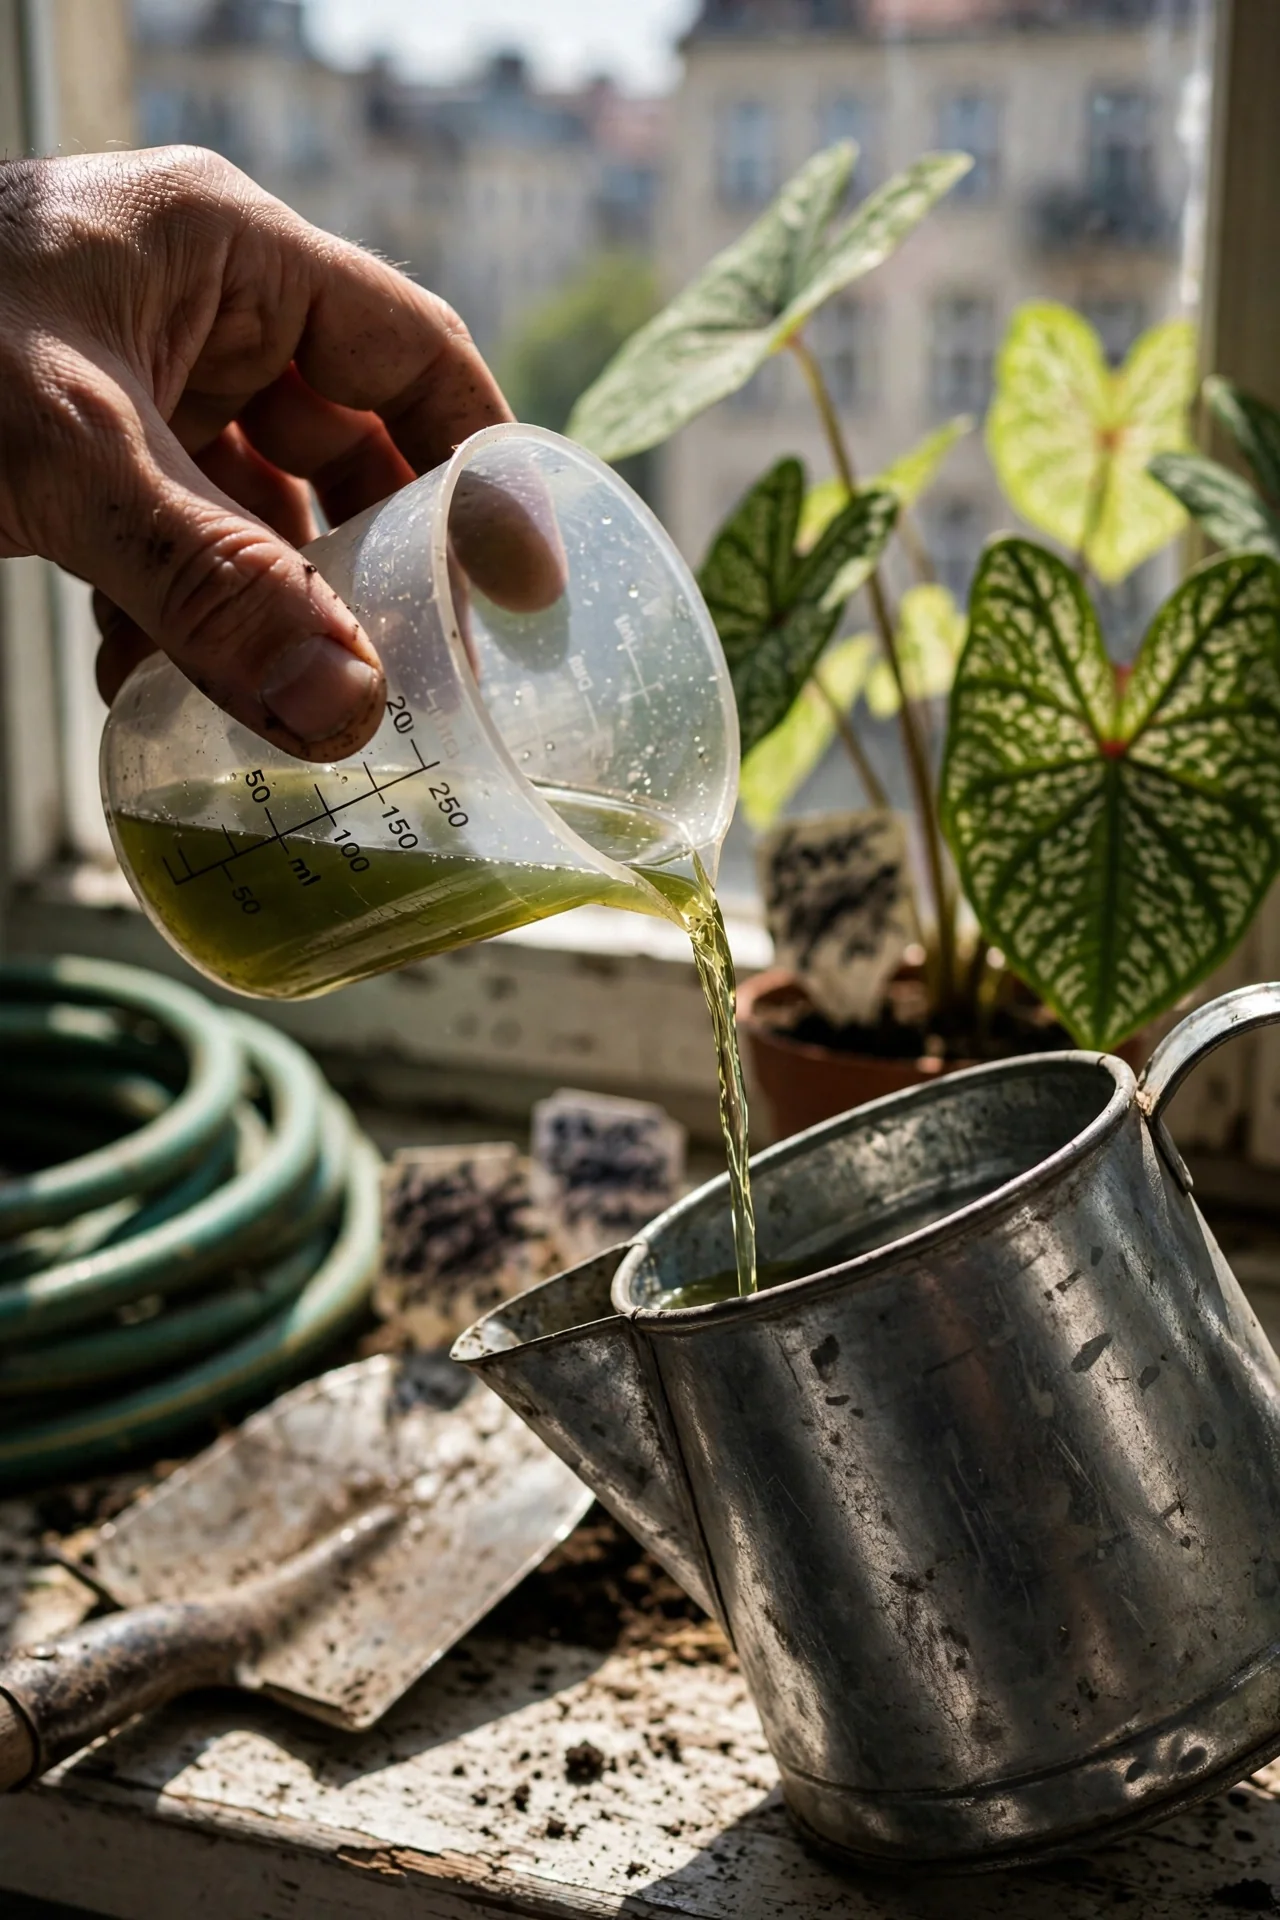
The numbers that matter are the nitrogen concentration in the final solution. Mix a balanced 10-10-10 water-soluble fertilizer at half the label rate, giving you roughly 50–75 ppm N per application. Feed every two weeks when the plant is actively pushing new leaves, typically from late spring through early fall. Stop completely when leaf emergence slows in autumn, even if the plant is still green. Pushing nutrients during short days causes weak, stretched petioles that flop. If you see salt crust on the soil surface, skip the next two feedings and flush the pot with plain water until it runs clear.
8. Dormancy Induction
Best for: Branch 3
Step 1: In early autumn, reduce watering gradually over three weeks until the soil stays barely damp.
Step 2: Once foliage yellows and collapses, cut it off at soil level. Dig out the tuber gently and brush off soil.
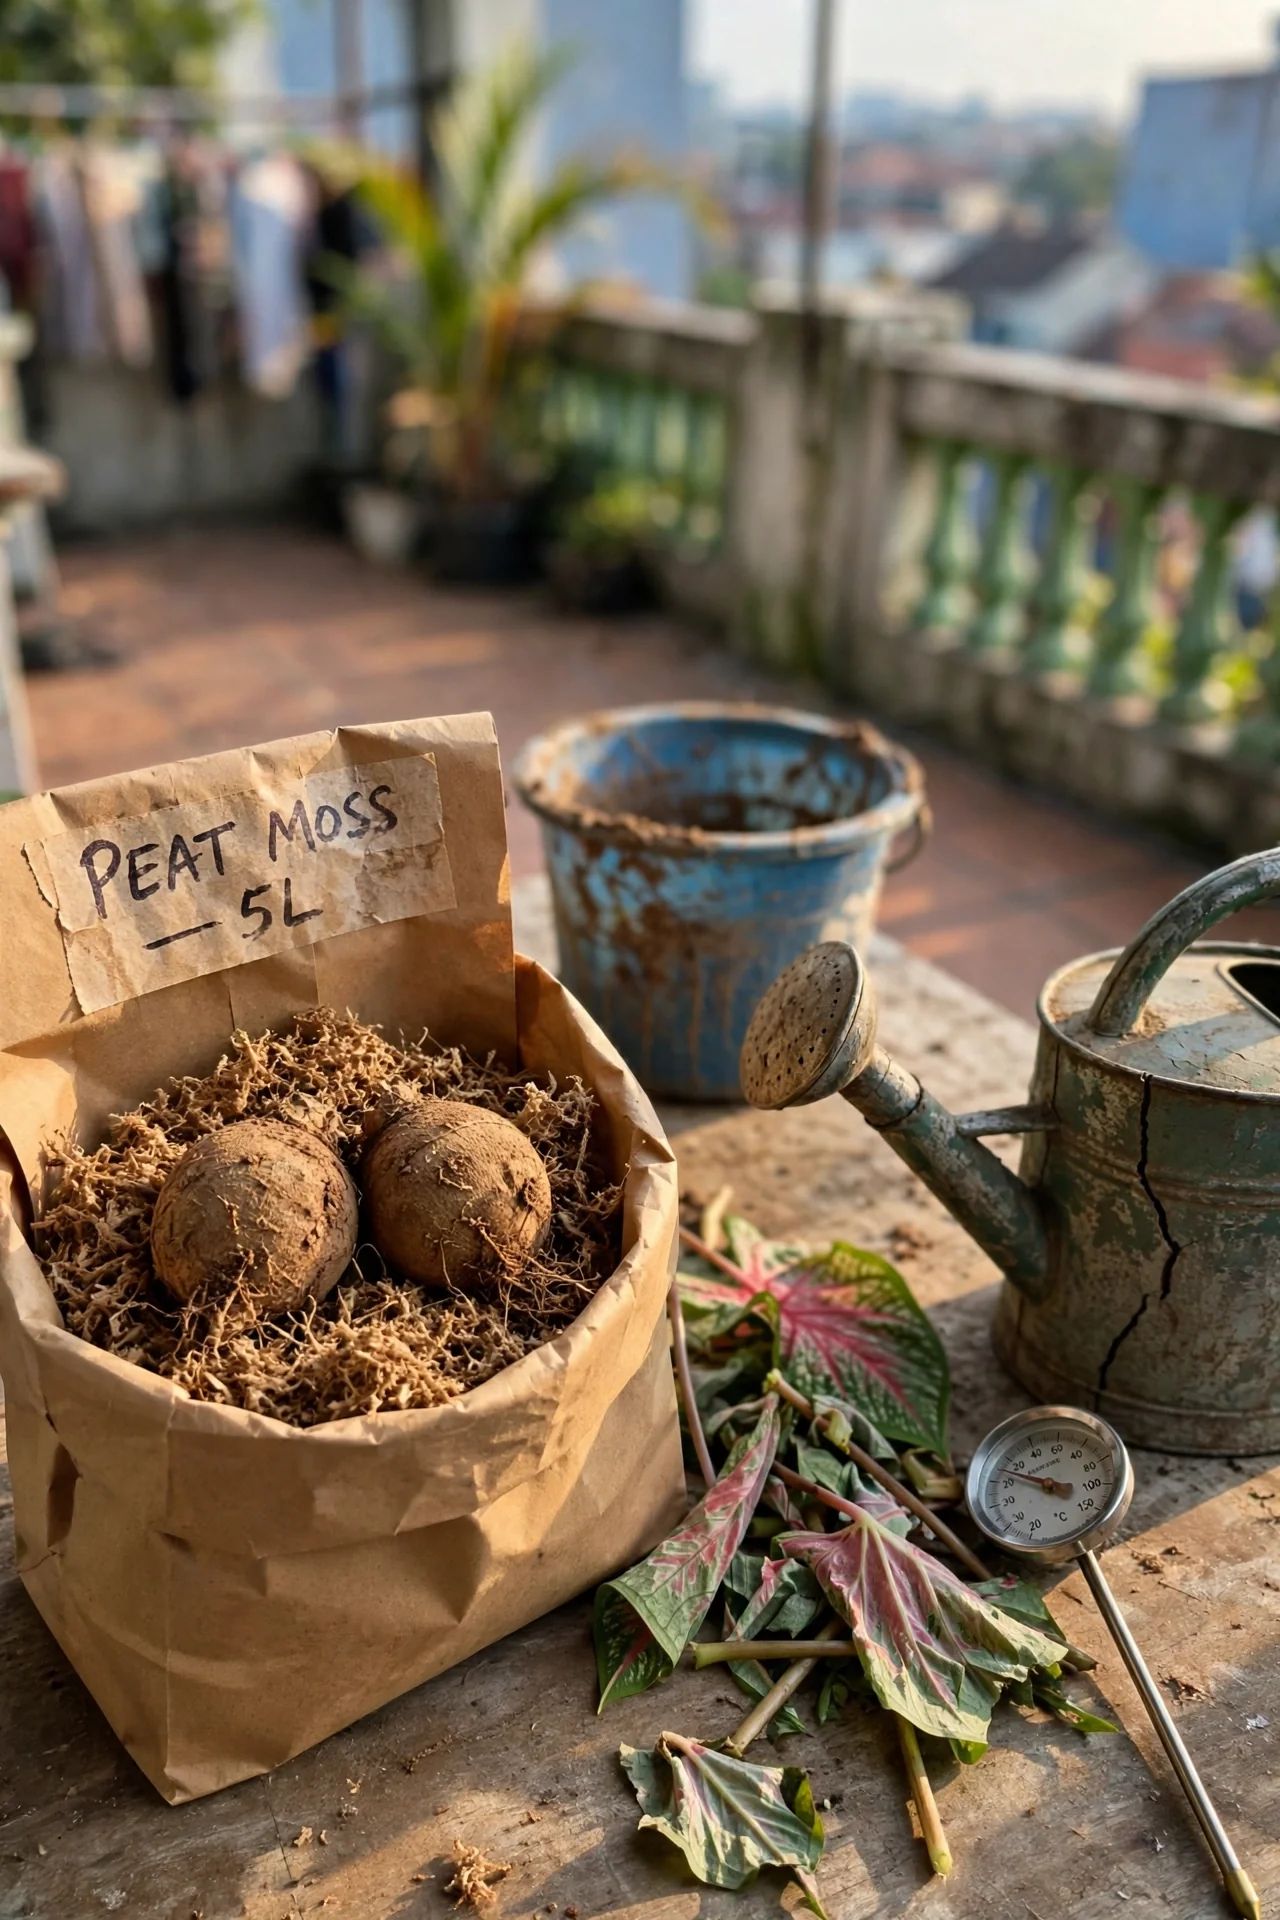
Step 3: Place tubers in a paper bag filled with dry peat moss or vermiculite. Store in a dark spot that stays between 55°F and 65°F.
Upgrade: Dust cut surfaces with cinnamon powder as a mild antifungal before storage.
9. Pest Prevention Routine
Best for: Branch 2
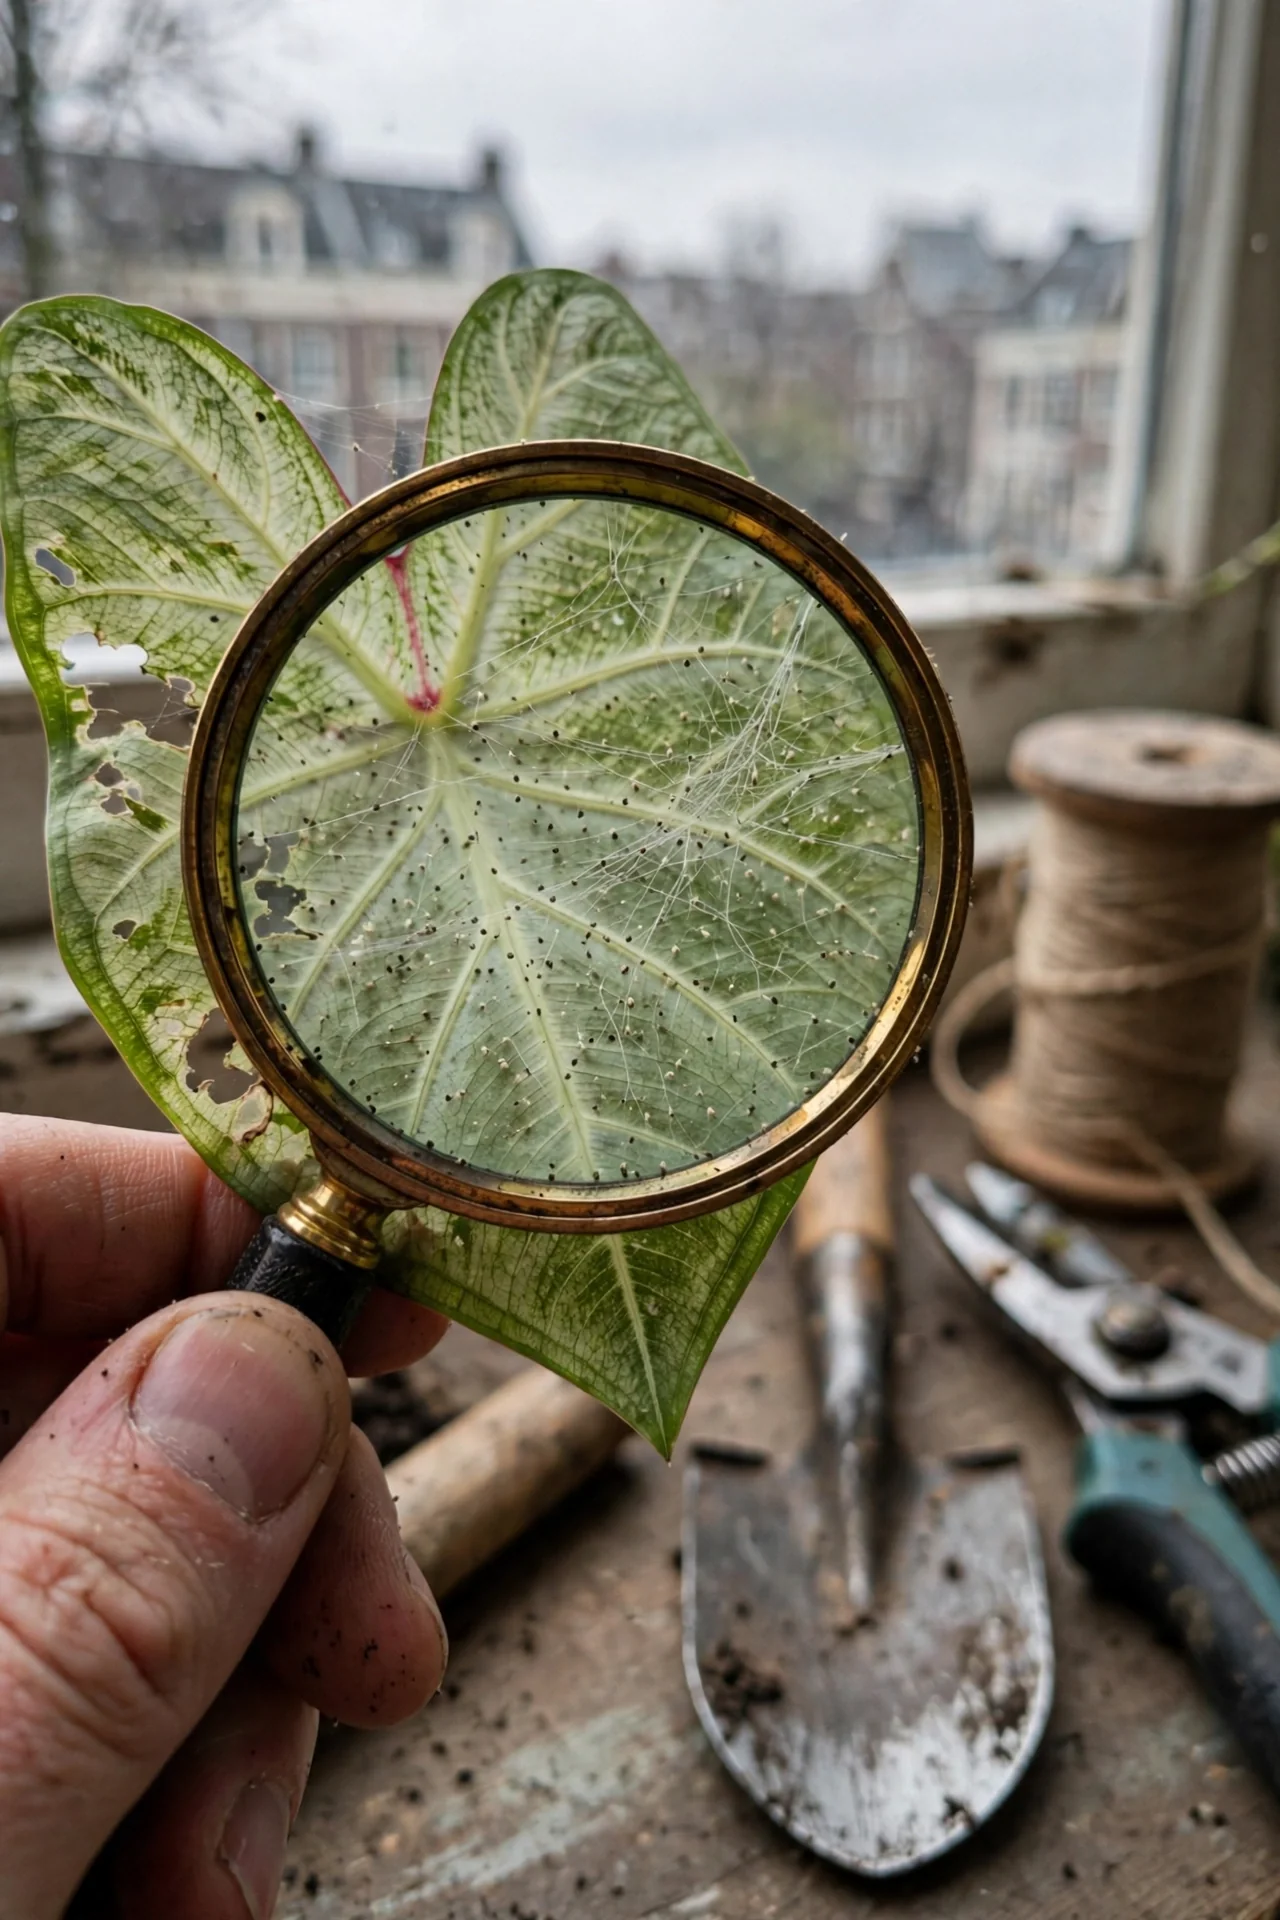
What it is: A weekly 90-second inspection that stops spider mites and aphids before colonies build. Dry indoor air accelerates mite reproduction, making this non-negotiable in Branch 2 settings.
What it’s for: Preserving leaf surface area for photosynthesis. Even a light mite infestation creates stippled, dull leaves that never recover full luster.
Steps: Check the undersides of three leaves per plant under a bright light. Look for fine webbing along the midrib or tiny moving specks. If found, rinse the entire plant with room-temperature water in a shower or sink, paying attention to leaf axils. Apply insecticidal soap to all surfaces and repeat after five days.
Mistake: Ignoring the petiole base where mealybugs often hide. Wipe that zone with a cotton swab dipped in 70% isopropyl alcohol once a month as a preventive.
10. Tuber Division for Free Plants
Best for: Branch 3
Use: When a dormant tuber has multiple visible “eyes” (pinkish buds), dividing gives you genetically identical plants at zero cost. Cut the tuber with a sterile knife so each piece has at least one eye and a portion of the storage tissue.
Skip: If the tuber is smaller than a golf ball or has only one active eye. Cutting a single-eye tuber often ends in rot because there isn’t enough stored energy to heal the wound and push a new shoot.
The edge case is a tuber that has begun sprouting in storage. Pot the whole thing immediately rather than dividing it, as active sprouts are easily damaged.
Starter Stack (What to Choose First)
Branch 1: Year-Round Conservatory Pair
Start with Variety Selection (Item 1) and Humidity Microclimate (Item 4). Picking a thick-leaved cultivar like ‘Red Frill’ directly reduces the humidity work; you may only need the pebble tray, not the humidifier. Combined cost: tuber pack $8–15, tray and pebbles $10–15. Time: one hour for setup, then 2 minutes daily to check water levels.
Branch 2: Seasonal South Window Pair
Begin with Light Placement (Item 2) and Watering Cadence (Item 3). Correct positioning near an east or filtered south window stabilizes transpiration rate, which keeps the watering rhythm predictable. You will not need a humidity machine. Time: 30 minutes to find and test the spot with a light meter app, then 2 minutes of watering every 5 days.
Branch 3: Annual Color Pop Pair
Use Dormancy Induction (Item 8) and Tuber Division (Item 10). Accept that leaves will fade by late autumn, then follow the storage steps to preserve the tuber for the following spring. Division at dormancy doubles your stock without any midseason intervention. Cost: paper bag and dry peat, under $5. Time: 1 hour annually for digging, cleaning, and storing.
When This Won’t Work
If your indoor relative humidity stays below 35% even after grouping plants and using a pebble tray, a sealed terrarium or cloche setup becomes the only viable enclosure for Branch 1. In a large, open room with forced-air heating, that humidity level is common. Adding a humidifier rated for the room’s square footage may raise it into the 40% range, but if not, you are firmly in Branch 3 territory.
A second failure condition is irregular watering coupled with low light. Caladium tubers in dark, intermittently wet soil develop bacterial soft rot quickly. If your schedule means you water erratically, switch to a plant that stores water in its leaves, such as a peperomia. Our peperomia care guide outlines a drought-tolerant alternative that still offers textured foliage.
Choosing the Right Option for Your Situation
Budget Threshold
If you can allocate $40–$70 for a quality humidifier and a digital hygrometer, Branch 1 opens up. Under $20, stick with Branch 2 or 3, where a pebble tray and careful variety choice cover most needs.
Time Threshold
Branch 1 demands about 5–10 minutes daily for humidity checks and refills. Branch 2 needs roughly 10 minutes weekly for watering and inspection. Branch 3 requires two bursts of 1–2 hours per year for dormancy and repotting, with little in between.
Technical Constraint
Central heating creates a VPD spike that defeats most passive humidity methods. If your hygrometer shows a daytime reading below 30% RH, even a pebble tray may only lift it to 35%, not enough for perpetual foliage. In that case, decide whether you will store tubers (Branch 3) or invest in a small grow tent with a humidifier.
Yes/No Checklist:
1. Can I maintain humidity above 50% in the plant’s immediate area?
2. Do I have a bright east window or a sheer-curtained south window?
3. Am I willing to stop fertilizing and reduce water in early fall?
4. Will I store tubers if leaves yellow and die back?
If you answered yes to 1 and 2, lean toward Branch 1 or 2. If you answered no to 3 and 4, Branch 3 is your safest route.
Expert Q&A
Can caladiums grow under artificial light?
Yes. Full-spectrum LED panels running 12–14 hours daily can keep caladiums in leaf if the photosynthetic photon flux density at leaf level stays above 50 µmol/m²/s. Position lights 10–14 inches above the canopy and adjust as leaves elongate.
Why do leaves droop when the soil is still moist?
This often signals high vapor pressure deficit. When air is too dry, leaf stomata close, but the roots cannot supply water fast enough to maintain turgor. Increase humidity immediately and check for root binding.
Can I prevent dormancy indoors without a greenhouse?
You can delay it for months by maintaining night temperatures above 68°F, providing a constant 12-hour photoperiod, and never letting soil dry beyond the top half-inch. Some cultivars will hold leaves for 14–18 months before a rest is required.
Are all caladium varieties toxic to pets?
All parts of Caladium bicolor contain insoluble calcium oxalate crystals. Chewing causes immediate oral pain, drooling, and swelling. Keep tubers and leaves out of reach of cats, dogs, and rabbits.
When should I wake up stored tubers in spring?
Start 4–6 weeks before your last expected frost. Place tubers in barely moist peat at 75–80°F. Once the first pink shoot emerges, pot them up in fresh soil and move them into bright indirect light.
Conclusion
The biggest mistake with caladiums indoors is forcing a year-round leaf canopy in a dry, drafty room. Recognizing which branch fits your environment transforms caladiums from a frustrating, short-lived accent into a predictable seasonal rhythm or a genuine year-round show. If your space pushes you toward Branch 3, storing healthy tubers costs almost nothing and guarantees next year’s display.
If after mapping your conditions you decide a more forgiving houseplant suits you better, start with our philodendron care guide, which covers a genus that thrives under the same light but forgives low humidity.