
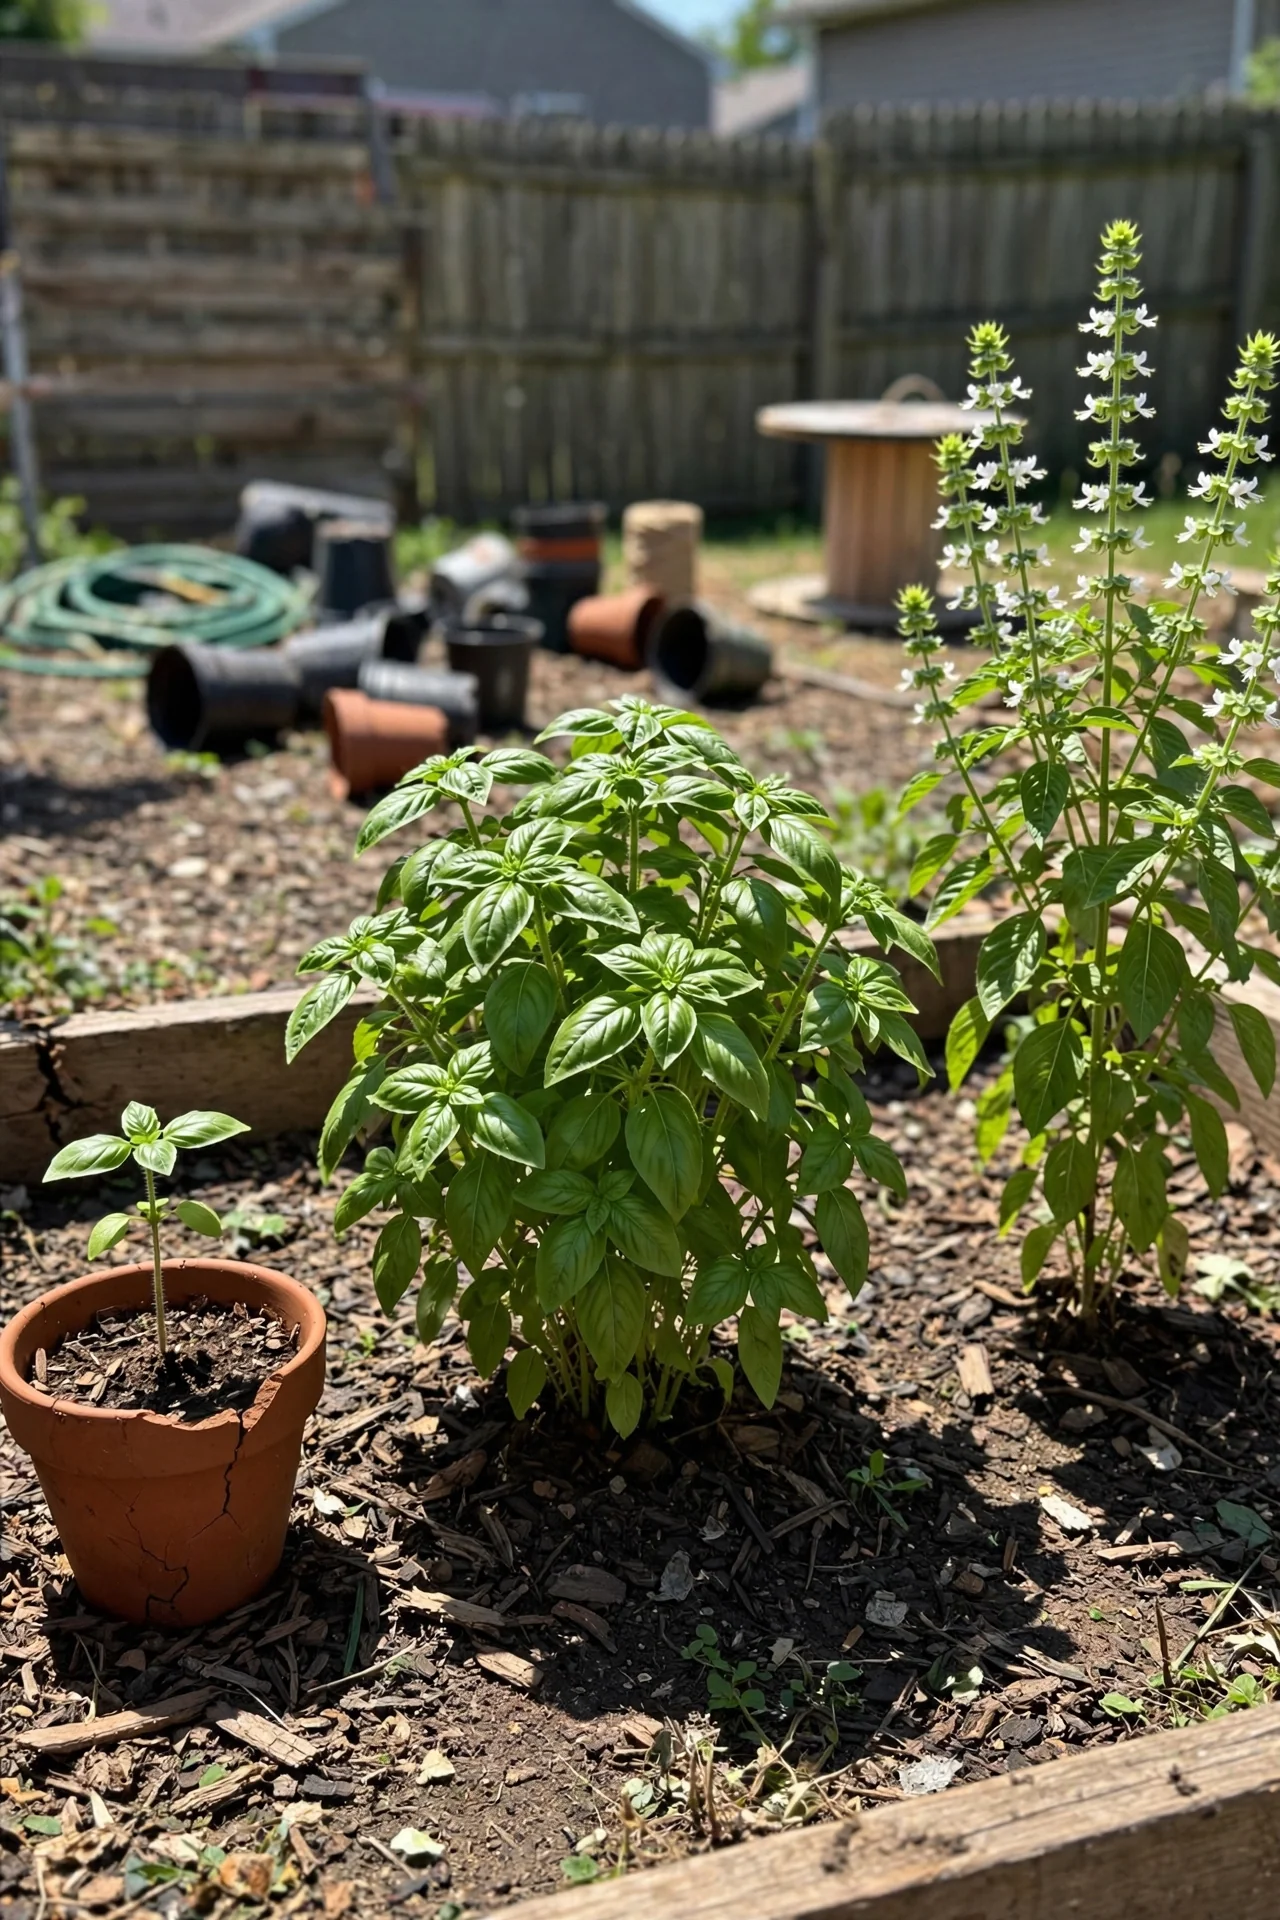
Most basil pruning articles give you one instruction and call it a day: cut above a node every two weeks. But a 6 inch seedling in May, a bushy midsummer plant, and a leggy September specimen with flower spikes are not the same problem. Treating them identically is why so many gardeners end up with bolted, woody, or stunted basil despite following standard advice.
This guide organizes 10 basil pruning techniques around three distinct growth stages: structural establishment for young plants, maintenance pruning for actively producing plants, and salvage or season extension pruning for flowering, leggy, or end-of-season plants. Each technique includes measurable thresholds so you know exactly when to use it. The article covers outdoor and indoor container basil across USDA zones 4 through 11, equivalent to growing regions in the United States, United Kingdom, Canada, Australia, India, Italy, and Germany. It excludes variety-specific breeding protocols and commercial hydroponic production schedules beyond the home scale.
By the end, you will be able to identify which of the 10 specific pruning techniques matches your plant’s current height, leaf count, and flower status, and you will know when to stop pruning and shift to propagation or terminal harvest instead.
Bottom line: Match your pruning strategy to the plant’s actual growth stage, using the Decision Grid below, not a one-size-fits-all calendar date.
The Yield Grid Decision Grid
Choose your branch based on what your basil plant is telling you right now.
Branch 1: “My basil is a young plant or seedling (under 8 inches, fewer than 4 sets of true leaves)”
Your goal is structural establishment. Pruning at this stage determines the plant’s lifelong branching architecture. The key measurable threshold is height: wait until the plant reaches 6 to 8 inches tall with at least 3 sets of true leaves before making the first cut. Cutting earlier removes the photosynthetic surface needed for root development. Cut later, and the main stem may already be too rigid to branch symmetrically. Always use clean, sharp blades; a quick swipe with 70% isopropyl alcohol eliminates pathogens without a prolonged soak. See our guide on sharpening pruners for maintaining clean cutting edges. Recommended: Items 1, 2, 3 below.
Branch 2: “My basil is actively growing, bushy, and I’m harvesting regularly”
Your goal is sustained leaf production. The plant is photosynthetically mature and can tolerate weekly or biweekly pruning. The measurable trigger is stem length with 6 to 8 leaves present: prune when a stem reaches this count, cutting back to just above the first or second set of true leaves on that stem. Flower bud surveillance becomes critical here; inspect every 2 to 3 days during warm weather when nighttime temperatures stay above 65 degrees Fahrenheit (18 degrees Celsius), as this is when bolting accelerates. Recommended: Items 4, 5, 6, 7 below.
Branch 3: “My basil is flowering, leggy, woody, or outdoor frost is approaching”
Your goal is salvage, rejuvenation, or season extension. Once flower buds have opened or stems have turned woody at the base, standard maintenance pruning cannot reverse the decline. Instead, you shift to one of three strategies: aggressive rejuvenation cutting (removing up to one third of total foliage to a strong lower node), terminal pre-frost harvest, or propagation from the healthiest remaining stem tips. The threshold for switching from Branch 2 to Branch 3 is the first open flower or nighttime temperatures forecast below 50 degrees Fahrenheit (10 degrees Celsius). Recommended: Items 8, 9, 10 below.
Quick Comparison Table
| Option | Key mechanism | Best for | Decision Grid Branch | Effort Score (1-5) |
|---|---|---|---|---|
| 1. First Structural Pinch | Apical dominance break at 6-8 inches | Seedlings and young transplants | Branch 1 | 2 |
| 2. Two-Node Training Cut | Selective node choice for shape | Asymmetric or lopsided young plants | Branch 1 | 2 |
| 3. Seedling Thinning Snip | Remove weaker stems at soil line | Multi-sown pots with crowding | Branch 1 | 1 |
| 4. Weekly Harvest Pinch | Recurring terminal bud removal above node | Active producers in peak season | Branch 2 | 4 |
| 5. Flower Bud Sweep | Daily bud inspection and removal | Warm-climate plants prone to bolting | Branch 2 | 5 |
| 6. Selective Lower Leaf Strip | Remove oldest leaves for airflow | Dense, humid-environment plants | Branch 2 | 3 |
| 7. One-Third Rejuvenation Cut | Cut back leggy stems to strong lower node | Overgrown but healthy plants | Branch 2 or 3 | 3 |
| 8. Pre-Frost Terminal Harvest | Full plant cutback before cold damage | End-of-season outdoor basil | Branch 3 | 1 |
| 9. Propagation Cutting Take | Root 4-6 inch stem tips in water | Healthy stems from any stage | Branch 3 | 2 |
| 10. Indoor Winter Maintenance Prune | Reduced-frequency node pinching under grow lights | Overwintered indoor basil | Branch 3 | 3 |
1. First Structural Pinch
Best for: Branch 1
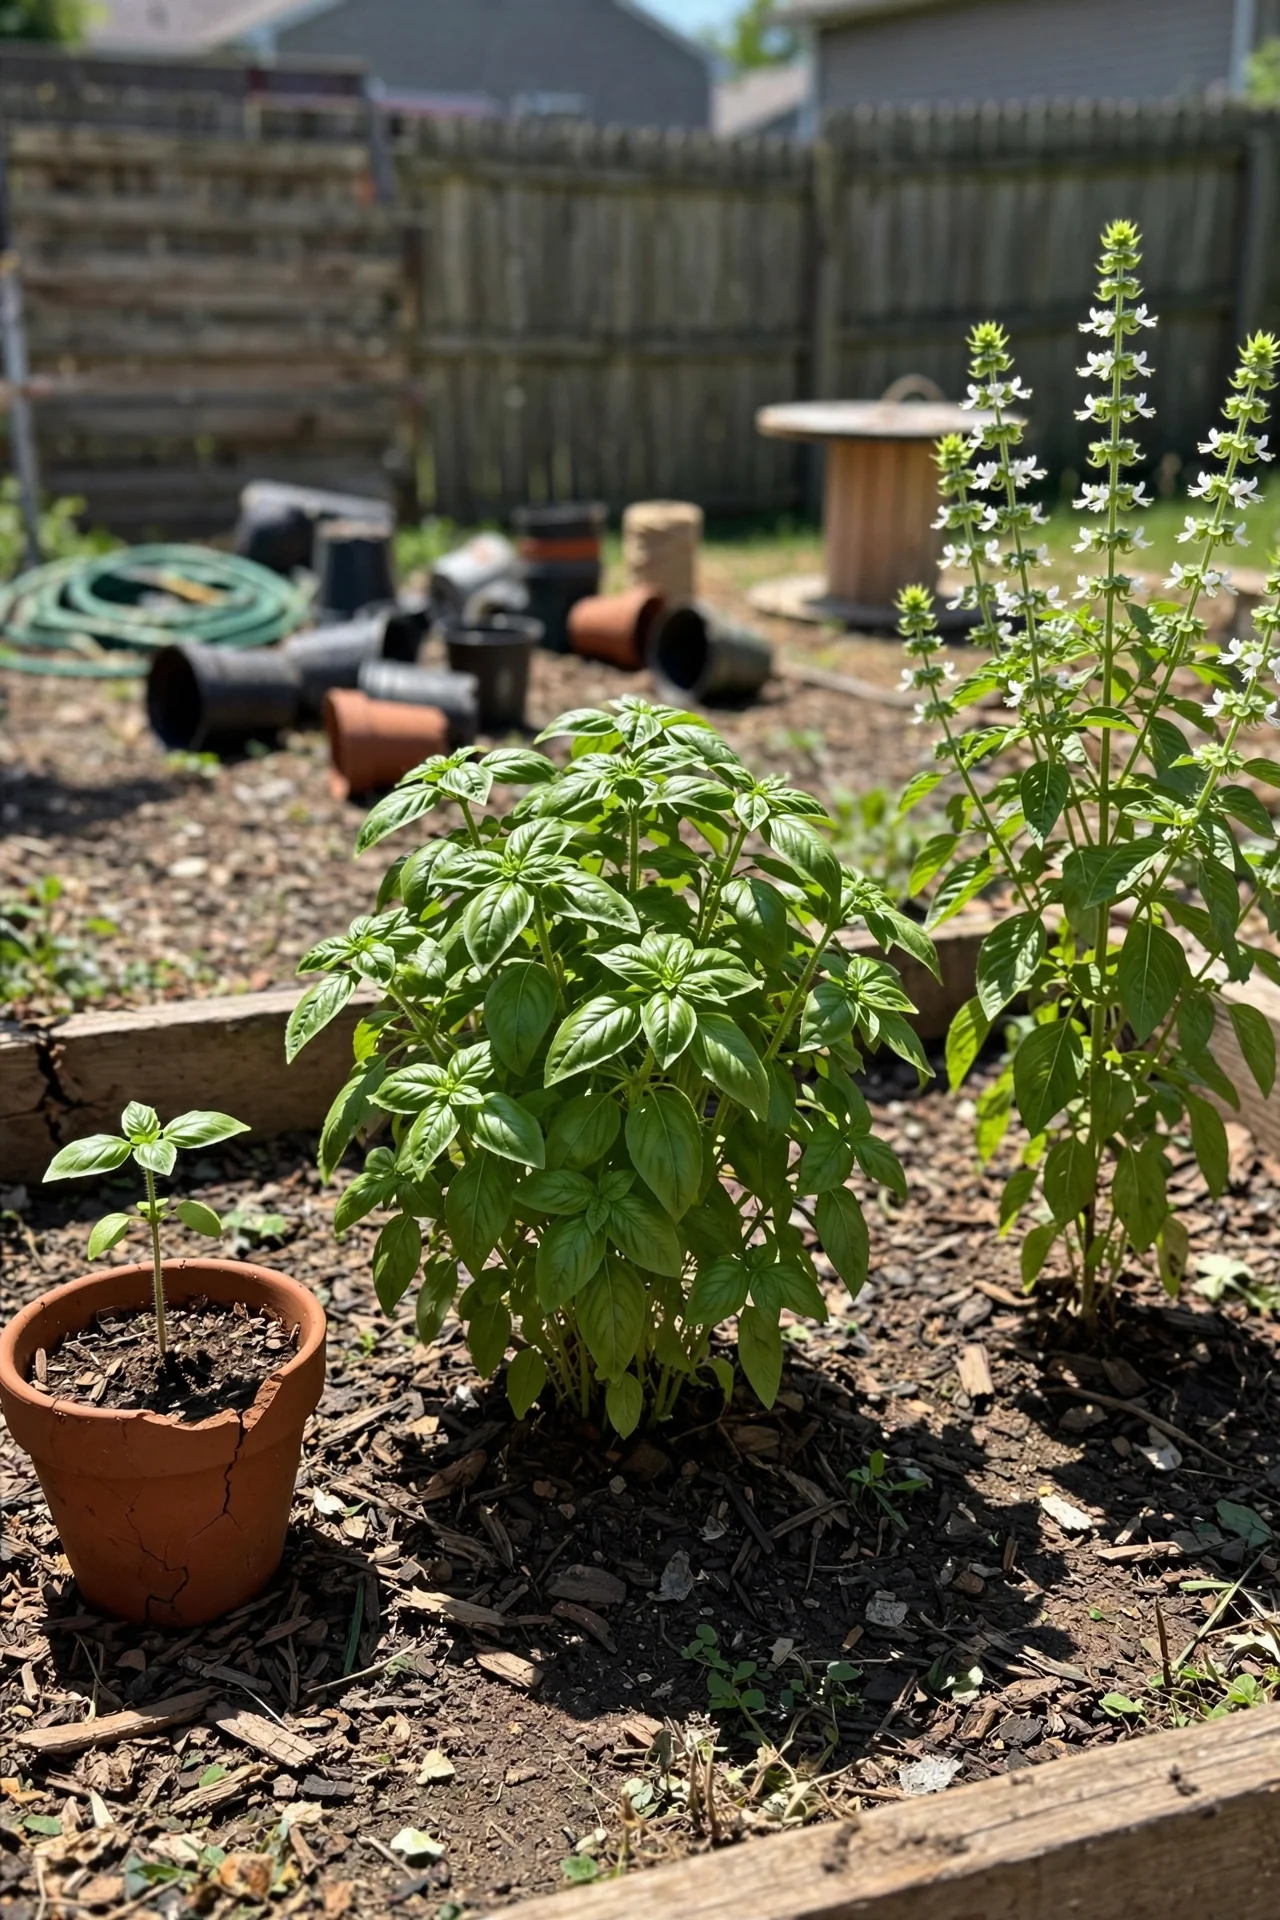
What it is: A single, deliberate cut that removes the top 1 to 2 inches of the main stem just above a pair of true leaves, performed once when the plant reaches 6 to 8 inches tall and has at least 3 sets of true leaves (not counting the cotyledons, which are the small rounded first leaves that emerge from seed).
Why it matters: Basil grows from a single apical meristem. If you never pinch, the plant channels energy into vertical growth and produces one tall stem with sparse branching. Pinching above a node redirects auxin flow to the two axillary buds beneath the cut, which then grow into two new stems. This single cut doubles your future harvest points.
Steps: (1) Sanitize scissors or pruners with 70% isopropyl alcohol. (2) Locate a pair of true leaves roughly one third of the way down from the top. (3) Cut the stem approximately 1/4 inch (6 mm) above that leaf pair at a slight angle. (4) Leave the two large lower leaves intact; they power regrowth. (5) Water the plant thoroughly after cutting and keep it in full sun.
Most common mistake: Pinching too low, below the first set of true leaves, which removes too much photosynthetic area and can stall growth for 10 to 14 days. If your plant is already taller than 10 inches with only one set of leaves near the base, skip to Item 7 (One-Third Rejuvenation Cut) instead.
2. Two-Node Training Cut
Best for: Branch 1
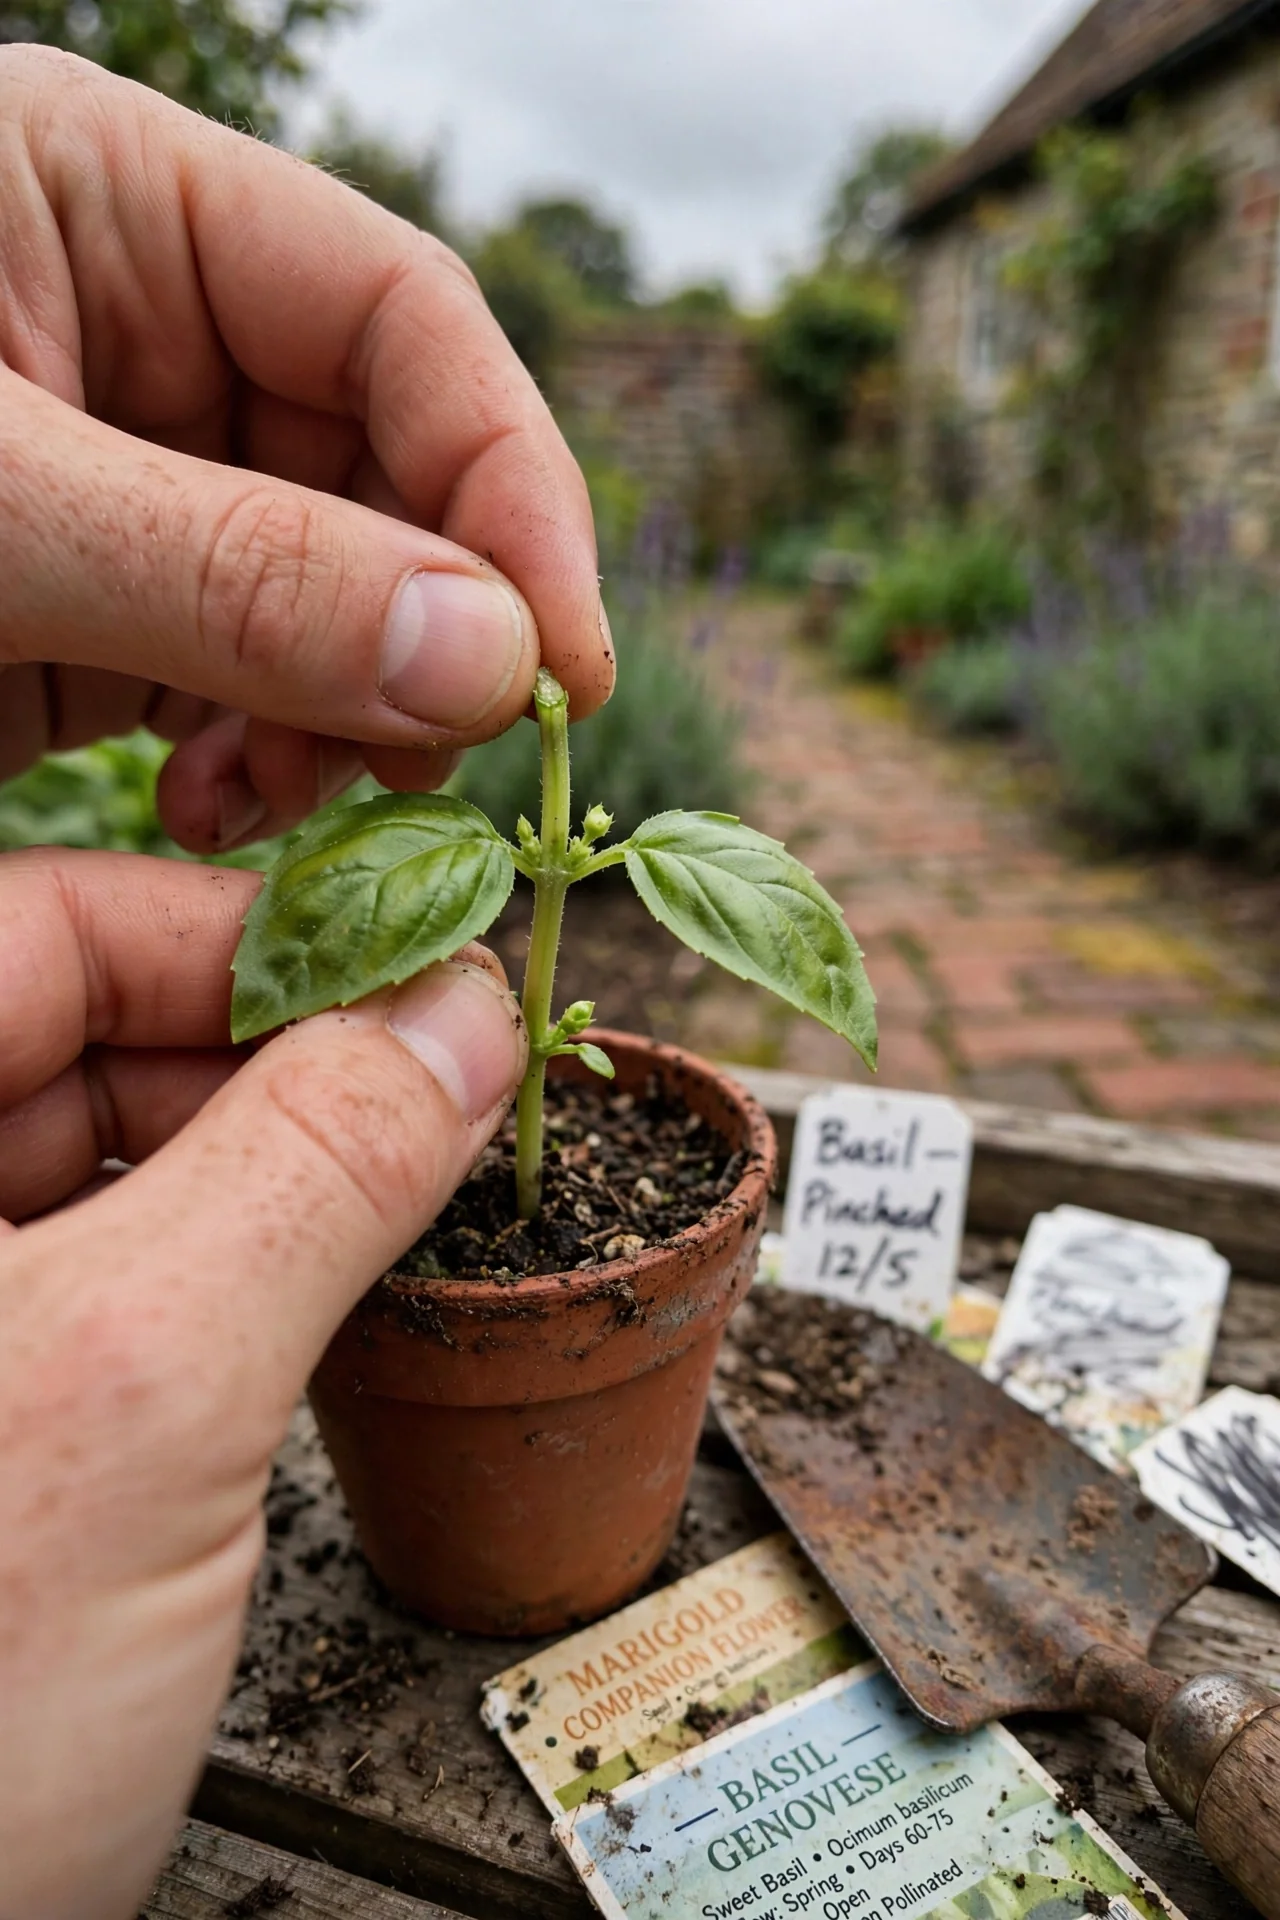
Most growers pinch above whichever node is convenient. But node selection changes the plant’s architecture. If your young basil is lopsided (common on windowsills with directional light), pinch above a node where the leaf pair faces the direction you want new stems to grow. The two axillary buds beneath your cut orient perpendicular to the leaf pair you left, so choose a leaf pair oriented east-west if you want north-south branching. Rotate the pot 90 degrees after cutting to balance light exposure. Skip this technique if your plant already has symmetric branching.
3. Seedling Thinning Snip
Best for: Branch 1
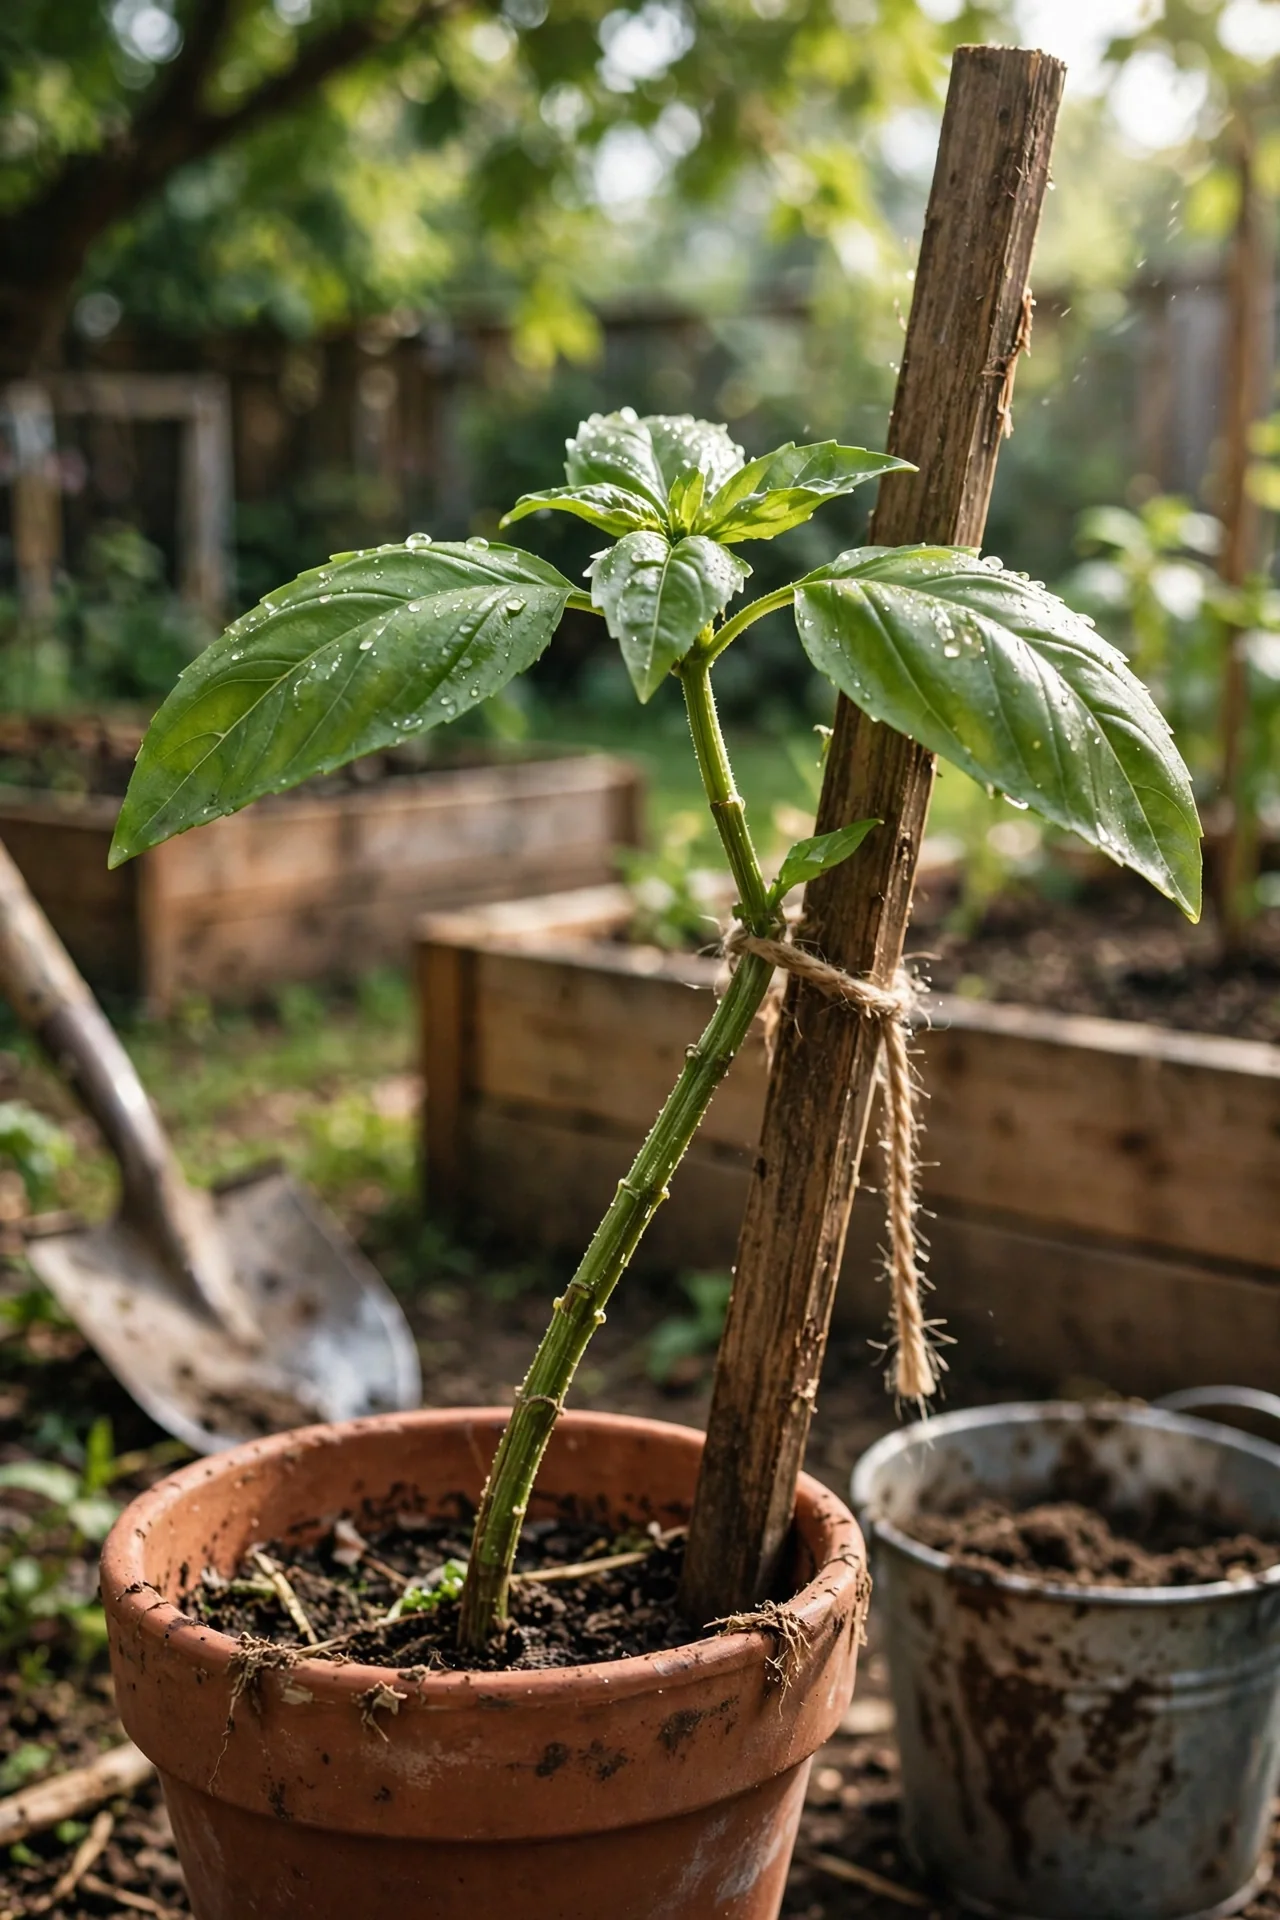
Many gardeners sow multiple basil seeds per pot and hesitate to thin. When 3 or more seedlings crowd a single 4-inch container, they compete for root space and light, producing elongated, weak stems. The threshold for action is when seedlings touch each other’s leaves. Use small scissors to snip the weakest stems at soil level; do not pull them, as this disturbs the roots of the keeper. Leave exactly one seedling per 4-inch pot or 3 seedlings evenly spaced in a 10-inch pot. The remaining plant should be at least 3 inches tall with 2 sets of true leaves before you apply Item 1.
4. Weekly Harvest Pinch
Best for: Branch 2
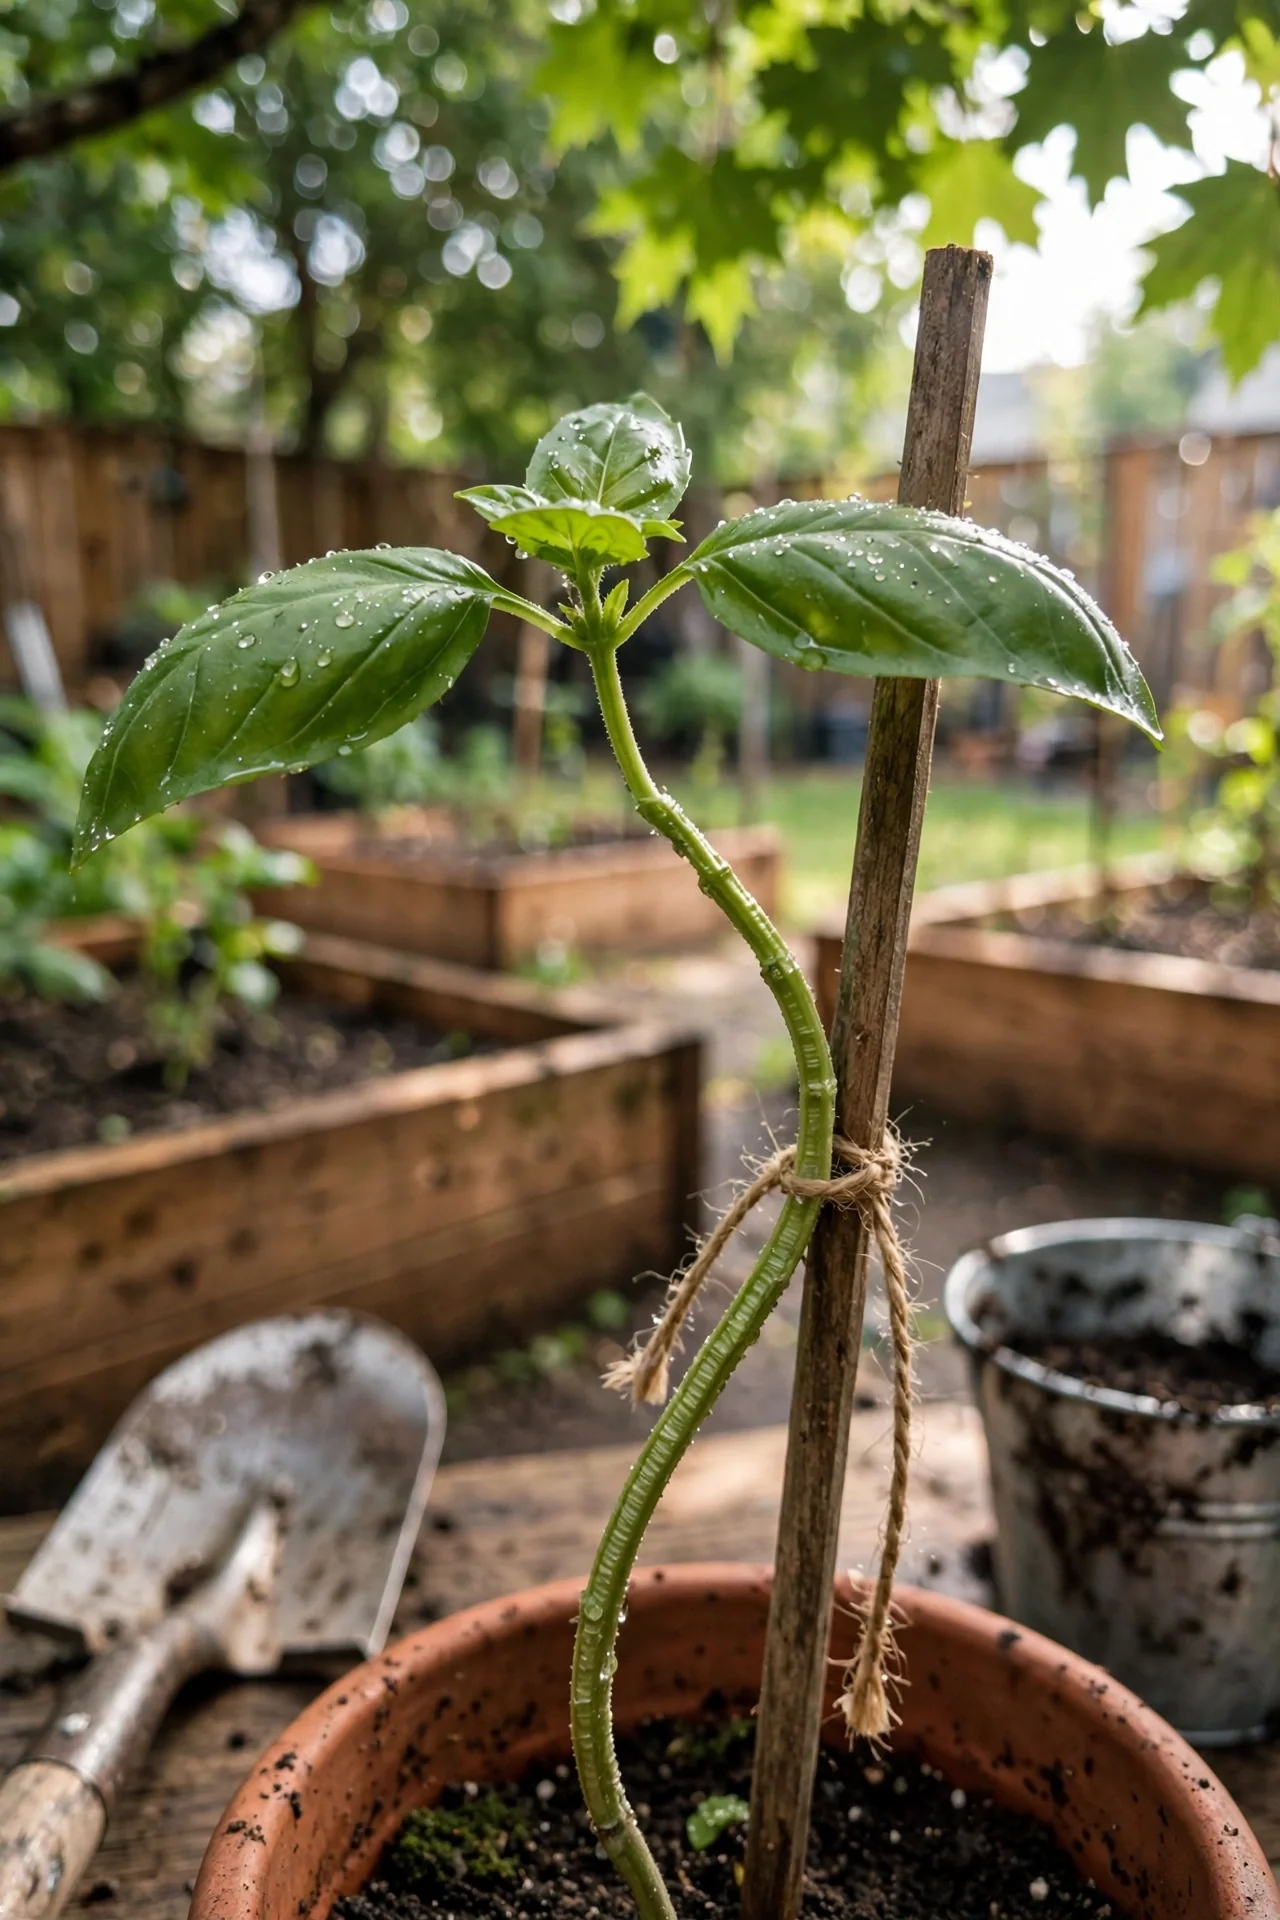
What it is: A recurring pruning routine performed every 7 to 14 days during active growth, where you remove the top 2 to 3 inches of each stem that has developed 6 to 8 leaves, cutting back to just above a healthy leaf pair. This is the technique most articles describe as “pruning basil,” but it works only for plants already past the structural stage.
When to apply: Your plant should be at least 10 inches tall with multiple branching stems. Nighttime temperatures should be above 55 degrees Fahrenheit (13 degrees Celsius). During peak summer heat above 90 degrees Fahrenheit (32 degrees Celsius), extend the interval to 10 to 14 days, because heat-stressed plants recover from cuts more slowly.
10-minute workflow: (1) Fill a shallow bowl with cool water. (2) Inspect each stem; identify any stem with 6 or more leaves. (3) Cut that stem roughly 1/4 inch above the second set of leaves from the top, at a 45-degree angle. (4) Drop harvested stems immediately into the water bowl to prevent wilting. (5) Scan the entire plant for emerging flower buds (see Item 5). (6) Rotate the pot 180 degrees. Total time for one mature plant: under 5 minutes. For a similar weekly maintenance routine applied to a different edible crop, see tomato pruning suckers.
Upgrade option: Keep a small spray bottle of diluted liquid seaweed fertilizer (mix at a ratio of 1 tablespoon per gallon of water) and mist the cut sites lightly after pruning. This supplies trace minerals during the regrowth window without the risk of over-fertilizing.
5. Flower Bud Sweep
Best for: Branch 2
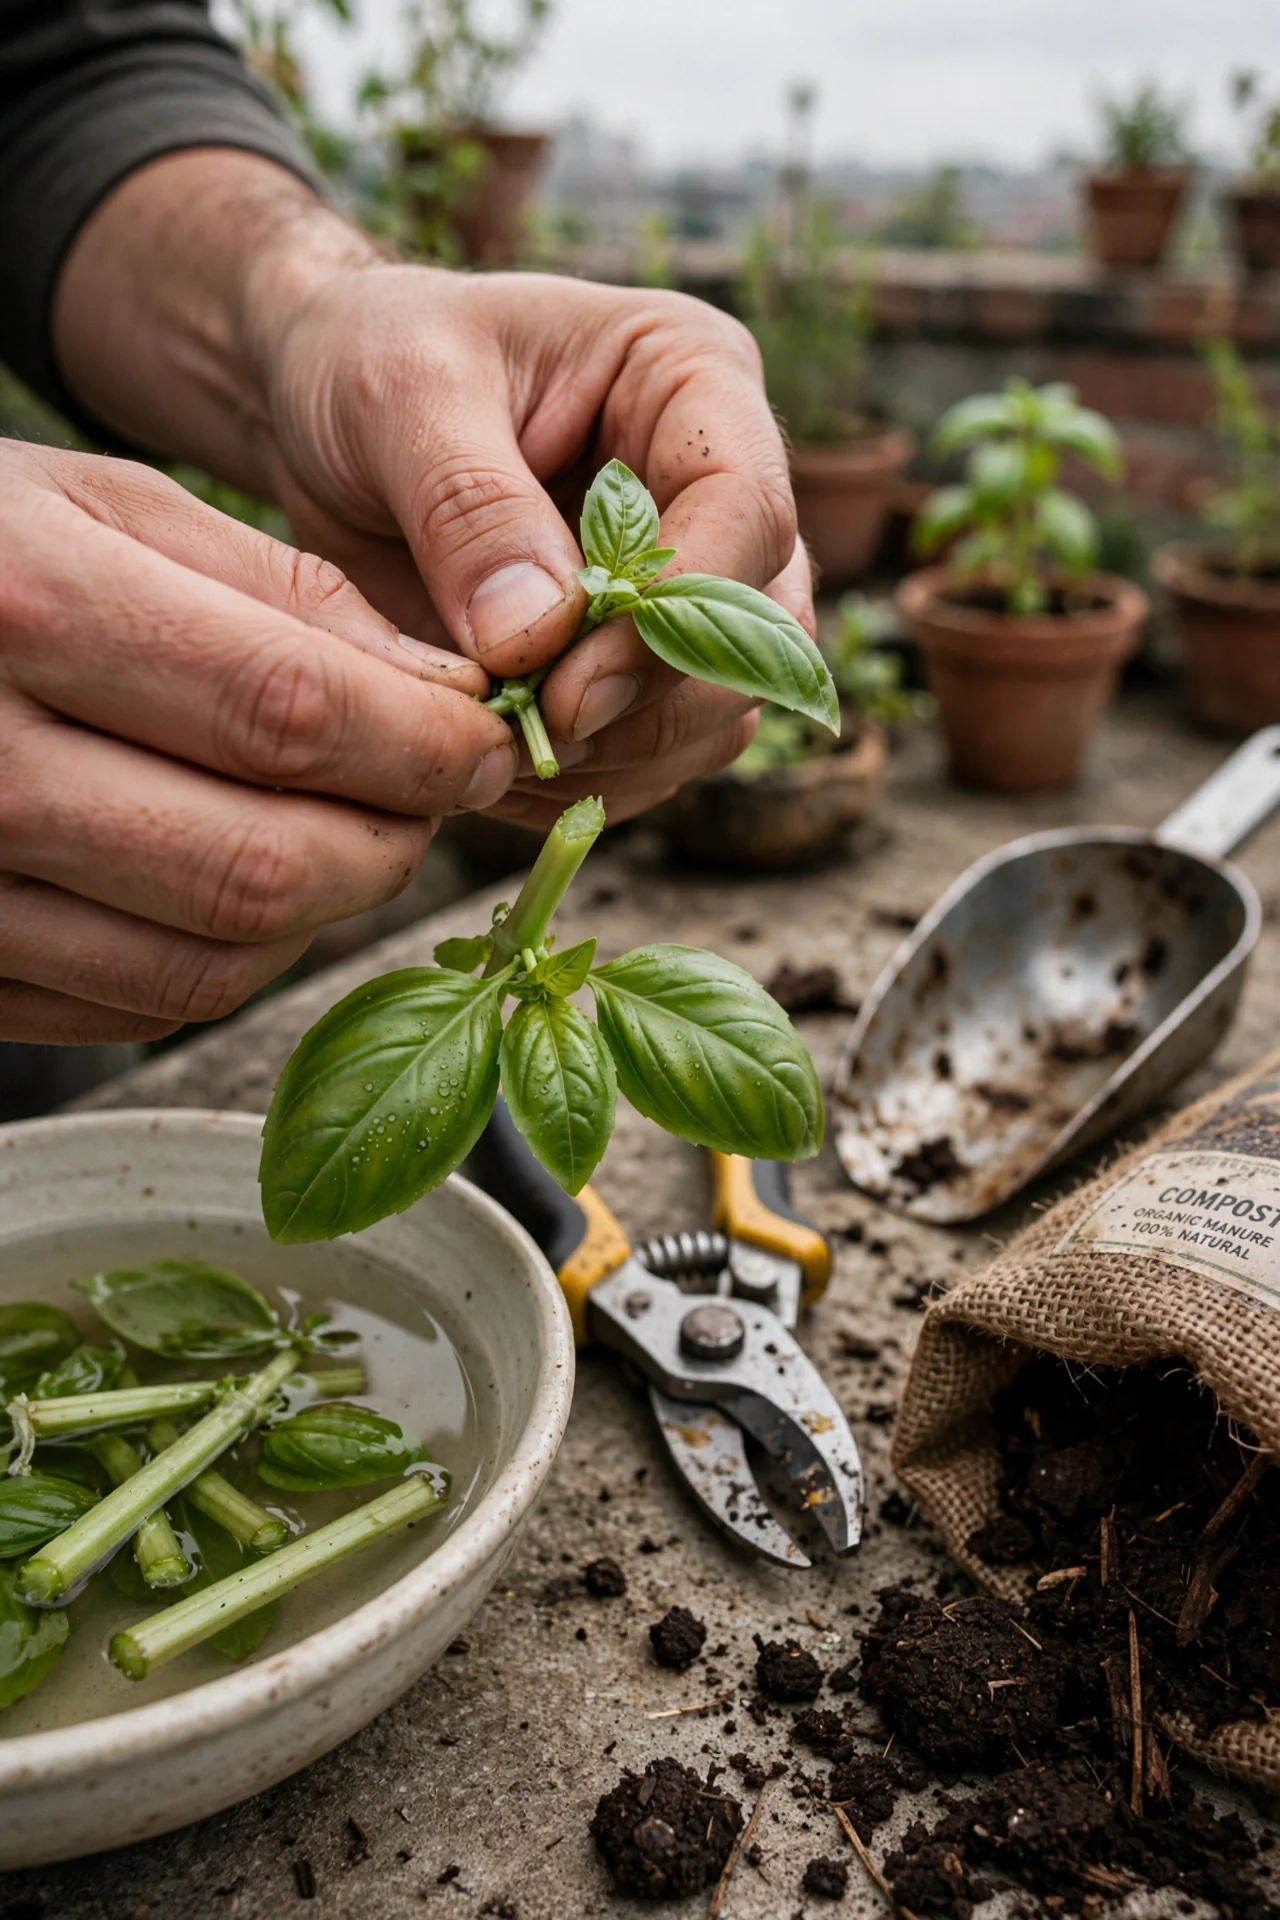
Flower bud surveillance is a separate task from harvest pinching and requires its own schedule. Once daytime temperatures consistently exceed 80 degrees Fahrenheit (27 degrees Celsius), inspect basil daily for tiny green flower buds forming at stem tips. These buds appear before any petals open and are easily mistaken for new leaf clusters. Pinch or snip the entire bud cluster down to the next set of leaves. If even one bud opens, the plant begins shifting resources from leaf production to seed development. This is the single highest-effort technique on the list but makes the difference between a 4-week harvest window and a 12-week one. For a parallel concept applied to ornamentals, see rose deadheading.
6. Selective Lower Leaf Strip
Best for: Branch 2
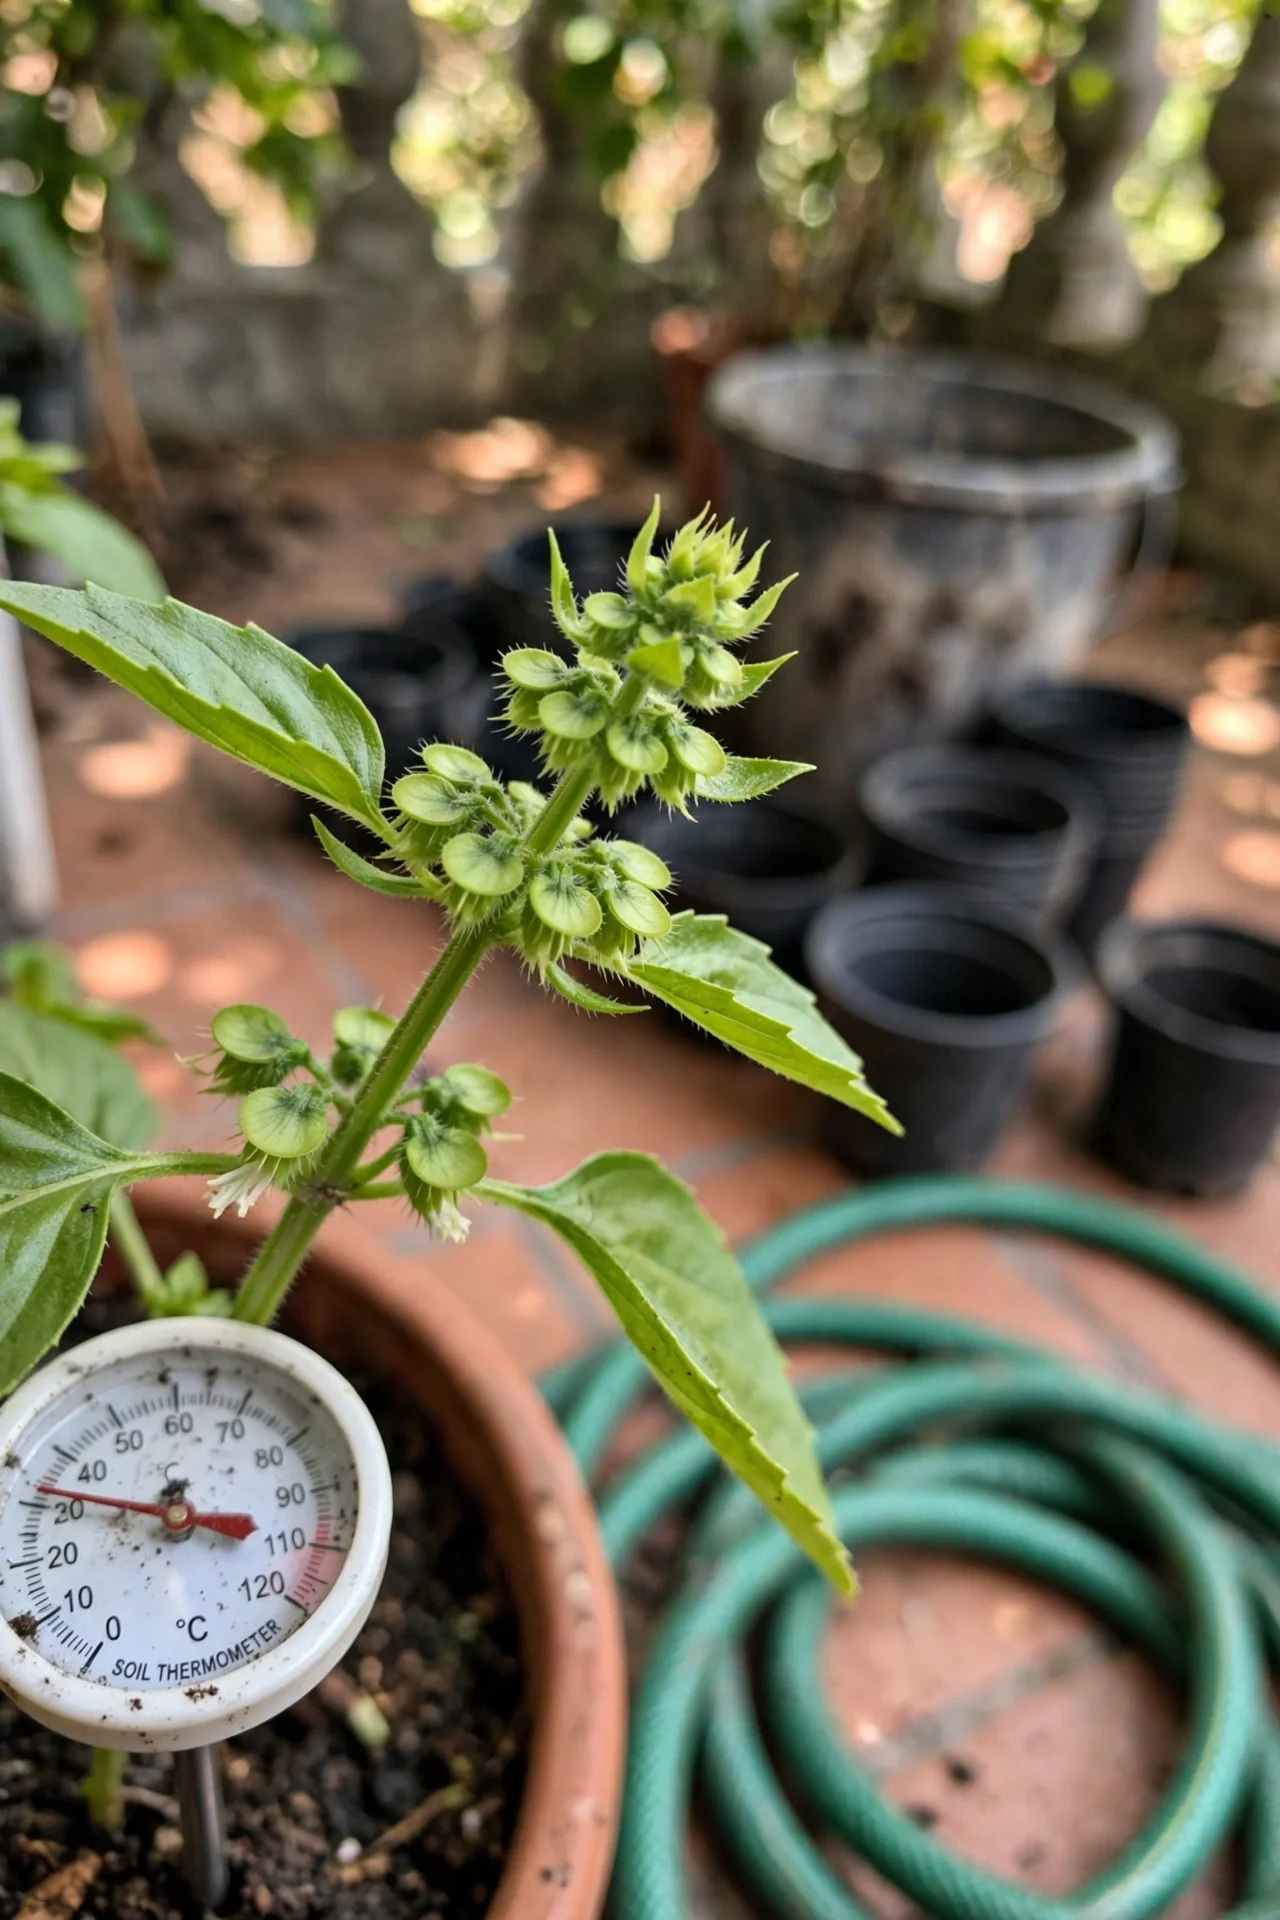
As basil matures, the lowest leaves on each stem age, turn pale, and sit close to damp soil. In humid climates or tightly spaced container gardens, these leaves trap moisture and create entry points for fungal pathogens like Botrytis and downy mildew. Remove the bottommost leaf pair on any stem when those leaves show yellowing or touch the soil surface. Use this technique sparingly: never strip more than 2 leaves per stem in a single session, and always leave at least 4 mature leaves above your removal point. Skip entirely if you garden in an arid climate where humidity is consistently below 40% and fungal pressure is low.
7. One-Third Rejuvenation Cut
Best for: Branch 2 or Branch 3
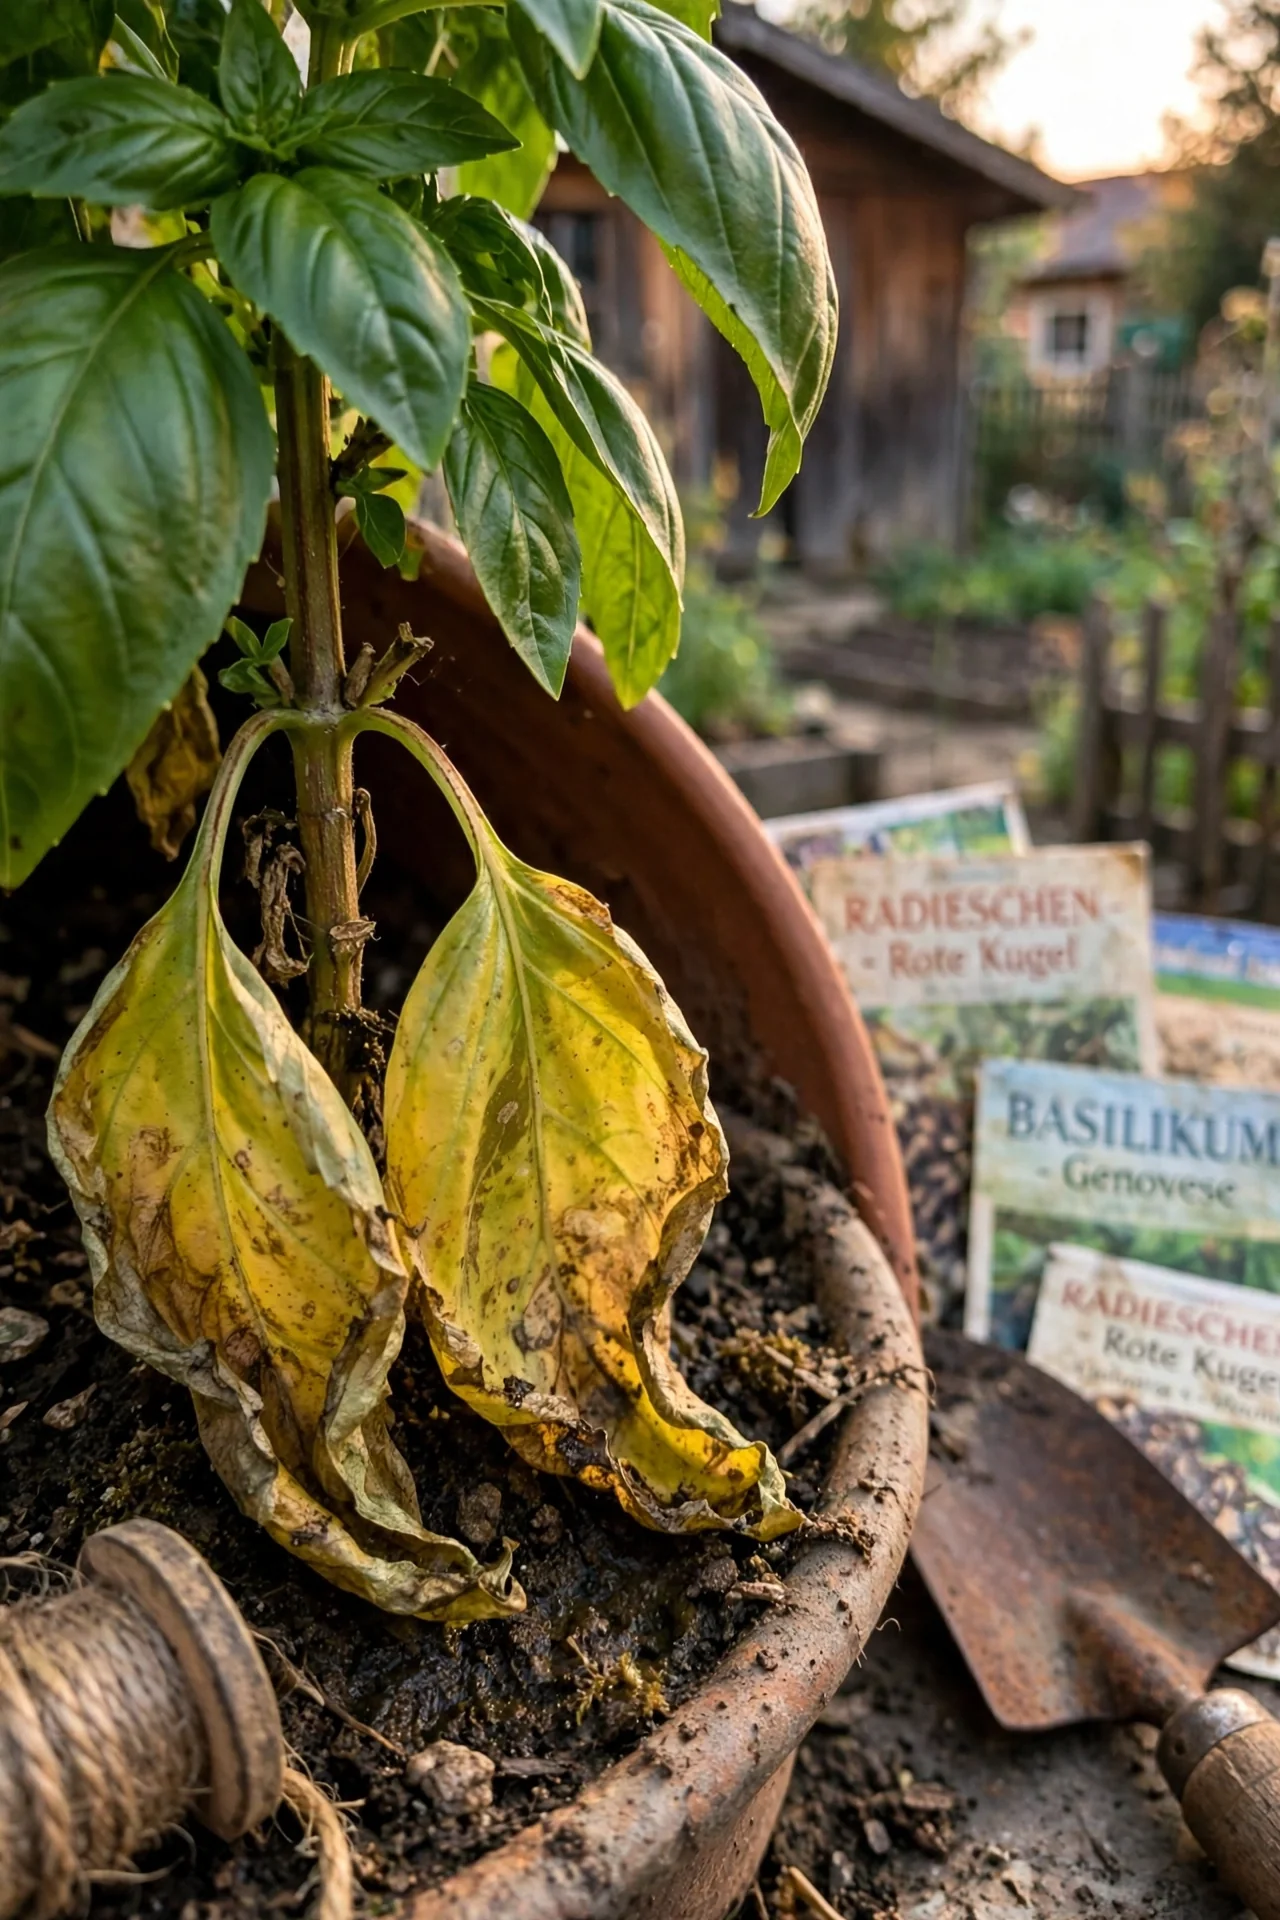
When a basil plant has been neglected for 3 or more weeks and has grown tall with bare lower stems and leaves clustered only at the top, standard weekly pinching will not restore bushiness. The plant needs a more aggressive intervention. The one-third rule is your safety boundary: identify the total height of the plant, measure one third down from the top, and cut every stem back to a node at or slightly above that line. Do not cut into woody, brown stem tissue; basil rarely resprouts from wood. The node you cut to must have visible green tissue and preferably small axillary buds already present. After cutting, reduce fertilizer for 7 to 10 days to avoid pushing weak, stretched regrowth. Water consistently but do not overwater; the reduced leaf area means lower transpiration. New shoots should appear within 5 to 10 days if soil temperatures remain above 65 degrees Fahrenheit (18 degrees Celsius). If no new growth appears after 14 days, the stems were likely cut too low into woody tissue; shift to Item 9 and propagate from any remaining healthy tip cuttings.
8. Pre-Frost Terminal Harvest
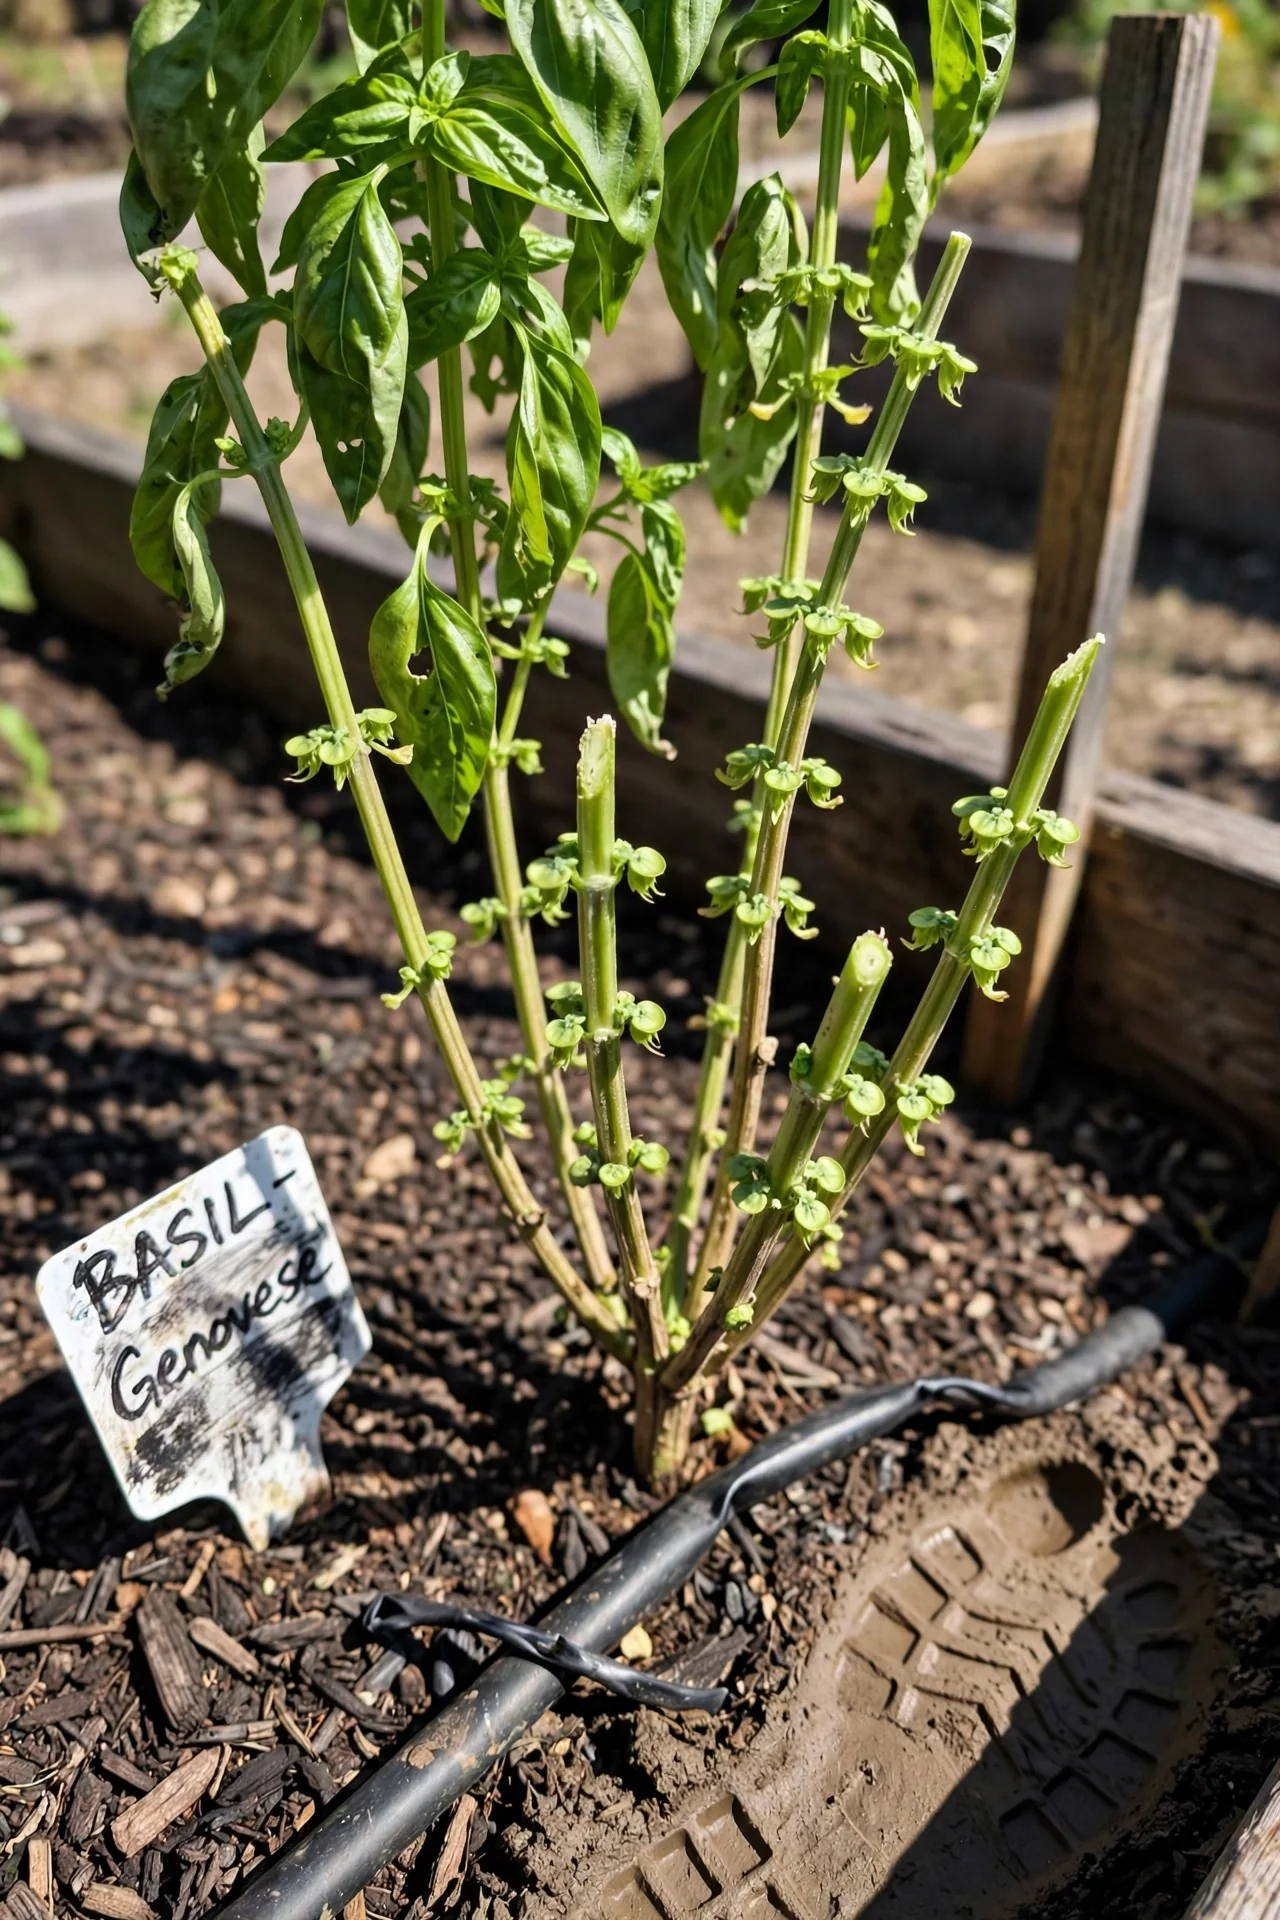
Best for: Branch 3
Basil is a tender annual. Leaf tissue suffers damage at temperatures below 45 degrees Fahrenheit (7 degrees Celsius), and the entire plant collapses with frost. When your local forecast predicts overnight lows approaching 40 degrees Fahrenheit (4 degrees Celsius) within the next 48 hours, cut all remaining stems at the soil line. Strip leaves from stems, discard any with brown spots or yellowing, and process immediately. Whole stems can go into a glass of water on the counter for 2 to 3 days of short-term storage. For longer preservation, freeze leaves whole or blended with olive oil in ice cube trays.
9. Propagation Cutting Take
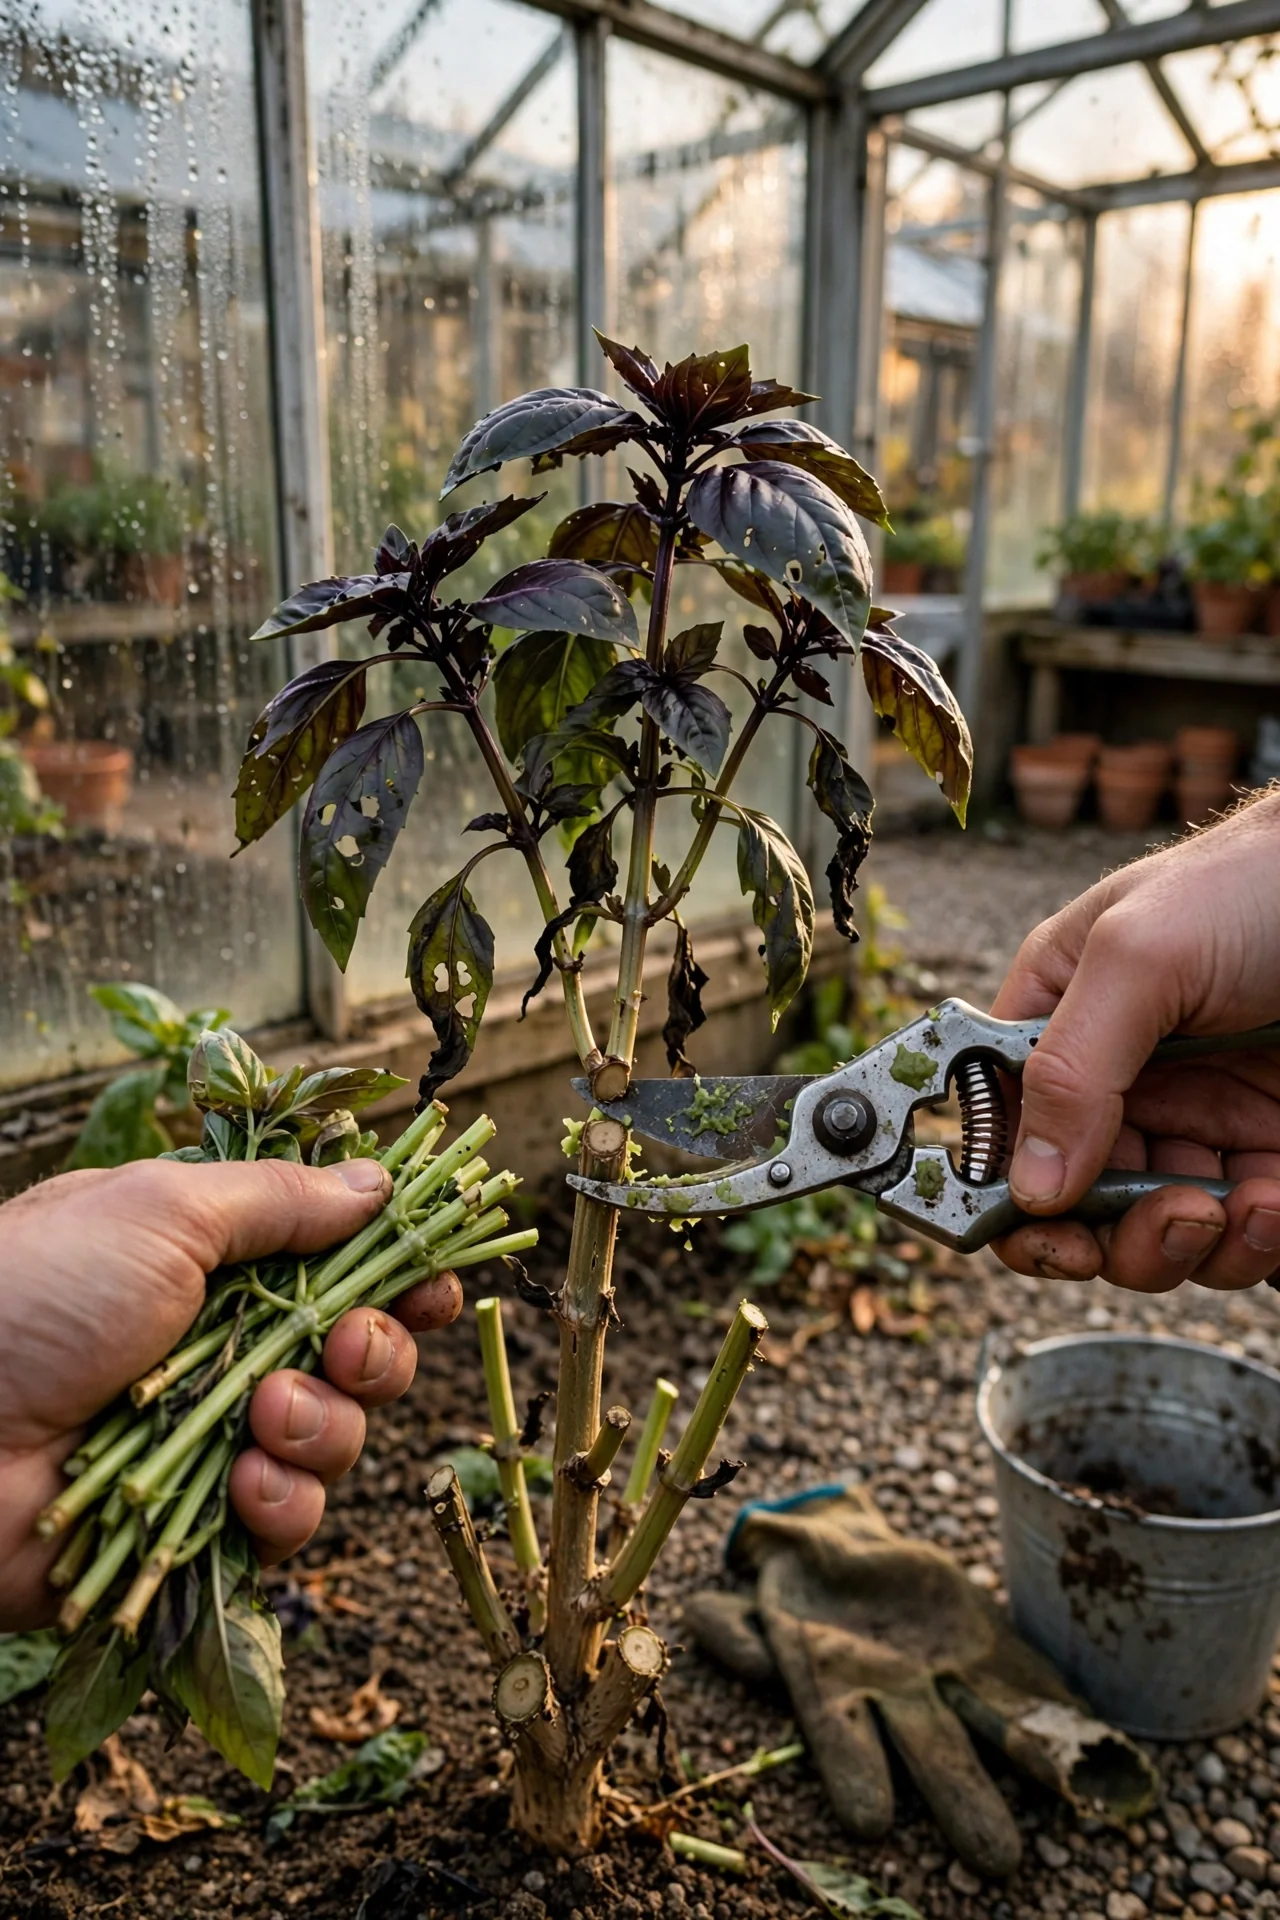
Best for: Branch 3
What it is: Converting pruned-off stem tips into new basil plants by rooting them in water. This technique turns your pruning byproduct into a free replacement crop, extending your basil supply cycle without buying new seeds or starts.
When to use: Anytime you have healthy, non-flowering stem tips at least 4 inches long with 2 to 3 sets of leaves. This works during the outdoor growing season and especially in autumn when you want to carry basil indoors for winter. Avoid stems that have already flowered; they root poorly and produce bitter-tasting plants.
Steps: (1) Select a 4 to 6 inch stem tip with no flower buds. (2) Cut just below a node at a 45-degree angle. (3) Remove the bottom pair of leaves from the cutting, leaving at least 2 sets of leaves at the top. (4) Place the cutting in a clean glass of room-temperature water, ensuring the bare node is submerged but no leaves touch the water. (5) Set in bright indirect light; direct sun overheats the water. (6) Change the water every 2 days. Roots typically appear within 5 to 10 days. For a broader guide on this propagation method across multiple plant types, see softwood cuttings.
Edge case: If your water is chlorinated, let it sit uncovered for 24 hours before use to allow chlorine to dissipate. Chlorine can inhibit root initiation in basil cuttings.
10. Indoor Winter Maintenance Prune
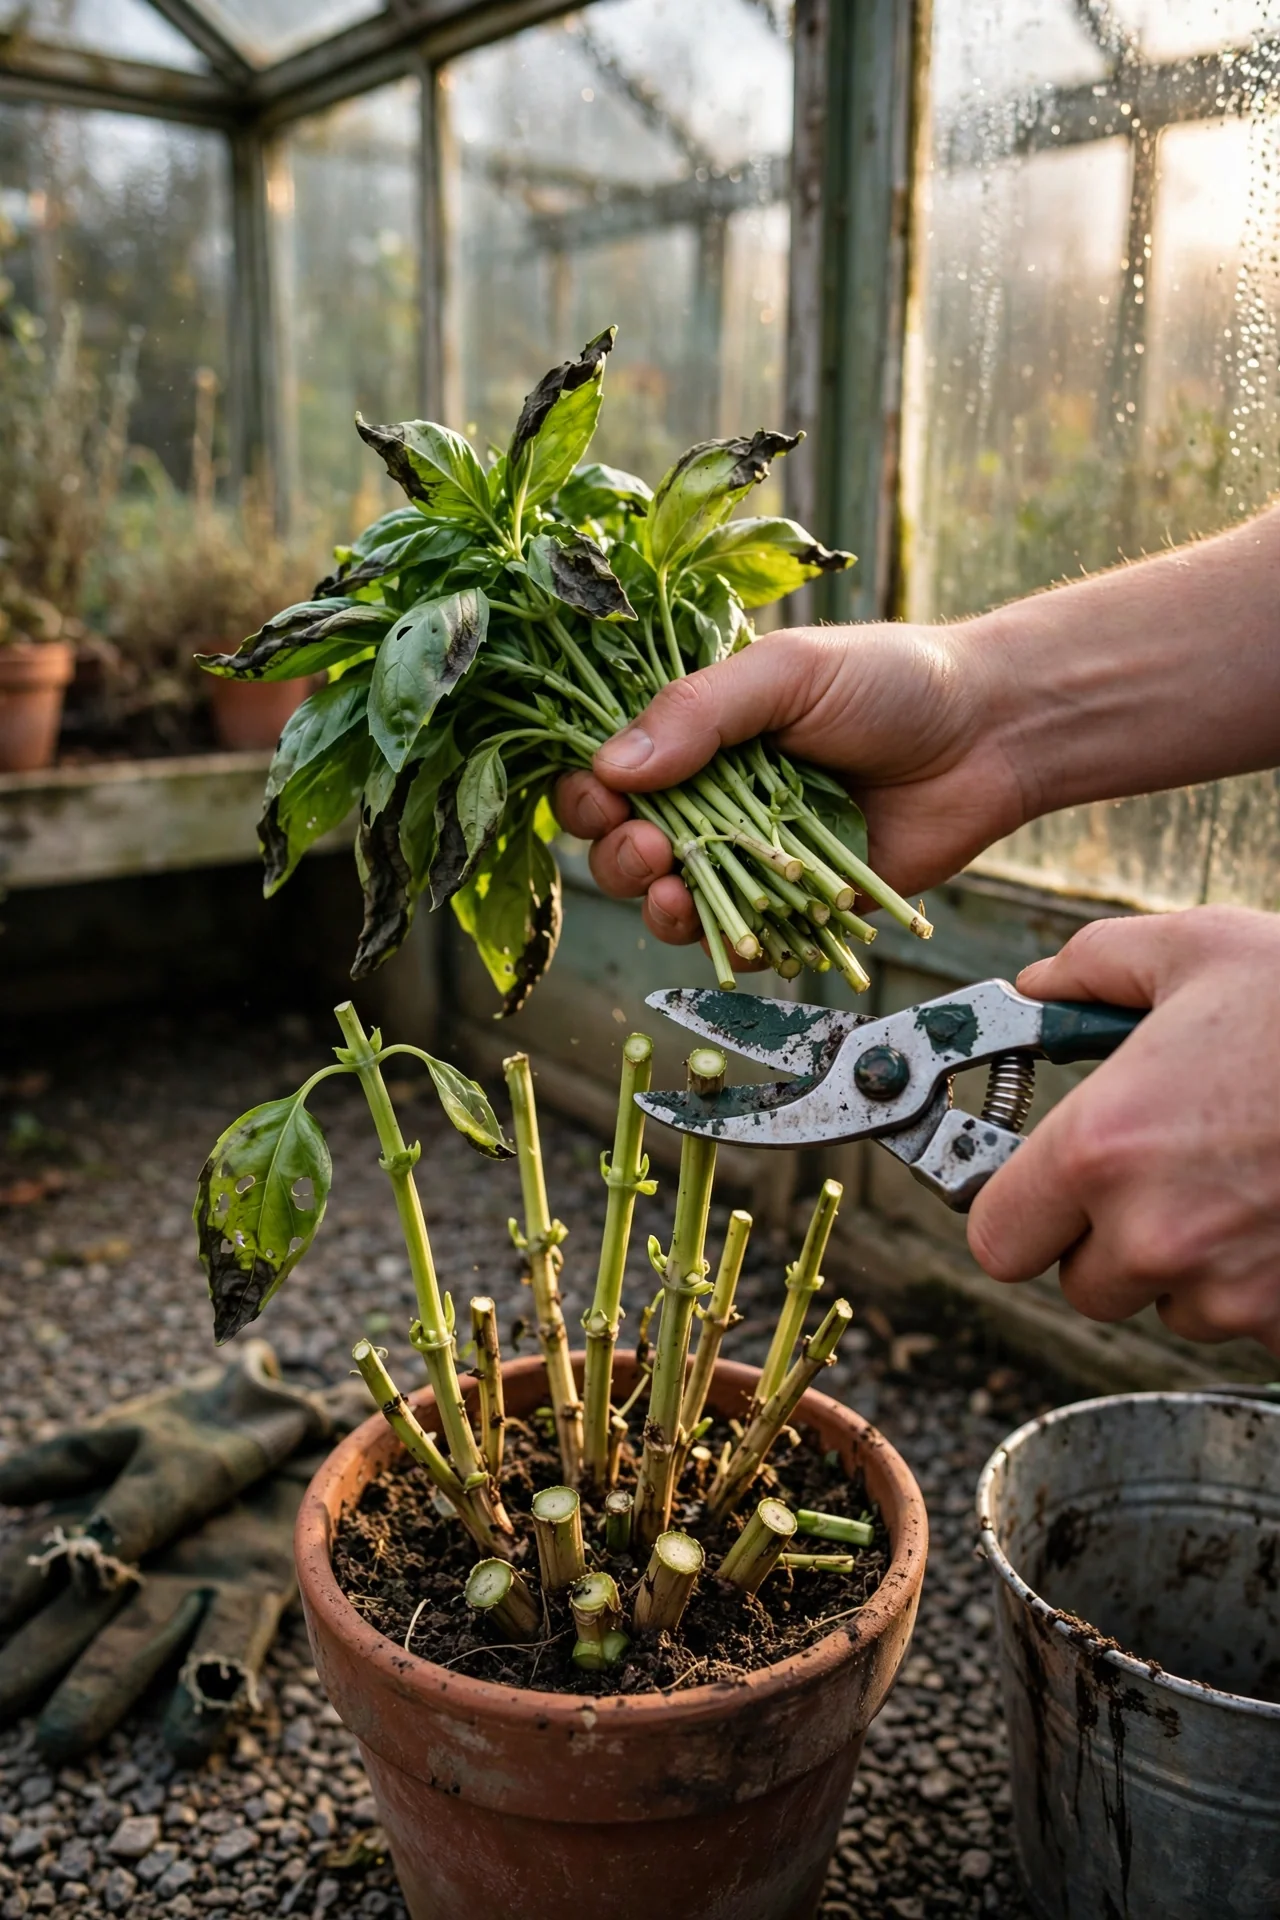
Best for: Branch 3
Basil brought indoors for winter faces two constraints that change pruning rules dramatically: low light and cool indoor temperatures. Under a south-facing window or a grow light running 12 to 14 hours daily, growth slows to roughly one third of outdoor summer speed. Pruning at the same frequency you used outdoors will exhaust the plant.
Pros of winter pruning: Keeps the plant compact under artificial light where leggy growth is a constant threat. Removes leaves that would otherwise yellow and drop due to low humidity from indoor heating. Provides fresh leaves for winter cooking.
Cons and constraints: Every cut removes photosynthetic surface the plant cannot easily replace. Indoor temperatures below 65 degrees Fahrenheit (18 degrees Celsius) slow wound healing, increasing disease risk. If the plant receives fewer than 6 hours of direct light daily, prune at most once every 3 to 4 weeks and never remove more than one sixth of the total foliage in a single session.
Edge case for indoor growers: If you are using a grow light positioned 2 to 4 inches above the plant, pruning is necessary to prevent leaves from touching the bulb and scorching, but keep cuts minimal. Remove only the topmost leaf pair when the plant height threatens contact with the light. For more on pruning indoor plants under artificial lighting conditions, see how to prune houseplants.
Starter Stack (What to Choose First)
Branch 1 Starter: First Structural Pinch plus Seedling Thinning Snip
If you are starting basil from seed or have just bought a young transplant, begin with Item 3 (Seedling Thinning Snip) to ensure one strong plant per container, then apply Item 1 (First Structural Pinch) once the plant hits 6 to 8 inches. Together, these two techniques cost roughly 5 minutes of total effort across a full growing season and require only a pair of scissors. The synergy is that thinning prevents root competition, which gives the structural pinch enough resources to produce two vigorous branches instead of two weak ones.
Branch 2 Starter: Weekly Harvest Pinch plus Flower Bud Sweep
For an actively growing plant, pair Item 4 (Weekly Harvest Pinch) with Item 5 (Flower Bud Sweep). The harvest pinch handles quantity; the flower sweep handles quality and longevity. Combined, expect to spend 10 to 15 minutes per week per 3 to 4 plants during peak summer. The key timing insight: perform the harvest pinch first, because removing stem tips often reveals hidden flower buds that were obscured by upper foliage.
Branch 3 Starter: Propagation Cutting Take plus Pre-Frost Terminal Harvest
When the season is ending or your plant is declining, take Item 9 (Propagation Cutting Take) before executing Item 8 (Pre-Frost Terminal Harvest). This sequencing matters: if you cut the entire plant at the soil line first, you lose the ability to select the healthiest 4 to 6 inch tips for propagation. The combined time investment is roughly 20 minutes once per season, and the cost is negligible (a glass of water and a sunny windowsill). For timing reference across multiple pruning tasks throughout the year, consult our fruit tree pruning calendar.
When This Won’t Work
Failure condition 1: You are cutting into woody, brown stem tissue. Basil stems that have fully lignified (turned woody) rarely produce new shoots from below the cut, regardless of how precisely you prune above a node. This happens most often when plants are allowed to flower and set seed before any pruning occurs. The woody zone typically extends from the soil line up to the first 3 to 6 inches of the main stem in a mature plant. If you have cut into wood and see no regrowth after 14 days under warm conditions, the plant will not recover. The alternative action: take cuttings from any remaining green tip growth and start fresh. If no green tips remain, the plant has completed its life cycle.
Failure condition 2: Your basil has a systemic disease, not a pruning problem. Downy mildew (Peronospora belbahrii) causes yellowing on upper leaf surfaces with gray-purple fuzz underneath, and fusarium wilt causes sudden wilting with brown streaks inside the stem. Pruning cannot cure either condition, and using the same unsterilized tools on healthy plants will spread the pathogen. If you suspect disease, isolate the plant, do not prune it for consumption, and dispose of it in household waste, not compost. See our guide on rosemary pruning for a woody herb that responds very differently to cutting and may be a better fit if your growing conditions consistently produce diseased basil.
Choosing the Right Option for Your Situation
Budget threshold
If your basil gardening budget is under $10 total (a packet of seeds and a single bag of potting mix), prioritize Branch 1 and Branch 2 techniques. Items 1, 4, and 5 require no purchased inputs beyond scissors and water. Propagation (Item 9) is also free. The only technique that may require a purchase is Item 10, which benefits from a grow light costing $20 to $40 if you lack a south-facing window.
Time threshold
If you have fewer than 15 minutes per week for herb garden maintenance, skip Item 5 (Flower Bud Sweep) and Item 6 (Selective Lower Leaf Strip). Focus exclusively on Item 1 once at the start of the season and Item 4 every 10 to 14 days. Accept that your harvest window may be shorter but your basil will still produce adequately for occasional use.
Technical constraint: hydroponic basil
Hydroponically grown basil in a nutrient film technique (NFT) or deep water culture (DWC) system follows the same node-pinching principles, but the timing shifts because growth rates are faster under optimized nutrient and light conditions. Prune hydroponic basil every 5 to 7 days rather than every 7 to 14 days. The pH of the nutrient solution should stay between 5.5 and 6.5 for optimal regrowth after cutting. If pH drifts above 7.0, calcium and magnesium uptake drops, and pruned stems heal more slowly.
Yes/No Checklist
- Is your plant under 8 inches tall with fewer than 4 leaf sets? Yes: Branch 1 (Items 1, 2, 3). No: continue.
- Is your plant actively growing with no open flowers and no woody stems? Yes: Branch 2 (Items 4, 5, 6, 7). No: continue.
- Does your plant have open flowers, woody lower stems, or are frost temperatures forecast? Yes: Branch 3 (Items 8, 9, 10). No: re-evaluate; your plant may be dormant or diseased.
- Have you matched your pruning frequency to your light conditions (reduced in winter or low-light indoor settings)? Yes: proceed. No: reduce frequency to avoid exhausting the plant.
Expert Q&A
What is the difference between pruning basil and harvesting basil?
Harvesting removes leaves or stems for immediate use. Pruning removes growth specifically to shape the plant’s future architecture, even if you discard or propagate the cuttings. The two overlap heavily in basil because a proper pruning cut above a node also yields usable leaves, but the intent and the cut location differ. Harvesting often targets the largest leaves anywhere on the plant; pruning targets the terminal growing tip above a specific node to trigger branching.
Why does basil become bitter after flowering, and can pruning reverse it?
Bitterness develops because the plant shifts its secondary metabolite production from aromatic essential oils (eugenol, linalool) toward compounds associated with reproduction and seed maturation. Pruning off flower buds before petals open can slow this shift, but once bitterness has developed in mature leaves, removing flowers will not make existing leaves sweet again. New leaves produced after flower removal typically regain normal flavor if the plant has enough remaining growing season.
Does pruning basil differently change the essential oil profile?
Research indicates that pruning severity and timing can alter the concentration and composition of essential oils in basil leaves. Frequent light pinching tends to maintain higher concentrations of aromatic compounds compared to infrequent heavy cutting, though the effect varies by cultivar. Purple basil cultivars show a stronger growth reduction response to pruning than green Genovese types, with corresponding changes in their oil profiles.
How does pruning strategy differ for perennial basil varieties like African Blue?
African Blue basil (Ocimum kilimandscharicum × basilicum) is sterile and does not produce viable seeds, so flower bud removal is optional rather than essential for prolonging leaf production. Because it is a perennial in zones 9 and above, pruning can be more aggressive, including cutting into semi-woody stems, which will often resprout. The standard one-third rule still applies for a single session. Annual sweet basil varieties do not tolerate cutting into woody tissue.
Can you prune basil roots, and when would you do that?
Root pruning is relevant for hydroponic basil and long-term container plants. In hydroponic systems, roots that fill the reservoir and turn brown can be trimmed back to roughly two thirds of their original mass during a nutrient solution change. For soil-grown container basil, root pruning is rarely necessary unless the plant has been in the same 4-inch pot for more than 3 months and shows stunted growth despite adequate light and nutrients. In that case, gently remove the root ball, trim away the outer 1/2 inch of circling roots, and repot in fresh soil.
Conclusion
The single most consequential mistake in basil pruning is applying the same technique to every growth stage. A structural pinch on a flowering plant does nothing; a weekly harvest routine on a 4-inch seedling stunts it. Use the Decision Grid to identify your branch, pick the matching technique, and adjust frequency to your light and temperature conditions.
The number one mistake is pruning into woody stems and expecting regrowth. Basil rebounds from green tissue cuts; it rarely recovers from cuts into brown, lignified wood.
Next step: Take the cuttings you have just pruned and turn them into a continuous supply of new basil plants. See our guide on propagation station ideas for setting up a simple rooting area that works with the stem tips you are already removing.