
Most indoor aloe vera advice assumes you have a south-facing window that gets six hours of direct sun. For millions of homes in the US, UK, Canada, Australia, India, Germany, and the Philippines, that assumption is wrong. When your actual light conditions do not match the ideal conditions care guides describe, the standard watering schedule and soil advice stop working. The plant does not adapt to the advice. The advice must adapt to the plant’s reality.
This guide covers every decision you will face growing aloe vera as an indoor container plant: light placement, pot selection, soil mixing, watering rhythm, fertilizing, repotting, winter dormancy, pest control, pup management, leaf harvesting, temperature thresholds, and humidity balance. It excludes outdoor planting, commercial farming, and gel processing at scale.
By the end, you will know which decisions are non-negotiable (and why), which can be adjusted based on your specific light situation, and where most indoor aloe failures actually originate. You will be able to diagnose your own plant rather than blindly follow a schedule that may not fit your home.
Bottom line: Match your care protocol to your actual light conditions first, then adjust everything else around that baseline.
The Yield Grid Decision Grid
Before choosing any product or routine, identify which branch describes your actual growing environment. This determines which advice in the list below applies to you.
Branch 1: High Light (6+ hours of direct sun daily). South-facing window in the Northern Hemisphere, north-facing in the Southern Hemisphere, or a dedicated grow light setup running 12 to 14 hours daily. Leaves stay compact, upright, and may develop a slight reddish tinge at the tips during peak summer. The plant grows actively and produces pups regularly. Recommended: Items 5, 6, 9, 10 below.
Branch 2: Moderate Light (3 to 6 hours of bright indirect light daily). East-facing or west-facing window, or a bright room where the plant can see the sky but direct rays are filtered through blinds or sheer curtains. Growth is slower but steady. The plant maintains a healthy green color. This is the most forgiving zone for beginners. Recommended: Items 2, 3, 7, 11 below.
Branch 3: Low Light (fewer than 3 hours of bright indirect light daily). North-facing window (Northern Hemisphere), a room with small or obstructed windows, or placement more than 2 metres from any window. The plant survives but does not thrive. Etiolation, leggy growth, and overwatering damage are real risks here. Recommended: Items 1, 4, 8, 12 below. If you are new to succulents, review our beginner succulents guide before committing to a low-light aloe.
Quick Comparison Table
| Option | Key Mechanism | Best for | Decision Grid Branch | Effort Score (1 to 5) |
|---|---|---|---|---|
| 1. Light Placement Strategy | Photosynthetic adequacy | Preventing etiolation in dim homes | Branch 3 | 1 |
| 2. Pot Material Selection | Moisture evaporation rate | Balancing wet-dry cycles | Branch 2 | 1 |
| 3. Soil Mix Decision | Drainage speed and root aeration | Compensating for low-light slow drying | Branch 2 | 2 |
| 4. Watering Rhythm Protocol | Root zone wet-dry cycling | Avoiding root rot in Branch 3 | Branch 3 | 3 |
| 5. Fertilizer Approach | Nutrient supplementation timing | Supporting active growth in high light | Branch 1 | 2 |
| 6. Pot Size and Repotting Timing | Root-to-soil ratio and drainage | Managing fast-growing Branch 1 plants | Branch 1 | 2 |
| 7. Winter Dormancy Management | Metabolic slowdown response | Preventing winter overwatering | Branch 2 | 3 |
| 8. Pest Prevention Strategy | Stress-opportunistic infestation | Protecting low-light stressed plants | Branch 3 | 2 |
| 9. Pup Management Decision | Offset propagation and plant energy | Multiplying Branch 1 plants | Branch 1 | 3 |
| 10. Leaf Harvesting Method | Wound healing and plant recovery | Sustainable gel harvesting | Branch 1 | 3 |
| 11. Temperature Threshold Management | Cold damage and metabolic stress | Protecting plants near drafty windows | Branch 2 | 1 |
| 12. Humidity and Airflow Balance | Transpiration and fungal pressure | Preventing rot in still, cool rooms | Branch 3 | 1 |
1. Light Placement Strategy
Best for: Branch 3 (Low Light)
10-Minute Diagnostic Workflow
Step 1: The shadow test. At midday, hold your hand 30 cm above where the plant sits. A sharp, dark shadow means direct light (Branch 1). A soft, blurry shadow means bright indirect (Branch 2). No visible shadow means low light (Branch 3). Do not skip this step. Window direction alone is not reliable because external obstructions like buildings, trees, or eaves can turn a south-facing window into a low-light location.
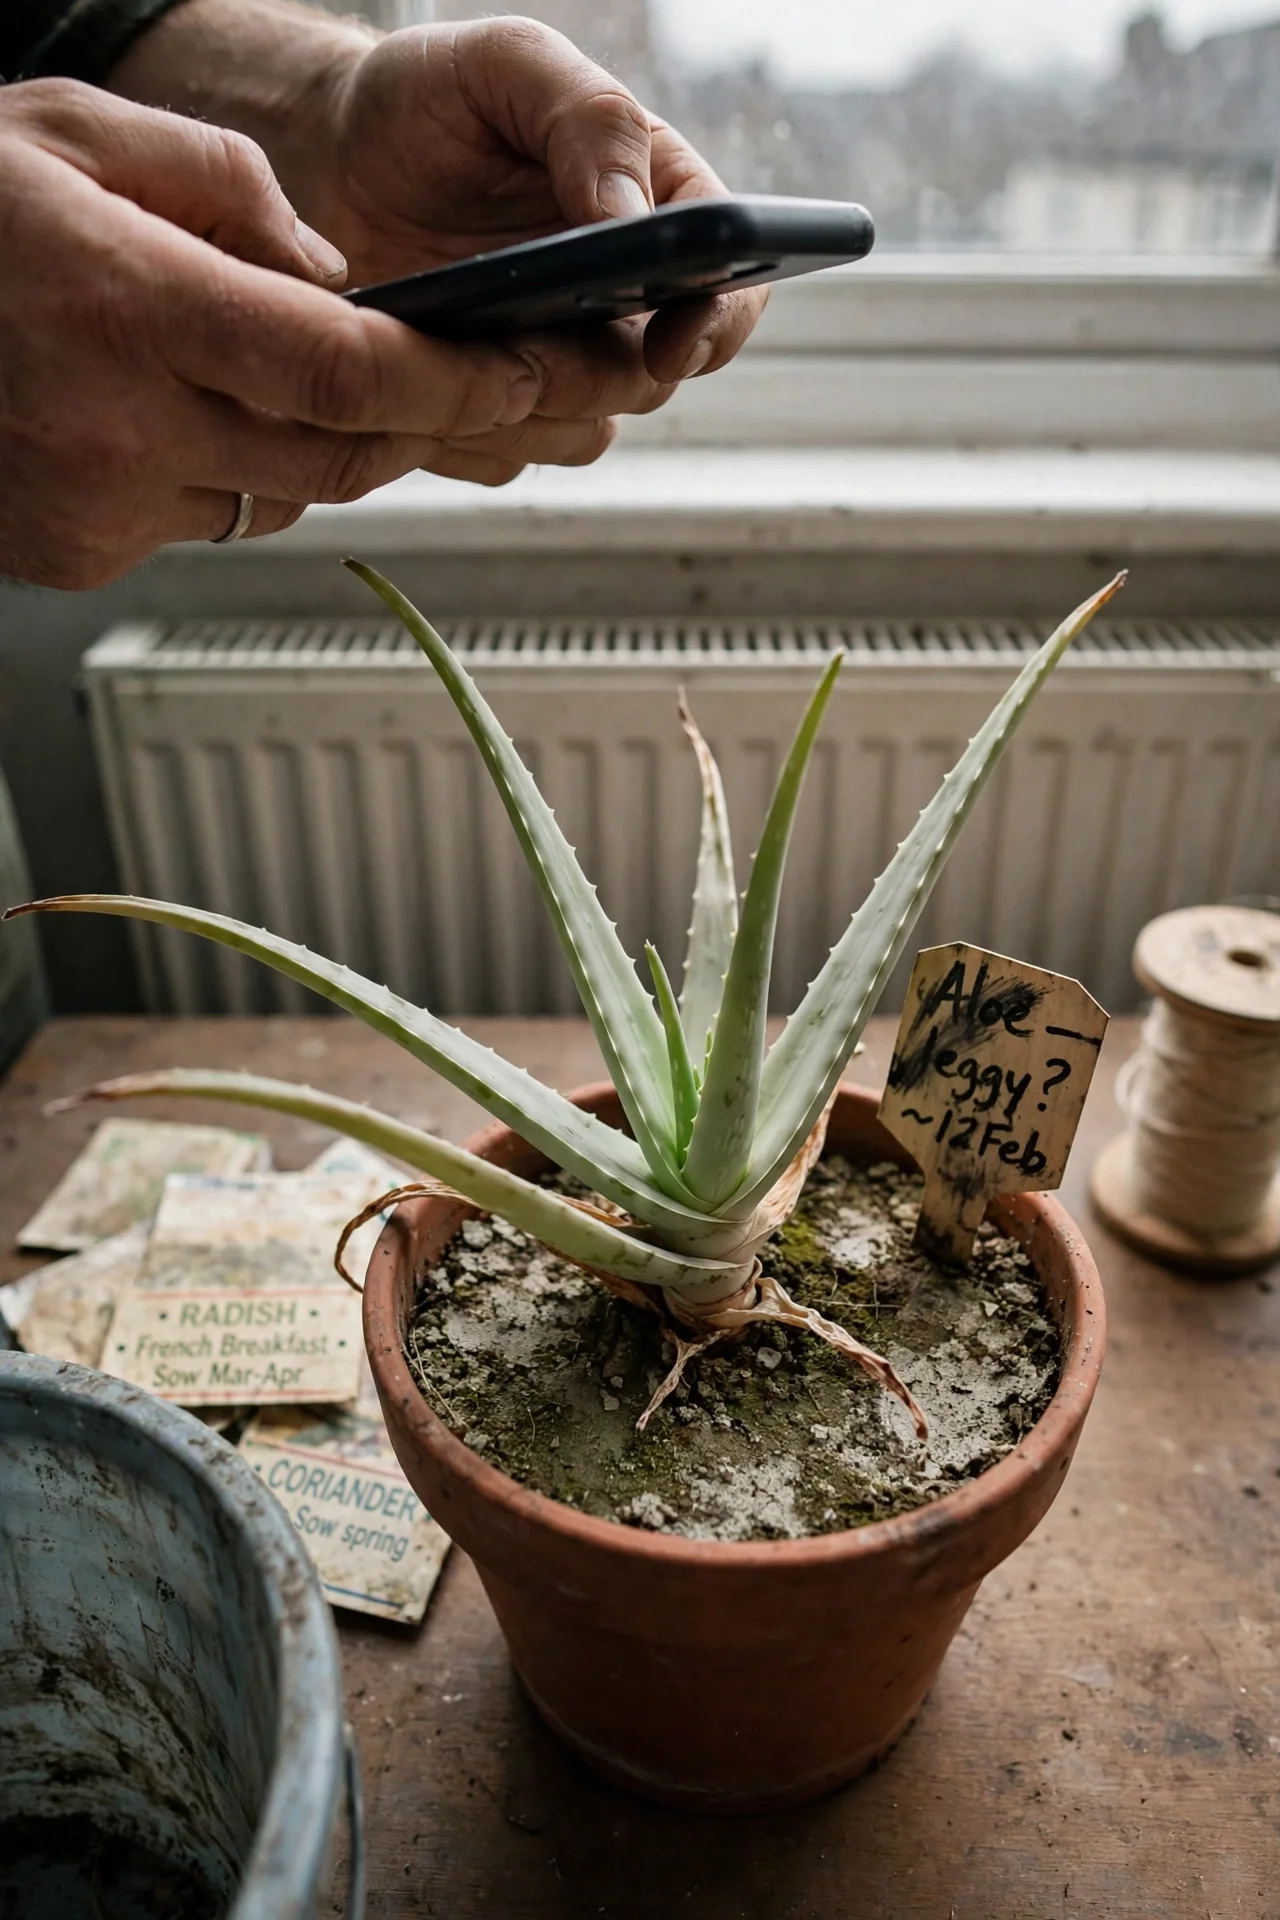
Step 2: Read your plant’s existing signals. Leaves that are pale green, narrow, and bending outward rather than growing upright indicate insufficient light. This condition, called etiolation, is not reversible on existing leaves. New growth from the center will correct itself once light improves. If the plant is already etiolated, moving it to a brighter spot prevents further stretching but will not fix the already-elongated leaves.
Step 3: Choose your intervention. For Branch 3 situations, you have three options. Move the plant to within 30 cm of your brightest window. Or add a full-spectrum LED grow light positioned 15 to 30 cm above the plant, running 12 to 14 hours daily, with a colour temperature of 6000 to 7500 Kelvin. Or accept that your aloe will survive but stay compact and slow-growing, and adjust watering downward to match. For more on succulents that tolerate dim conditions, see our low light succulents guide.
Common mistake: Rotating the plant too frequently. Aloe vera stabilizes itself against a consistent light direction. Rotating more than once every 3 to 4 months can cause the plant to waste energy reorienting leaves. A quarter turn every season is sufficient.
2. Pot Material Selection
Best for: Branch 2 (Moderate Light)
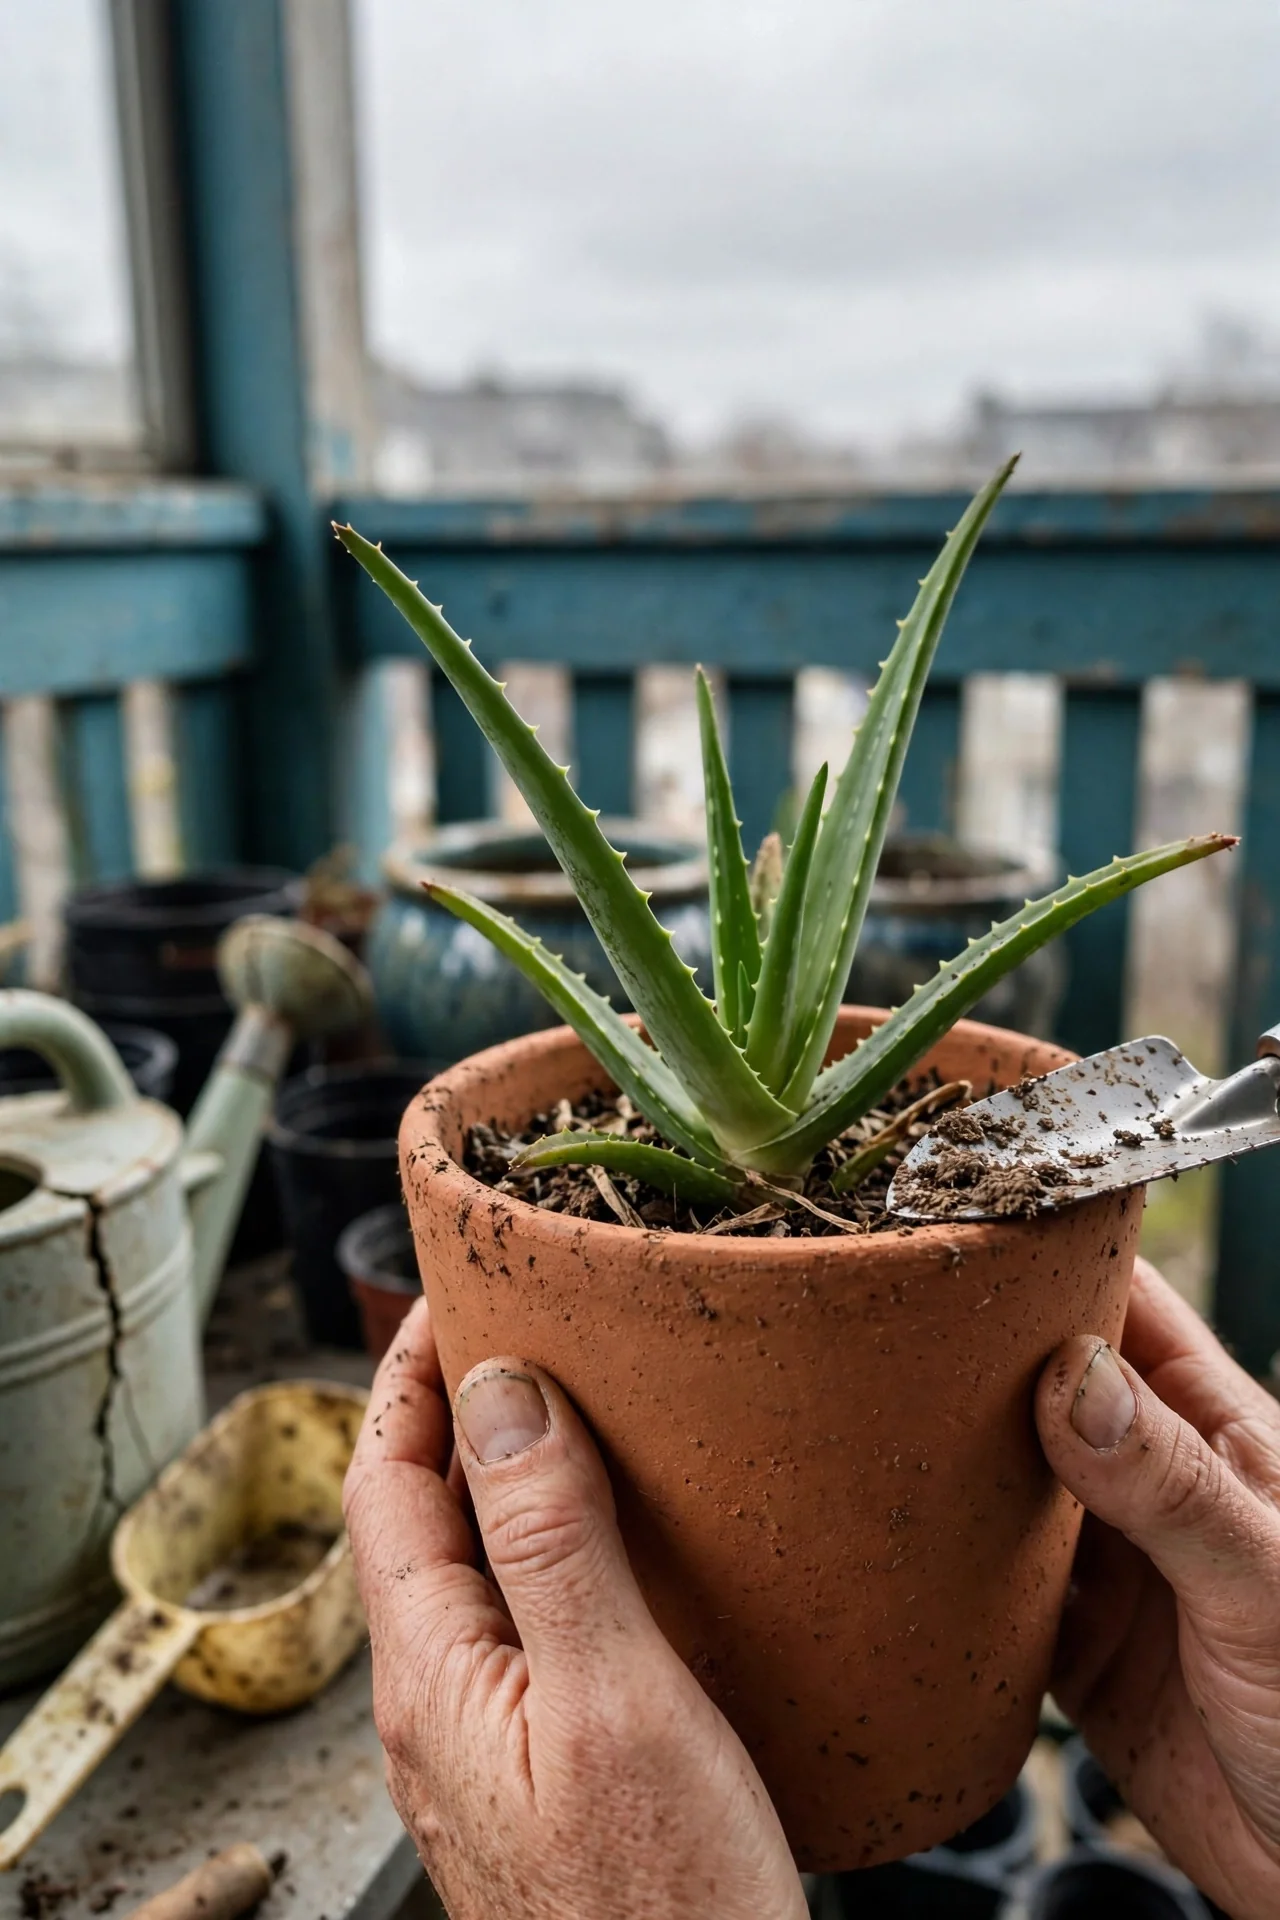
Use: Unglazed terracotta or clay. These materials are porous. Water evaporates through the pot walls as well as from the soil surface, which shortens the wet phase of the wet-dry cycle. This is valuable in moderate-light conditions where soil dries more slowly than in direct sun. Unglazed clay also provides weight at the base, which helps counterbalance top-heavy aloe plants.
Skip: Glazed ceramic or plastic without drainage modifications. These materials trap moisture. In Branch 2 or 3 light, trapped moisture extends the wet phase beyond what aloe roots tolerate. If you must use a decorative glazed pot, drill additional holes and use it as a cachepot with a plastic nursery pot inside, removing the inner pot for watering. For a deeper discussion of drainage choices, read our article on succulent pot drainage.
3. Soil Mix Decision
Best for: Branch 2 (Moderate Light)
Threshold Rule: The 3-Day Dry-Down Standard
After a thorough watering, your soil mix should feel dry at a depth of 5 cm within 3 days. If it stays wet longer than that in your specific light and humidity conditions, the mix is too retentive. This rule matters more than any recipe because drying speed depends on your home’s temperature, humidity, and airflow, not just the ingredients.
The base ratio: Start with two parts cactus or succulent potting mix to one part coarse perlite or pumice (a 2:1 ratio). For Branch 1 (high light, fast evaporation), add an extra half-part of perlite. For Branch 3 (low light, slow evaporation), increase to a 1:1 ratio of mix to perlite and consider adding coarse horticultural sand (not fine builders’ sand, which compacts). The target pH range is 6.0 to 8.5, though most commercial succulent mixes fall within 6.0 to 7.0. For a detailed breakdown of substrate options, see our guide to the best soil for succulents indoors.
4. Watering Rhythm Protocol
Best for: Branch 3 (Low Light)
Blueprint: The Soak-and-Dry Method, Calibrated by Light
What it is: A watering approach where you fully saturate the soil until water runs from the drainage hole, then wait until the soil is completely dry throughout the root zone before watering again. Partial watering (small amounts given frequently) keeps the lower roots perpetually damp and is the leading cause of indoor aloe root rot.
What it replaces: Calendar-based watering schedules. In Branch 3 light, soil may take 4 to 6 weeks to dry completely. In Branch 1 light during summer, it may dry in 7 to 10 days. A fixed “every two weeks” schedule will overwater one plant and underwater another.
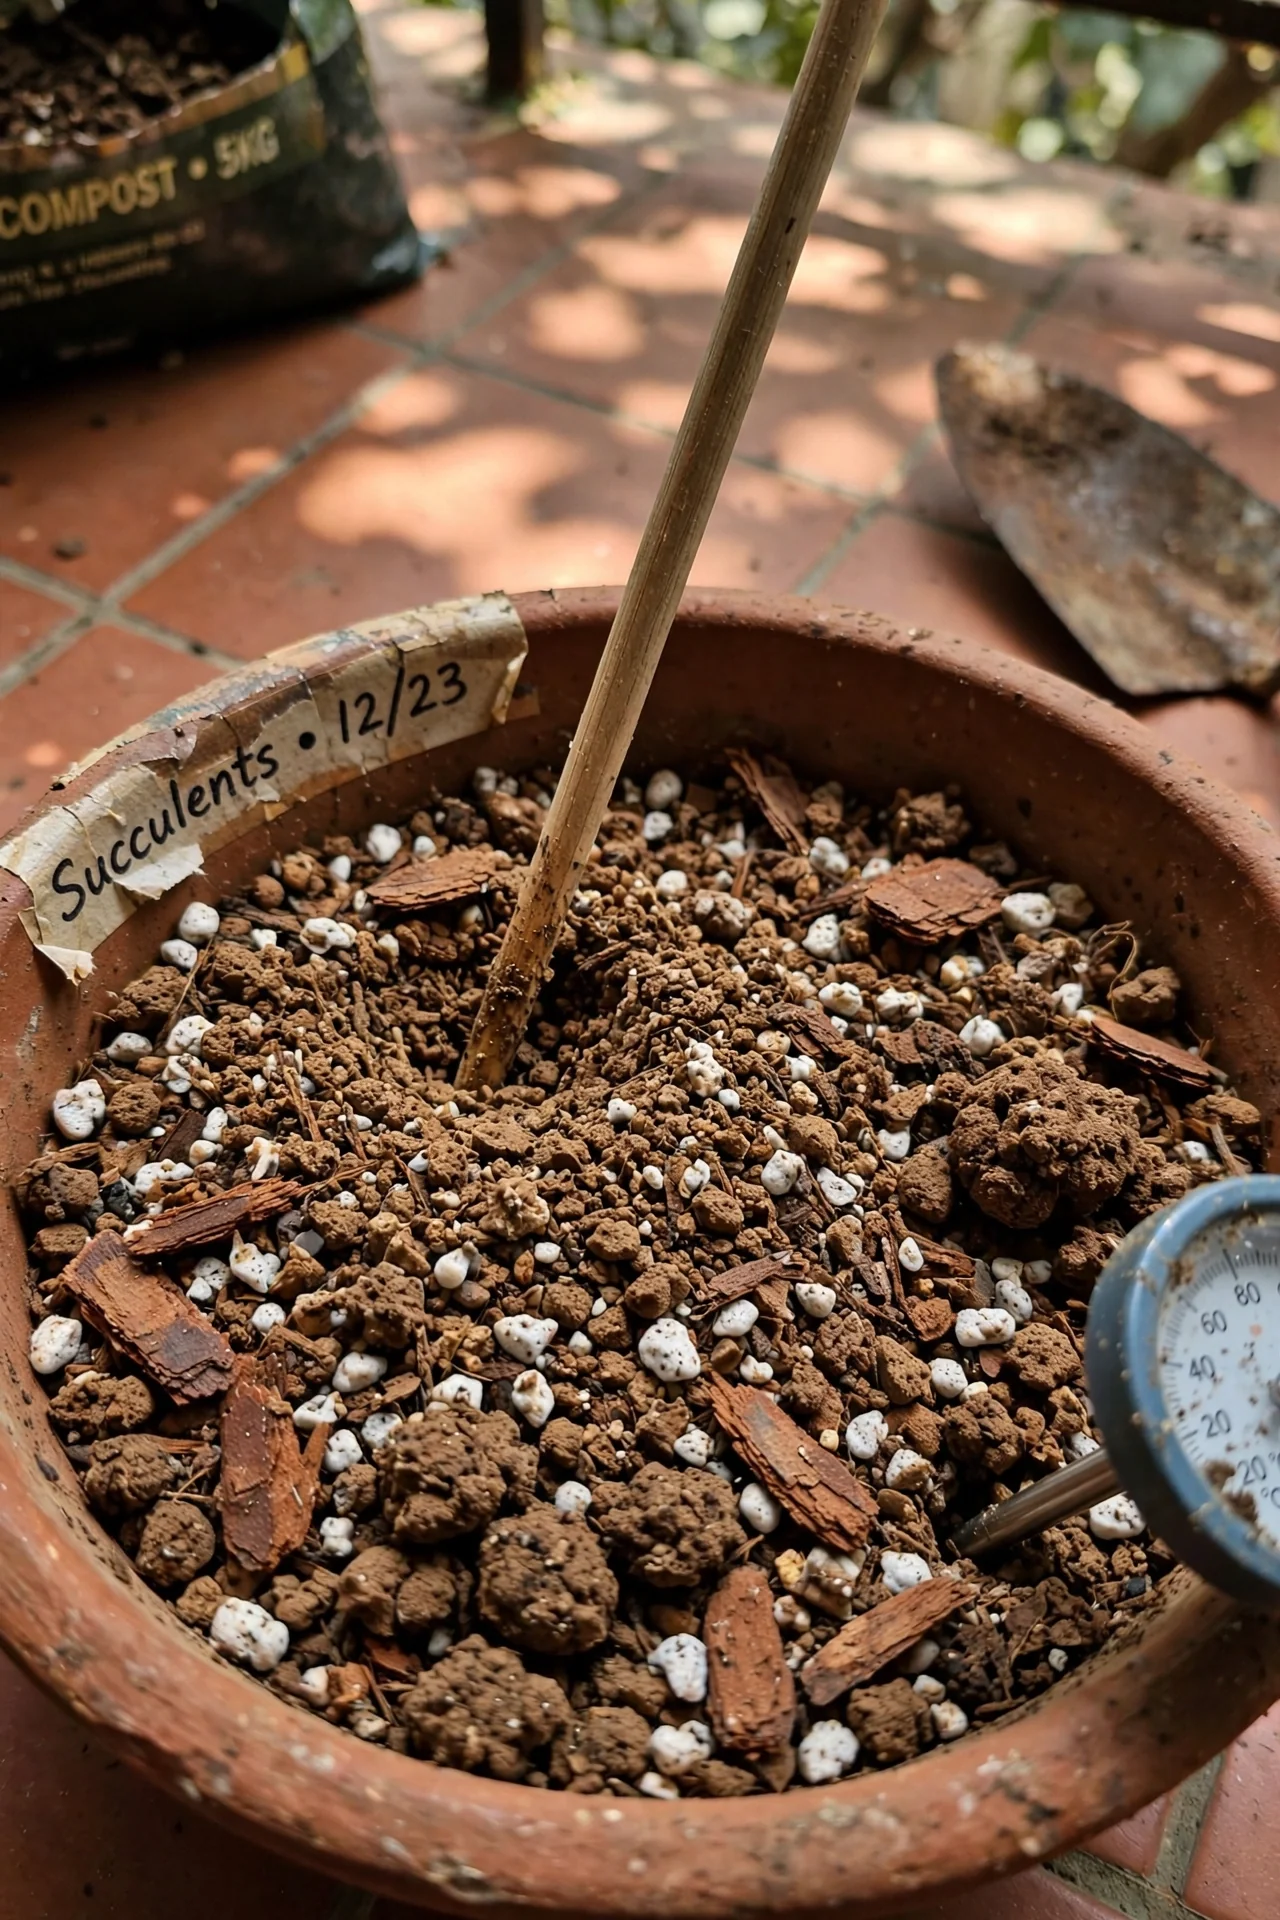
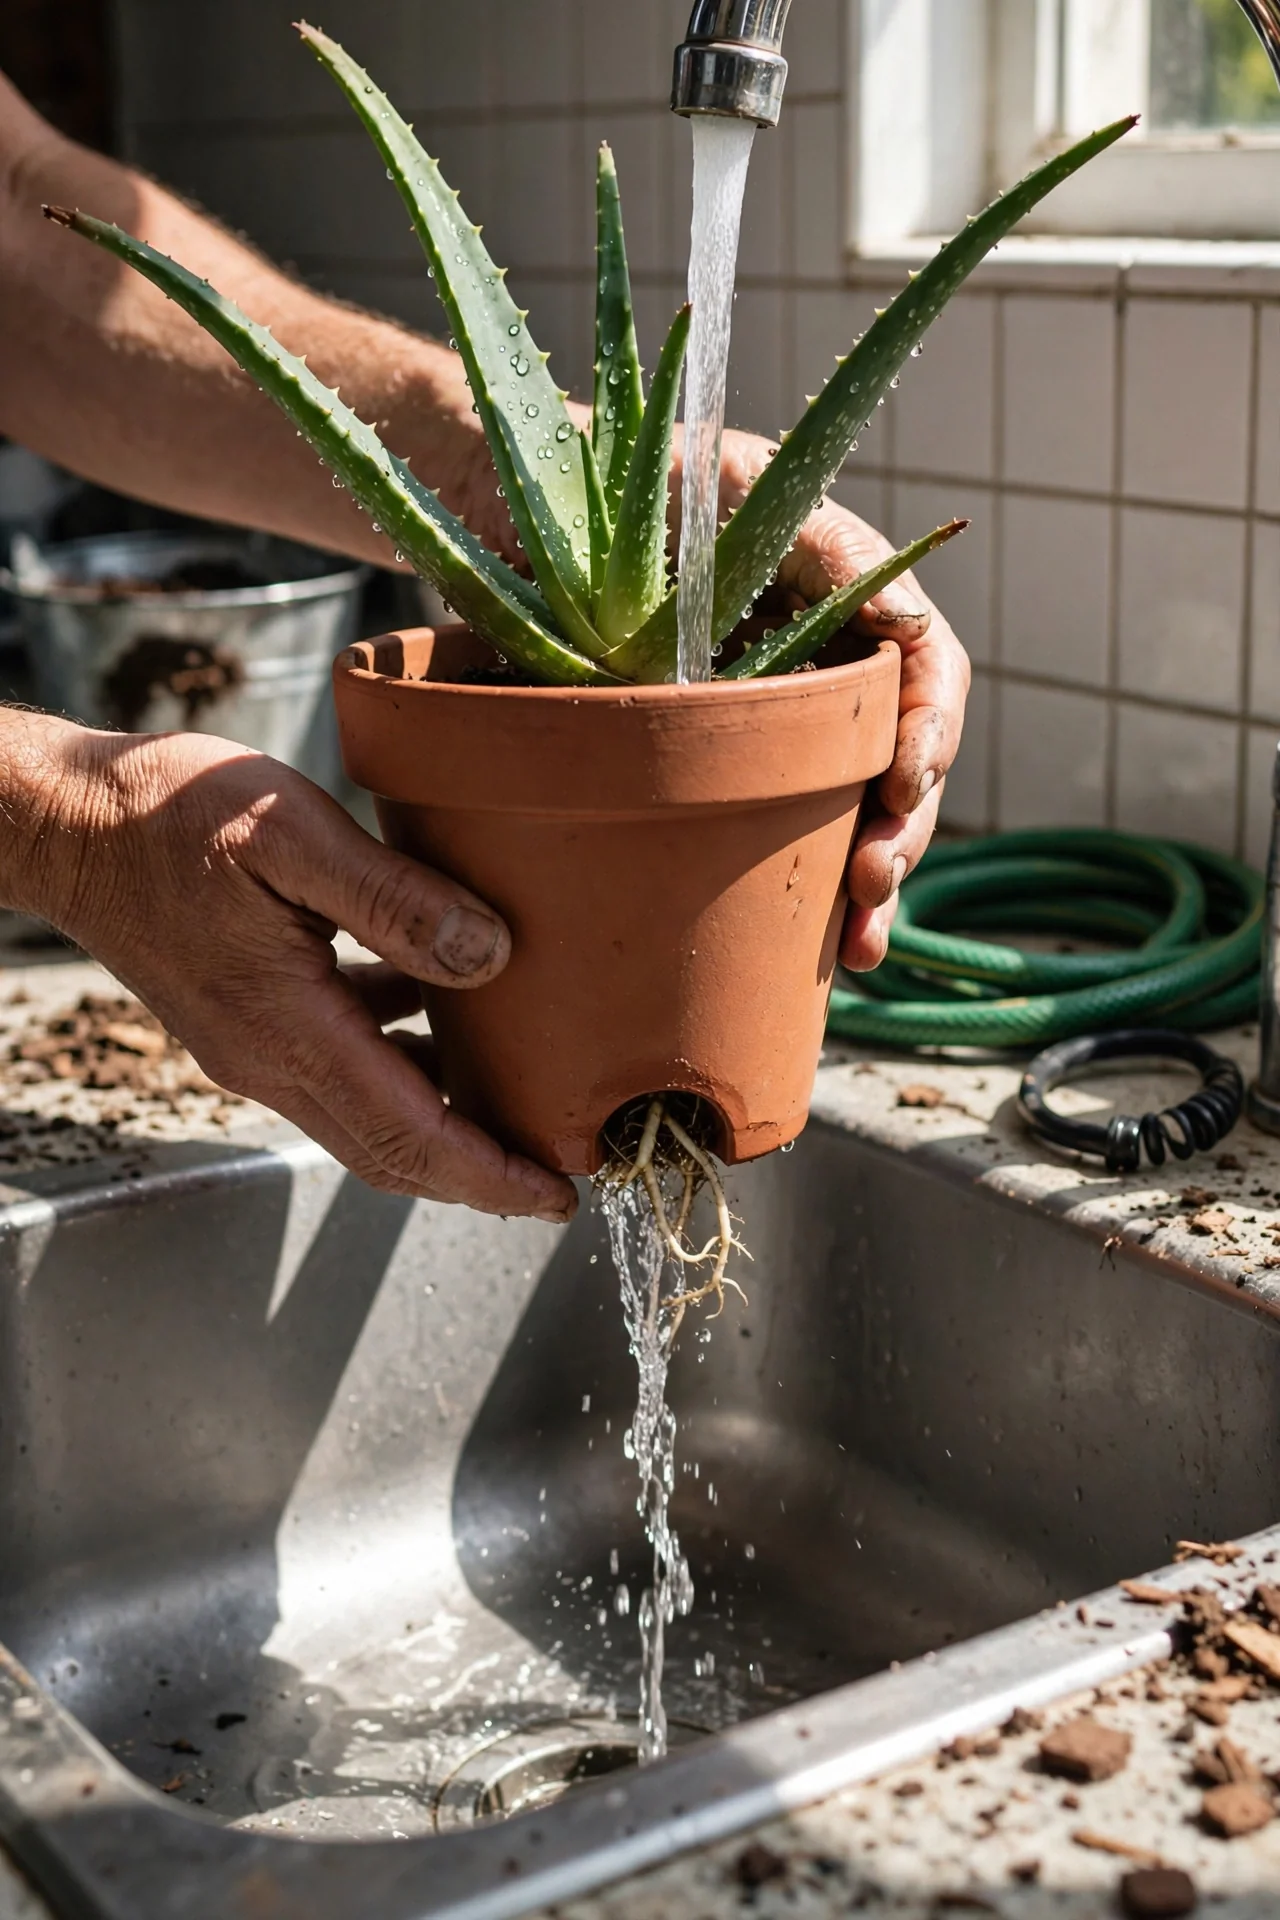
Steps for Branch 3 (the highest-risk group): First, check moisture at the drainage hole, not just the surface. Insert a wooden chopstick or skewer to the bottom of the pot. If it comes out with damp soil clinging to it, do not water. Second, when you do water, take the pot to a sink and run water through slowly until it drains freely for 30 seconds. Third, never let the pot sit in a saucer of collected water. Empty the saucer within 15 minutes. Fourth, in winter, when the plant enters dormancy, you may water as infrequently as once every 4 to 6 weeks. For a seasonal watering framework, consult our succulent watering schedule.
One mistake that mimics underwatering: Overwatered aloe leaves can turn soft, yellow, and translucent. This is often misread as thirst, leading to more water and rapid decline. If leaves feel mushy rather than wrinkled and leathery, hold off watering and check the roots for rot.
5. Fertilizer Approach
Best for: Branch 1 (High Light)
10-Minute Seasonal Protocol
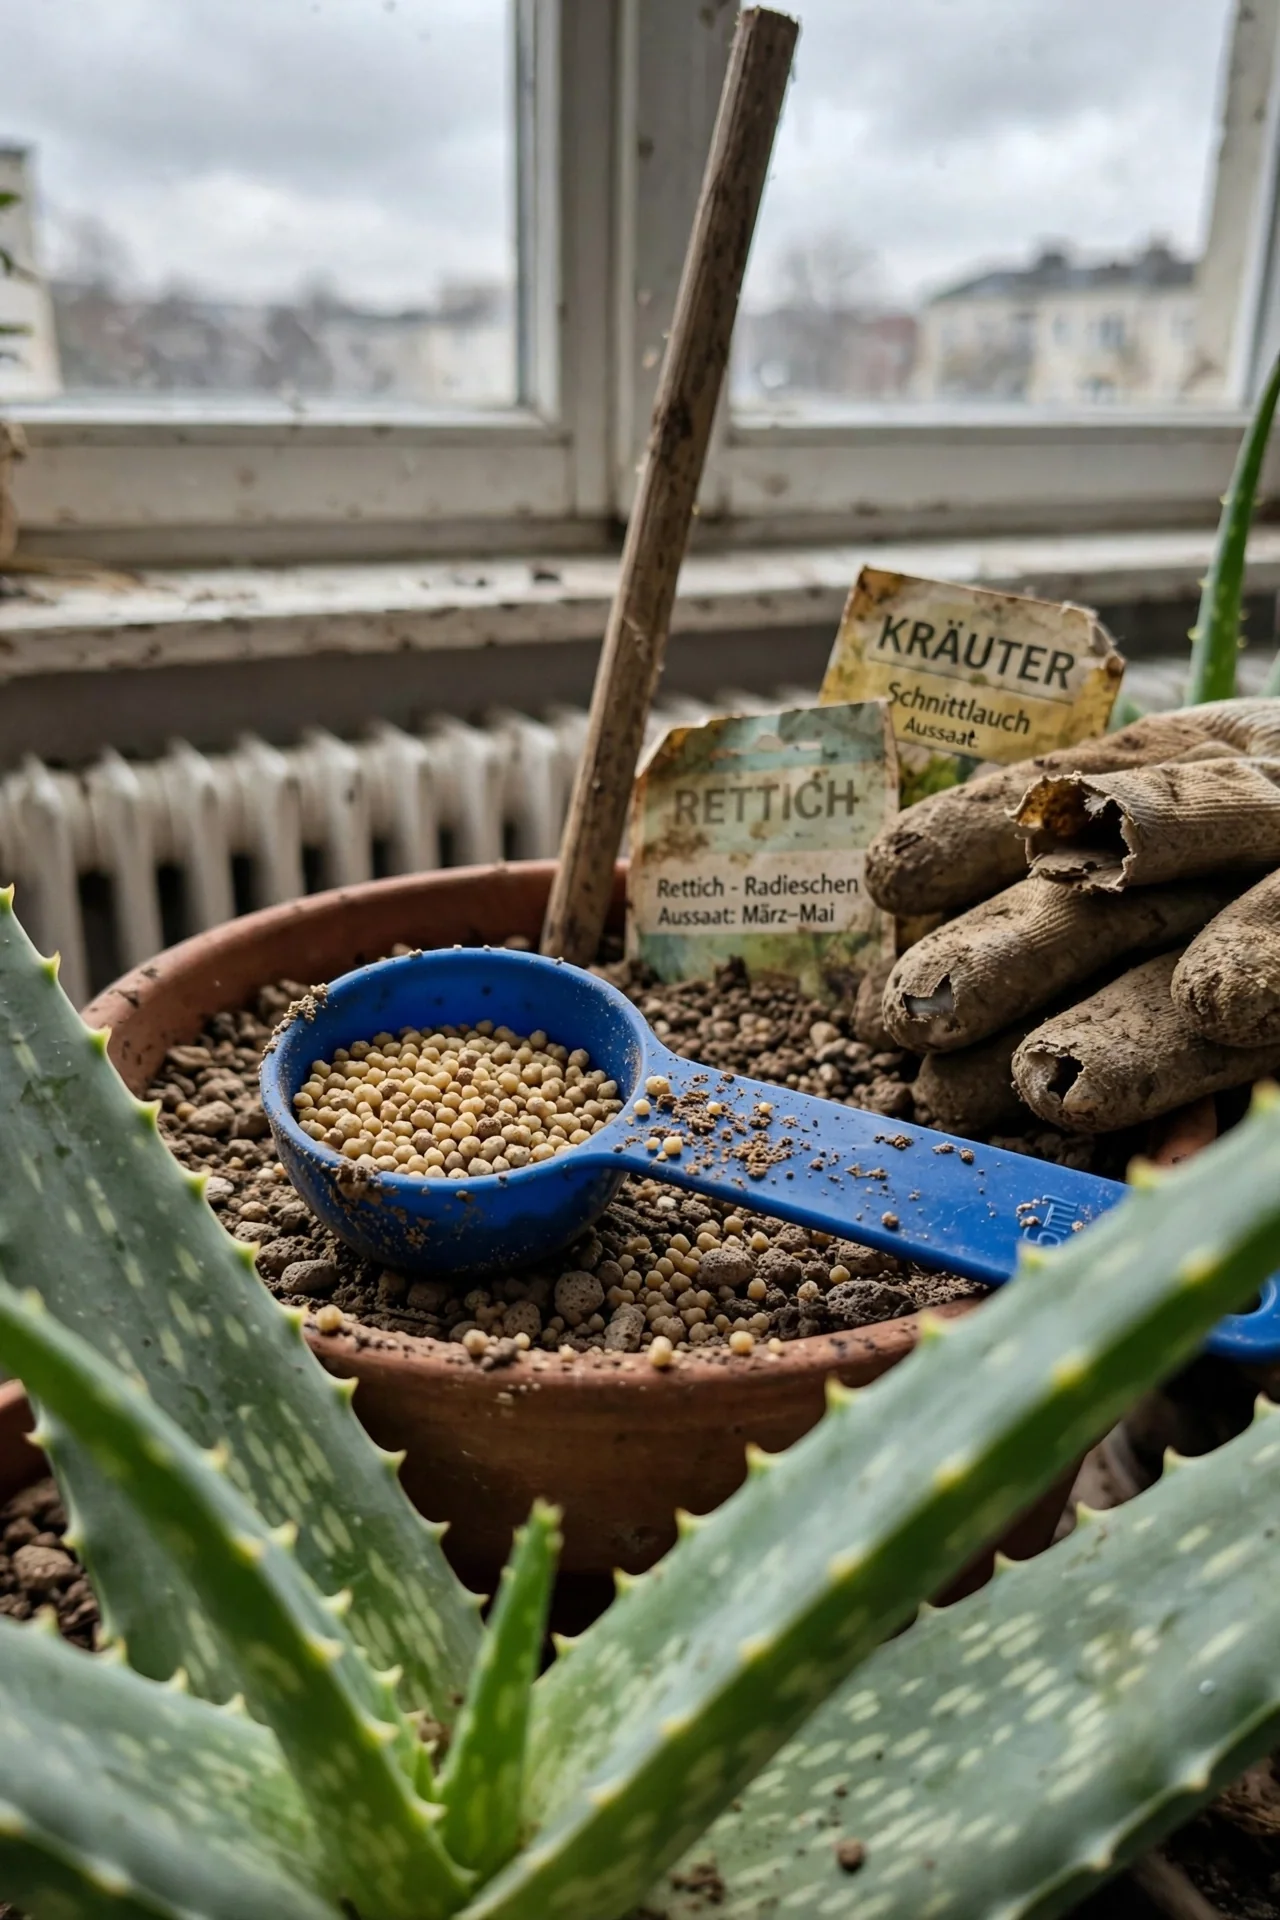
When: Apply once in early spring (March or April in the Northern Hemisphere, September or October in the Southern Hemisphere). A single annual application is sufficient for most indoor aloe plants. Plants in Branch 1 light with active year-round growth may benefit from a second light feeding in early summer.
What: Use a balanced water-soluble fertilizer formulated for cacti and succulents, diluted to half the label-recommended strength. Avoid high-nitrogen formulations, which encourage weak, watery leaf growth. A fertilizer with an NPK ratio where nitrogen is not the dominant number (such as 1-2-2 or 2-4-4) works well.
Upgrade option: If you repot annually into fresh succulent mix, you can skip fertilizer entirely. The fresh substrate supplies enough nutrients for a full growing season.
6. Pot Size and Repotting Timing
Best for: Branch 1 (High Light)
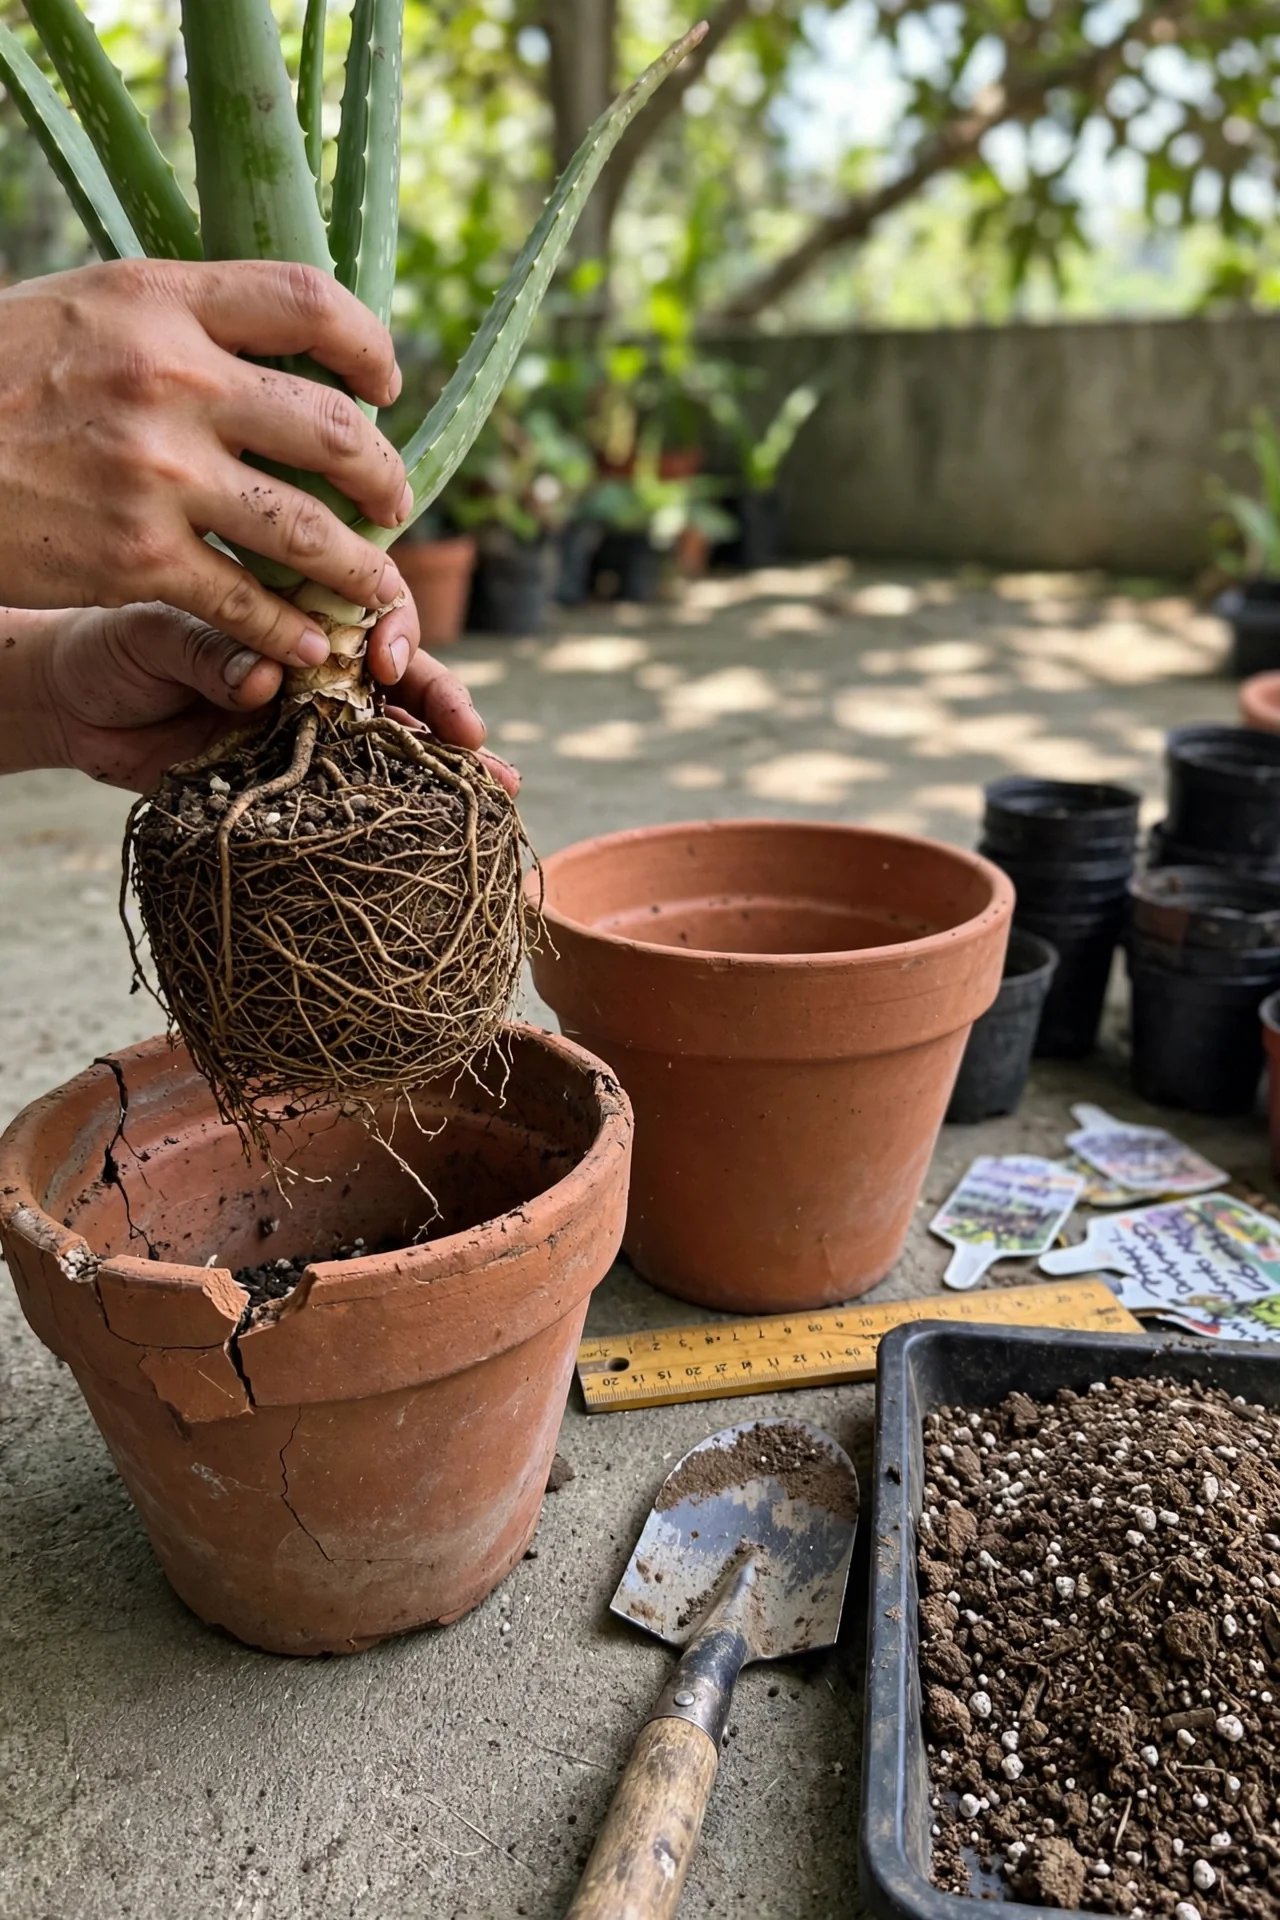
Use: Repotting when roots circle the pot interior. Aloe vera has a shallow, spreading root system. It prefers being slightly root-bound. Repotting every 2 to 3 years is typical, but use root crowding as your signal, not the calendar. When roots are visible at the drainage hole or circling the inside of the pot when you slide the plant out, it is time.
Skip: Oversizing the new pot. Move up by only 2.5 to 5 cm in diameter (1 to 2 inches). A pot that is too large holds excess soil that stays wet far longer than the roots can absorb, creating a root rot risk that no drainage hole can fully mitigate. The new pot should be wider than it is deep to match the plant’s natural root architecture. For a full step-by-step process, see our guide on how to repot succulents.
7. Winter Dormancy Management
Best for: Branch 2 (Moderate Light)
Threshold Rule: Temperature and Light as Dormancy Triggers
Aloe vera enters a semi-dormant state when two conditions coincide: reduced daylight hours and ambient temperatures consistently below 18 degrees Celsius (65 degrees Fahrenheit). In Branch 2 light, winter dormancy is less predictable than in Branch 1 or 3 because moderate light levels may keep the plant semi-active even as temperatures drop. This creates a dangerous middle ground where the plant is neither fully growing nor fully resting, making watering decisions ambiguous.
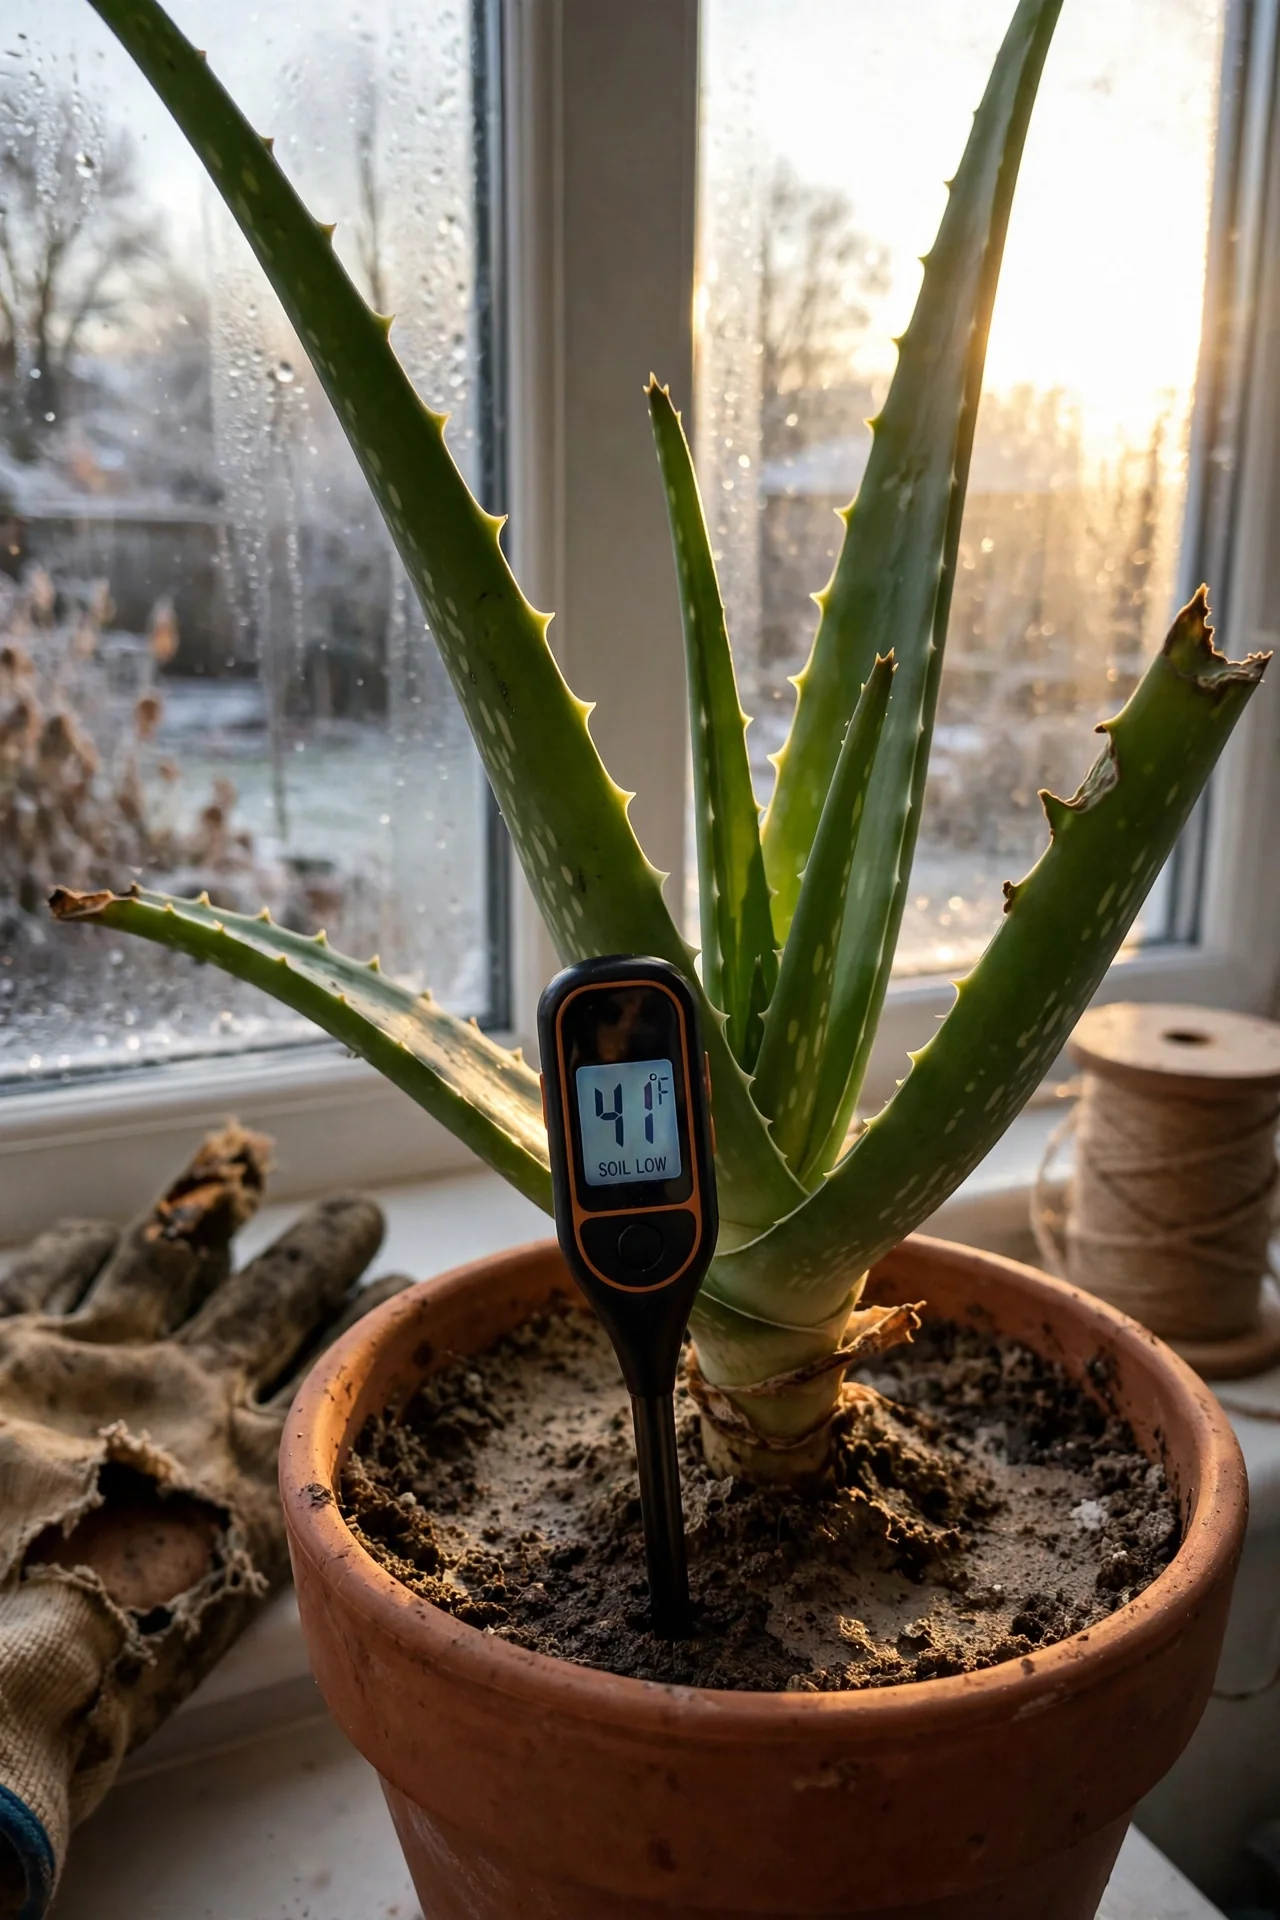
The measurable thresholds: When indoor temperatures stay between 10 and 15 degrees Celsius (50 to 60 degrees Fahrenheit) and daylight is under 10 hours, the plant’s water consumption drops significantly. During this period, extend the interval between waterings to roughly double your summer schedule. If you normally water every 3 weeks in summer, wait 5 to 6 weeks in winter. Check soil dryness at the drainage hole every time. The absolute minimum survival temperature is around 5 degrees Celsius (40 degrees Fahrenheit), but sustained exposure near this threshold causes cold stress visible as leaf softening and browning.
Adjustment for heated homes: If your home stays at 20 to 22 degrees Celsius (68 to 72 degrees Fahrenheit) year-round due to central heating, the plant may not enter full dormancy. In this case, continue watering at a reduced but not dramatically extended interval, and position the plant as close to your brightest winter window as possible. The combination of warm air and low winter light is a stress state that requires careful moisture management.
8. Pest Prevention Strategy
Best for: Branch 3 (Low Light)
Blueprint: Stress Reduction as the Primary Defense
What: Stressed aloe plants, particularly those in low light with compromised root health from overwatering, emit chemical signals that attract opportunistic pests like mealybugs and fungus gnats. Prevention focuses on eliminating the stress conditions rather than applying preventative chemicals.
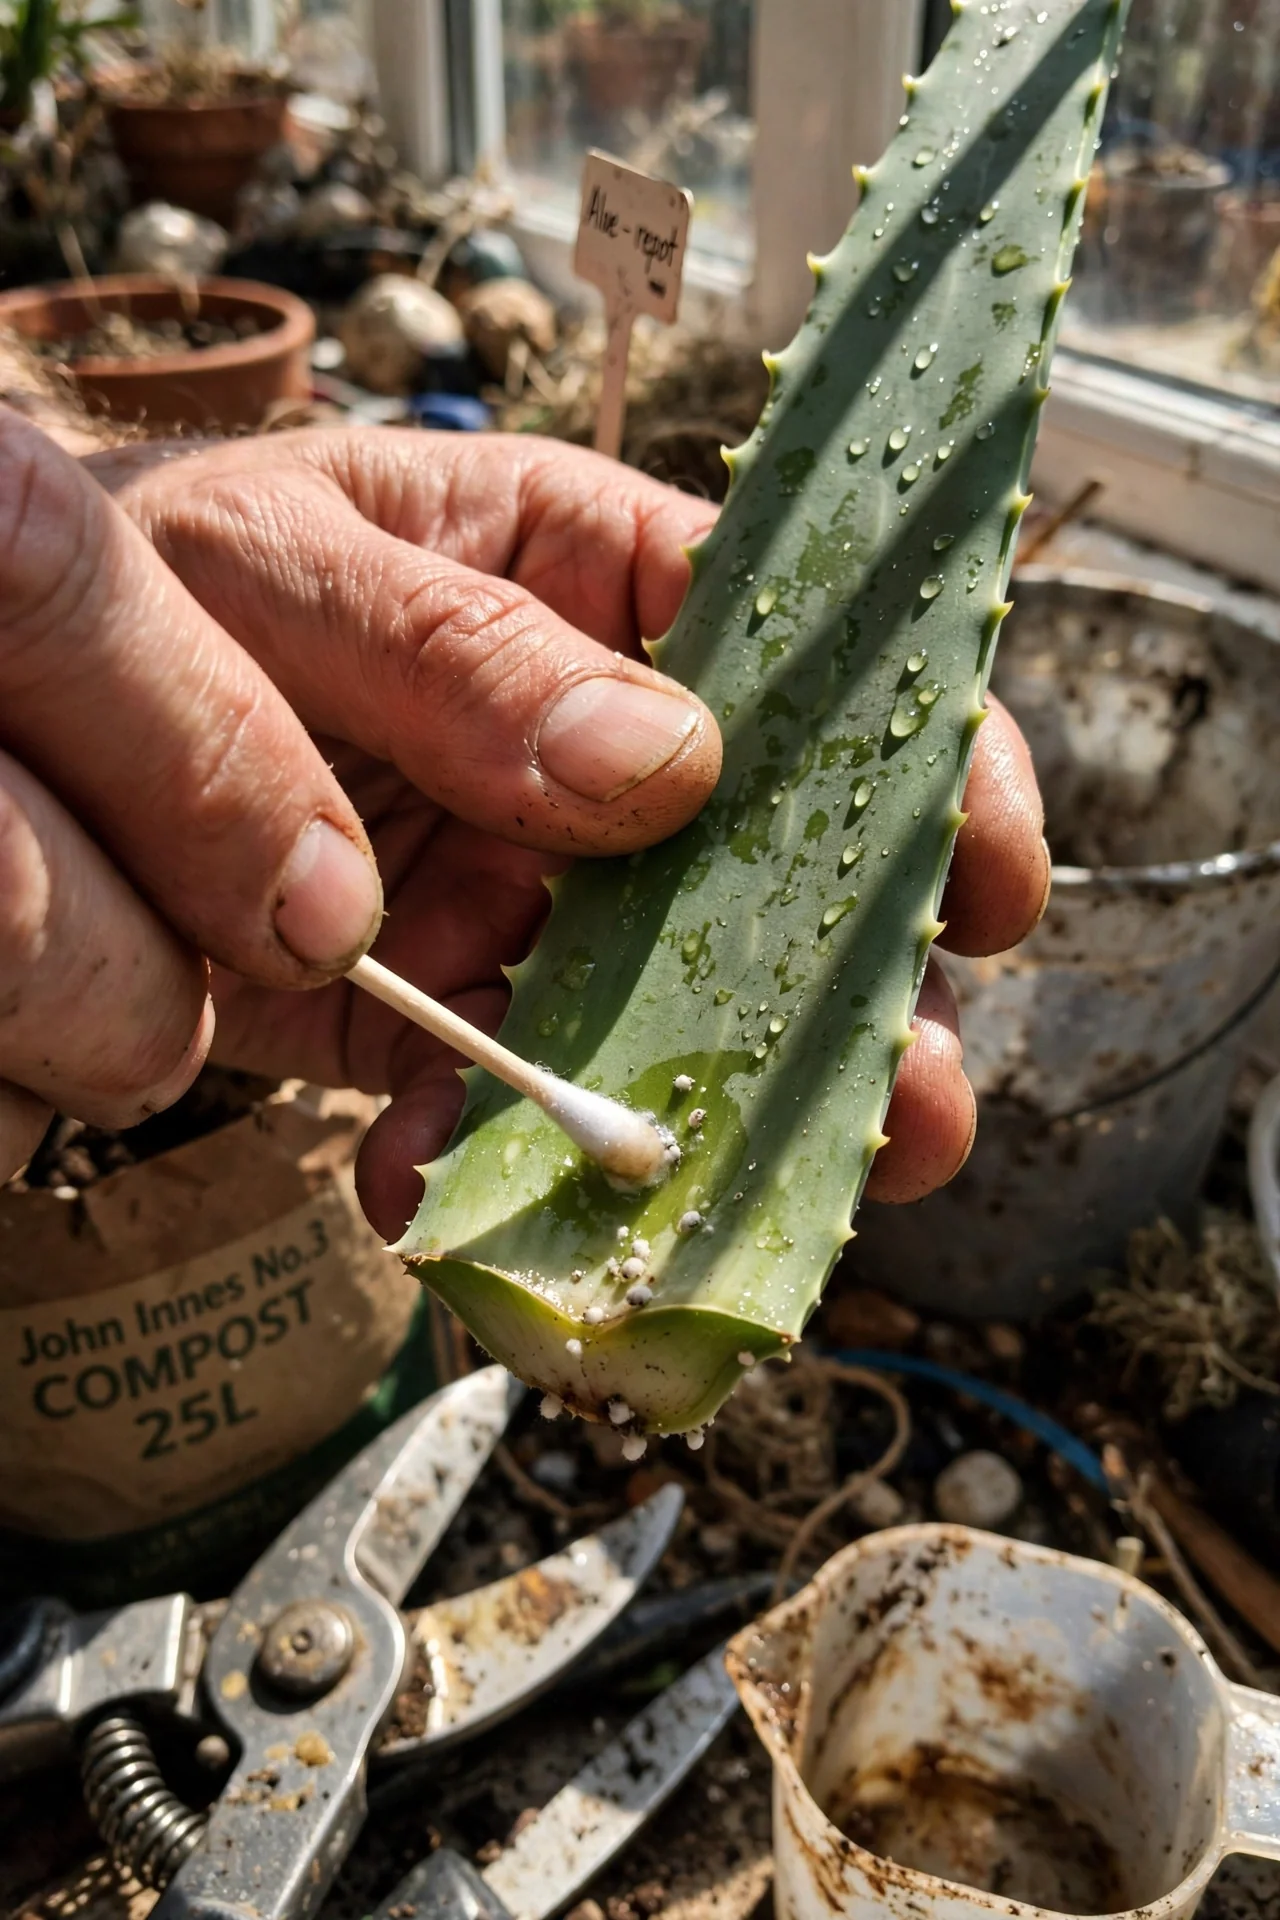
For mealybugs: Inspect leaf axils (where leaves meet the stem) and the underside of leaves every 4 to 6 weeks. These are the preferred hiding spots. Early detection means spot-treating with a cotton swab dipped in isopropyl alcohol rather than managing a full infestation.
For fungus gnats: These are almost always a symptom of chronically wet soil. If you see tiny dark flies near the soil surface, the root cause is overwatering or a soil mix that retains too much moisture. Let the top 5 cm of soil dry completely between waterings and consider adding a 1 cm layer of coarse sand or fine gravel as a top dressing. For more on this specific problem, see our article on fungus gnats on succulents.
9. Pup Management Decision
Best for: Branch 1 (High Light)
10-Minute Separation Workflow
Step 1: Verify readiness. A pup is ready for separation when it is at least 7 to 10 cm tall (3 to 4 inches) and has developed its own visible root system. Removing pups before they have their own roots dramatically reduces survival odds. Most indoor aloe plants begin producing pups after 2 to 3 years of maturity.
Step 2: Time it right. Spring or early summer, during the active growing season, gives separated pups the longest recovery window before winter dormancy. Water the mother plant lightly 2 days before separation so the soil is barely moist and easier to work with.
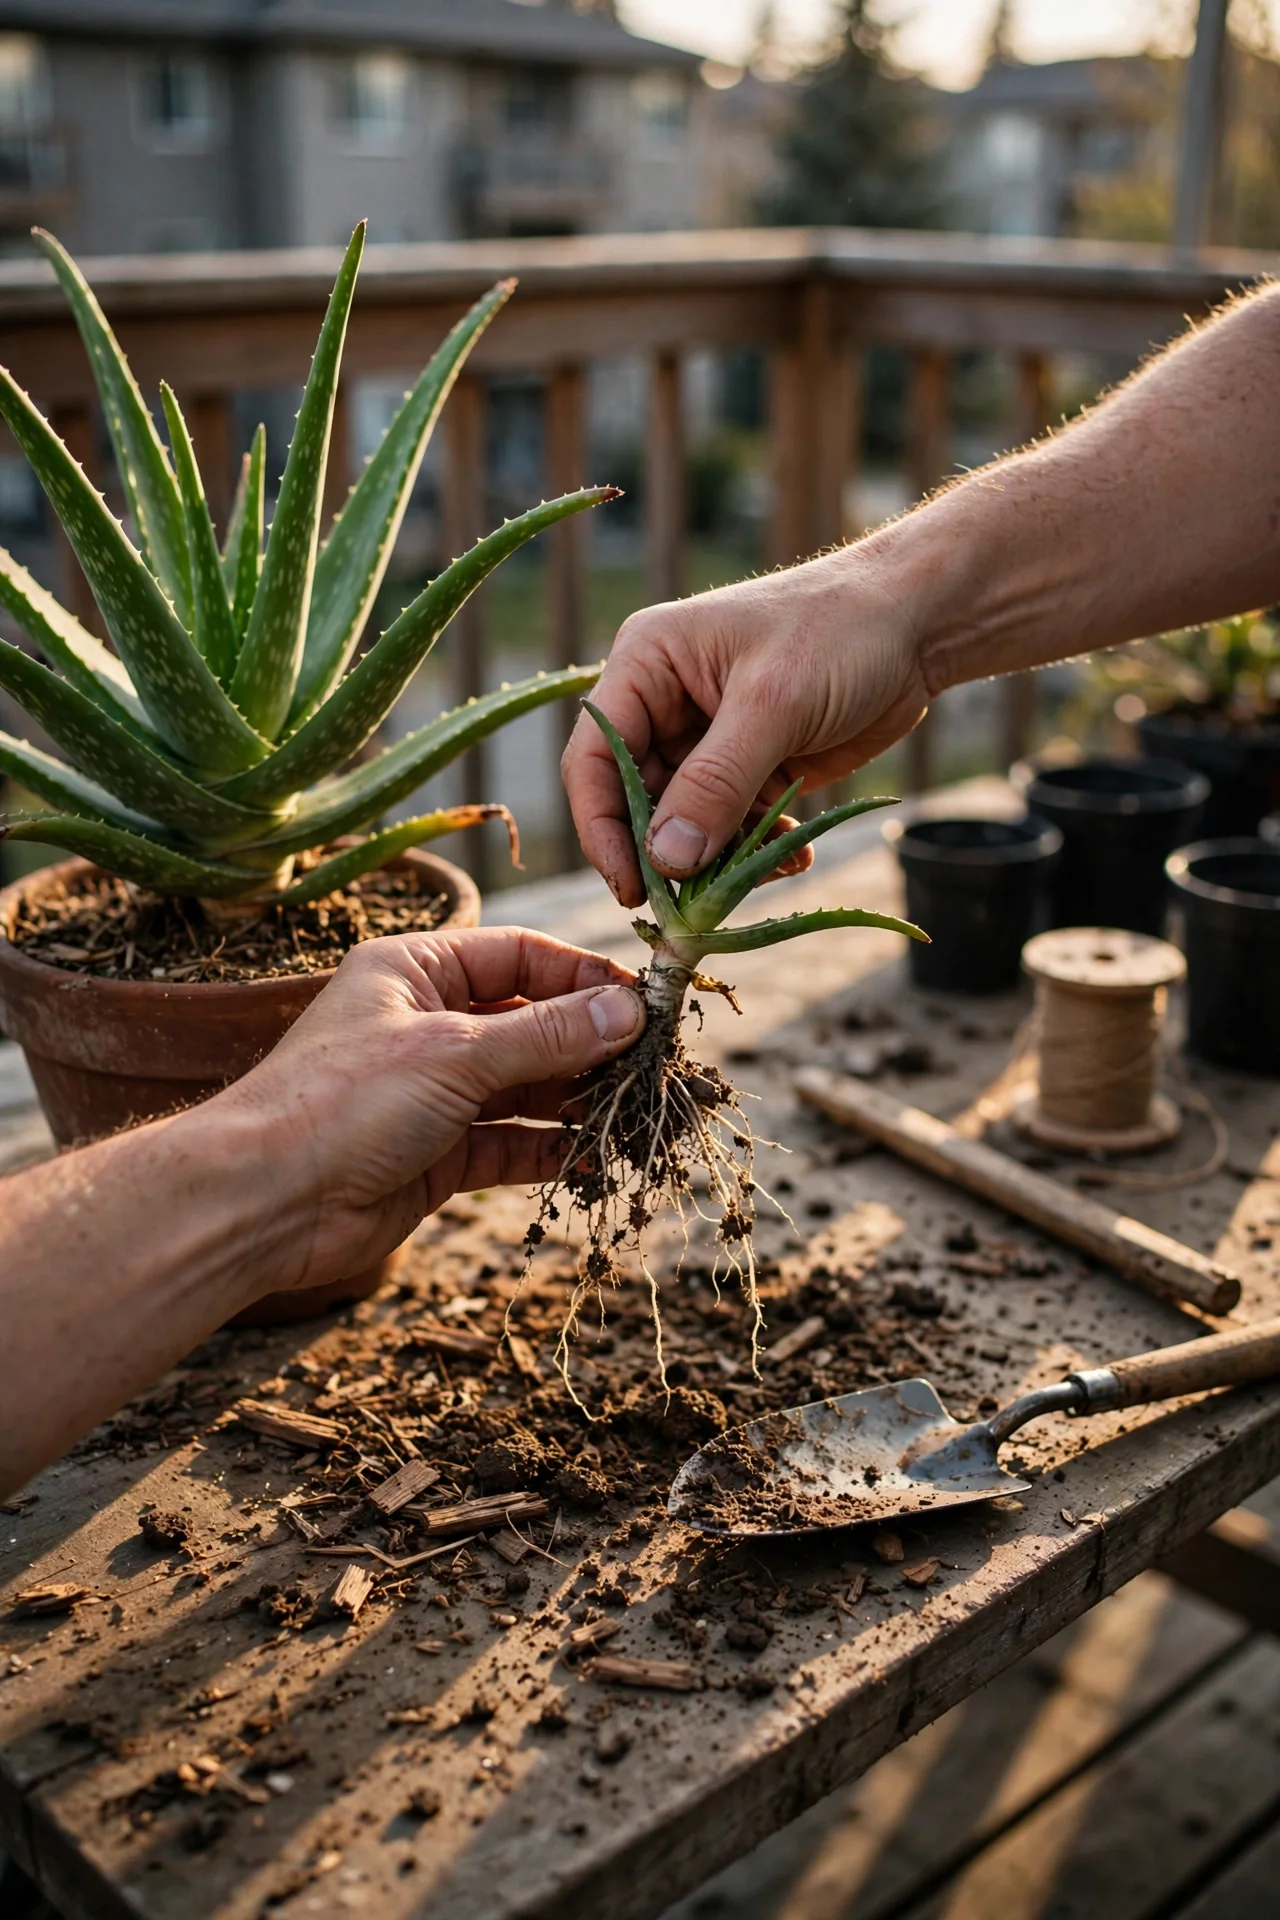
Step 3: Separate cleanly. Remove the entire plant from its pot. Gently tease the pup away from the mother plant. If the root systems are tangled, use a clean, sharp knife to cut the connecting root, keeping as many roots on the pup as possible. Let the separated pup sit on a dry surface for 24 to 48 hours so the cut end callouses over before potting it into dry succulent mix. Wait 5 to 7 days before the first watering. For propagation from other succulent types, see our guide on how to propagate succulents from leaves.
10. Leaf Harvesting Method
Best for: Branch 1 (High Light)
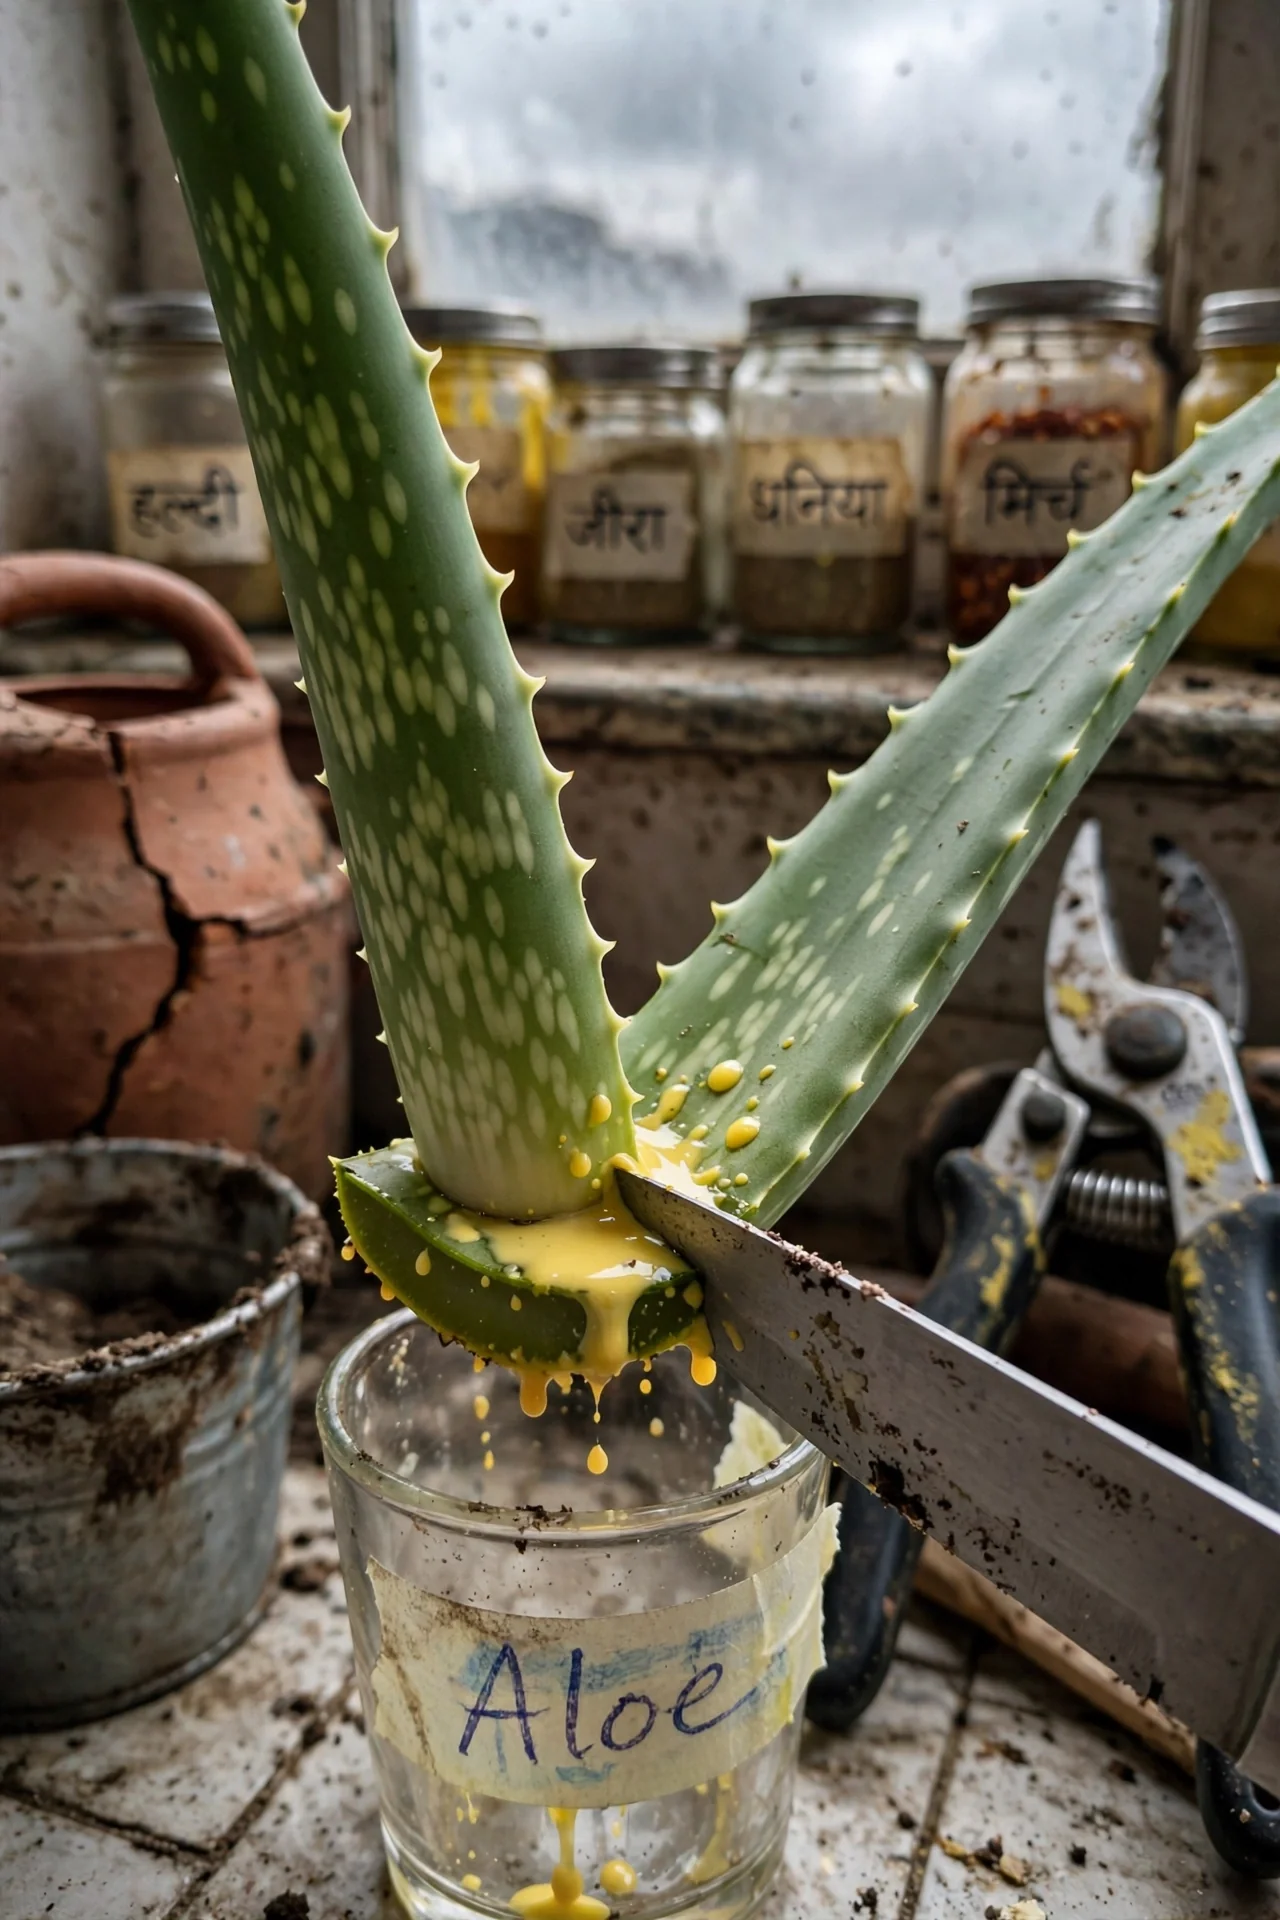
Use: Harvesting only the outermost, lowest leaves. These are the oldest leaves, typically the largest and most gel-rich. They are also closest to the end of their natural life cycle, so removing them causes the least stress to the plant. A healthy Branch 1 aloe can sustain harvesting one or two leaves every 2 to 3 months during the active growing season. Cut the leaf cleanly at the base using a sharp, sanitized knife. Make a single straight cut close to the stem without damaging neighboring leaves.
Skip: Harvesting from the centre of the rosette or from stressed plants. The centre leaves are the plant’s active growth point. Removing them stunts future development and creates an open wound at the plant’s most vulnerable location. Do not harvest from a plant that is etiolated, recently repotted, recovering from pest damage, or in winter dormancy. A stressed plant needs all its leaf surface area for photosynthesis and energy storage. Harvesting during stress can trigger a decline spiral that takes months to reverse.
Edge case (the latex drain): After cutting, stand the leaf upright in a glass for 10 to 15 minutes. A yellowish sap (aloe latex, containing anthraquinones) will drain from the cut end. This latex can cause skin irritation in some people and is toxic to pets if ingested. The clear inner gel that remains after draining is the usable portion. For pet safety information, review our pet-safe succulents guide.
11. Temperature Threshold Management
Best for: Branch 2 (Moderate Light)
Threshold Rule: Two Temperatures That Demand Action
Threshold 1: Below 10 degrees Celsius (50 degrees Fahrenheit). At this point, aloe vera metabolism slows to near-dormancy regardless of light levels. Move the plant away from drafty windows, especially single-pane windows in winter. Cold damage appears as water-soaked spots on leaves that later turn brown and mushy. This damage is not reversible on affected tissue.
Threshold 2: Above 32 degrees Celsius (90 degrees Fahrenheit) combined with direct sun through glass. Window glass can amplify heat, creating leaf temperatures well above ambient room temperature. Signs include brown, crispy leaf tips and a bleached appearance on the sun-facing side. The fix is moving the plant 30 to 60 cm back from the glass or adding a sheer curtain as a diffuser during peak afternoon hours.
12. Humidity and Airflow Balance
Best for: Branch 3 (Low Light)
Blueprint: The Low-Airflow Risk Profile
What: In low-light rooms where soil dries slowly, stagnant air around the plant keeps humidity trapped at the soil surface and leaf bases. This creates a microclimate favorable to fungal pathogens, particularly in the cooler months when windows stay closed and indoor air circulation is minimal.
For prevention: Aloe vera does not need supplemental humidity (it thrives in standard indoor humidity of 30 to 50 percent relative humidity). What it needs is modest air movement. Positioning the plant where natural convection occurs (near, but not directly in front of, a heating or cooling vent) or placing a small USB fan on a low setting 1 to 2 metres away, running for a few hours daily, is sufficient to disrupt stagnant pockets without drying the plant. Avoid placing aloe in bathrooms or kitchens with chronically high humidity unless ventilation is excellent.
One mistake: Misting aloe vera leaves. The plant’s native environment is arid. Water sitting in the leaf axils (the V-shaped junctions where leaves meet the stem) can remain trapped for days and is a direct invitation to crown rot, which is often fatal before visible symptoms appear above the soil line.
Starter Stack (What to Choose First)
Branch 1 (High Light): The Growth Maximizer Stack
Start with Item 3 (Soil Mix Decision) and Item 6 (Pot Size and Repotting Timing). In high light, your aloe will grow faster than the average indoor plant, which means it will outgrow its pot and deplete its soil nutrients sooner. A properly sized terracotta pot with a fast-draining 2:1 mix sets the foundation. Together, these two decisions create the physical environment that makes watering and fertilizing much more forgiving. Estimated cost: $15 to $30 USD for pot and soil materials. Estimated time: 30 minutes for initial setup, then one reassessment every 12 to 18 months. For a custom blend, see our succulent soil mix recipe.
Branch 2 (Moderate Light): The Stability Stack
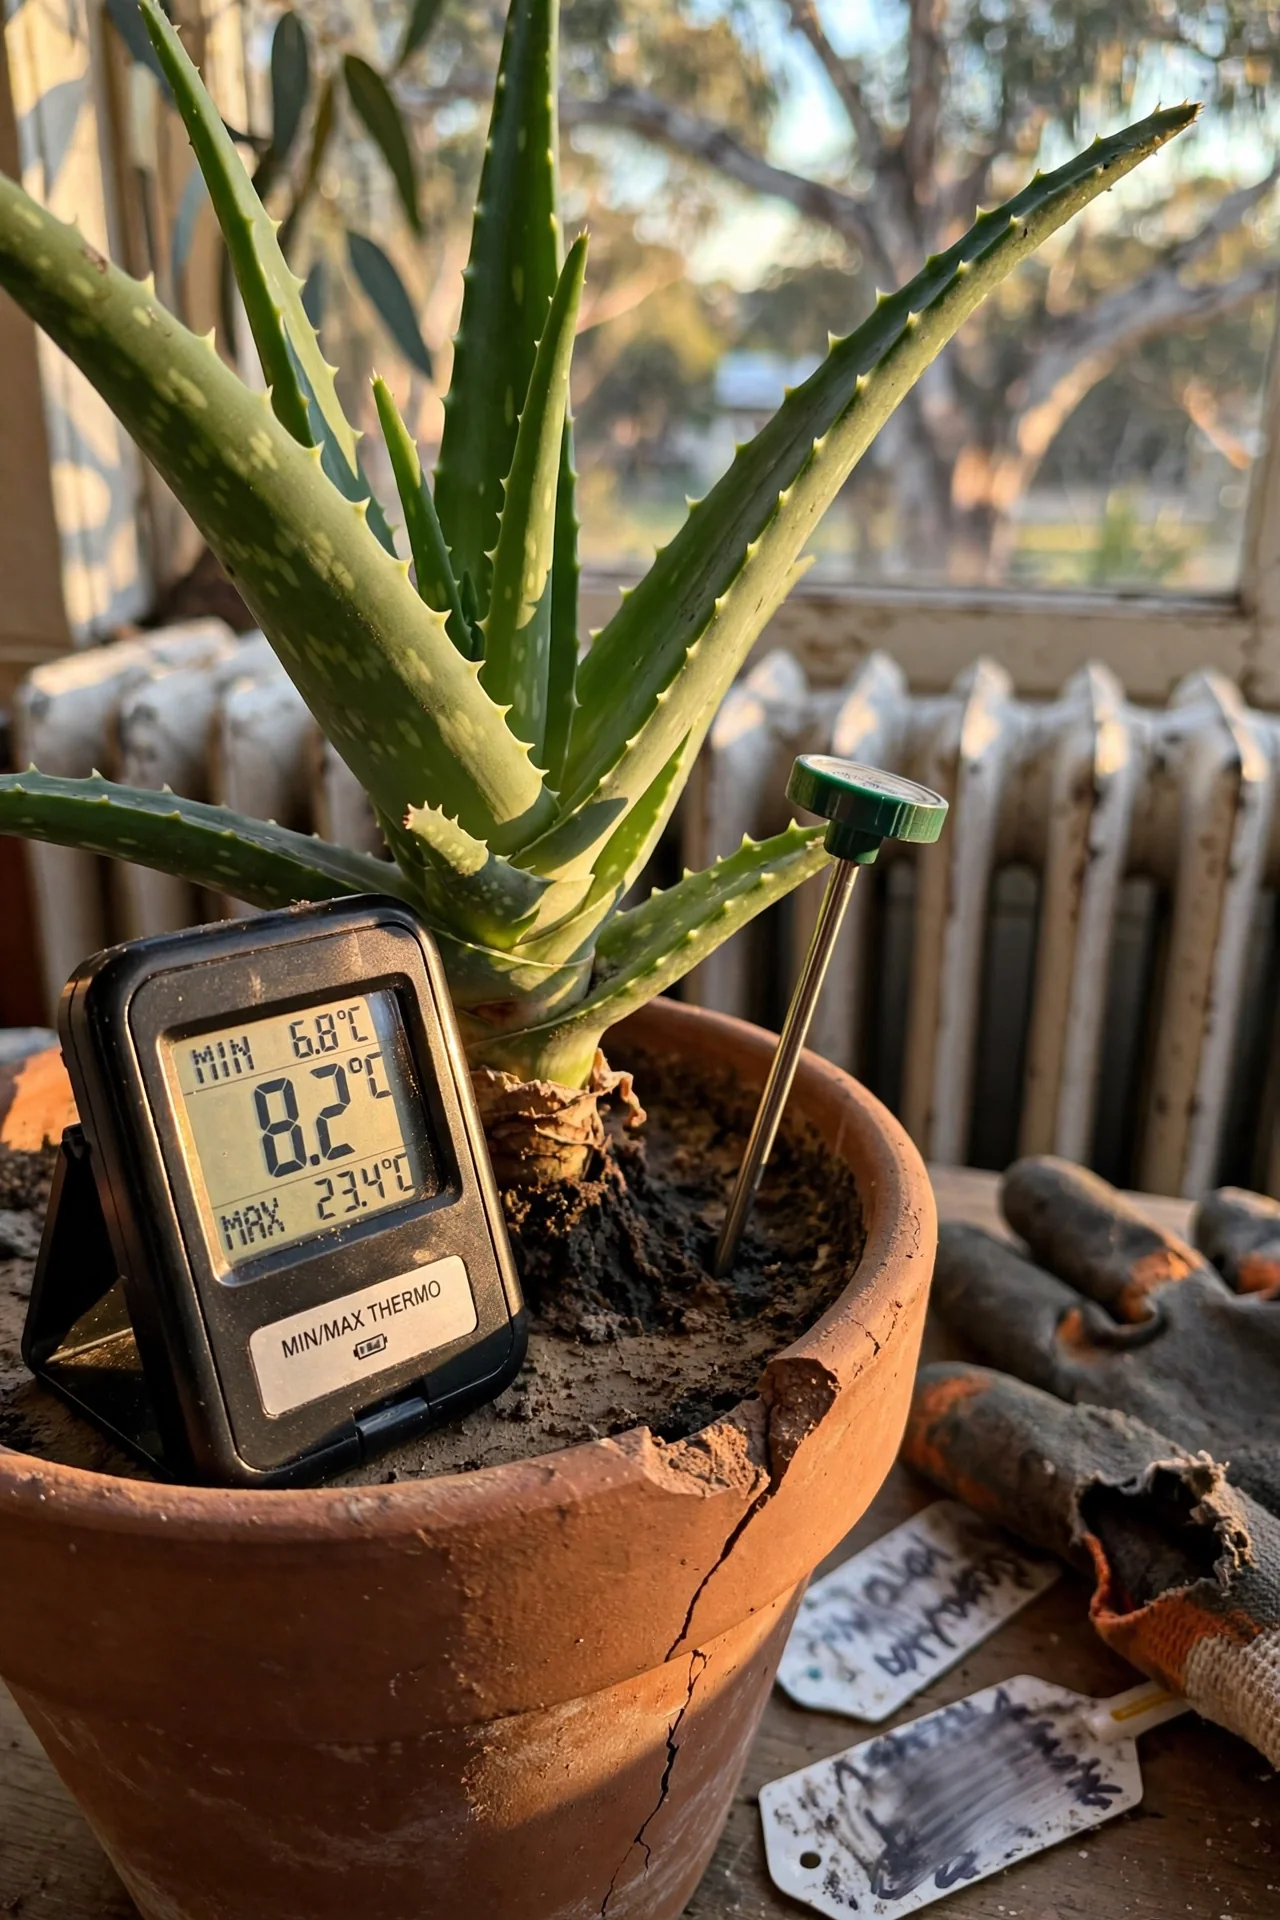
Start with Item 7 (Winter Dormancy Management) and Item 11 (Temperature Threshold Management). Moderate-light aloes inhabit a middle ground where seasonal changes cause the most confusion. Getting winter watering right and protecting against cold drafts are the two decisions that prevent the majority of Branch 2 failures. These two items work together because winter dormancy is triggered partly by temperature, and temperature fluctuations near windows are most pronounced in Branch 2 settings. Estimated cost: $0 to $10 USD (a thermometer with a min-max memory function is helpful). Estimated time: 10 minutes to reposition the plant away from a cold window and adjust your watering calendar.
Branch 3 (Low Light): The Damage Control Stack
Start with Item 1 (Light Placement Strategy) and Item 4 (Watering Rhythm Protocol). In low light, overwatering is the number one cause of death, and it happens because people water on a calendar schedule designed for brighter conditions. Fix the light first (even a modest repositioning or a budget LED grow light helps), then implement the soak-and-dry method with extended intervals. These two decisions together address the root cause (inadequate light driving slow water consumption) and the symptom (overwatering due to standard schedules). Estimated cost: $20 to $50 USD for a basic full-spectrum LED grow light if needed. Estimated time: 15 minutes for the shadow test and repositioning, plus 5 minutes per watering session going forward.
When This Won’t Work
Failure condition 1: You are in Branch 3 light and cannot add a grow light or move the plant closer to a window. Aloe vera can survive in low light for months, but survival is not thriving. Over 6 to 12 months in sustained low light without supplemental lighting, the plant will etiolate progressively, becoming structurally weak. Leaves may bend or snap under their own weight. The plant becomes increasingly vulnerable to pests and root rot because its energy reserves are depleted. If this describes your situation, consider a plant that genuinely tolerates low light, such as a snake plant (Sansevieria) or ZZ plant (Zamioculcas zamiifolia). These are physiologically adapted to low-light conditions in ways that aloe vera is not.
Failure condition 2: You have chronically overwatered to the point of advanced root rot. Signs include a soft, mushy stem base, leaves that detach with minimal pressure, and a foul smell from the soil. At this stage, the root system may be more than half destroyed. While you can attempt to salvage the plant by removing all rotted tissue, treating the remaining roots with a hydrogen peroxide solution (1 part 3 percent hydrogen peroxide to 2 parts water), and repotting into dry, fresh succulent mix, success is not guaranteed. The alternative action is to harvest any healthy pups (if they exist and have their own roots) and start fresh with those, discarding the compromised mother plant. For understanding the broader differences in care needs, our cactus vs succulent care comparison may help clarify why aloe responds differently than other succulents to these conditions.
Choosing the Right Option for Your Situation
Budget Threshold
If your budget is under $25 USD, prioritize Item 2 (Pot Material) and Item 4 (Watering Rhythm). An unglazed terracotta pot costs $5 to $15 and a bag of perlite costs $5 to $10. Together, they address the two most common failure points (drainage and watering frequency) without requiring any electrical equipment or ongoing purchases. The remaining decisions in this guide can be implemented with materials you likely already have or can improvise.
Time Threshold
If you have fewer than 10 minutes per week for plant care, avoid Branch 3 entirely. Aloe in low light demands more attention to moisture monitoring because the risk of overwatering is higher and the margin for error is smaller. Branch 1 and Branch 2 plants, once set up with the correct pot and soil, can be checked every 2 to 3 weeks with a 2-minute finger-or-chopstick soil test, making them genuinely low-maintenance options.
Technical Constraint: Drainage Holes Are Non-Negotiable
No amount of gravel at the bottom of a hole-less pot creates drainage. Gravel layers raise the water table inside the pot, keeping the root zone wetter, not drier. This is a persistent myth in houseplant advice. If your chosen decorative pot has no drainage hole, you must either drill one (use a masonry bit for ceramic, a standard bit for plastic) or use it as an outer cachepot with a nursery pot inside, removing the inner pot for each watering session. Without a drainage hole, the soak-and-dry method is impossible to execute safely.
Yes/No Checklist:
Can you provide a drainage hole (or a workable cachepot system)? (If no, choose a different plant.)
Does your chosen spot pass the midday shadow test for at least Branch 2 light? (If no, can you add a grow light?)
Are you willing to check soil dryness at the drainage hole depth before every watering? (If no, set a recurring calendar reminder for every 3 weeks and adjust from there.)
Is the plant positioned away from both cold drafts (below 10 degrees Celsius) and unshaded hot glass (above 32 degrees Celsius)? (If no, relocate before doing anything else.)
Expert Q&A
Why does my aloe vera have brown tips but otherwise looks healthy?
Brown leaf tips on an otherwise firm, green aloe typically indicate one of three things: salt buildup from tap water or fertilizer, low humidity combined with dry indoor heating air, or the beginning of sun stress if the plant was recently moved to brighter light. Flush the soil with distilled water once to address salt buildup, and check whether the brown tips appeared after a location change. Brown tips do not revert to green; trim them if they bother you.
Can I grow aloe vera in a windowless office with only fluorescent ceiling lights?
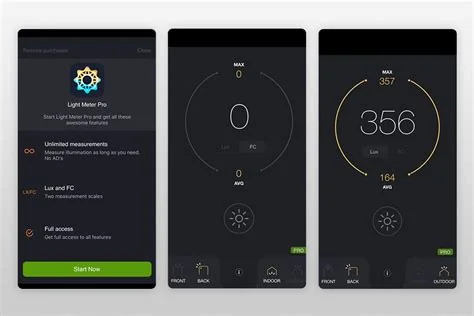
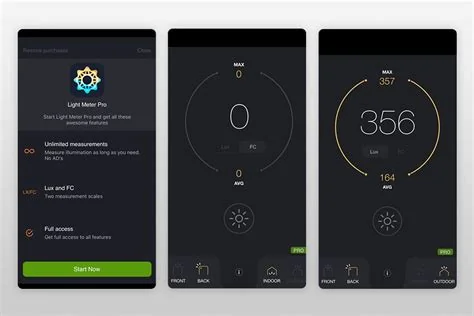
Standard office fluorescent lighting, typically 300 to 500 lux at desk height, is far below the minimum aloe vera requires for healthy growth (which is roughly 1000 lux or more for 6-plus hours daily). The plant will etiolate within weeks and decline within months. A dedicated desktop LED grow light running 12 to 14 hours daily, positioned 15 to 30 cm above the plant, can make it work. Without supplemental lighting, the setup will fail.
Is it true that aloe vera releases oxygen at night and helps with sleep?
Aloe vera, like certain other succulents, uses Crassulacean Acid Metabolism (CAM) photosynthesis, which means it takes in carbon dioxide at night rather than during the day. This does result in nighttime oxygen release. However, the volume of oxygen produced by a single potted aloe plant is negligible relative to the air volume of an average bedroom. The air-purifying claims often attributed to aloe vera originate from a 1989 NASA study on volatile organic compound removal in sealed chambers, not from measurable indoor air quality improvements in typical homes.
Why do the lower leaves on my aloe keep dying even though the top looks fine?
Lower leaf senescence is normal as aloe plants age. The oldest, outermost leaves complete their life cycle, turning brown and papery before drying completely. This is not a sign of a problem unless it is happening rapidly (more than one leaf every 2 to 3 months) or unless the dying leaves are soft and mushy rather than dry and papery. Soft, mushy lower leaves indicate overwatering. Dry, papery lower leaves indicate natural aging. Remove dead leaves by pulling gently; if they resist, cut them at the base with clean shears.
Can aloe vera flower indoors, and what does it need to bloom?
Aloe vera can flower indoors, but it requires specific conditions that are difficult to replicate in most homes. The plant needs to be mature (typically 4-plus years old), receive high light (Branch 1), and experience a cool winter rest period with temperatures between 10 and 15 degrees Celsius (50 to 60 degrees Fahrenheit) for several weeks. The flower spike, which can reach 60 to 90 cm tall, produces tubular yellow or orange blossoms. Indoor flowering is uncommon but not rare in Branch 1 conditions with a cool winter room. Fertilizing does not trigger flowering; the cool rest period is the primary signal.
Conclusion
The single decision that drives all others is an honest assessment of your actual light conditions. Most indoor aloe failures trace back to a mismatch between a Branch 3 light reality and a Branch 1 care routine. When you water a low-light aloe on a high-light schedule, you are not nurturing the plant; you are drowning it in slow motion.
If you take one action after reading this guide, perform the midday shadow test described in Item 1. That 30-second diagnostic will tell you more about what your aloe needs than any calendar or generic care card ever will. If your shadow is sharp and dark, proceed with confidence. If there is no shadow at all, your first purchase should not be fertilizer or a decorative pot: it should be a grow light, or a different plant entirely.
For readers with pets, the gel inside aloe leaves is generally safe, but the latex layer just under the skin contains compounds that can cause gastrointestinal distress in cats and dogs. Keep plants out of reach or choose a pet-friendly alternative. See our full list of pet-safe succulents for options that pose no risk to curious animals.