
Most lawn care advice treats dethatching and aeration as equal partners, a one-two punch every lawn needs. That framing sells more tool rentals. The reality is simpler: nearly every lawn has a dominant constraint, and guessing wrong means wasted weekends, unnecessary cost, and grass that looks worse, not better, after the work. The dethatcher has become the most over-prescribed tool in lawn care, often applied to problems that originate below the surface where its tines cannot reach.
This guide compares seven distinct dethatching and aeration methods, from a manual thatch rake to liquid soil conditioners. It excludes overseeding, fertilization, and pest control. Those are downstream decisions that depend on getting this first step right. If you execute the wrong primary intervention, no amount of seed or nitrogen will compensate for the underlying physical barrier the wrong tool left untouched.
By the end, you will be able to diagnose your lawn’s actual constraint using two simple field tests, match that diagnosis to a specific tool or method, and understand exactly when combining approaches makes sense and when it doubles your work without doubling the benefit.
Bottom line: If your lawn forces you to choose one action this season, aerate unless you can measure a thatch layer thicker than half an inch with a ruler.
The Yield Grid Decision Grid
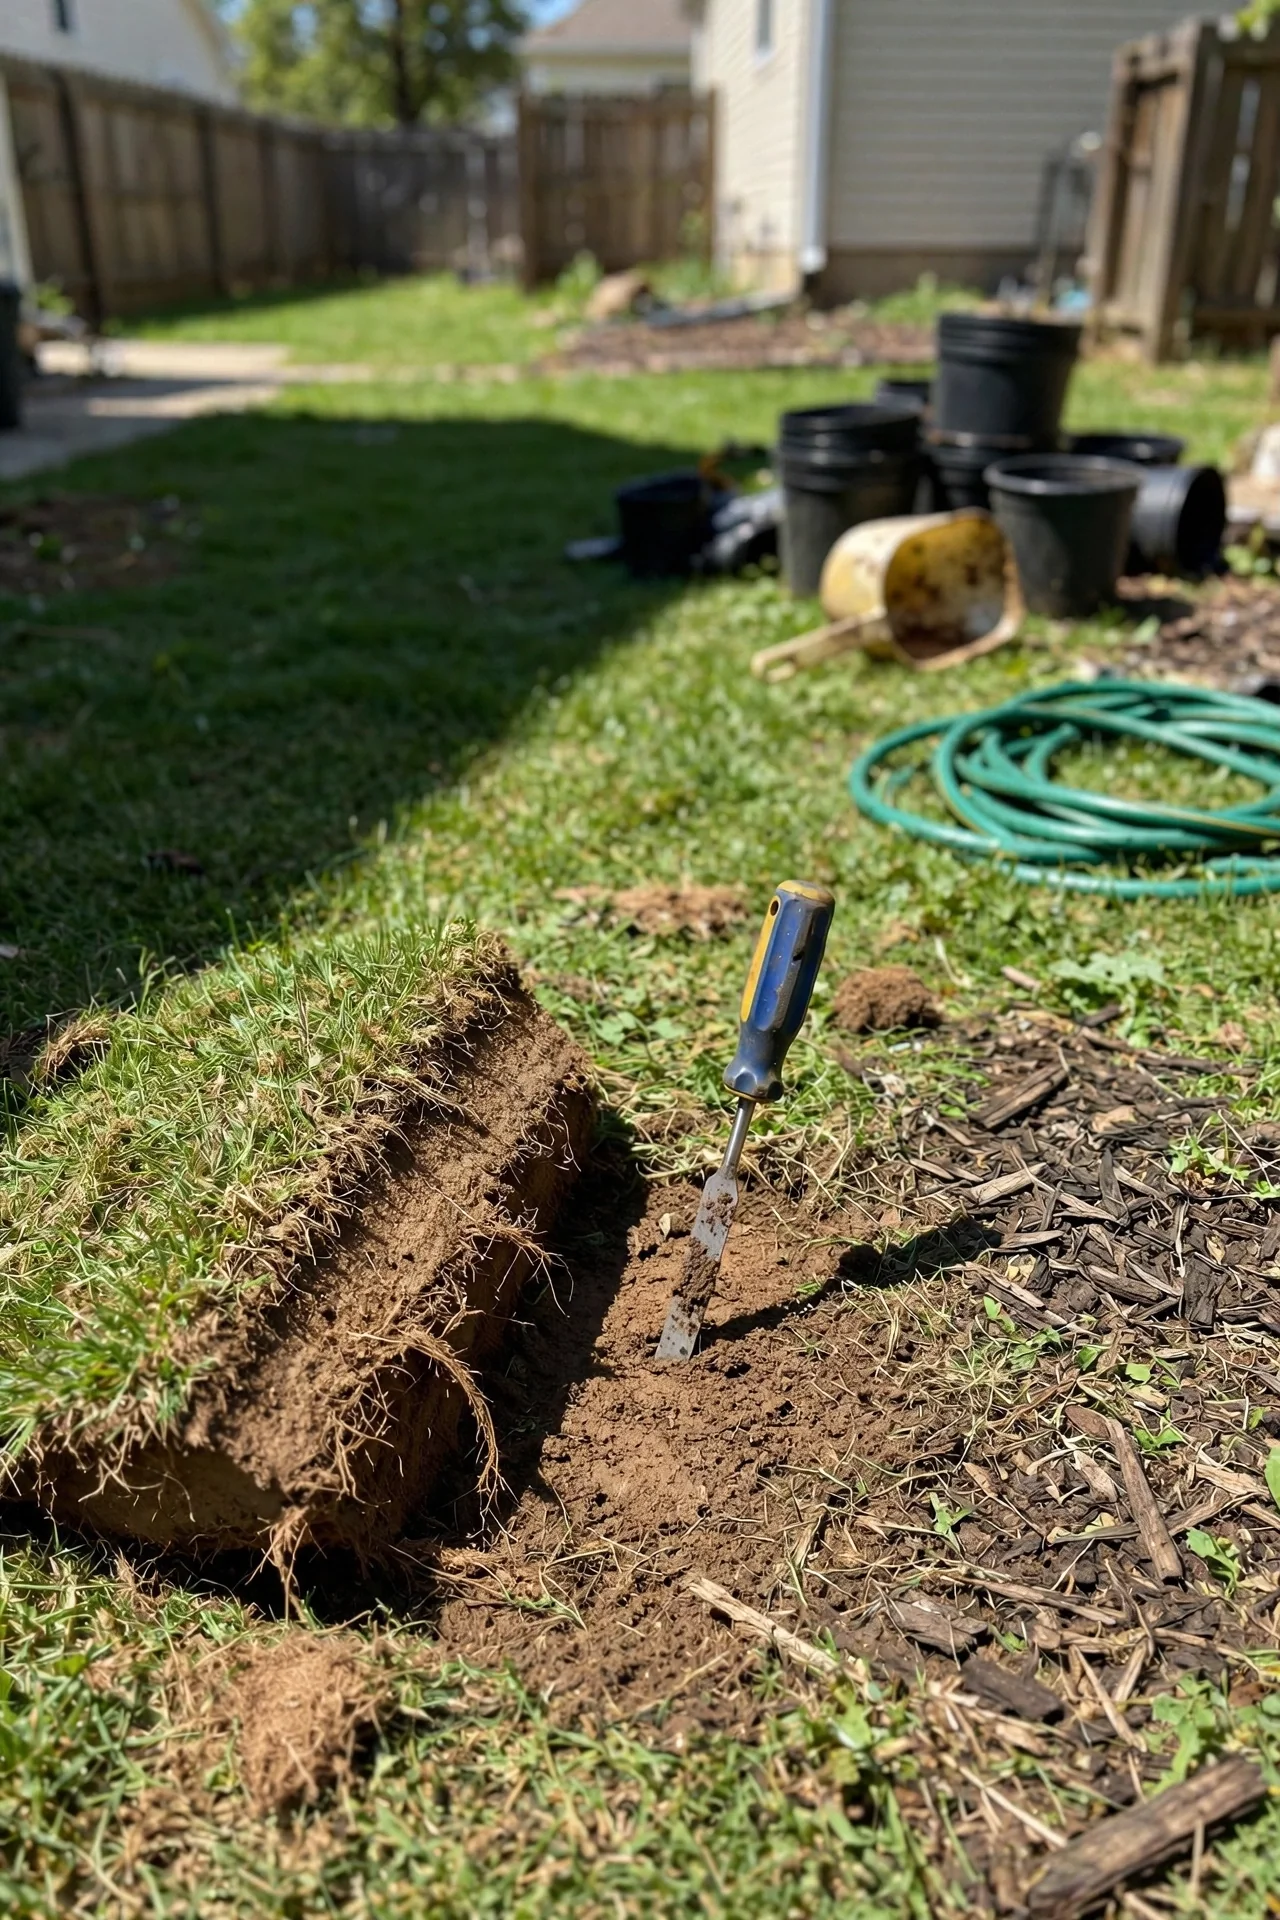
Start with a diagnosis, not a tool. Grab a hand trowel, cut a small wedge from your lawn, and measure the brown spongy layer between green grass and soil. Then try pushing a screwdriver into the soil. Match your findings to one of the three branches below.
Branch 1: Thatch Over Half an Inch, Soil Not Compacted
If the thatch layer exceeds half an inch and your screwdriver sinks in with moderate pressure (under about 200 psi resistance; you feel firm but not hardpan), surface debris is the primary constraint. Water and nutrients are pooling above the soil instead of reaching roots. Recommended: Items 1, 2, 3 below.
Branch 2: Soil Hard to Penetrate, Thatch Under Half an Inch
If the screwdriver meets hard resistance within the top two to three inches irrespective of thatch thickness, soil compaction is the binding constraint. Roots cannot expand, and water runs off rather than infiltrating. Thatch may be a symptom, not the cause. Recommended: Items 4, 5, 6 below.
Branch 3: Both Excessive Thatch and Compacted Soil
If both conditions co-exist, you face a two-stage recovery. Mechanical dethatching must come first so aeration tines can reach the soil unimpeded. Wait at least two weeks between operations to let grass recover from dethatching stress. Recommended: Pair one item from Branch 1 with one from Branch 2; see the Starter Stack section. For understanding the mower that produces the least thatch accumulation in the first place, see our lawn mower type comparison.
Quick Comparison Table
| Option | Key Mechanism | Best For | Grid Branch | Effort Score |
|---|---|---|---|---|
| Manual Thatch Rake | Short tines pull debris | Small lawns, light thatch | 1 | 4 |
| Electric Dethatcher | Rotating wire tines | Medium lawns, moderate thatch | 1 | 3 |
| Tow-Behind Dethatcher | Tractor-drawn spring tines | Large lawns, heavy debris | 1 | 2 |
| Spike Aerator | Solid tines push soil aside | Temporary relief, light compaction | 2 | 2 |
| Core Aerator, Manual | Hollow tines extract plugs | Small lawns, targeted repair | 2 | 5 |
| Core Aerator, Powered | Engine-driven hollow tines | Medium-large lawns, heavy clay | 2 | 2 |
| Liquid Aerator | Chemical surfactants, soil conditioners | Maintenance between mechanical aeration | 2 | 1 |
1. Manual Thatch Rake
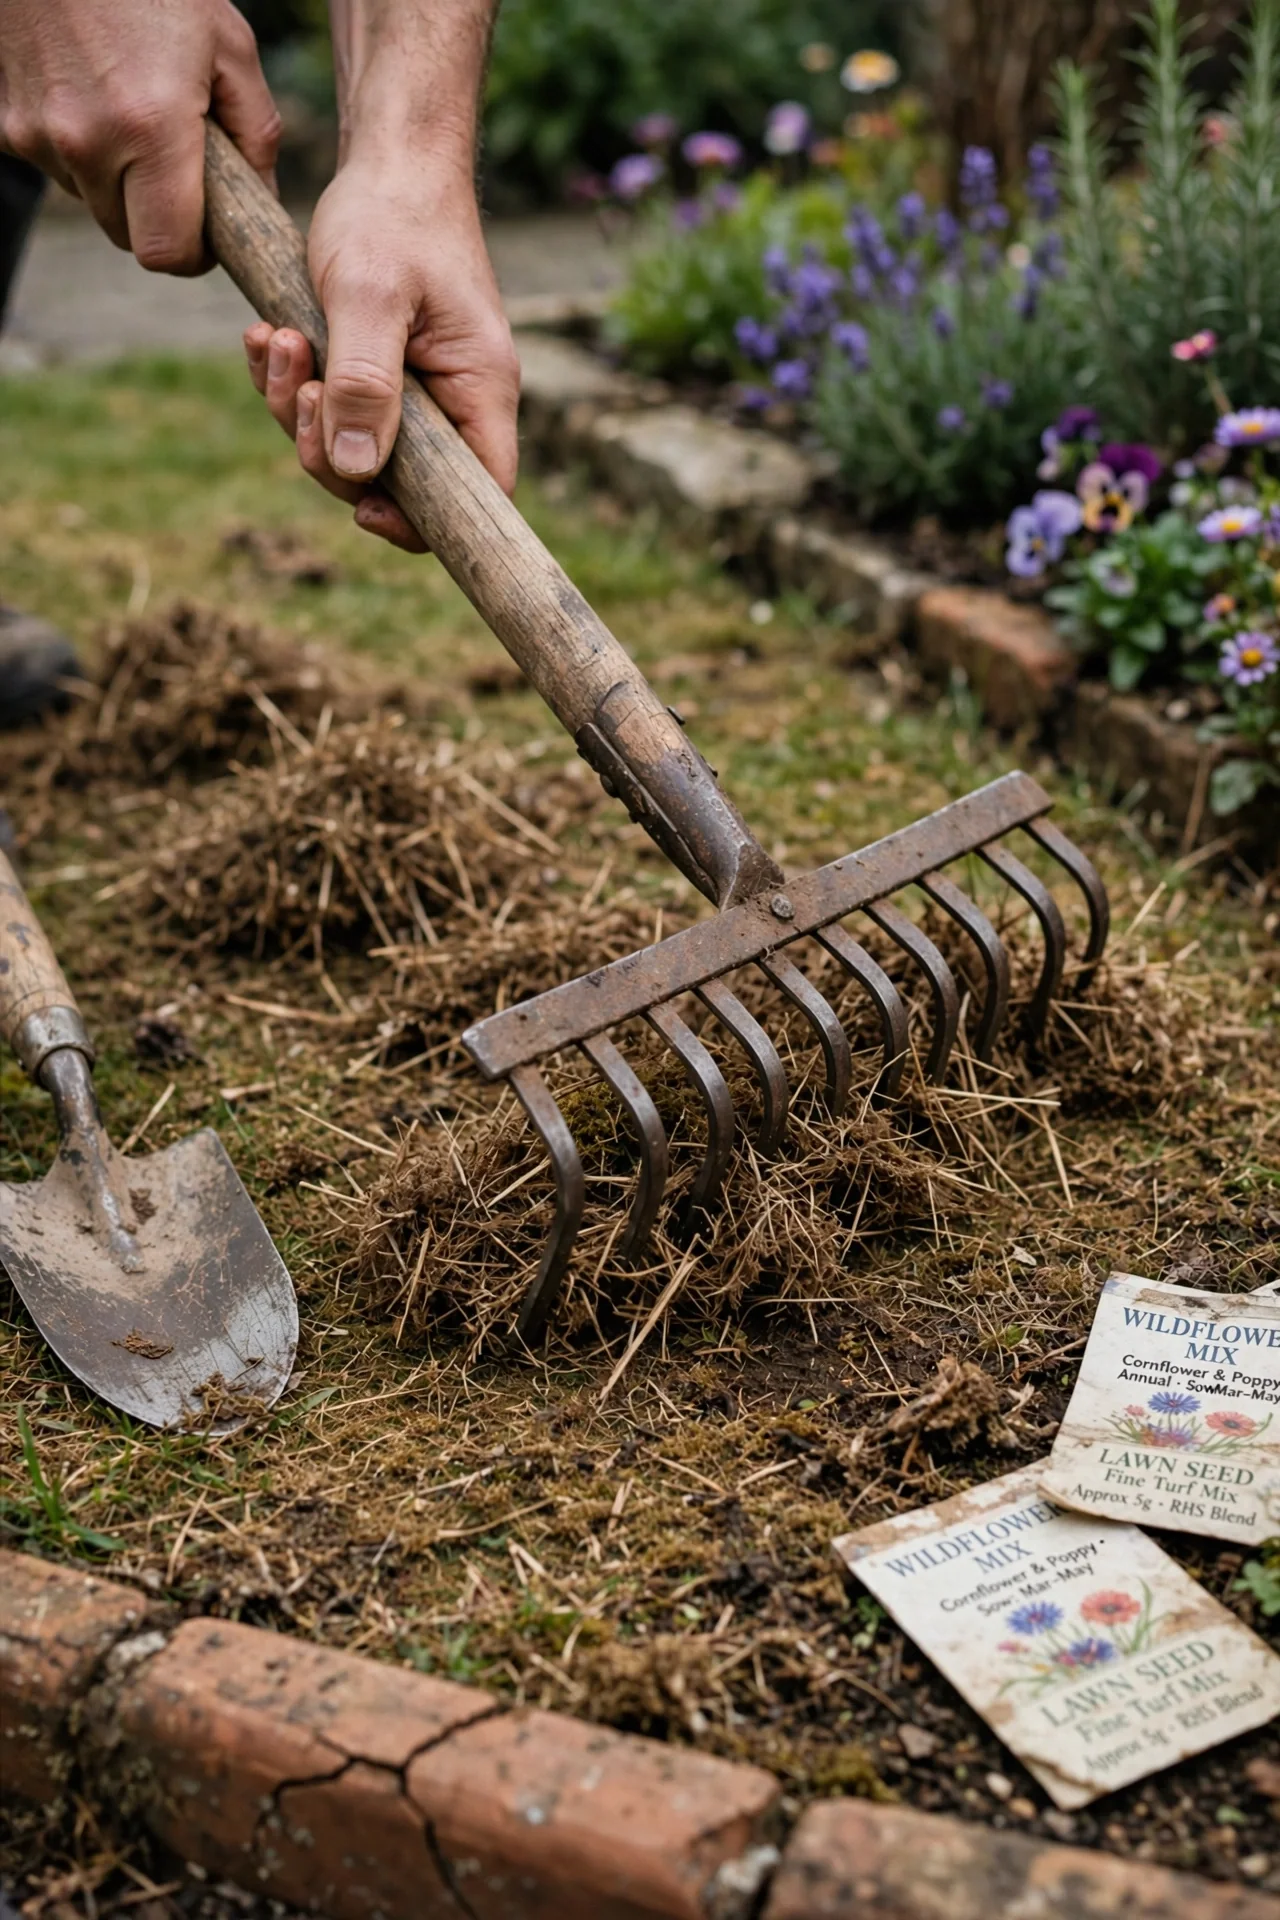
Best for: Branch 1 (thatch over half inch, soil not compacted).
Use this when you have a lawn under 1,000 square feet and can invest 45 to 60 minutes of sustained upper-body work. The short, curved tines dig into the thatch layer and pull dead material to the surface in a raking motion. The advantage is zero fuel, zero noise, and complete control over depth. Skip it when thatch exceeds one inch across the entire lawn; at that depth, a manual rake will remove healthy grass alongside debris because the tines cannot discriminate between living and dead material once the mat becomes thick enough to grab everything. The edge case nobody mentions: manual rakes work best on grass types that spread by rhizomes (Kentucky bluegrass, Bermuda). Bunch-type grasses (tall fescue, ryegrass) can suffer crown damage if you rake aggressively in spring before active growth begins. After raking, collect debris with a tool suited to the job; our leaf blower vacuum guide covers efficient cleanup without re-embedding thatch.
2. Electric Dethatcher
Best for: Branch 1.
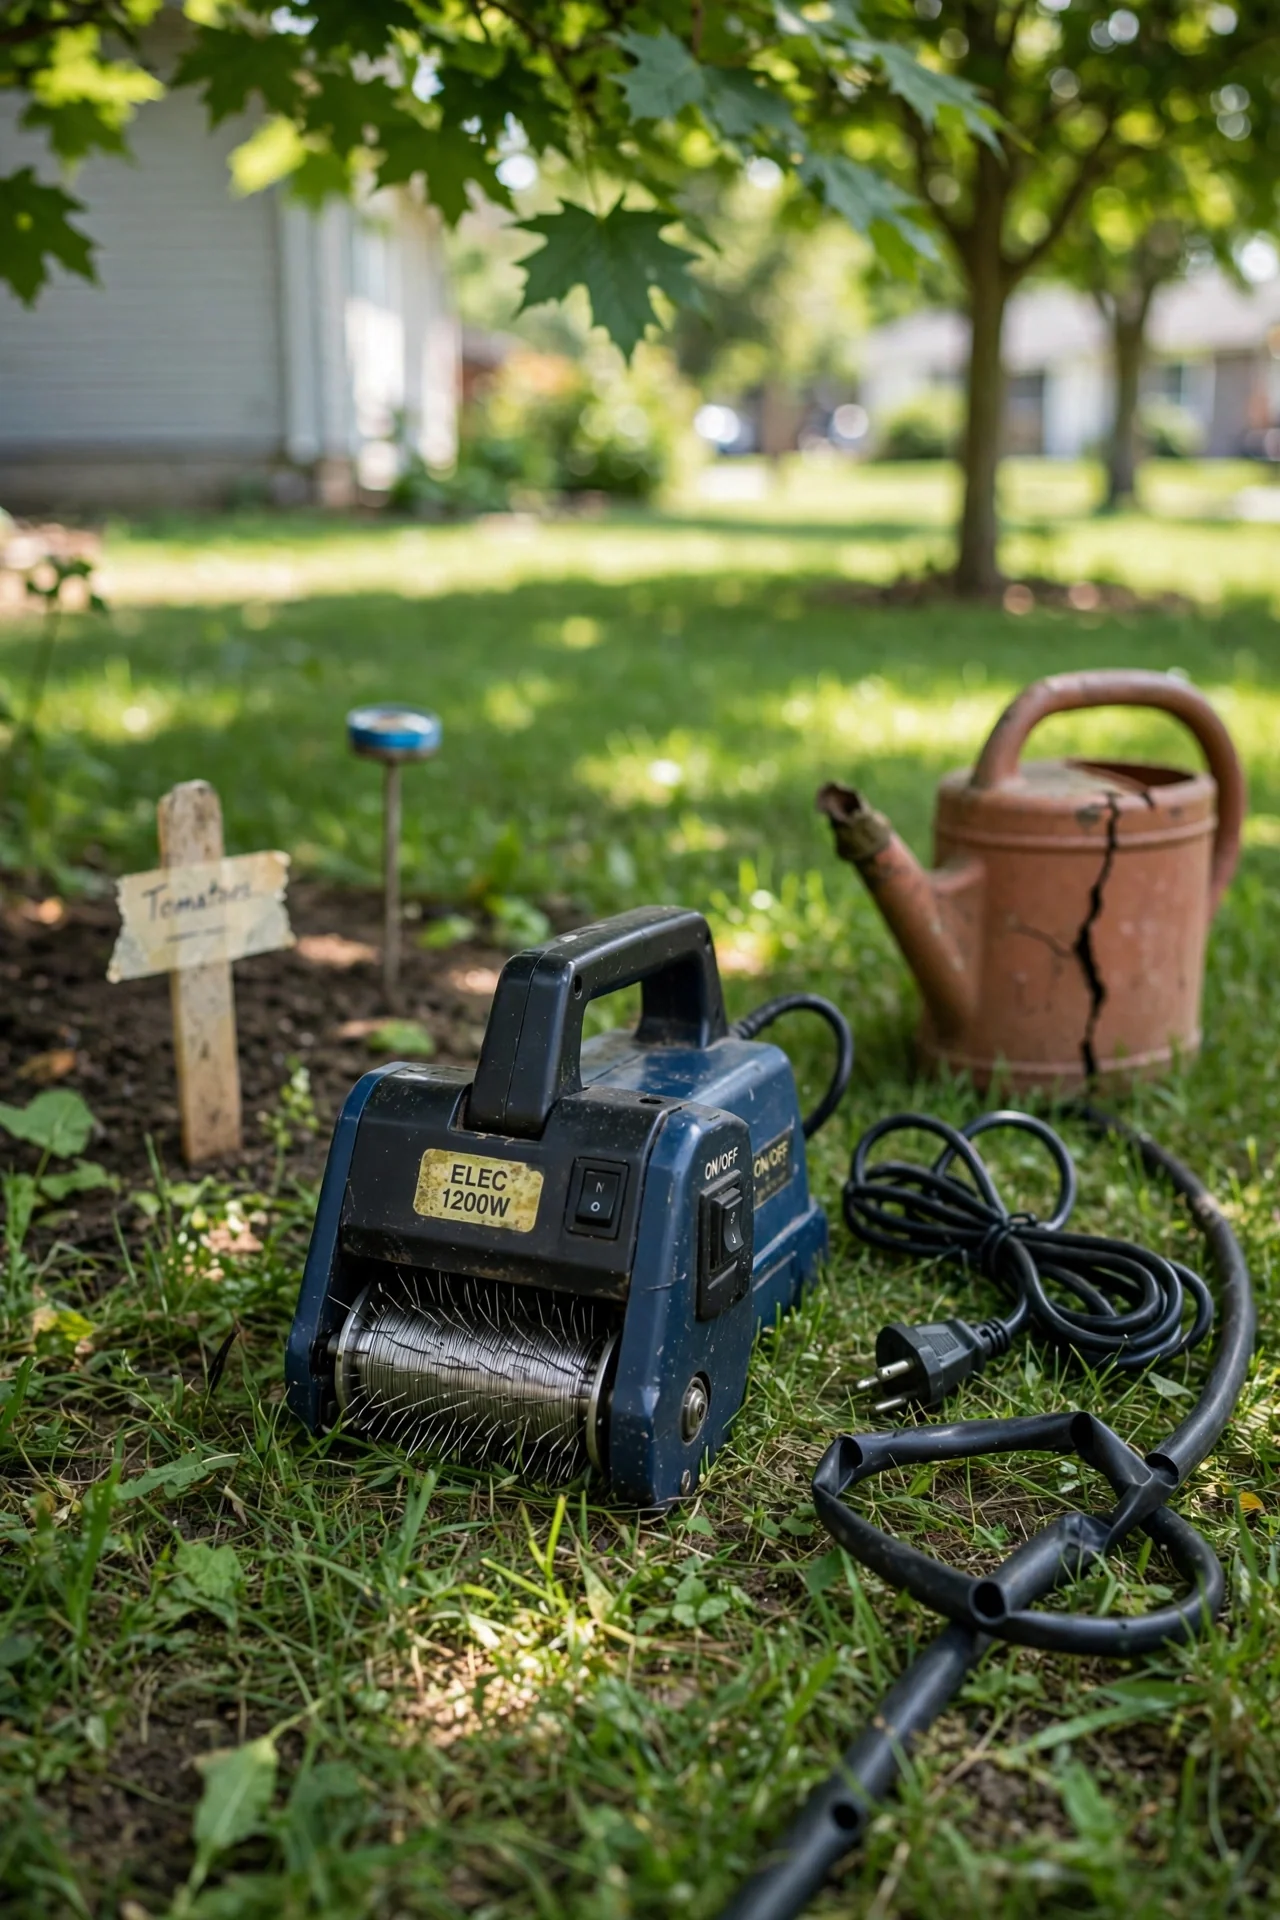
An electric dethatcher (sometimes called a power rake) uses a rotating drum of wire tines to lift thatch mechanically. The 10-minute workflow: set the depth so tines just graze the soil surface; too deep and you scalp the lawn. Run one pass east-west, bag the debris, then check the thatch depth with your wedge test. If still over half an inch, make a second pass north-south. Upgrade option: swap standard wire tines for flail blades when dealing with heavy moss mixed into thatch. Keep the blades sharp between seasons; a dull power rake tears grass rather than lifting debris. See our tool sharpening kit recommendations.
3. Tow-Behind Dethatcher
Best for: Branch 1 (large lawns over 5,000 square feet).
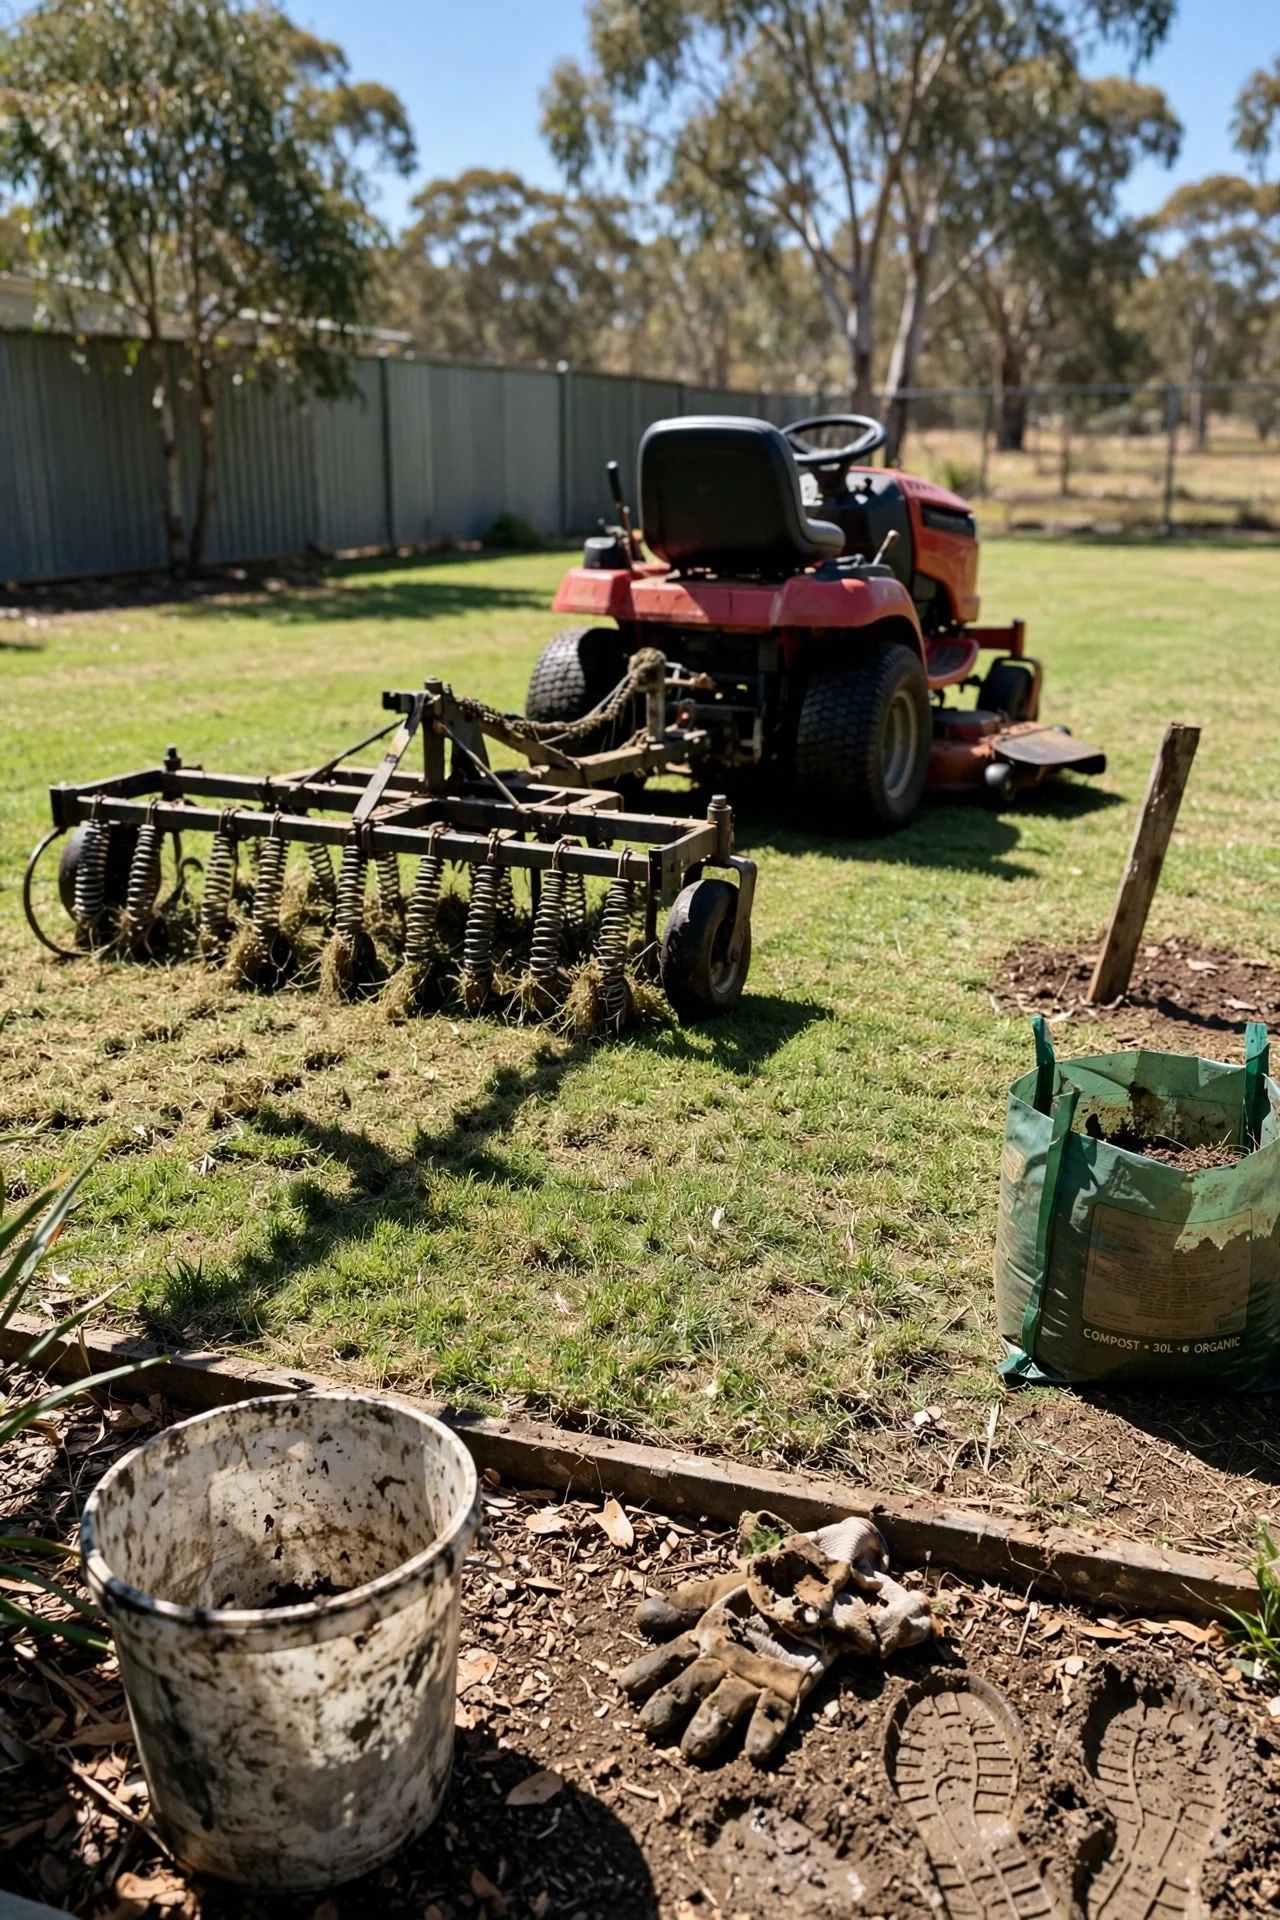
The threshold that matters here is not just thatch depth but lawn area. A tow-behind dethatcher attaches to a riding mower or garden tractor and covers 48 to 60 inches per pass. Cost economics flip above roughly 8,000 square feet: renting a walk-behind power dethatcher for half a day exceeds the purchase price of a basic tow-behind unit. The constraint is hitch compatibility; these require a tow hitch with enough tongue weight capacity to handle tines digging into dense thatch. Adjust spring tension so tines make contact but do not bog the tractor engine. After dethatching, the lawn surface should be raked clean; a dense thatch mat left on top for more than 48 hours will smother the grass you just freed.
4. Spike Aerator
Best for: Branch 2 (compacted soil, thatch under half inch).
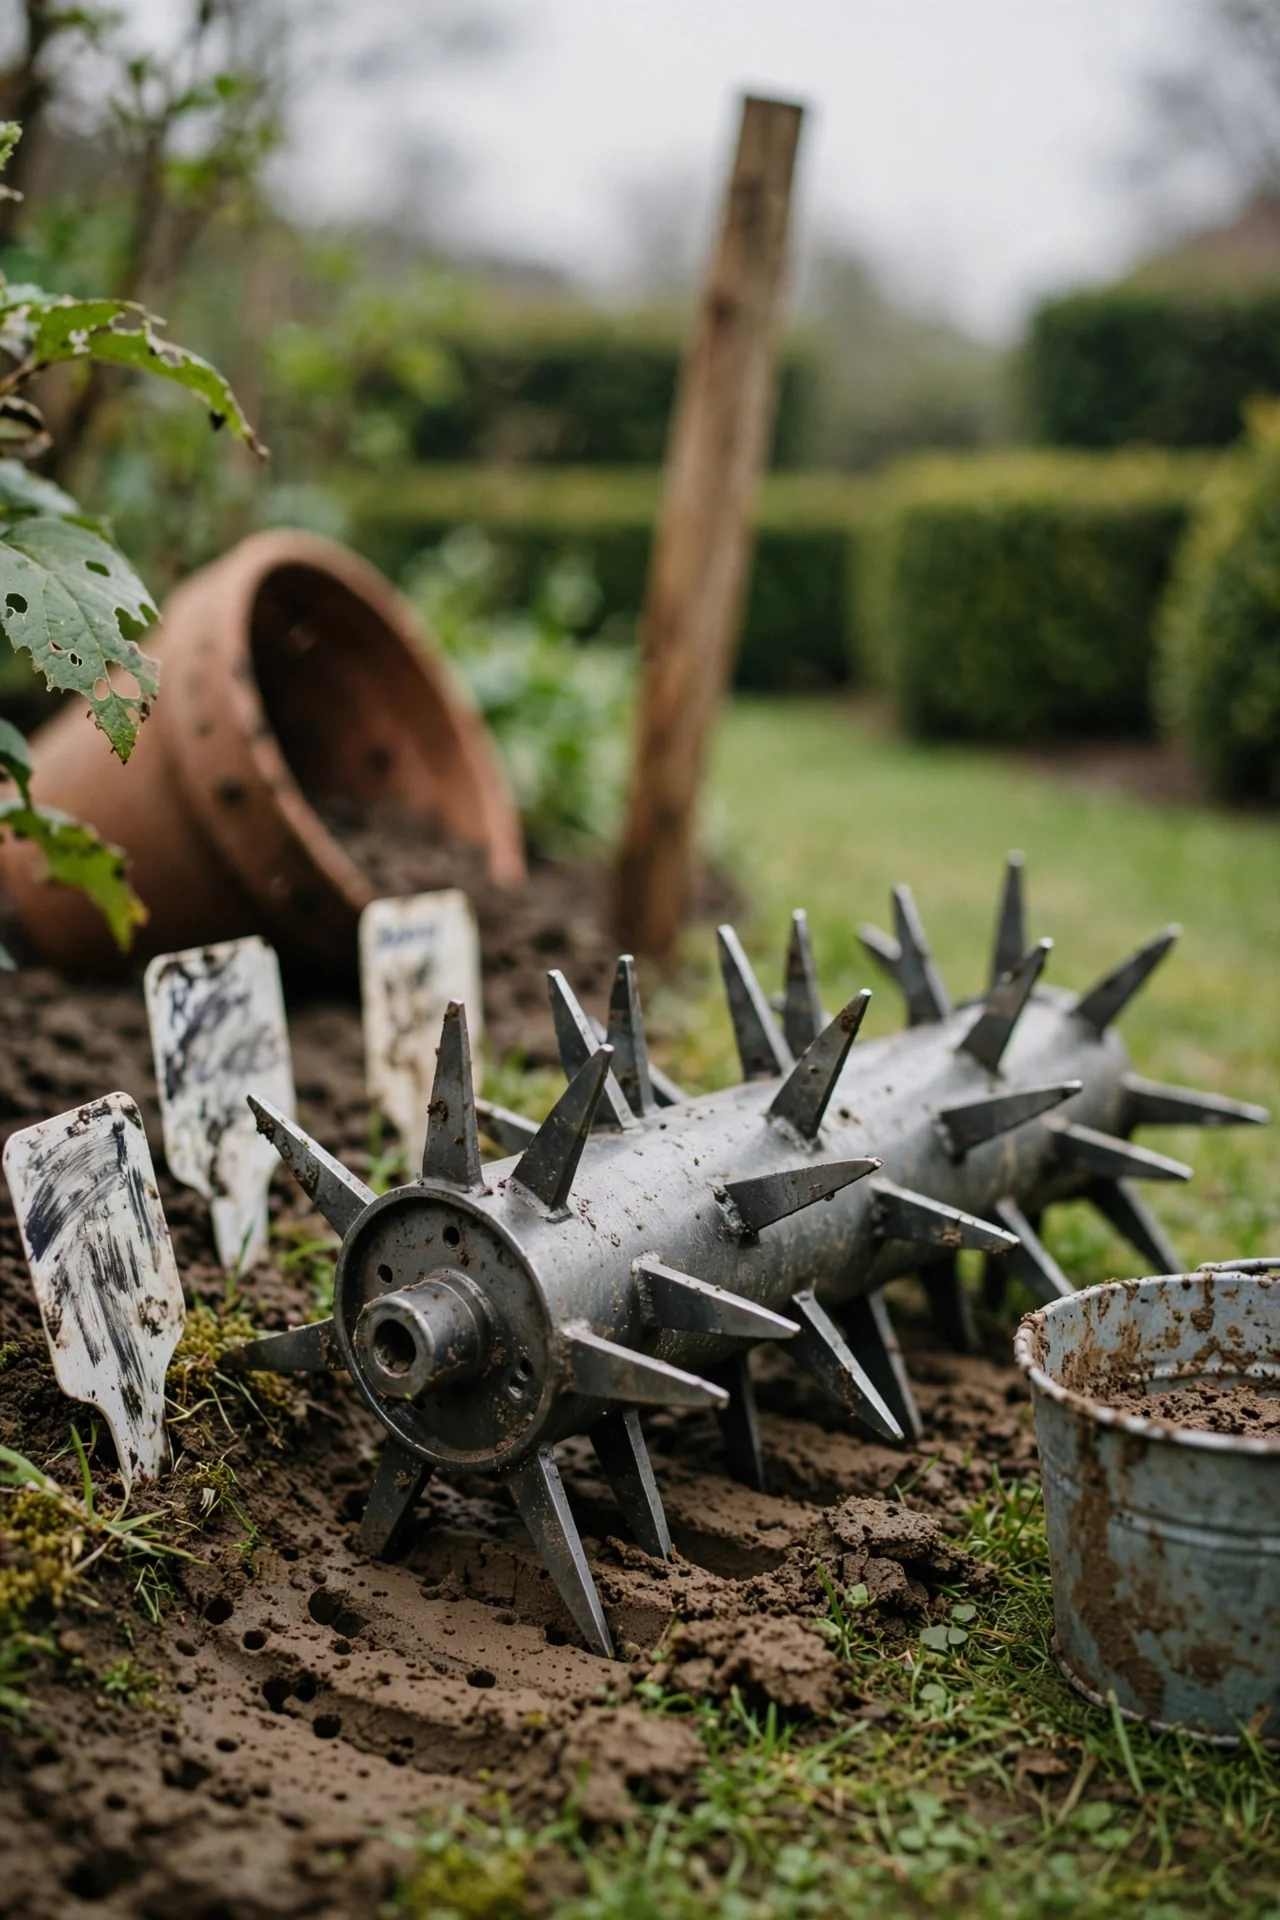
What it is: A drum or plate with solid metal tines, pushed or towed across the lawn, punching small holes without removing any soil. What it actually does: The tine pushes soil sideways to create a hole, compressing the walls of that hole. This is why turfgrass researchers consistently rate spike aeration below core aeration for long-term soil structure improvement; the compression around each hole can reduce infiltration in the exact zone where roots need it most. When to use it anyway: Spike aeration functions as a temporary bypass for light compaction on sandy loam soils. On clay, it can worsen the problem. The mistake to avoid: Using spike shoes and assuming you aerated. Walking spike shoes deposit 1/4-inch holes at a density far below any meaningful soil relief threshold. They are a foot massage for the lawn, not aeration. For a deeper look at tools that actually change soil structure, our cultivator vs tiller comparison explains the mechanisms.
5. Core Aerator, Manual
Best for: Branch 2 (small lawns with isolated compaction).
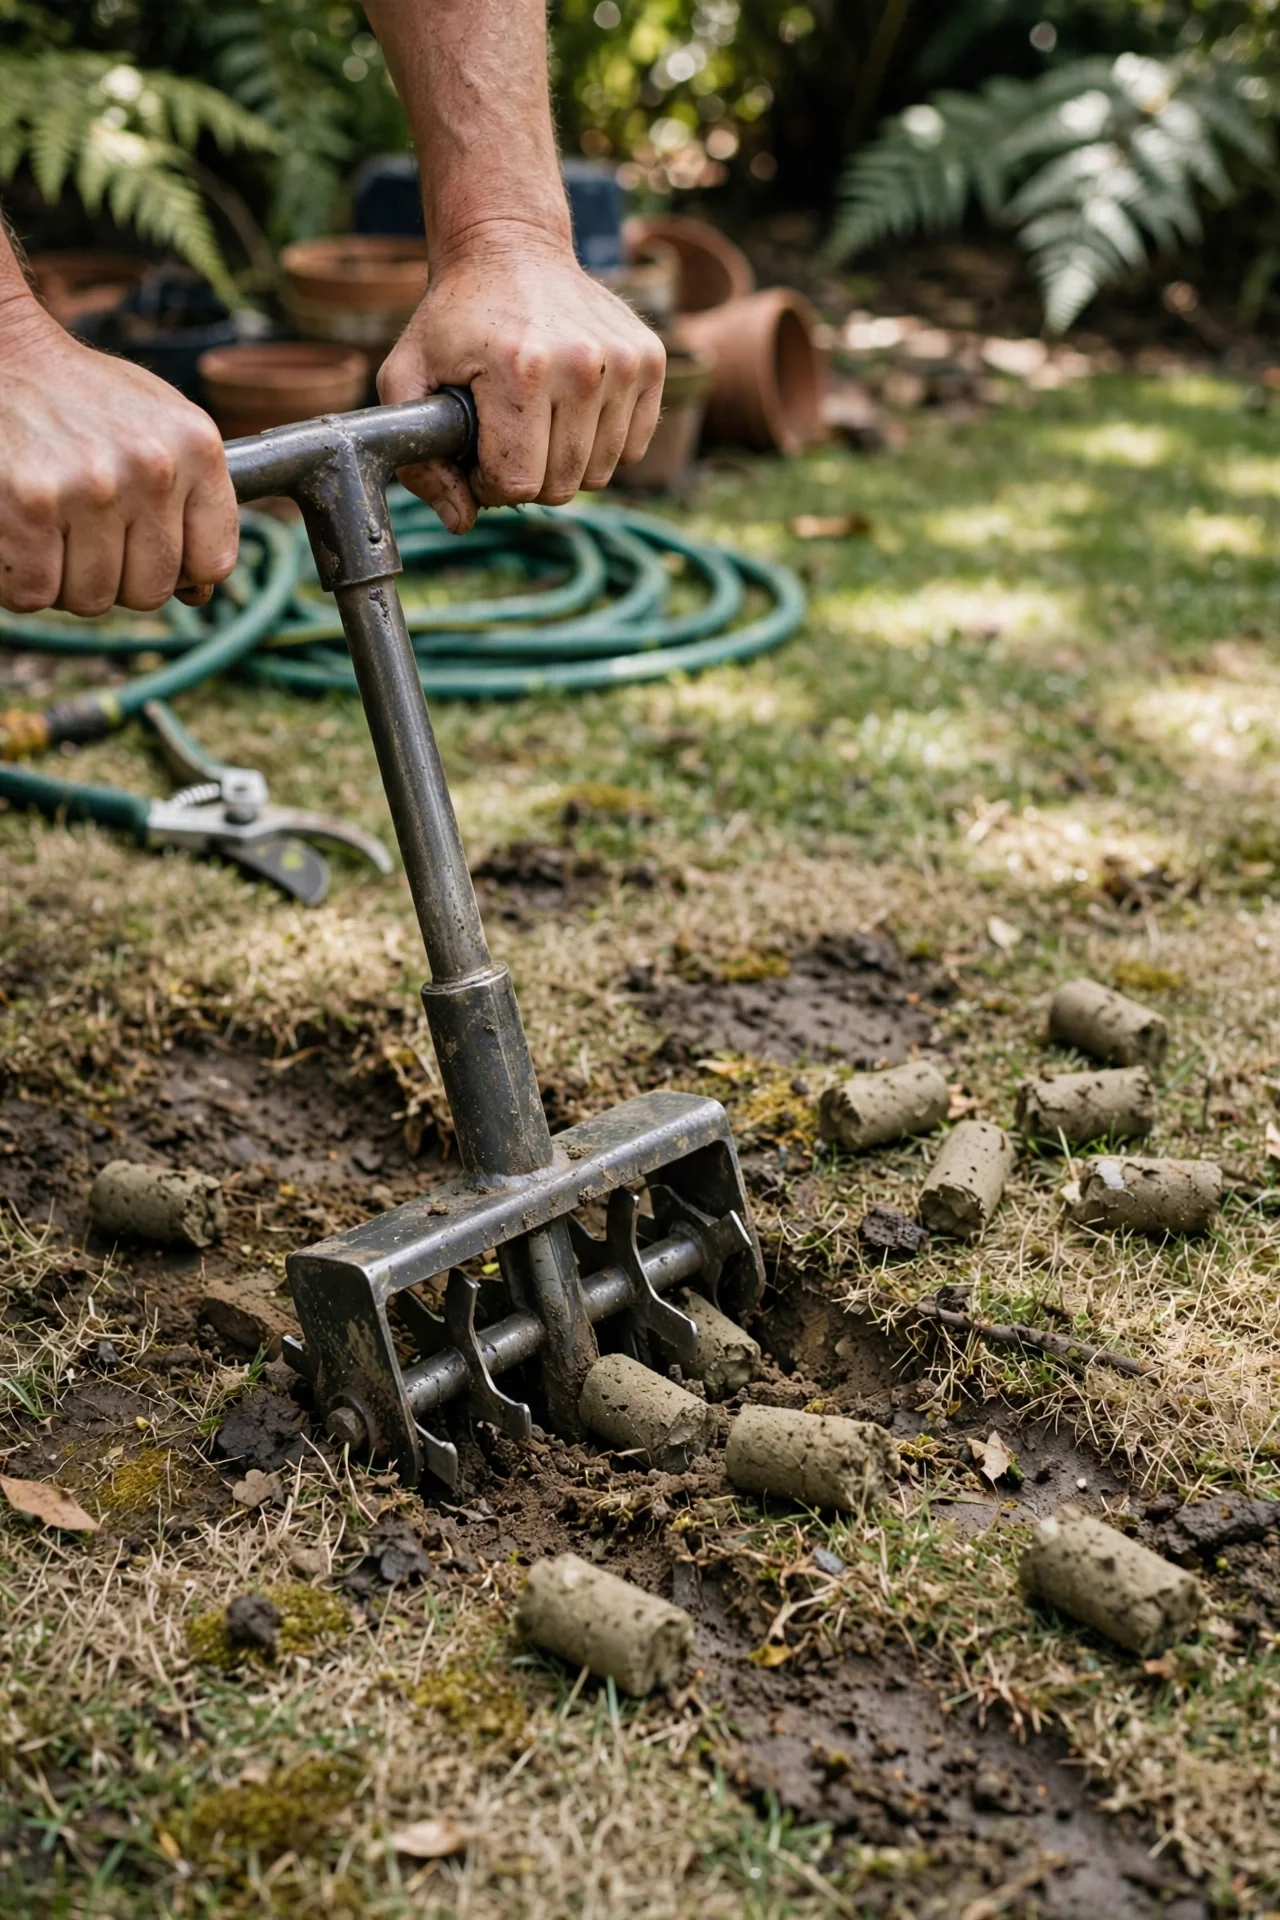
Use a manual core aerator for spots under 500 square feet where you can apply body weight to drive hollow tines into the soil and extract plugs. The core holes should be two to three inches deep with a diameter of half to three-quarters of an inch. Skip it for whole-lawn treatment because the physical effort to achieve even four holes per square foot across 2,000 square feet is unsustainable for most people. The edge case: manual core aeration works well around tree roots where powered machinery cannot maneuver, making it a targeted repair tool rather than a primary lawn-wide strategy.
6. Core Aerator, Powered
Best for: Branch 2 (medium to large lawns with clay soil).
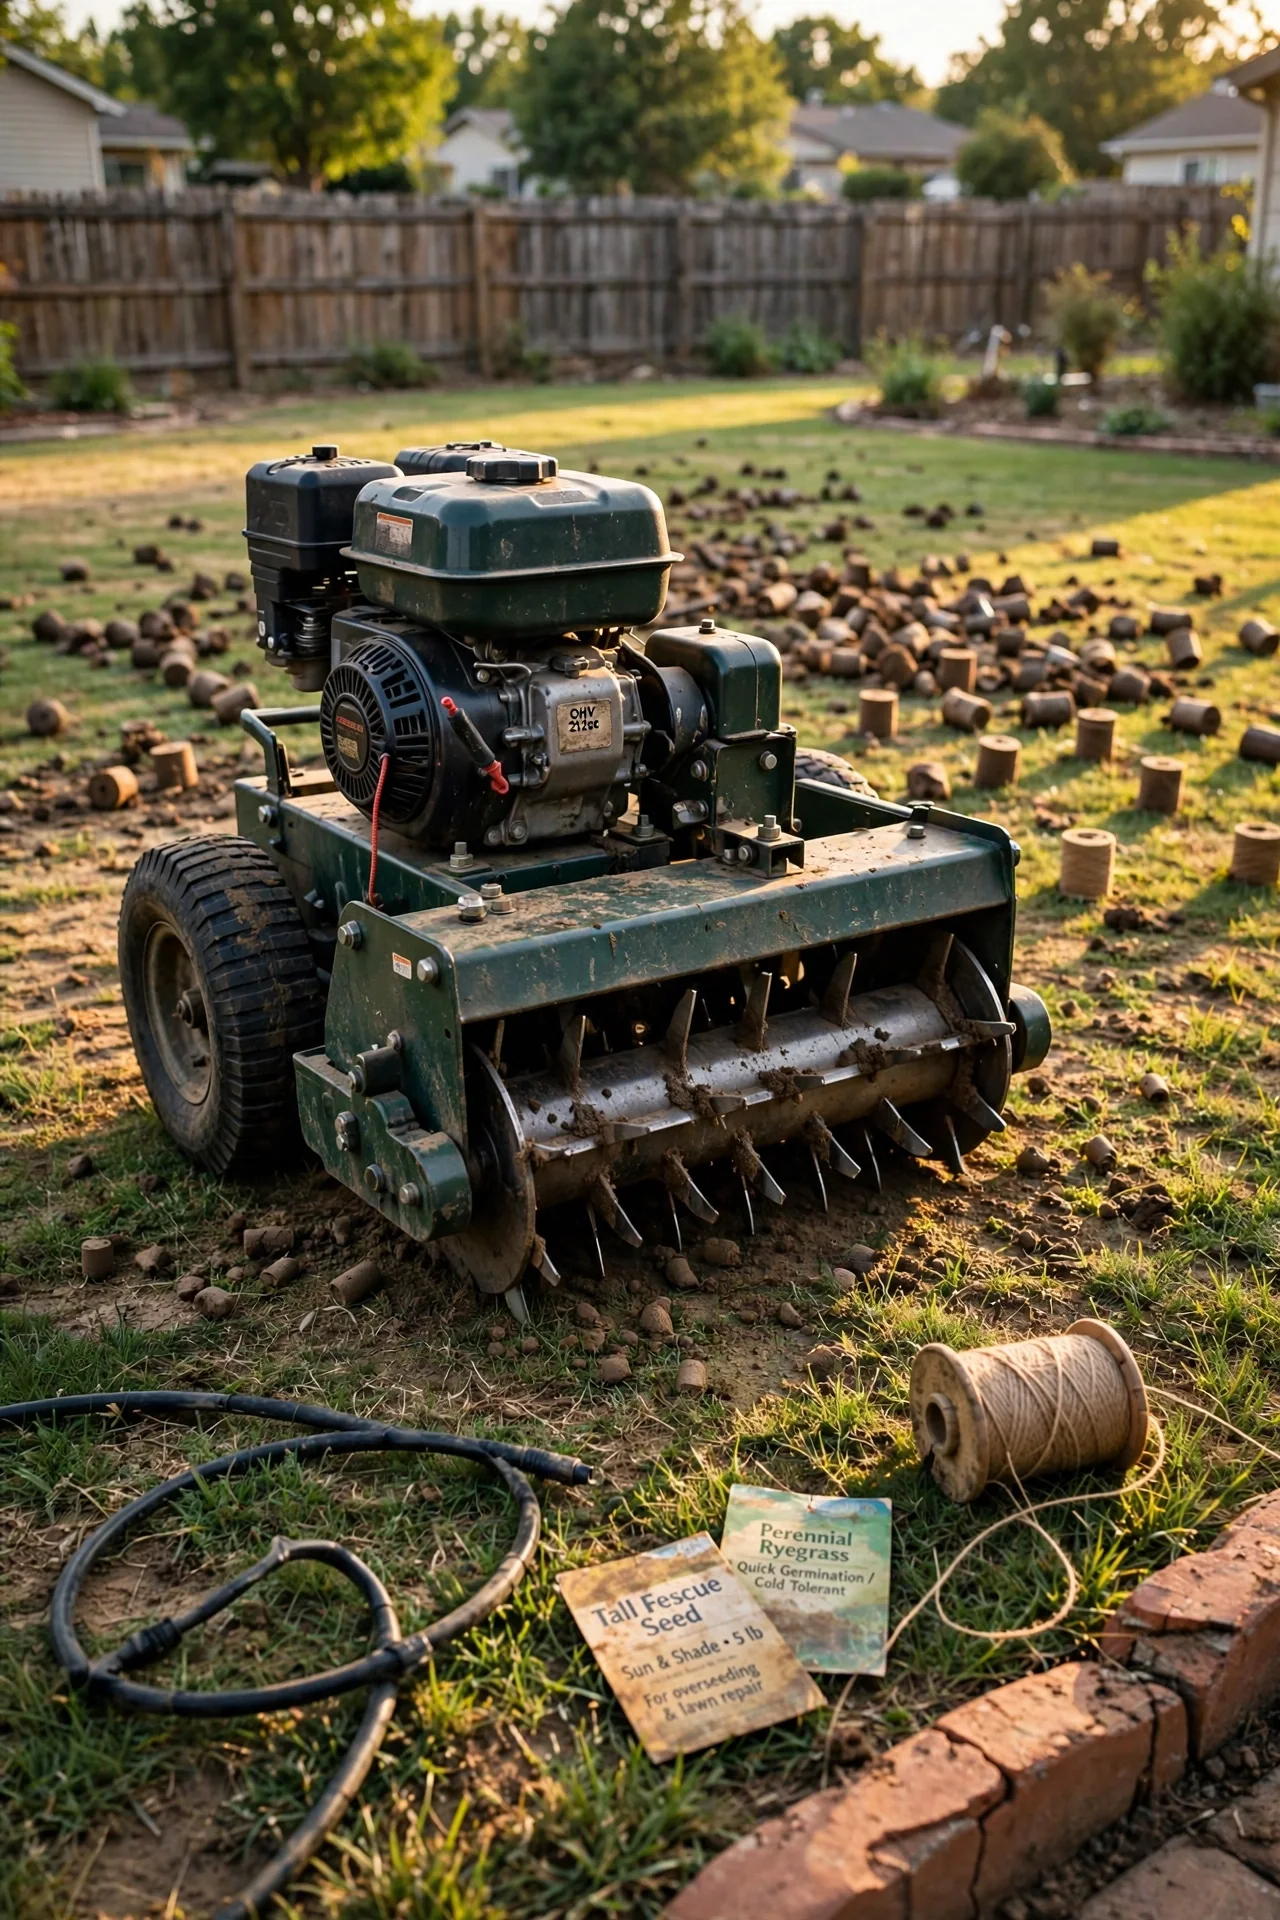
The measurable threshold: if your lawn exceeds 2,000 square feet and soil is clay-based (you can roll it into a ribbon between your fingers), a powered core aerator is the only method that achieves sufficient plug density. Rent a unit that extracts cores at least two inches deep with spacing no wider than six inches between tines. The rule of thumb: after aerating, you should see 10 to 12 plugs per square foot. Leave cores on the lawn to decompose; they return organic matter to the soil surface. If cores have not broken down within 10 days, drag a piece of chain-link fence or a doormat across the lawn to break them up. After aeration, irrigation patterns matter more than usual because open channels allow water to reach deeper; see our sprinkler head types guide to match coverage to the new infiltration depth.
7. Liquid Aerator
Best for: Branch 2 (maintenance between mechanical aerations, or restrictive soils where machinery cannot operate).
The 10-minute workflow: mix a liquid soil conditioner (ammonium lauryl sulfate or humic acid-based product) according to the label’s dilution ratio, typically 2 to 4 ounces per gallon of water per 1,000 square feet. Apply with a hose-end sprayer early in the morning when soil is moist but not saturated. The solution reduces surface tension, allowing water to penetrate farther within existing pore spaces. This does not create new pores the way core aeration does; it improves function within the existing soil structure. Upgrade option: combine liquid aeration with a wetting agent application on hydrophobic soils (common under conifers or after drought). For timing applications with irrigation cycles, our smart hose timer review covers programmable units that prevent overwatering after treatment.
Starter Stack (What to Choose First)
Branch 1 Starter: Thatch-Only Lawn
Pair a manual thatch rake (Item 1) for edges and tight spots with an electric dethatcher (Item 2) for the main area. The electric unit handles 80 to 90 percent of the work; the manual rake reaches where the machine cannot, including around sprinkler heads and along fence lines. Total cost, assuming purchase of both tools, runs $120 to $250. If you already own a riding mower and your lawn exceeds 8,000 square feet, substitute the tow-behind unit (Item 3) for the electric dethatcher; cost drops to $80 to $150. Time budget: one half-day for the initial dethatch, plus one hour for manual touch-ups.
Branch 2 Starter: Compaction-Only Lawn
Rent a powered core aerator (Item 6) for the primary treatment, then maintain with liquid aerator (Item 7) applied once in mid-spring and once in early fall. The powered rental costs $50 to $90 for a half-day; liquid concentrate runs $20 to $35 per season. This stack addresses the structural cause (compaction) with mechanical force and the maintenance gap (surface sealing between mechanical aerations) with chemistry. Avoid the temptation to substitute spike aeration; the cost difference between spike and core rental is typically under $20, and the soil structure outcome differs substantially.
Branch 3 Starter: Thatch-Plus-Compaction Lawn
Sequence an electric dethatcher (Item 2) followed two weeks later by a powered core aerator (Item 6). The gap between operations is non-negotiable: grass needs time to generate new tillers after dethatching before it can withstand the stress of core extraction. Budget $180 to $320 for both rentals plus any necessary raking tools. If budget forces a single operation, aerate alone; aeration partially breaks up moderate thatch while fixing the deeper constraint. For efficient post-aeration watering, a drip irrigation starter kit delivers water directly to root zones without surface loss.
When This Won’t Work
Failure condition 1: You dethatch during drought dormancy. Dethatchers of any type pull and tear at grass plants. If the lawn is not actively growing, those plants cannot recover, and you will open bare soil to weed invasion. The measurable threshold: if soil temperature at a two-inch depth has exceeded 85 degrees Fahrenheit for more than five consecutive days and no rain has fallen in that window, postpone all dethatching. Water deeply for one week before reassessing.
Failure condition 2: You aerate waterlogged clay. Core aeration of saturated clay soil produces smeared hole walls (a glazed, impermeable surface) rather than clean, open channels. This is the opposite of aeration: it seals the soil further. The field test: squeeze a handful of soil from the aeration depth. If water drips out, the soil is too wet. Wait until it crumbles when squeezed. If your lawn sits in a drainage basin where water pools for more than 24 hours after rain, aeration alone will not solve the problem; regrading or installing a French drain is the correct intervention. For moving heavy soil during such repairs, consult our spade vs shovel comparison to choose the right digging tool.
Choosing the Right Option for Your Situation
Budget Threshold
If your total tool budget is under $50, you are limited to a manual thatch rake (Item 1) and liquid aerator (Item 7). These two together cover light thatch removal and maintenance-level soil conditioning. For anything beyond light work, rental is the next step: a half-day core aerator rental costs $50 to $90 in most US and Canadian markets; UK and Australian prices range from £40 to £70 and AUD 70 to 120 respectively.
Time Threshold
If you have a single morning available, the manual thatch rake or spike aerator are the only methods feasible without prior equipment arrangement. Renting a powered unit requires pickup, operation, cleaning, and return; budget a full day the first time. For German and New Zealand homeowners where rental depots may close on Sundays, plan a Saturday rental to avoid a two-day charge for a one-day job.
Soil Type Constraint
Clay soils above 30 percent clay content (the soil feels sticky and forms a ribbon when rolled between your palms) demand core aeration; spike aeration and liquid products cannot overcome the physical density. Sandy loam soils respond adequately to spike or liquid aeration as a maintenance practice. Perform the jar test: shake soil with water, let it settle for 24 hours, and measure the clay layer. If it exceeds one-third of the total settled depth, clay is your dominant fraction.
Yes/No Checklist:
Have you measured your thatch depth with a ruler? Yes / No
Have you tested soil compaction with a screwdriver or penetrometer? Yes / No
Is your grass actively growing (soil temperature 50 to 75 degrees Fahrenheit)? Yes / No
Do you have a clear plan for debris removal or core breakdown within 10 days? Yes / No
Expert Q&A
Can I dethatch with a regular garden rake instead of a specialized thatch rake?
A standard leaf rake tines are too flexible and widely spaced to penetrate thatch. You will remove surface leaves but leave the mat intact. A thatch rake or scarifying rake has rigid, short tines designed to dig into the thatch layer. The difference is mechanical, not cosmetic: a leaf rake applies roughly 2 to 4 pounds of pull force to the thatch; a thatch rake delivers 15 to 25 pounds at the tine tip.
How do I know if my lawn needs dethatching or just better mowing habits?
If the thatch layer is under half an inch but the lawn feels spongy underfoot, the cause may be overwatering and leaving clippings too long between cuts. Switch to mowing every 5 to 7 days during peak growth with a mulching blade, and measure thatch again after 6 weeks. Thatch below half an inch is beneficial: it insulates soil and reduces evaporation.
Does aeration help with moss problems?
Moss is almost always a symptom of surface moisture retention caused by compaction, shade, or low pH, not a stand-alone problem. Aerating improves drainage, which reduces the surface wetness moss needs. However, if the area receives less than four hours of direct sunlight daily, aeration alone will not eliminate moss; shade-tolerant groundcover may be the more durable solution.
Can I use a tiller instead of an aerator for soil loosening?
A tiller turns and mixes the top six to eight inches of soil, which destroys existing grass and roots. It is appropriate for a full lawn renovation where you plan to reseed, not for relieving compaction in an established lawn. Core aeration preserves the existing turf while creating vertical channels. Tilling is demolition; aeration is rehabilitation.
Why do rental aerators weigh so much, and does weight matter?
A powered core aerator typically weighs 200 to 300 pounds. The weight is functional: hollow tines require downward force to penetrate compacted soil and extract a clean plug. If the machine is too light, tines bounce and create shallow, incomplete holes. The weight also stabilizes the tine path so plugs are vertical, not angled, which matters for water infiltration depth.
Conclusion
The core decision reduces to a single measurement: thatch depth exceeding half an inch points you toward dethatching; soil that resists a screwdriver points you toward aeration. Most lawns that look tired have a compaction problem masquerading as a thatch problem. The number one mistake is using a dethatcher on compacted soil with minimal thatch, which removes the grass’s protective layer without fixing the reason water and nutrients were not reaching roots in the first place.
If you own only one powered lawn tool beyond a mower, make it a core aerator rental once every one to two years. For storing all your lawn and garden tools in a layout that makes seasonal equipment swaps fast, see our garden tool organizer ideas.