
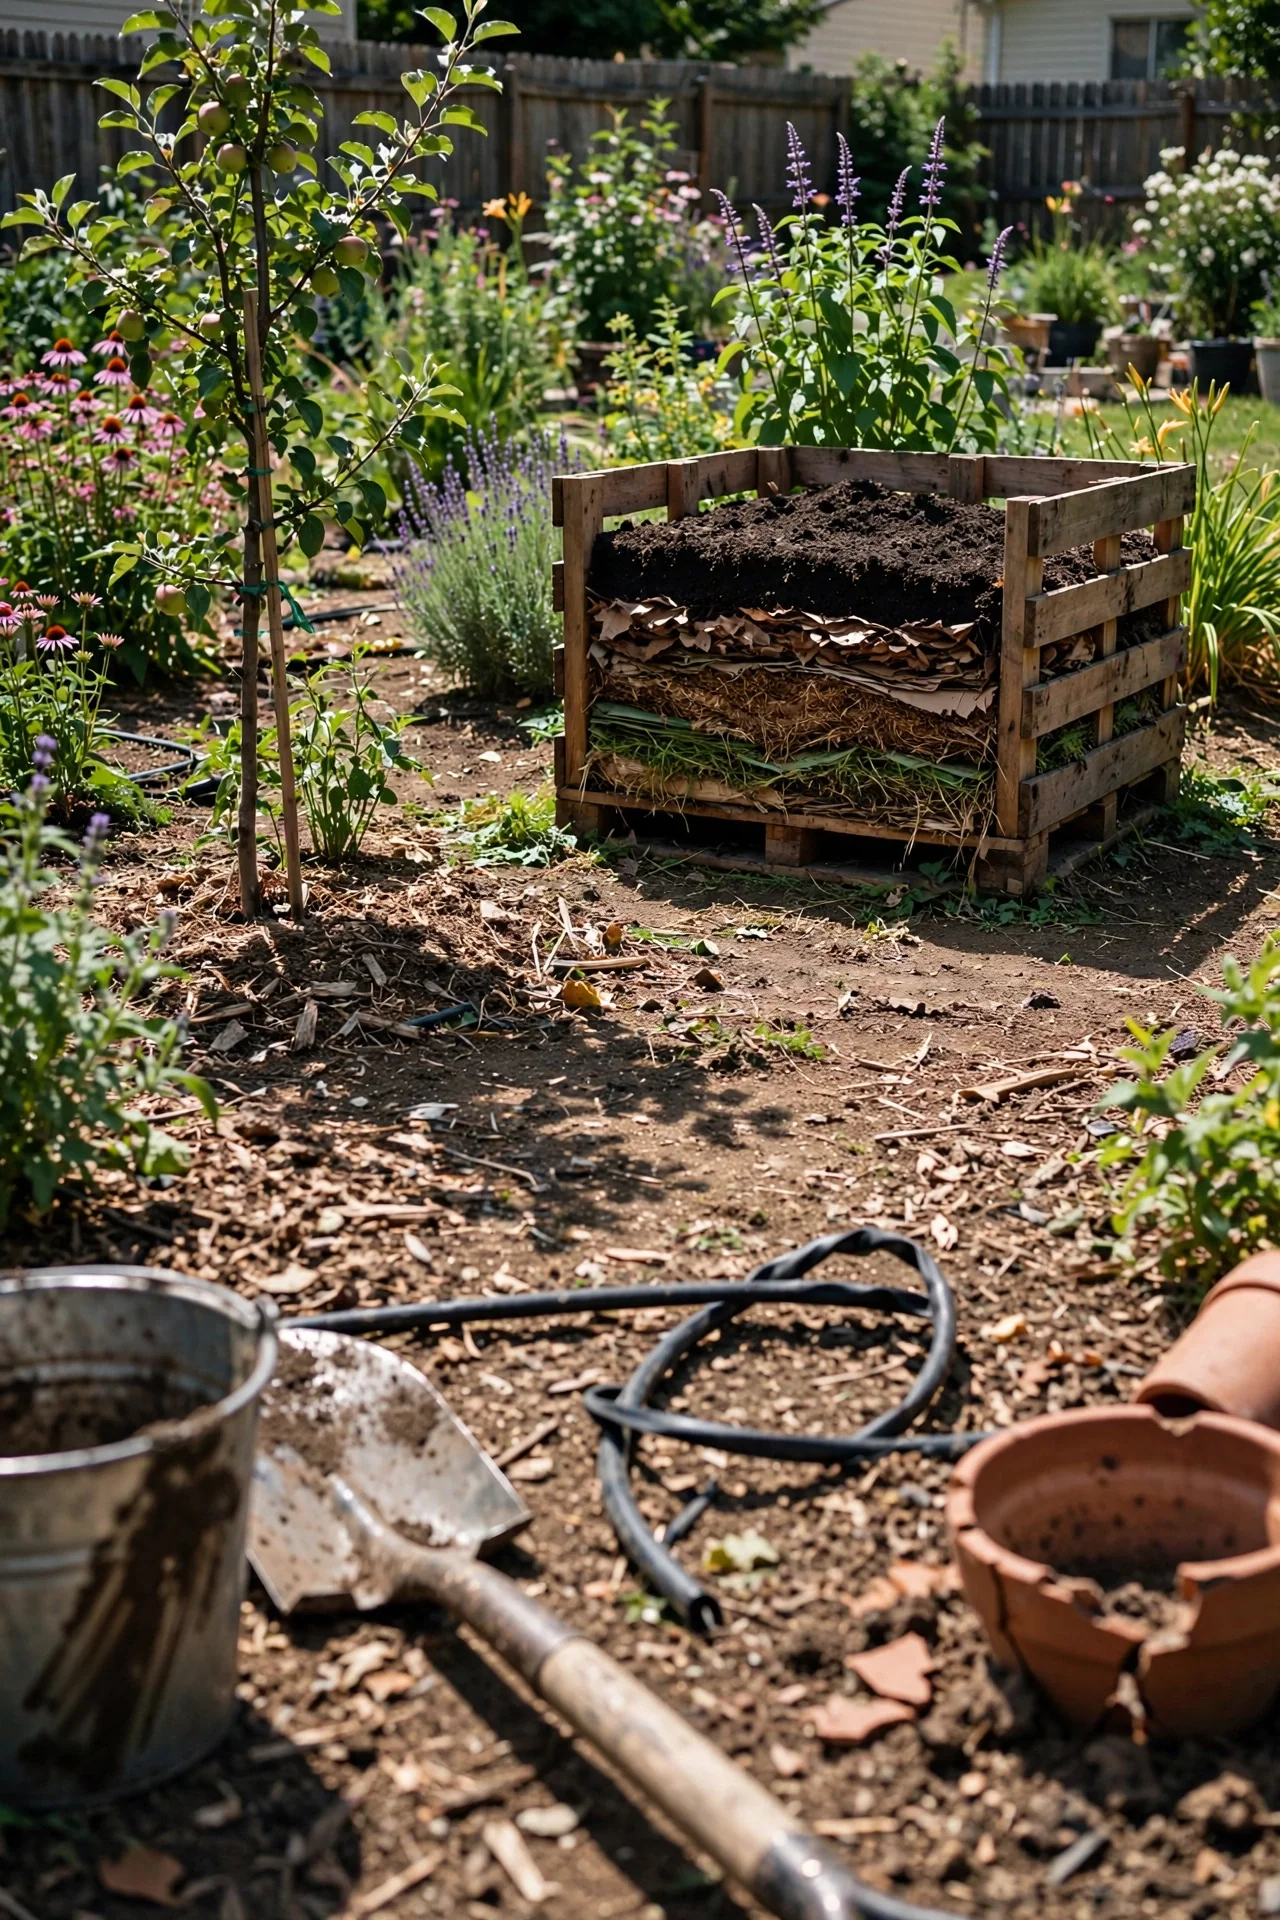
Cold composting is consistently framed as the lazy gardener’s shortcut. That framing misses the point. The real value of a cold pile is not that it saves labor; it is that the deliberate, low-intervention decomposition pathway produces a fungal-rich, aggregates-stable compost that mirrors what happens on a forest floor. If your garden leans toward perennial beds, shrubs, trees, or long-term soil building, cold composting is not a compromise. It is the better tool for that job.
This article maps the decisions you face when starting or adjusting a cold compost system: siting, ingredient selection, moisture, aeration frequency, vermin control, winter management, and when the material is ready to use. We exclude hot composting comparisons except where a specific threshold (pile volume, ingredient ratio, or timeline) makes hot composting the safer choice. We also exclude vermicomposting, bokashi, and mechanical tumblers, which operate under different biological rules.
By the end, you will know which of three decision branches fits your context, exactly which stackable tactics apply to that branch, and which conditions would make cold composting a poor fit. Every recommendation is tied to measurable checkpoints: pile dimensions, carbon-to-nitrogen ranges, temperature bands, and moisture indicators you can test with your hands.
Bottom line: If you have at least 6 to 12 months before you need finished compost and you grow long-lived plants, cold composting is likely your highest-return soil-building move.
The Yield Grid Decision Grid
Branch 1: The Patient Perennial Grower. You have 12-plus months before planting and you grow mostly trees, shrubs, or permanent beds. Your priority is long-term soil structure and fungal biomass, not rapid nutrient release. Recommended: Items 1, 4, 7 below.
Branch 2: The Weekly Kitchen Scrap Recycler. You generate regular food scraps and lightweight yard waste. You need a simple, ongoing system that processes material with minimal handling and controls odor and pests. Recommended: Items 2, 3, 5 below.
Branch 3: The Seasonal Mulch-and-Forget Grower. You want a once-a-year or twice-a-year compost harvest that feeds beds with minimal weekly effort. You are comfortable letting piles sit for a full season. Recommended: Items 6, 8, 9 below.
For foundational composting concepts that underpin everything below, see our composting fundamentals overview.
Quick Comparison Table
| Option | Key mechanism | Best for | Decision Grid Branch | Effort Score (1–5) |
|---|---|---|---|---|
| 1. Permanent open bin or wire enclosure | Static pile; fungal networks remain undisturbed | Perennial beds, woodland gardens | Branch 1 | 1 |
| 2. Brown-to-green ratio by eye | Carbon surplus slows but stabilizes decomposition | All beginners; outdoor piles | Branch 2 | 2 |
| 3. Ingredient exclusion list | Removes pathogen and odor risk at the source | Kitchen scrap recyclers; small-space setups | Branch 2 | 1 |
| 4. Layered brown-and-green sandwich | Creates micro-habitats for fungi and actinobacteria | Large seasonal additions; leaf-heavy sites | Branch 1 | 3 |
| 5. Sponge-test moisture check | Maintains 40–60% water-filled pore space | Arid climates; exposed, windy sites | Branch 2 | 2 |
| 6. Occasional aeration (monthly turn or probe) | Restores oxygen without collapsing fungal hyphae | Slow-working piles; Branch 3 growers | Branch 3 | 3 |
| 7. Insulated winter jacket or tarp | Preserves core heat to maintain mesophilic activity | USDA zones 4–7; high-elevation gardens | Branch 1 | 1 |
| 8. Hardware-cloth base barrier | Physical exclusion of burrowing rodents | Rural and suburban sites with vermin pressure | Branch 3 | 1 |
| 9. Maturity check (dark, crumbly, earth-smelling) | Sensory fingerprint of humified organic matter | Before using compost on any bed | Branch 3 | 1 |
| 10. Odor and texture troubleshooting | Corrects anaerobic and overly dry zones | Stacks that stall or smell | Branch 2 | 4 |
| 11. Surface application as mulch | Bypasses incorporation; feeds soil from the top down | Established perennial beds; tree rings | Branch 3 | 1 |
| 12. Biochar pre-charge in cold compost | Inoculates biochar with microbes before soil addition | Sandy or degraded soils needing carbon infrastructure | Branch 1 | 2 |
1. Choose a Stationary Bin That Matches Your Waste Stream
Best for: Branch 1
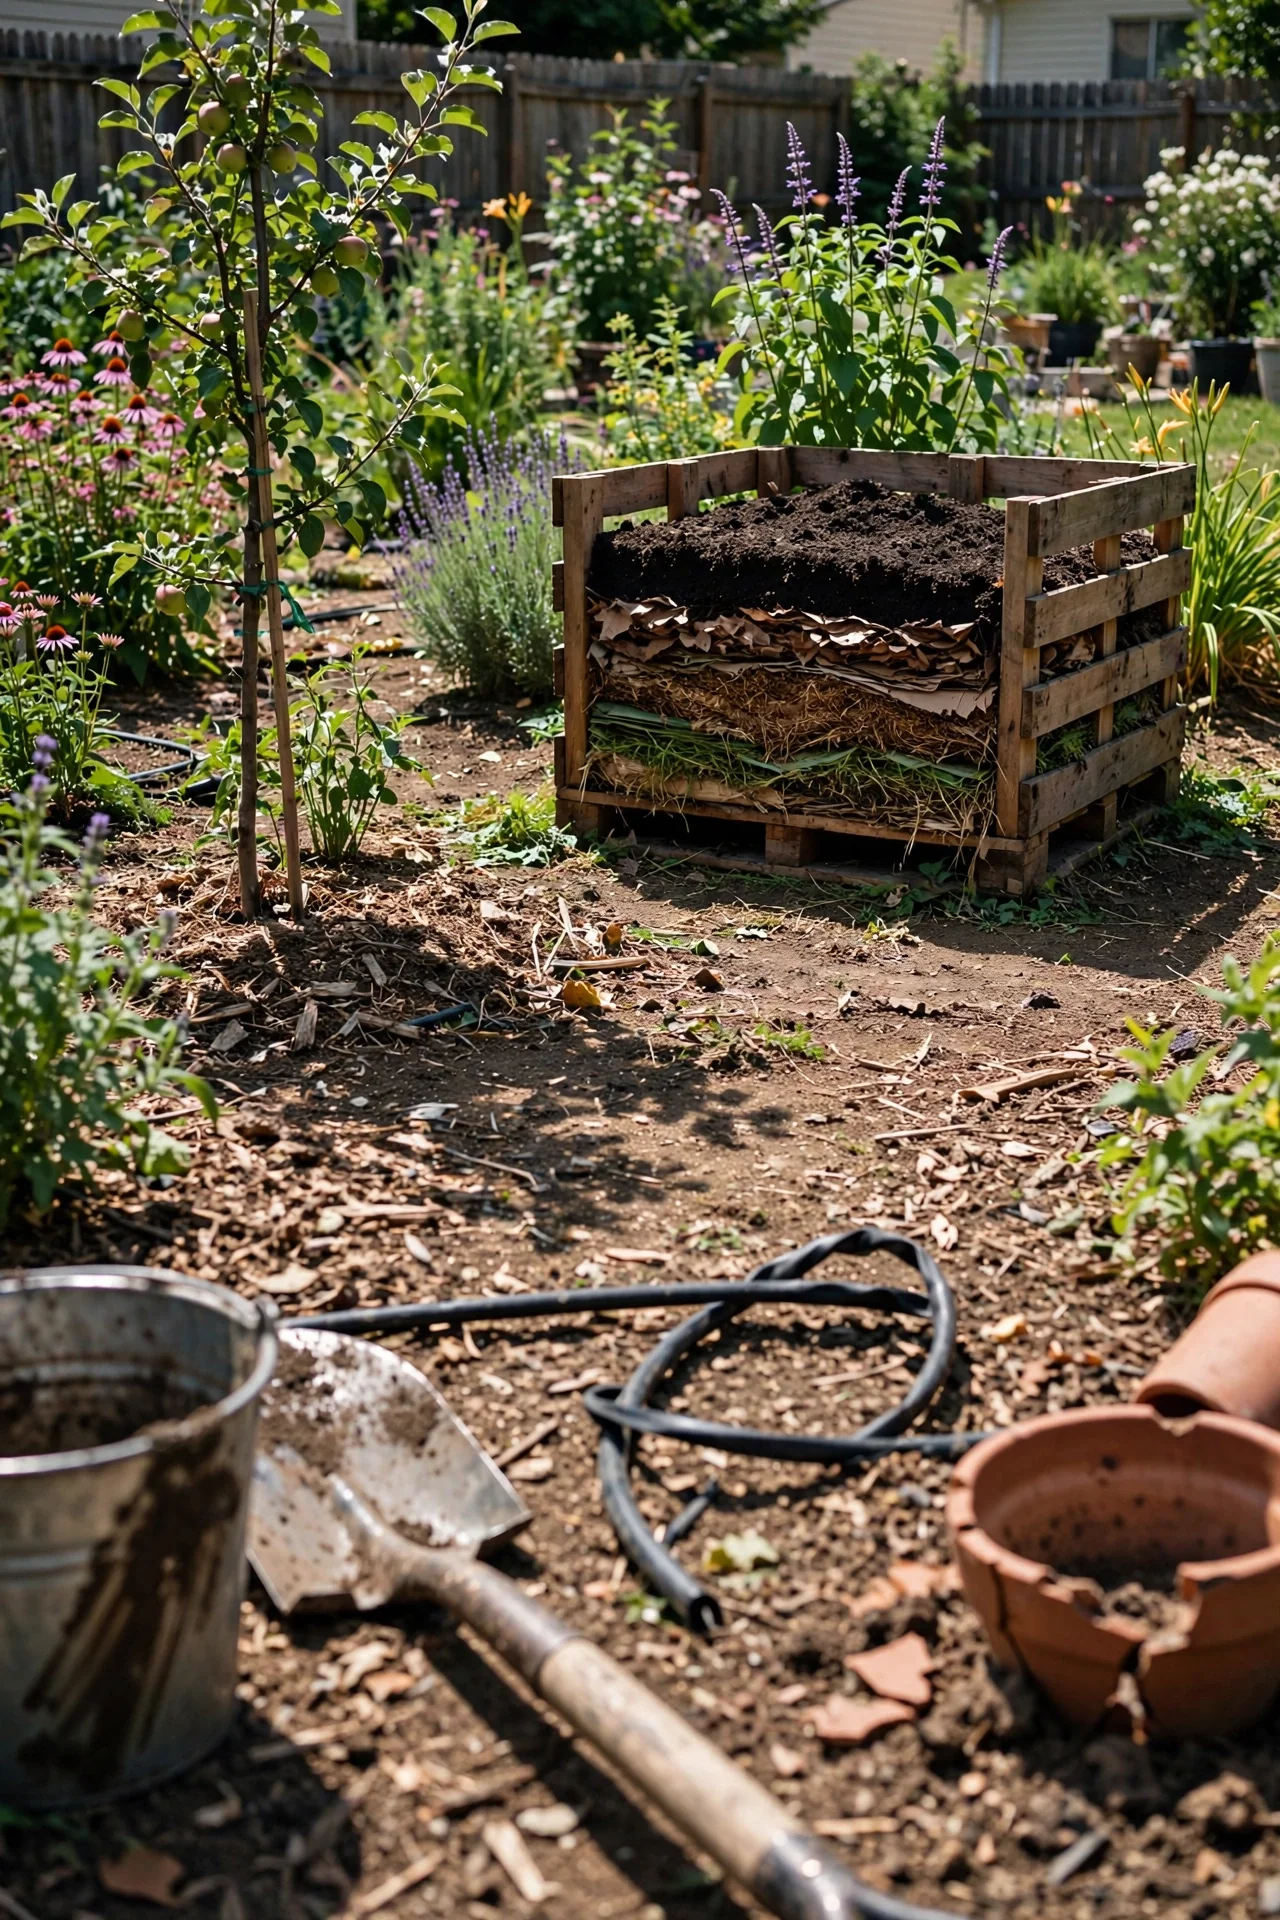
A cold pile succeeds when the container—if you use one—does not outpace your biomass input. For a household that fills roughly 3 to 5 gallons of scraps per week, a single 3x3x3-foot bin made of wooden pallets or 1/2-inch hardware cloth provides enough volume to sustain passive decomposition without frequent turning. Larger bins (4x4x4 feet) work only if you generate yard waste weekly; otherwise the pile sits too dry and stalls.
Build the bin on bare soil, not pavement. This allows soil microbes, fungi, and beneficial nematodes to colonize the pile from below. If you must place it on a hard surface, add a 4-inch layer of finished compost or garden soil at the base as an inoculant. Do not use a solid plastic bin without side ventilation in a cold-compost setup: the lack of air exchange combined with infrequent turning creates anaerobic pockets that smell of ammonia or rotten eggs, especially when kitchen scraps dominate the mix.
For bin designs tuned to different space constraints, see our collection of compost bin ideas.
2. Use a 3-to-1 Brown-to-Green Visual Ratio
Best for: Branch 2
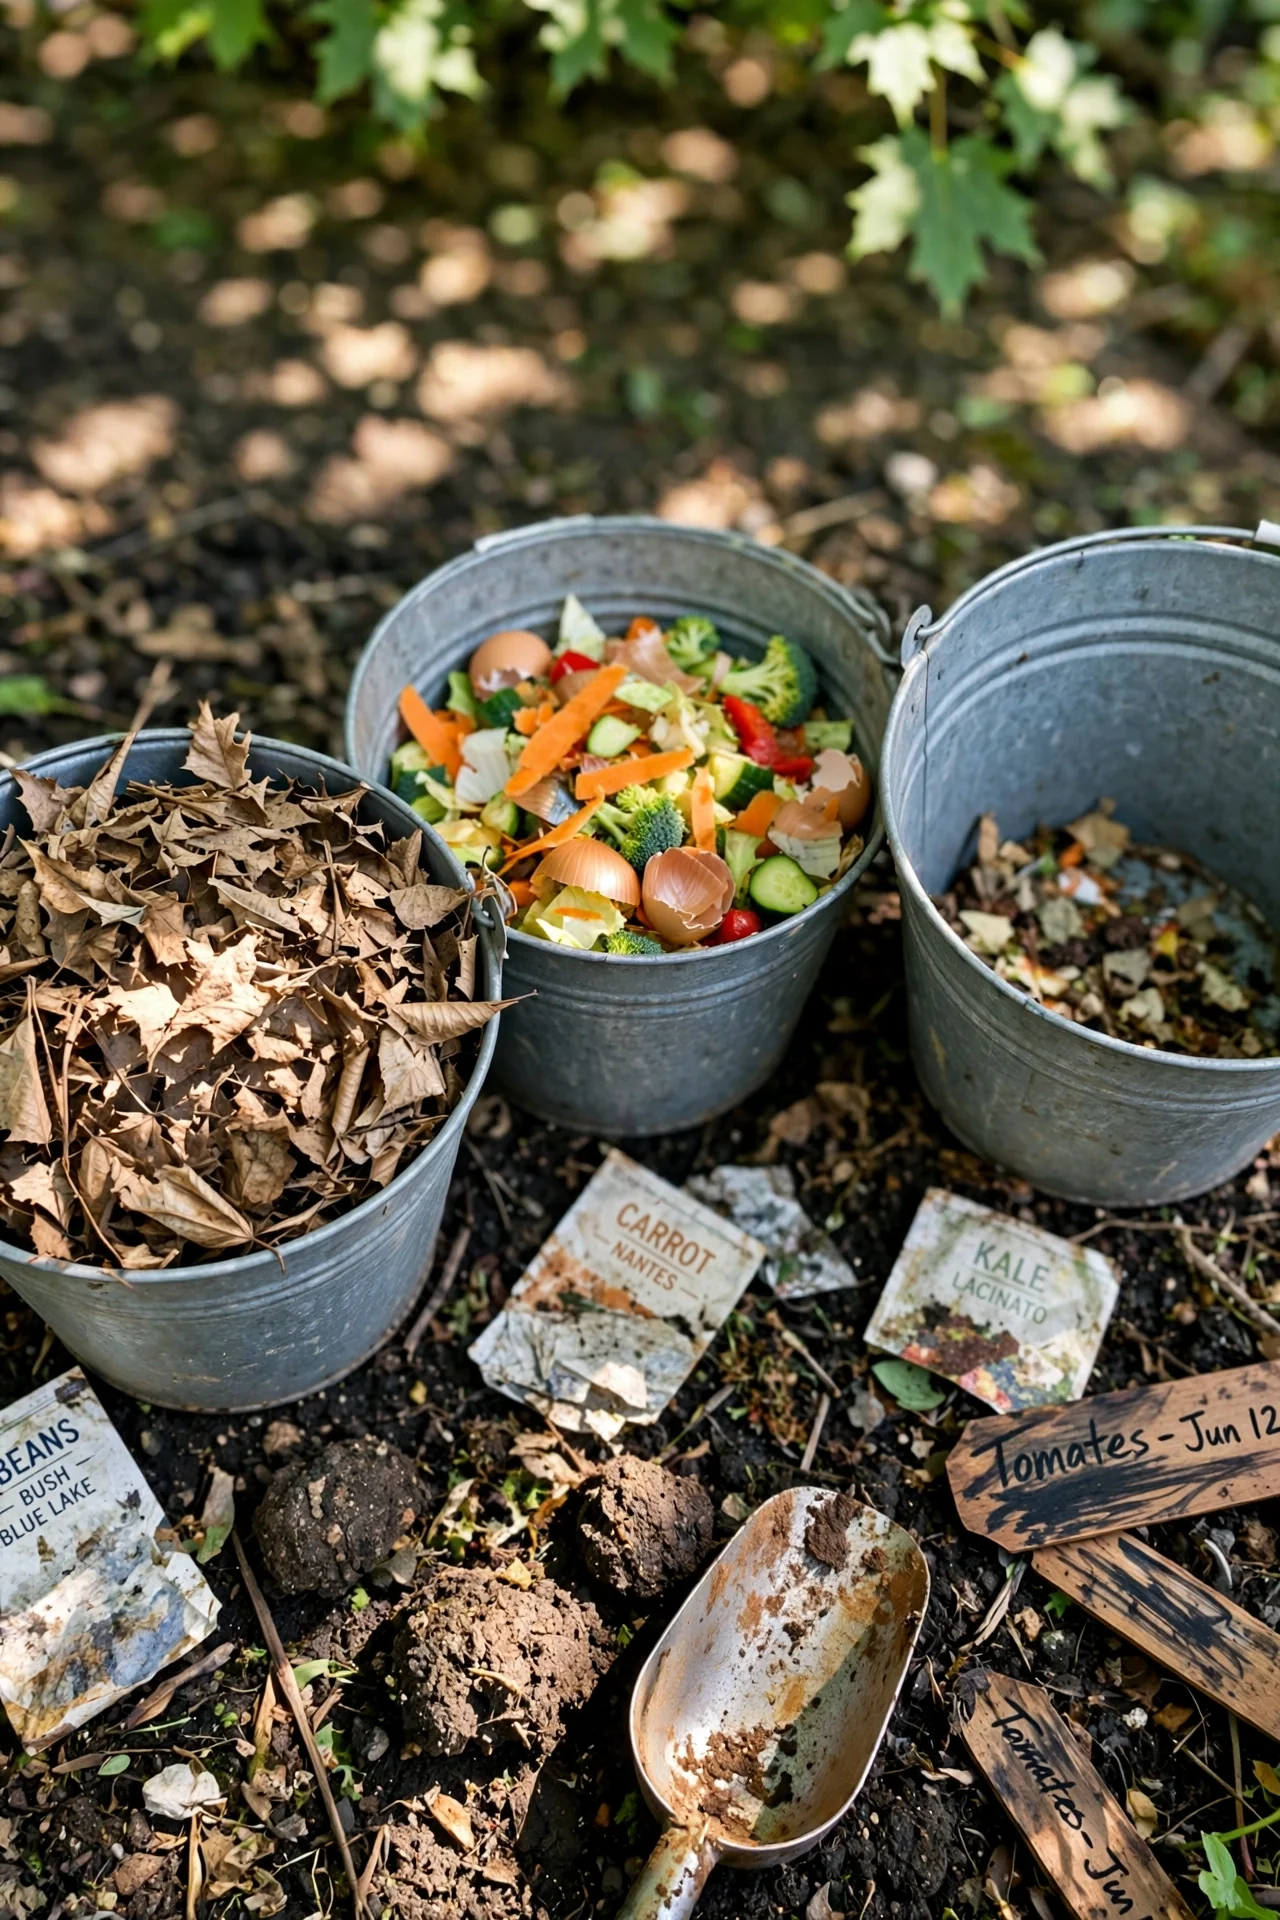
Cold composting tolerates ratio drift better than hot composting, but two extremes still cause trouble. More than 4 parts browns to 1 part greens starves the decomposer microbes of nitrogen and can keep material intact for two years or longer. Less than 1 part browns to 1 part greens risks a wet, ammonia-emitting mass. For most households, a visual target of three buckets of browns (shredded leaves, cardboard, wood chips) for every bucket of greens (veggie scraps, grass clippings) hits a workable carbon-to-nitrogen band without weighing or calculating.
What to skip: Precision C:N calculators. In cold piles, the variation across the pile makes decimal-point ratios meaningless. Instead, use smell as your gauge—a sour or ammonia note means you need more browns.
3. Exclude These Materials, No Exceptions
Best for: Branch 2
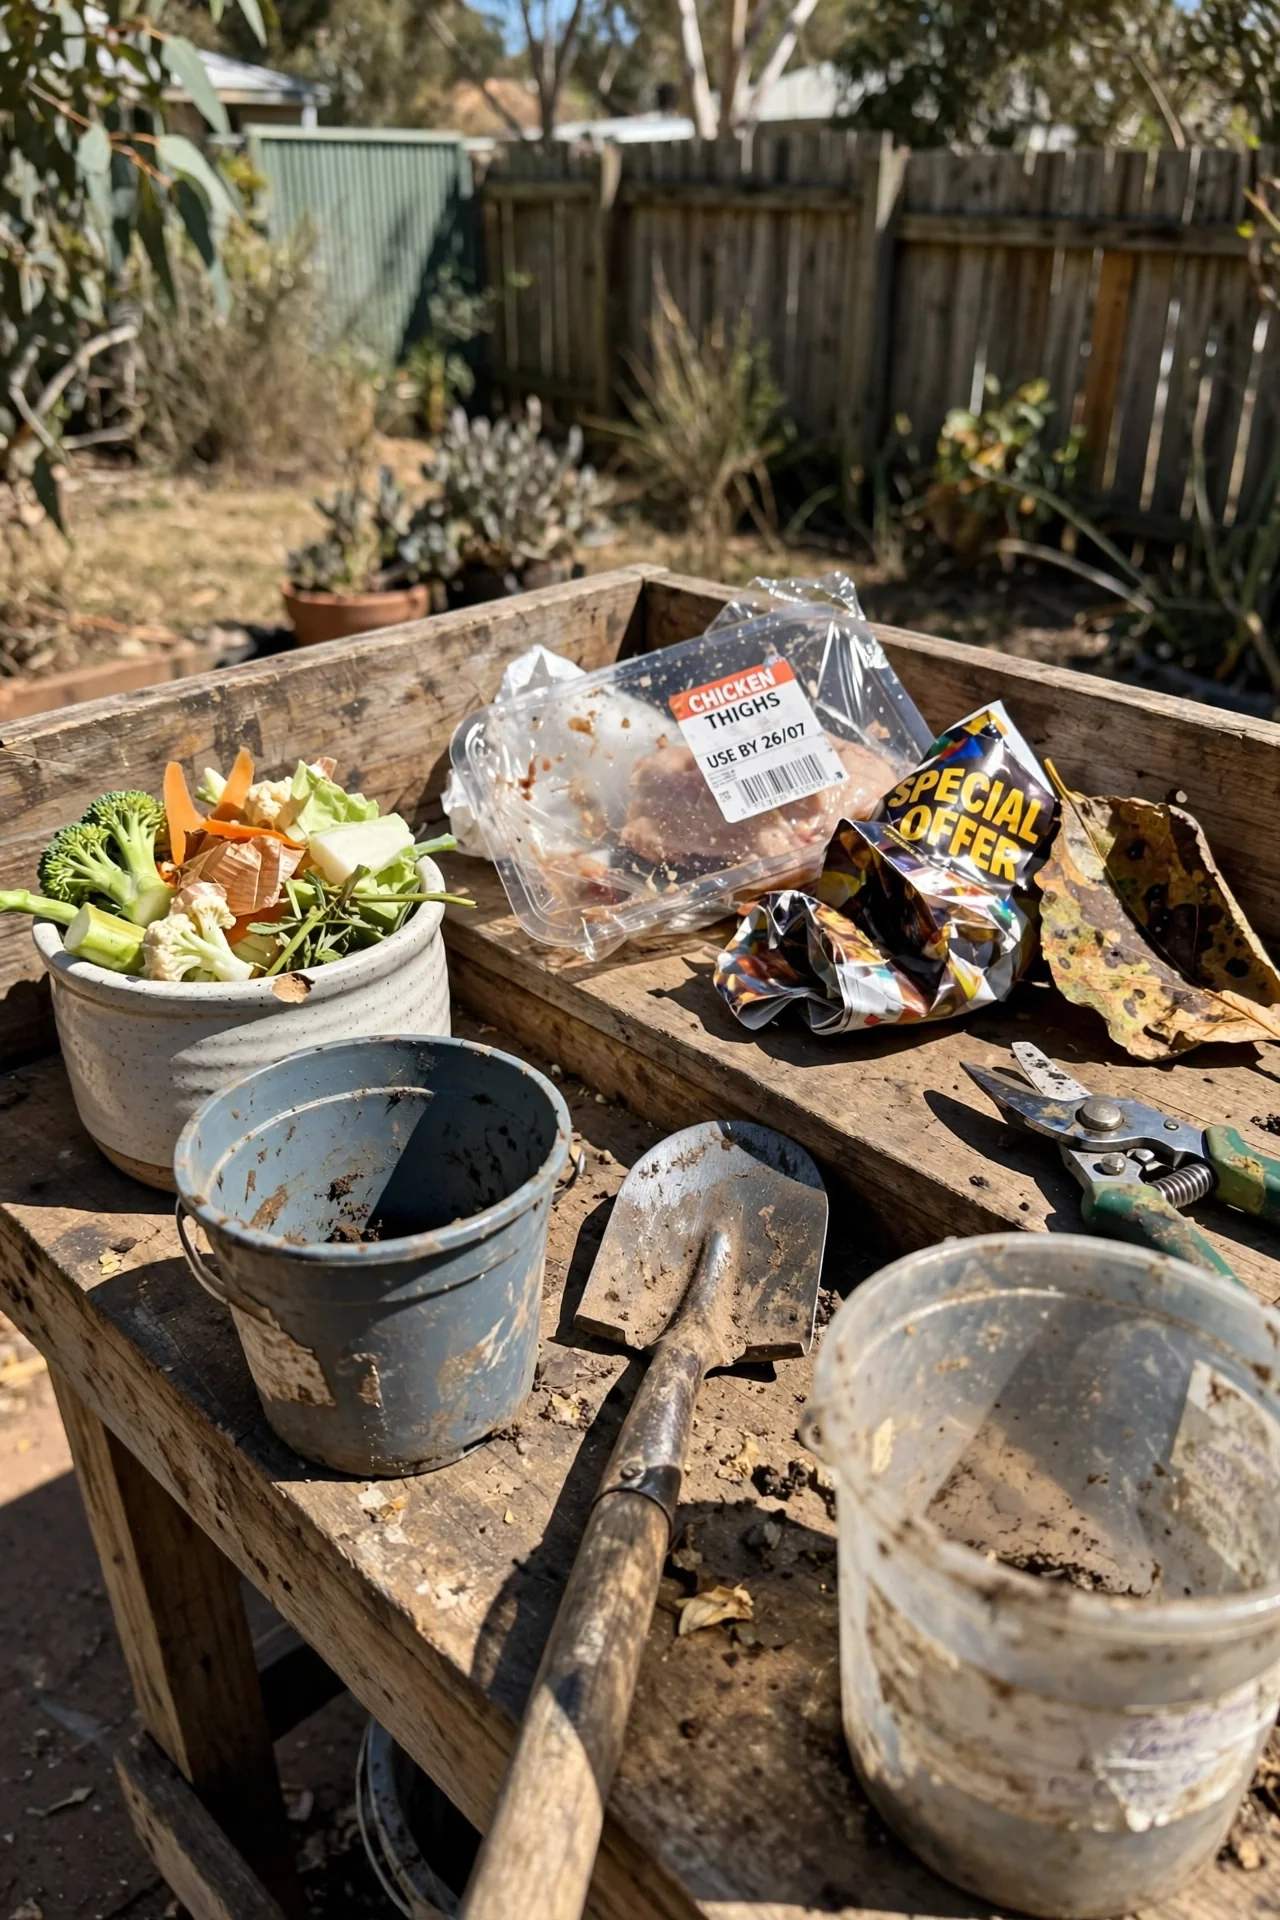
Cold piles do not reach the sustained 130–160°F needed to kill pathogens or weed seeds. Therefore, the exclusion rule is stricter than for hot composting. Never add meat, bones, dairy, oils, pet waste, or glossy-coated paper. Also exclude weeds that have set seed and any plant material showing signs of fungal disease such as powdery mildew or blight. If you accidentally introduce diseased material, remove it immediately and solarize it in a black plastic bag for 6 weeks before discarding.
For a complete breakdown of materials that belong in the trash instead of the pile, consult our guide to what not to compost.
4. Build Layers That Mimic Forest-Floor Structure
Best for: Branch 1
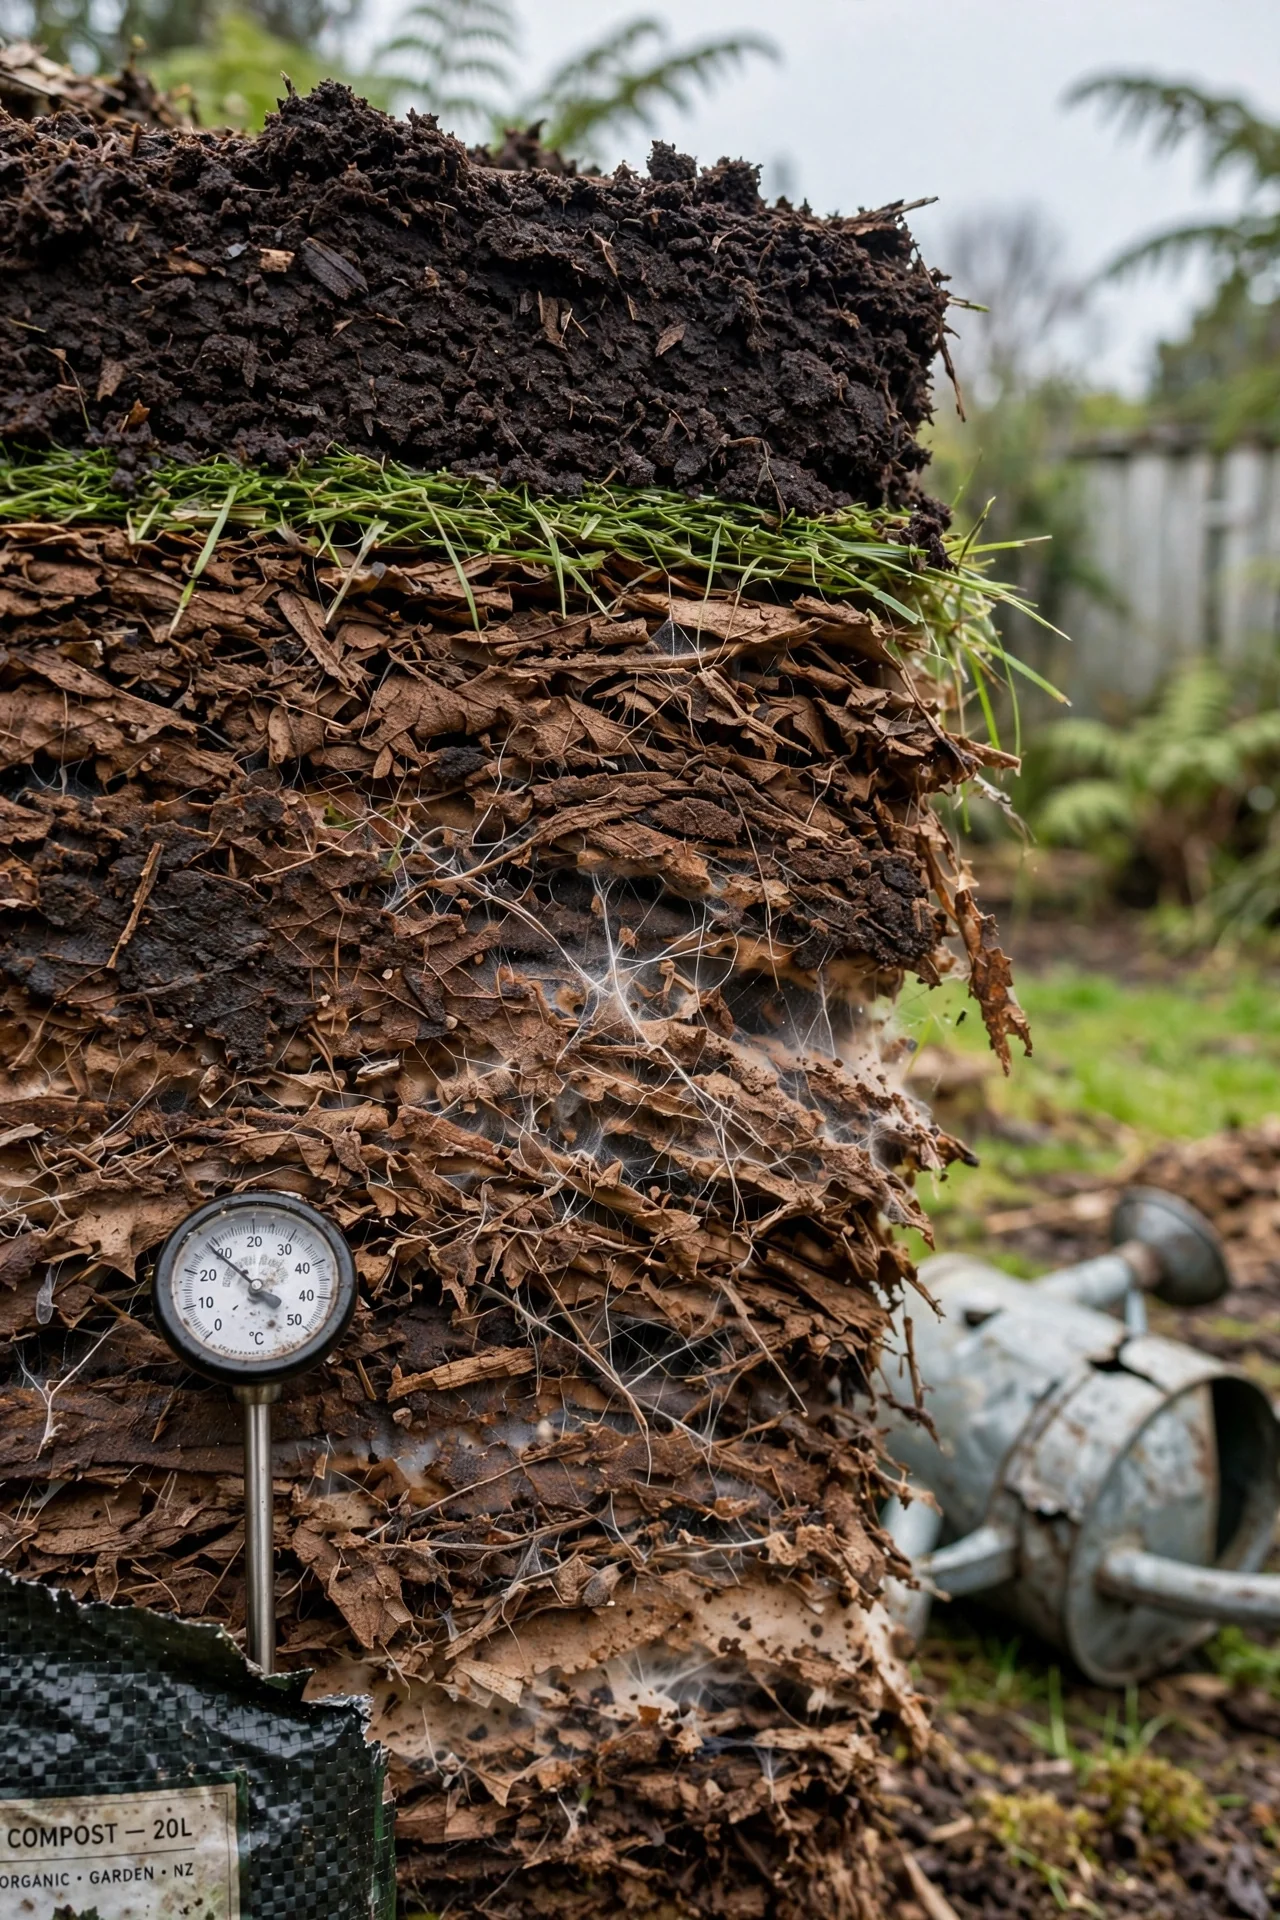
The most resilient cold piles are not mixed; they are stacked in alternating 2- to 4-inch layers of browns and greens, topped with a 1-inch soil or finished-compost cap. This architecture creates horizontal zones where fungi can extend hyphae without being shredded by turning. The soil cap traps ammonia, retains moisture, and introduces a fresh wave of decomposers each time you add material.
The mistake most beginners make is tossing in thick, matted grass clippings as a single green layer. Those layers compact into a slimy, oxygen-free sheet that blocks water and air movement. Spread grass clippings in a layer no thicker than 1 inch and immediately cover them with browns. In autumn, collect fallen leaves and run them through a mower before adding them as brown layers. Whole leaves form dense mats that persist for 18 months or longer.
Leaf-only piles are a distinct sub-method worth mastering; our leaf-mold guide explains the two-year timeline and fungal community shift that occurs when you exclude greens altogether.
5. Water Until It Feels Like a Wrung-Out Sponge
Best for: Branch 2
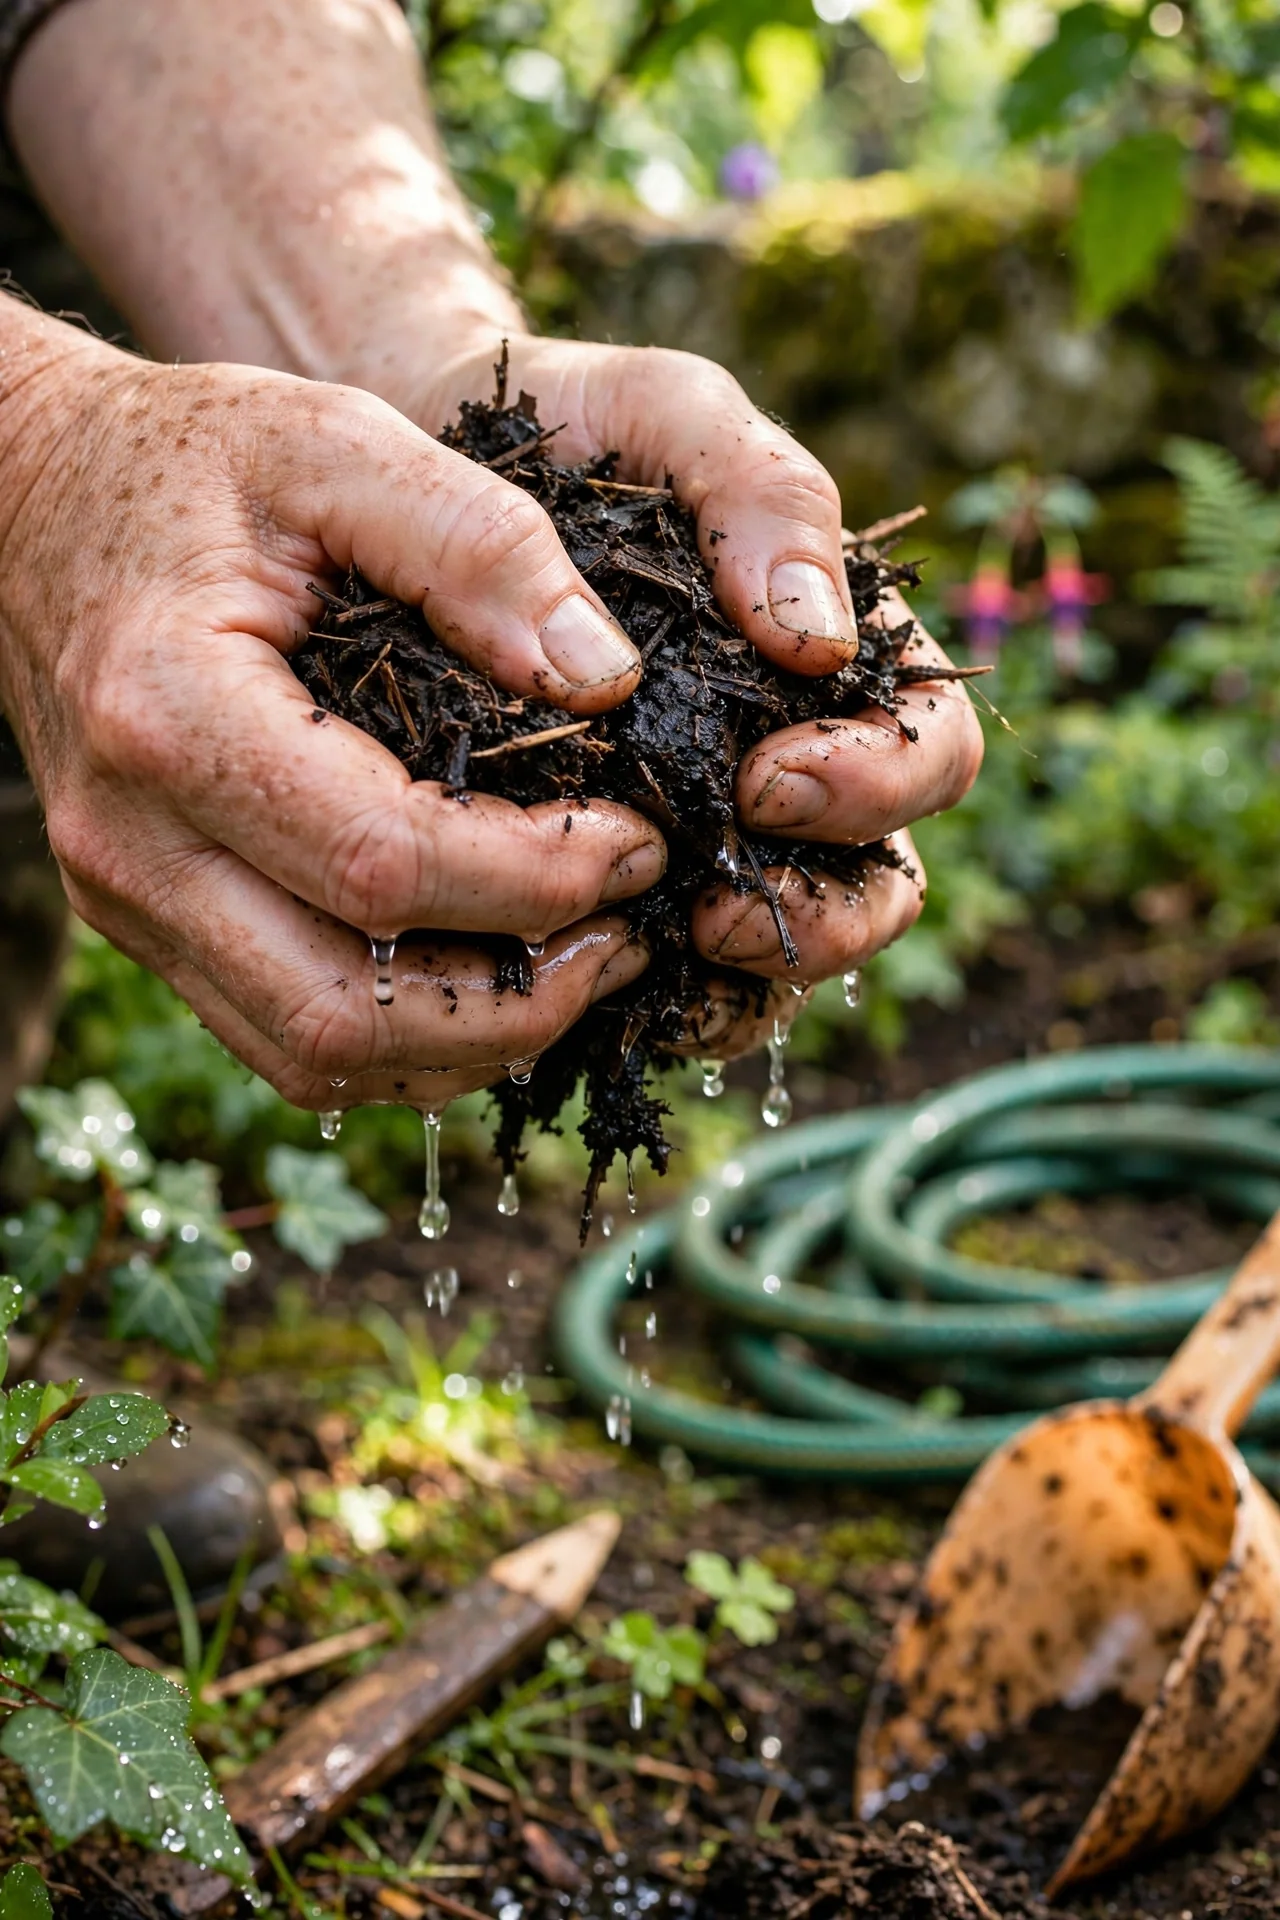
The target moisture in a cold pile is 40–60% water-filled pore space—measurable by squeezing a handful of material. If no water droplets appear and the material falls apart, it is too dry. If water streams out, it is too wet. The right feel: a few drops squeeze out, the material holds its shape briefly, then crumbles. In dry climates or during summer, you may need to add water every 2 to 4 weeks; in rainy regions, cover the pile with a breathable tarp during wet seasons.
What to skip: Moisture meters. The squeeze test is more reliable because it integrates the pile’s variable texture, which probes cannot capture at a single point.
6. Turn or Probe Once a Month, Not Weekly
Best for: Branch 3
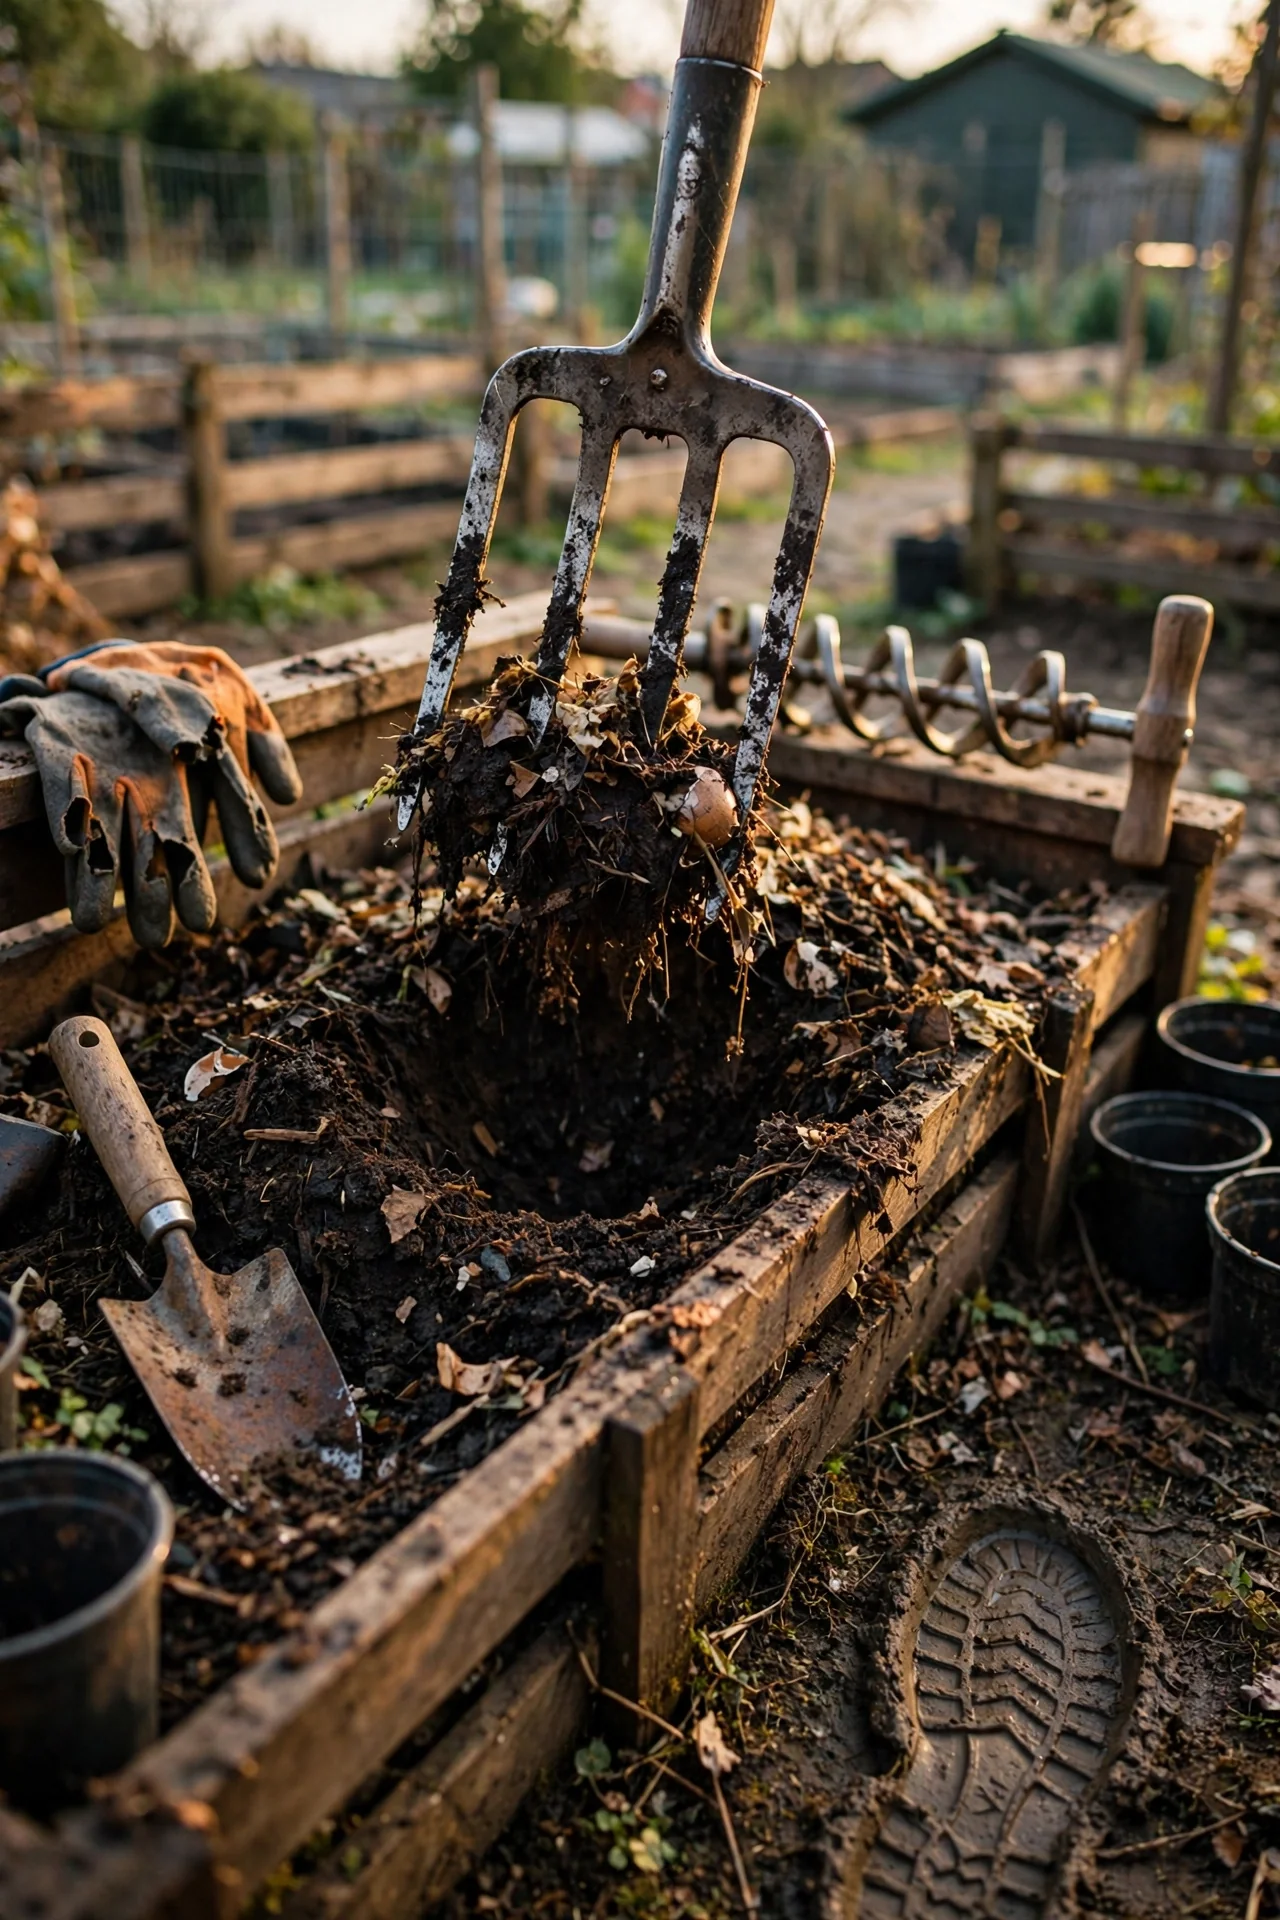
Cold composting does not require turning, but a monthly aeration intervention prevents the bottom third of the pile from becoming permanently anaerobic. The threshold that matters: if you smell hydrogen sulfide (rotten-egg odor) or see a gray, slimy layer when you dig 12 inches down, the pile has crossed into anaerobic territory and needs immediate aeration. Use a compost aerator tool or a garden fork to lift and shift material without fully inverting the pile—full flipping disrupts fungal networks that took weeks to establish.
If you have ever wondered whether you should simply switch to hot composting when a pile stalls, our hot composting method breakdown walks through the volume and labor thresholds that make the switch worthwhile.
7. Insulate for Winter Without Heating the Pile
Best for: Branch 1
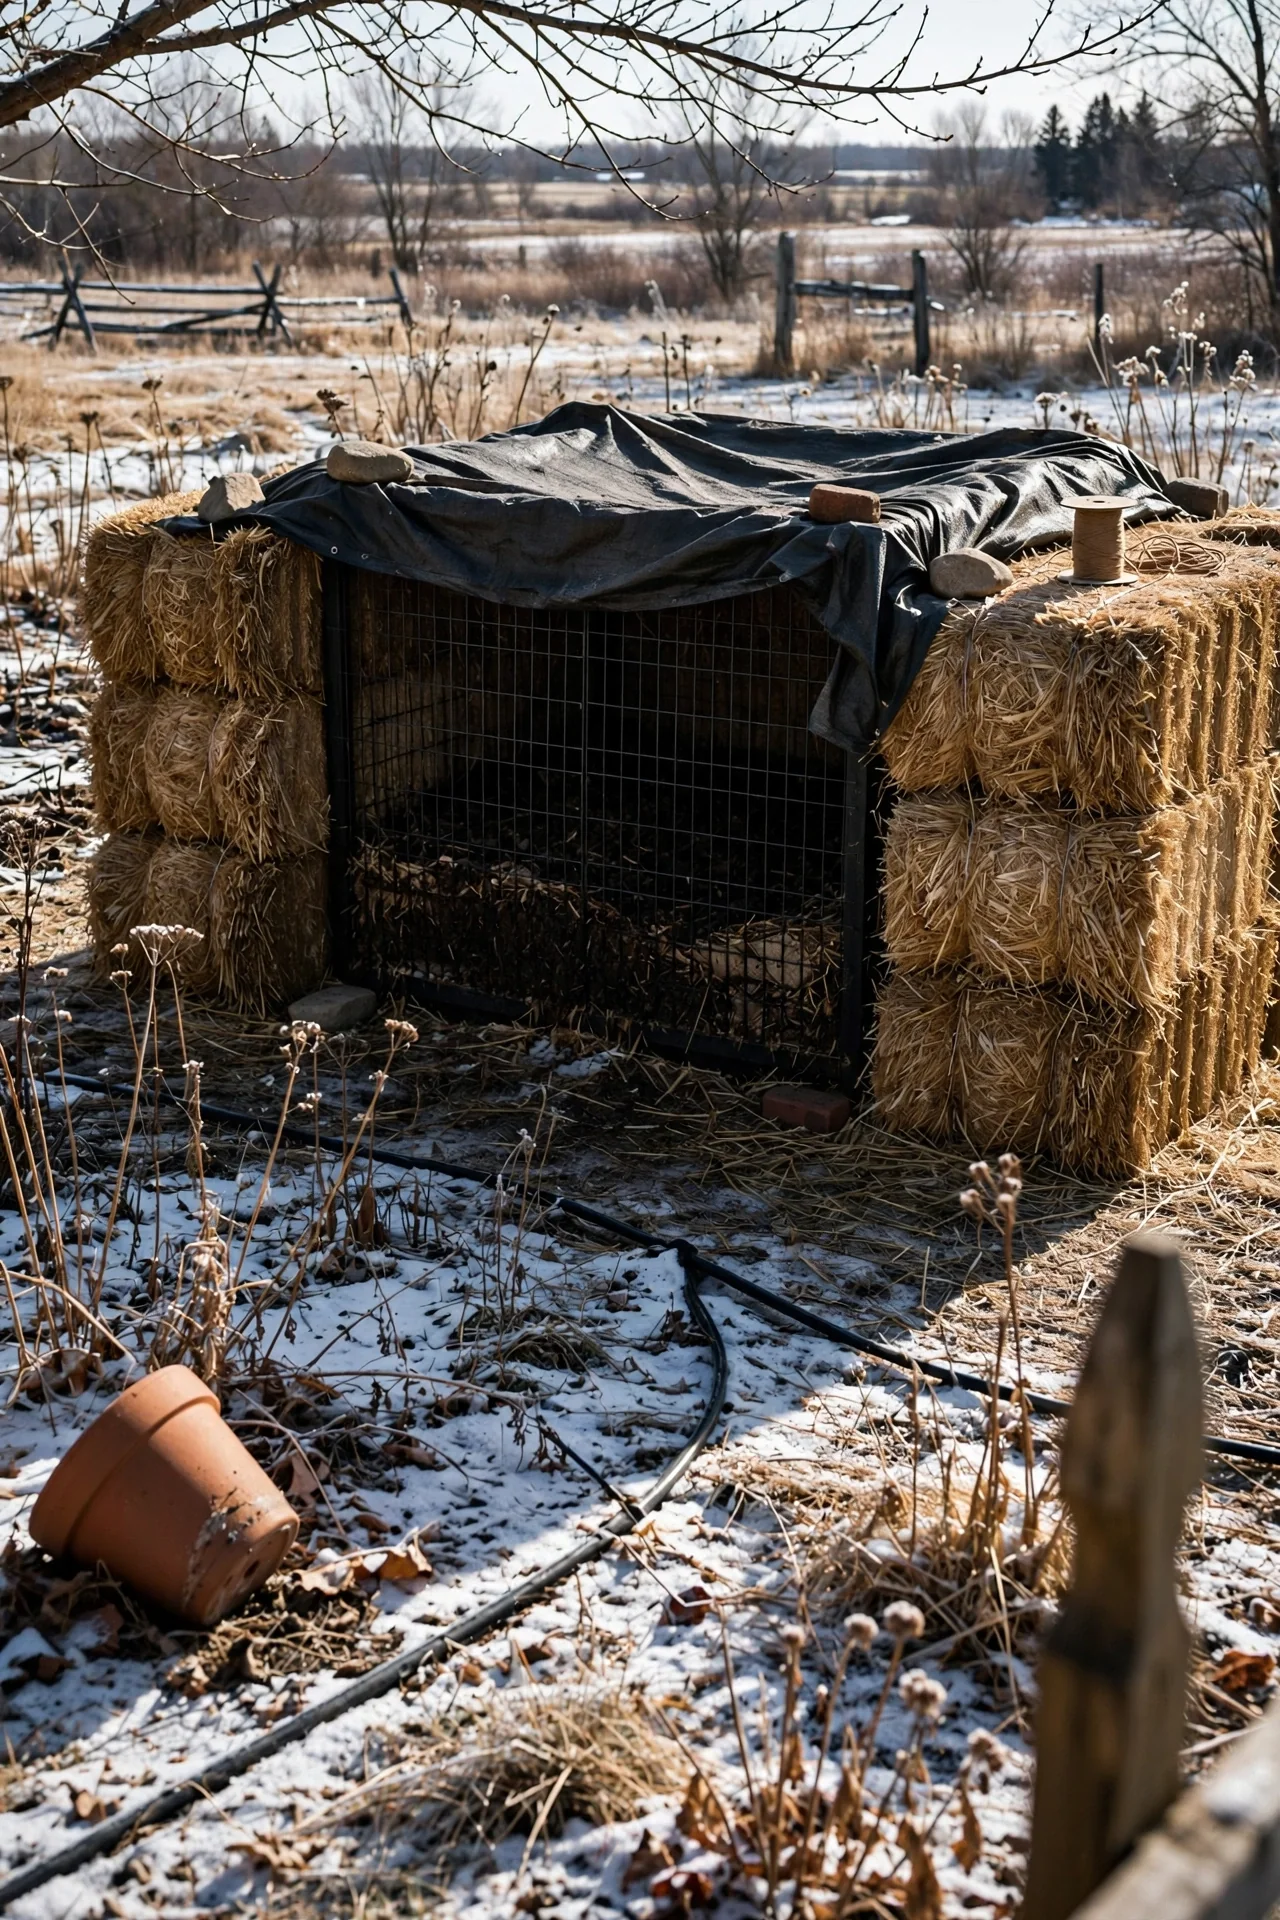
In USDA zones 4 through 7, an uninsulated cold pile can freeze solid from December through February, halting decomposition entirely. A simple intervention: in late autumn, surround the bin with straw bales or heap fallen leaves 12–18 inches thick against the sides. This insulation preserves the core temperature above 40°F, which keeps mesophilic bacteria working slowly through the winter. Remove the insulation in early spring to allow the pile to warm naturally.
Do not add a compost-heating cable or attempt to force thermophilic activity in a cold pile during winter. The rapid temperature swings created by artificial heating kill off the fungal and actinobacterial communities that define cold compost. Also, avoid adding large volumes of kitchen scraps in freezing weather; they freeze before decomposing and create a nitrogen spike when they thaw, often triggering anaerobic slumps.
Winter-specific tactics are covered in depth in our winter composting guide.
8. Anchor a Hardware-Cloth Floor Against Rodents
Best for: Branch 3
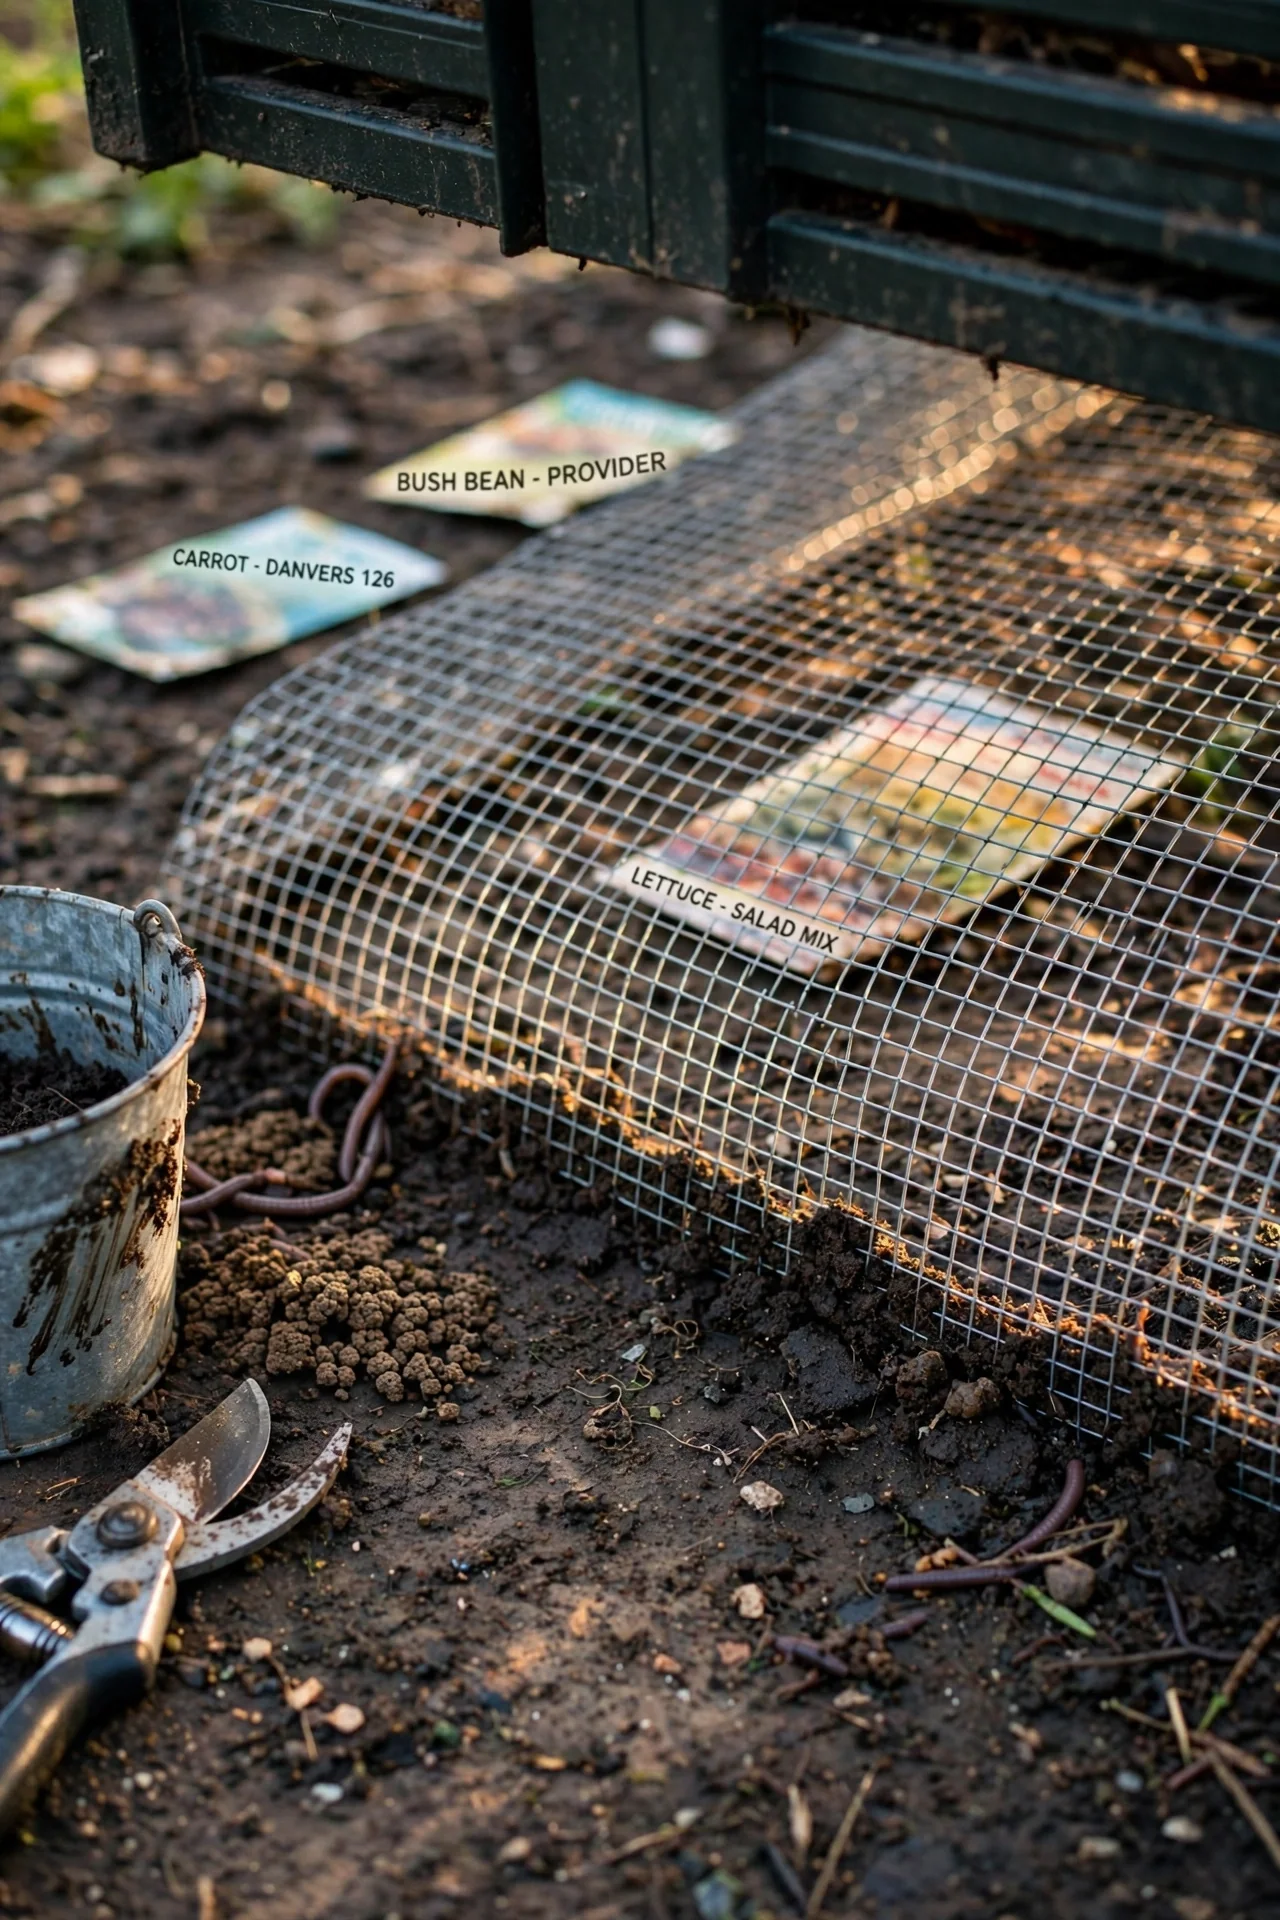
In ground-level piles, rats and mice are drawn to kitchen scraps and the warmth of decomposition. The simplest exclusion method is to line the base of the bin with 1/2-inch galvanized hardware cloth, extending 6 inches outward and buried 4 inches deep. This barrier stops burrowing without blocking earthworms from entering the pile from below. In high-pressure areas, add a second hardware-cloth skirt that flares outward horizontally at the soil surface.
The skip case: raised, enclosed tumblers do not need this barrier. However, tumblers are generally incompatible with cold composting because their small volume and frequent turning push the system toward a hot-compost dynamic.
9. Judge Readiness by Color, Texture, and Smell
Best for: Branch 3
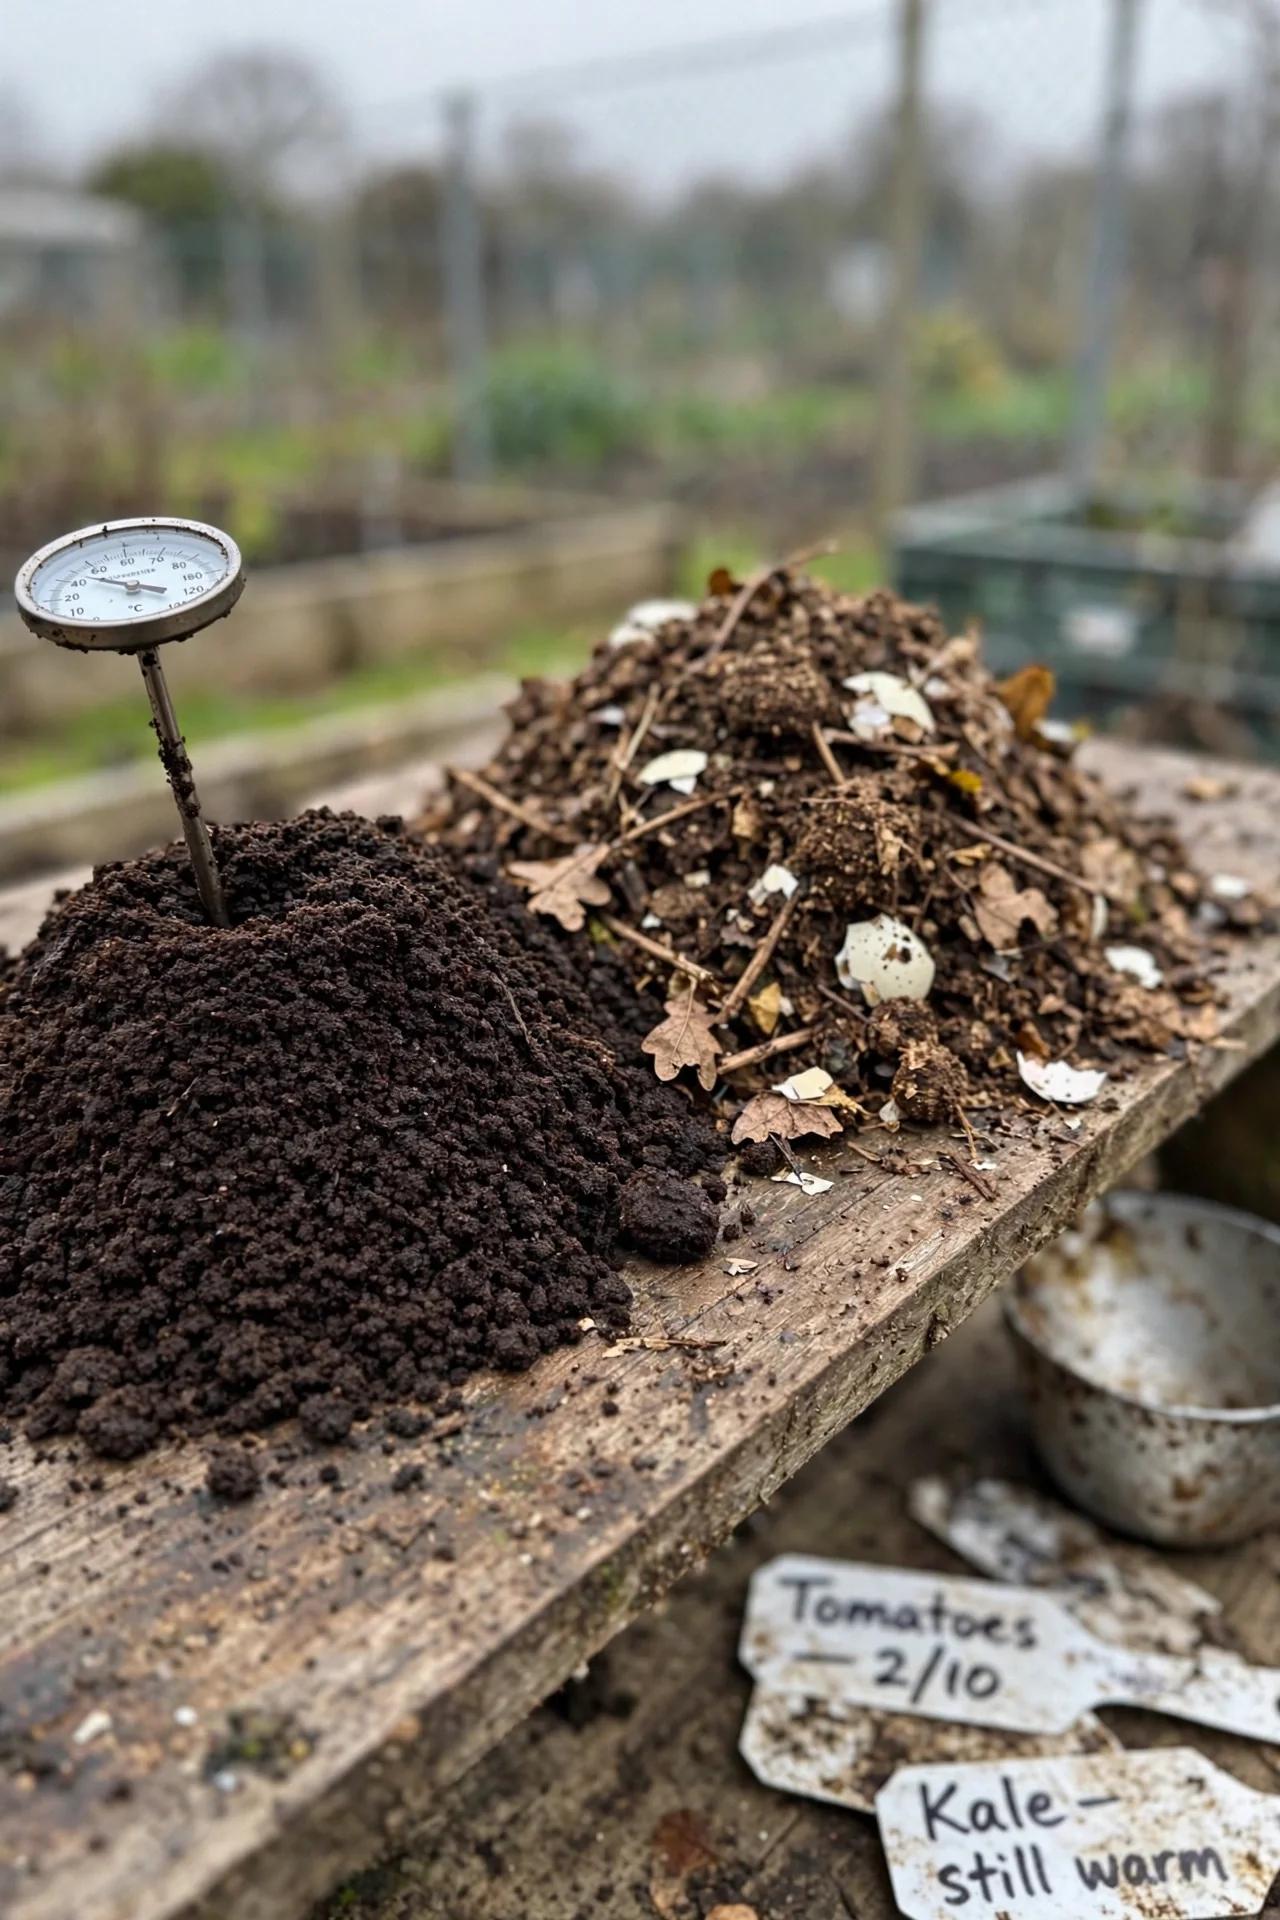
Cold compost is ready when it is dark brown to black, crumbly, and smells like a forest floor after rain. You should not be able to identify any original feedstock except occasional woody twigs or eggshell fragments. If you detect ammonia, vinegar, or sour notes, the pile needs more time or a carbon correction. A simple readiness test: fill a sealed plastic bag halfway with compost and let it sit indoors for 24 hours. If the bag inflates or smells unpleasant, microbial activity is still too high for root-safe use.
When ready, cold compost can be used directly in raised beds; see our guide to compost for raised beds for application rates and bed-preparation sequences.
10. Fix Smells, Slimy Layers, and Dry Zones in 10 Minutes
Best for: Branch 2
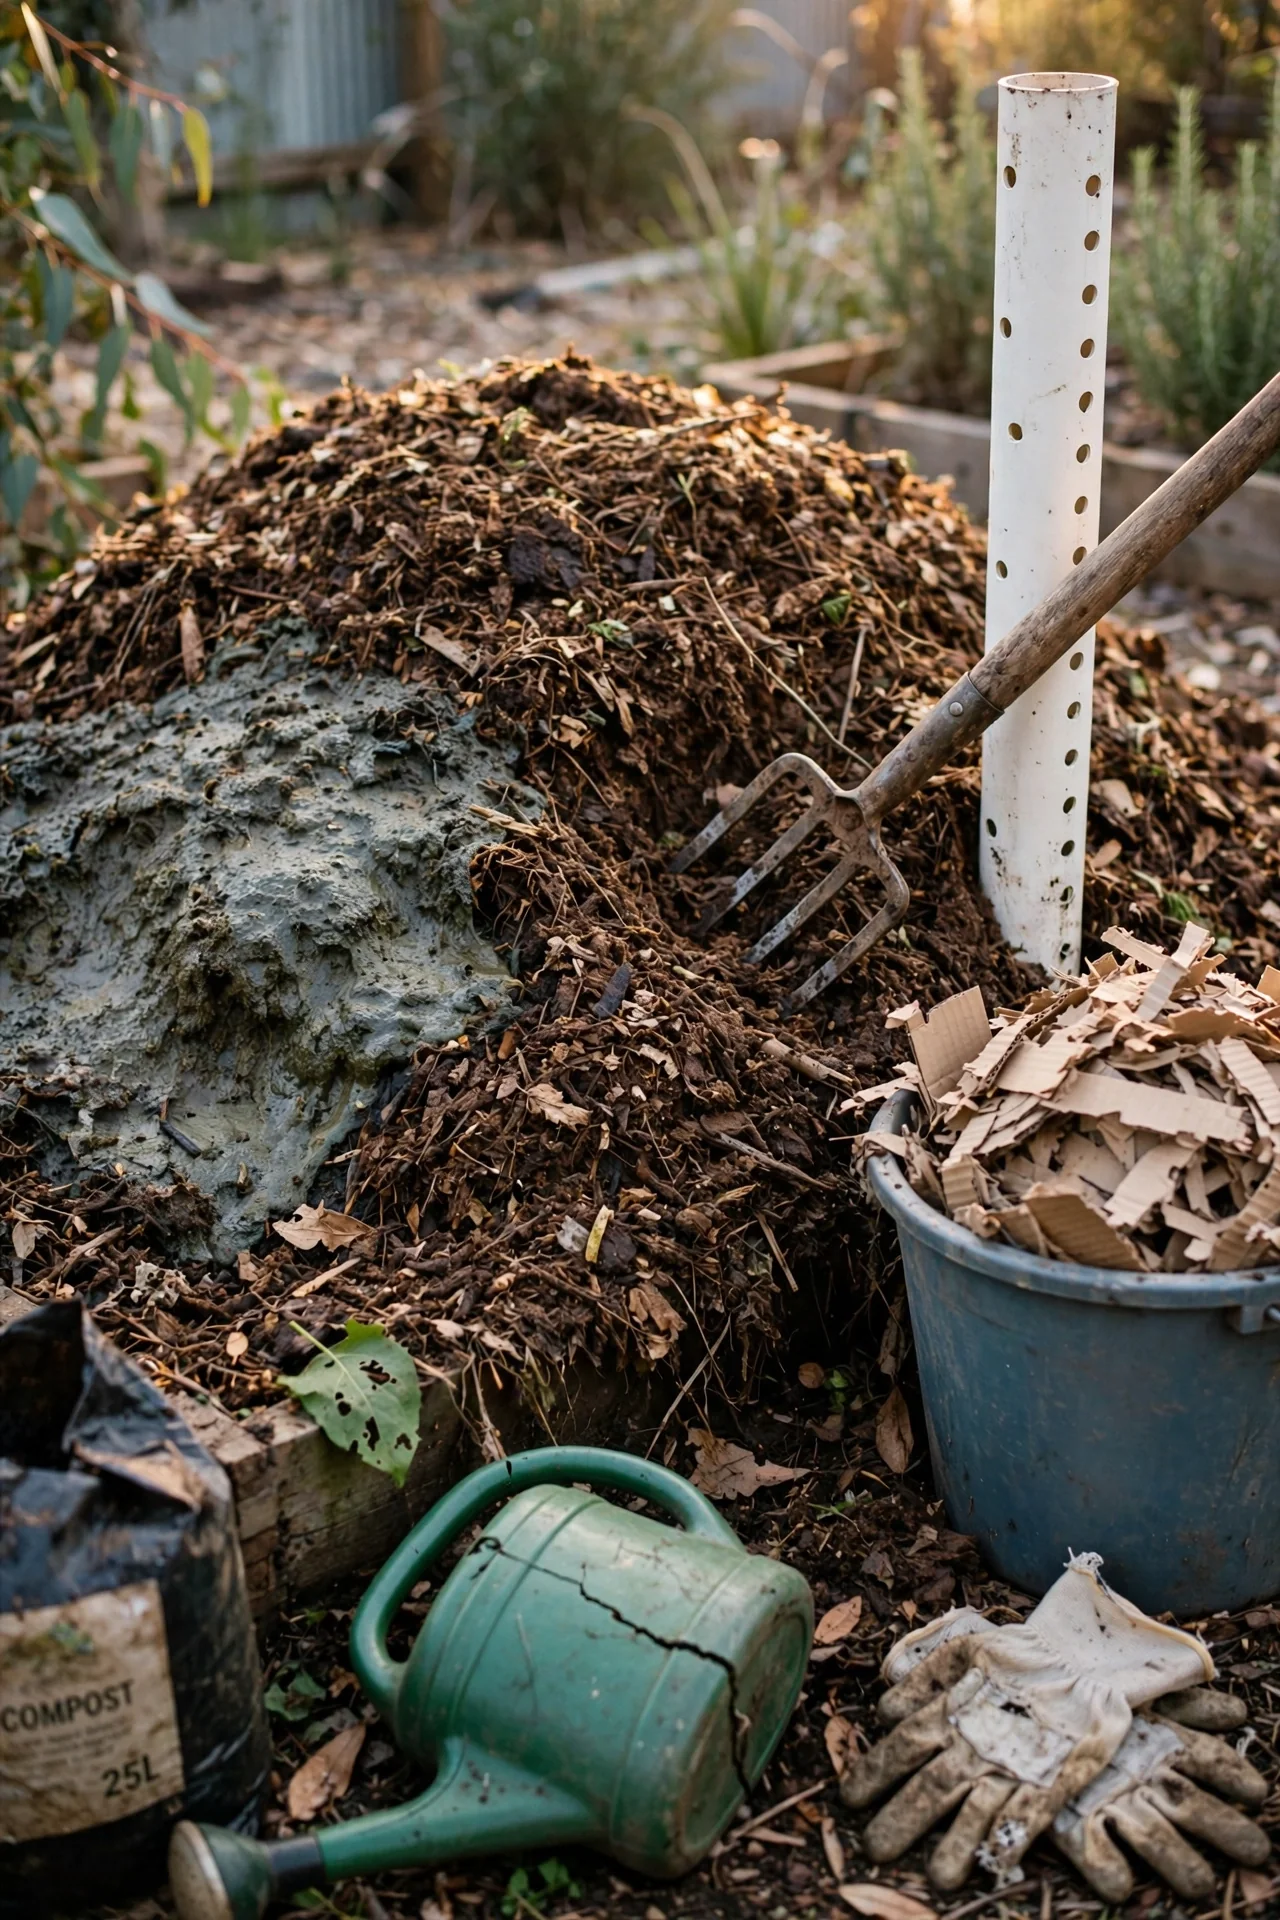
Three common cold-compost failures share a single root cause: unbalanced moisture or carbon. Follow this 10-minute workflow when you notice a problem. Step 1, ammonia smell: immediately add 4 to 6 inches of shredded browns (leaves or cardboard) on top and mix only the top 8 inches. Step 2, rotten-egg smell: probe the pile with a garden fork at 5 to 6 points; if you hit a gray, wet zone, lift that material to the surface and surround it with dry browns. Step 3, dry, dusty core: water slowly with 2 to 3 gallons, letting it percolate for 10 minutes, then repeat until the squeeze test passes. Upgrade option: add a 10-inch-long piece of perforated 4-inch PVC pipe vertically in the center of the pile to create a passive aeration chimney that prevents future anaerobic cores.
For a rapid boost of nitrogen that can restart a stalled cold pile, spent coffee grounds are one of the safest inputs; our coffee grounds guide explains sourcing and application considerations.
11. Apply Finished Cold Compost as a Surface Mulch
Best for: Branch 3
For established perennials, trees, and shrubs, the highest-value use of cold compost is as a 1- to 2-inch surface mulch applied in early spring or mid-autumn. Unlike incorporation, surface application preserves the fungal hyphae and microaggregates built during the slow decomposition process. It also suppresses annual weeds, buffers soil temperature, and feeds the existing soil food web from the top down.
A related technique that layers compost with other organic materials directly on the soil surface is sheet mulching. Our sheet mulching guide covers the sequence and material depths for converting lawn to planting beds in a single season.
12. Pre-Charge Biochar in Your Cold Pile
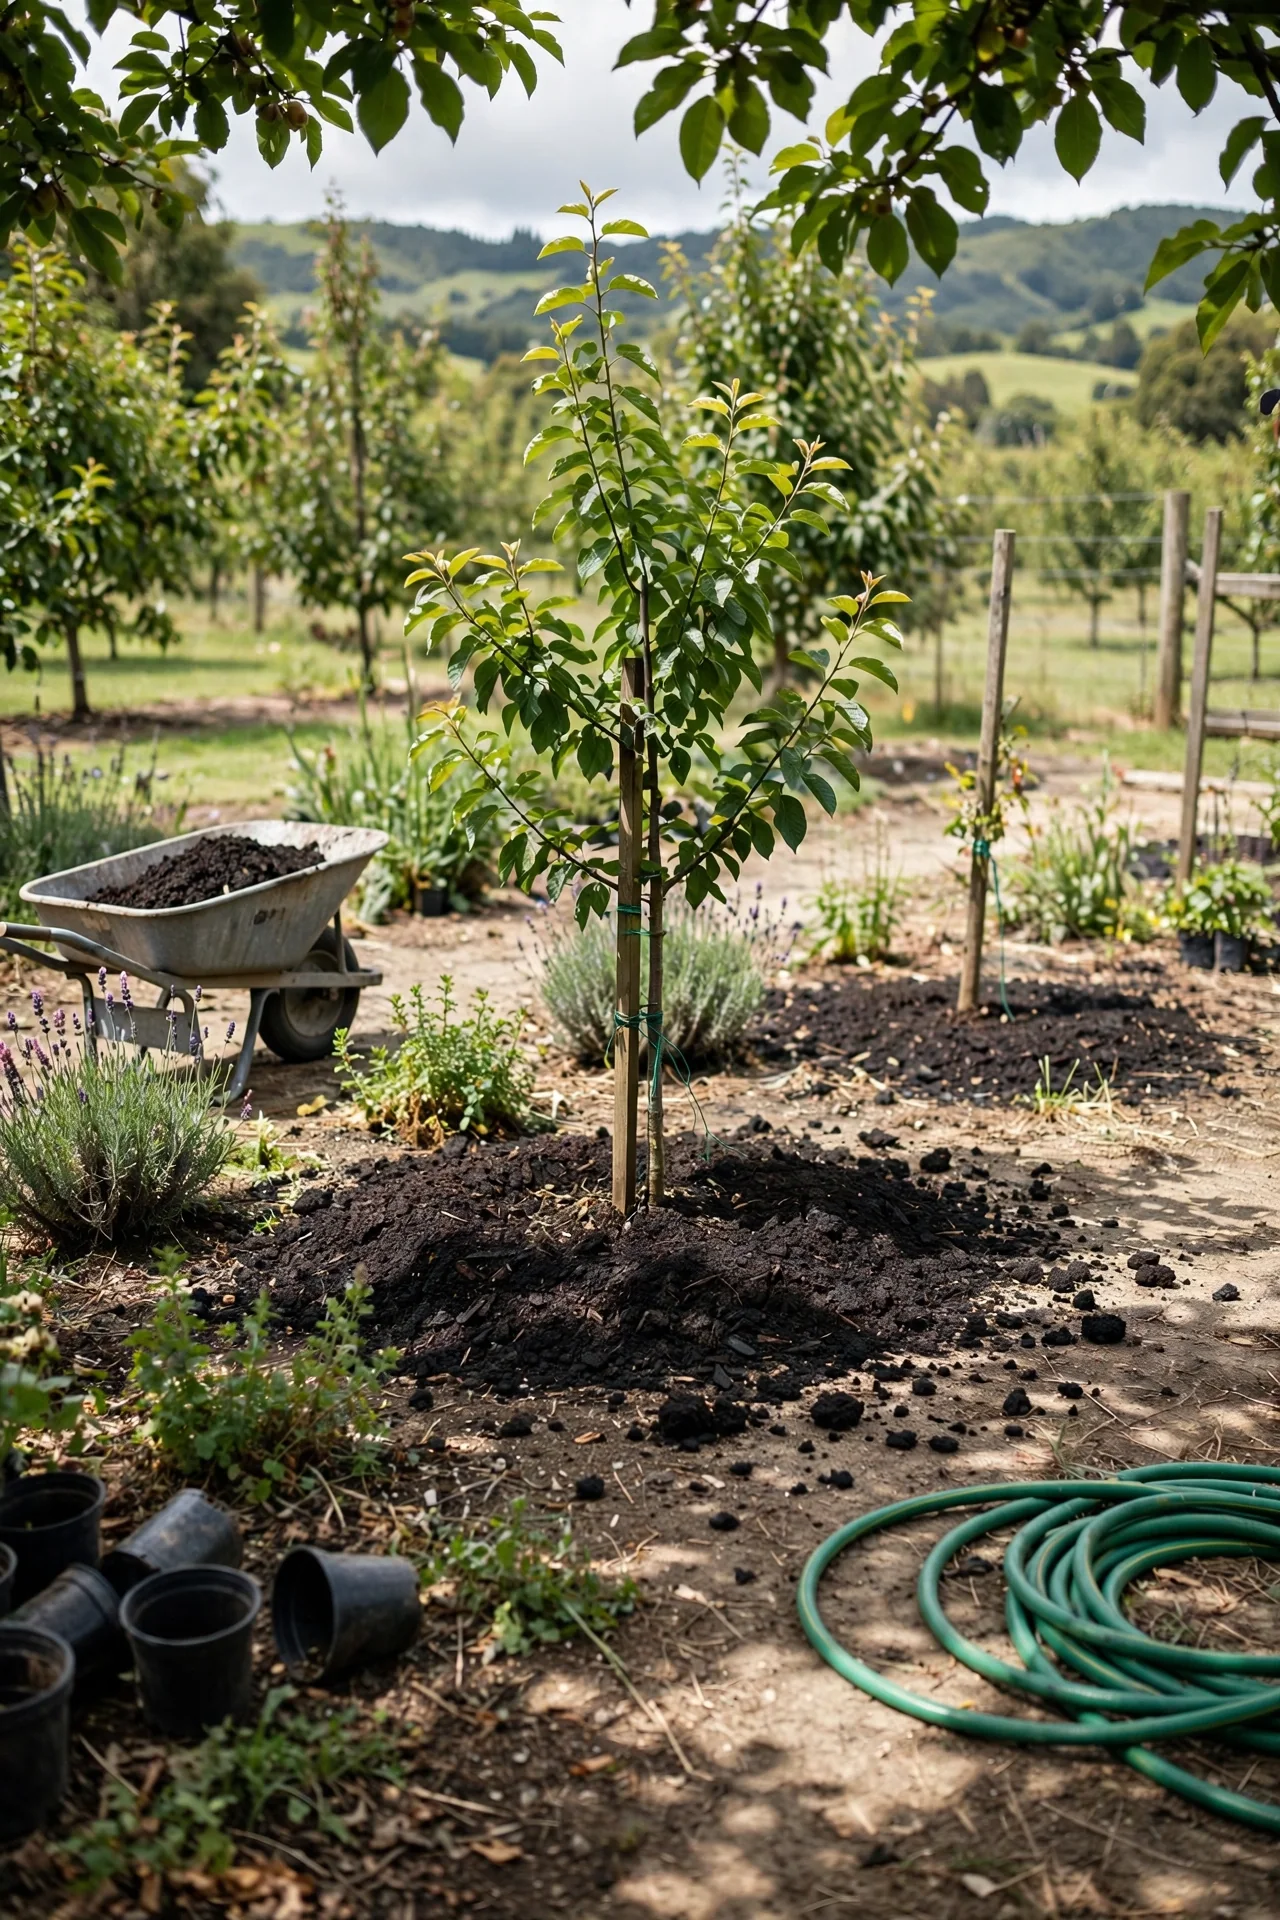
Best for: Branch 1
Biochar added directly to soil can temporarily lock up nitrogen. Pre-charging it in a cold compost pile for at least 6 months solves this problem while loading the char with a diverse microbial community and soluble nutrients. The workflow: mix 5–10% biochar by volume into each brown layer during pile construction, or scatter a 1-inch layer of biochar between green and brown layers. By the time the compost is ready, the biochar will be biologically activated and safe for soil application.
The key constraint is particle size. Biochar chunks larger than 1 inch may take longer than one composting cycle to fully charge. Crush or screen to 1/4–1/2 inch before adding. For a deeper look at biochar use in garden soils, including application rates and sourcing, see our biochar for soil resource.
Starter Stack (What to Choose First)
Branch 1: The Perennial Grower’s First Two Moves
Start with Item 1 (a stationary, bottomless bin on bare soil) and Item 4 (layered additions with a soil cap). Together, they create a fungal-friendly environment that requires no turning for the first 6 months. Synergy: the open-bottom bin provides microbial inoculation from the soil, while the layered structure preserves fungal hyphae that would be destroyed by mixing. Estimated cost for a single 3×3-foot bin built from reclaimed pallets: $15–$40. Time to first usable compost: 12–18 months.
Branch 2: The Kitchen Scrap Recycler’s First Two Moves
Start with Item 2 (the 3:1 brown-to-green visual ratio) and Item 3 (the exclusion list). These two rules prevent the most common cold-pile failures—odors, pests, and a wet, matted mass—without requiring any equipment. Synergy: the ratio rule prevents the ammonia conditions that attract flies, and the exclusion list removes the materials most likely to contain pathogens that cold piles cannot neutralize. Cost: $0 beyond your existing waste stream. Time to first usable compost: 9–15 months.
Branch 3: The Seasonal Mulcher’s First Two Moves
Start with Item 6 (monthly aeration) and Item 9 (the maturity sensory check). These two practices ensure that a pile left largely unattended for a full season does not become anaerobic and that you can confidently identify when it is safe to use. Synergy: monthly aeration prevents the gray, slimy bottom layer that otherwise goes undetected in seldom-checked piles, and the maturity check prevents using unfinished compost that could rob nitrogen from your beds. Cost: a compost aerator tool runs $25–$40. Time investment: 10 minutes per month.
When This Won’t Work
Cold composting fails reliably under two measurable conditions. First, when your pile stays smaller than 27 cubic feet (a 3x3x3-foot cube) and receives kitchen scraps daily. That combination generates nitrogen hotspots without the thermal mass or surface area to dissipate them, leading to persistent ammonia odor and fruit-fly infestations. In that scenario, switch to a bokashi composting system for kitchen scraps and keep the cold pile for yard waste only.
Second, cold composting is the wrong tool when you need finished compost in under 12 weeks. A cold pile in cool weather (ambient temperatures below 50°F) can take 6 months or longer to produce stable material. If your planting schedule cannot tolerate that timeline, a hot compost pile with a minimum volume of 1 cubic yard and weekly turning is the appropriate alternative. You can also split your stream: use cold composting for yard waste that accumulates over a season, and a small hot pile for the material you need quickly.
Choosing the Right Option for Your Situation
Budget threshold
Cold composting can cost under $50 if you build a bin from reclaimed pallets and use only on-site materials. If you plan to purchase a pre-made bin, set a budget above $120 for one with adequate side ventilation and a volume of at least 1 cubic yard. Bins smaller than that force you to manage moisture and aeration more frequently, pushing the system away from cold-compost dynamics.
Time threshold
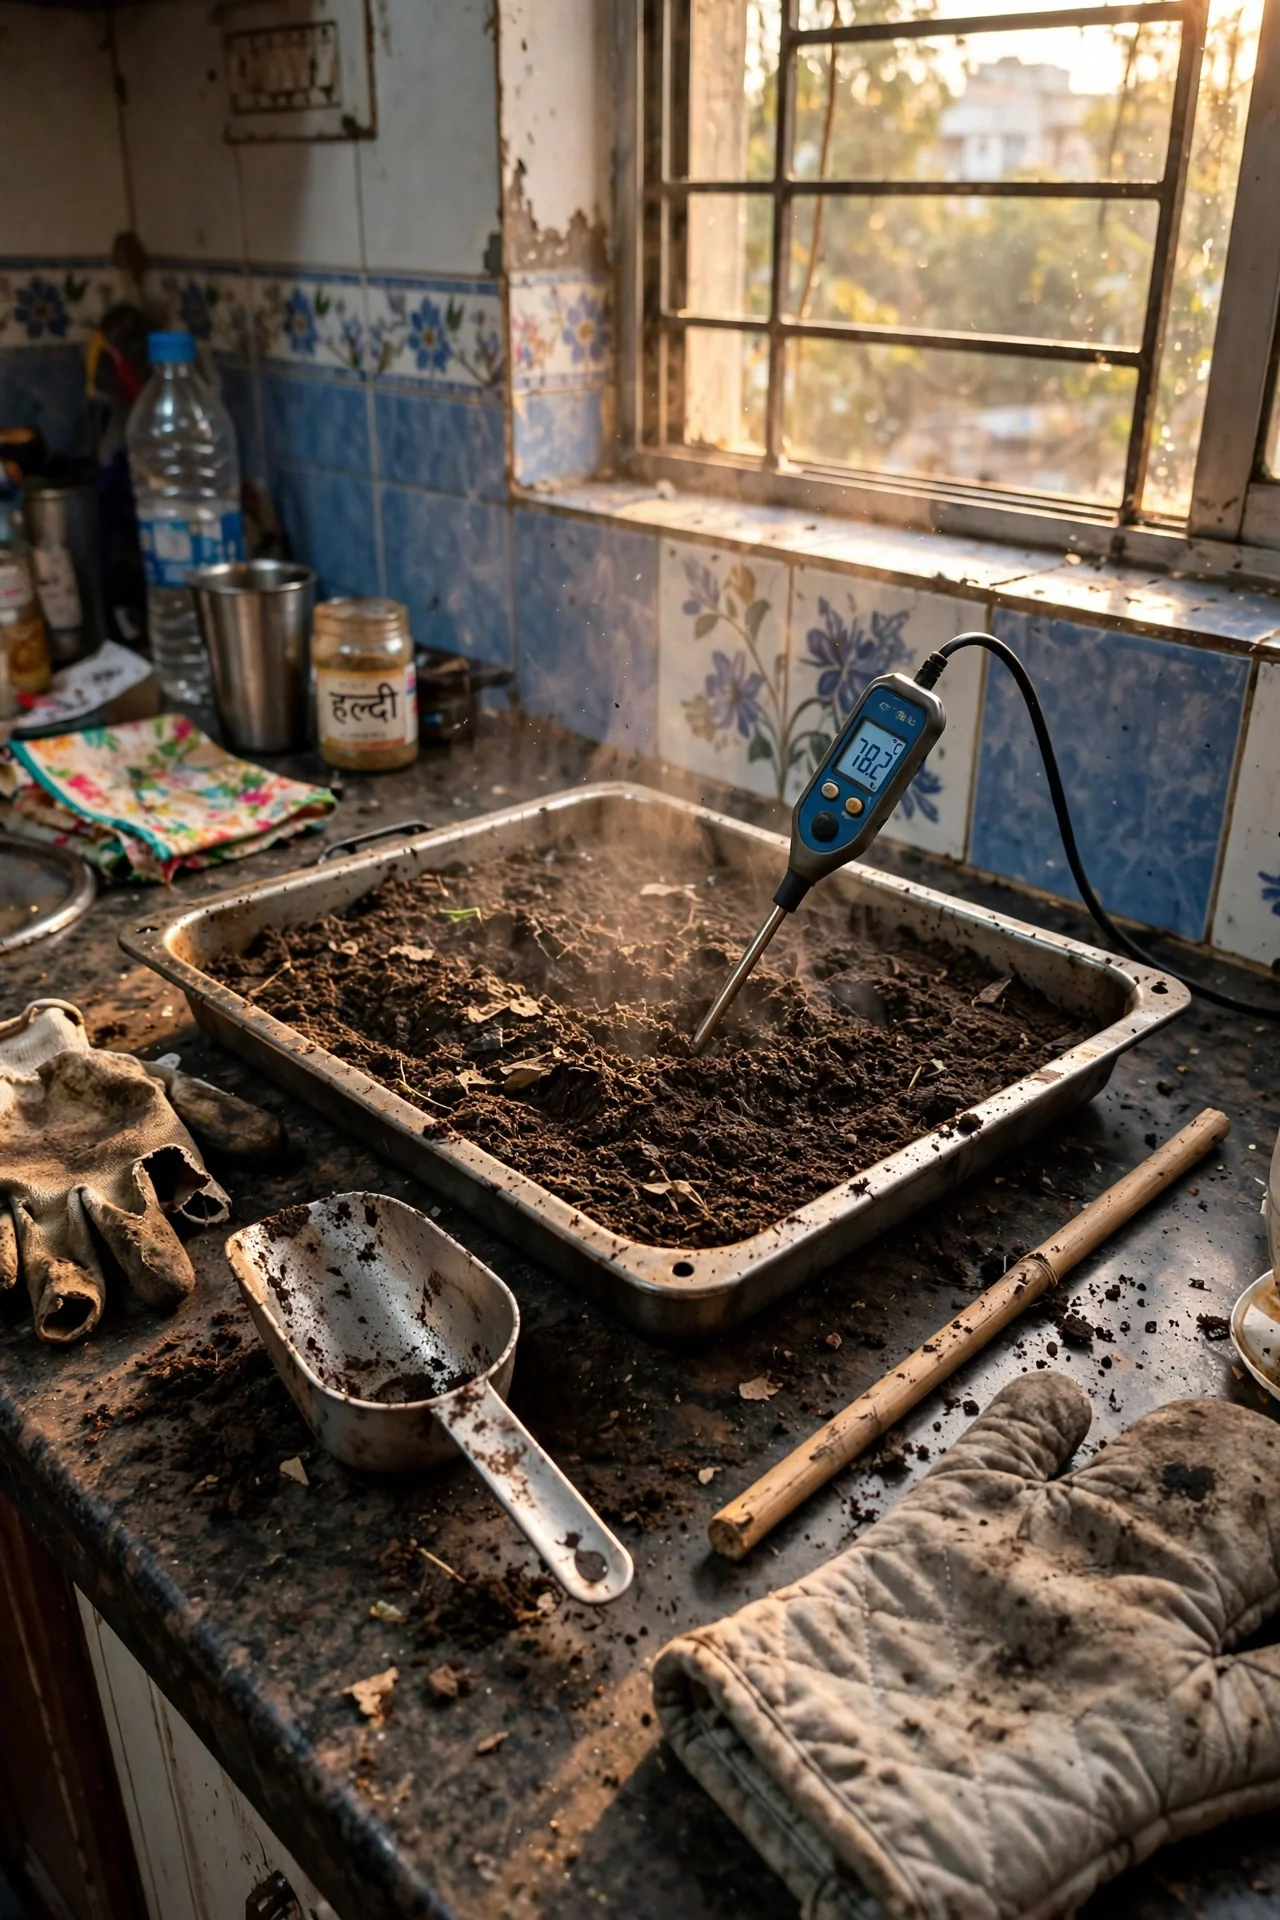
If you can commit a 15-minute block once per month for aeration and moisture checks, cold composting is viable. If you cannot commit any time after initial setup, consider a managed service or a trench-composting approach instead. The monthly check is non-negotiable in warm climates above USDA zone 8, where piles dry out faster and can become hydrophobic within 4 to 6 weeks.
Technical constraint: nitrogen sink risk
Cold compost that is not fully mature (still showing visible feedstock) will temporarily immobilize soil nitrogen when incorporated into planting beds. If you plan to use compost within 9 months of starting the pile, apply it only as a surface mulch, never as a soil amendment mixed into the root zone. This constraint is especially important for vegetable beds with short-season annuals.
Yes/No Checklist:
- Do I have at least 9 months before the compost is needed? If no, choose hot composting.
- Can I dedicate a 3×3-foot ground-level space for at least a year? If no, consider small-space or bokashi alternatives.
- Am I willing to exclude meat, dairy, oils, and diseased plants? If no, cold composting is not safe for your use case.
- Will I check moisture and odor at least once a month? If no, expect a higher failure rate.
Expert Q&A
Why does cold compost smell different from the hot pile I used to run?
Cold piles produce more earthy, mushroom-like volatile compounds from fungal activity, whereas hot piles release sweeter, ammonia-tinged odors from rapid bacterial metabolism. A sour, vinegar-like smell in cold compost indicates anaerobic fermentation; add dry browns and probe to introduce air. No action is needed if the scent is simply woodland-floor musty.
Can I cold compost entirely without turning the pile at all?
Yes, if the pile is built in thin, alternating layers and never exceeds 4 feet in height. Without any aeration, decomposition concentrates in the bottom and center, leaving the outer 6 inches largely intact. Expect a harvest window of 18–24 months for zero-turn cold compost, and plan to sift out undecomposed material from the outer shell before use.
What is the coldest ambient temperature that still allows decomposition?
Mesophilic bacteria remain active down to roughly 40°F inside the pile core. When the core drops below that threshold, decomposition pauses but does not reverse. In regions where daytime highs stay below freezing for weeks, an insulated pile will still show a small amount of volume loss each month from slow psychrophilic microbial activity.
Is cold compost safe for vegetable beds, or does it harbor pathogens?
Cold compost is safe for vegetables if you strictly exclude meat, dairy, pet waste, and diseased plant material. The primary risk is not pathogens in the compost but the potential for nitrogen drawdown if the compost is not fully mature. Use the 24-hour sealed-bag test (Item 9) as your safety gate before applying to food crops.
How do I scale cold composting for a community garden or allotment?
Build multiple 4×4-foot bays in a row, filling one bay at a time over the course of a season. By the time the third bay is full, the first bay will be ready to harvest. This continuous-bay system requires roughly 48 square feet of space and produces 1 to 2 cubic yards of finished compost per year.
Conclusion
The decision that matters most in cold composting is not what bin you buy but whether your timeline, plant palette, and maintenance rhythm align with the method’s natural pace. The single biggest mistake is expecting cold-compost results on a hot-compost schedule, then overcorrecting with excessive turning and water.
If you recognize yourself in Branch 1 or Branch 3 above, your next step is to establish a simple, ground-contact bin before the next seasonal leaf drop. For readers short on square footage, our small-space composting guide covers containerized alternatives that work indoors or on balconies.