
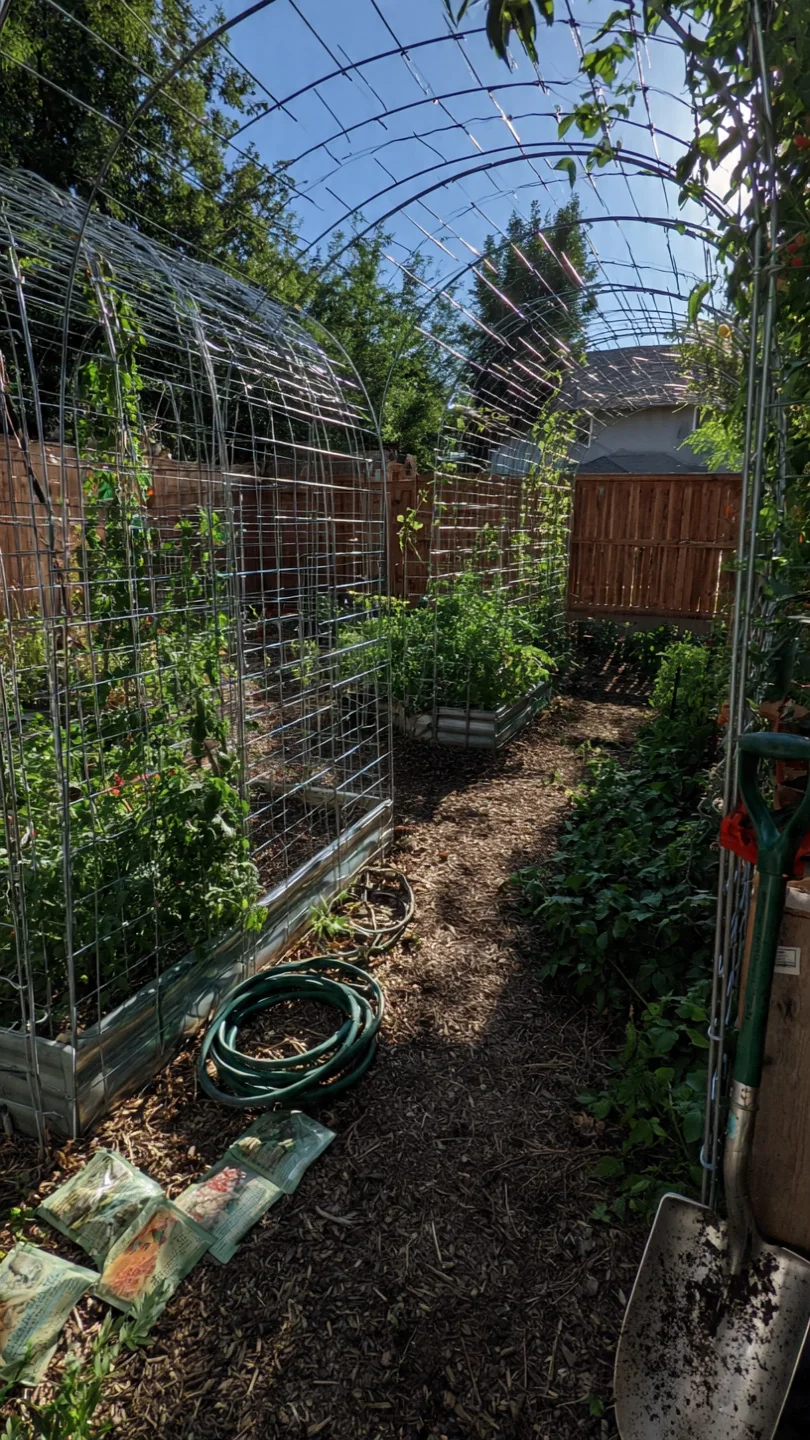
Most cattle panel arch advice treats every garden as if it has the same soil, the same wind exposure, and the same need for a permanent 16-foot walk-through tunnel. It does not. A cattle panel under tension behaves differently when anchored into heavy clay than it does when zip-tied to raised cedar beds on a rented patio. The arch you need depends entirely on what you are asking that bent steel to do: hold winter squash through a nor’easter, support a clematis for a decade, or collapse flat in November for storage.
This guide covers 12 cattle panel arch configurations, from the standard raised-bed span to a snow-country reinforced arch and a renter-friendly removable system. It excludes general trellis building instructions (those exist elsewhere in abundance) and decorative arch kits that happen to use wire mesh. Every item here is a distinct structural approach with its own anchoring method, tension profile, and plant-load tolerance.
By the end, you will know which configuration matches your climate zone, soil type, permanence level, and crop weight, plus which ones to skip entirely if you garden on a balcony, in heavy snow, or with mobility constraints. You will also find precise spacing thresholds, anchoring depth minimums, and the one mistake that makes most cattle panel arches fail within three seasons.
Bottom line: Match your arch anchoring depth to your frost line, your panel gauge to your heaviest crop, and your leg spacing to your walkway width before you buy a single panel.
The Yield Grid Decision Grid
Before scrolling the full list, use these three branches to narrow your options. Each branch describes a set of measurable conditions. If your situation matches the conditions, the recommended items will fit without significant modification.
Branch 1: Permanent, High-Load, Multi-Season. You own the property (or have long-term tenure), your soil freezes deeper than 30 cm (12 in) in winter, and you intend to grow heavy crops like winter squash, melons, or perennial woody vines. Your arch must stay up year-round. Posts must be driven below the frost line or set in concrete. Recommended: Items 1, 4, 10, 11 below.
Branch 2: Flexible, Seasonal, Removable. You rent, garden in a community plot, or live in a mild climate where the arch serves a single growing season. You need to disassemble and store panels in under an hour. Anchoring can be shallow (T-posts driven 45 to 60 cm / 18 to 24 in) and zip-tie-based. Snow load is not a design factor. Recommended: Items 5, 7, 12 below.
Branch 3: Space-Optimized, Urban, Aesthetic-First. Your footprint is under 3 m (10 ft) wide, you garden in containers or shallow raised beds, and the arch must look intentional in a visible urban yard. Partial shade tolerance matters. Panel modifications (cutting to half-width or mounting against a wall) are expected. Recommended: Items 2, 8, 9 below.
For a broader look at how vertical structures fit into small-space food production, see our vertical vegetable garden planning guide.
Quick Comparison Table
| Option | Key Mechanism | Best For | Decision Grid Branch | Effort Score (1–5) |
|---|---|---|---|---|
| 1. Standard Walk-Through Raised-Bed Arch | Full 16-ft panel bent between two raised beds, T-post anchored | Permanent vegetable gardens with existing raised beds | Branch 1 | 2 |
| 2. Hog Panel Narrow-Path Mini-Arch | Shorter 34-in panel for paths under 1.2 m (4 ft) wide | Side yards, narrow urban walkways | Branch 3 | 2 |
| 3. Multi-Panel Continuous Tunnel | 3 or more panels linked end-to-end, shared T-posts | Long garden rows, market gardens | Branch 1 | 3 |
| 4. Gothic Peak Arch for Heavy Crops | Modified sharper bend at apex using a center brace | Winter squash, melons, grapevines | Branch 1 | 3 |
| 5. In-Ground Solo Arch Without Raised Beds | Panel ends buried 15 cm (6 in) deep directly in soil | Open-ground gardens, temporary installations | Branch 2 | 2 |
| 6. Cattle Panel Hoop House Arch | Panel arch covered with greenhouse plastic or row cover | Season extension, early starts, frost protection | Branch 2 | 4 |
| 7. Renter-Friendly Removable Arch | Zip-tie-only attachment, no concrete, extractable T-posts | Rental properties, community garden plots | Branch 2 | 4 |
| 8. Wall-Mounted Lean-To Arch | One side anchored to an existing wall or fence | Tight urban spaces, south-facing walls | Branch 3 | 2 |
| 9. Corner Half-Panel Compact Arch | Single panel cut to 8 ft, bent across a bed corner | Small raised beds under 1.2 x 1.2 m (4 x 4 ft) | Branch 3 | 3 |
| 10. Wood-Framed Permanent Arbor with Panel Insert | Cattle panel recessed into a timber frame with post anchors | Perennial flowering vines, front-yard aesthetics | Branch 1 | 3 |
| 11. Snow-Country Reinforced Arch | Added horizontal purlin and diagonal bracing at apex | USDA zones 4 and below, heavy snow regions | Branch 1 | 4 |
| 12. Container-Based Mobile Arch | Panel ends secured inside two large half-barrel planters | Balconies, patios, renters who cannot dig | Branch 3 | 5 |
1. Standard Walk-Through Raised-Bed Arch
Best for: Branch 1 (Permanent, High-Load)
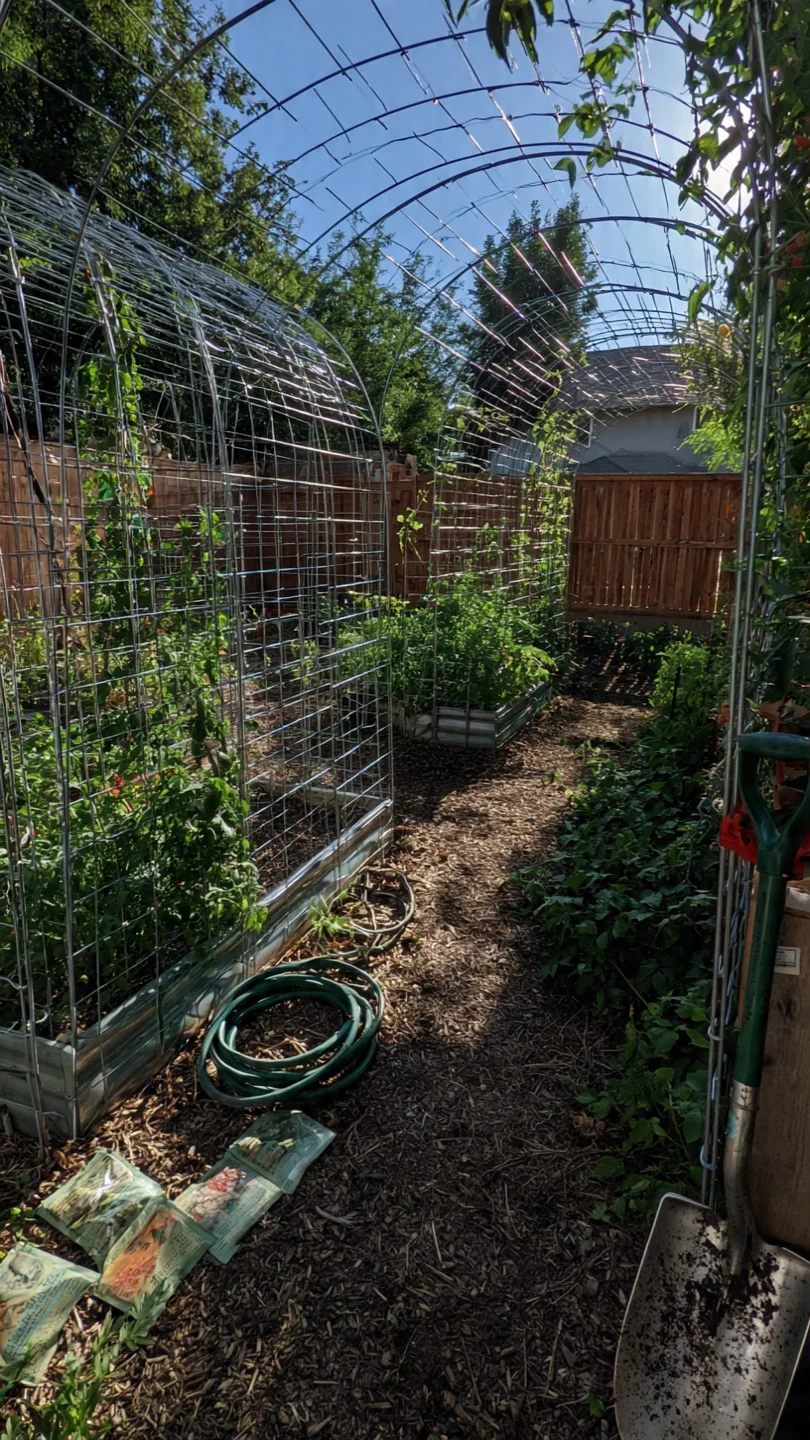
Blueprint. This is the configuration most gardeners picture: a full 16-foot by 50-inch cattle panel bent into a uniform curve and secured between two parallel raised beds. The panel ends sit inside the beds, anchored to T-posts driven at least 60 cm (24 in) deep. The leg spacing determines the arch height: at 1.5 m (5 ft) between legs, the apex reaches roughly 2.1 m (7 ft). At 1.8 m (6 ft) between legs, the arch lowers to about 1.8 m (6 ft) at center. For walk-through clearance, keep leg spacing between 1.5 and 1.8 m (5 to 6 ft).
What you need. One cattle panel (4-gauge galvanized wire, 16 ft x 50 in), four 6-foot steel T-posts, 16 to 24 heavy-duty UV-resistant zip ties, a post driver, and a second person for bending. The panel must be hot-dip galvanized after welding; pre-galvanized wire rusts at weld points within two to three seasons in humid climates.
Steps. (1) Position raised beds parallel, 1.5 to 1.8 m apart measured inside edge to inside edge. (2) Drive T-posts at the inner corners of each bed, two per bed, to 60 cm depth minimum. (3) With a partner, place one panel end between two T-posts and walk the other end toward the opposite bed, bending as you go. (4) Secure with zip ties at every horizontal wire intersection. (5) Check that the marked center wire remains at the apex; if it has shifted, the arch is asymmetric and will lean under load.
Common mistake. Driving posts only 30 cm (12 in) deep. In freeze-thaw climates, these posts will heave upward by spring, loosening the panel tension and causing the arch to flatten or twist. The minimum depth in USDA zones 5 through 7 is 60 cm (24 in). In zones 4 and below, aim for 75 cm (30 in) or use concrete footings.
For planting ideas once your arch is up, our cucumber trellis guide covers variety selection and training techniques that translate directly to arched supports.
2. Hog Panel Narrow-Path Mini-Arch
Best for: Branch 3 (Space-Optimized Urban)
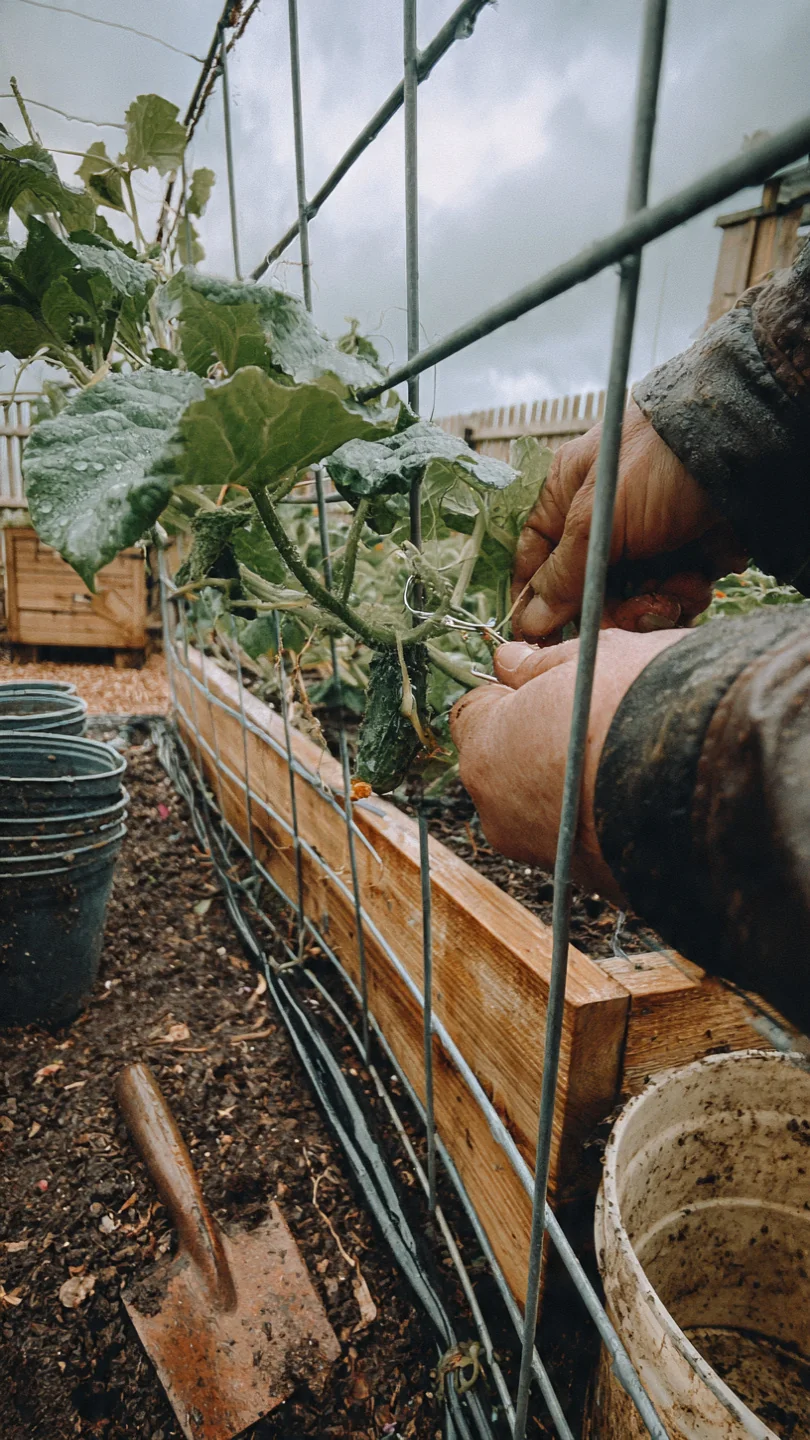
Use vs. skip. Hog panels measure 34 inches tall (versus 50 inches for cattle panels) and 16 feet long, with tighter mesh spacing at the bottom that graduates wider toward the top. This shorter height creates a lower, wider arch with about 1.5 m (5 ft) of head clearance when legs are spaced 2.1 m (7 ft) apart. Use this when your path is under 1.2 m (4 ft) wide and full cattle panel height would overwhelm the space. Skip it for crops heavier than pole beans or cucumbers; the lighter 6-gauge wire of most hog panels will sag under melons or winter squash.
Edge case. In the UK and Australia, hog panels are often sold as “sheep panels” or “pig panels.” Australian stockists may list them as “yard panels” in 1.2 m and 1.8 m heights. Confirm the gauge: anything lighter than 4-gauge (approximately 6 mm wire diameter) will not hold an arch shape under vine load without additional bracing.
3. Multi-Panel Continuous Tunnel
Best for: Branch 1 (Permanent, High-Load)
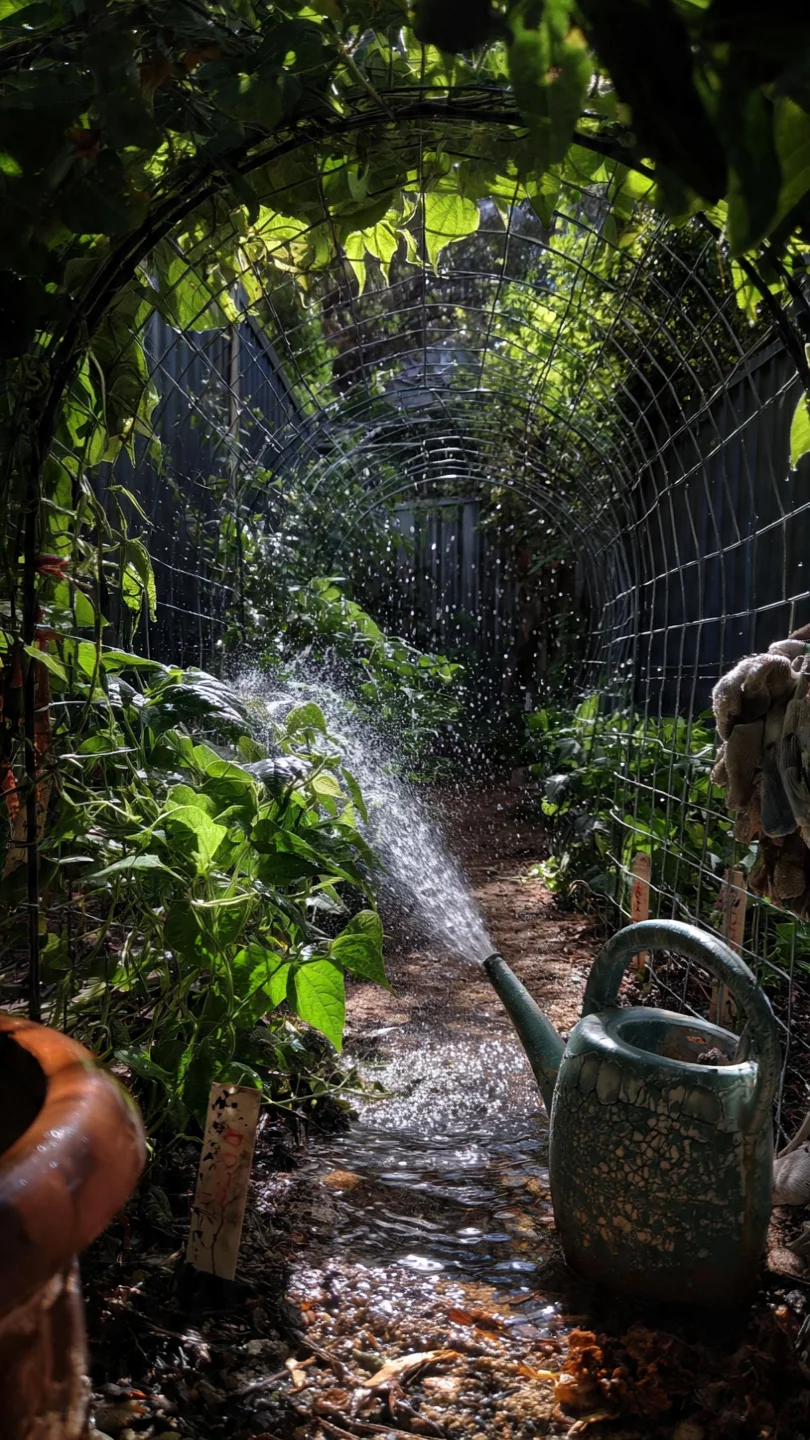
Threshold rule. A single cattle panel arch covers about 1.2 m (4 ft) of linear garden row once bent. For a tunnel covering 6 m (20 ft) of row, you need five panels. The critical number here is post spacing between arches: place shared T-posts no more than 60 cm (24 in) apart where two panel ends meet. If the gap between adjacent panel ends exceeds 90 cm (36 in), vines will find the opening and grow through it, tangling across arches and making harvest inaccessible. Adjust by adding an intermediate T-post at the 60 cm mark if your bed layout forces wider spacing.
For tunnels longer than three panels, add a horizontal top rail (a length of 1-inch galvanized conduit zip-tied across the apex of each arch) to prevent individual arches from leaning out of alignment under uneven wind load. This detail appears in almost no online tutorials but is standard practice in high-tunnel construction.
4. Gothic Peak Arch for Heavy Crops
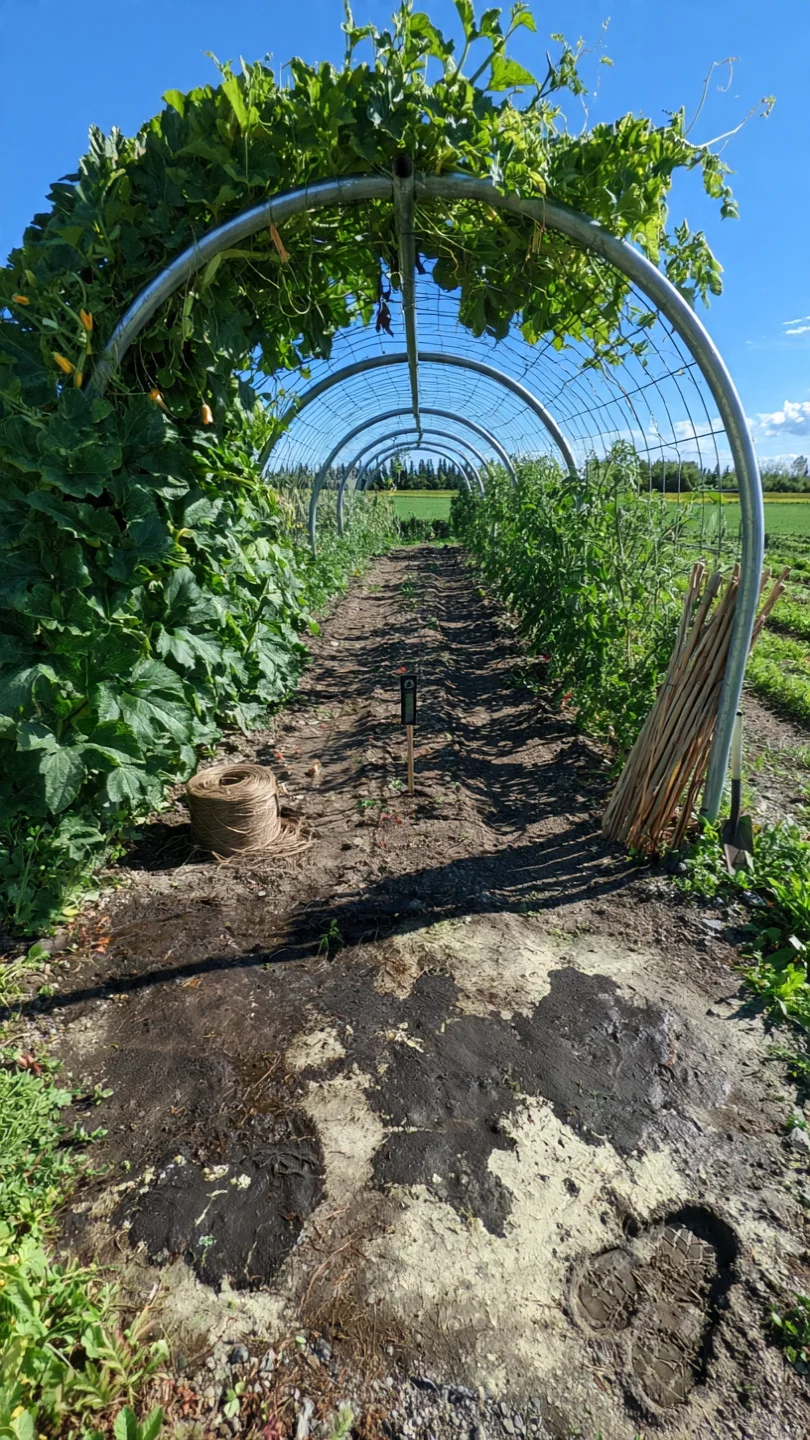
Best for: Branch 1 (Permanent, High-Load)
Blueprint. The standard cattle panel arch forms a continuous curve, which directs rainwater and snow to the sides but creates a broad, flattish top section where heavy fruit (winter squash, cantaloupe, full-size watermelon) can rest directly on the wire, causing bruising and rodent access. The Gothic arch modification replaces the smooth curve with a peaked apex by adding a rigid center brace that the panel is pulled against.
What you need. One cattle panel, four T-posts, one 1.2 m (4 ft) length of 1-inch galvanized conduit or 2×2 hardwood, two conduit clamps or U-bolts, and standard zip ties. The brace must be rust-resistant; untreated wood will rot at the apex where moisture collects.
Steps. (1) Install the arch as a standard walk-through (see Item 1). (2) Before securing the final zip ties, position the conduit brace horizontally across the inside of the arch at the desired peak height. (3) Pull the panel inward until its center vertical wire contacts the brace, then clamp. This pulls the curve into a pointed Gothic shape. (4) Zip-tie every crossing point along the upper third of the arch. The result is a steeper slope on each side that sheds water faster and encourages fruit to hang inside the arch rather than sit on top.
Common mistake. Using a brace that is too short. The brace must span the full internal width of the arch at apex height. A brace shorter than 90 cm (36 in) creates a flat spot rather than a peak and concentrates snow load at two points instead of distributing it along the curve.
For heavy-fruited climbers that benefit from Gothic arch support, see our melon trellis guide for sling-making and fruit-support techniques.
5. In-Ground Solo Arch Without Raised Beds
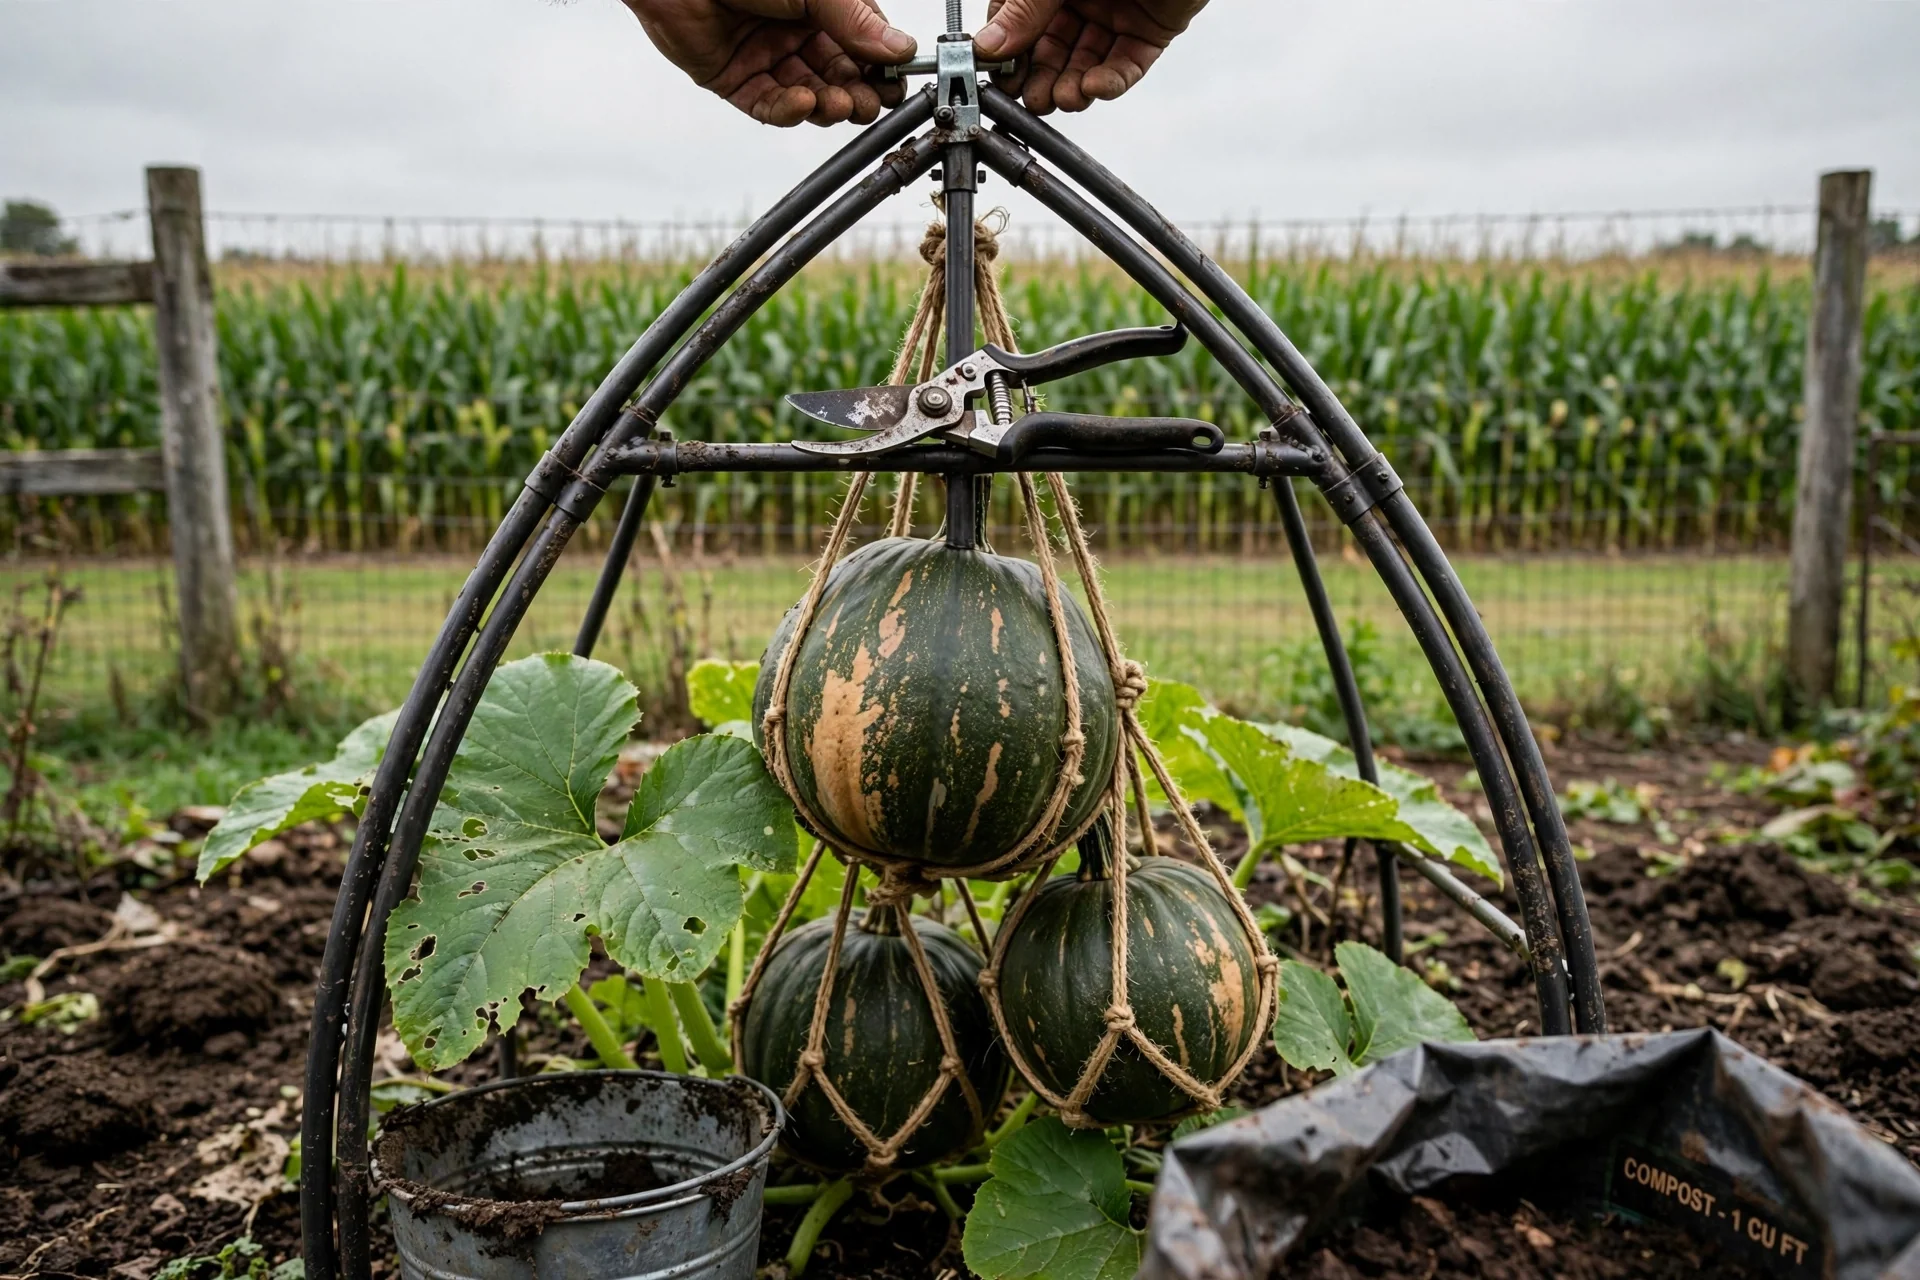
Best for: Branch 2 (Flexible, Seasonal)
Use vs. skip. This configuration eliminates raised beds entirely: the panel ends are buried directly in soil trenches 15 cm (6 in) deep, with T-posts driven on the outside face for lateral stability. Use this when you garden in open ground and want a low-cost, single-season arch that can be pulled out in autumn. Skip it if your soil is sandy or loose; buried panel ends in sand will shift under tension within weeks, causing the arch to collapse inward. The minimum soil type for this method is loam with some clay content. Sandy soils require concrete footings even for seasonal use.
Edge case. In regions with persistent burrowing rodents (groundhogs, voles), the buried panel ends create a subterranean barrier that protects root zones. This is a secondary benefit most tutorials overlook.
6. Cattle Panel Hoop House Arch
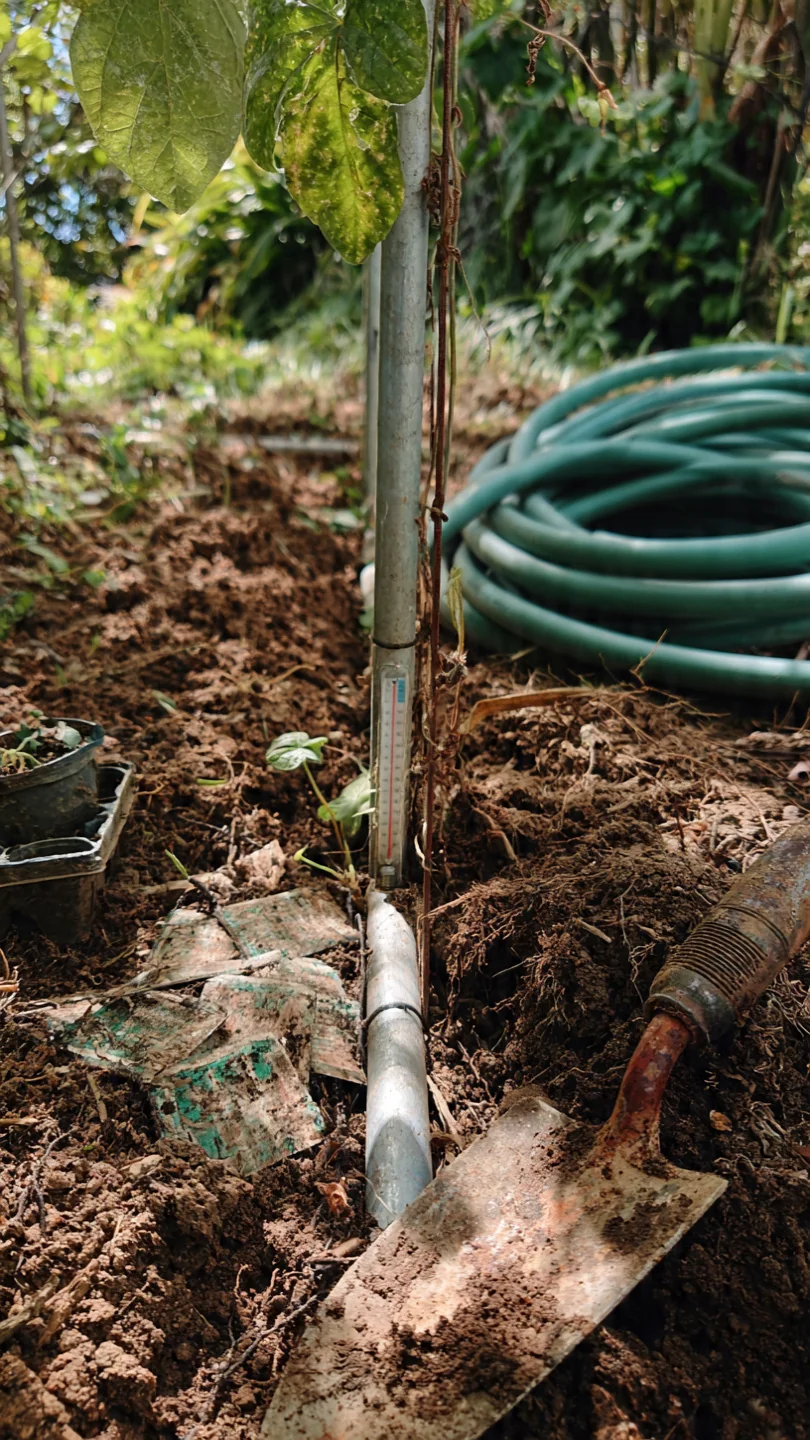
Best for: Branch 2 (Flexible, Seasonal)
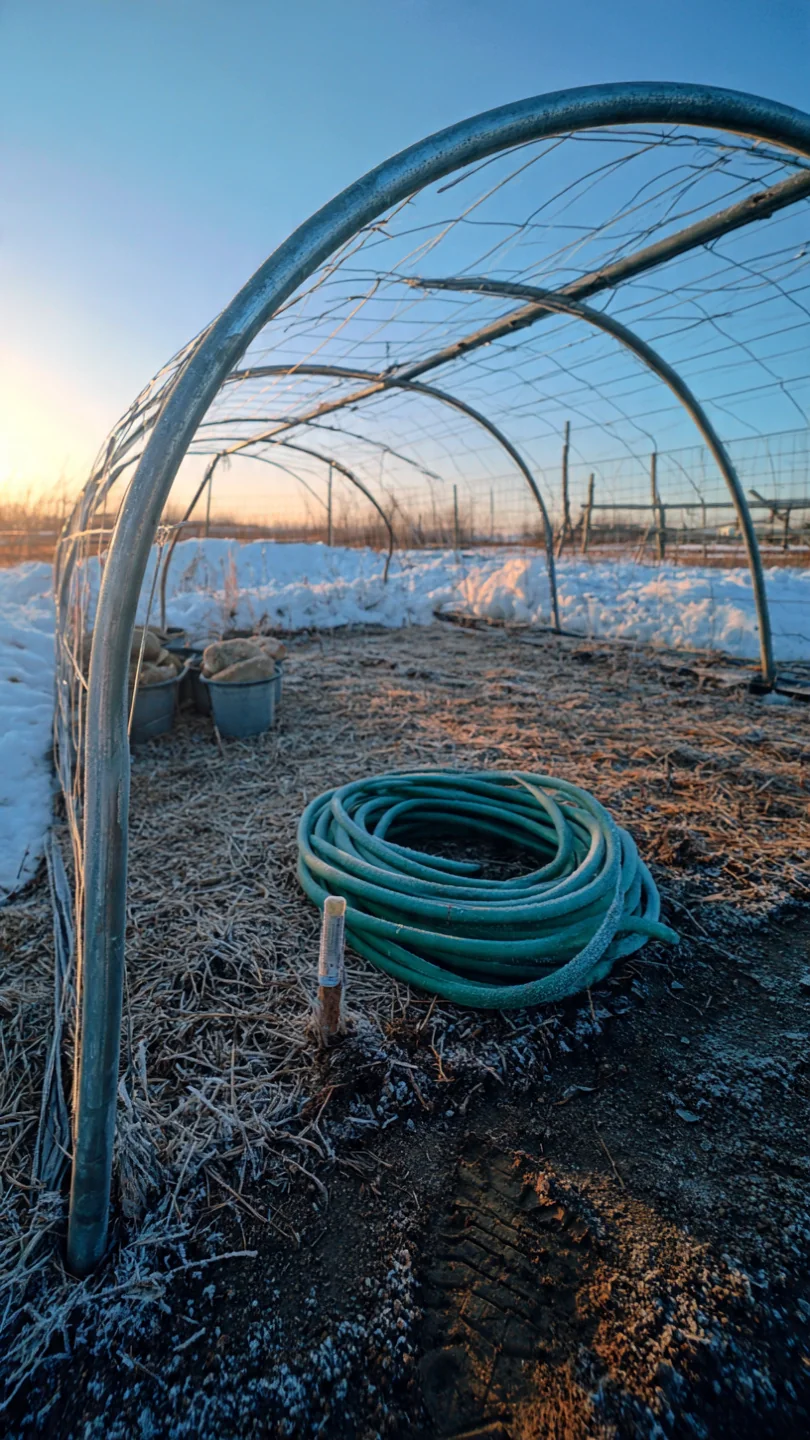
Threshold rule. A cattle panel arch covered with 6-mil greenhouse plastic becomes a functional hoop house when three conditions are met: (1) the arch leg spacing is at least 2.1 m (7 ft) to provide sufficient interior width for two rows of plants, (2) the plastic is secured with wiggle wire or snap clamps, not zip ties (which tear the plastic in wind), and (3) end walls are installed with at least one operable vent. Without end-wall ventilation, interior temperatures in full sun will exceed 38°C (100°F) within 90 minutes, killing seedlings. The adjustment: if you cannot install end walls, leave both ends fully open and use the structure only for frost protection (2°C to 4°C / 3°F to 7°F above ambient), not as a greenhouse.
The plastic must be removed before the first snowfall exceeding 15 cm (6 in). A single cattle panel arch will collapse under wet snow load if the plastic prevents snow from sliding off. Bare wire sheds snow adequately; plastic does not.
7. Renter-Friendly Removable Arch
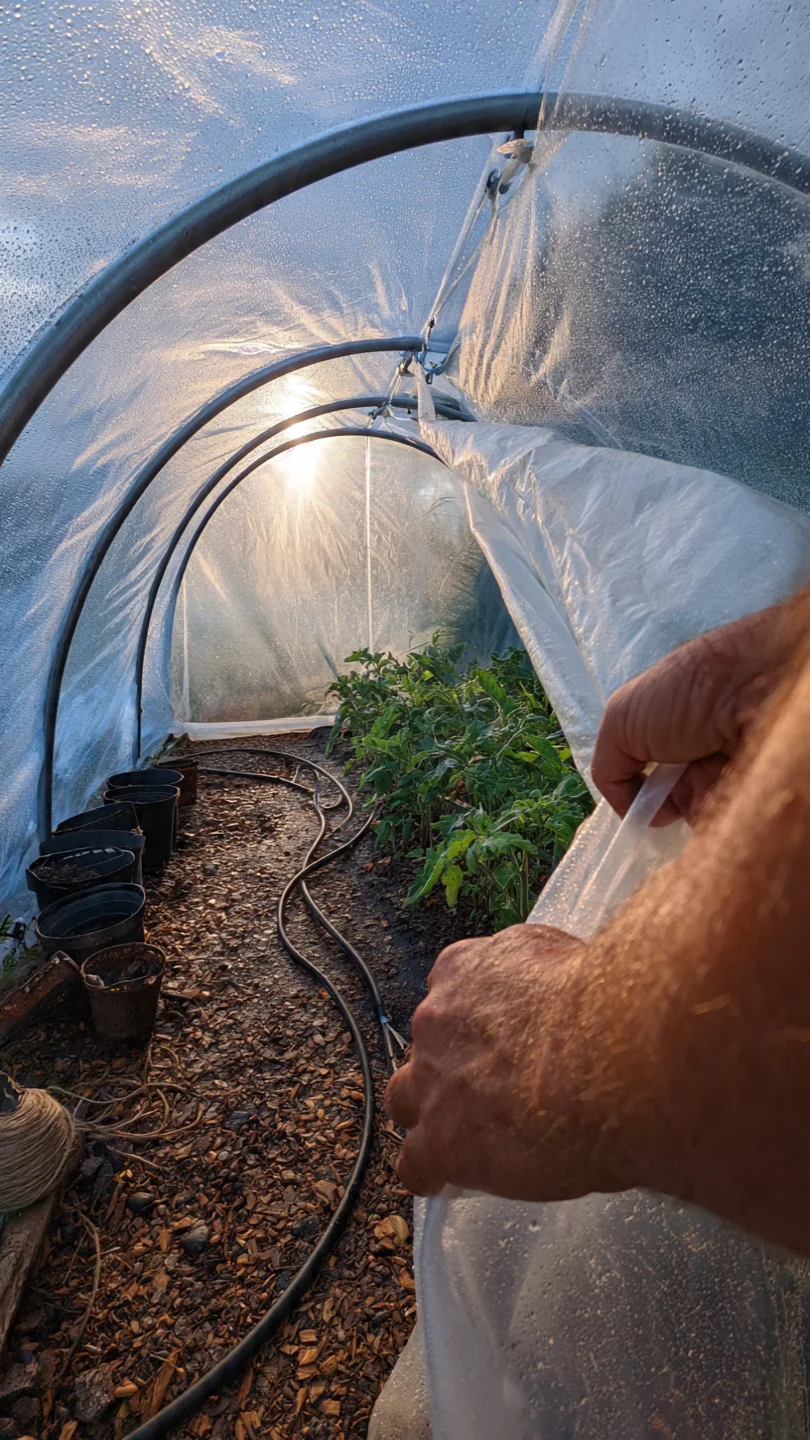
Best for: Branch 2 (Flexible, Seasonal)
Blueprint. This configuration prioritizes complete disassembly in under 60 minutes with no permanent ground disturbance. The arch uses extractable T-posts (driven, not concreted), stainless steel zip ties (cuttable with scissors), and a marked centerline for consistent reassembly next season. No part of the panel is buried, so tension is maintained entirely by the post placement and tie tension.
What you need. One cattle panel, four 5-foot T-posts (shorter than standard; removal is easier), 20 stainless steel zip ties (UV-rated black nylon degrades within 18 months outdoors), a post puller, and a permanent marker for alignment marks.
Steps. (1) Mark post locations with landscape flags, not spray paint, if the landlord prohibits ground marking. (2) Drive posts to 45 cm (18 in) minimum; shallower posts will lean under the panel’s spring tension. (3) Bend and secure the panel (two-person job). (4) Before tying off, mark the panel wire and each post with a numbered alignment mark using a permanent marker. This ensures you can reassemble the same panel-to-post orientation next spring without trial-and-error bending. (5) At season end, snip all ties, flatten the panel (walk it backward with a partner), extract posts with a puller, and store.
Common mistake. Using black UV-rated zip ties and expecting them to last multiple seasons. UV-stabilized nylon ties begin losing tensile strength after 12 months of direct sun exposure. Stainless steel ties or galvanized wire are the only reliable multi-season fastener for temporary arches, and the former is far easier to remove cleanly.
For more seasonal gardening strategies that work well with removable structures, browse our pea trellis guide for early-spring vertical growing windows.
8. Wall-Mounted Lean-To Arch
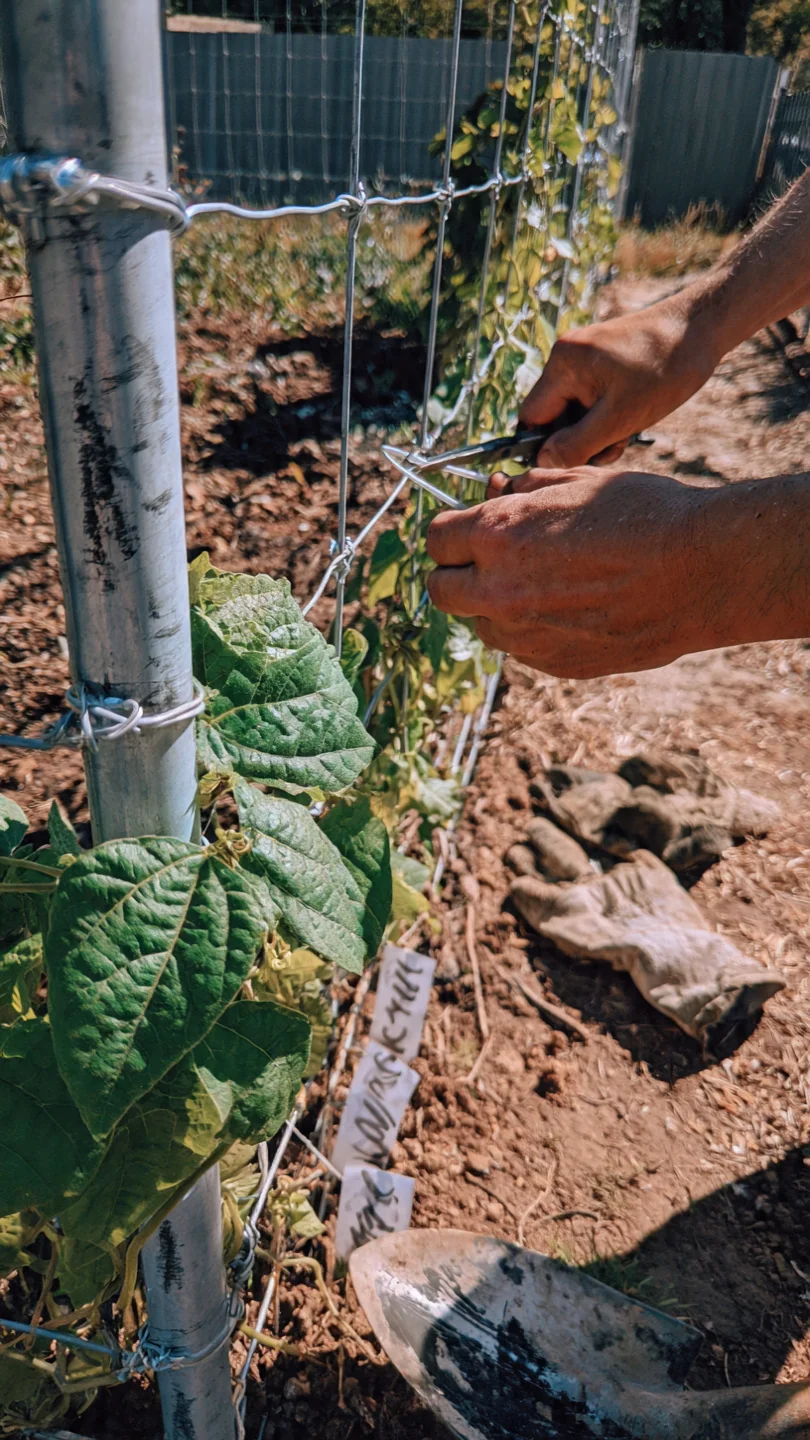
Best for: Branch 3 (Space-Optimized Urban)
10-minute workflow. (1) Measure your wall’s available width. A full 16-foot panel creates an arch that extends roughly 2.4 m (8 ft) outward from the wall when one long edge is mounted at 1.8 m (6 ft) height. (2) Install two 5 cm (2 in) standoff brackets at the desired mounting height using masonry anchors for brick or lag bolts for wood siding. The standoff prevents vine growth from trapping moisture against the wall surface. (3) Secure the panel’s top horizontal wire to the brackets using galvanized wire, not zip ties (wall-mounted panels catch more wind than freestanding arches). (4) Bend the panel outward and secure the bottom edge to ground stakes or a planter box. The resulting quarter-arch shape is asymmetric; plant climbing vegetables on the outer face only. The wall-side face receives minimal light and is suitable only for shade-tolerant ornamentals.
Upgrade option. Add a second panel mounted 90 cm (36 in) above the first on the same brackets to create a two-tier leaf canopy. This doubles the growing surface without increasing the footprint.
9. Corner Half-Panel Compact Arch
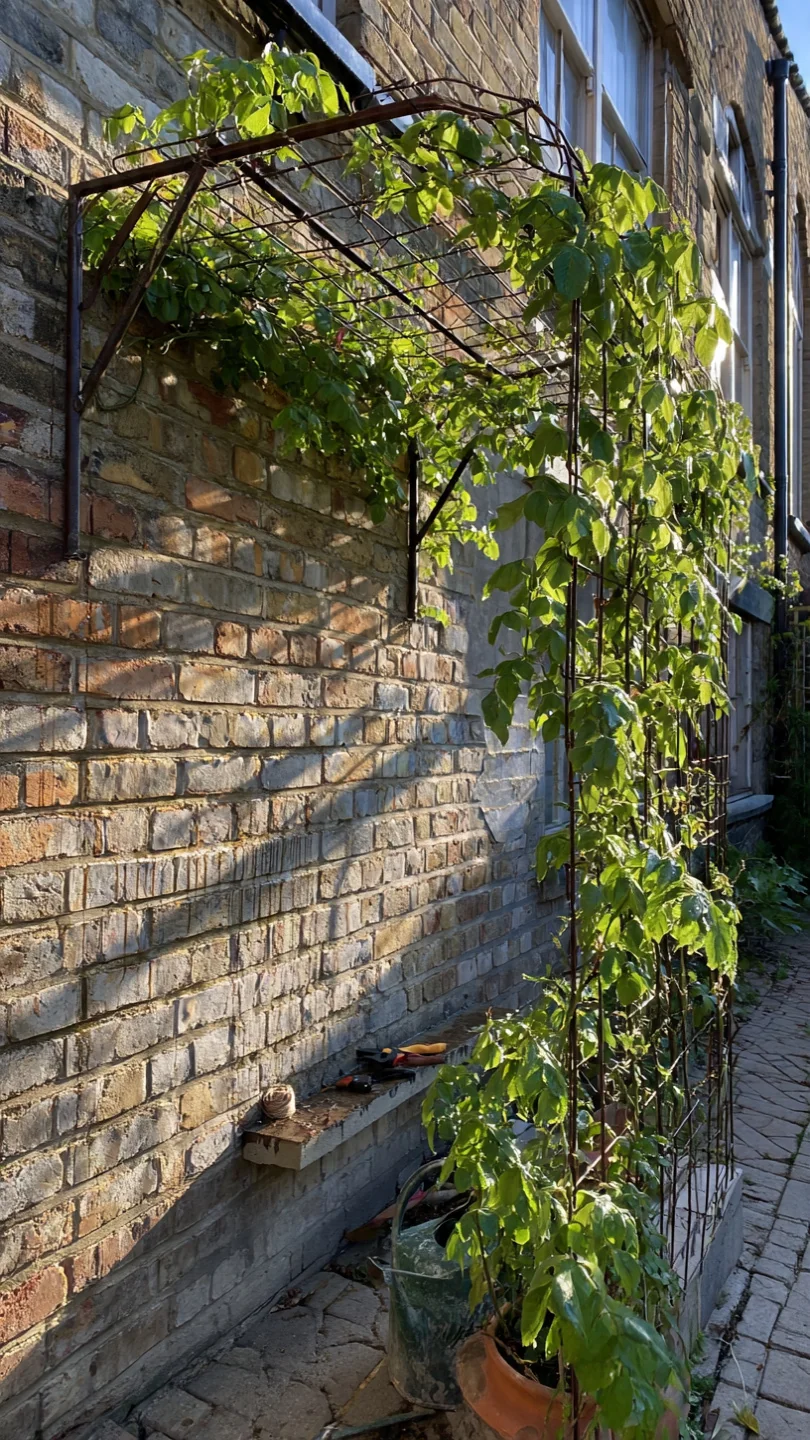
Best for: Branch 3 (Space-Optimized Urban)
Threshold rule. Cutting a 16-foot cattle panel in half produces an 8-foot section that, when bent into an arch with 90 cm (36 in) leg spacing, creates a compact arch about 1.5 m (5 ft) tall. This fits neatly across the corner of a square raised bed measuring 1.2 x 1.2 m (4 x 4 ft) or larger. The critical constraint is the cut end: bolt-cutter-cut panel wires leave sharp, ungalvanized tips that will rust and can injure hands during harvest. The adjustment is to cap every cut wire end with a vinyl screw protector (hardware store item, 6 mm interior diameter) or file each tip smooth and apply cold-galvanizing spray. Do not skip this step; cut panel ends exposed to soil will rust outward from the cut point within one season.
Half-panel arches support approximately half the crop load of full-panel arches. Limit planting to four cucumber vines or six pole bean plants per side.
10. Wood-Framed Permanent Arbor with Panel Insert
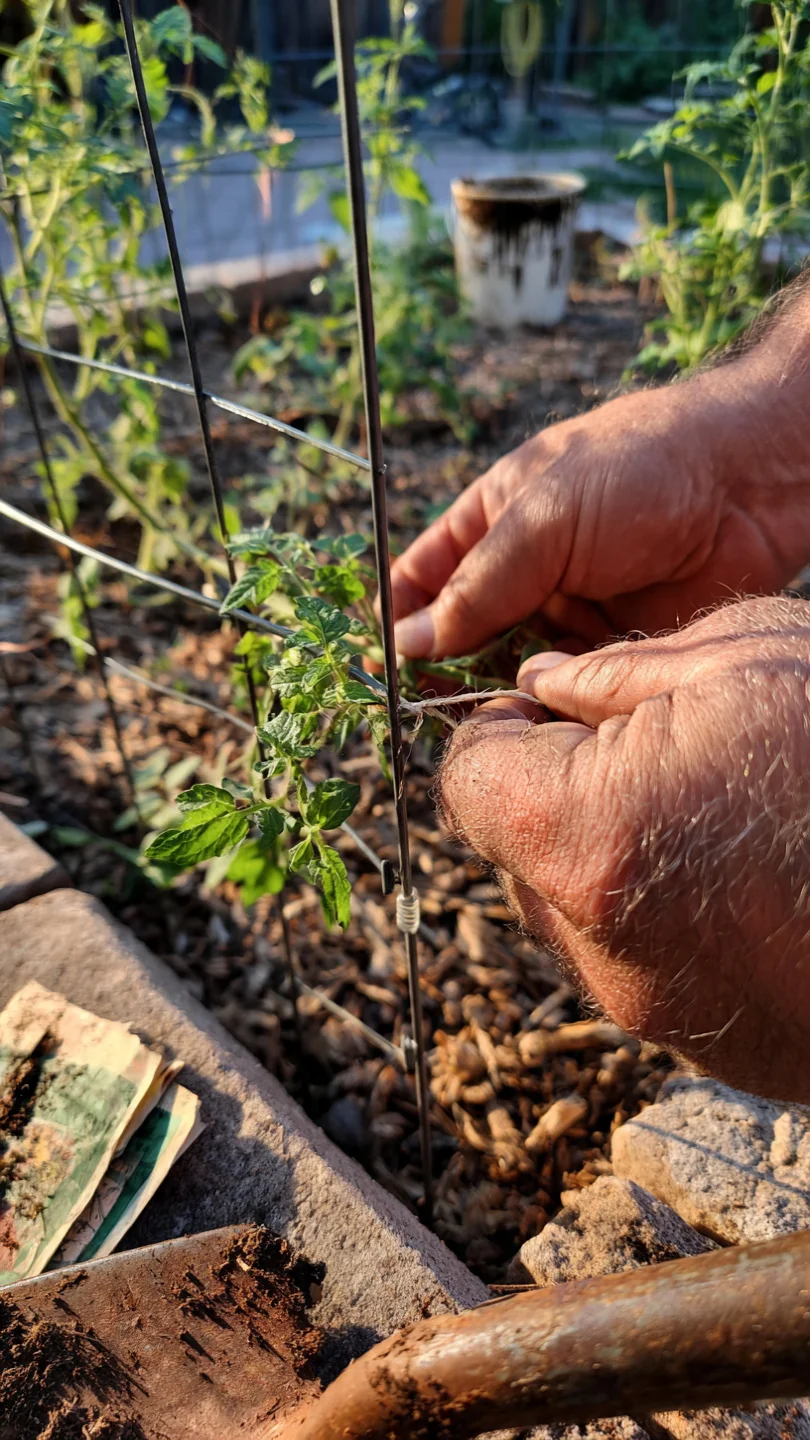
Best for: Branch 1 (Permanent, High-Load)
Blueprint. This configuration embeds a cattle panel within a timber frame, combining the rust-resistance and rigidity of galvanized steel with the aesthetic presence of a wooden arbor. The frame carries the structural load; the panel provides the climbing grid. This is the only cattle panel configuration suitable for front-yard placement in neighborhoods with HOA restrictions or strong aesthetic expectations.
What you need. Four 10 x 10 cm (4 x 4 in) pressure-treated posts, two 5 x 15 cm (2 x 6 in) top beams, one cattle panel cut to fit the frame interior, post-base anchors with concrete footings (minimum 60 cm / 24 in deep), galvanized screws, and exterior wood stain. The panel is secured inside the frame using galvanized fence staples driven into the inner face of the posts and beams.
Steps. (1) Dig four post holes to below the local frost line and set post anchors in concrete. (2) Erect posts, attach top beams, and verify the frame is square with cross-measured diagonals. (3) Cut the cattle panel to fit the interior dimensions, leaving a 5 cm (2 in) gap on all sides for air circulation. (4) Staple the panel to the inner frame faces, starting at the top center and working outward and downward to maintain tension. (5) Stain or seal all wood surfaces before planting.
Common mistake. Fastening the panel to the outside face of the frame. This creates a pinch point where vines grow between the wood and the wire, making pruning and removal nearly impossible after the second season. The panel must be on the inside face of the frame.
For woody perennial vines suited to permanent arbors, our clematis trellis guide covers pruning groups and support sizing that apply directly to panel-backed frames.
11. Snow-Country Reinforced Arch
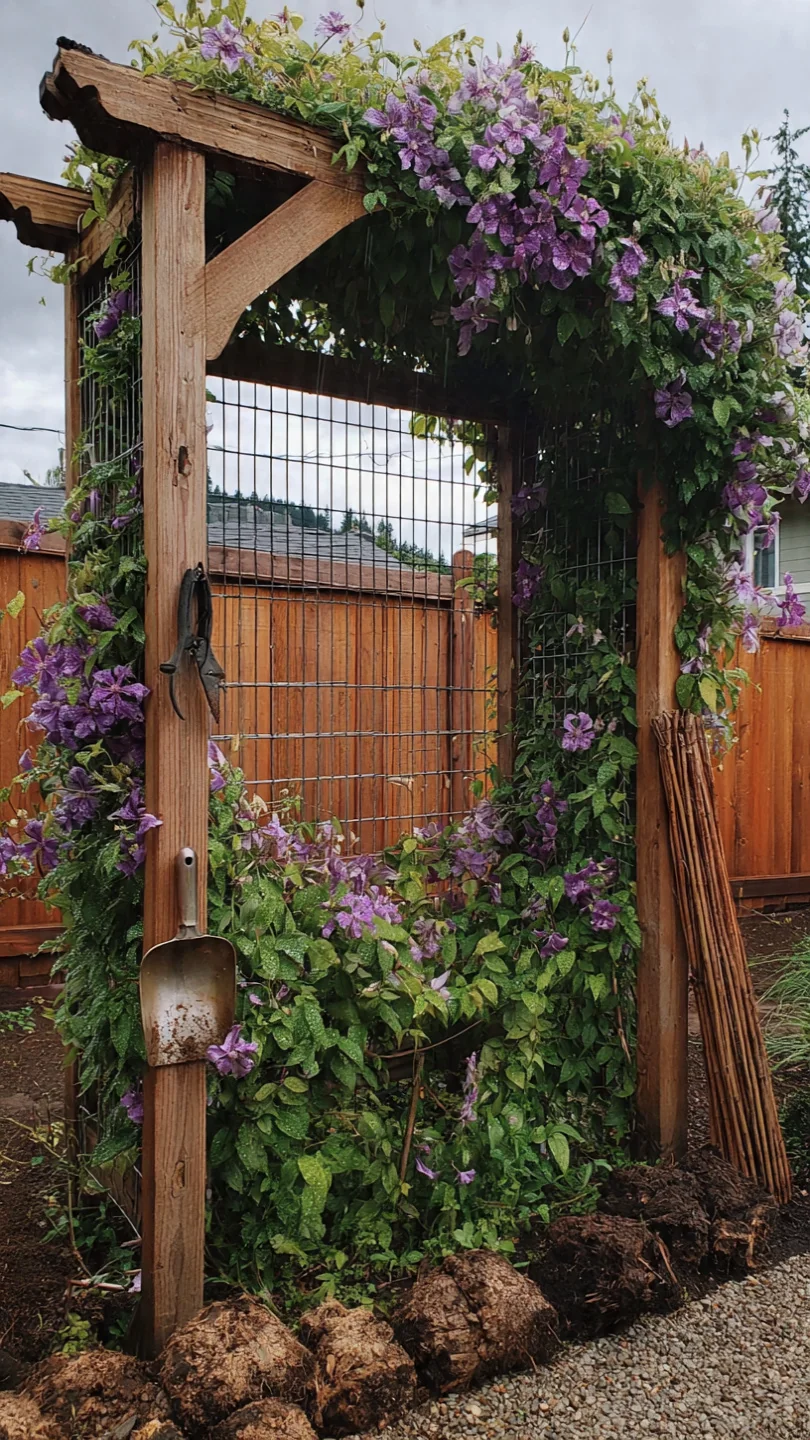
Best for: Branch 1 (Permanent, High-Load)
Use vs. skip. In USDA zones 4 and below, or anywhere receiving more than 250 cm (100 in) of annual snowfall, a standard cattle panel arch will flatten under wet snow accumulation unless reinforced. The reinforcement consists of a horizontal purlin (a continuous 1-inch galvanized conduit) zip-tied across the apex and diagonal cross-bracing from the apex to each ground-level T-post. This triangulates the arch and prevents the spring-loaded collapse that occurs when snow weight overcomes the panel’s natural tension. Use this configuration if you cannot or will not remove snow from the arch midwinter. Skip it in zones 6 and above where snow loads remain under 30 cm (12 in) per event; the standard arch sheds that amount naturally.
Edge case. In coastal zones with high wind but minimal snow (UK maritime climates, Pacific Northwest), omit the snow bracing but add wind-side ground anchors. A cattle panel arch acts as a sail in sustained winds above 50 km/h (30 mph). Two earth anchors with galvanized cable on the windward side prevent the entire arch from lifting out of the ground.
12. Container-Based Mobile Arch
Best for: Branch 3 (Space-Optimized Urban)
Threshold rule. When you cannot dig into the ground at all (balcony, rooftop, paved courtyard), the arch legs must be secured inside containers heavy enough to resist the panel’s spring tension. The minimum container weight per side is 45 kg (100 lb) of saturated soil. A half-barrel planter (approximately 90 L / 24 gallons) filled with damp potting mix meets this threshold. Smaller containers will tip inward as the panel tries to return to its flat shape. The adjustment: if your containers weigh less than 45 kg each, add a 60 cm (24 in) length of rebar driven through the planter’s drainage hole into the soil below (if any) or bolt the planter to a wooden pallet to increase the base footprint.
This configuration requires weekly tension checks. Container soil settles faster than ground soil, and as it compacts, the panel ends shift, loosening the arch. Tighten zip ties or add shims under the panel ends monthly during the growing season.
For more container-compatible vertical growing ideas, see our vertical tomato trellis guide.
Starter Stack (What to Choose First)
Branch 1 Starter: Permanent Garden with Raised Beds
Begin with Item 1 (Standard Walk-Through Raised-Bed Arch) plus Item 4 (Gothic Peak Arch) if you grow heavy squash or melons. Together, the standard arch handles your beans, cucumbers, and lightweight climbers, while the Gothic arch takes the heavy-fruit load. Total material cost for both: approximately $80 to $140 USD (two panels, eight T-posts, zip ties, one conduit brace), assuming panels at $25 to $40 each. Installation time for a two-person team: 3 to 5 hours including post driving. Skip the Gothic modification if you grow only beans and flowers; the standard arch alone serves those crops without the extra brace.
Branch 2 Starter: Rental or Seasonal Plot
Begin with Item 5 (In-Ground Solo Arch) if you have open soil, or Item 7 (Renter-Friendly Removable Arch) if you need full disassembly. The in-ground version costs roughly $40 to $60 USD (one panel, two T-posts, zip ties) and installs in 90 minutes with two people. The removable version adds $15 for stainless steel ties and a post puller rental. If your soil is sandy, skip Item 5 entirely and go straight to Item 7 with deeper-driven posts.
Branch 3 Starter: Urban Small Footprint
Begin with Item 9 (Corner Half-Panel Compact Arch) for raised-bed corners, plus Item 8 (Wall-Mounted Lean-To Arch) if you have a south-facing wall or fence available. The half-panel arch uses one cattle panel cut in two (one half for this project, save the other), two T-posts, and vinyl screw caps, totaling about $35 to $55 USD. The lean-to adds $15 for standoff brackets. Both fit within a 1.2 m (4 ft) footprint. Combined installation time: 2 to 4 hours.
When This Won’t Work
A cattle panel arch is the wrong tool in two measurable situations. First, when your walking path or bed gap is narrower than 90 cm (36 in) or wider than 2.4 m (8 ft). Below 90 cm, the panel cannot bend enough to form an arch without kinking; you will create a sharp fold that concentrates stress at a single weld point, and that weld will fail within one season. Above 2.4 m, the panel flattens so much that it provides less than 1.2 m (4 ft) of head clearance, and crops hang at face level rather than overhead. In both cases, the correct alternative is a flat vertical trellis (panel used unbent as a wall) mounted on two T-posts. See our guide on bean teepee trellises for non-arch vertical supports that work in these width extremes.
Second, when your frost line exceeds 90 cm (36 in) and you cannot set posts or footings that deep. In parts of Canada, the northern US interior, and Scandinavia, frost depth routinely reaches 1.2 to 1.8 m (4 to 6 ft). Driving T-posts to that depth is not practical with hand tools, and shallow posts will heave. The alternative is a non-arched cattle panel used as a flat trellis attached to a building or fence, where the structure’s existing foundation provides the frost protection.
Choosing the Right Option for Your Situation
Budget Threshold
A single cattle panel arch costs $40 to $90 USD in materials (panel, posts, ties), with the panel itself at $25 to $50 depending on region and gauge. Pre-made wooden or metal garden arches of comparable size start at $150 and reach $500. Below $40 total, you are limited to a flat panel trellis using a single T-post per end, which is not an arch but still grows climbing vegetables. If your budget is under $25, skip cattle panels entirely and use nylon trellis netting stretched between two wooden stakes for the season.
Time Threshold
Installing a basic cattle panel arch requires 2 to 4 hours for two people from unboxing to final tie-off. If you are working alone, add 90 minutes and accept that the bend will be less symmetrical; a solo installer cannot apply equal force to both sides simultaneously. If you have less than 2 hours total, choose a flat panel trellis (two posts, unbent panel, zip-tied vertically) which installs in 45 minutes solo.
Technical Constraint: Soil Type
Posts driven into clay hold better than posts in sand. In sandy or loose soil, T-posts must be set in concrete footings at least 30 cm (12 in) in diameter and extending below the frost line. This converts a 2-hour installation into a two-day project (digging, pouring, curing). Test your soil before buying materials: dig a 30 cm (12 in) hole and squeeze a handful of damp soil. If it crumbles immediately, you have sand and need concrete. If it holds a ball shape, you have enough clay to drive posts without concrete.
Yes/No Checklist:
- Is your path or bed gap between 90 cm (36 in) and 2.4 m (8 ft)? If no, choose a flat vertical trellis instead.
- Can you drive posts to at least 60 cm (24 in) or below your local frost line? If no, use a wall-mounted or container configuration.
- Do you have a second person available for the bending step? If no, budget extra time and expect asymmetry.
- Is your heaviest intended crop under 2.5 kg (5.5 lb) per fruit? If no, add a Gothic peak brace or sling support.
Expert Q&A
Can I use a cattle panel arch if I garden on a slope?
Yes, with an important adjustment: the panel ends must be set at different heights so the apex remains level. On a slope steeper than 10 degrees (roughly a 15 cm / 6 in drop per 90 cm / 36 in of run), drive the uphill T-posts deeper and the downhill posts shallower to bring the top of each post to the same elevation. If the apex tilts more than 5 degrees off horizontal, water will funnel to one side and erode the soil around the downhill post.
What is the difference between a cattle panel and a feedlot panel for arch purposes?
The terms are often used interchangeably in the US, but feedlot panels are sometimes heavier (4-gauge vs. 6-gauge wire) and taller (up to 60 inches). For arch building, 4-gauge is preferred for holding shape under crop load. In Australia, “cattle panels” specifically refer to 1.8 m (6 ft) tall heavy-gauge panels, while “yard panels” are lighter-duty. Confirm wire gauge, not just the product name, before purchasing.
How do I prevent the arch from shading out plants behind it?
Orient the arch opening north-south, not east-west. A north-south alignment ensures both sides receive morning and afternoon sun. East-west orientation casts permanent shade on the north side for the entire growing season, reducing that face to shade-tolerant crops only. If reorienting is impossible, plant leafy greens (which tolerate partial shade) on the north face and fruiting vegetables on the south face.
Can cattle panel arches support perennial vines like wisteria or grapevines long-term?
Yes, but only in the wood-framed configuration (Item 10) or with heavy-gauge posts set in concrete. A mature wisteria vine can exert more than 90 kg (200 lb) of lateral pull on its support. Standard zip-tie-and-T-post arches will distort within three to five years under perennial vine loads. For grapevines, use the Gothic arch configuration; the peaked apex encourages the vine’s natural upward growth habit and simplifies winter pruning access.
What do I do with the arch over winter in a region with freeze-thaw cycles?
Leave the bare metal arch in place. Galvanized cattle panels are unaffected by freeze-thaw cycling and snow sitting on the wire will slide off as long as no plastic sheeting is attached. The risk is not to the panel but to the T-posts: freeze-thaw heave can lift shallow posts by 2 to 5 cm (1 to 2 in) per winter. Check post heights each spring before planting. If a post has heaved, drive it back down with a post driver rather than pulling and resetting (which enlarges the hole and accelerates future heave).
Conclusion
The cattle panel arch is a tension-dependent system, not a one-size-fits-all garden ornament. Its success or failure turns on three variables most tutorials skip: post depth relative to your frost line, panel gauge relative to your crop weight, and leg spacing relative to your walkway width. Get those three numbers right, and the arch will perform for a decade. Get any one wrong, and you will be cutting zip ties to salvage a twisted panel by August.
The single most common mistake is driving T-posts too shallow. In freeze-thaw climates, 60 cm (24 in) is the minimum, not a suggestion. If you take one action after reading this guide, measure your frost depth for your zip code (available through your national weather service or agricultural extension office) and confirm your post length exceeds it by at least 15 cm (6 in). For year-round inspiration on maintaining vertical garden structures across seasons, visit our vertical garden maintenance guide.